
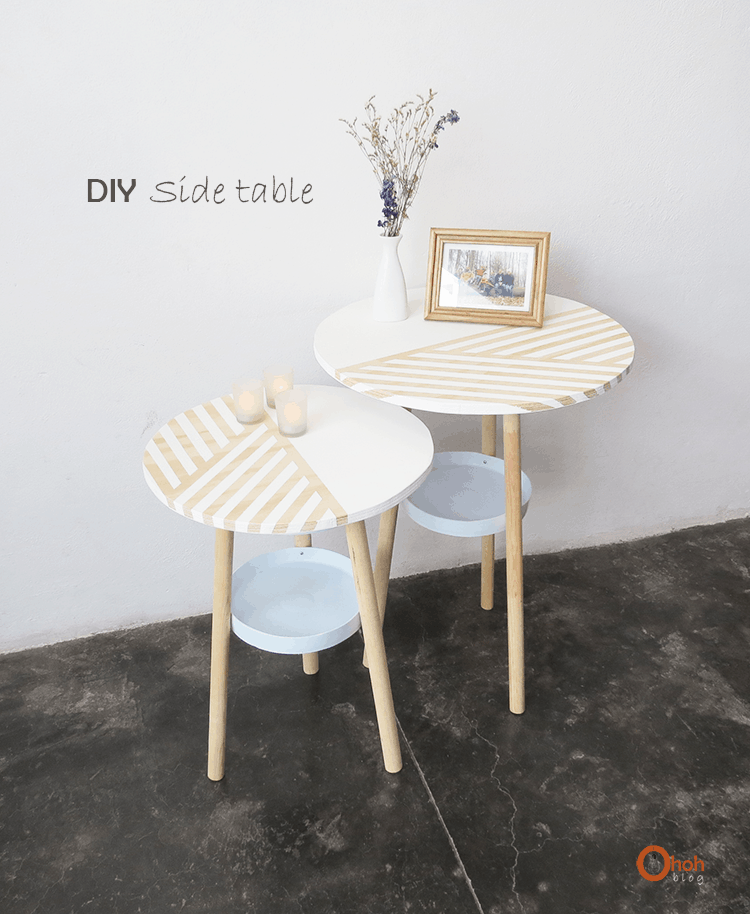
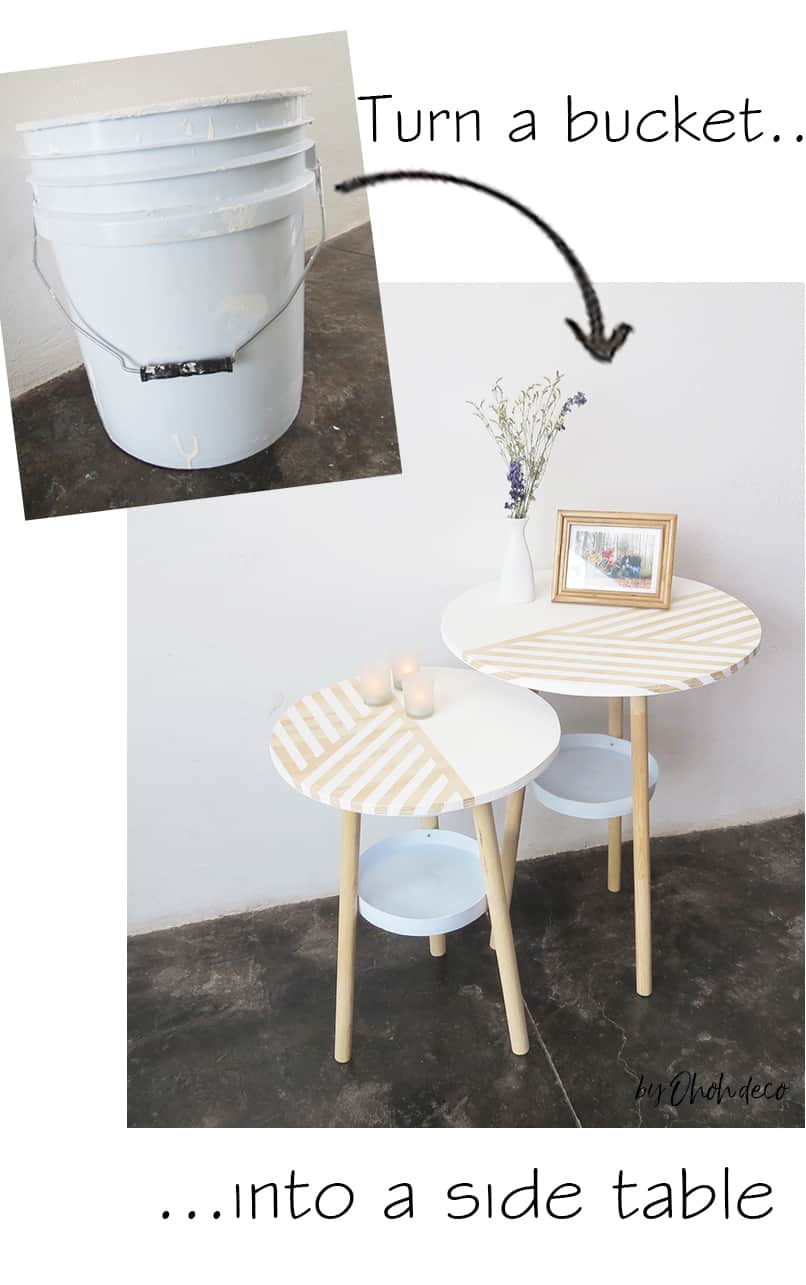
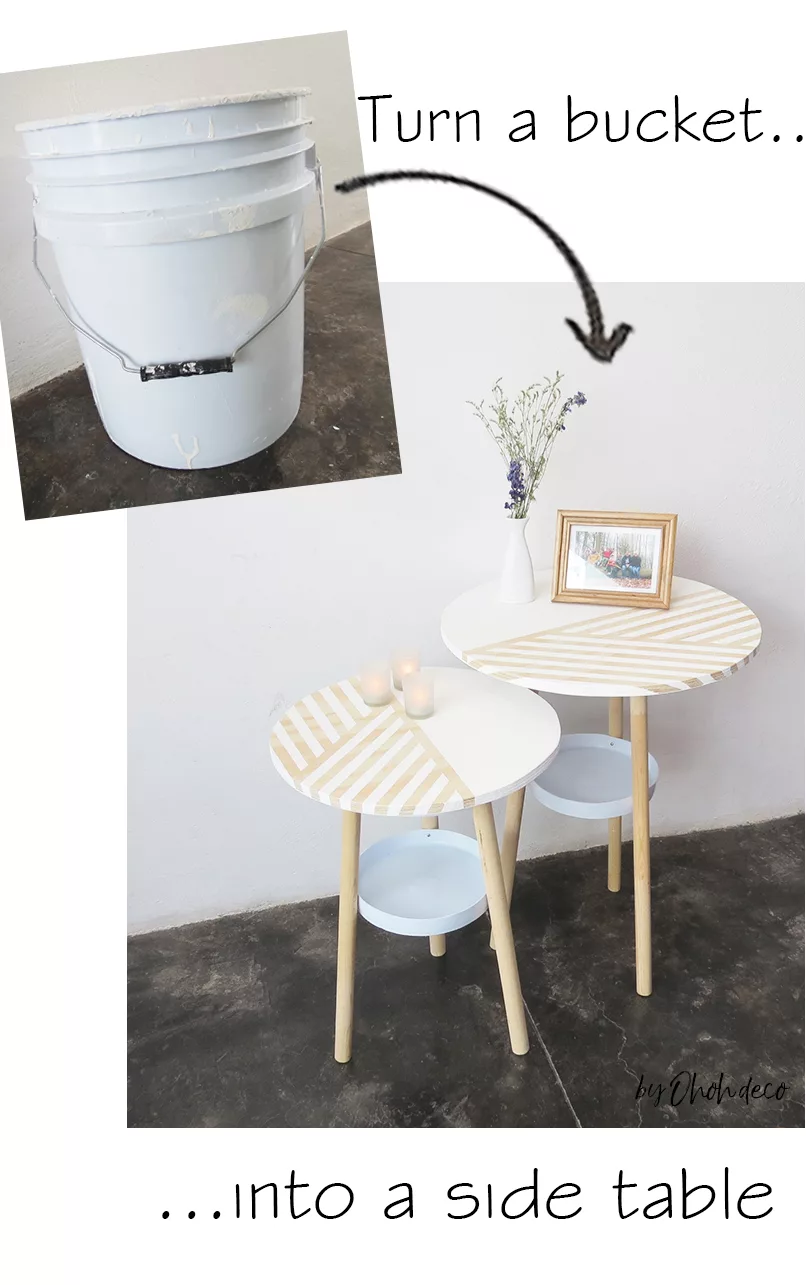
If you follow the blog for awhile, you know I have an addiction for recycling old paint buckets! This time I made side tables … if you don’t remember the previous DIY, take a look at the shelves and the stool!
Si sigues el blog desde un tiempo, sabes que tengo una pequeña adicción para reciclar cubetas de pintura! Esta vez hice mesitas … si no te accuerdas de los DIY anterior, echale un vistazo a las repisas y al taburete!
Si tu suis le blog depuis un certain temps, tu sais que j’ai une petite addiction au recyclage des vieux seaux de peinture! Cette fois ci j’en ai fait des tables d’appoint…si tu te rappels plus des DIY précédents, jette un œil sur les étagères et le tabouret!
Let’s begin the tutorial, I warn you, it’s a bit long!
To make a side table, you’ll need:
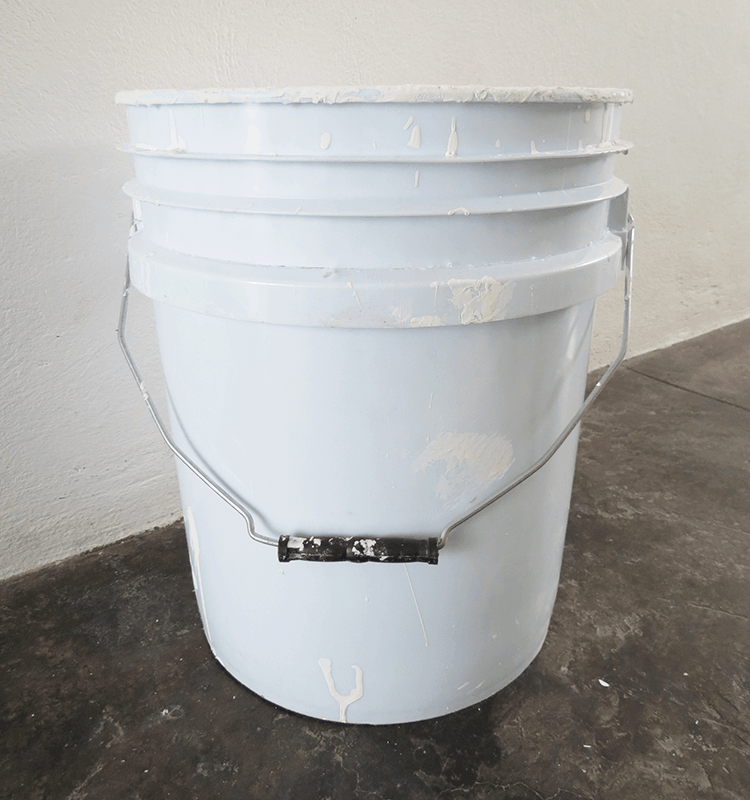
2 old paint buckets, a piece of plywood, a wooden stick, 12 screws, a saw, a drill, a screwdriver, a ruler and a pencil.
Iniciamos el tutorial, te advierto, es un poco largo!
Para hacer una mesita, necesitas:
2 botes de pintura vacios, un pedazo de triplay, un palo de madera (L = 2,4 m), 12 tornillos, una sierra, un taladro, un destornillador, una regla y un lápiz
On commence le tutoriel, je te préviens, c’est un peu long!
Pour réaliser une table, tu vas avoir besoin de:
2 seaux de peinture vides, un morceau de triplex, un bâton en bois (L=2.4m), 12 vis, une scie, une perceuse, un tourne vis, un mètre et un crayon.
[AdSense-A]
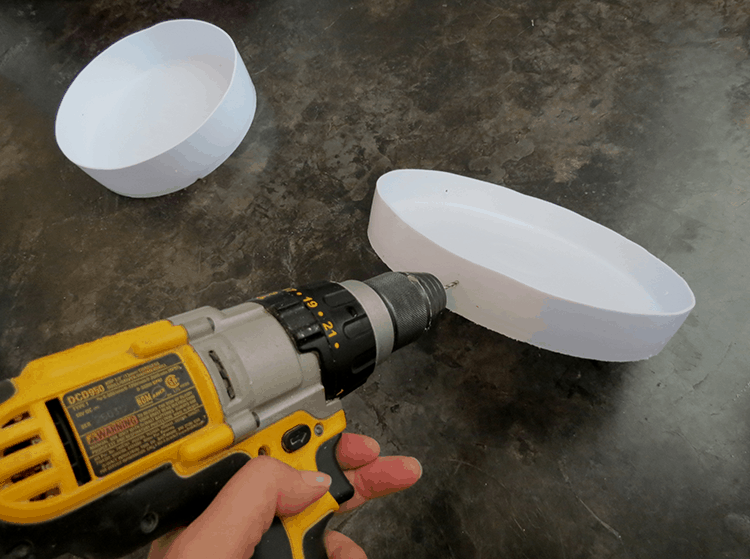
Trace with a pencil (crayola) a line to cut the bottom of the plastic bucket, one at 3 in. and a second at 1 1/2 in. Cut both bucket bottom with the saw (yep, it works) . Try to cut as straight as possible. Once it’s done, sand the edge.
Traza con un lápiz (estilo crayola) una línea para cortar la parte inferior de la cubeta de plástico, en la primera a 7 cm y en la segunda a 4 cm.
Corta las cubetas con la sierra (sí funciona ). Trata de cortar lo más recto posible. Una vez que hiciste el corte, lija el borde.
Trace avec un crayon gras (style crayola) une ligne pour couper le fond du seau en plastique, dans le premier à 7 cm et dans le second à 4cm.
Coupe les seaux avec la scie (si si ça fonctionne très bien). Essaye de couper le plus droit possible. Une fois le seau coupé, ponce les bord avec du papier de verre.

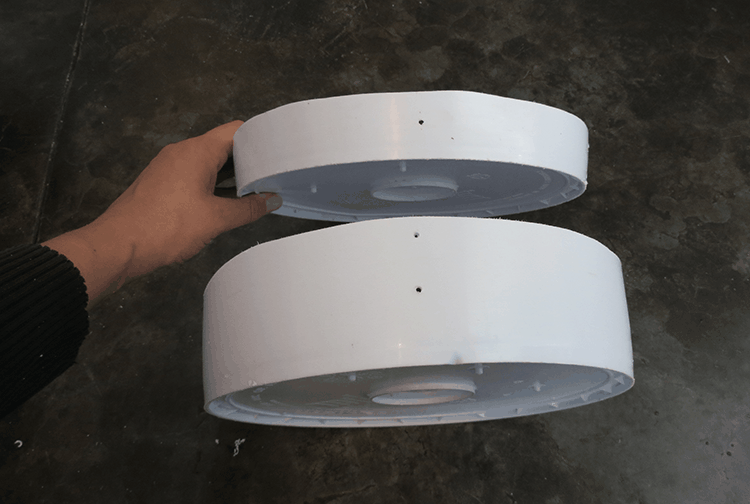
To screw the legs, you need to drill holes on the sides. You must calculate to have the same distance from one to another (bucket’s diameter divided by 3). In the largest, the 3in. one, you have to make 6 holes (two for each dowel).
Para atornillar los pies, es necesario perforar agujeros en los lados. Calculas para tener la misma distancia entre una y otra (diámetro de la cubeta dividido por 3). En la más grande, la de 7cm, vienen 6 agujeros (dos para cada pies).
Pour pouvoir visser les pieds, tu dois percer des trous sur les côtés. Calcule pour qu’ils soient à la même distance les uns des autres (diamètre du seau divisé par 3). Dans le plus grand, celui de 7cm, il faut 6 trous (deux pour chaque pied).
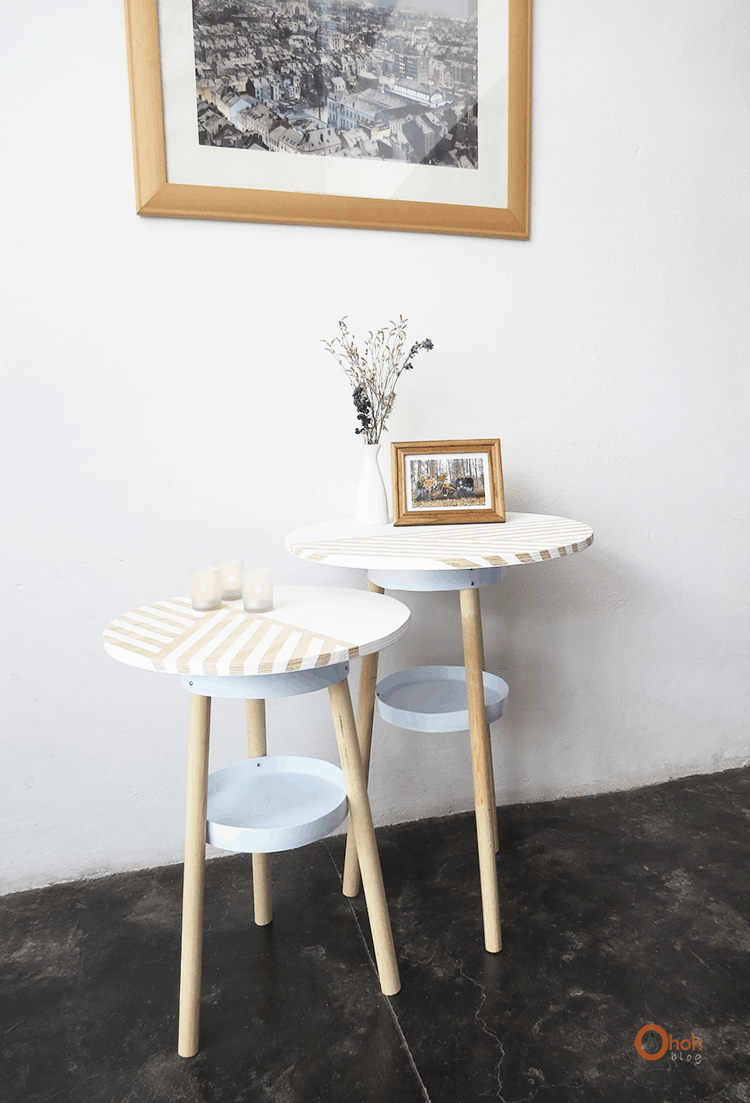
To make the table legs you will need three dowels (1 1/4in. radius) of 25 in. long. You must screw the dowels with the buckets pieces. The largest on the top, with the dowels inside the bucket. Then +/- 14in. below, the smallest piece.
Tienes que atornillar los pies con “las cubetas”. El más grande en la parte superior, con los palos adentro de la cubeta. Y unos 35 cm por debajo, atornillas la pieza más pequeña.
Visse les pieds avec les “seaux”. Le plus grand au dessus, avec les bâtons à l’intérieur du seau. Et environ 35 cm plus bas le morceau plus petit.
[AdSense-B]
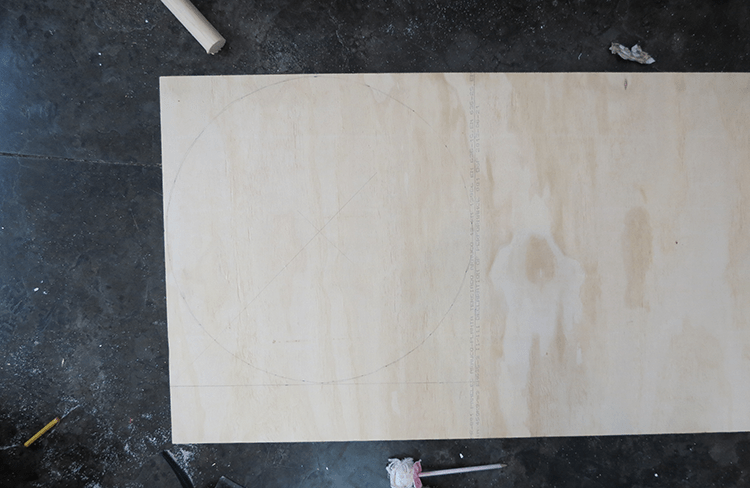
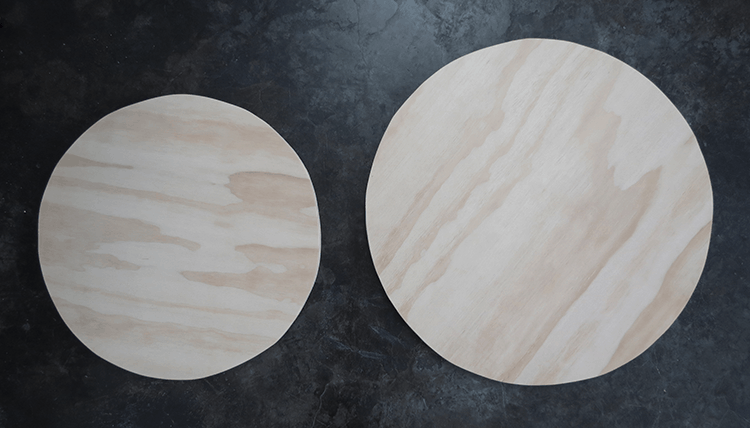
Time to make the tray. I cut a circle in a triplex panel. I used a jigsaw. If you don’t have one, I guess you can have your panel cut at your hardware store.
Ahora queda por hacer la bandeja. Corté un círculo en un panel de triplex . He utilizado una sierra de calar. Si no tienes una, supongo que puedes hacer el corte de tu panel en una maderería.
Il reste à faire la tablette. J’ai découpé un cercle dans un panneau de triplex. J’ai employé une scie sauteuse. Si t’en as pas je suppose que tu peux faire couper ton panneau au brico.
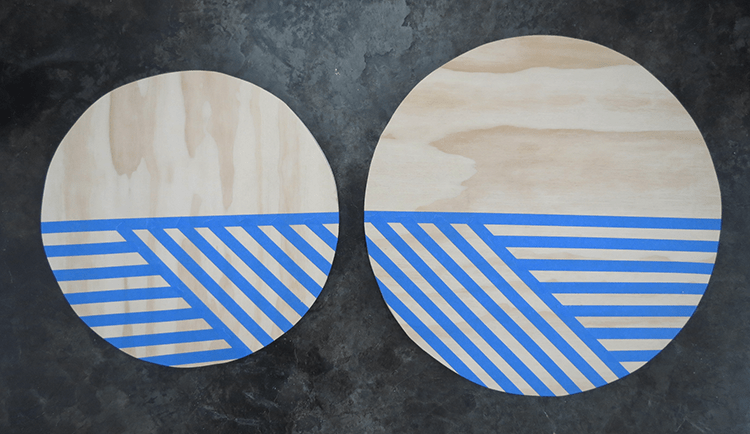
To make the drawing, I just place masking tape on the trays. If you want to varnish the part that remains in wood, do it before painting. Otherwise your beautiful paint will turn yellowish and you will have to start over… it’s not funny, believe me I tried!
First, one or two layer of varnish. Once it’s dry you put the tape, trying to make a nice design, and you paint.
Para hacer el dibujo, pegue cinta adhesiva en la madera. Si quiere barnizar la parte que permanecera en madera, hazlo antes de pintar. De lo contrario tu pintura quedara amarillento y podras empezar de nuevo … no es divertido, tienes que creerme lo he intentado!
Así, primero, una o dos manos de barniz. Una vez que este está seco, puedes pegar la cinta y pintar encima.
Pour faire le dessin, j’ai simplement collé du masking tape sur les tablettes. Si tu veux vernir la partie qui restera en bois, fait le avant de peindre. Sinon ta belle peinture devient jaunâtre et tu pourras recommencer…c’est pas drôle, crois moi j’ai essayé!
Donc, en premier, une ou deux couche de vernis. Une fois que c’est bien sec tu colles le scotch et tu peints.
When the paint is dry, you remove the tape. I forgot to take a picture, but you’ll be fine even without it.
Cuando la pintura esté seca, retiras la cinta. Olvidé sacar una foto, pero no hace falta.
Quand la peinture est sèche, tu enlèves le scotch. J’ai oublié de prendre une photo, mais tu t’en sortiras bien sans.
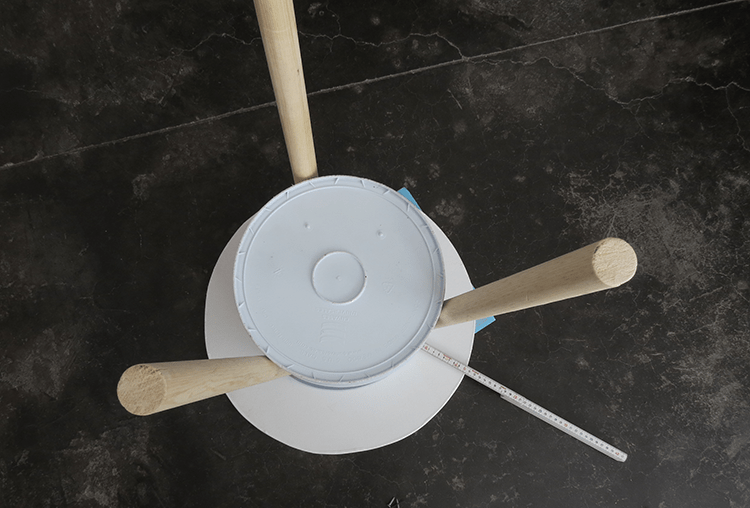
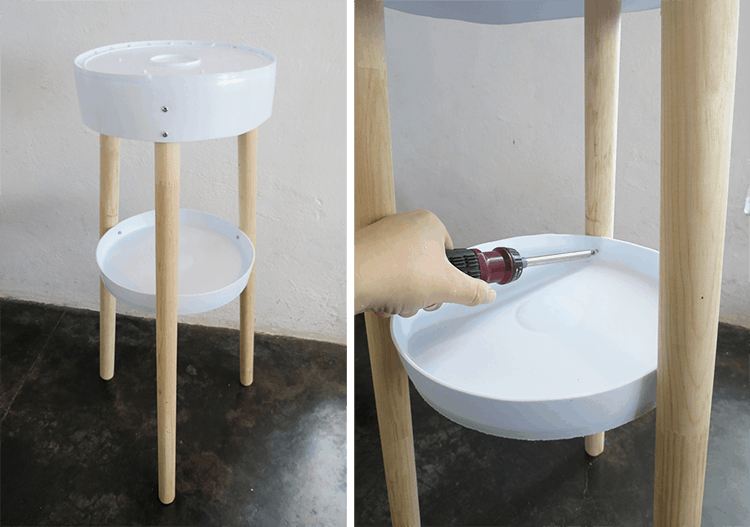
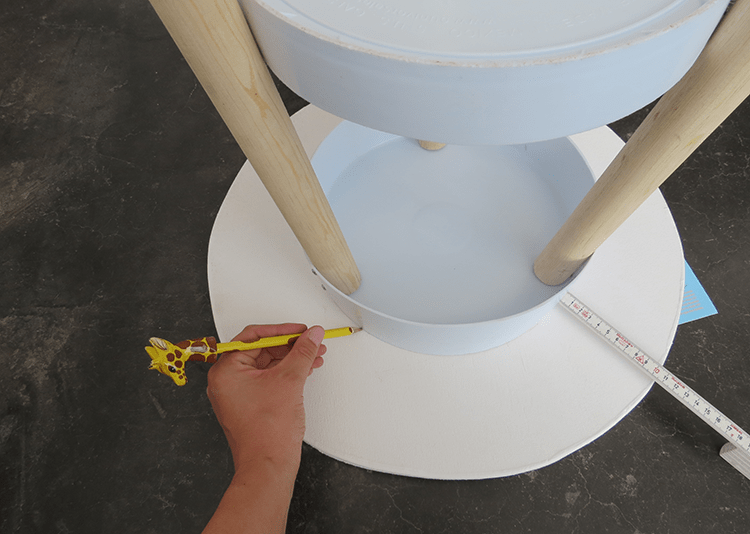
It just remains to fix the tray with the legs. Place the tray upside down on the floor and put the base on it (upside down too). Take measure to center the legs on the panel and trace (with a giraffe pencil, better).
Sólo queda por fijar la madera con los pies. Coloquas la bandeja boca abajo en el suelo y pon los pies en ella (al revés también). Mides para centrar los pies sobre la madera y marcas con un lapiz (de jirafa).
Il reste juste à fixer le plateau avec les pieds. Place le plateau à l’envers sur le sol et mets les pieds dessus (à l’envers aussi). Mesure pour centrer les pieds sur le panneau et trace l’emplacement (avec un crayon girafe, c’est mieux!).
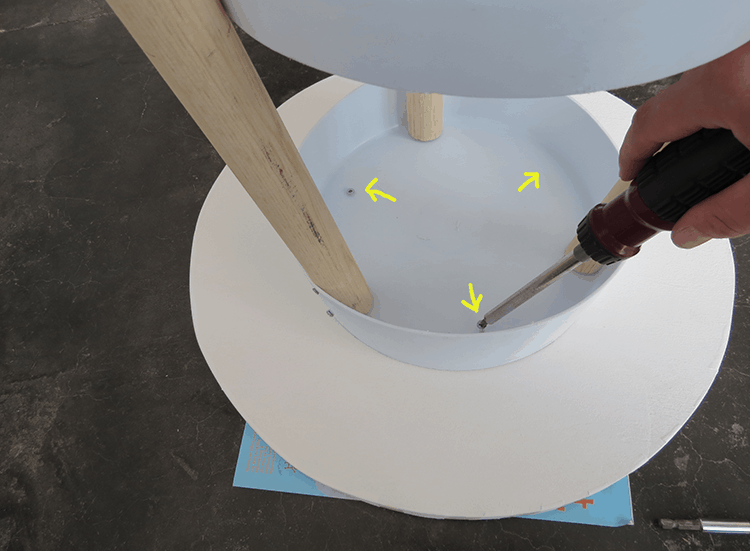
Screw the base and the tray together.
Atornillas la base y la bandeja juntos.
Visse la base et le plateau ensemble
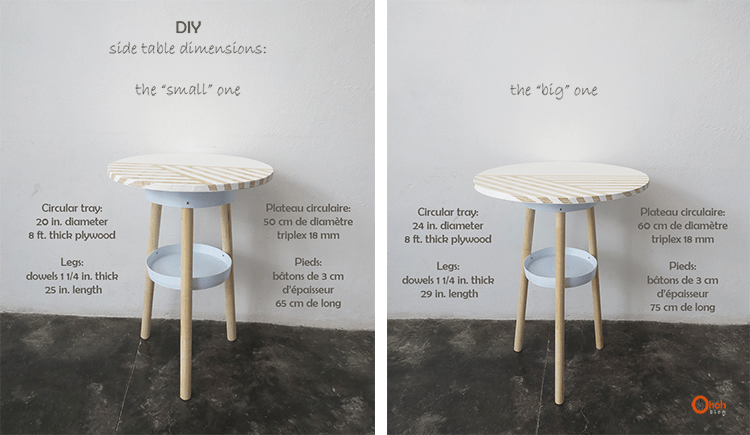
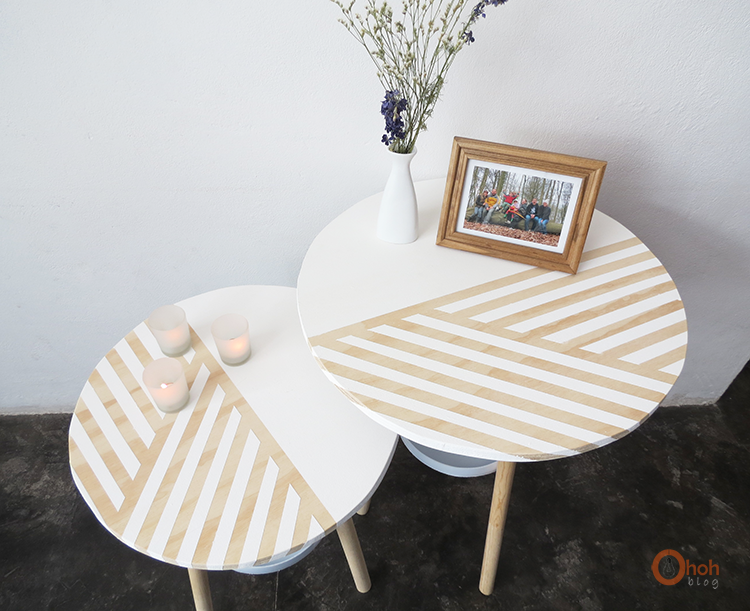
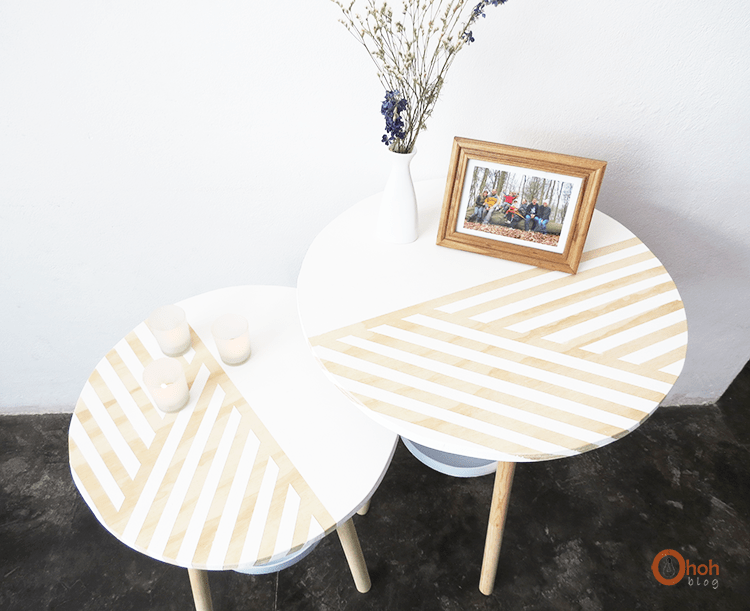
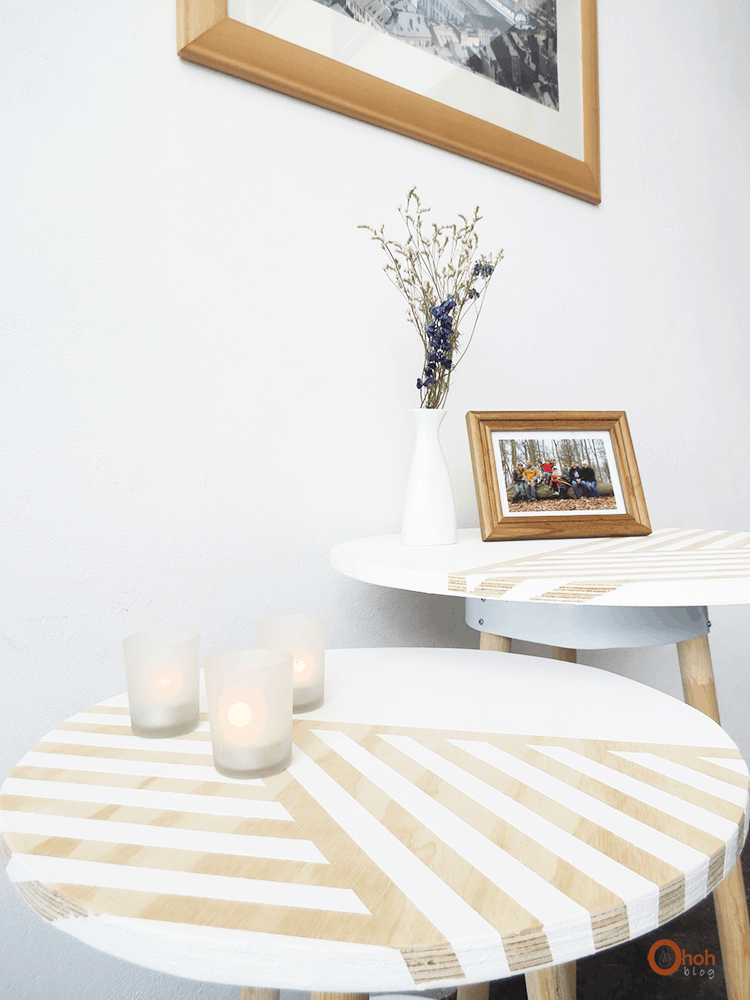
And voila, you’re done! Thank you for reading till the end! I made two different size tables. You will find a small summary of the measurements below.
Y listo, ya está! Gracias por leer hasta el final! Hice dos mesas de diferentes tallas. Agrego un pequeño resumen de las dimensiones a continuación.
Et voila, c’est fini! Merci d’avoir lu jusqu’à la fin! J’ai fait deux tables de dimensions différents. Je te mets un petit récapitulatif des mesures ci-dessous.
Pin it for later
You will find all the tutorials featured in the video on my “Best DIY” page.
Amaryllis
Lara
Saturday 27th of July 2019
I started my first DIY project this week and loved it so much I wanted to give my thanks to my source of inspiration. Finally tracked it down your blog and wow i am amazed at all the other wonderfull things you have crafted and created. Thank you so much for sharing all your lovely ideas. I am excited to try more of your ideas!
amaryllis
Wednesday 7th of August 2019
Thank you so much Lara! I would love to see the table you made! DIY is so much fun, I hope you will enjoy it as much as I do. Have a lovely day!
Mary Mench
Wednesday 20th of January 2016
Beautiful!
Ama Ryllis
Thursday 21st of January 2016
Thank you Mary!
anniecartonne
Tuesday 29th of September 2015
J'adore ,très ingénieux !!!
Ama Ryllis
Tuesday 29th of September 2015
Merci...finalement elles servent de tables de nuit!
Jinny
Wednesday 25th of June 2014
Love it!!! Awesome post, thanks for sharing!:)
Creative Dream
Sunday 8th of June 2014
I love this! I would love it if you joined and contribute your awesome posts at my link party at City of Creative Dreams, starts on Fridays :D Hope to see you there at City of Creative Dreams Link Party.