
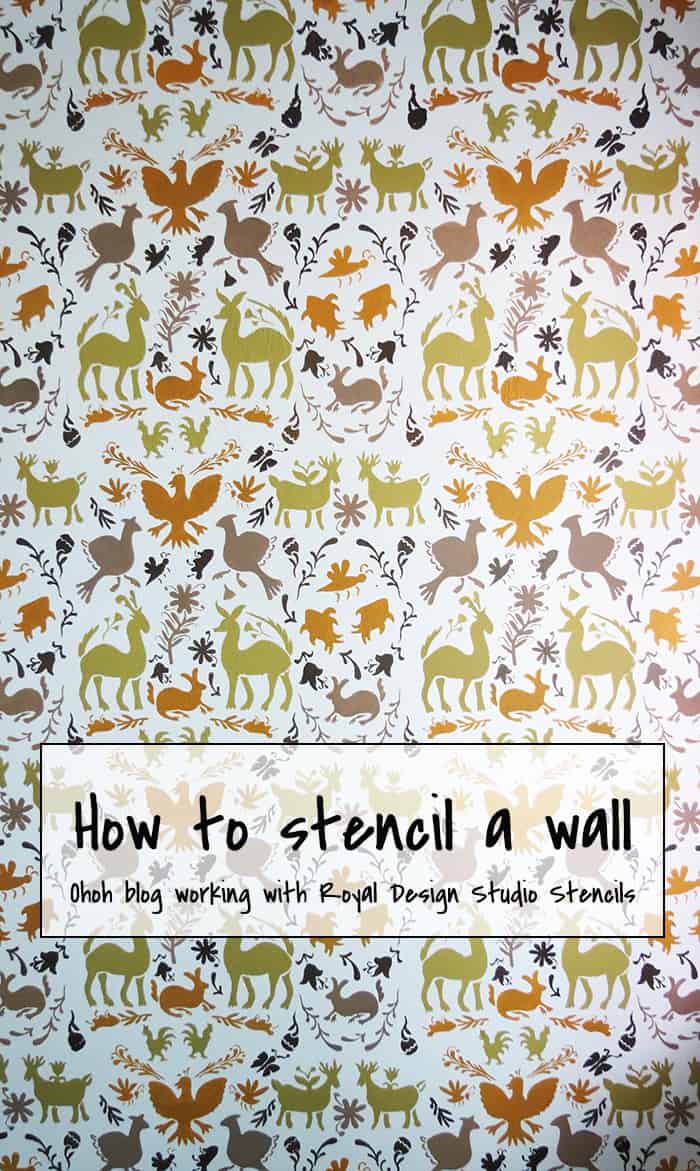
For a few months, I’ve been thinking of adding a splash of color to the entrance. I spend hours on Pinterest looking for nice color, wallpapers, interesting pattern….you know, every 5 pins I found a nice idea, but nothing how really match my taste and the space. Until I found the Otomi stencil from Royal Design Studio. This is the perfect Mexican touch for the entrance.
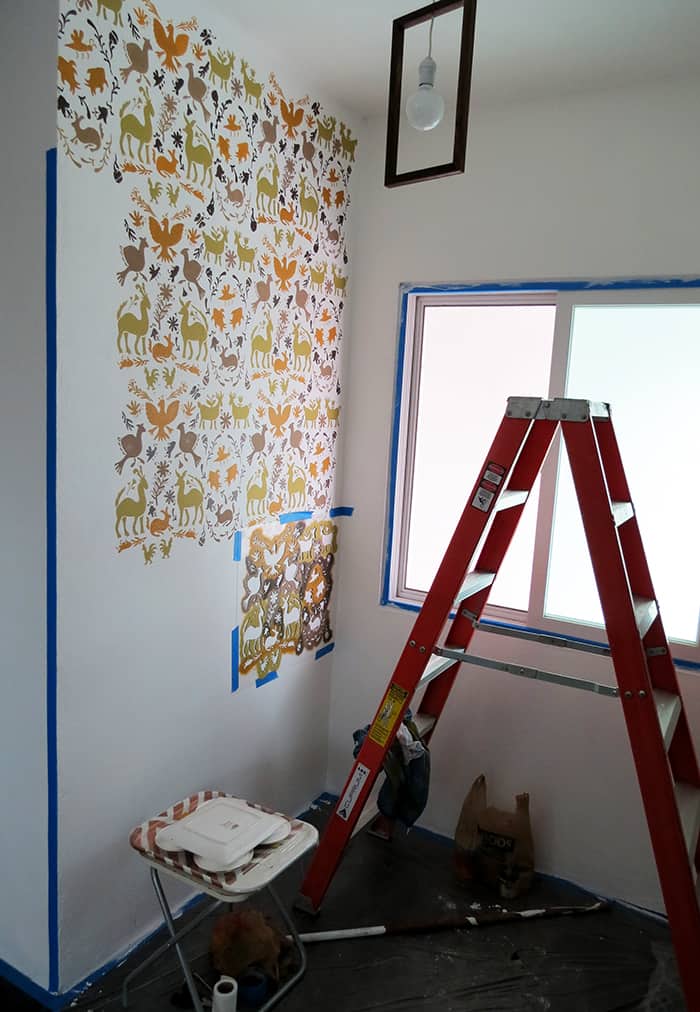
The first step was to paint a coat of white, to work on a clean surface.

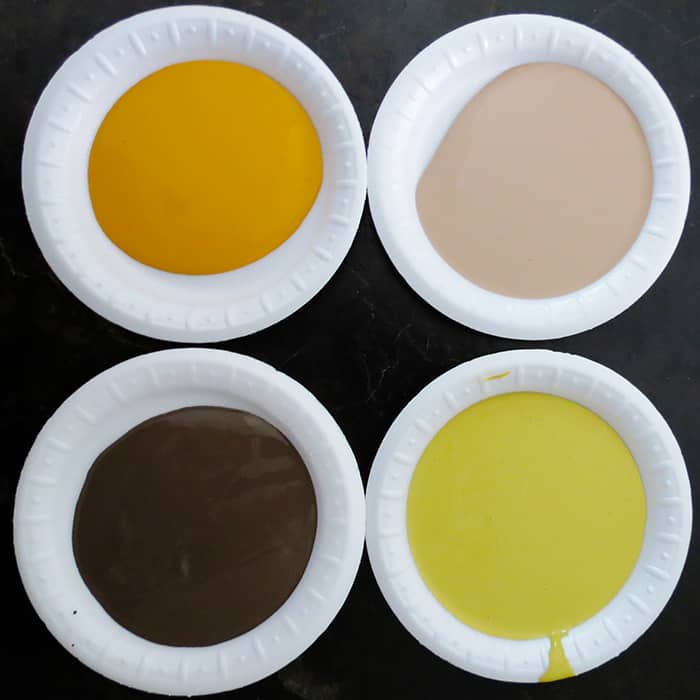
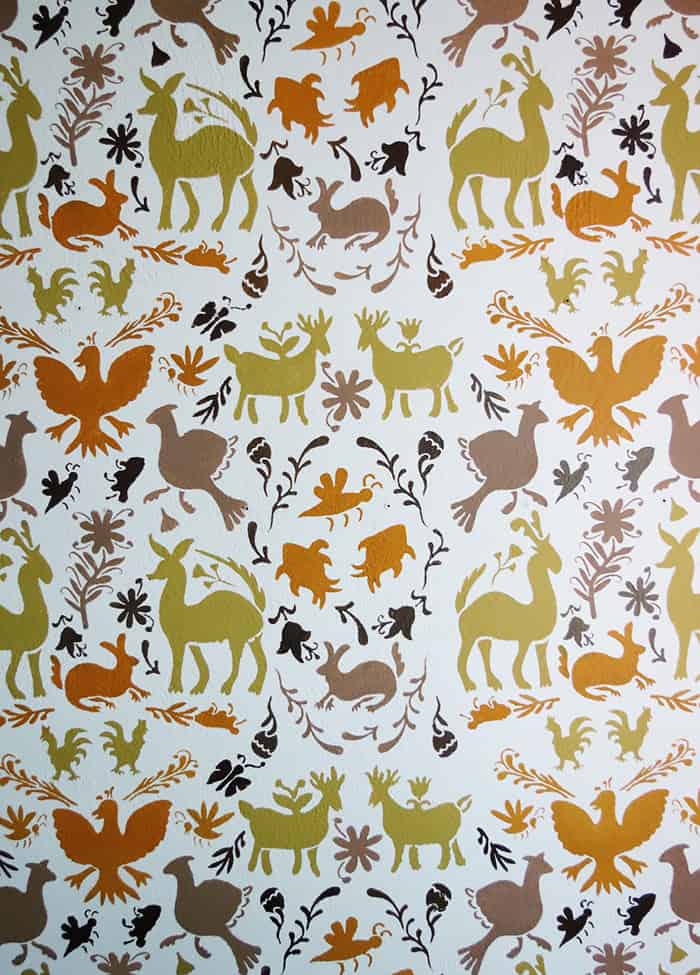
I choose to work with 4 different colors:
And then, I start to paint. It took me a little time to figure out the best way to stencil. I didn’t pick the easy way: a very detailed stencil, different colors and a textured wall.
Here is what I learn:
- Read the Royal stencil studio information sheet before you start (I usually never read instructions…but I’m glad I did it this time)
- A good brush really matter! Don’t work with a cheap one you will lose time and patience.
- Pour the paint in small containers (I took disposable plates)
- Put a little (very little) paint on the brush and apply with small pat on the wall. You can apply multiple coats if necessary.
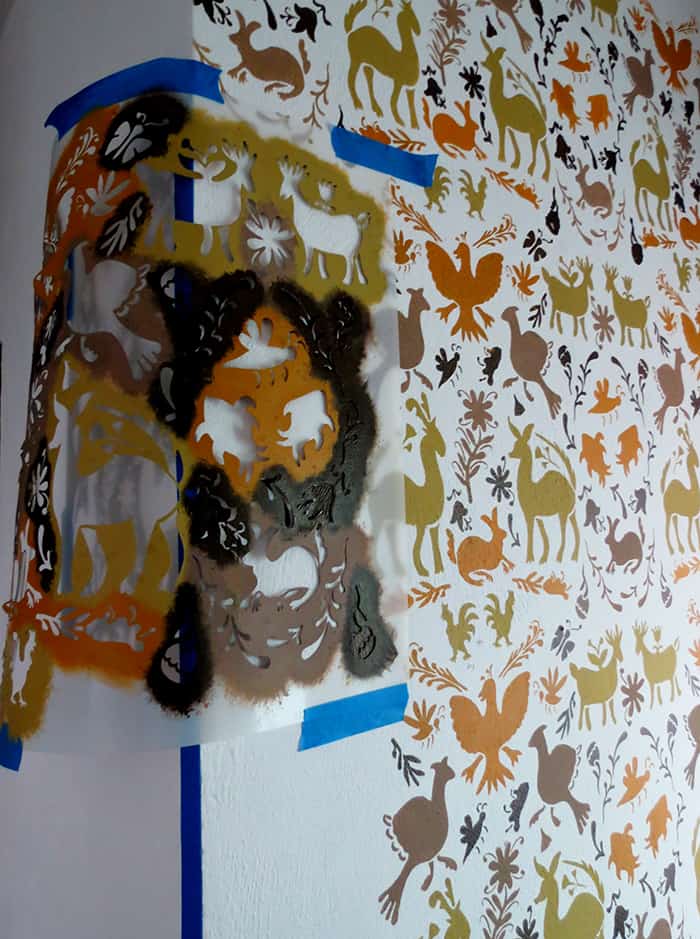
- Using a sponge to stencil is a very bad idea, believe me, it doesn’t work!
- Royal Design Stencil has small laser cuts on the edges to help you reposition your stencil to continue with the pattern. Very helpful!
- If you use different colors, I will suggest you to have one brush for each ton. If not, just clean the brush on paper towel without soaking in water.
- Begin by placing the stencil in a corner near the ceiling.
- Use blue tape to hold the stencil in place.
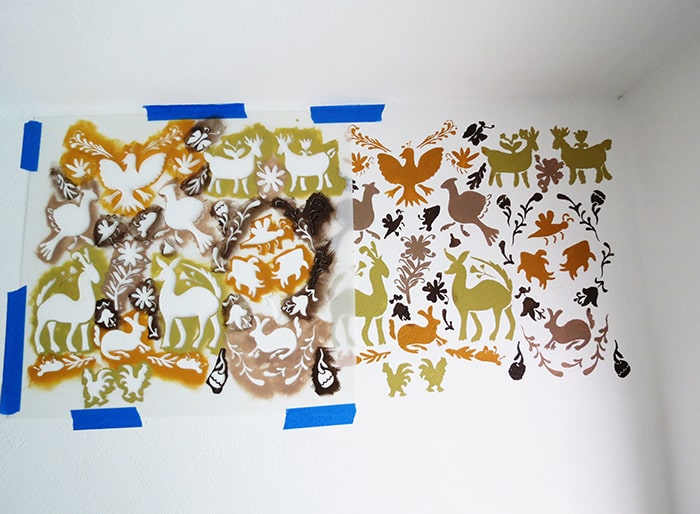
Look at the fat green reindeer on the top right, stencil with a sponge doesn’t work!

Use the laser cut to move and position perfectly your stencil! So helpful!
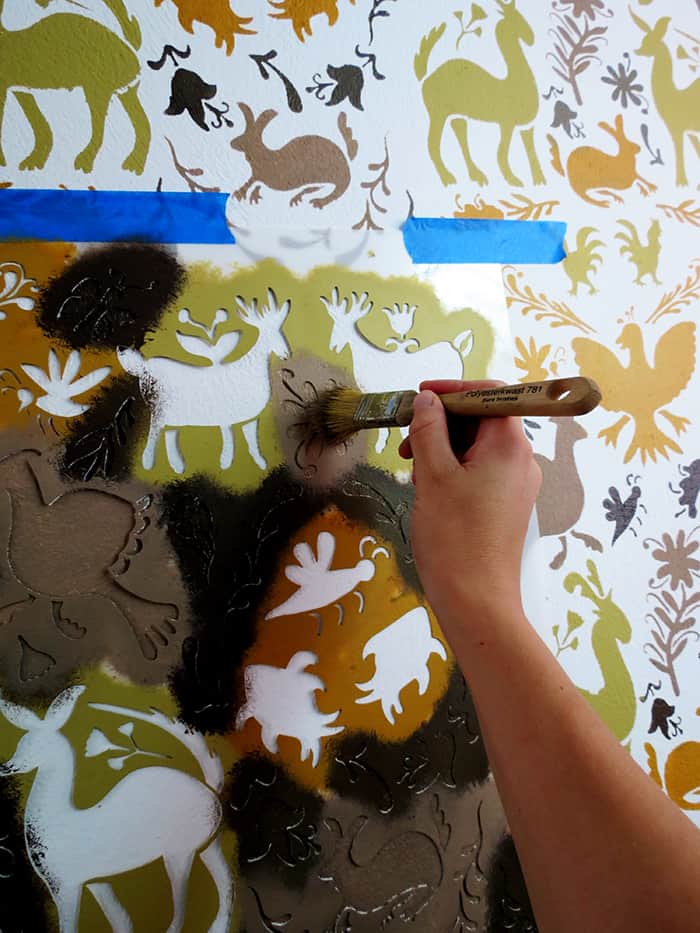
Apply little paint with a small pat on the wall. It’s a work of patience.
Things start to look nice.
To paint the edge, tape the side of the wall you don’t want to stencil. Position the stencil with blue tape on each side of the wall. Hold the shape again the wall to stencil properly.
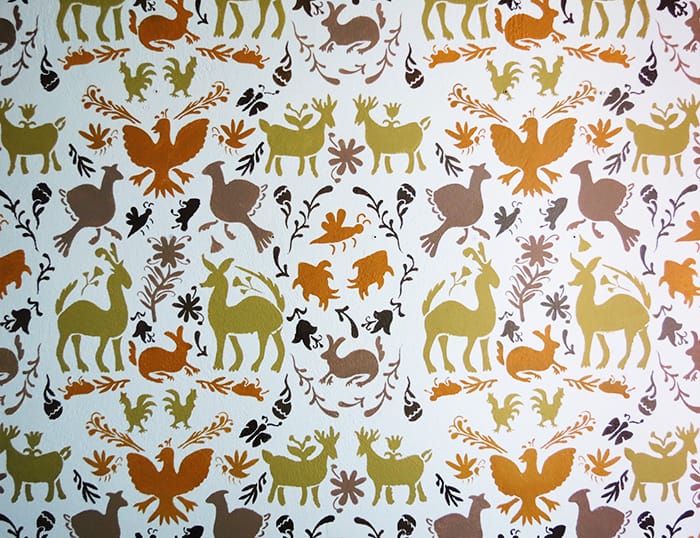
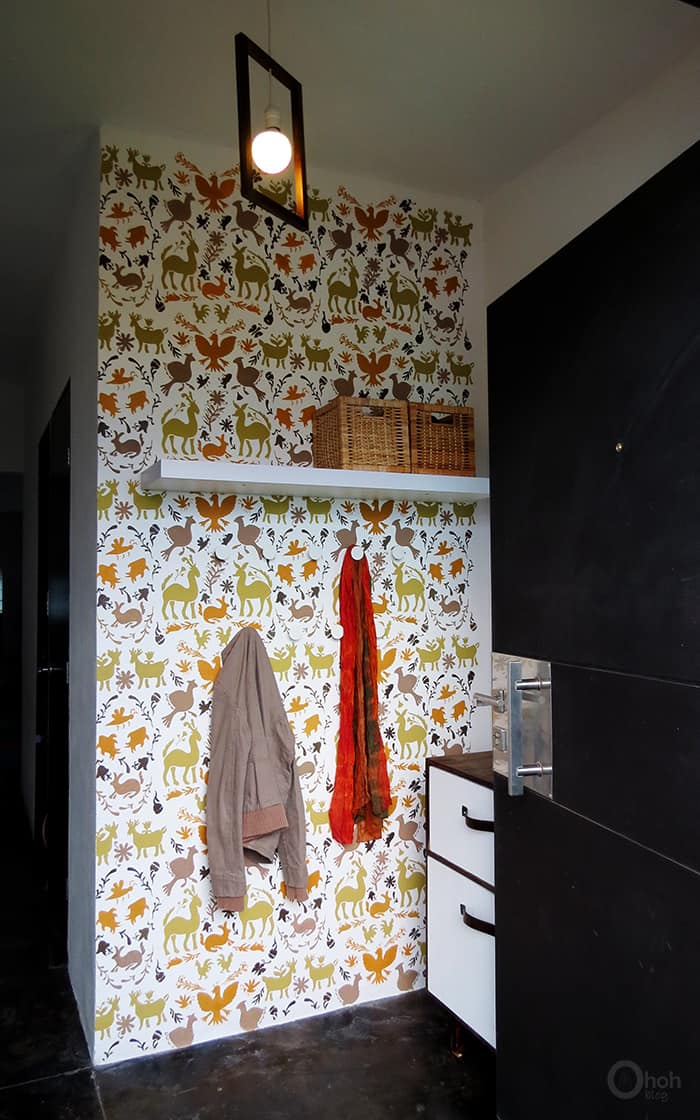
It’s done, happy dance! I love the stencil and the colors!
I took me around 6 hours to complete the wall stencil. The fact that I used several colors plays on the time achievement. But it’s totally worth it.

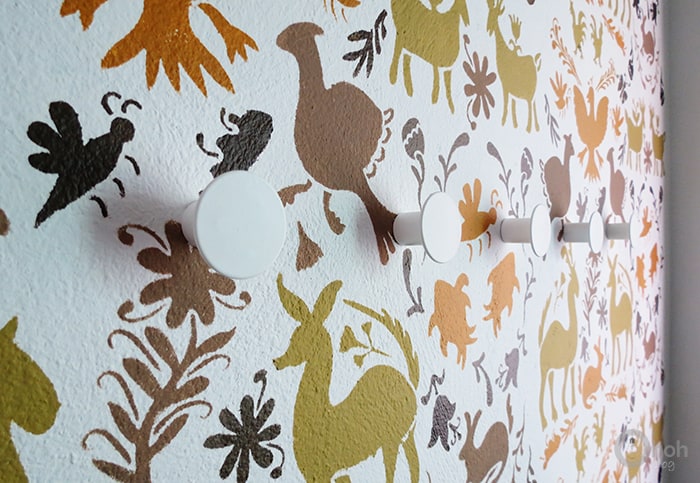
At the same time, I put new coat hooks.
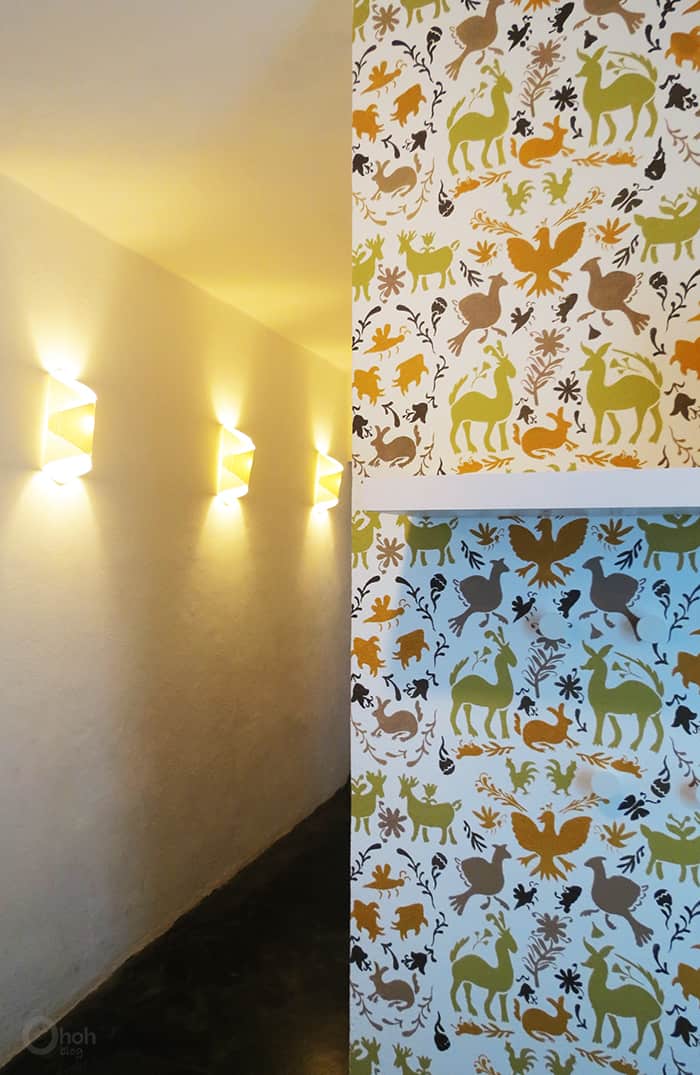
Those nice wall lamp are made of paper and you have a look at the tutorial. I also made another wall lamp version for the staircase, easy to make too.
I smile every time I go into the house. This pattern makes me happy!
My 5 years old girl makes the best compliment ever: Mom it’s so beautiful that I want to sleep in the entrance. So sweet, she makes my day!
Thank you to Royal Design Studio for offering the Otomi allover damask stencil.
I was not financially compensated for this post. I received a sample for
review purposes. This post was written by me, all opinions are completely my own based on my
experience.
Amaryllis
Marlene - Idle Hands Awake
Monday 10th of April 2017
After getting more glimpses of this wall on Instagram I had to check out the full view on your blog, and it is incredible!! I love the colors you used and that Otomi pattern is just amazing! Love love love!
Ama Ryllis
Tuesday 18th of April 2017
Thanks Marlene, stenciling takes time but the result totally worth it!
Deeksha
Tuesday 9th of February 2016
Can you share the names of the paint colors you used. I love the combination. Also, did you get 1/2 gallon for each color or did you get the sample size? Thanks in advance. I want to try this for my son's room.
Ama Ryllis
Wednesday 10th of February 2016
Hello, I used sample size...and I still have some paint left. The yellow and green color are from Behr (tangy green and sweet mustard) and the 2 others from Berel (shades: cappucino and dark chocolate). I hope this will help you, have fun painting.
patti hudepohl
Thursday 15th of October 2015
I gasped when I saw the photo! you picked a perfect pattern and the color combination is wonderful. such a nice job!
Ama Ryllis
Friday 16th of October 2015
This Otomi stencil is awesome! Thanks Patti!
Anonymous
Wednesday 14th of October 2015
Ça donne vraiment bien, et je suis aussi de l'avis d'Emmy !
Ama Ryllis
Thursday 15th of October 2015
Merci! Et elle a quand même dormi dans son lit finalement!
Lena
Wednesday 14th of October 2015
You are an artist! I simply love the work you've done in your entry way (and around the rest of your home, for that matter)! I wouldn't chose this pattern neither the colors, but I must admit that after it's done it looks beautiful!!! It's absolutely adorable.
Ama Ryllis
Wednesday 14th of October 2015
Hi Lena, I'm glad you like it even if it's not your style! I think every stencil can have a very different look depending on the color use. Thanks for your nice comment!