
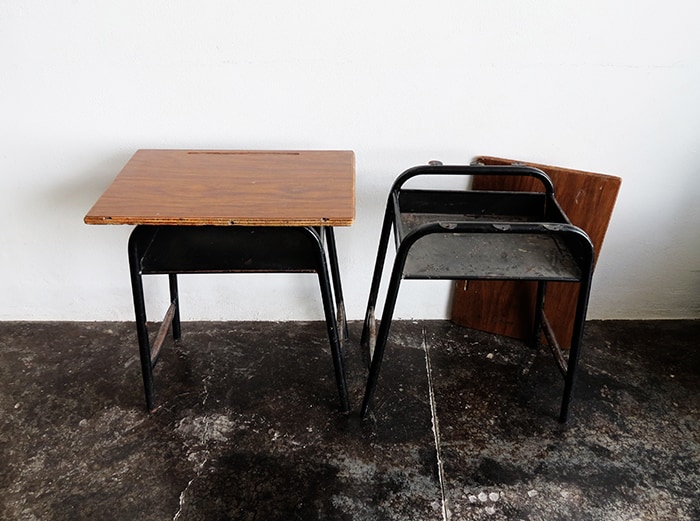
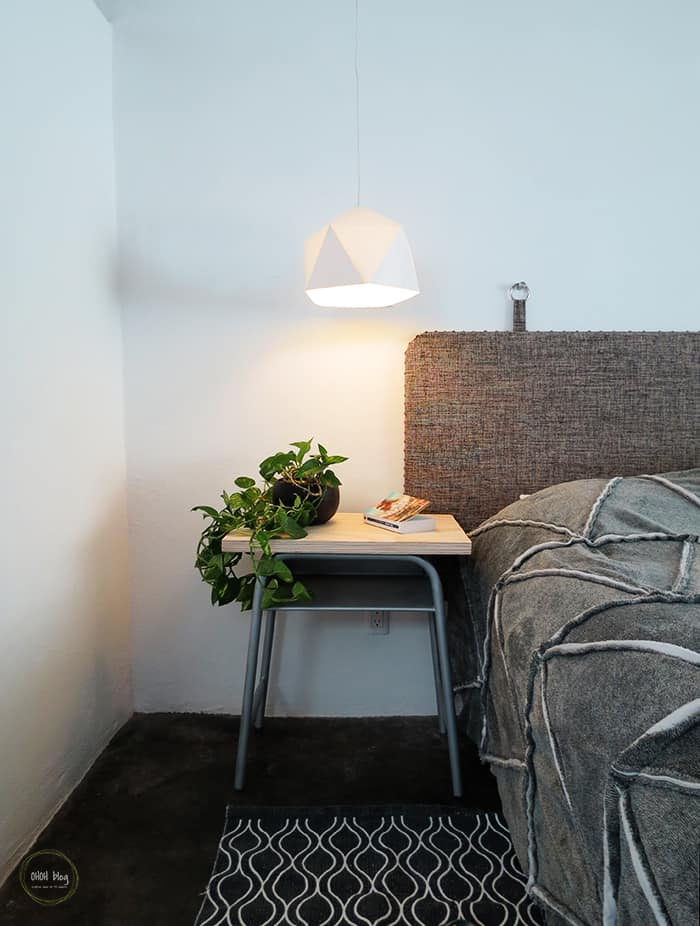
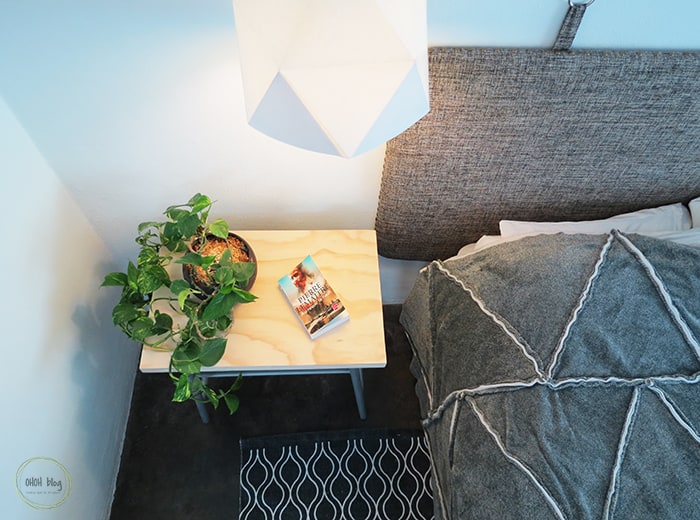
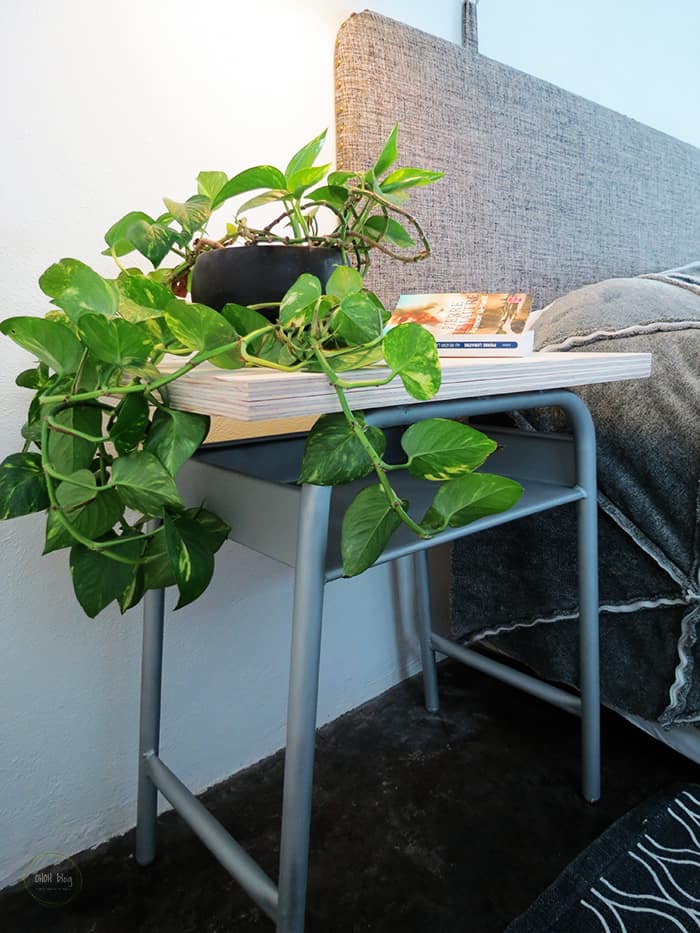
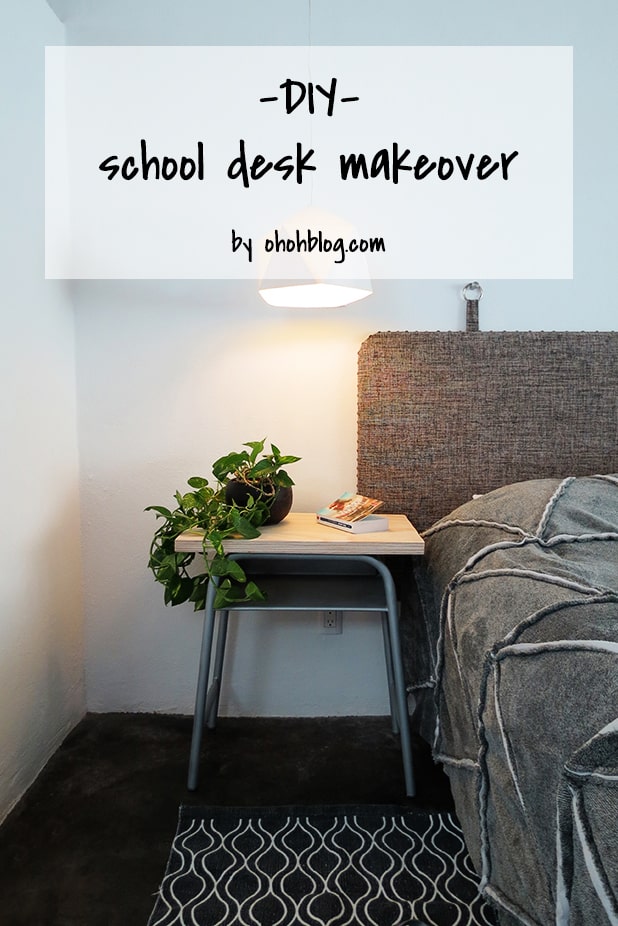
I bought these two school desks last year. I wasn’t sure if I wanted to use them as nightstands or put them in the kid’s bedroom so they will have a space to make them homework. Well, after the makeover, we will keep doing the homework on the kitchen table ;). I changed our previous DIY nightstands for the desks, I love how they turn out. I also made a new headboard for our bed, I will talk about it soon. There are still a few improvements I want to make in our bedroom, but let’s just say that things are going (slowly) in the right direction. I will, of course, share a final reveal when I’m done with all the upgrades.
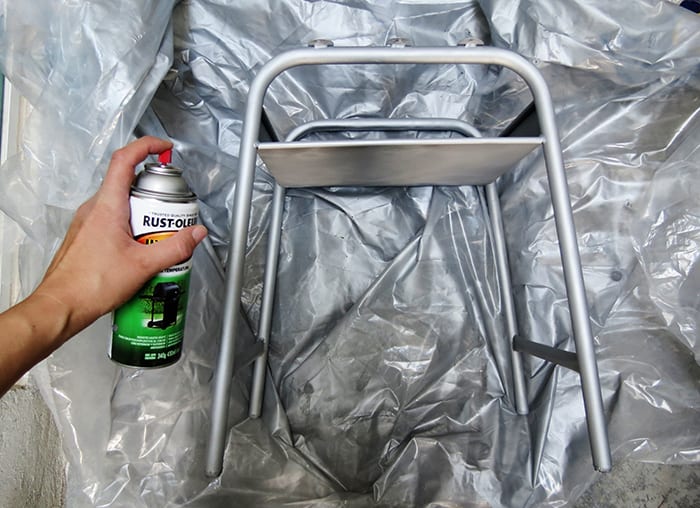
So I started sanding and cleaning the metallic base. Then I spray paint it with silver gray. It’s important to use a good quality paint, Rust-Oleum works great (and nope, it’s not even a sponsored post). I used 2 bottles of spray to paint the two desks, the paint has very good coverage!
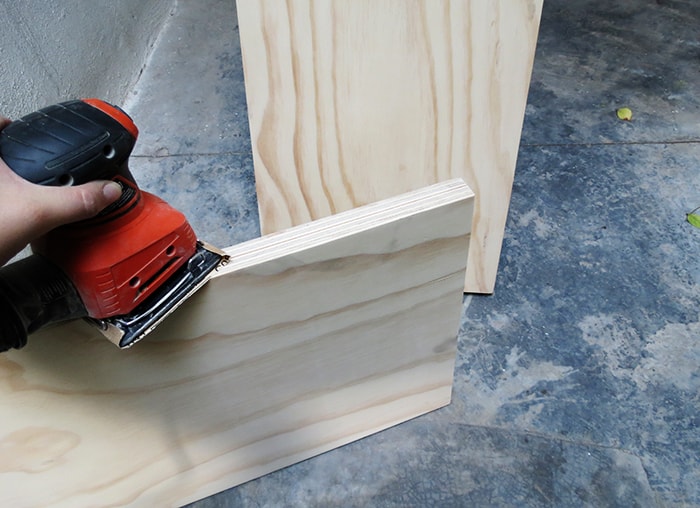
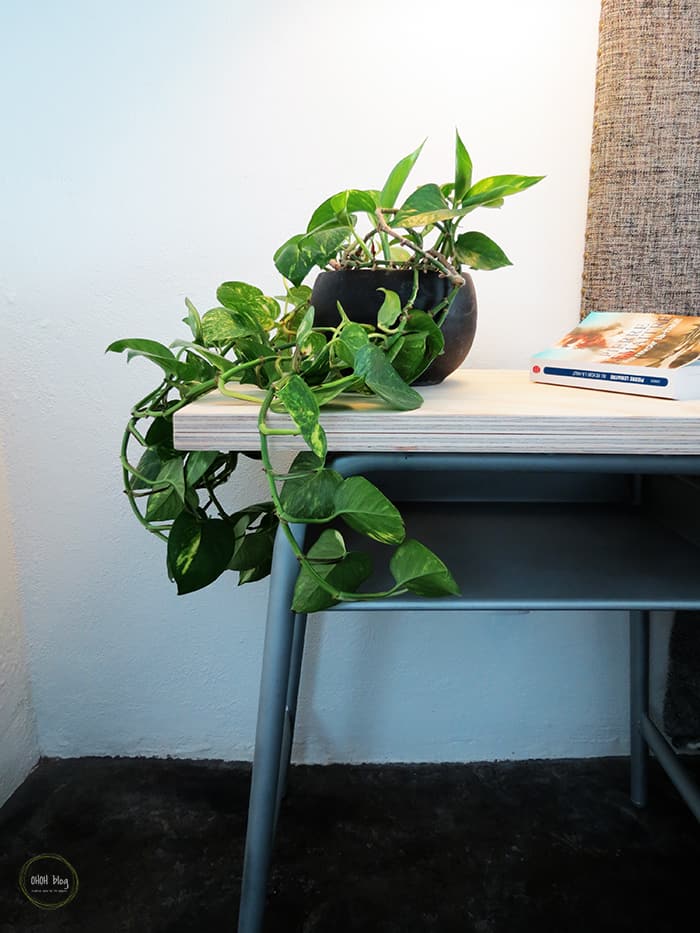
I cut two plywood pieces at the same dimension as the original desktop and glue them together to have a thick board of 30 mm. Once the glue was dry, I sanded the boards and applied a coat of acrylic wood varnish. Finally, I screwed the boards back in place on the metallic legs.
Pretty cool, no? The sewing tutorial to make the cozy blanket is HERE , the explanation and template to make the lampshade are HERE.
If you like it, please, share and make your friends enjoy this post!
Amaryllis