In the same vein as the bedroom makeover, I want to show you that you don’t need a lot of money to improve your home. Here is the recap of my entrance makeover. It took time and work to complete but every thing was made on a tight budget.
Let’s have a look at the before, plain white walls, a ready to fall dusty paper lantern, small metal lockers,and some Christmas reindeer who becomes permanent decor! No exaggeration to say that the entrance needed a serious improvement.
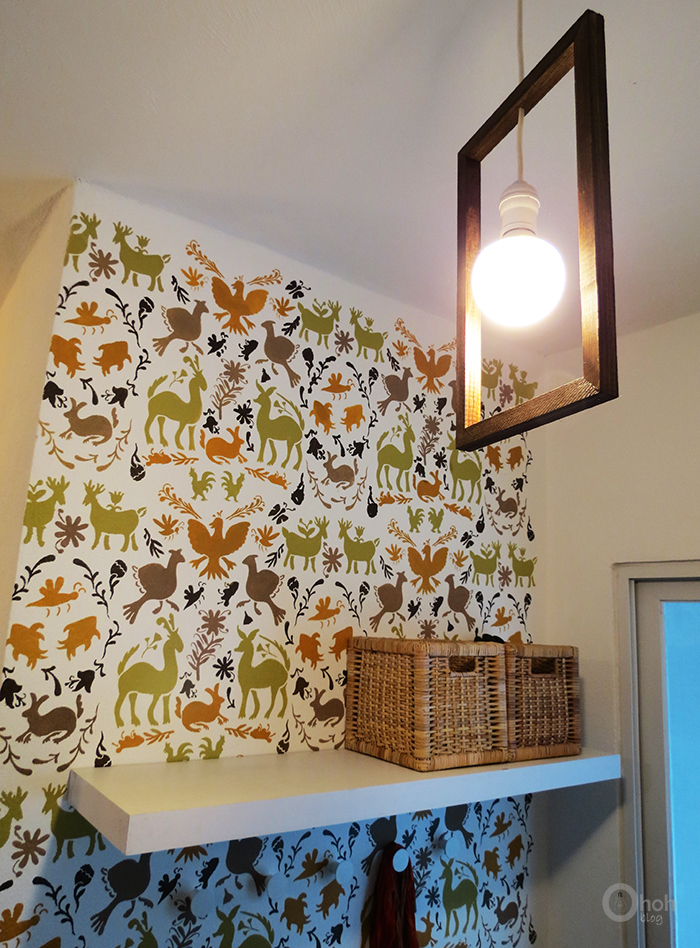
The center piece is without doubt the stenciled wall. I paint with The Otomi stencil from Royal design studio. You can have a look at the complete process and catch some tips here.
The wall paper lamp gives a nice beautiful lighting along the corridor that leads to the entrance.
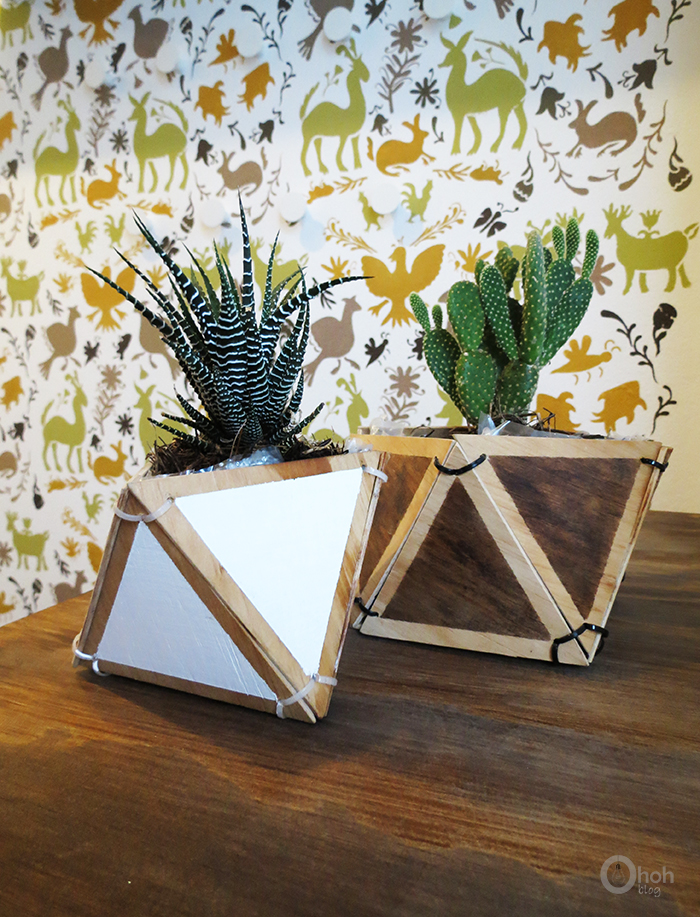
A cute little detail with geometric planters.
A simple frame lamp, much better than the old paper lantern. I think I will change the bulb for one with carbon filament.

I picked these minimal coat hangers at Ikea, nice design and nice price.
This plywood drawer was a lot of work but we really need some storage in the entrance.
Next step: teach kids and husband how to put them stuff back in place!
DIY recap for the entrance makeover:
- DIY frame pendant lighting
- DIY plywood storage
- How to make geometric planters
- How to stencil a wall
- DIY paper wall lamp
I’m quite happy with the result. Maybe I need to add some curtain or blind at the window, what do you think?
Amaryllis


patti hudepohl
Wednesday 4th of November 2015
I like the window as-is. This is a beautiful makeover. The colors you chose for the wall stencil is so nice! I can't stop smiling each time I look at it.
Ama Ryllis
Wednesday 4th of November 2015
Thanks Patti. I still don't know for the window. It doesn't need curtain because it is facing a wall. But maybe a blind could look pretty!