
Keeping all my craft supplies organized is quite a challenge for me. When I reorganized my craft room, I build some shelving on the wall above my desk and organized all my supplies in boxes.
If you want to see what I’m talking about, you can head over to my Renovating the office post.
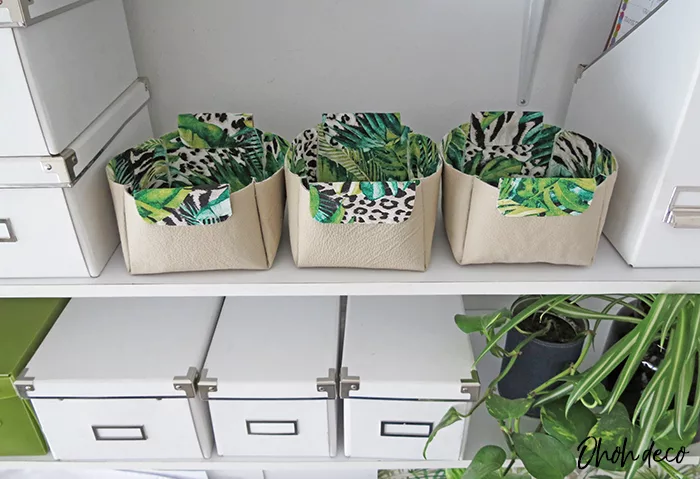
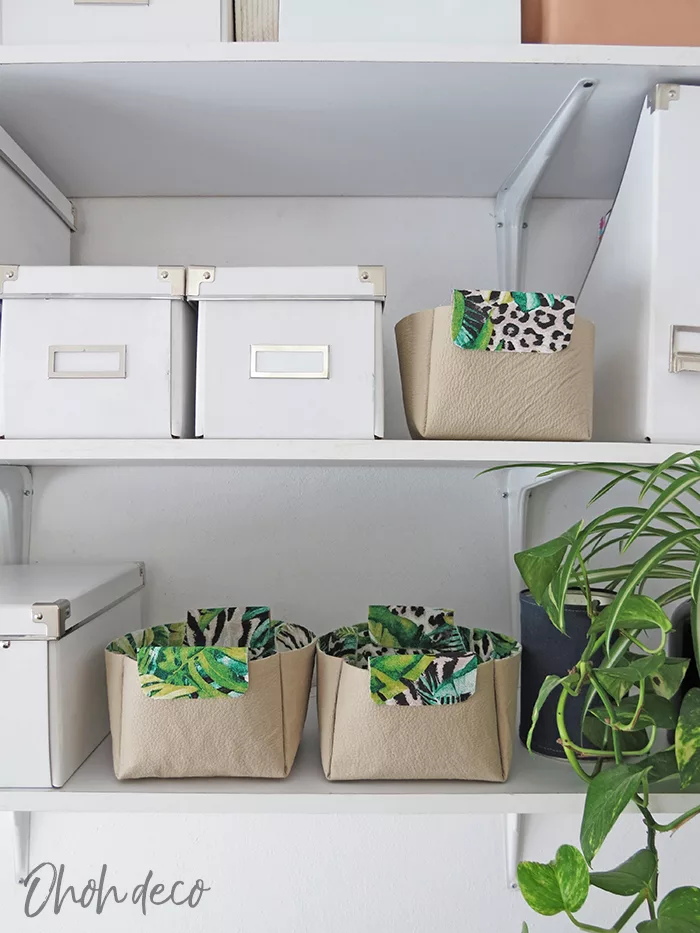
The boxes work quite good and I can easily find the supplies I need when crafting. I still have room on the lower shelf so instead of stacking all kinds of stuff, I made some cute fabric baskets for more storage.
I create a no-sew version of the fabric box. No need to have a sewing machine or any seamstress skill, this fabric basket is for everyone and very easy to make.
Indeed, I’m pretty sure you already have most of the supplies home. Who needs some extra storage? Keep reading to find out how to make a no-sew fabric basket!
* * *
Mantener organizados todos mis suministros para hacer manualidades es todo un desafio. Cuando reorganicé mi oficina, coloque algunas estanterías en la pared arriba del escritorio y organicé todos mis materiales en cajas.
Las cajas funcionan bastante bien y puedo encontrar fácilmente lo que necesito cuando trabajo. Todavía tengo espacio en el estante inferior, así que en lugar de apilar un monton de cosas, hice algunas canastas de tela para más almacenamiento.
Creé una versión sin costuras de la cesta. No es necesario tener una máquina de coser ni ninguna habilidad de costurera, esta canasta de tela es para todos y es muy fácil de hacer. De hecho, estoy casi segura de que ya tienes la mayoría de los suministros en casa. ¿Quién necesita algo de almacenamiento extra? ¡Sigues leyendo para descubrir cómo hacer una cesta de tela sin coser!
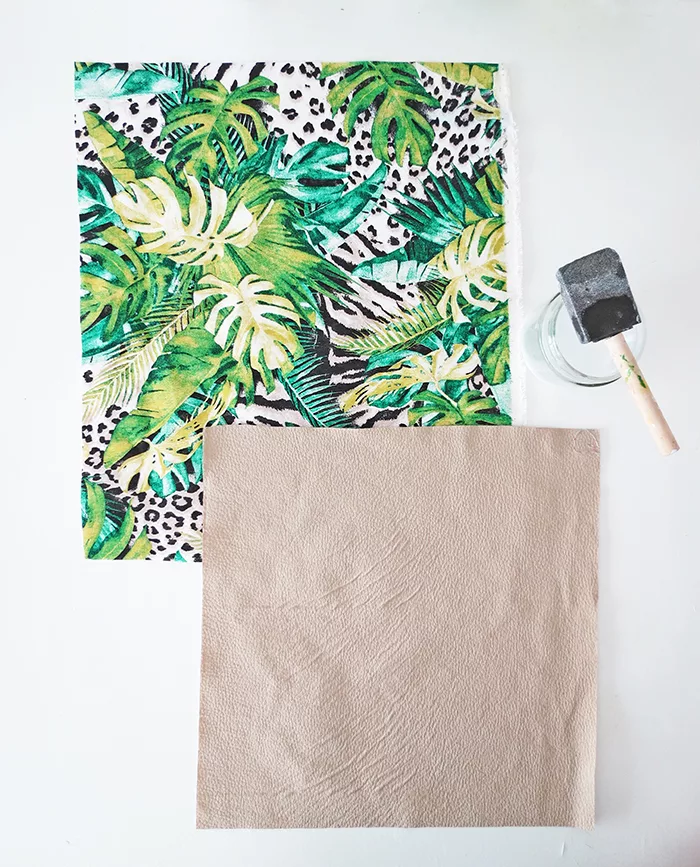
DIY no-sew Fabric Basket
Materials you will need to make a no-sew basket:
- Faux leather fabric
- Cotton fabric for lining
- White glue
- glue gun
- Scissors
- A set square
- A ruler and a pen
* * *
Material que necesitarás para hacer una cesta sin coser:
- Tela de piel sintética
- Tela de algodón para el forro.
- pegamento blanco
- pistola de silicon
- tijeras
- Una regla y una pluma
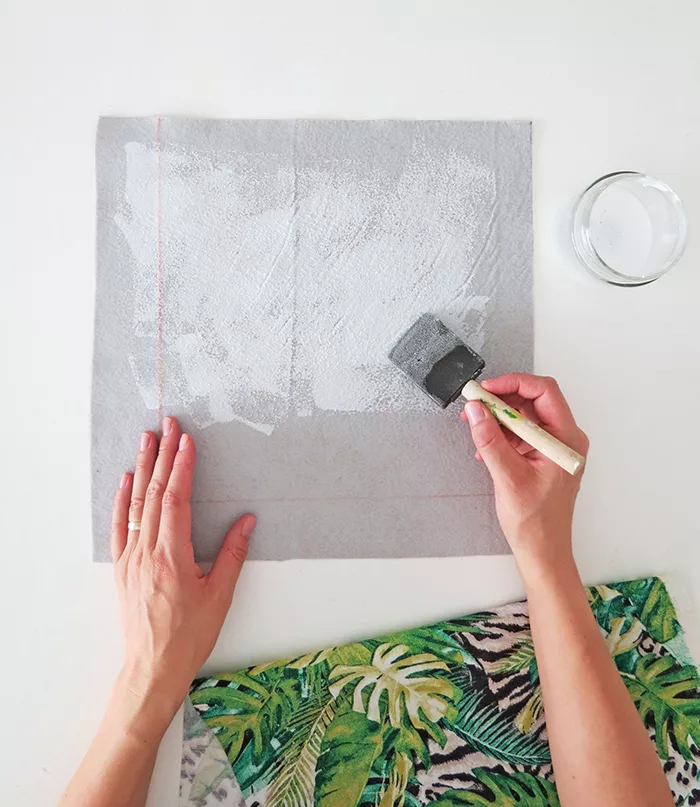
The basket I made is 6 x 6 x 4in. high. I give you the measures I used to make it, but feel free to adjust the dimensions to your need.
Cut one square of 14 inches sidelong in the faux leather fabric and another square of 15 in. in the cotton lining. Spread white glue on the back of the faux leather fabric, insists next to the edges.
You can add very little water into the glue to spread it easier.
Glue the lining with the faux leather fabric, wrong side on the wrong side, and press to ensure good adherence. Let dry.
* * *
La cesta que hice es de 15 x 15 x 10 cm de alto. A continuacion te doy las medidas que usé para hacerlo, pero siéntete libre de ajustar las dimensiones a tu necesidad. Corte un cuadrado de 15 cm de lado en la tela de piel sintética y otro cuadrado de 17 cm en el forro de algodón. Extiendes pegamento blanco en la parte posterior de la tela de piel sintética, hasta los bordes. Puedes agregar un poquito de agua en el pegamento para esparcirlo fácilmente. Pegues el forro con la tela de piel sintética, los reversos juntos, y presiones para asegurar una buena adherencia. Deja secar.
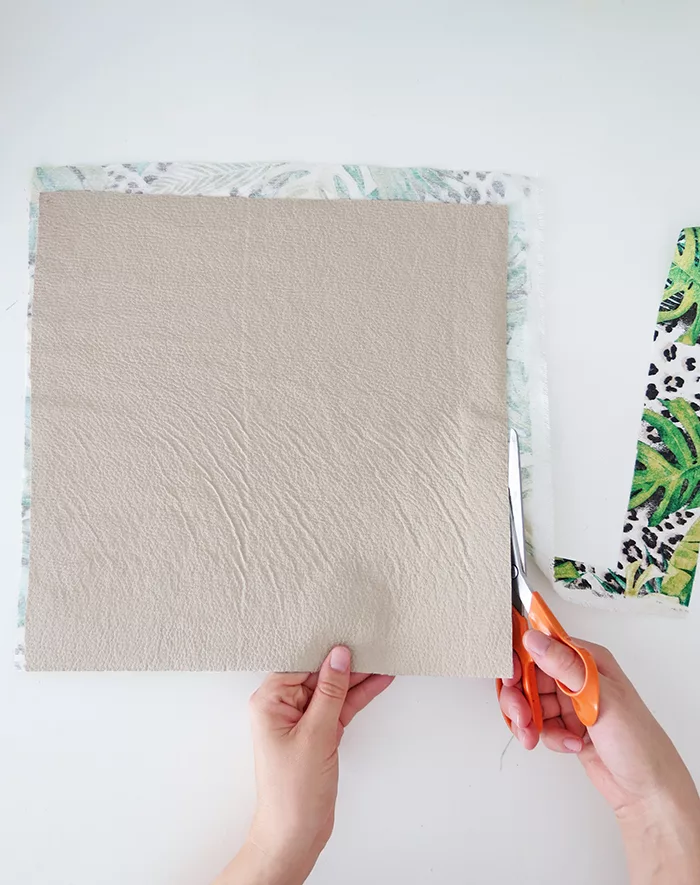
Once both fabrics are dry, trim the lining at the same dimension of the faux leather. It’s an easier way to have the edges of both fabrics perfectly aligned.
* * *
Una vez que ambas telas estén secas, recortes el forro en la misma dimensión de la piel sintética. Es la forma más fácil de alinear perfectamente los bordes de ambas telas.
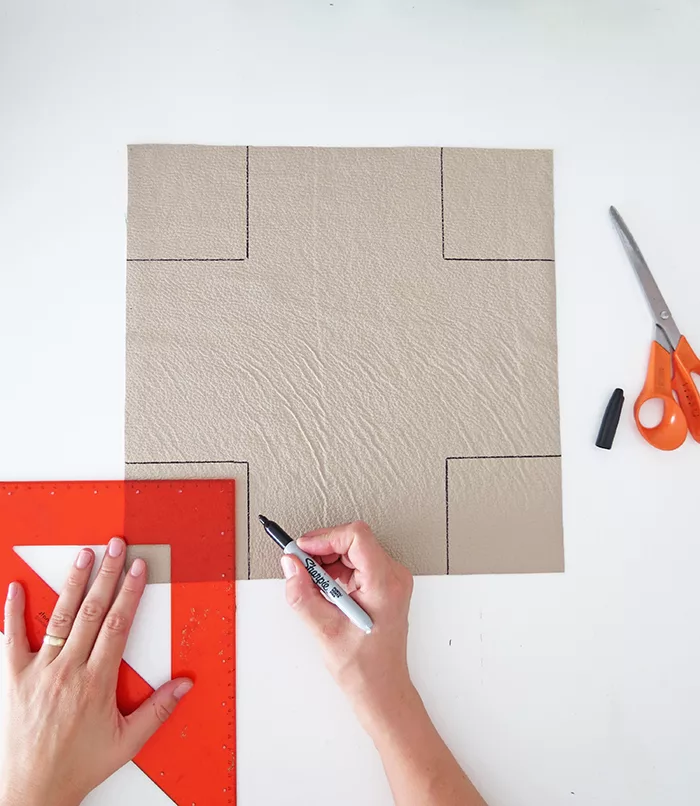
Using a set square draw a square of 3 1/2 inches sidelong in each corner. Cut out the 4 squares and keep them on hand, you will use them later to make the basket handles.
* * *
Usando una regla, dibujas un cuadrado de 9.5 cm de lado en cada esquina. Recortes los 4 cuadrados y guardalos, los usarás más tarde para hacer unas agaraderas.
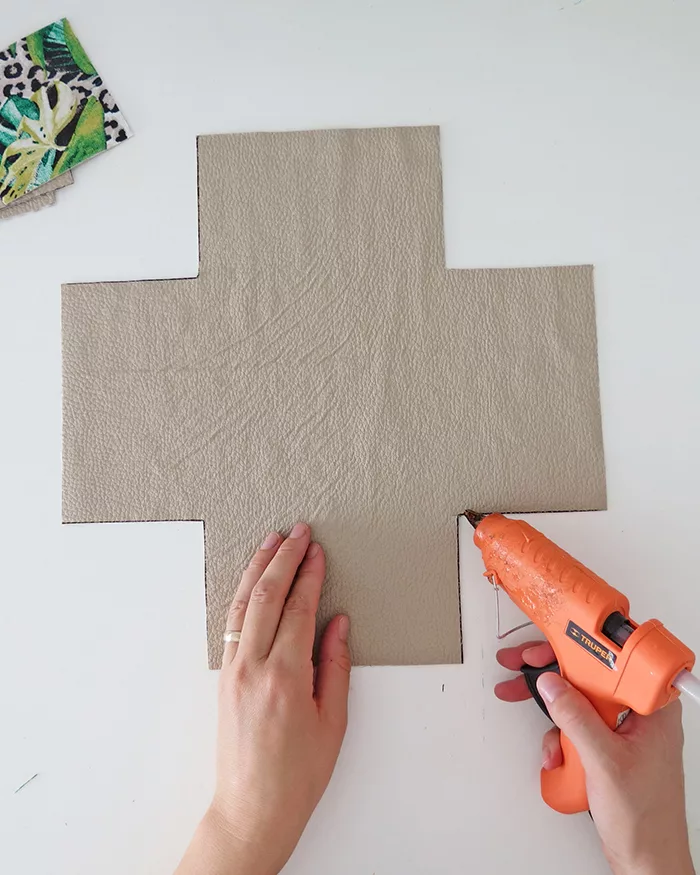
Apply hot glue along one side of the cut square.
* * *
Apliques silicon caliente a lo largo de un lado del cuadrado cortado.
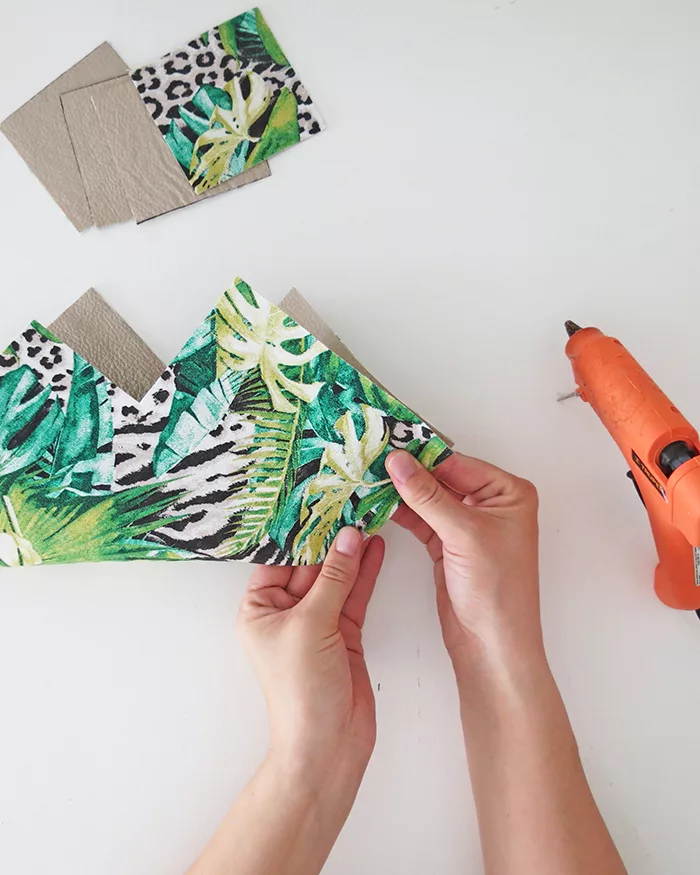
Press together the two opposite sides of the cut square to glue them. Hold a few seconds, and repeat with the other 3 corners.
You can hold the corners with some clothespin if you are worried to burn yourself with the hot glue.
* * *
Presiones juntos los dos lados opuestos del cuadrado recortado para pegarlos. Sostengas unos segundos, y repitas con las otras 3 esquinas. Puedes sujetar las esquinas con unas pinzas de ropa si te quieres quemarte con el silicon caliente.
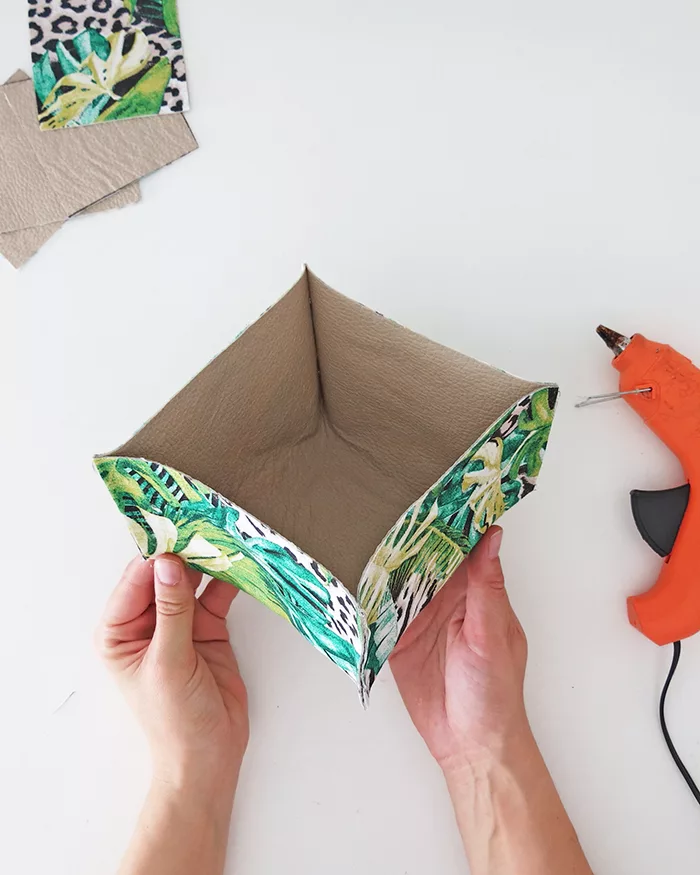
Your basket is almost done, turn it over carefully to have the faux leather fabric outside.
* * *
Tu cesta está casi terminada, déle la vuelta con cuidado para que la tela de piel sintética quede afuera.
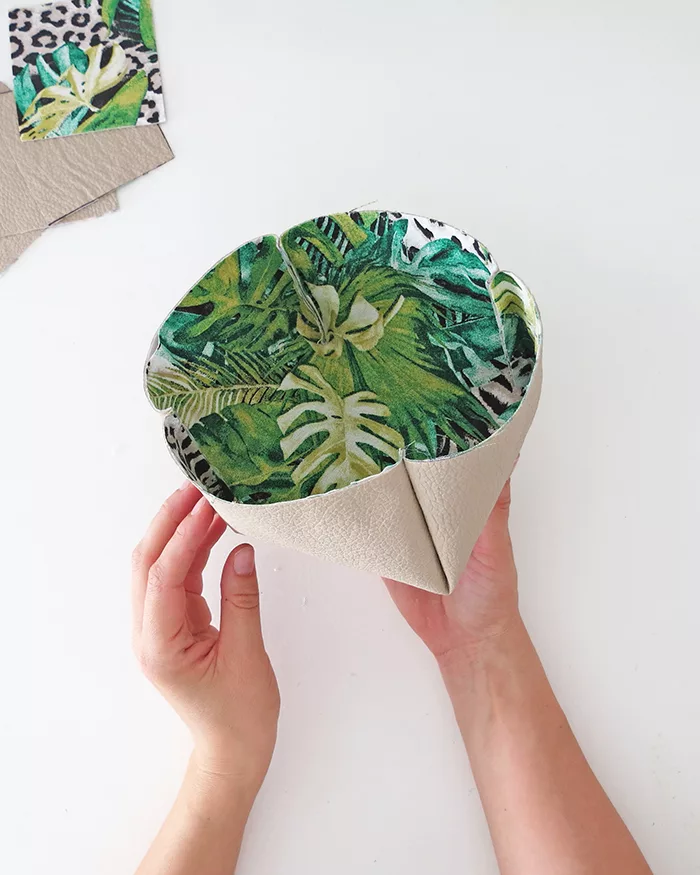
Tadaaaaa! You can leave it as it or use the cut square shapes to make little handles.
* * *
¡Tadaaaaa! Puede dejarla como está o usar las formas cuadradas cortadas para hacer pequeñas asas.
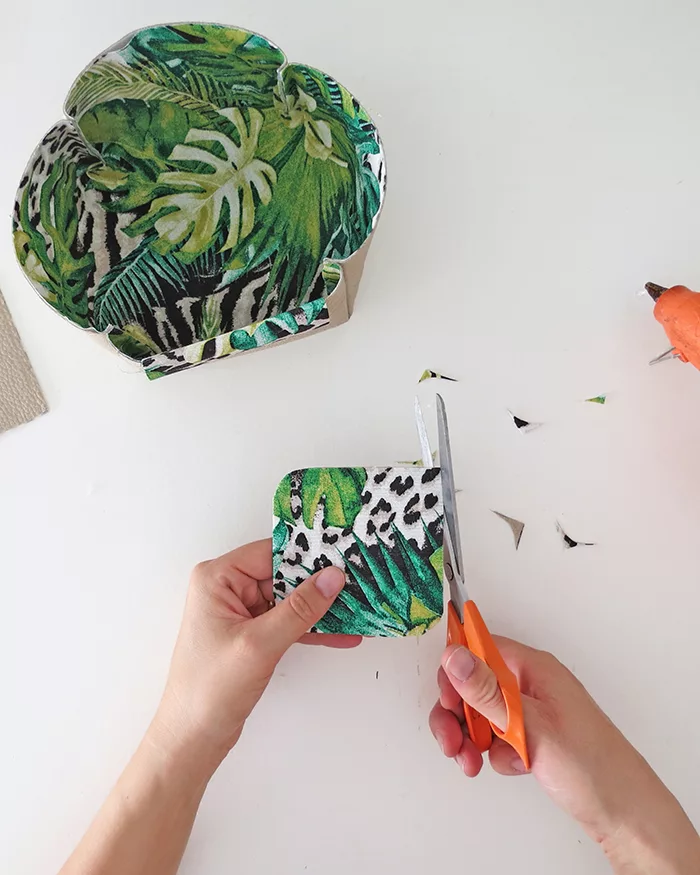
Take two of the square you previously cut and rounded the corners.
* * *
Toma dos de los cuadrados que previamente recortaste y redondeas las esquinas.
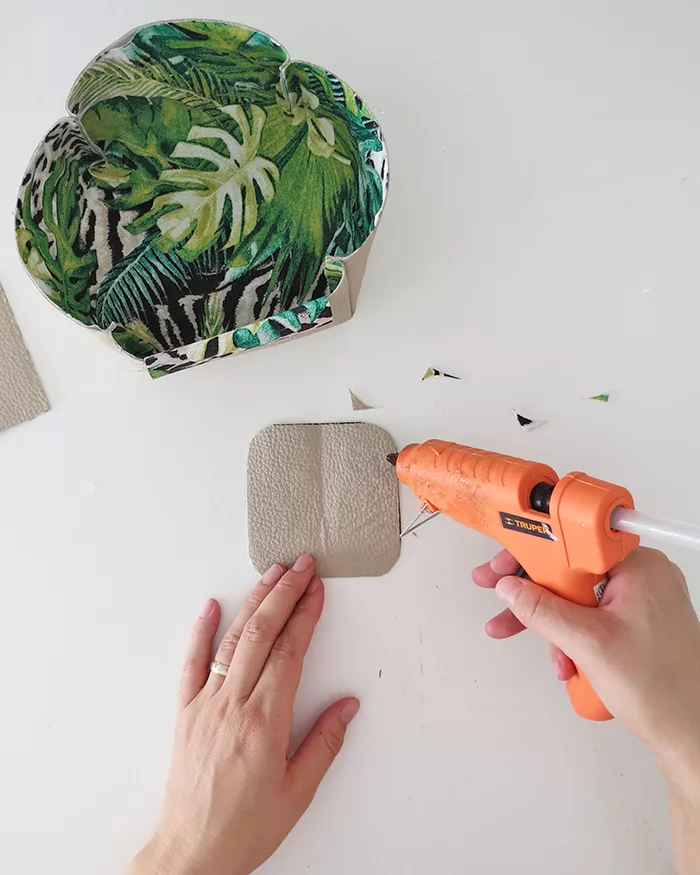
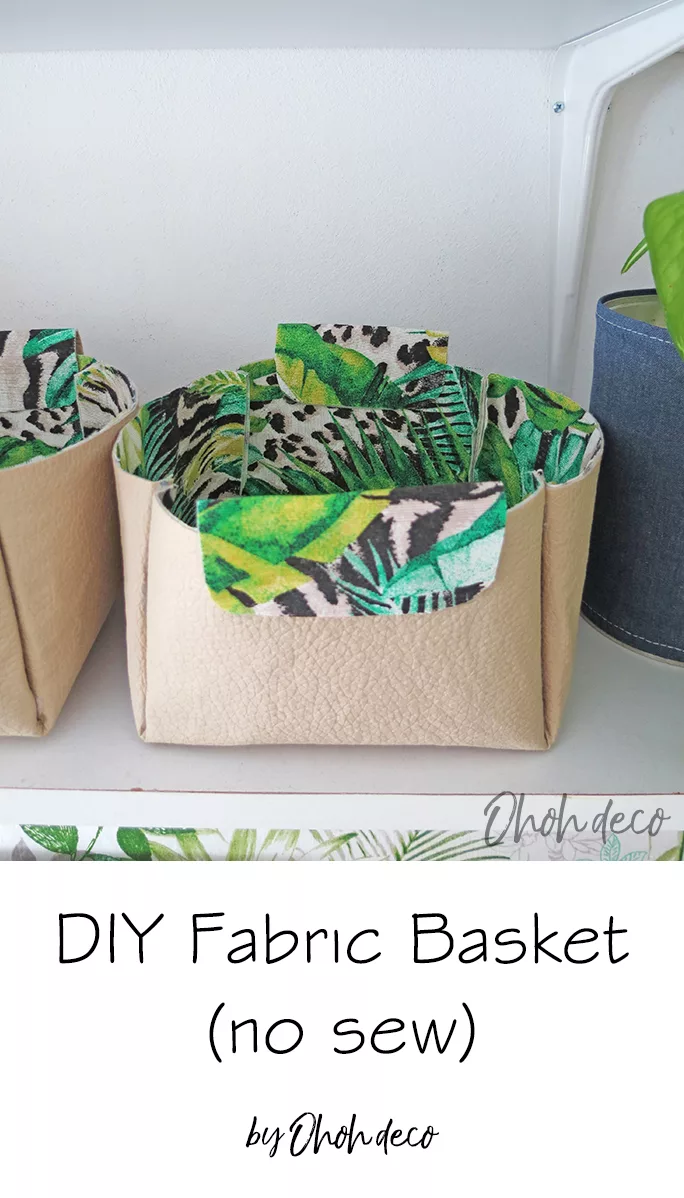
Fold the square piece in the middle, add a little glue on the sides and glue it on the edge of the basket. Repeat with the second square.
I decided to show the lining fabric on the handle but you can also make them with the leather fabric.
* * *
Dobla la pieza cuadrada en su centro, agrega un poco de pegamento en los lados y pégala en el borde de la canasta. Repita con el segundo cuadrado. Decidí mostrar la tela del forro en el asa, pero también puedes hacerla con la tela de cuero.
Watch the video tutorial to make DIY no-sew Fabric baskets
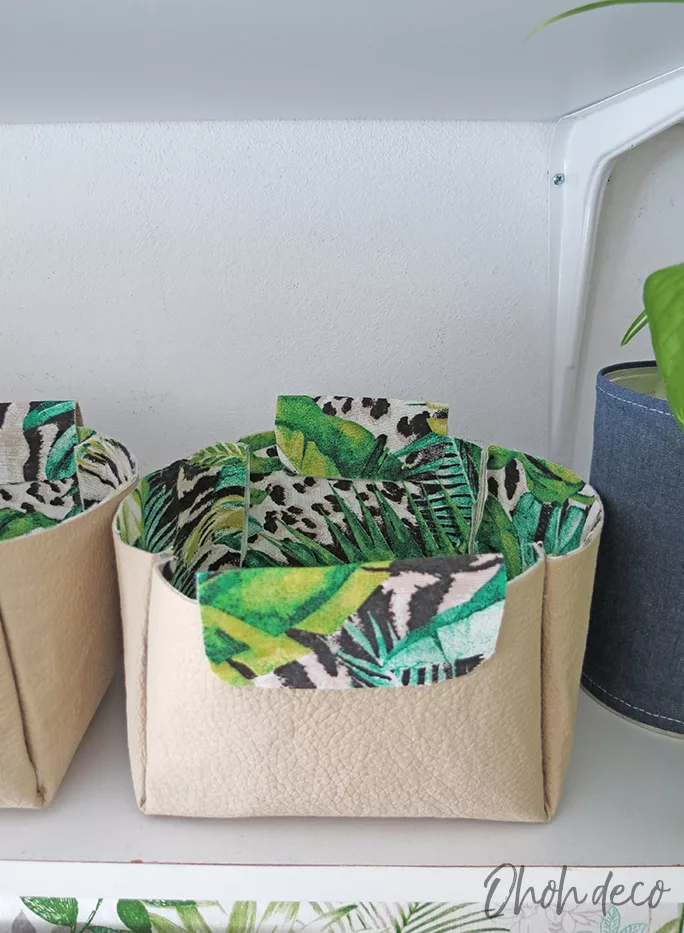
And done! How easy is that fabric basket? It’s super fast to craft. I made three for the office, and I think I will try a larger size for the kid’s closets.
As we are talking about storage, you may also like these two other ideas: DIY recycled denim basket which is one of the favorite posts on the blog, and also this DIY recycled felt basket
Tell me, Where do you need to add storage? Any fun fabric you are planning to use to make these baskets? I love to see the baskets you make, so don’t hesitate to leave a comment!
* * *
¡Y hecho! ¿Qué tan fácil es esa cesta de tela? Es súper rápido de elaborar. Hice tres para la oficina, y creo que intentaré un tamaño más grande para los armarios de los niños.
Dime, ¿dónde necesitas agregar almacenamiento? ¿Alguna tela divertida que planeas usar para hacer estas canastas? Me encanta ver las canastas que haces, ¡Así que no dudes en dejar un comentario!
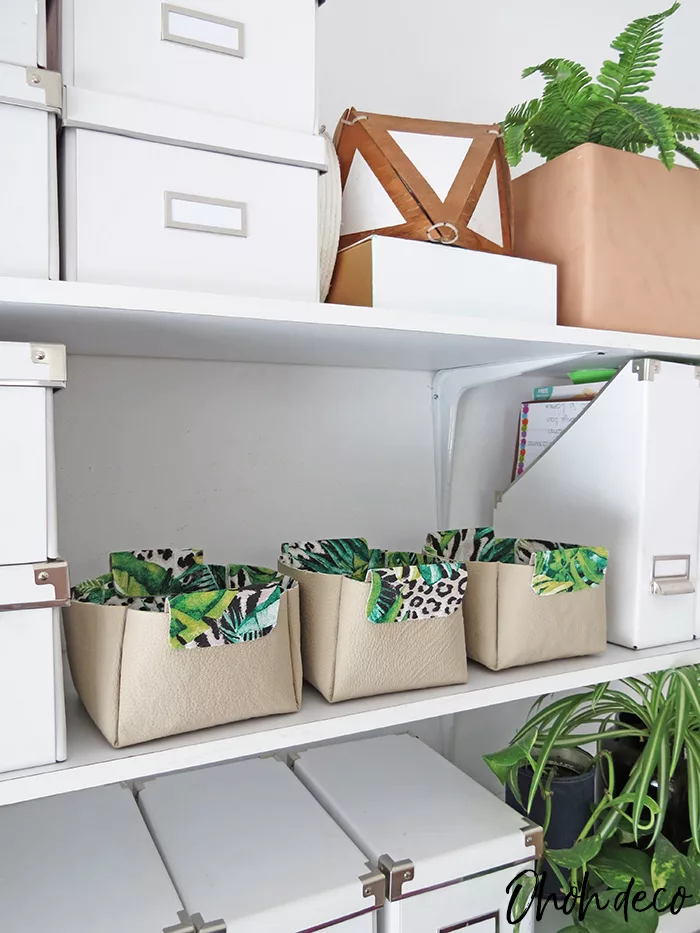
Want to remember this? Post this DIY fabric basket in your favorite Pinterest board!

madeline
Tuesday 30th of July 2019
such a easy idea and can use for so many items ...just love it ...thank you for such a great idea ....going to make bigger to hold more sewing items that i need but not all the time but will be easy to find when i need them ...again thank you ...have a great wonderful day may it be filled with love and happiness...
amaryllis
Wednesday 7th of August 2019
Thanks for your sweet comment Madeline! Have fun making baskets! Have a lovely day too.
patti
Monday 17th of June 2019
I love the video of this!
amaryllis
Monday 17th of June 2019
Thanks Patti! It's a first try, but I hope it helps to understand the DIY! Have a lovely day!