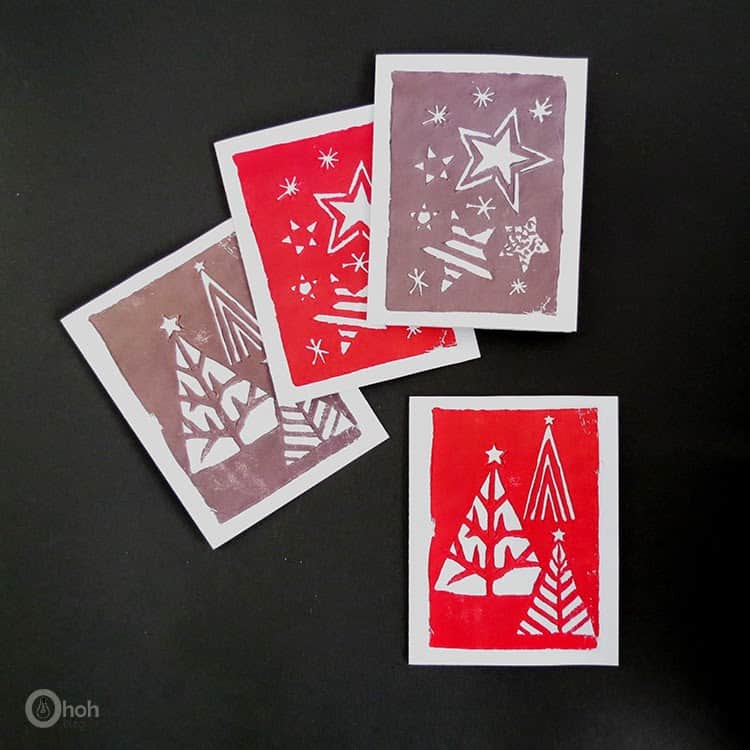
It’s always nice to send and receive “real” greetings cards, the virtual ones are sweet too but I do prefer the traditional paper ones! Don’t do agree with me? So here is an easy idea to make your own stamped greetings cards. It’s very simple to make and your friends and family will surely appreciate the handmade touch.
* * *
Siempre es lindo enviar y recibir tarjetas de navidad “reales”, las virtuales también, pero prefiero las tradicionales en papel! ¿No estás de acuerdo conmigo? Así que aquí va una idea super fácil para hacer tus propias tarjetas de navidad estampadas. Es muy sencillo y tus amigos y familiares seguramente apreciarán el toque artesanal.
How to make Stamped greeting cards
Materials you will need to hand stamp your cards:
- A foam sheet
- A cutter
- A pencil
- A piece of cardboard
- A foam brush
- Paint
- Cardstock paper
* * *
Materiales que necesitarás para estampar tarjetas a mano:
- Una hoja de foamy
- Un cutter
- Un lápiz
- Un trozo de carton
- Una brocha de espuma
- Pintura
- Papel cartulina
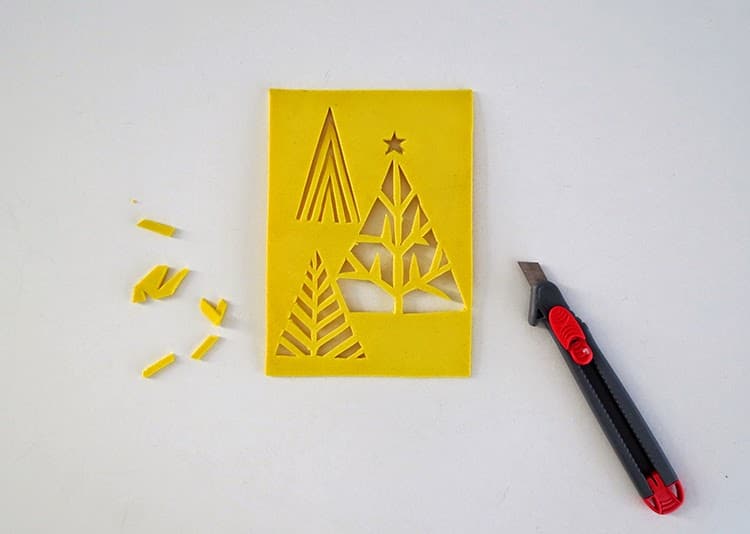
Take the foam sheet and cut a rectangle of 4×6, which is the standard size for a greeting card. Draw your pattern on it. Remember you will have to cut out the shapes so try first with a simple design. I made some Christmas trees and stars.
* * *
Tomas la hoja de foamy y cortes un rectángulo de 10×15 cm, que es el tamaño estándar para una tarjeta. Dibuja tu patrón. Recuerdas que tendrá que recortar las formas, así que primero intentes con un diseño simple. Hice algunos árboles de navidad y unas estrellas.
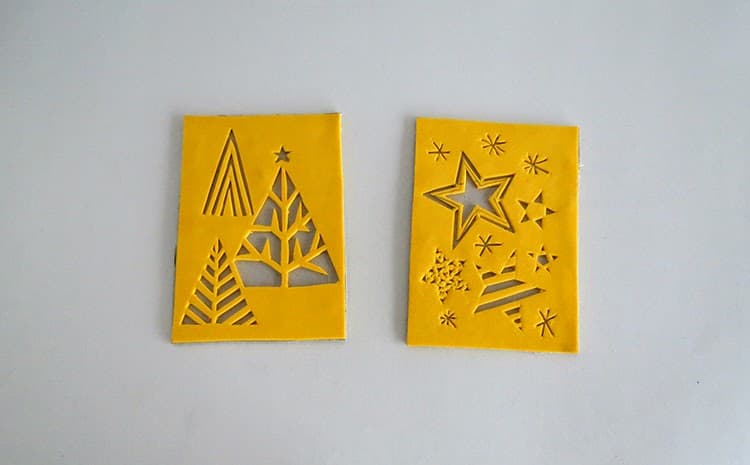
Using your craft knife, cut the shapes out. Don’t make to small shapes as the paint will stick in it and won’t appear when stamping.
* * *
Usando el cutter, cortas las formas. No hagas formas demasiadas pequeñas, ya que la pintura se pegará y no aparecerá al estampar.
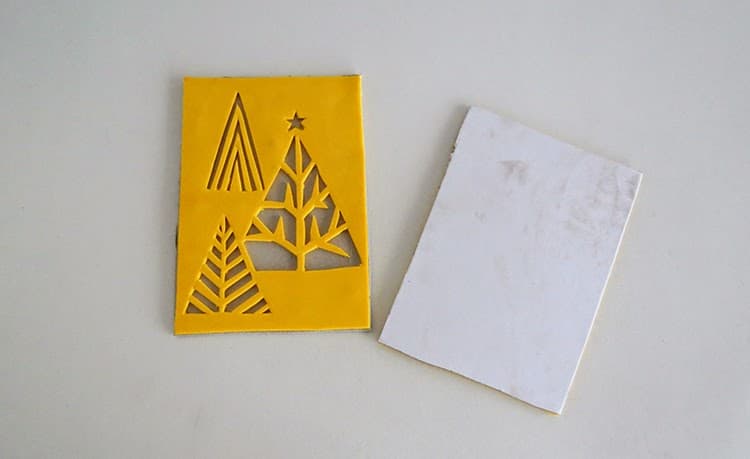
Glue a piece of cardboard on the back of the foam, with a glue gun for example. This will give your stamp a sturdy backdrop and will help you to apply it easily on the paper sheet. With a brush or a sponge brush put paint on the foam stamp. Be sure to spread the paint everywhere, then apply the stamp on the paper and press to ensure that of the surface is well stamped on the paper.
* * *
Pegues un pedazo de cartón en la parte posterior de la espuma, con una pistola de silicon, por ejemplo. Esto le dará a tu sello un fondo resistente y te ayudará a aplicarlo fácilmente sobre la hoja de papel. Con un pincel o una esponja, coloques pintura sobre el sello. Asegúrate de extender la pintura por todas partes. Luego apliques el sello sobre el papel y presiones para que toda la superficie se imprime.
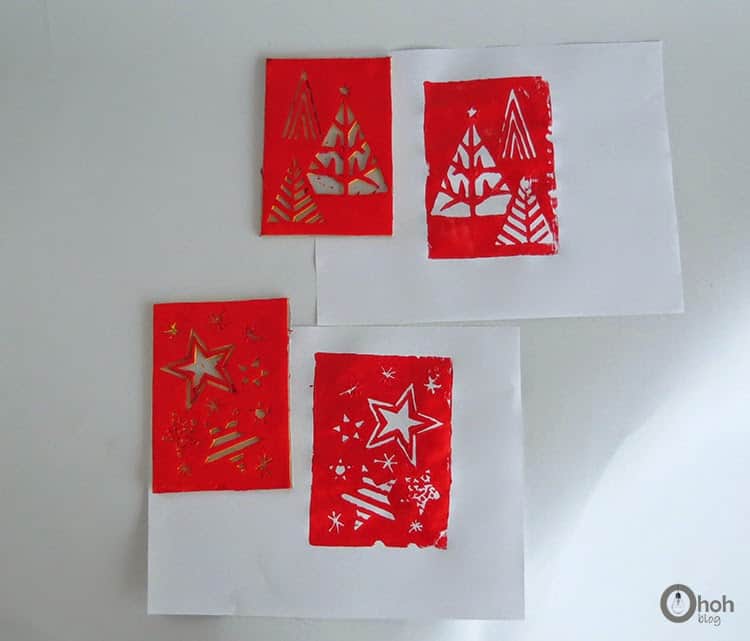
You can apply the stamp directly on your greeting card. In this case you will need a sheet of paper of 5×17 than you will fold in the middle. You will apply the stamp on the front part of your card.
Or you can stamp on a white cardstock and once the paint is dry cut it out and glue it on a colored sheet of 5×17 folded in half.
Whatever option you choose, I suggest you to make a few try on plain paper to see how your stamp works.
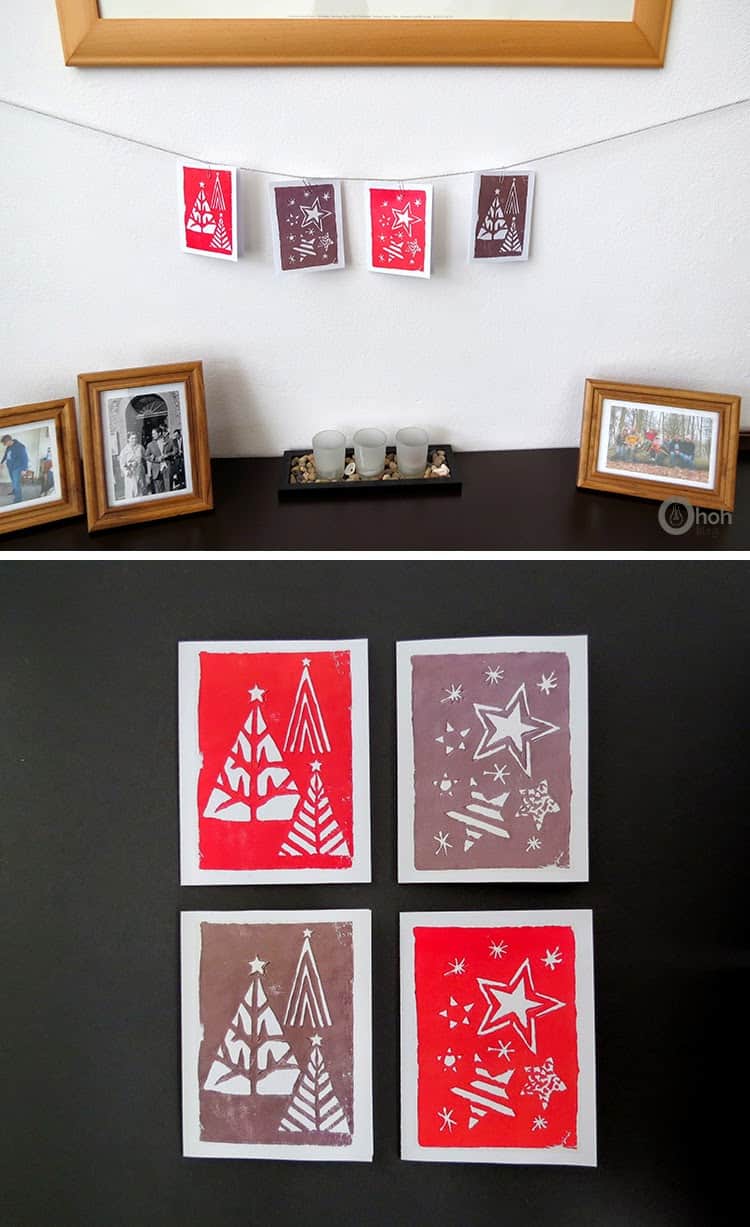
I know that December is always a rush , so if you don’t have time to make your own stamped card, you can print the ones I made. They came in two colors red and grey! Enjoy!
>> Free printable RED CARDS – Free printable GREY CARDS <<<
The Greetings cards are available in my resource library along with a bunch of other great prints and patterns. All you need to do is fill out the form and check your inbox for a welcome email with the password in. Click here to get in >>>> FREE LIBRARY ACCESS
If you are already a member, just click HERE to get in the Library and grab your printable.
If you like paper craft and are looking for more holidays cards ideas, you will like to have a look at this article. I’m sure you will find some inspiration! Have fun crafting and stamping (by the way, there is more stamp ideas HERE). Don’t hesitate to share your make in comment. I love to see your creations!
* * *
Puedes aplicar el sello directamente en tu tarjeta. En este caso, necesitarás una hoja de papel de 12x 30 que doblará a la midad. Aplicas el sello en la parte frontal de tu tarjeta.
O puedes estampar en una cartulina blanca y una vez que la pintura esté seca, cortar el dibujo y pegarlo sobre una hoja de color de 5×17 doblada por la mitad.
Cual sea la option que eliges, te sugiero que pruebes tu sello sobre un papel corriente para ver cómo funciona.
Sé que diciembre siempre es apresurado, así que si no tienes tiempo para hacer tu propia tarjeta estampada, puedes imprimir las que hice. ¡Vienen en dos colores rojo y gris! ¡Disfruta las!
>> TARJETAS ROJAS – TARJETAS GRISES para imprimir gratis <<<
Las tarjetas de navidad están disponibles en mi biblioteca de recursos junto con un montón de otras impresiones y patrones geniales. Todo lo que necesita hacer es completar el formulario y revisar tu correo donde recibiras un mail de bienvenida con la contraseña. Haz clic aquí para ingresar >>>> ACCESO GRATUITO A LA BIBLIOTECA
Si ya es miembro, simplemente haga clic AQUÍ para ingresar a la Biblioteca y tomar su imprimible.
You can also make smaller stamps and repeat the same pattern several time, something similar of what I did with this stamp for Halloween, of course you can create a more appropriate Christmas figure, like a Christmas tree, a simple ornament or a gift box. Have fun stamping!
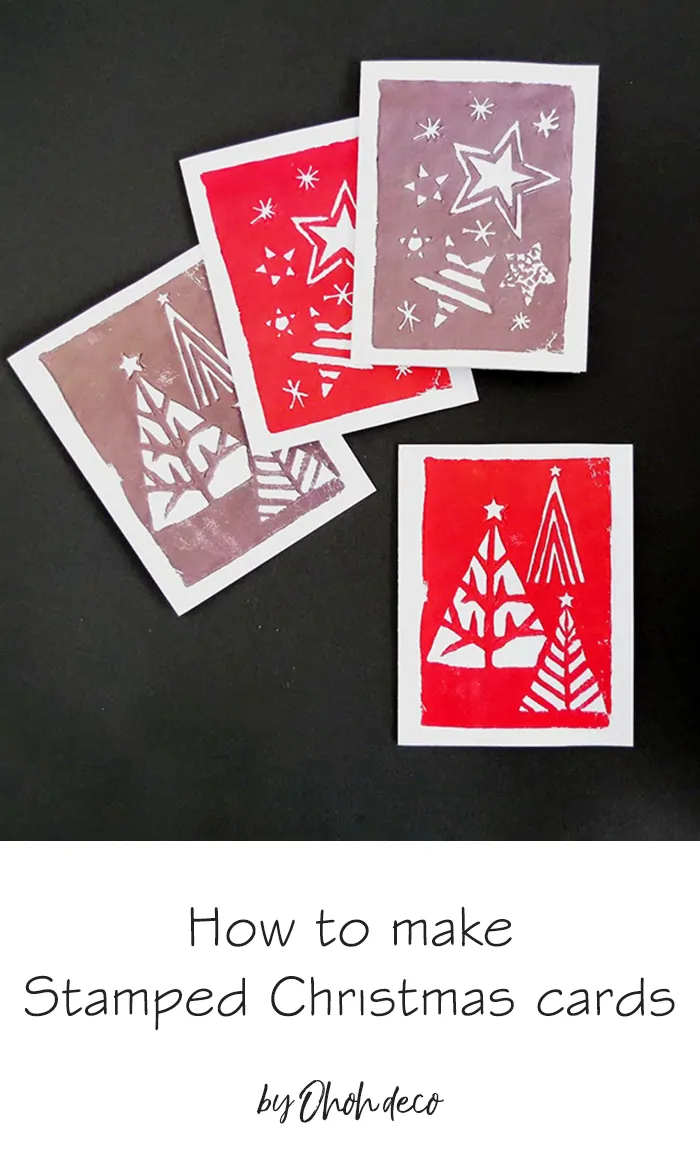
Want to remember this? Pin this DIY stamped Christmas cards into your favorite Pinterest board.

Queta
Thursday 12th of December 2019
we made this! thanks so much!
amaryllis
Tuesday 17th of December 2019
You are welcome! You can share your make on social media with #ohohdecodiy or if you have time drop me an email at amaohoh(at)gmail(dot)com I love to se what you are crafting with my tutorials ;)