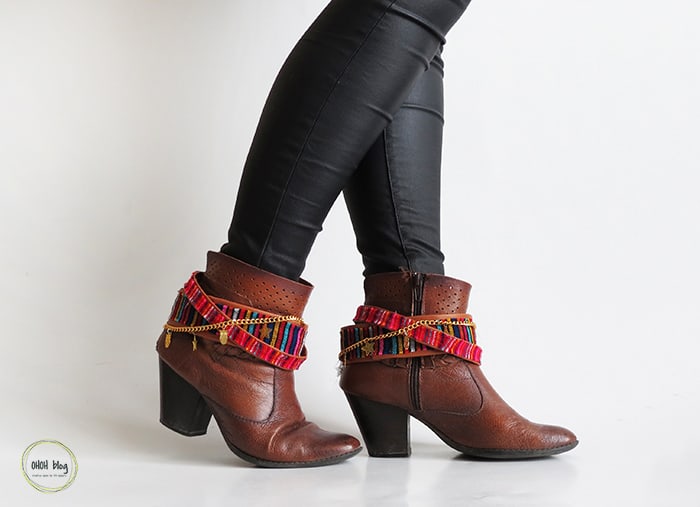
Even if I own a lot of shoes and boots, I would love to have more! It won’t fit into my closed and It will take to much time in the morning to choose which one to wear. But I will never have too much shoes! Today I will show you an easy way to jazz up a pair of boots and give them a new look.
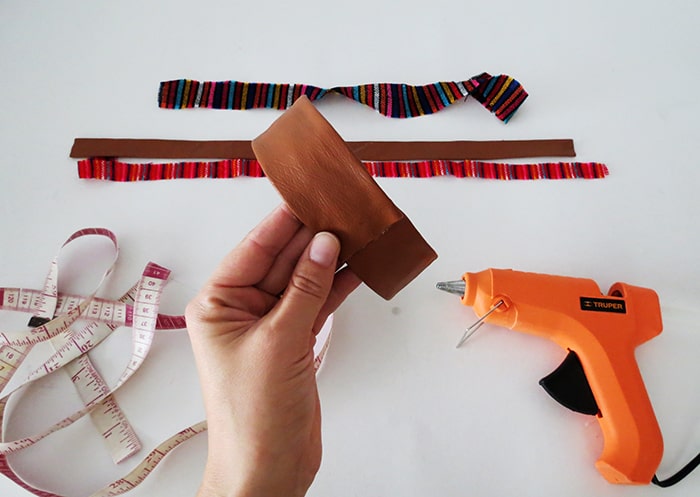
You will need a few supplies: faux leather (the same color as your shoes), some fabric, a jewelry chain and some charms, scissors and a glue gun.
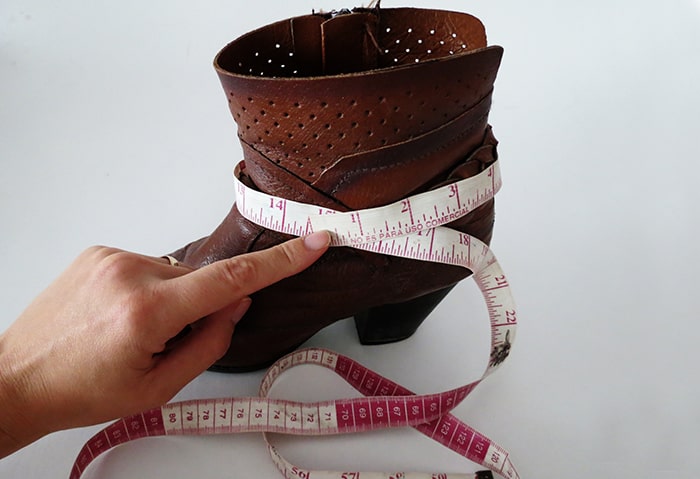
First measure your boot at the ankle high, 14 1/2 inch for me.
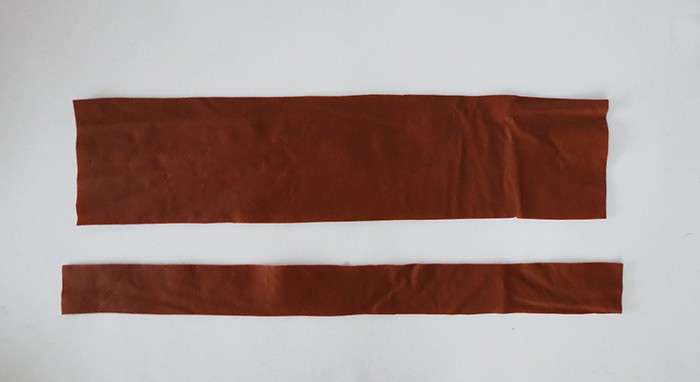
Cut two strips in the faux leather, the lengh is the measure you take from your boot more 1 inch. So mine are 16 1/2 inches (14 1/2 inches + 1 inch). The small one is 1 1/2 in. wide and the biggest is 3 in.

Take one strip, fold and glue the edges until the middle. Repeat for the second strip.
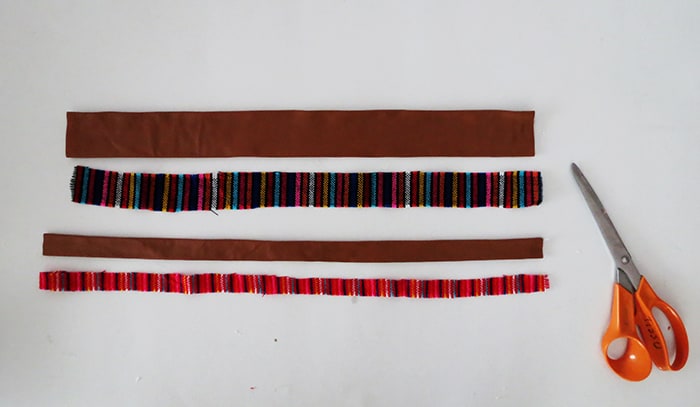
Cut two fabric strips, slightly narrower than the leather strips.
Glue the ends of the leather strips together to make a loop, try to pass it on your boot to be sure it’s the right dimension.
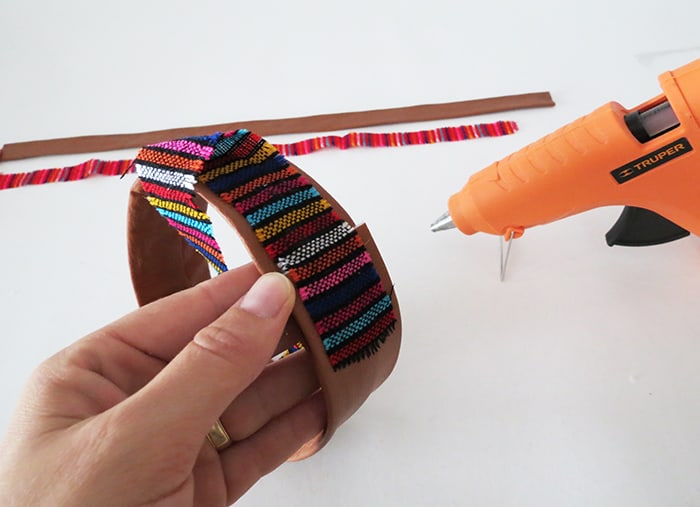
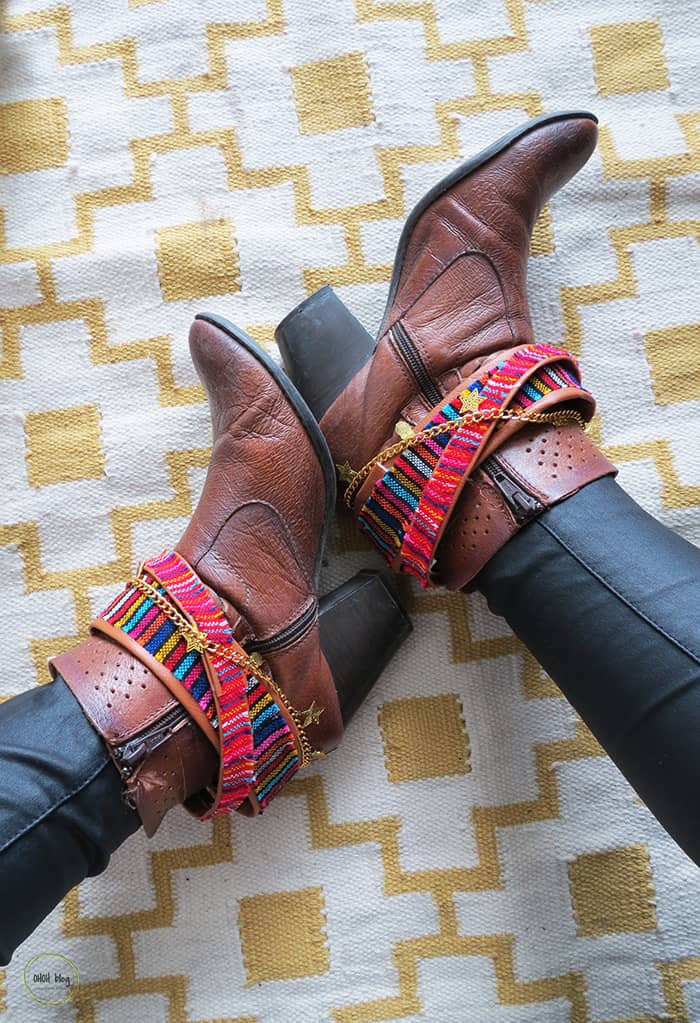
On the leather loop, glue the fabric strip. The fabric I choose tend to fray a lot, but I kind of like it for this project, it works pretty well with the boho style I want to give to my boots. If you want to avoid your fabric to fray, you can interface your fabric or put some glue on the edges.
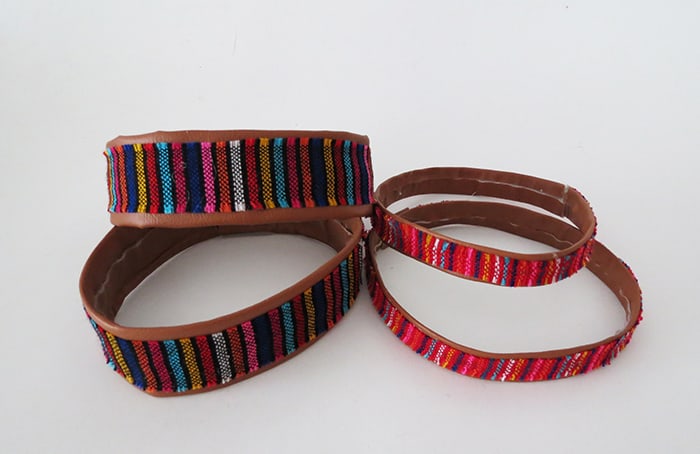
And tadam, the loops are ready!
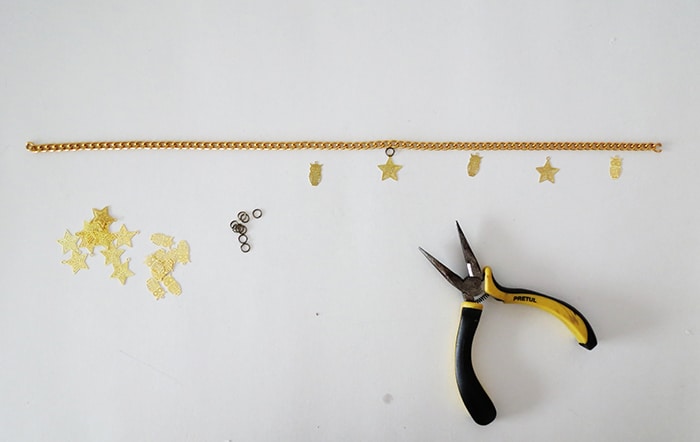
To add a little glam to the customization, I also added a chain with some charms. The chain was cut at the boot measure (14 1/2 in. for my boots), and I attached the charms with some rings. I used pliers to open and closed the last link of the chain to make a loop.
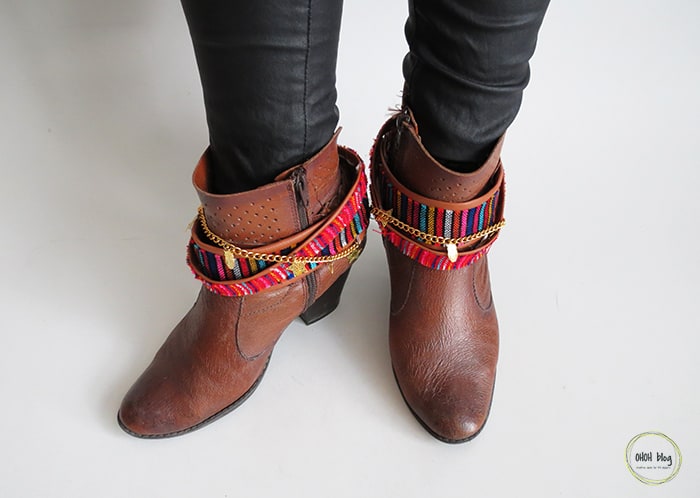
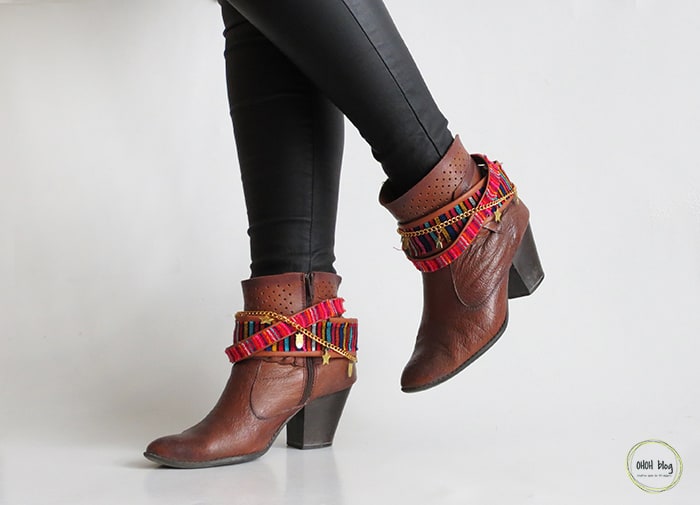
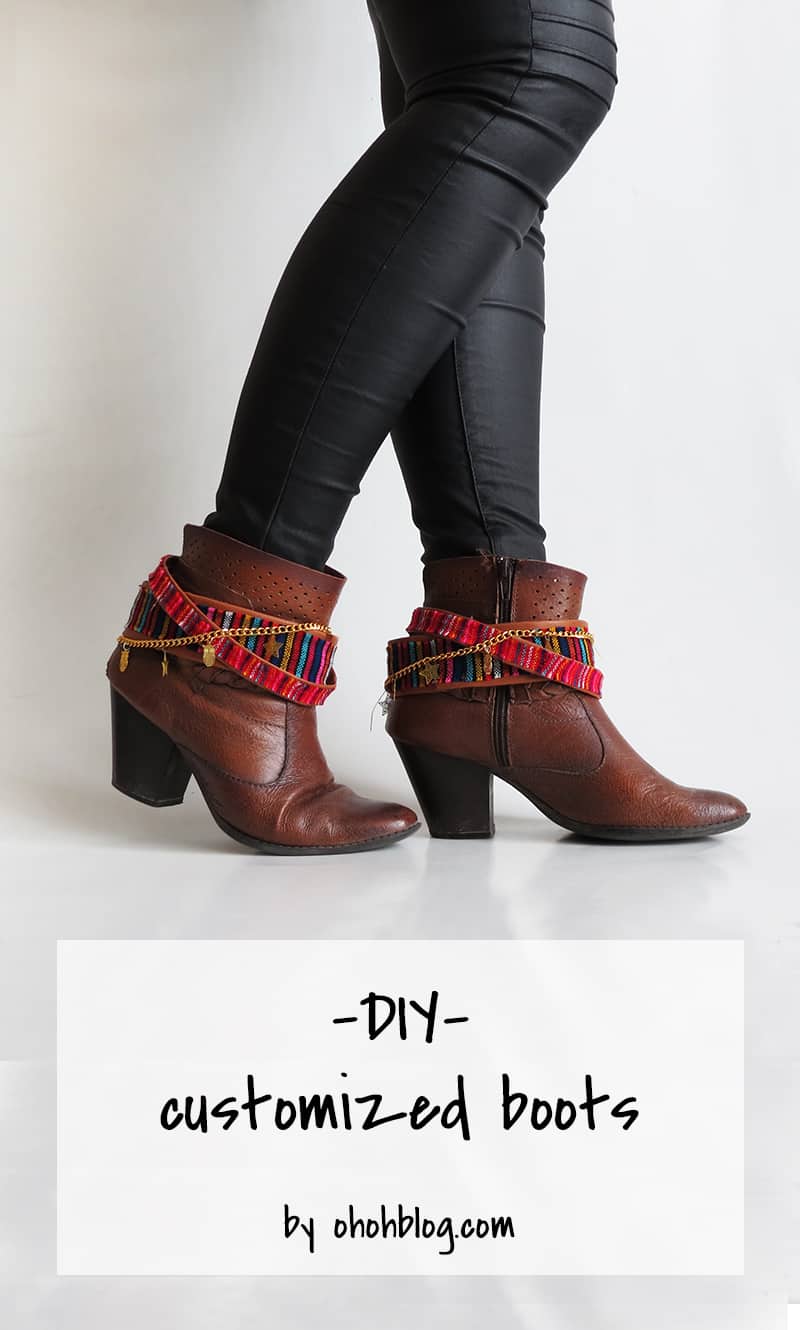
The loops are wide enough to open the boots and put them easily. Than I arrange the loops and the chain a way I like. I’m ready to wear my almost new pair of shoes.
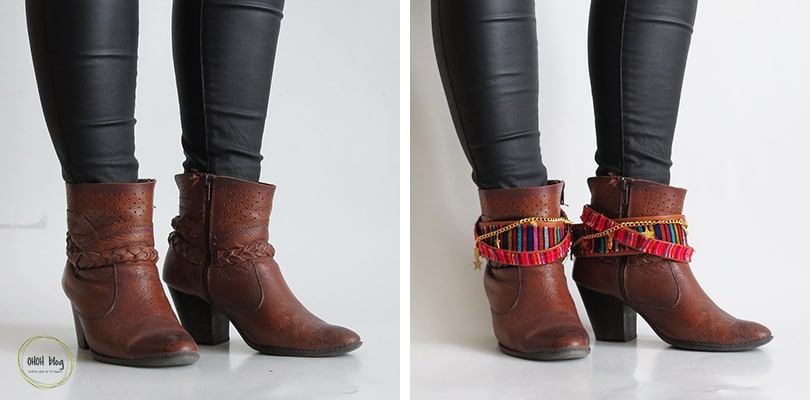
Always nice to have a before and after pic! If you need more space to store your shoes, you can have a look at this DIY storage idea!
If your like it, please, share and make your friends enjoy this post!
You will find all the tutorials featured in the video on my “Best DIY” page.
Amaryllis