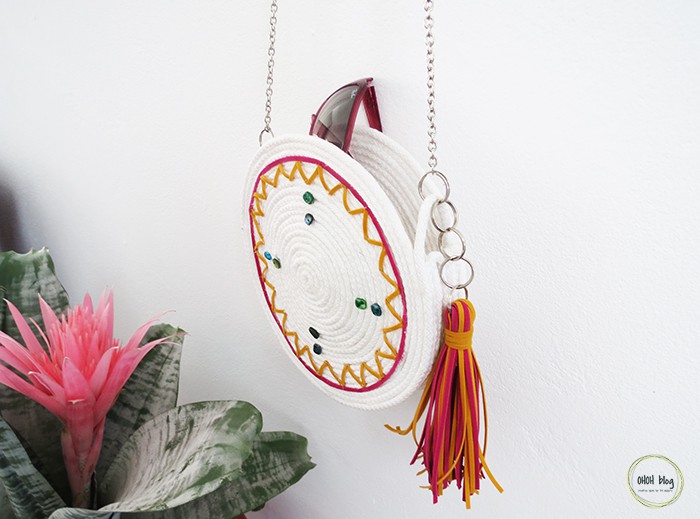
I already told you how fun it is to craft with rope. I made a rope basket sewing, and recently give a try making some planters just gluing layers of rope together (you can have a look at the tutorial I wrote for Bob Vila here: Rope Basket).
Both techniques are similar and fun. I feel that gluing the rope is easier, because not every one own a sewing machine, and buying a glue gun is very accessible. As fun as it is to make baskets, I just wanted to try something different, so I came up with the idea of making a round purse. It turns out quite nicely and it’s just on time for Mother’s day! So if you are looking to make a nice homemade gift, I’ve you covered: let’s make a pretty purse!
DIY rope purse
Material you will need:
- some rope
- a glue gun
- two metallic rings
- a small chain
- some ribbons and beads
- a pair of scissors
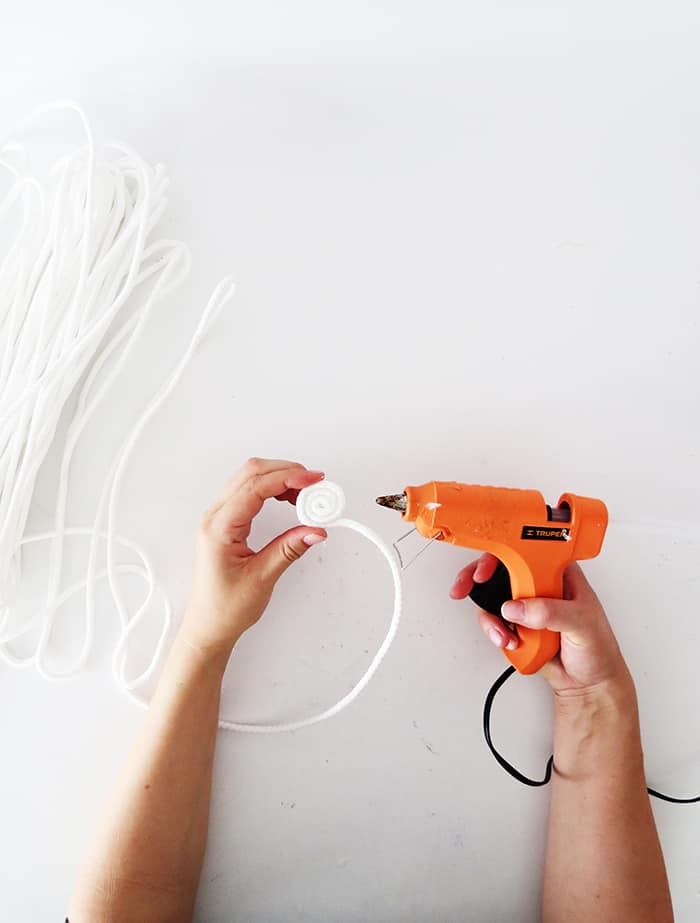
Take one end of the rope an start rolling it on itself adding glue between each rope layer.
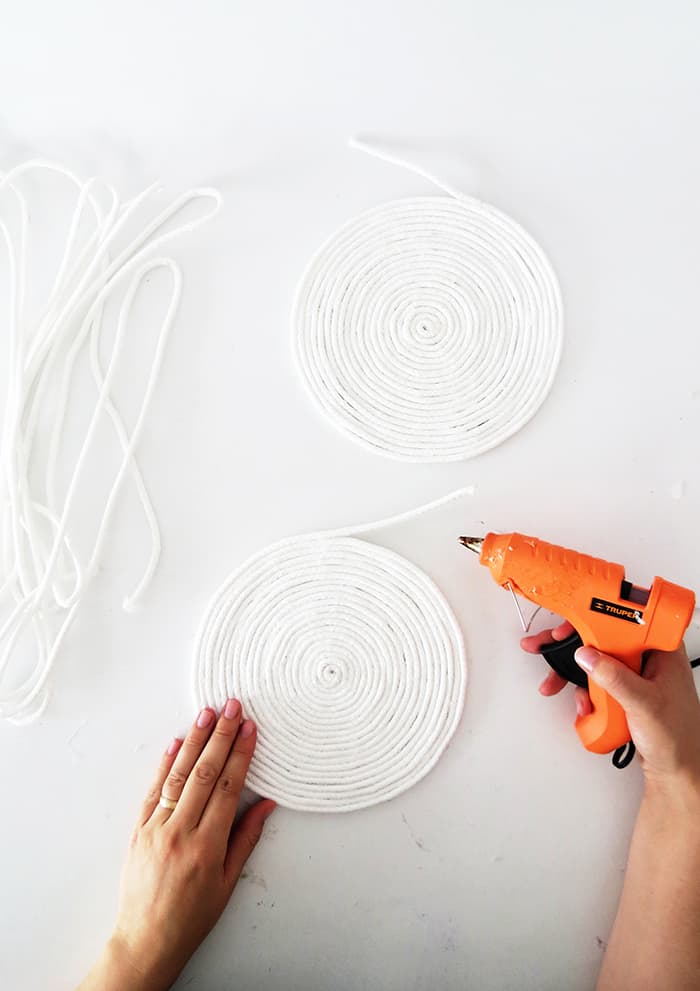
Keep gluing the rope until you made a circle of approximate 9 inches diameter. Leave a piece of 4 inches unglued rope at the end. You will use this rope to make a loop to hold the chain shoulder strap. Repeat step one and two to make a second identical circle.
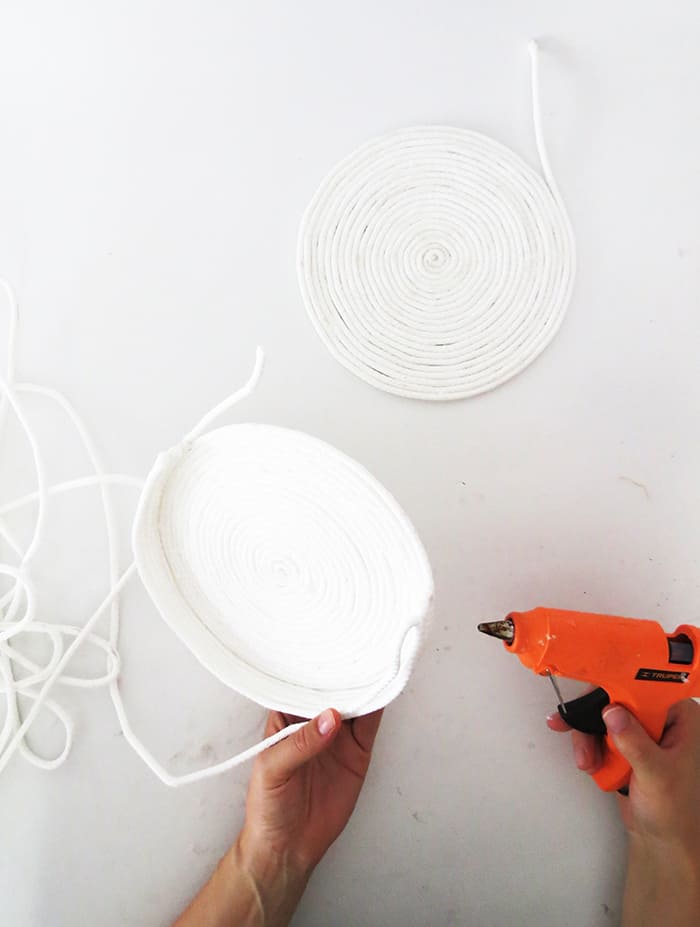
At the beginning I was thinking on just gluing both circle on top of each other to make the purse, but this will not have allowed enough space to keep my stuff inside. So you will need to make the purse a side using the same rope. Take one circle and start gluing the rope on the edge. Start where the unglued rope is and glue the rope along the circle edge, a little further than a half circle. Then fold the rope on itself and glue it back on top of the first rope layer.
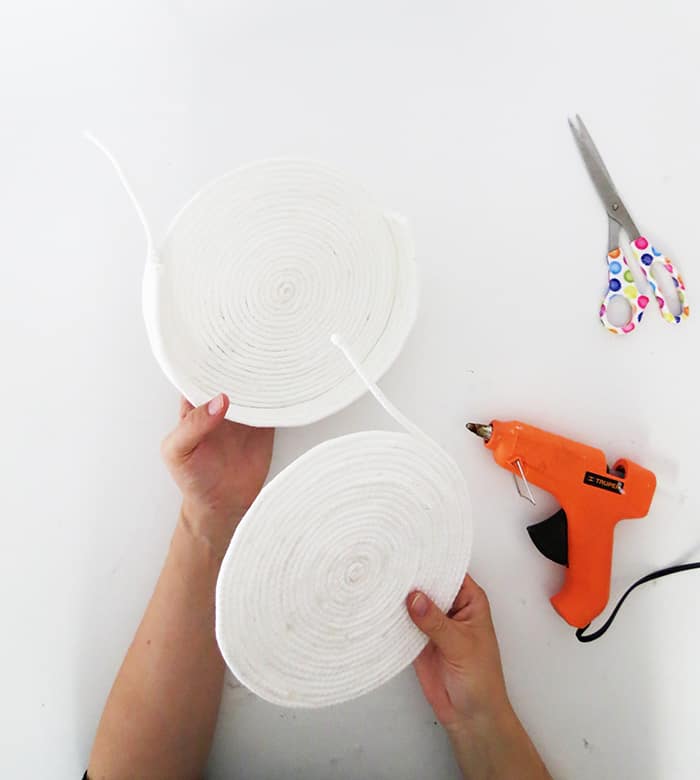
Glue several rope layers on top of each other to have a high of 1 inch
approximately. Once you are finish cut the extra rope lenght. Add some glue on the side you just made and fix the second circle on top of it. Put attention that the unglued rope of both circles must be placed next to the purse opening, one on each side.
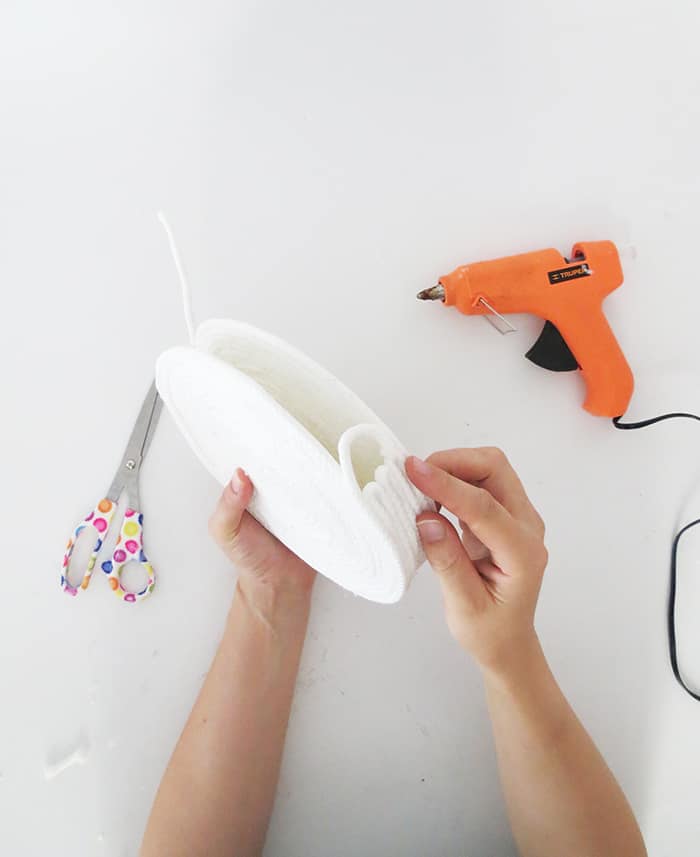
Fold and glue the unglued rope to make a loop on each side of the purse opening.
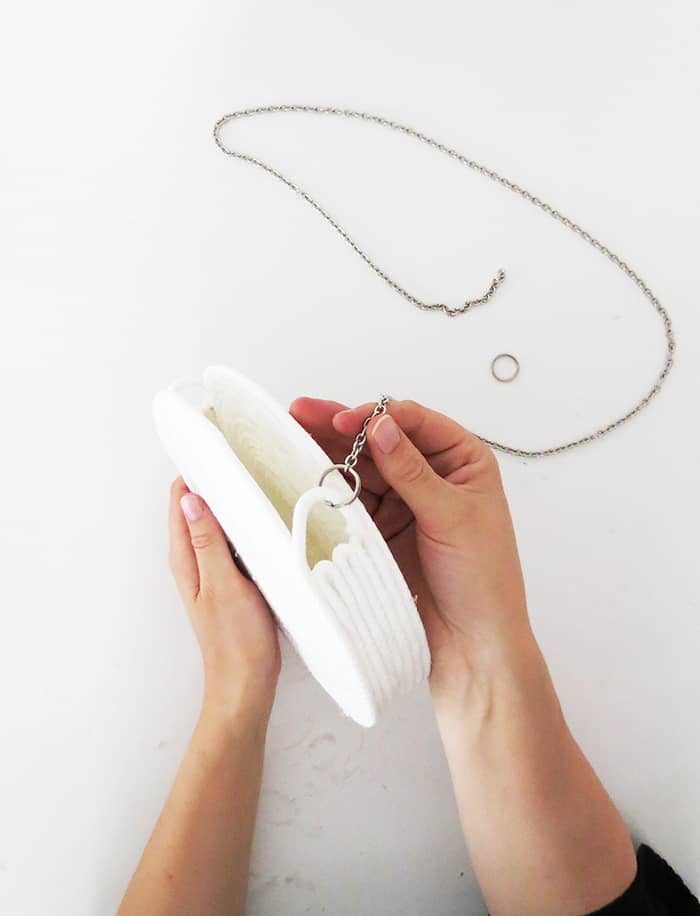
Pass a ring around the loop and attach the chain shoulder strap with it.
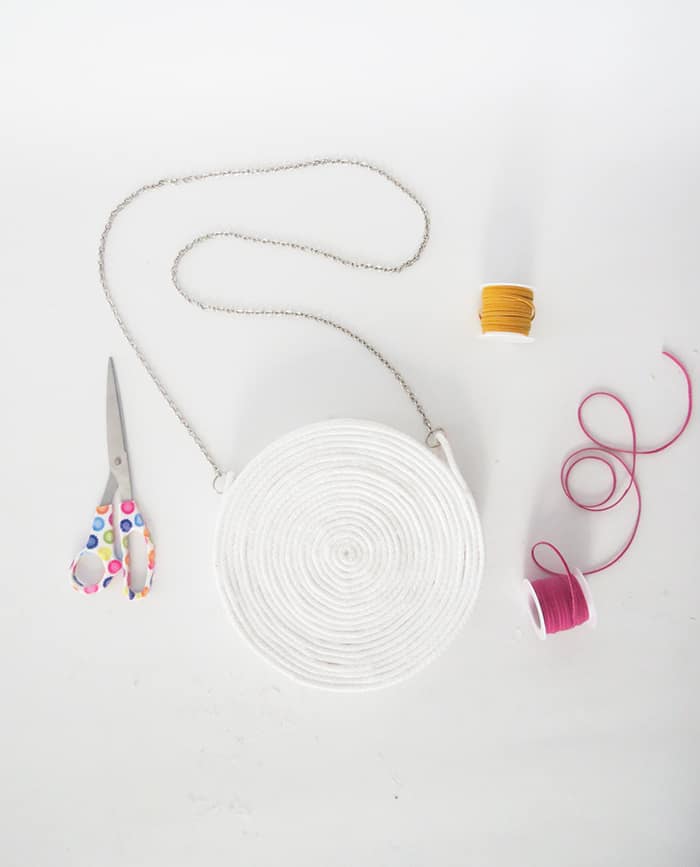
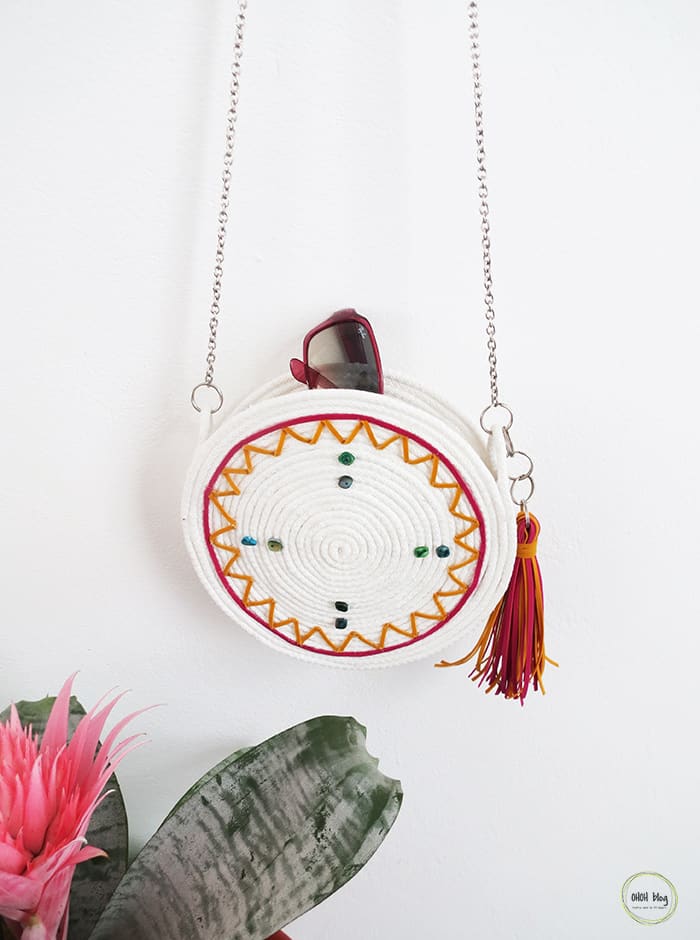
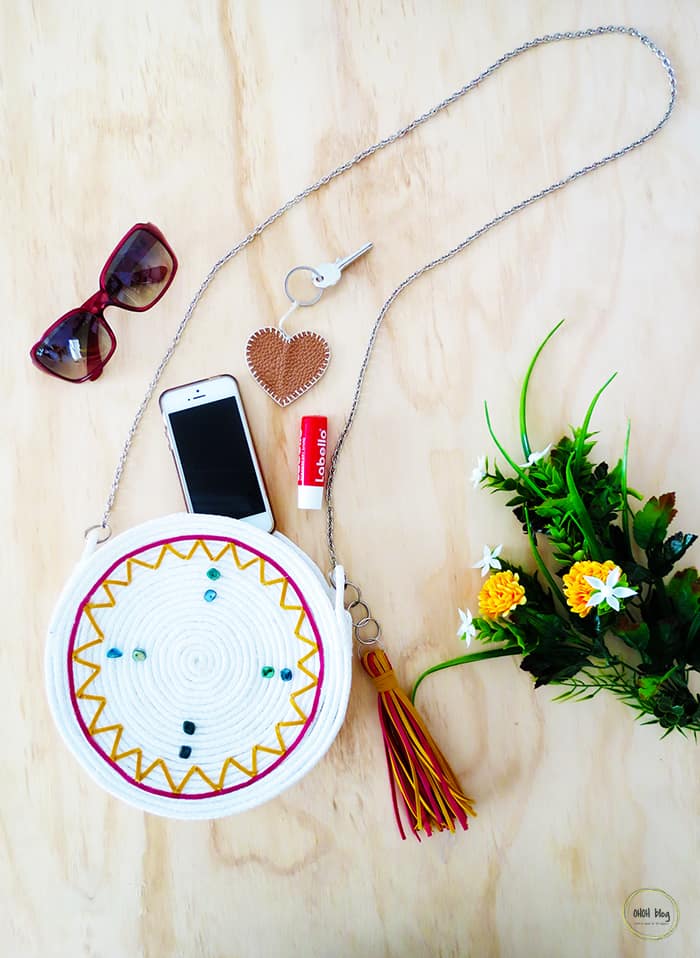
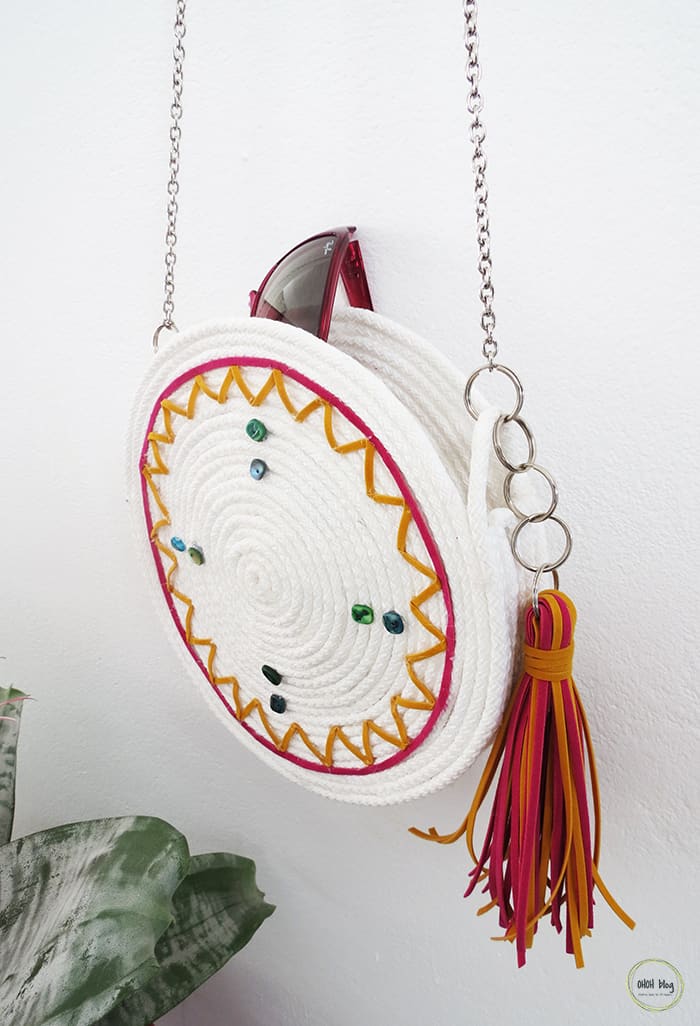
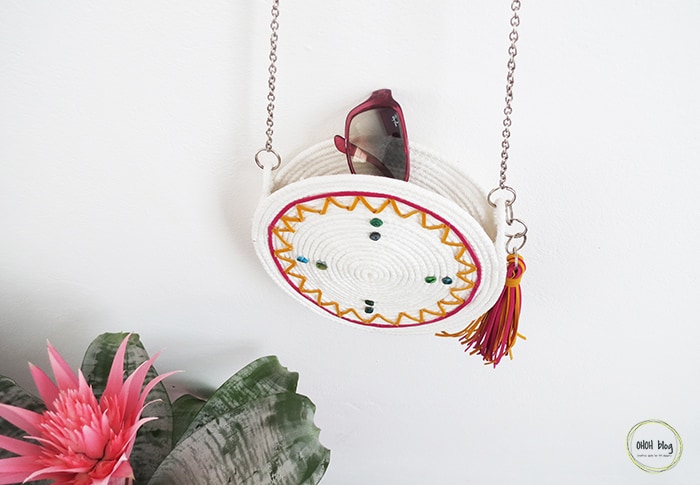
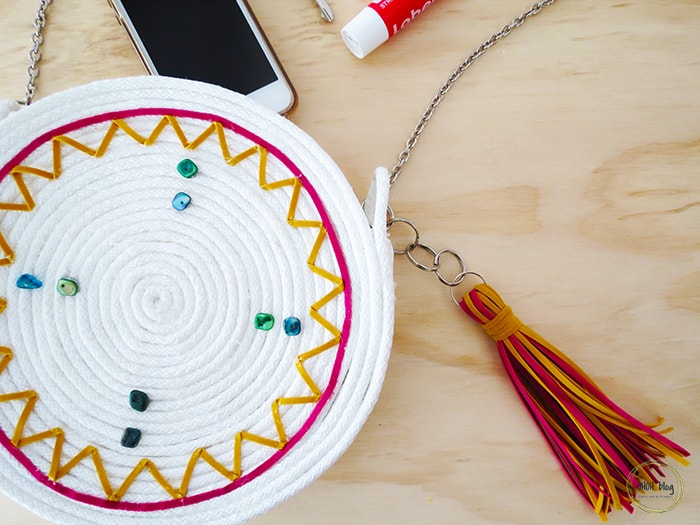
And done, you purse is finished. You can use any color of rope you like. As I used white rope I wanted to add a pop of color and embellish it
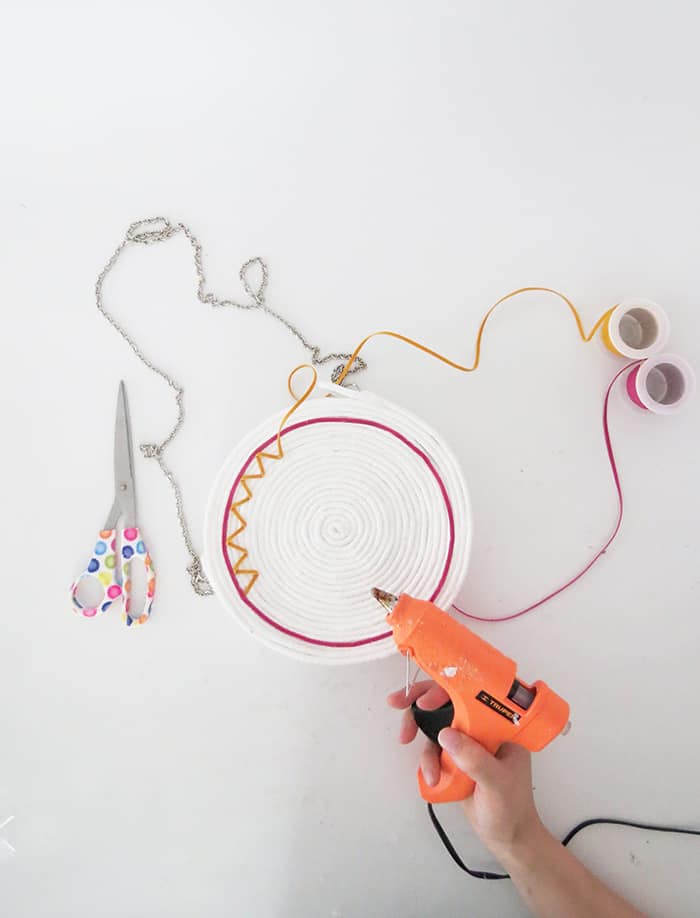
So I glue some ribbons, peals and hanged a tassel on it. You can also add artificial flowers, felt shapes, make some embroidery work…have fun customize your purse.
If you like making clutches and bags you will love this sewing tutorial to make a practical DIY trio zipped bag or this one where you can learn how to make a DIY tote bag with faux leather.
I’m pretty happy who this rope purse turns out! What do you think? How would you like to decorate your purse? I would love to see what you make with this tutorial, so don’t hesitate to leave a comment and to share your make.
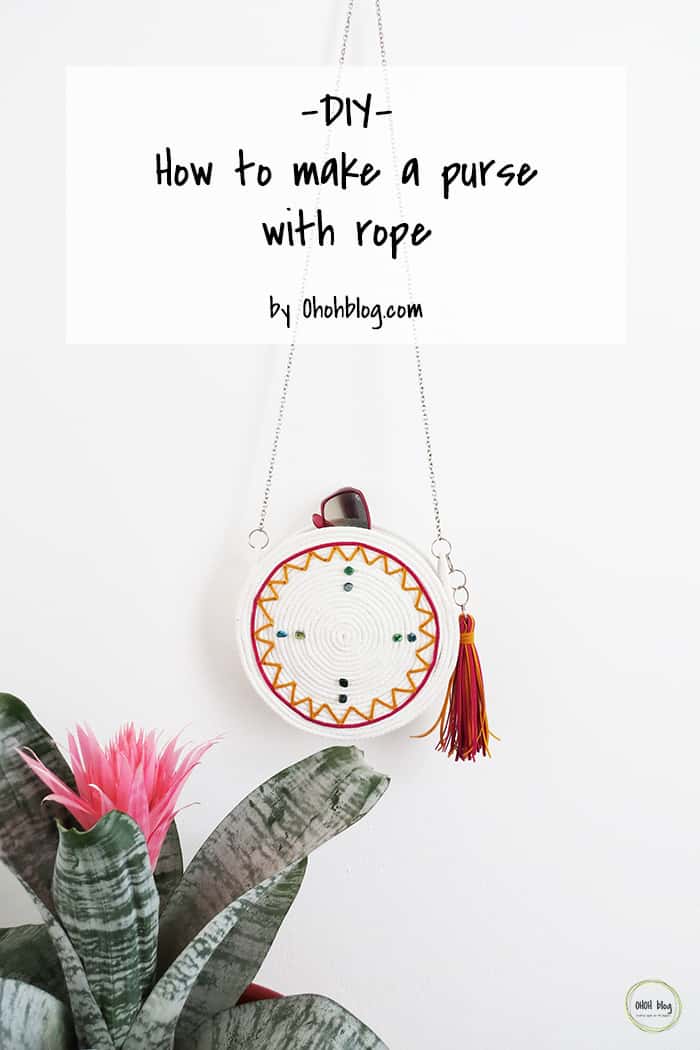
Want to remember this? Post this DIY rope purse to your favorite Pinterest Board!
You will find all the tutorials featured in the video on my “Best DIY” page.
Amaryllis

Pattie
Wednesday 24th of April 2019
I never comment but came across this and just had to acknowledge how great of purse this is! Can’t wait to make one!
amaryllis
Thursday 25th of April 2019
Thanks Pattie. It's a perfect little purse for summer, don't you think? Let me know how it turns out!