
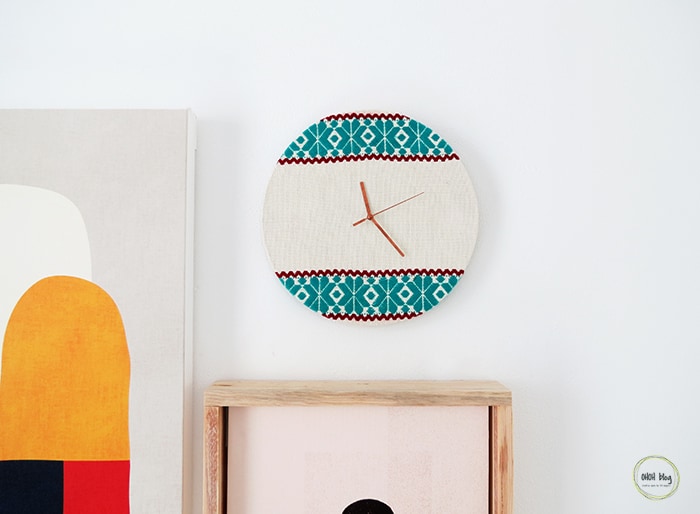
I never wear watches, so I like to have clocks around the house. I have one in the kitchen, one of the first DIY I made. I hate to be late, so to hurry everybody in the morning to get ready for school, I wanted to have one upstairs too. I came out with an easy idea to upgrade a boring clock. The most important part of this DIY, is the fabric you will choose. I have several embroidery tea towels, how are traditionally used to keep tortillas warm. It’s very easy to find them here, in Mexico. I picked one with turquoise and dark red embroidery to make the clock.
I realize that’s maybe not easy to find than kind of embroidery everywhere else, but it will work with any nice fabric you like. If embroidery work is you think you can create your own pattern, or you can also use Brother se400 to do embroidery.
There is two way to make your embroidery clock. If the size of the clock you have, works for your project, you just need to carefully remove the hands of the clock, glue the fabric on it and put the hands back. That’s it!
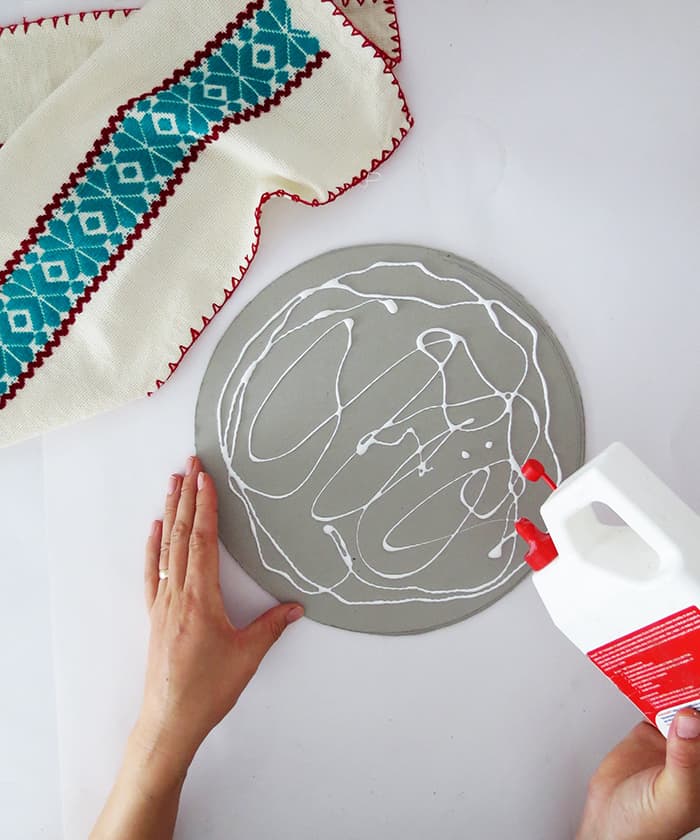
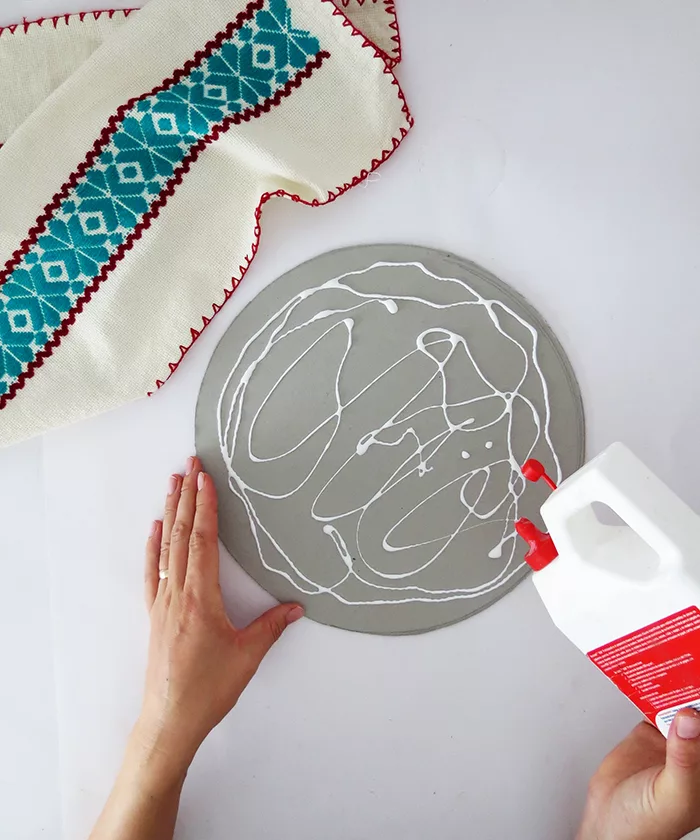
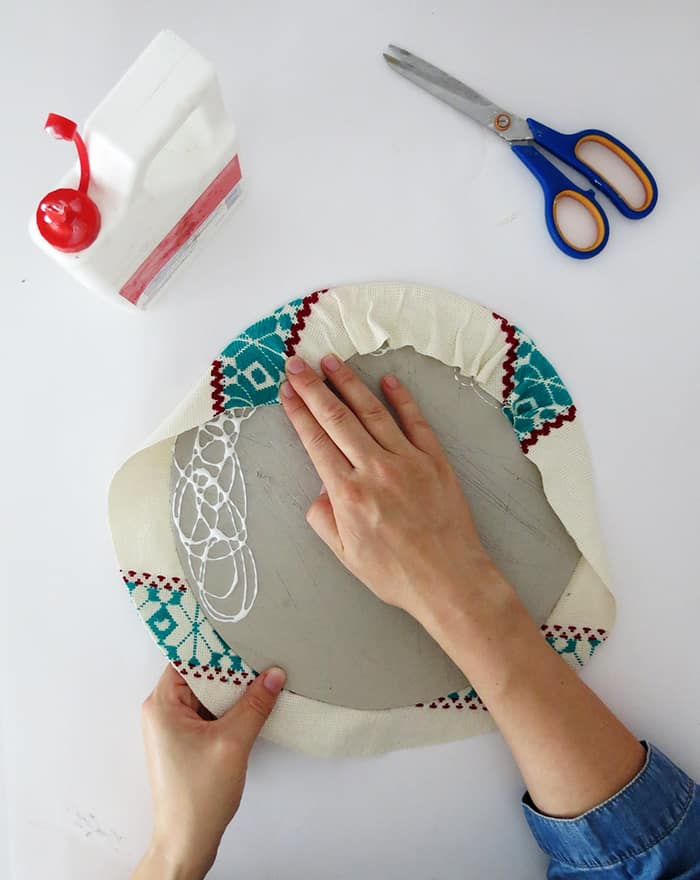
The clock I had was too small for my embroidery design, so I decided to cut a bigger circle in grey cardboard (you can use 3mm plywood also). Once you have the circle, put some white glue on one side to fix the fabric on it.
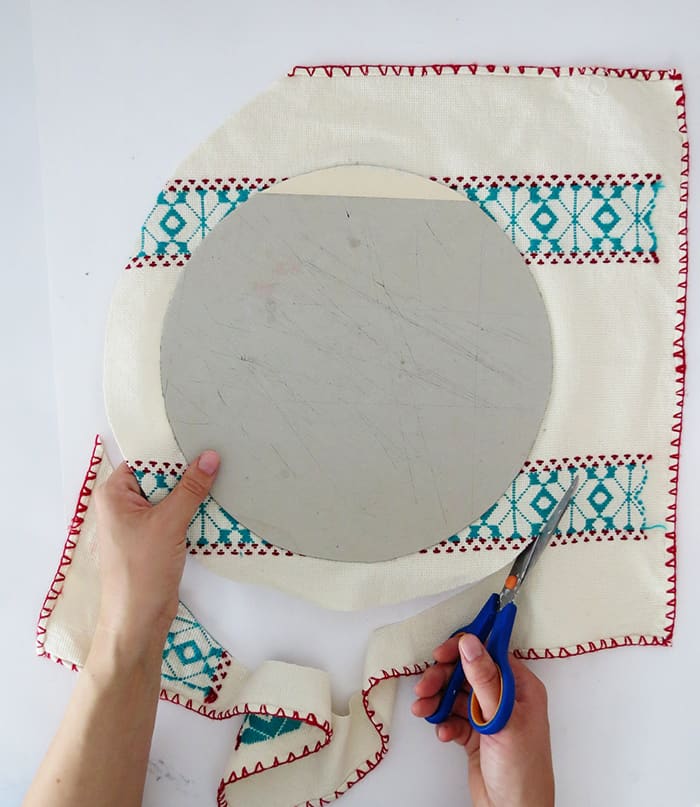
Trim the fabric around the clock, leaving like 2 inches of extra material.
Put some glue on the edge of the back, and fold the fabric all around.
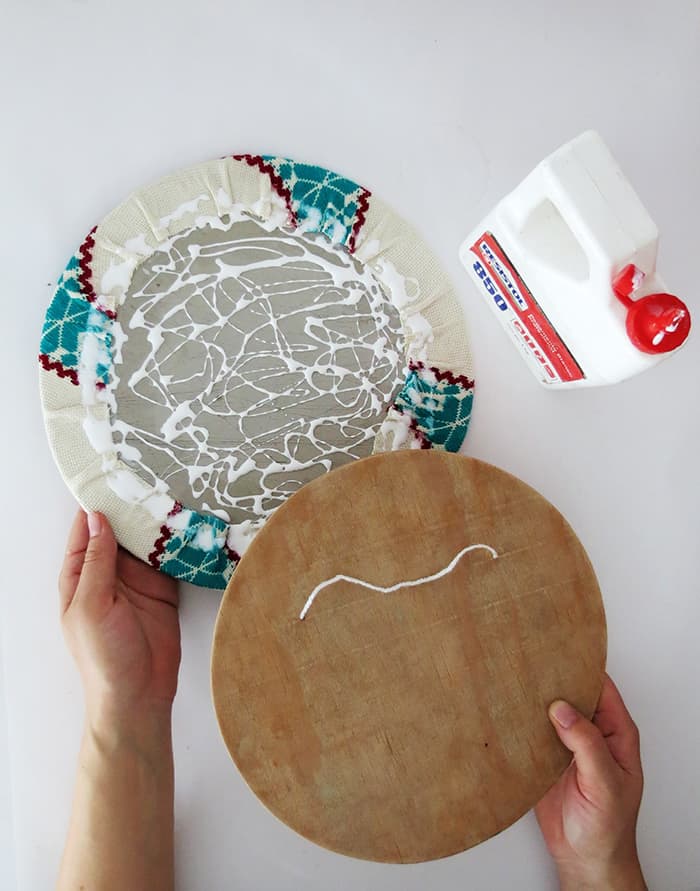
Glue a second circle on the back to strengthen the clock. This second circle must have a diameter of 1 inch smaller than the front circle. I used a plywood circle but you can work with grey cardboard also.
Before fixing the second circle, make to holes and pass a piece of yarn into them, This will allow you to hang your clock easily.
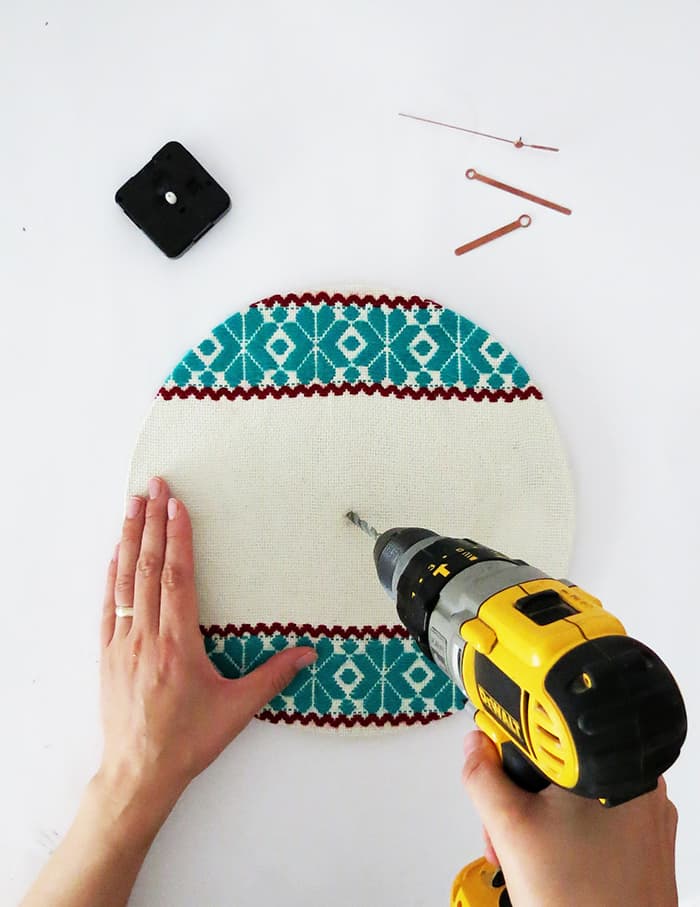
Measure the center of the clock and drill a hole large enough to pass the center of the clock mechanism through it.
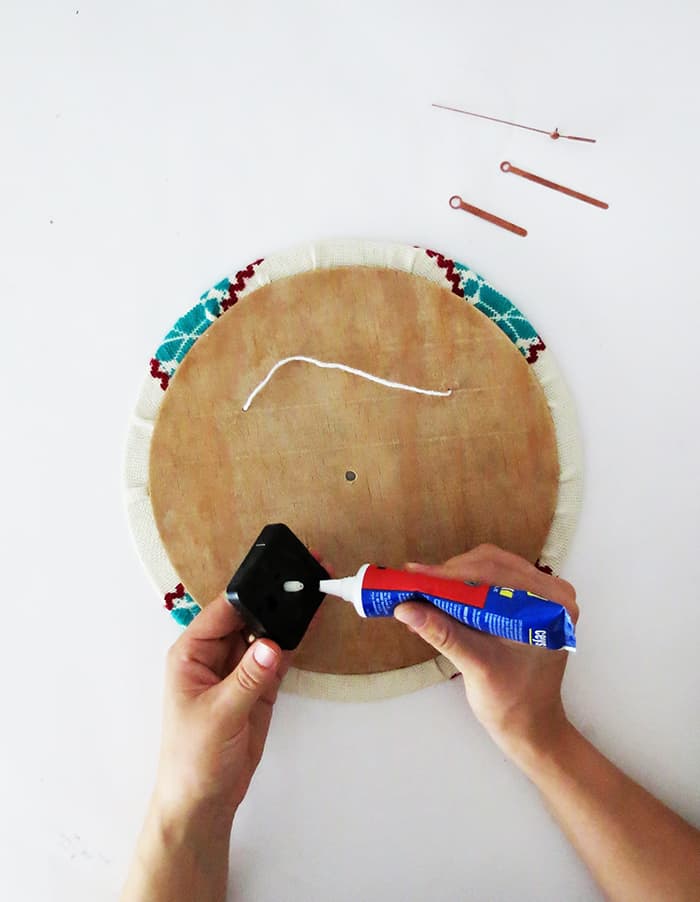
Glue the clock mechanism on the back, with all-purpose glue.
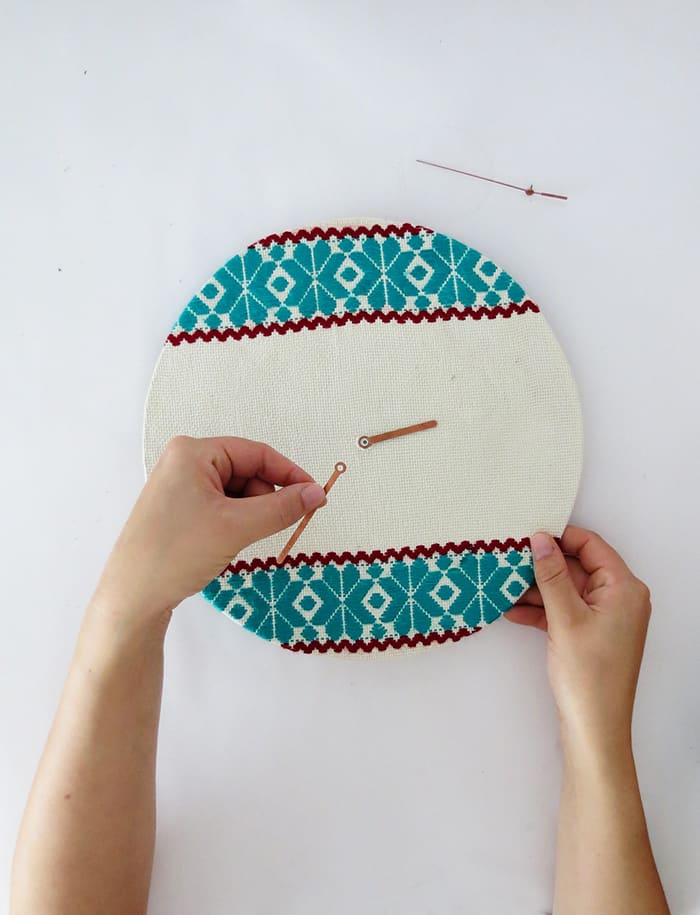
Once it’s dry, place the clock hands back in place. If you like you can also spray paint the clock hands to contrast with your fabric color.
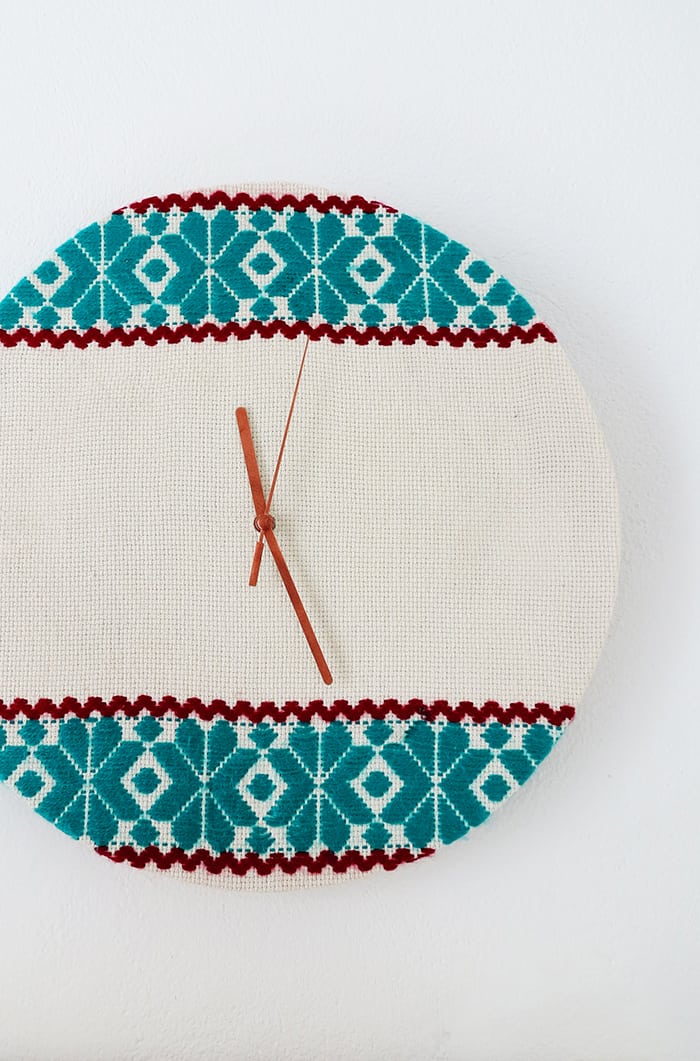
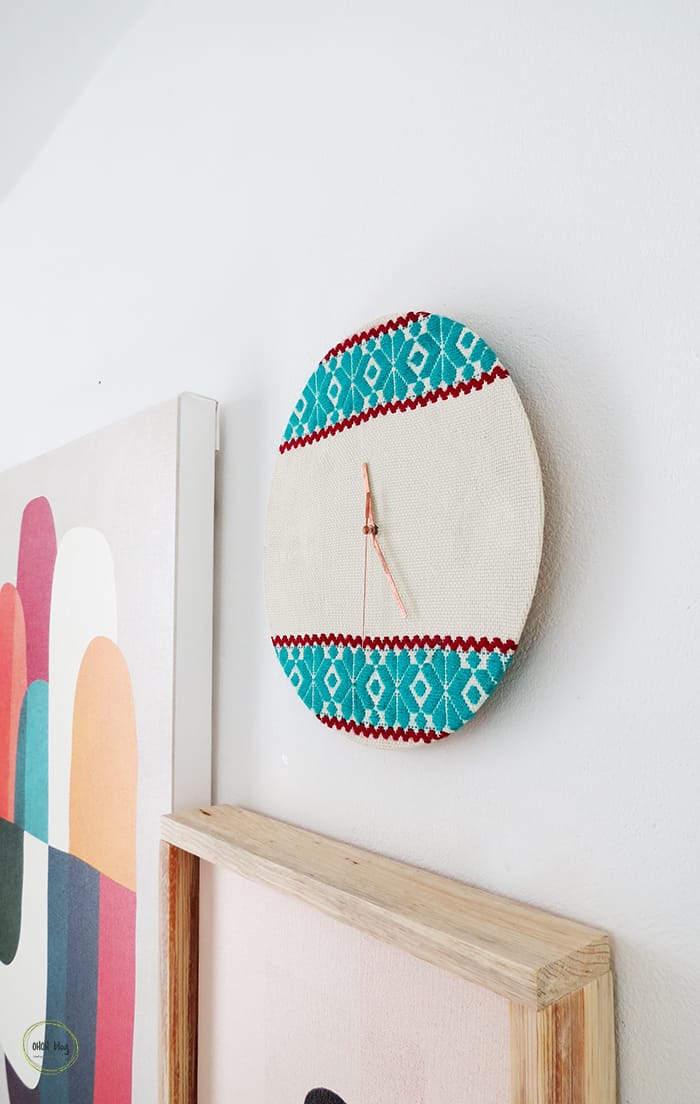
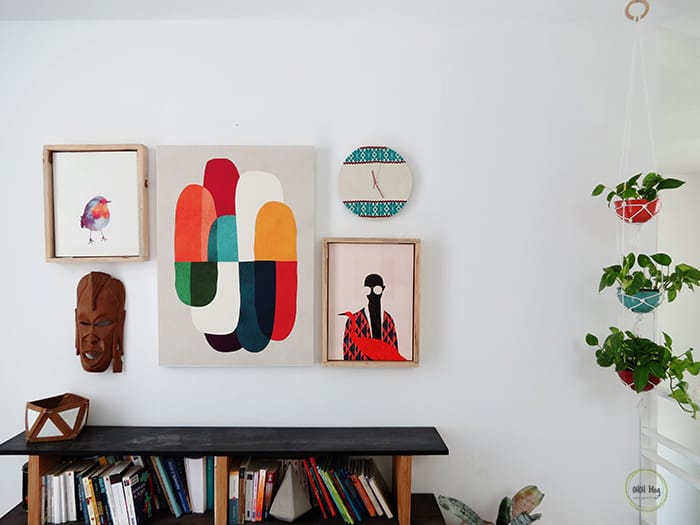
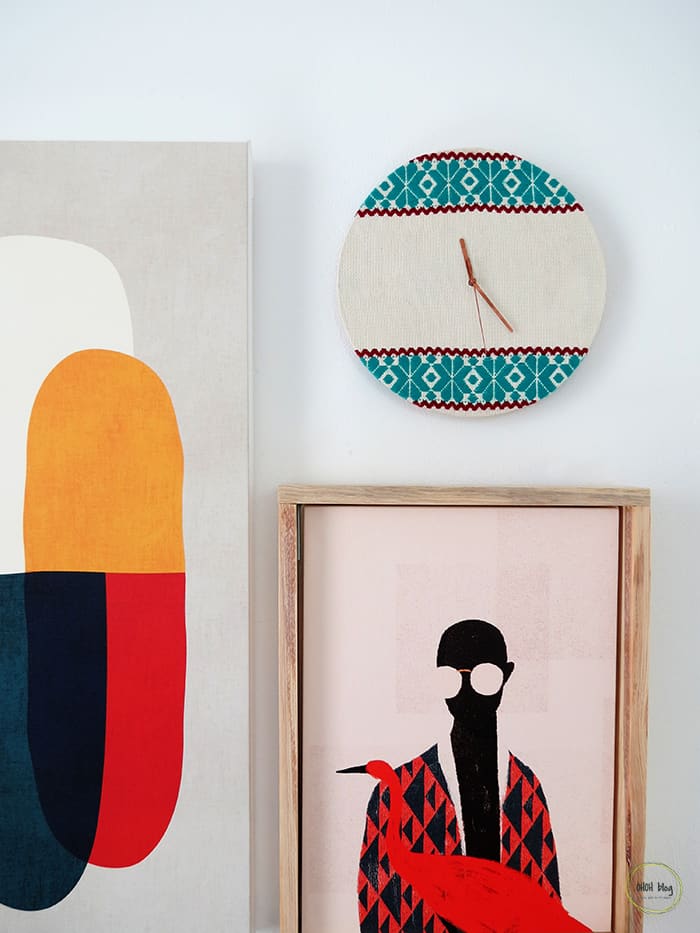
And done, hang your unique clock. I love how the colors of the embroidery fabric go with the other art wall pieces. I will talk pretty soon about my collaboration with Society 6, and how we created this nice wall decor. And the hanging planters on the right are also one of the next DIY tutorial coming soon on the blog! Stay tuned!
If you like it, please, share and make your friends enjoy this post!
