
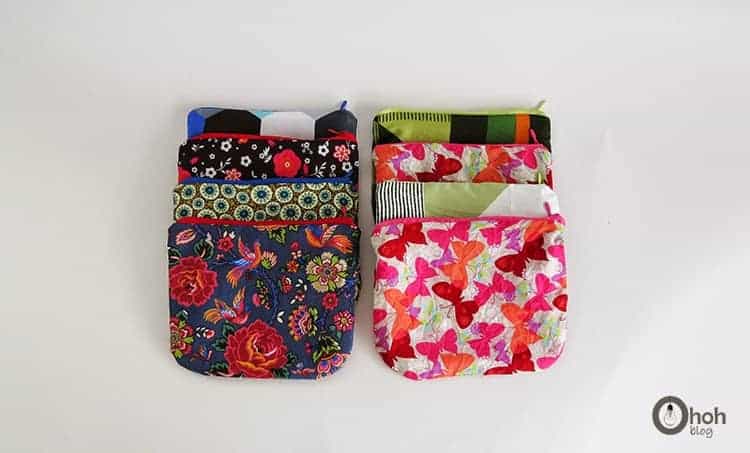
I will participate at a Christmas market next week, so I try to make some cute things! I went back to my sewing machine by making small pouches. Once you understand the trick, it’s pretty easy and fast to do. It takes less than 30 minutes to sew a pouch.
It’s a nice and useful gift. It also makes a cute gift wrap. You get me, I love pouches and own a lot of them. I use some in my handbag, other to sort my beauty products.
So I prepared a small tutorial if you want to make some.
* * *
Voy a participar a un bazar Navideño la próxima semana, así que intento hacer algunas cosas bonitas! Volví a la costura haciendo pequeños bolsillos. Una vez que entiendas el truco, es bastante fácil y rapido de hacer. Te he preparado un pequeño tutorial para que puedas hacer los en casa.
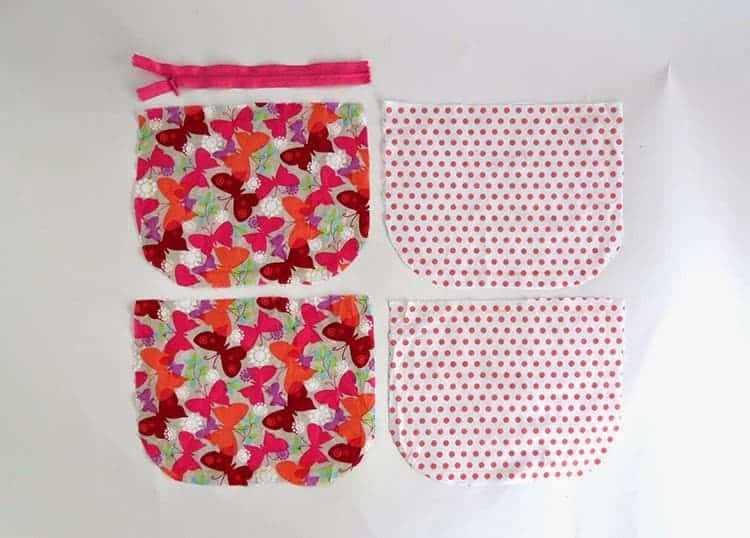
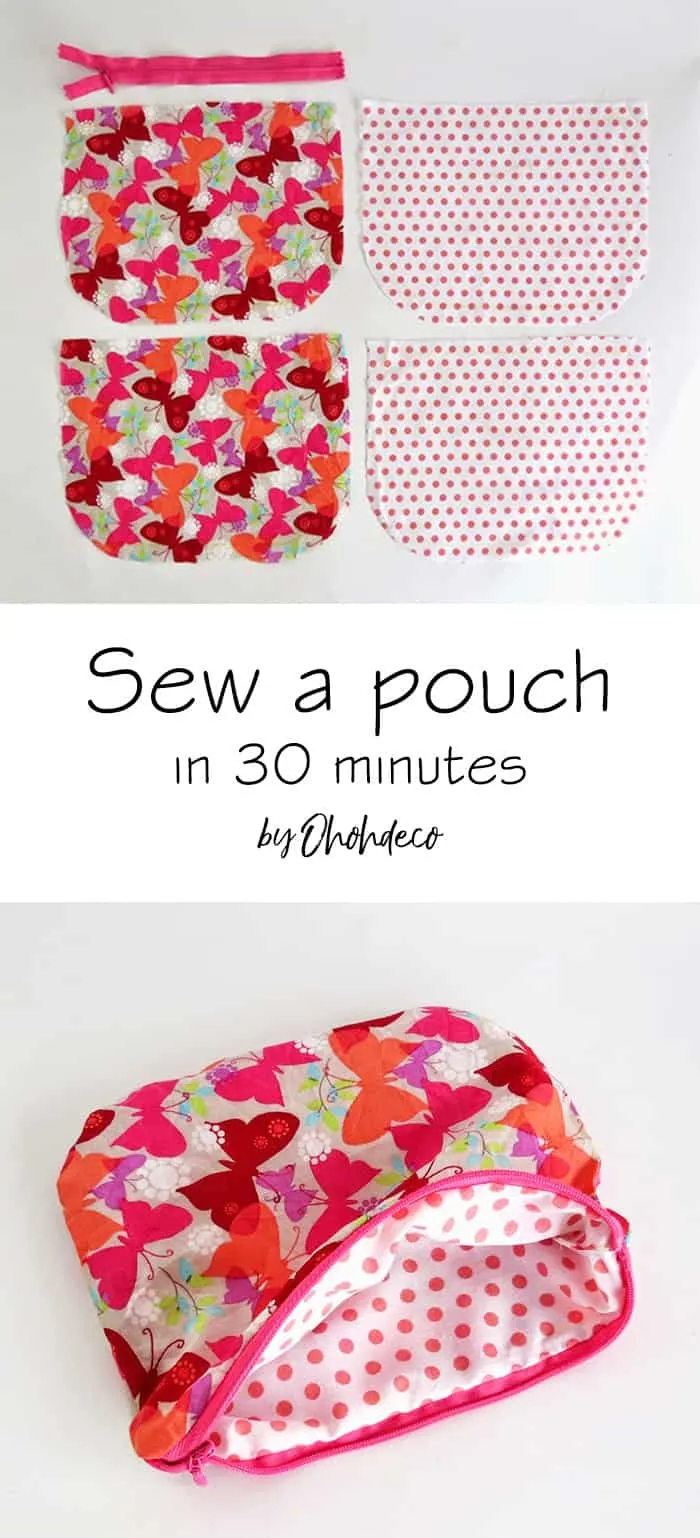
How to sew a pouch in 30 minutes
Materials you will need to make a pouch:
- Scrap fabric (not too thick, cotton works great)
- 8 in. zipper
- Scissors
- Ruler and pencil
- Sewing machine
It´s the perfect project to use scrap fabric. You will need 4 rectangles of 8.5′ X 7′, 2 for the outside, 2 for the liner, and an 8′ zipper. You can rounded two of the corners of each rectangle.
* * *
Material nesesario para coser tu estuche:
- Sobras de tela
- Cremallera de 20 cm
- Tijeras
- Una regla y un lapiz
- Maquina de coser
Este es el proyecto perfecto para usar retrazos de tela. Vas a necesitar 4 rectángulos de 22 cm X 18 cm, 2 para el exterior y 2 para el forro, y una cremallera de 20 cm. Si quieres, puede redondear dos esquinas.
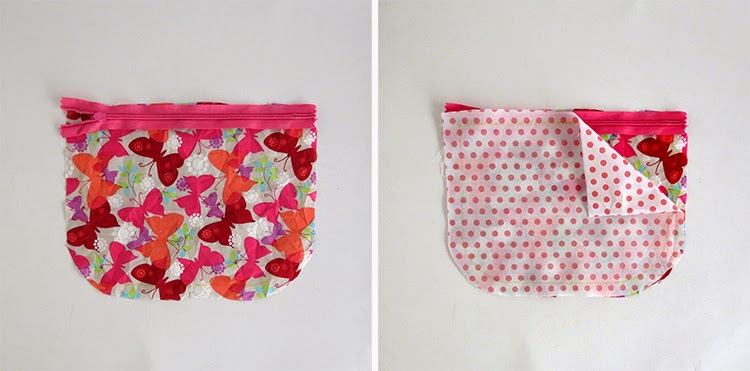
Take one first rectangle and place the outside fabric right side up and put the zipper on top, the right side facing down.
Then, place the liner fabric on top, wrong side up.
* * *
Tomas la tela para el exterior y arriba de la tela pones la cremallera boca abajo.
Despues, pones la tela del forro arriba, el envés afuera.
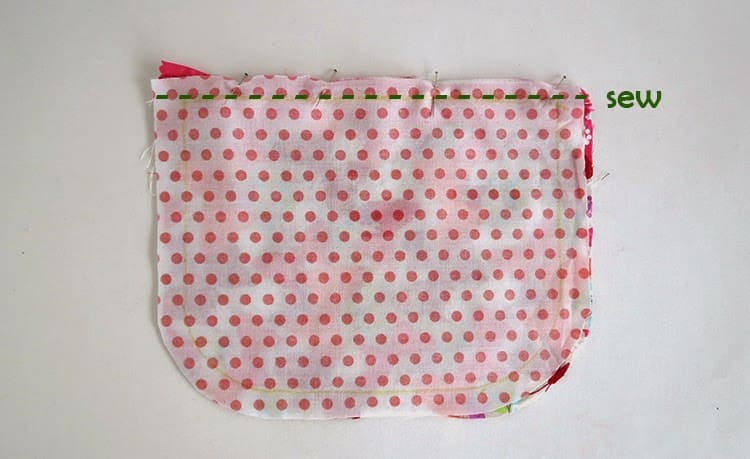
Pin all three layers, both fabrics and the zipper, together and sew along the zipper.
Las dos telas tienen el envés por fuera. Fija las telas y la cremallera con alfileres, y coses a lo largo de la cremallera.
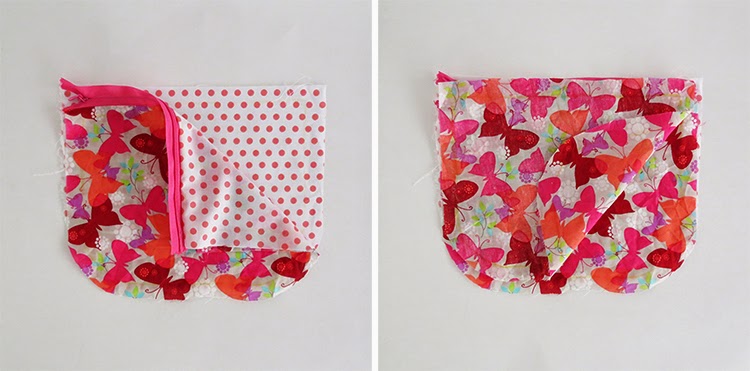
Flip the pouch to get the fabric right side out and the zipper apparent. Put the other two rectangles on those already sewn. The second liner rectangle facing the already sewn liner, right side facing each other. And the second outside rectangle on the already sewn rectangle, right side on the right side too. Align the fabric edges with the zipper.
* * *
Retornas el bolsillo, para tener las telas por fuera y el cierre aparente. Pones los otros dos rectángulos sobre los que ya están cosidos, lado anverso sobre lado anverso.
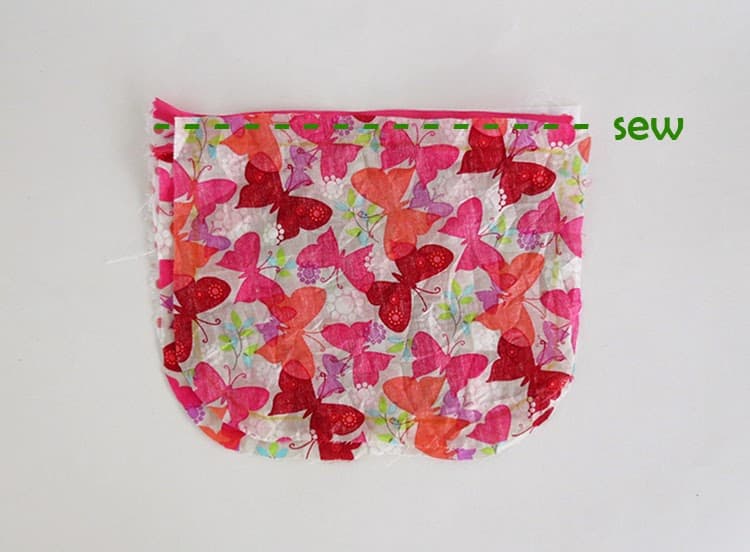
Pin both fabric and the zipper together and sew.
Fijas las telas y el cierre, y coses.
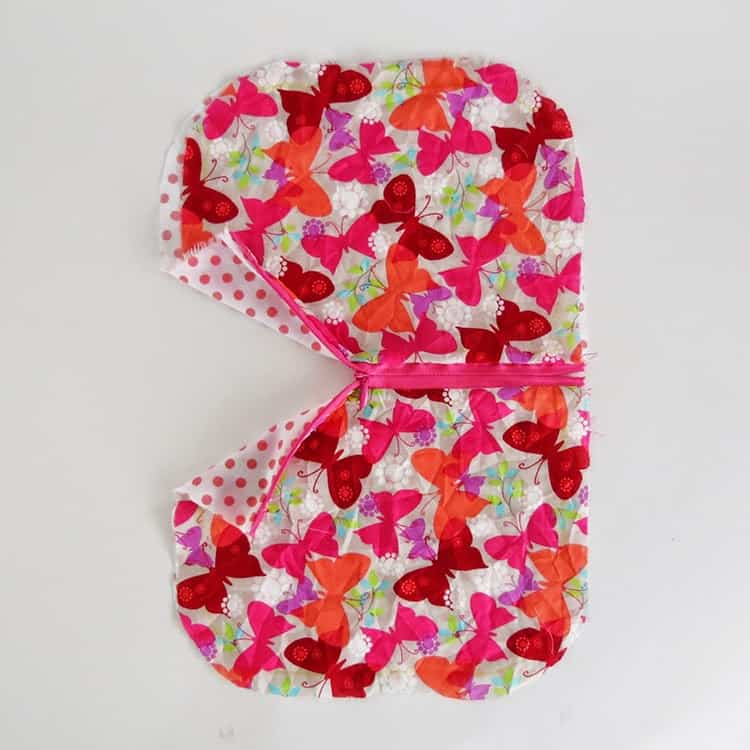
This is what you must have this point. Fabrics, liner and outside, sewn with the zipper.
Es lo que debes tener ahorita.
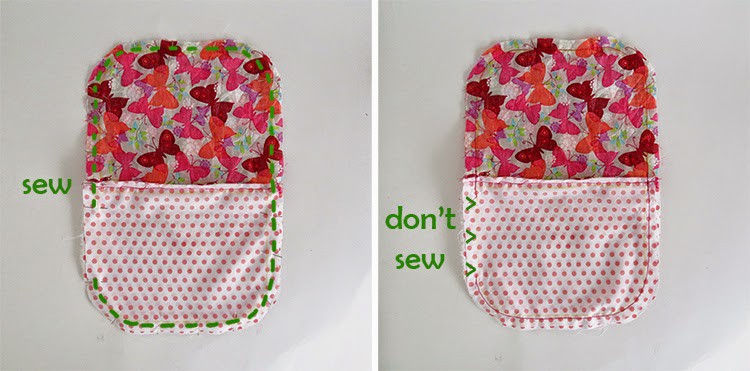
Return the pouch to have the zipper inside and the fabric on top of each other (liner on the liner and outside fabric on outside fabric) Pin along the edges and sew, leaving an unsewn gap in the liner to be able to return the pouch right side out.
* * *
Retornas la bolsa para tener la cremallera en el interior y la tela arriba una de la otra (forro sobre forro y la tela exterior sobre la tela exterior) Fijar con alfileres y coser, dejando un hueco sin coser para poder retornar la bolsa.
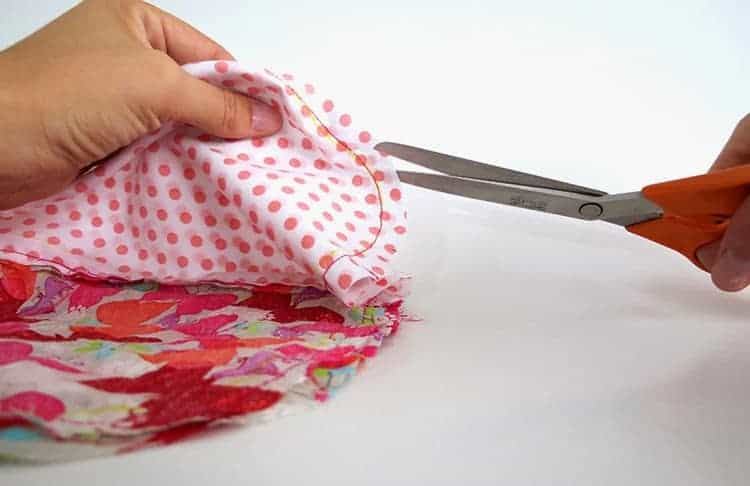
If necessary, make small incisions in the corners.
Si necesitas, puedes hacer pequeños cortes en las esquinas.
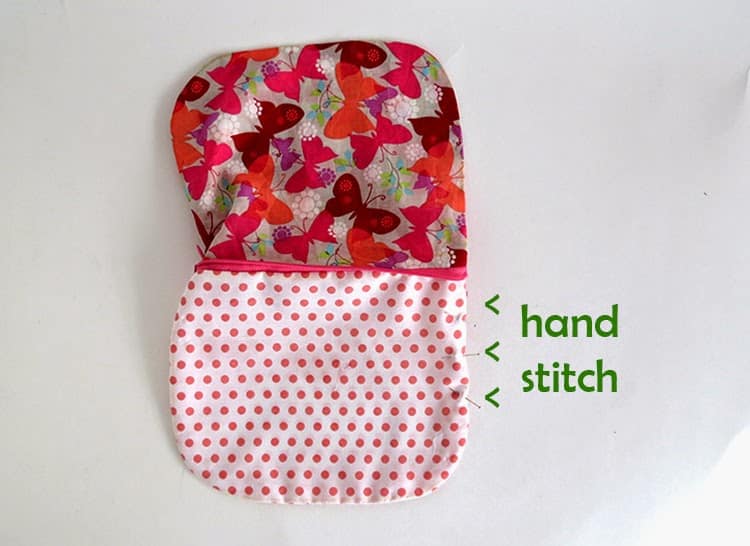
Turn the pouch inside out, and close the liner gap with some hand stitches.
* * *
Retornas el estuche hacia afuera, y cerras el forro con algunas puntadas a mano.
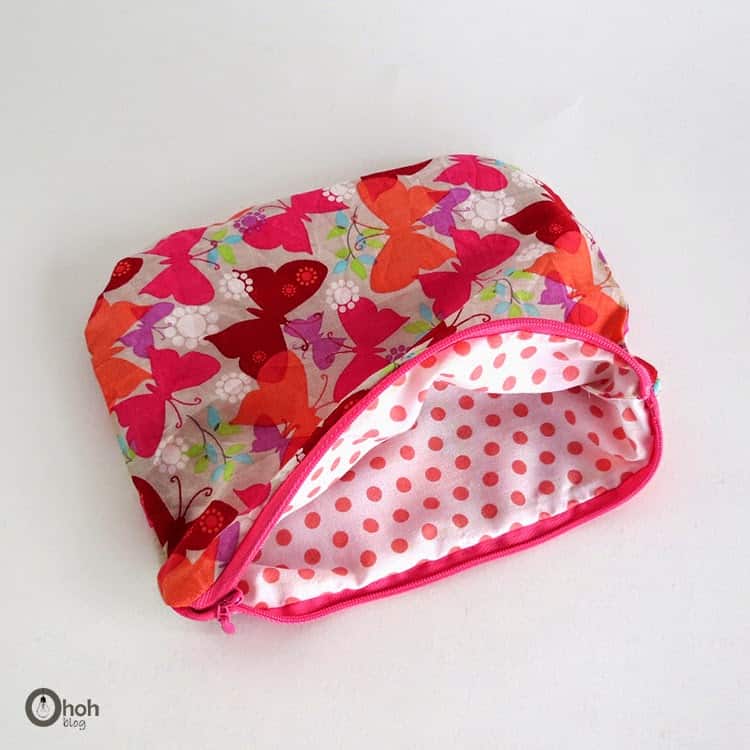
Iron and done!! I like small pouches. I always have one in my messy handbag to keep my stuff organized. It could also be a cute handmade gift for Christmas, or you can use it as a pretty gift wrap.
As you need little fabric to make a pouch, it’s the perfect sewing project to use your scrap fabric. The pouches I made are 8×7 inches, but you can easily adapt the measurement to make smaller or bigger ones. You can also use this tutorial to sew a pencil case.
* * *
Plancha y listo !! Me gustan los pequeños bolsillos. Siempre tengo uno en mi bolsa de mano para guardar cositas. También podría ser un lindo regalo hecho a mano para la Navidad. O lo puedes utilizar como envoltura para un regalo pequeño!
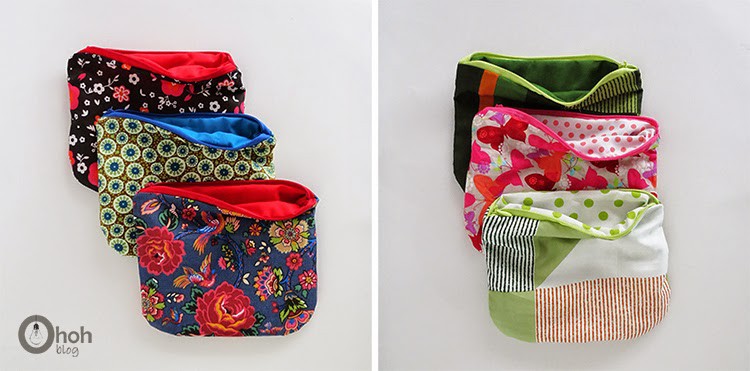
Looking for more sewing ideas?
You will find all the tutorials featured in this video on my Best off-page.
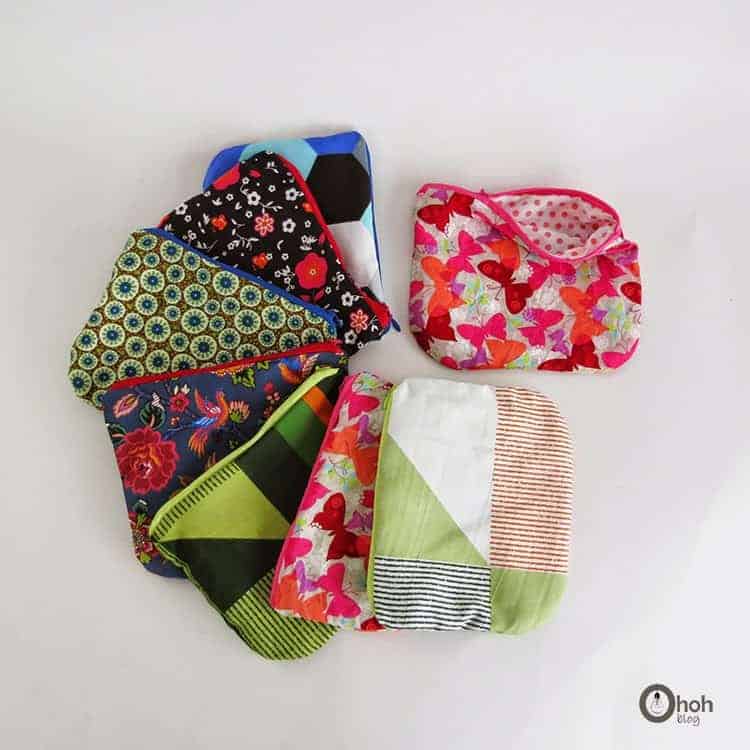
Want to remember it? Save this Easy to sew pouch tutorial in your favorite Pinterest board.

You may also like this sewing project:
Amaryllis
nbarry
Thursday 30th of April 2020
I love your patterns and would love to have a .pdf to follow.. am I missing the opportunity to download this? I do not have on-line connection in my studio so following this tut. is not possible. thanks
amaryllis
Thursday 30th of April 2020
Hello, I don't have a pattern for the pouch. You have to cut the rectangles the size you like depending on the dimension of the pouch you want to sew.
Lynn Halliday
Monday 11th of April 2016
Thank you for your perfect tutorial, I always forget which way round the fabric needs to be, I have spent hours unpicking haha, putting your to my save list,
Lynn
Ama Ryllis
Tuesday 12th of April 2016
I know and it so frustrating when it happens...I hate unpicking! I'm glad the tutorial helps!
Anneliese
Sunday 4th of January 2015
Thanks for this nice tutorial!
Anonymous
Tuesday 18th of November 2014
I am going to make some for Christmas.Great! Thank you!
Anonymous
Tuesday 18th of November 2014
These are just darling, and I am going to make some for Christmas.