One thing I struggle with is the toys storage. I try to keep the mess under control but being honest it’s far from easy. As our baby girl will turn 8 months in a few days, we took out the baby toys again. We also have to be careful that she can’t grab the small toys of my oldest kids. So toys management is a real work around here, I’m sure most of you know what I’m talking about!
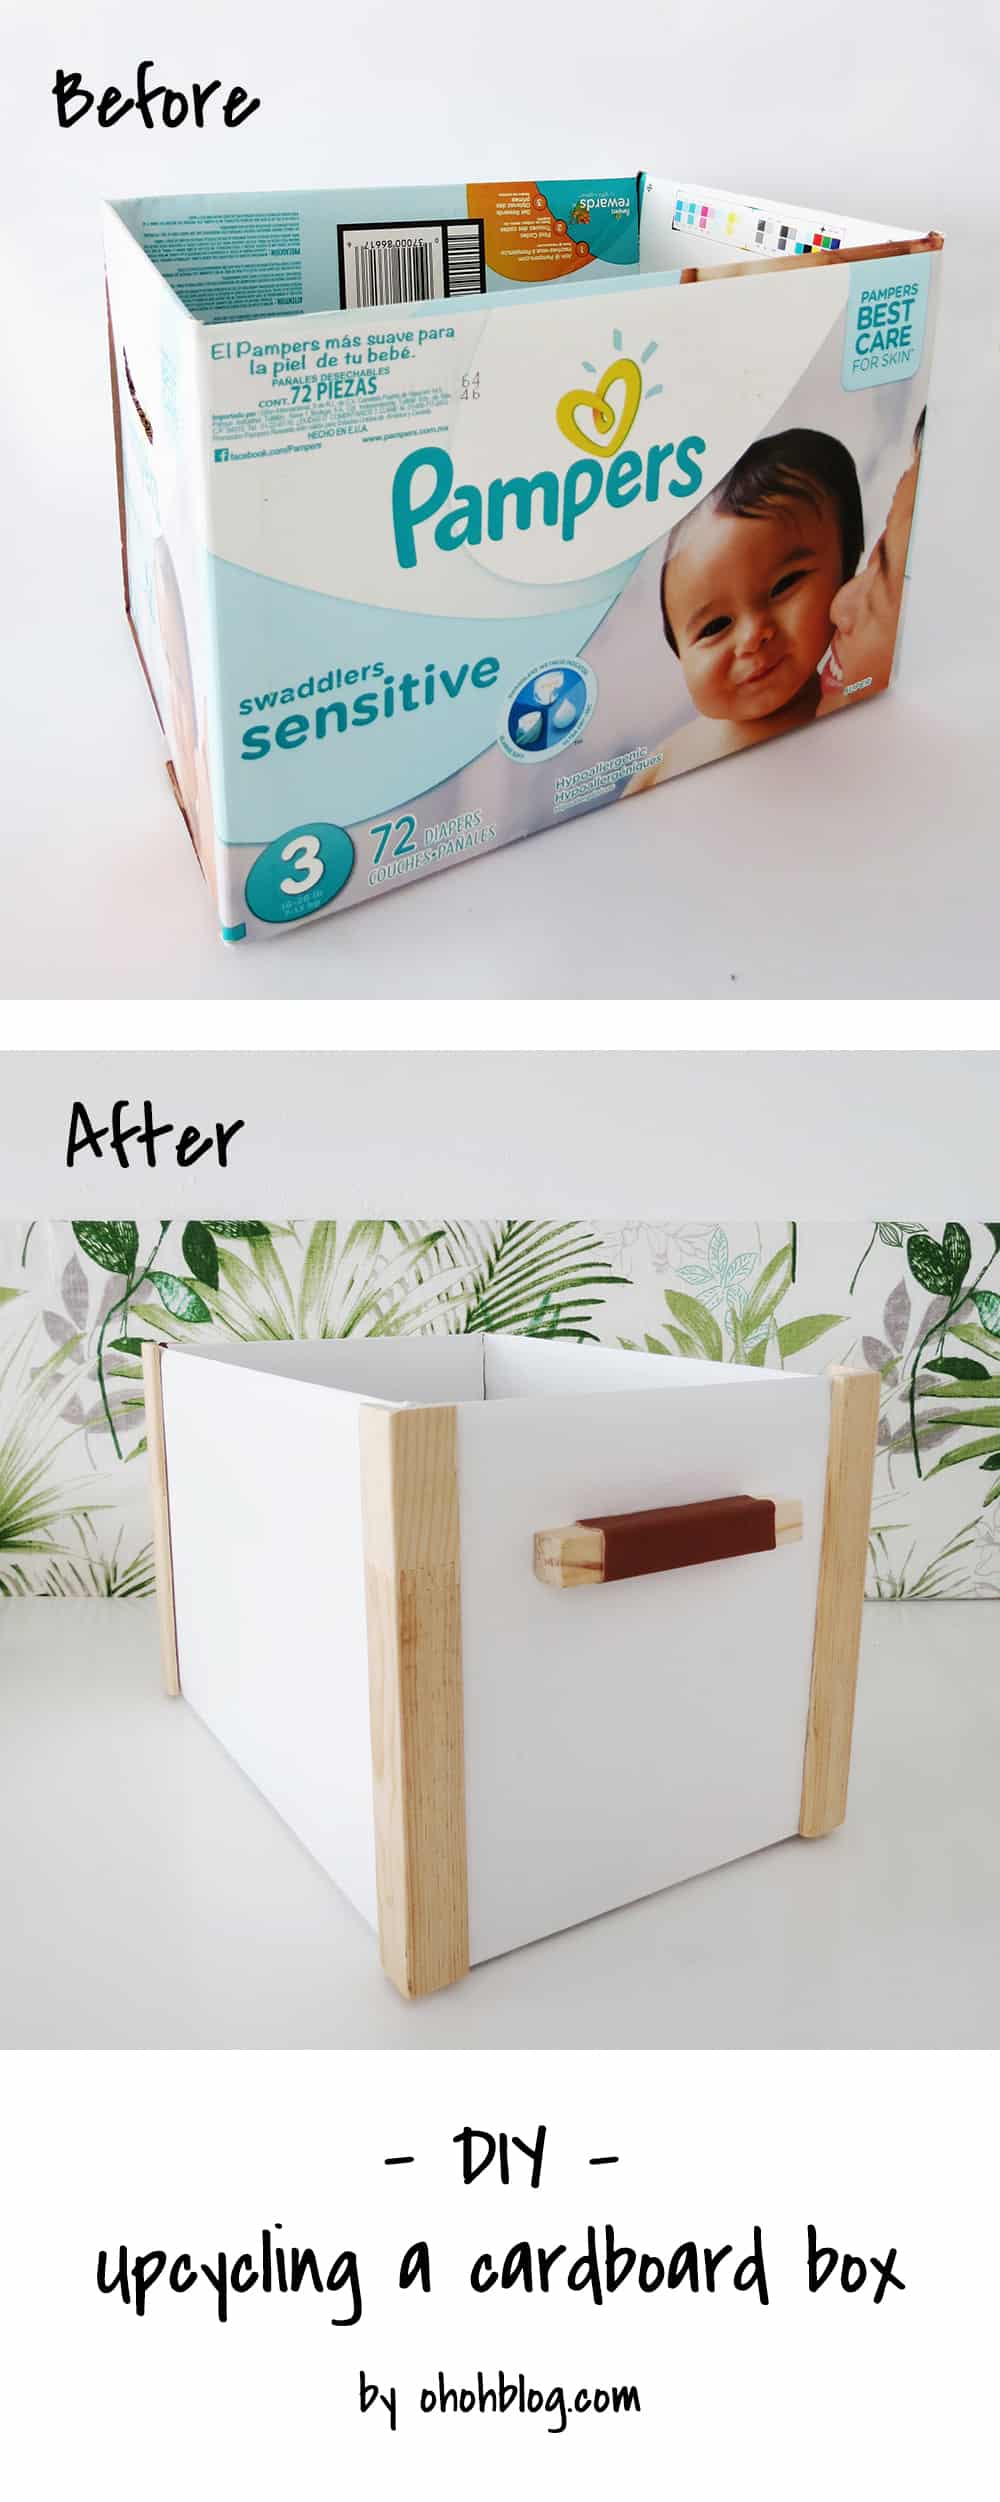
It always helps to have a few boxes on hand to quickly store the toys laying around. And nothing better that a recycling project to make some cheap, but pretty, storage boxes. I used what I have around: a diaper box, it has nice dimensions and it’s quite sturdy. But of course, It will work with any cardboard box you have around.

[AdSense-A]
Material and tools you need to recycling your box:
- A cardboard box
- White paint
- A brush
- L shaped wood trim
- a small piece of square section dowel
- a piece of faux leather
- a hand saw
- sanding paper
- wood glue
- silicone glue
- Possibly some trigger clamps
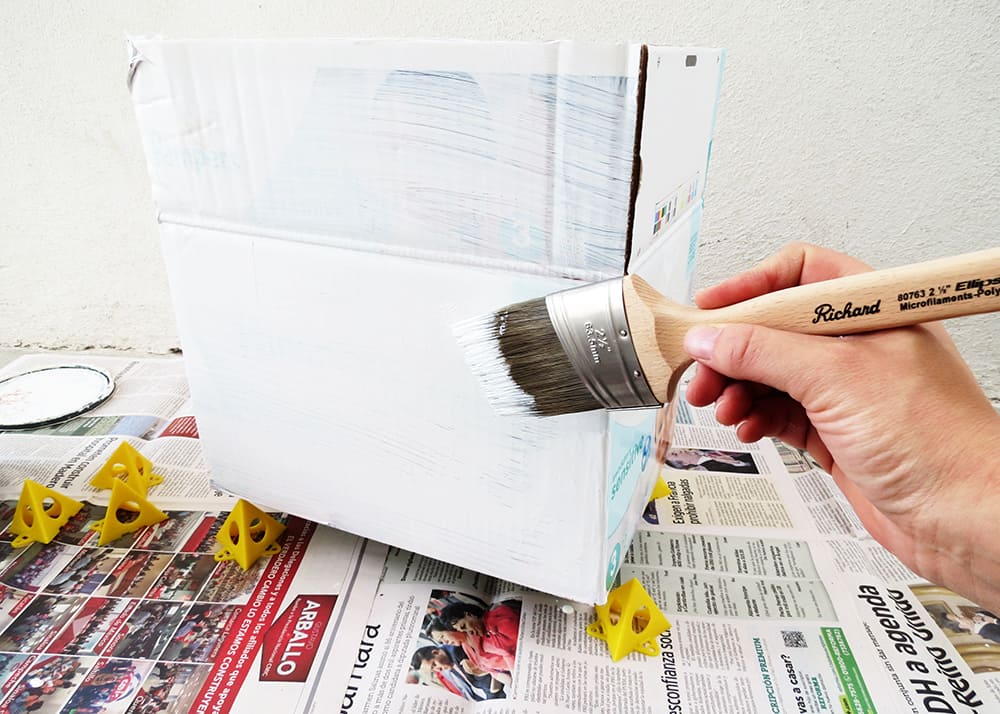
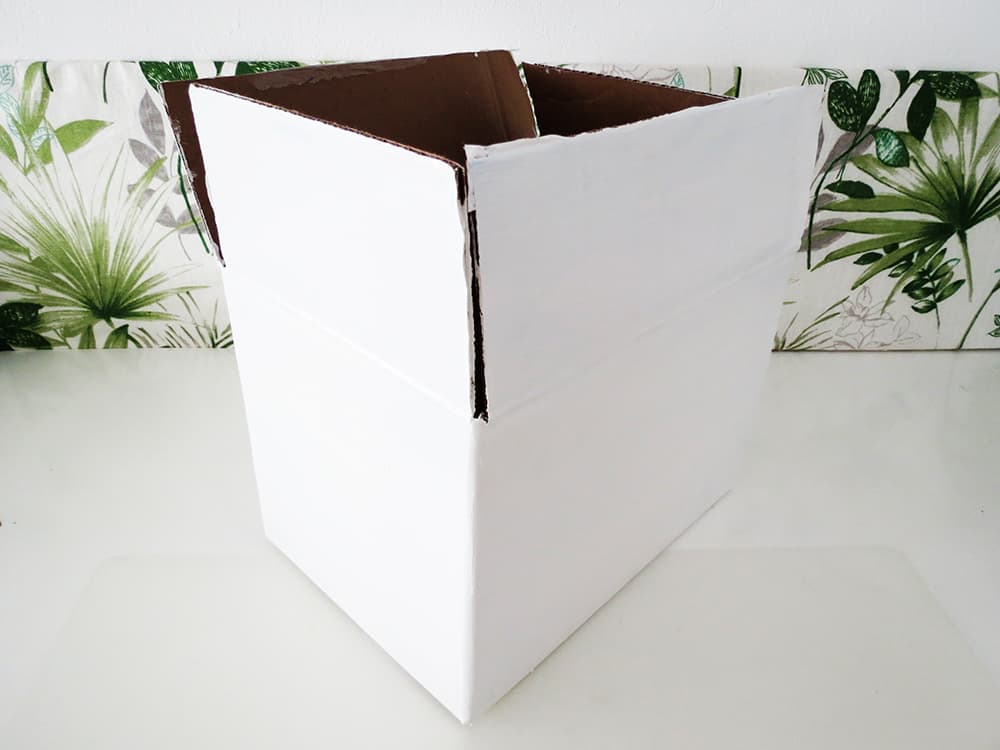
Start by painting the box with a few coat of white acrylic paint until the box design is completely covered. I didn’t paint the inside, lazy me, but it definitely looks better if you do. As you can see I painted the flaps because I wanted to fold them inside to have a nice edge on the top and also to make the box a little more sturdy!
Did you noticed the small yellow pyramids? When I received them from Hyde, I thought it was just a useless gadget…As this project involve some painting I decide to give them try! These little things make the all painting work much easier. Usually, I paint one side then I wait for the paint to dry and then I flip the box, of whatever I’m painting, and start painting an other side and so on…As I’m not the most patient person it happen quite frequently that I turn the object before all the paint is completely dry, so there is always one or two little spots which remain sticked on the newspaper…it makes a mess and you have to paint again… you know what I mean! I placed 4 pyramids under the box, painted it in one time and no newspaper sticked on the bottom 🙂 So if you like quick and easy painting work those little things can help!
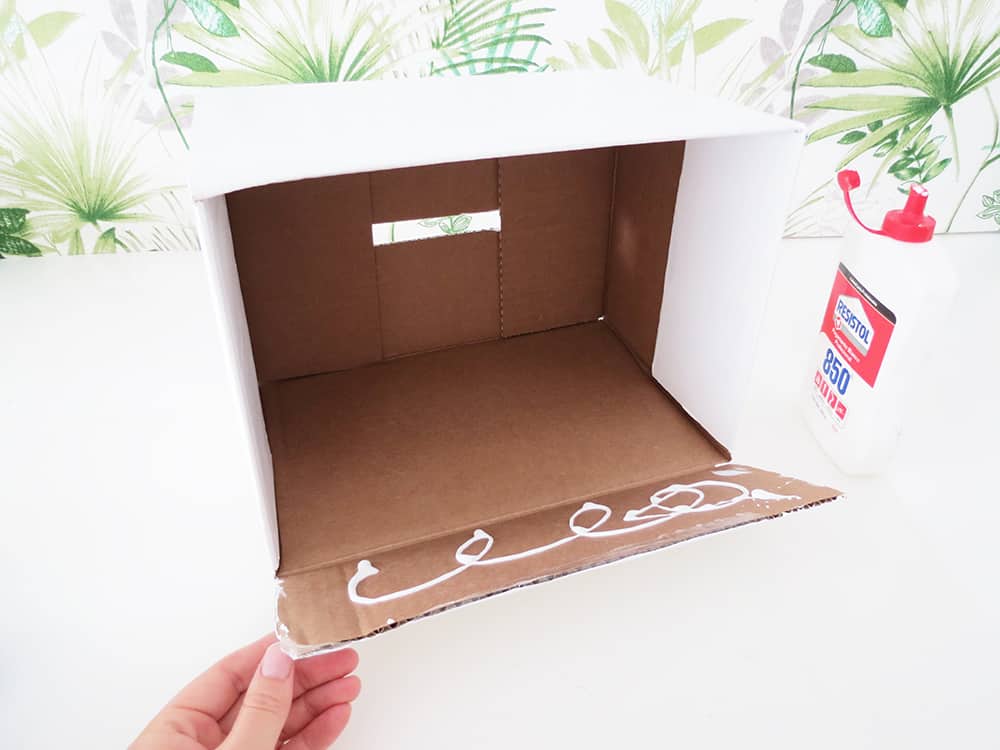
Once the box is paint, glue the flaps inside the box.
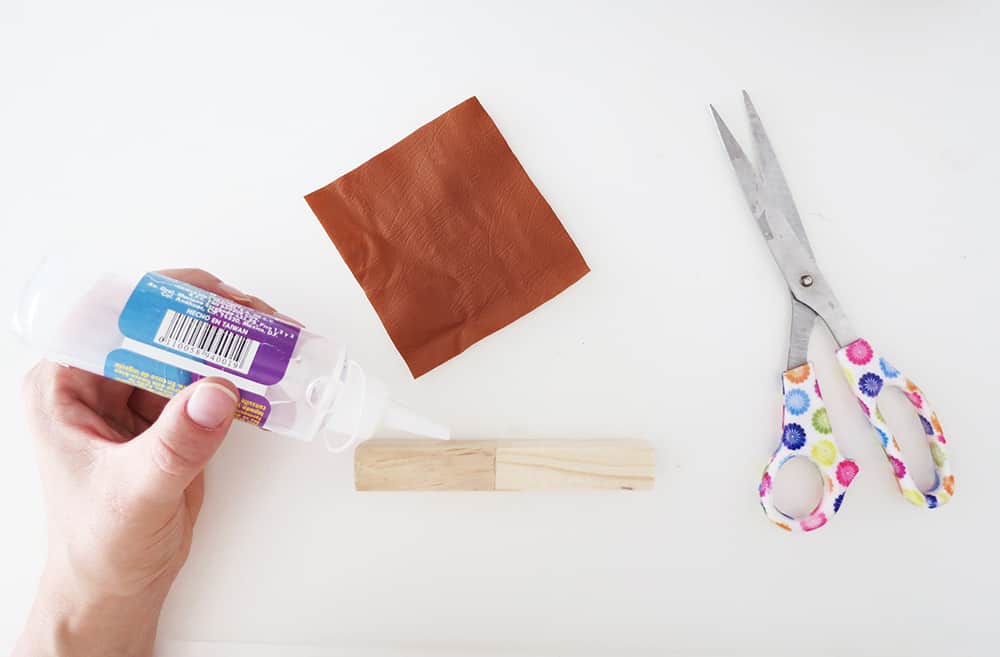
To make the handle, cut a piece of square section dowel. To look nice, the lenght of the handle must be more or less half of the box width. Cut a piece of faux leather and wrap it around the wood. I used silicone glue to fix the leather on the wood.
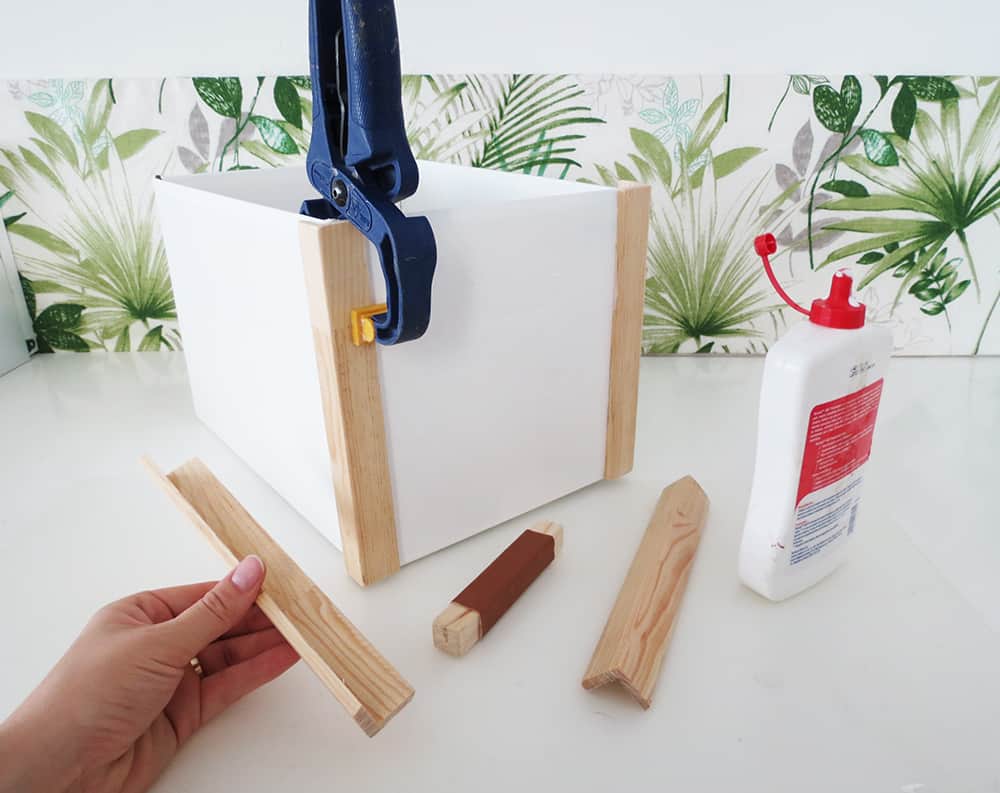
Cut 4 pieces of the L wood trim, the lenght of the wood pieces is the same as the box high. And glue a piece of wood on each corner of the box, hold with some clamps while the glue dries. If you wonder you can find L shaped wood trim in your hardware store, likely in the “doors” or “carpentry” aisle. Also glue the handle in the center of one side.
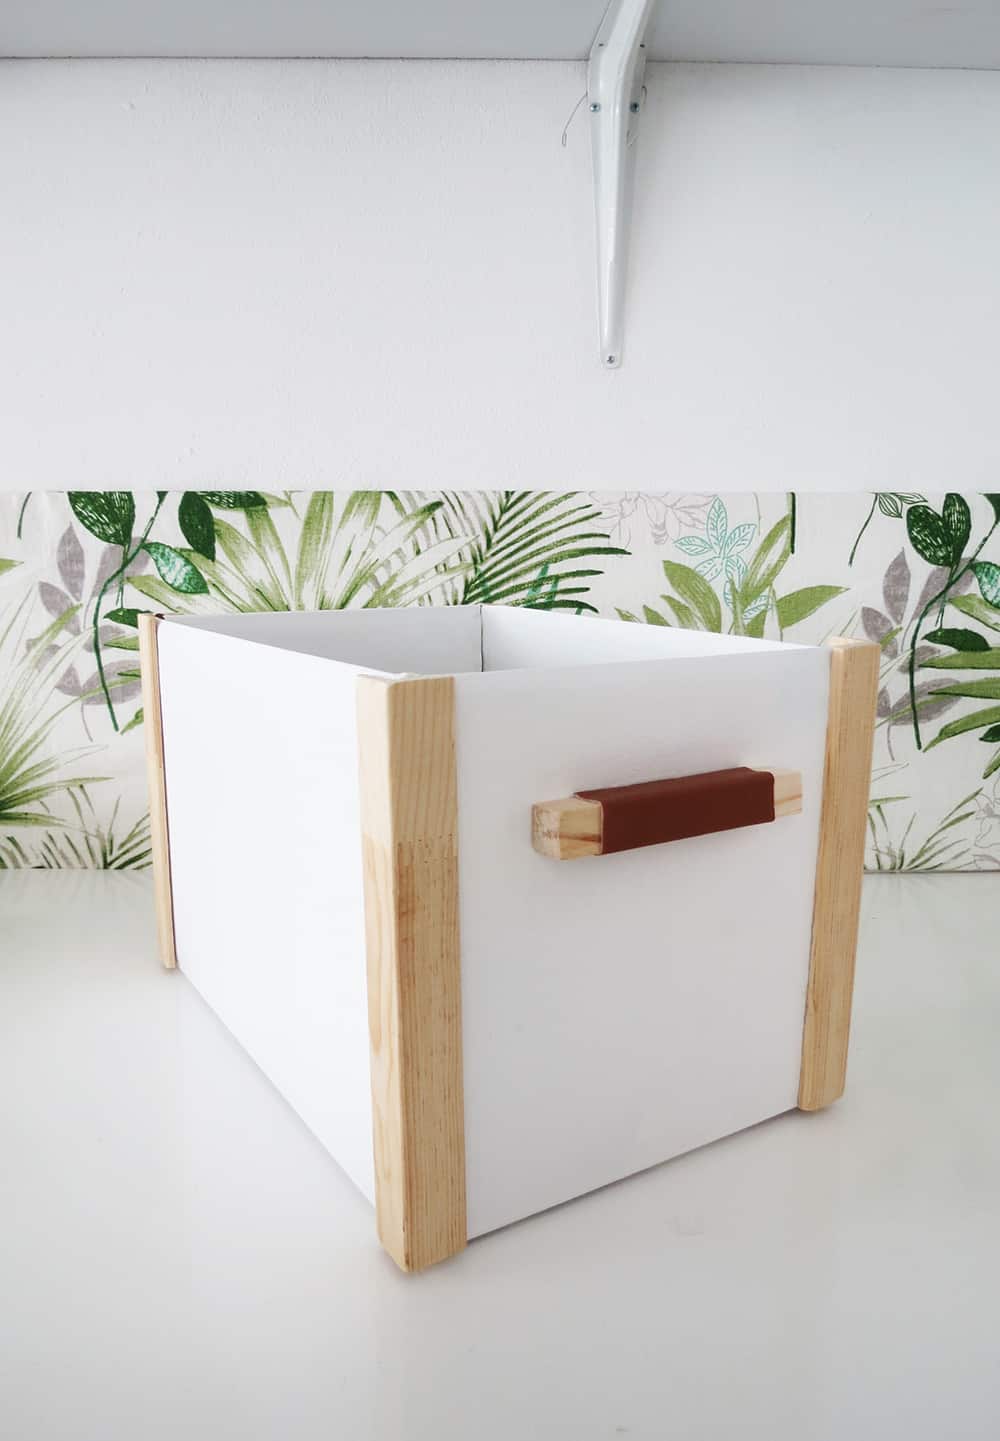
And done! A pretty box storage at almost no cost!
[AdSense-B]
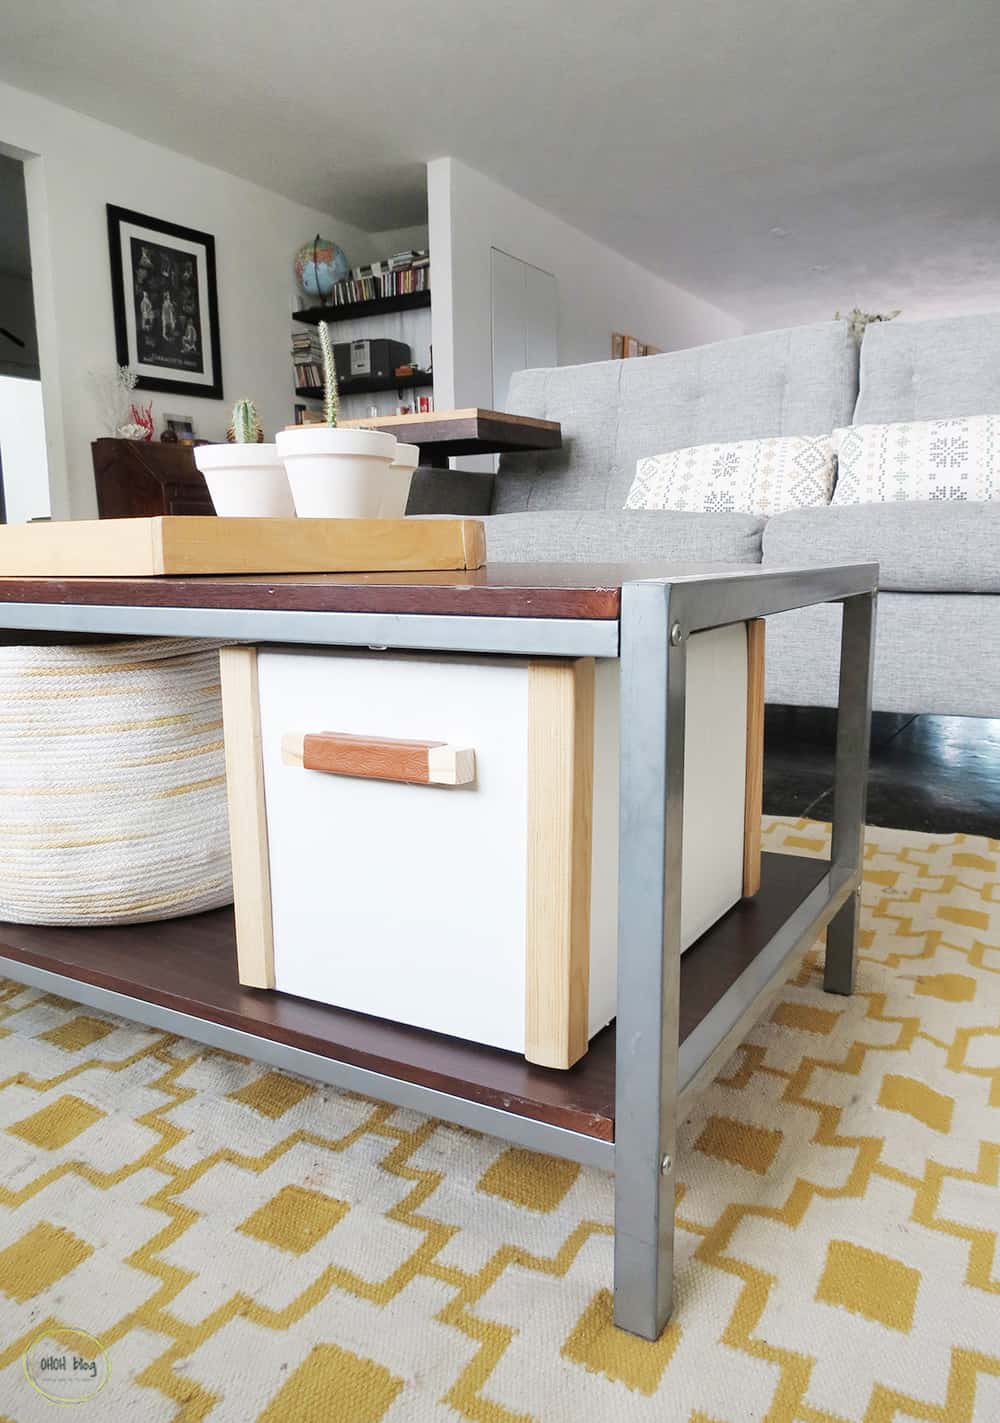
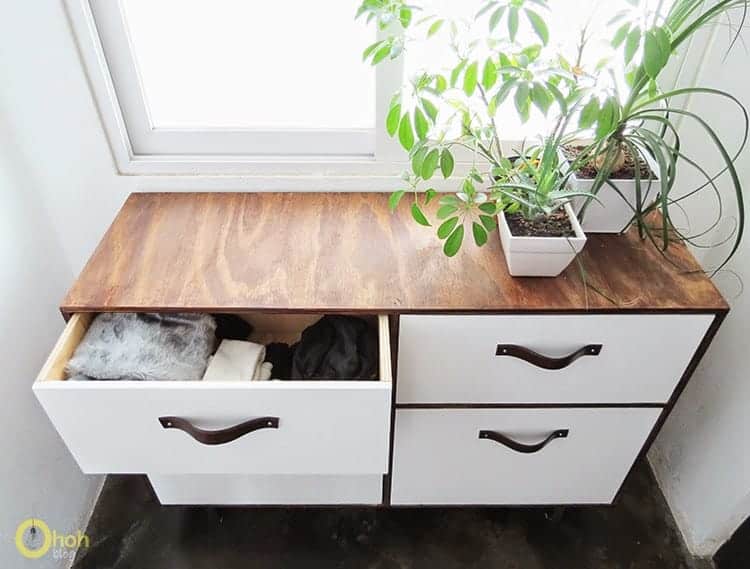
I first planed on using the box in the living room dresser, but it didn’t fit well. So I tried several places, and it turns out that it fit perfectly in the coffee table! Lucky me 😉
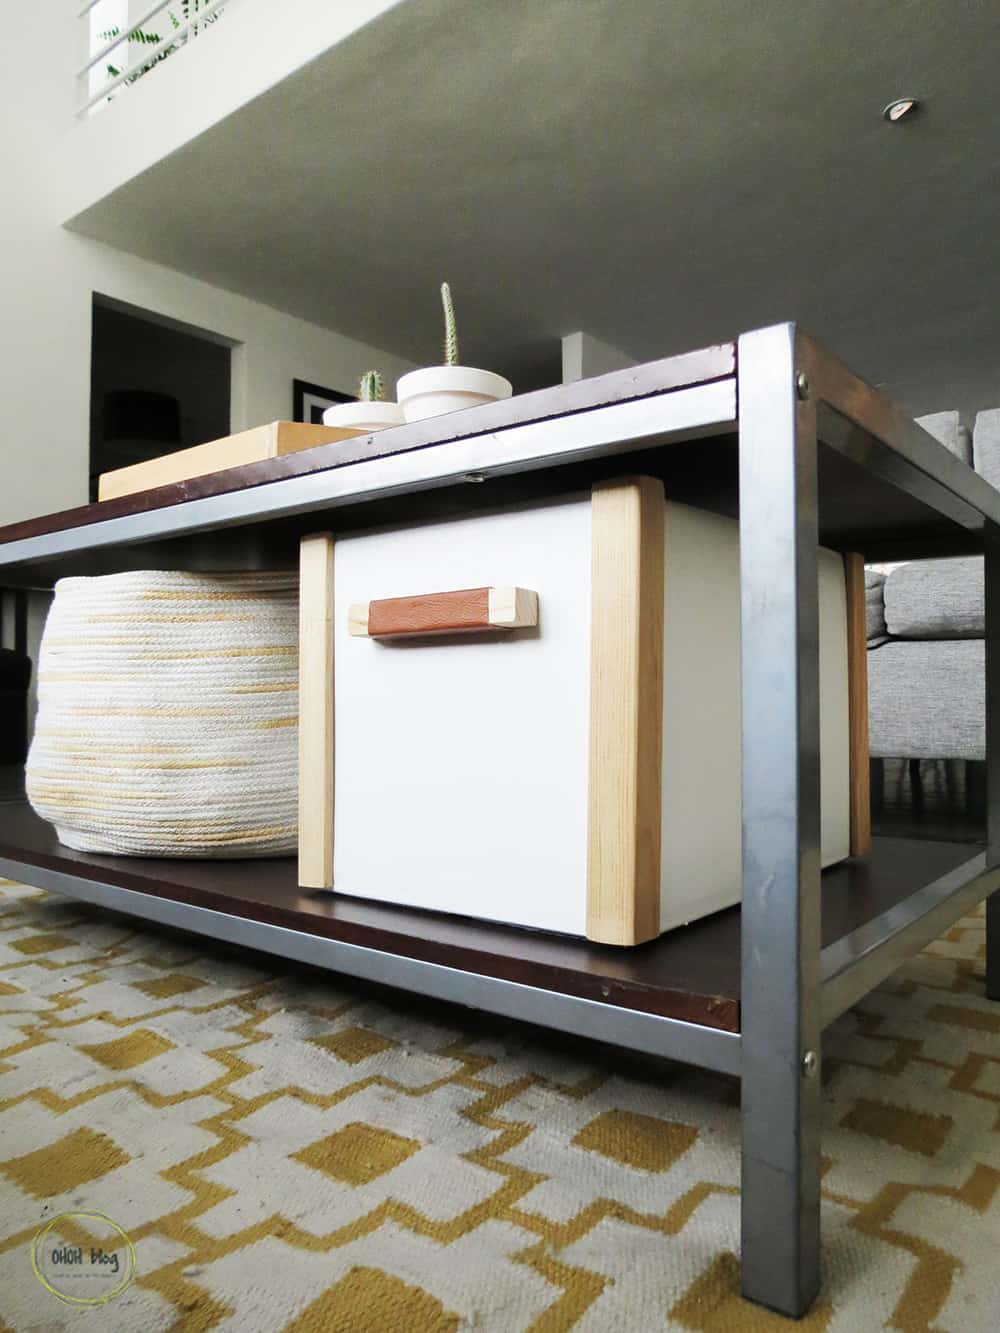
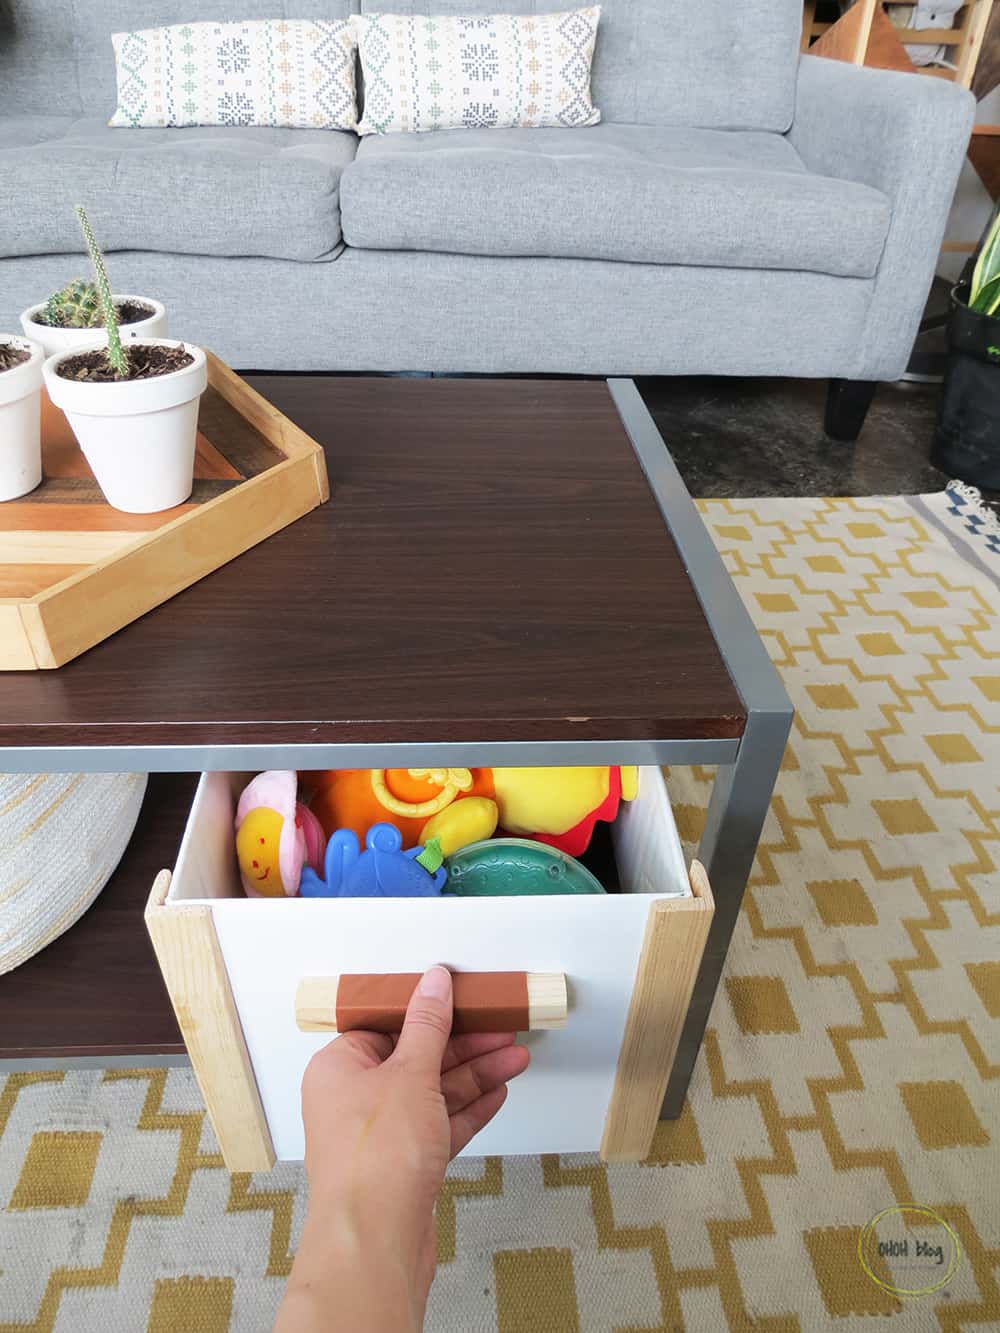

Can you spot all the DIY in this pic? A little help, there are 5 in addition to the box!
Pin it for later!
You will find all the tutorials featured in the video on my “Best DIY” page.
Amaryllis
Heeee bonne idée ce rangement à portée de main ! Emmy va y ajouter des dessins ? ?
Bisous !
Wow! Now I can make those storage boxes I made out of baby milk cartons a lot fancier.
Hello Diane, What a nice blog you have…I try to find the milk carton you made, I couldn’t find them! Did you publish them on your blog? I love to see what other made! 🙂
The idea of storing stuff in a used box is great for reusing waste, but the way you have upcycled this box is truly brilliant! It absolutely fabulous! Pinning now:)
Thank you Michelle! Simple DIY are always the best ones 😉
Idea was simply superb!
They look great! Very nice and informative guide, Now I can make easily cardboard box for my home
I liked a lot. I also interested in making these things in free time. Thanks for your post.
Great use of cardboard. After recycling it definitely looks pretty and also changes the look of the place where we keep it. Thanks a lot for giving such ideas.
Thanks Emma!
Hola Amaryllis,
Que caja tan elegante te ha quedado solo con ponerle las esquinas de madera :D. He de buscar esas cositas amarillas, jajaja, son lo mas. Yo también me impaciento esperando que seque la pintura, jajaja, a veces toco suavemente con el dedito para ver que la pintura ya no se pegue y bueno….puede acabar mi huella en el objeto jijiji.
Besote!!!!
Hola Ayla, gracias! Yo tambien siempre toco la pintura, y igual dejo una huella, luego vuelvo a pintar para tapar la…y dura aun mas tiempo…Jajaja. Mejor hago otra cosa mientra se seca la pintura!