
I’m kind of getting a little crazy about indoor plants. Almost every time I run into the hardware store I end up buying an extra plant…And the best part is that I manage to keep them alive, which was very unlikely a few years ago! I use what I have in hand to water them, a glass or a bottle…but with the number of plants growing a watering can was required! I looked around in stores and I only found some plastic ones. As I didn’t want to buy more ugly plastic I just decided to turn a container into a practical watering can.
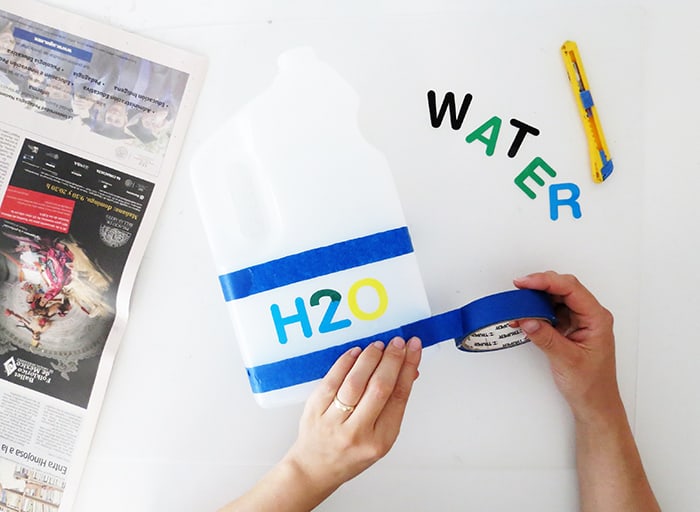
Material you will need: One gallon plastic bottle with cap (mine was from vinegar), a small piece of copper pipe, hacksaw, universal glue, a cutter, some spray paint, and tape.
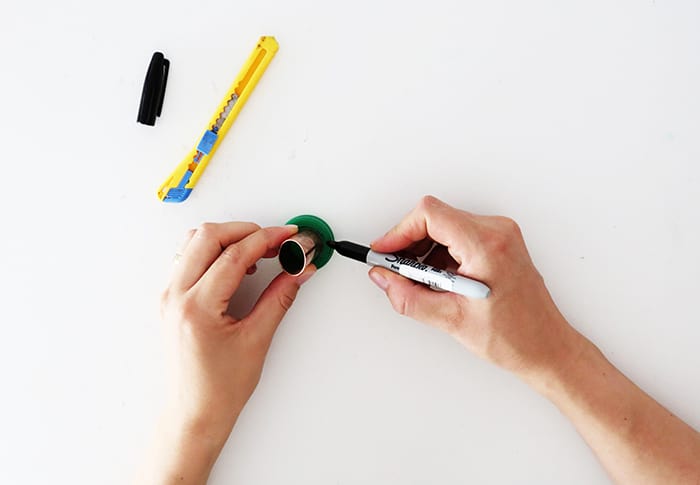
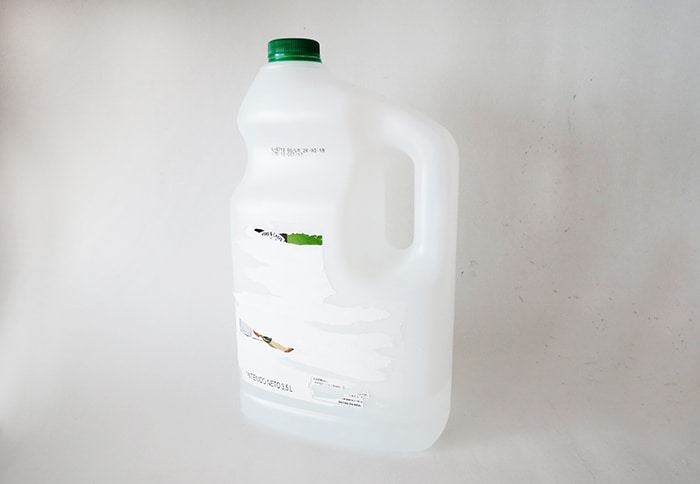
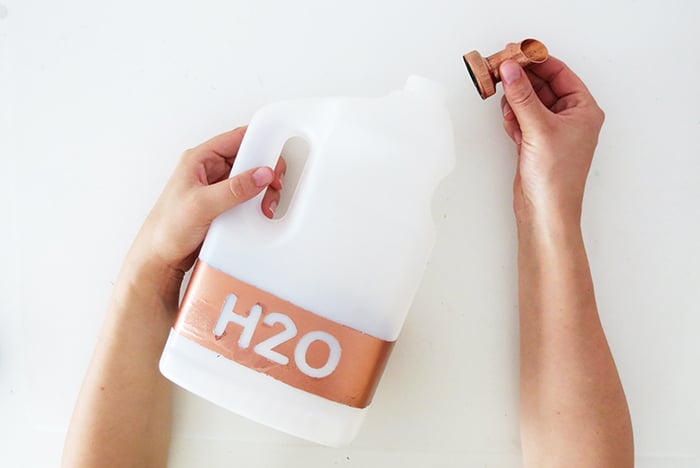
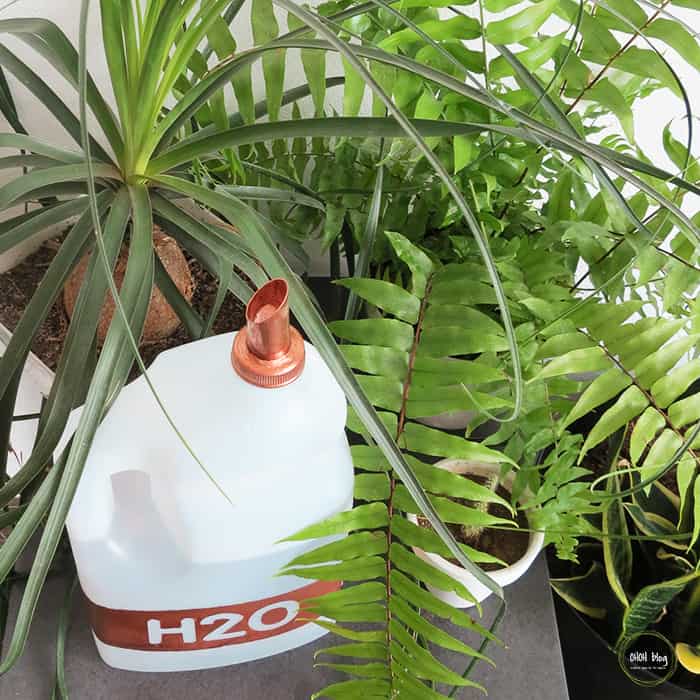
You first need to clean the plastic bottle and remove the label. Then you can start making the tip of your watering can. Take a piece of copper pipe of 4 inches long (10 cm) and, using a hacksaw, cut one end at a 45 degree angle. Place the straight end of the pipe on the bottle cap and mark the pipe perimeter on it.
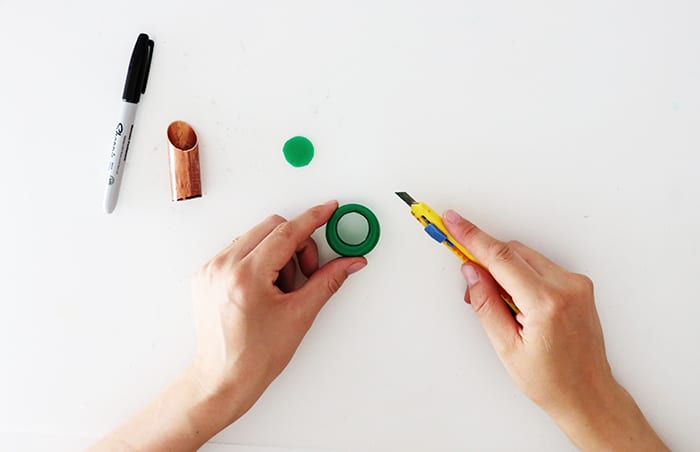
Using a cutter, slowly cut the circle out of the cap center.
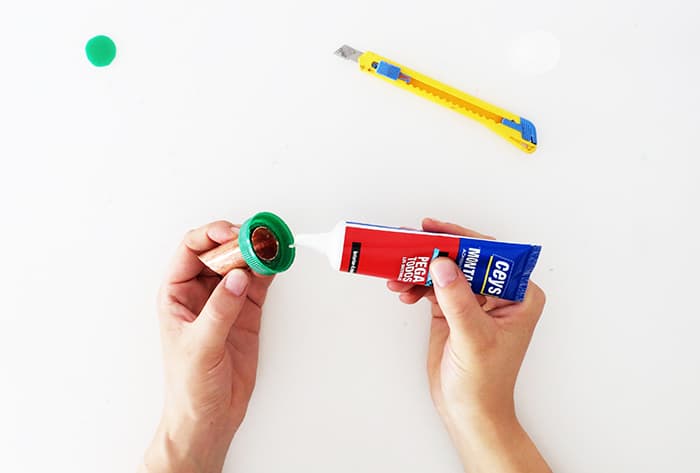
Apply some glue on the edges and fix the pipe with the cap. I will suggest to apply glue inside and outside and respect the drying time of the glue before starting next step. Be careful and don’t put glue on the cap screw thread.
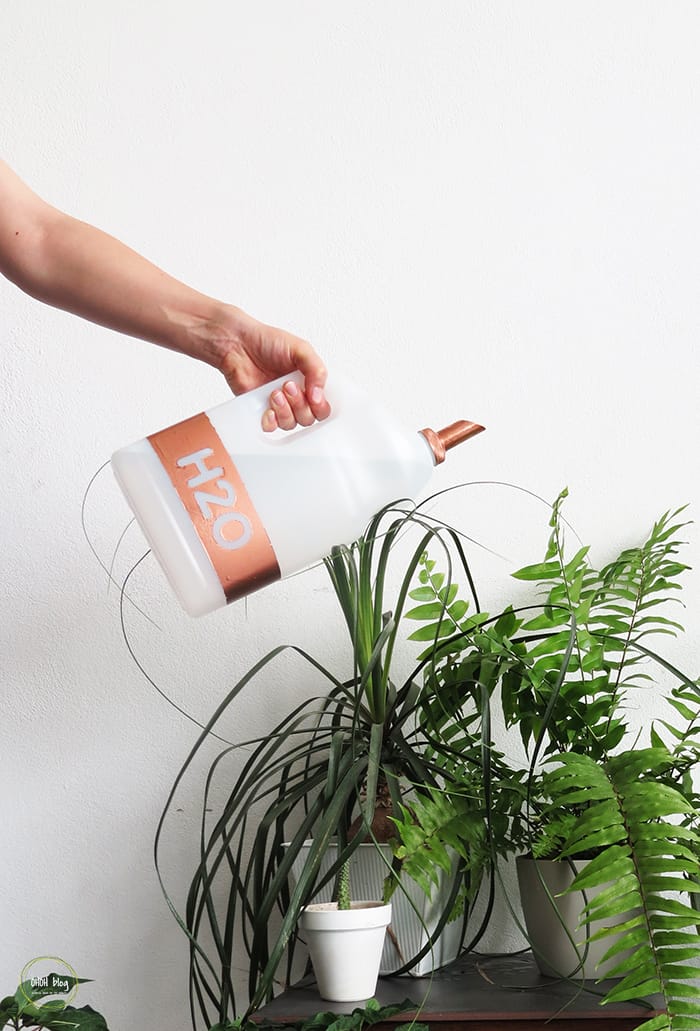
To make the bottle look nicer I decided to add some copper paint. It works but it wasn’t the best way to do it. the paint peel off a little when I took the tape off. It may work better just adding some nice adhesive paper. Let me know how it works if you give it a try.
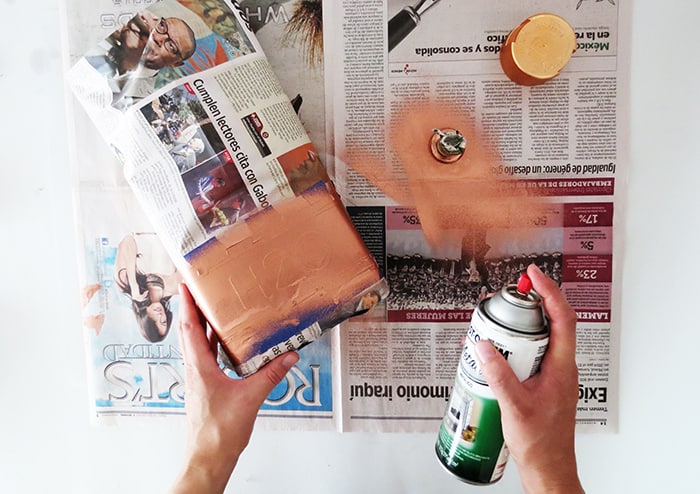
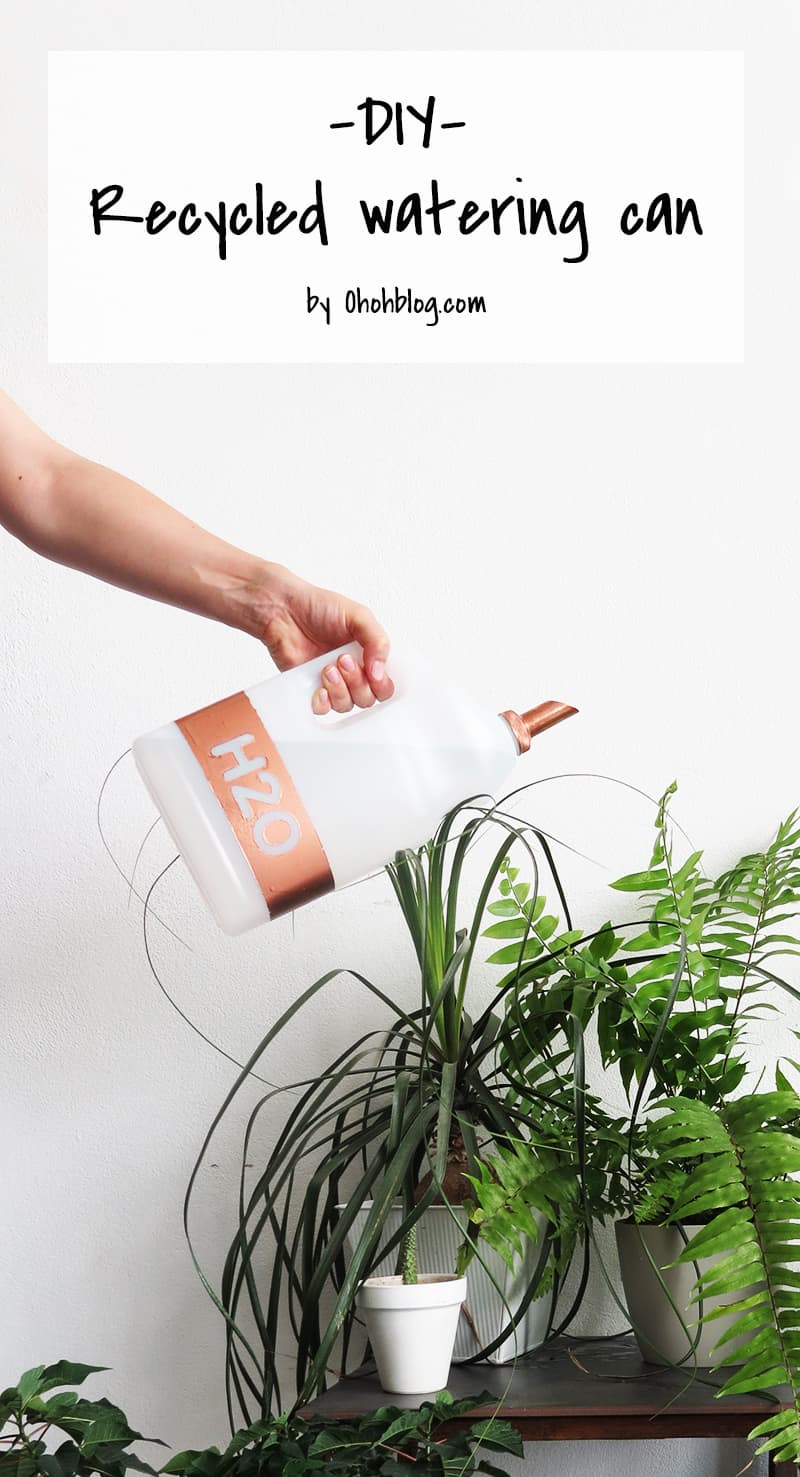
So I covered the part I didn’t want to paint with tape and newspaper, I added some adhesive letters to write H2O. I also spray paint the bottle cap. I applied 2 coats of paint. Once it was dry, I carefully and slowly remove the tape. I help myself using the cutter because, as I said, in some part the paint tend to peel off. Maybe it wouldn’t happen If I had used a primer coat.
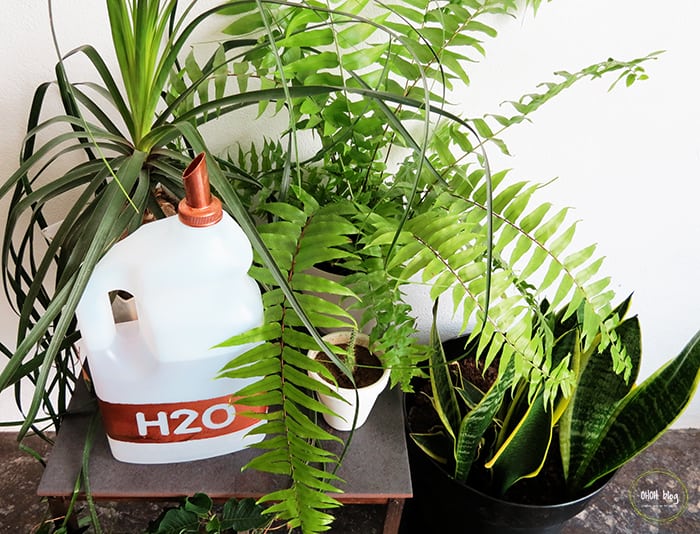
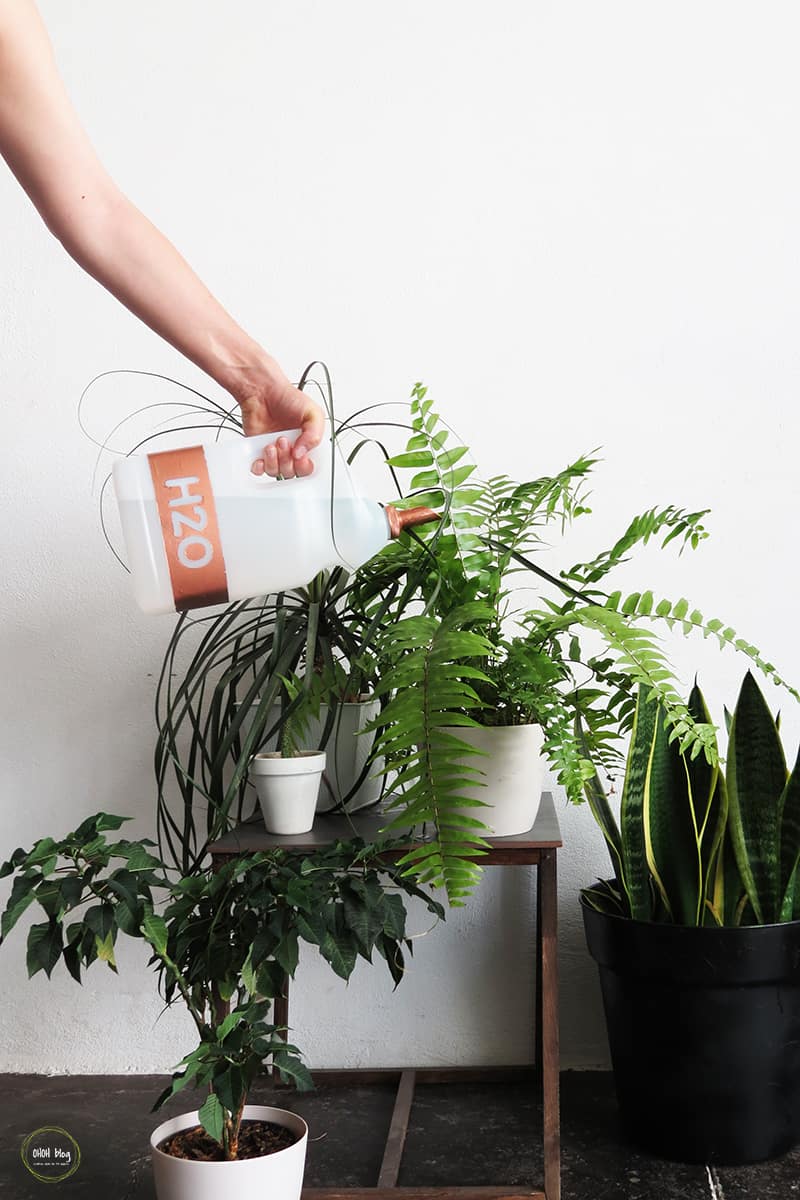
And done! You can easily unscrew the tip cap to fill your bottle and start watering all your plants.
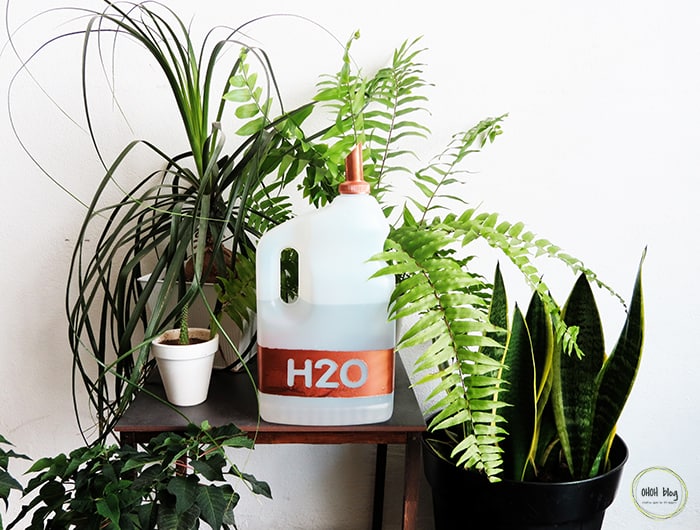
The small side table on the pics is also a DIY, you can see more of it HERE.
If your like it, please, share and make your friends enjoy this post!
You will find all the tutorials featured in the video on my “Best DIY” page.
Amaryllis
Melody
Thursday 22nd of June 2017
I love this! I've just been using an empty milk jug, but I like how you jazzed it up!
Ama Ryllis
Thursday 29th of June 2017
Thanks Melody! The copper pipe addition is very practical to avoid splashing water all over.