Halloween decorating does not need to take all day or cost a lot of money. With a few recycled materials, basic craft supplies, and things you may already have at home, you can create five easy DIY Halloween decorations in five minutes each.
These little projects are perfect for adding a spooky but cute touch to a table, mantel, doorway, or fall garland.
[ This post probably contains affiliate links; our full disclosure policy is boring, but you can read it HERE ]
What You’ll Learn
- Paper doilies and LED lights make sweet glowing ghosts for tables or garlands.
- Egg cartons, twigs, and twine create inexpensive witch hats and miniature brooms.
- Toilet paper rolls can become a pumpkin garlands with simple paint and glue.
- Stuffed orange balloons can become a cute mini pumpkin.
Table of Contents
- Gather Your Materials for These Easy Halloween Crafts
- 1. Make Paper Doily Ghosts That Glow
- 2. Turn an Egg Carton into Mini Witch Hats
- 3. Create Mini Witch Brooms with Twigs and Twine
- Combine Witch Hats and Brooms into a Halloween Garland
- 4. Make a Toilet Paper Roll Pumpkin Garland
- 5. Shape Stuffed Balloon Pumpkins
- Display Your Handmade Halloween Decorations
Gather Your Materials for These Easy Halloween Crafts
You do not need every material for every project. Pick the craft you would like to make first, then collect the supplies for that one.
Reuse what you have, and do not worry if every little detail is not perfect. Handmade is part of the charm.
Material List
- White paper doilies
- Small polystyrene balls, about 4 to 5 cm wide
- A small glass or similar support
- A shallow container of water
- Black marker
- LED tealight candles or a string of fairy lights
- Empty egg carton
- Black paper and black acrylic paint
- Ribbon or lace trim
- Twigs or small branches from outside
- Jute rope, twine, or thick string
- A small piece of cardboard
- Scissors and craft glue or a hot glue gun
- Empty toilet paper rolls
- Orange paint
- Orange balloons
- Cushion filler or stuffing
- Orange yarn or string
- Green pipe cleaners
- Green crepe paper
Use a low temperature glue gun carefully, especially around small fingers. For the glowing ghosts, always choose LED lights rather than real candles.
1. Make Paper Doily Ghosts That Glow
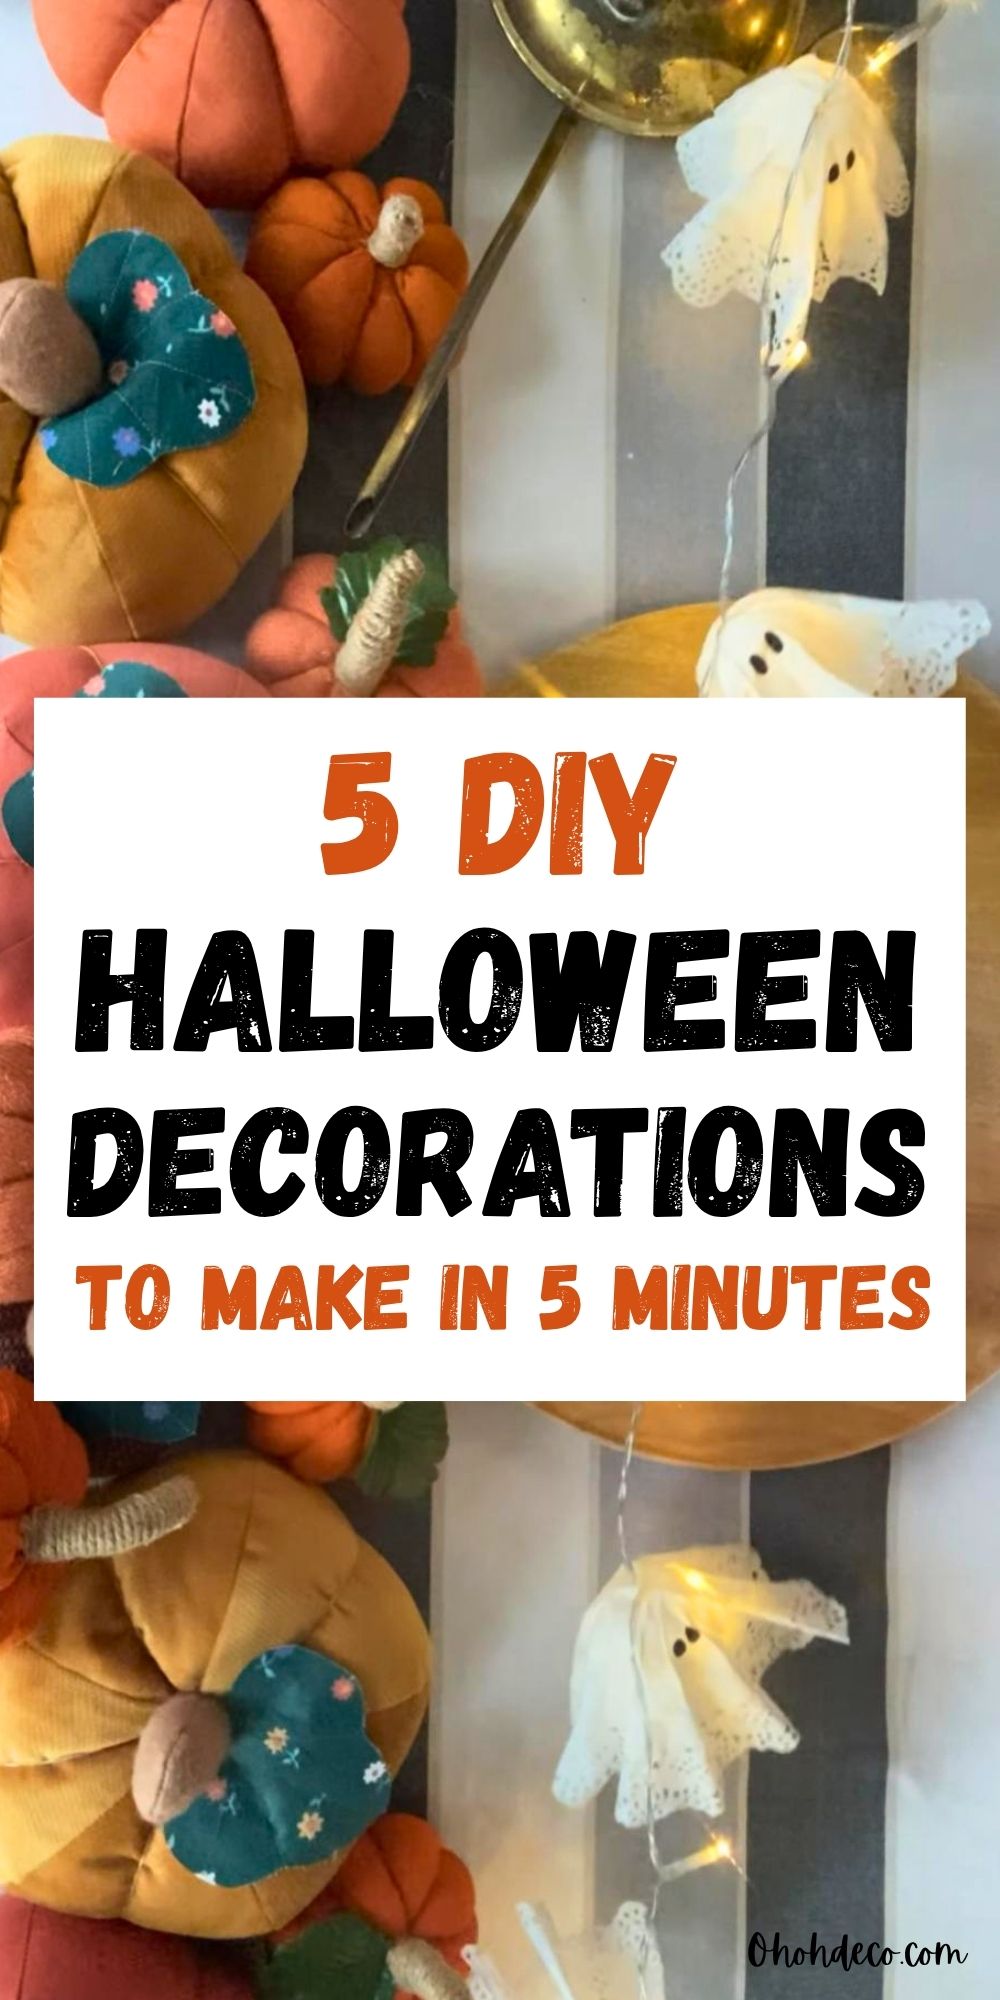
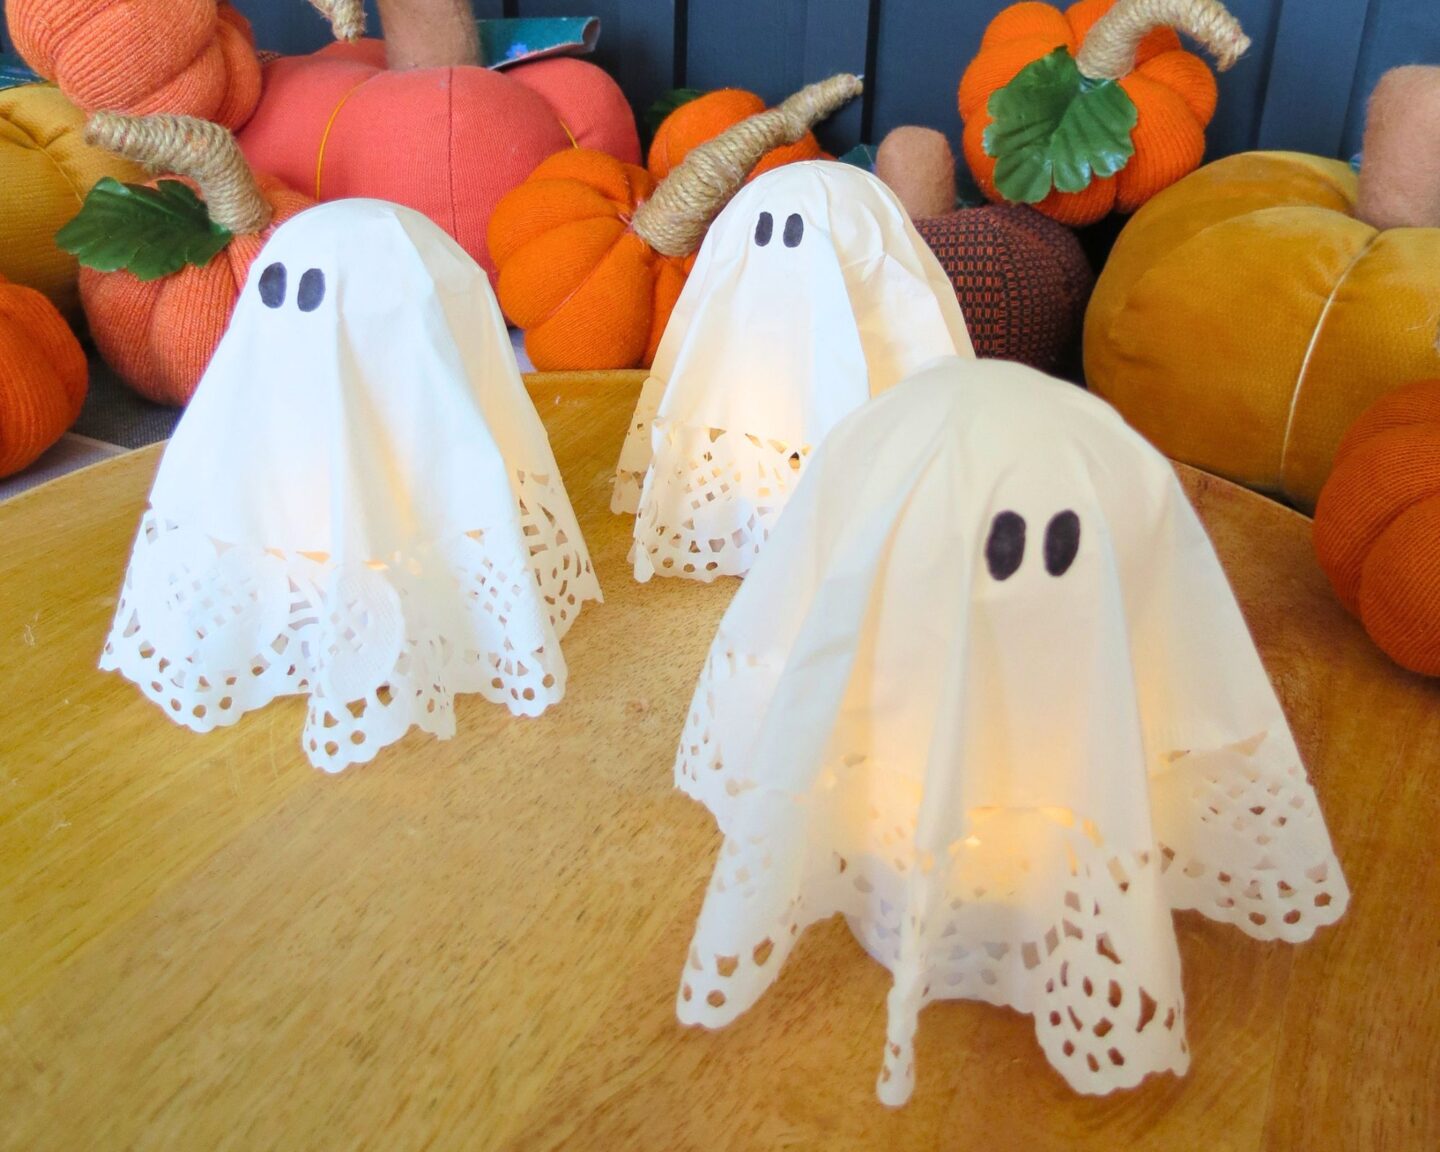
These paper doily ghosts are one of the sweetest DIY Halloween decorations for a table centerpiece.
Start by placing a small polystyrene ball on top of an upside down glass. The glass acts as a simple stand and keeps the ball steady.
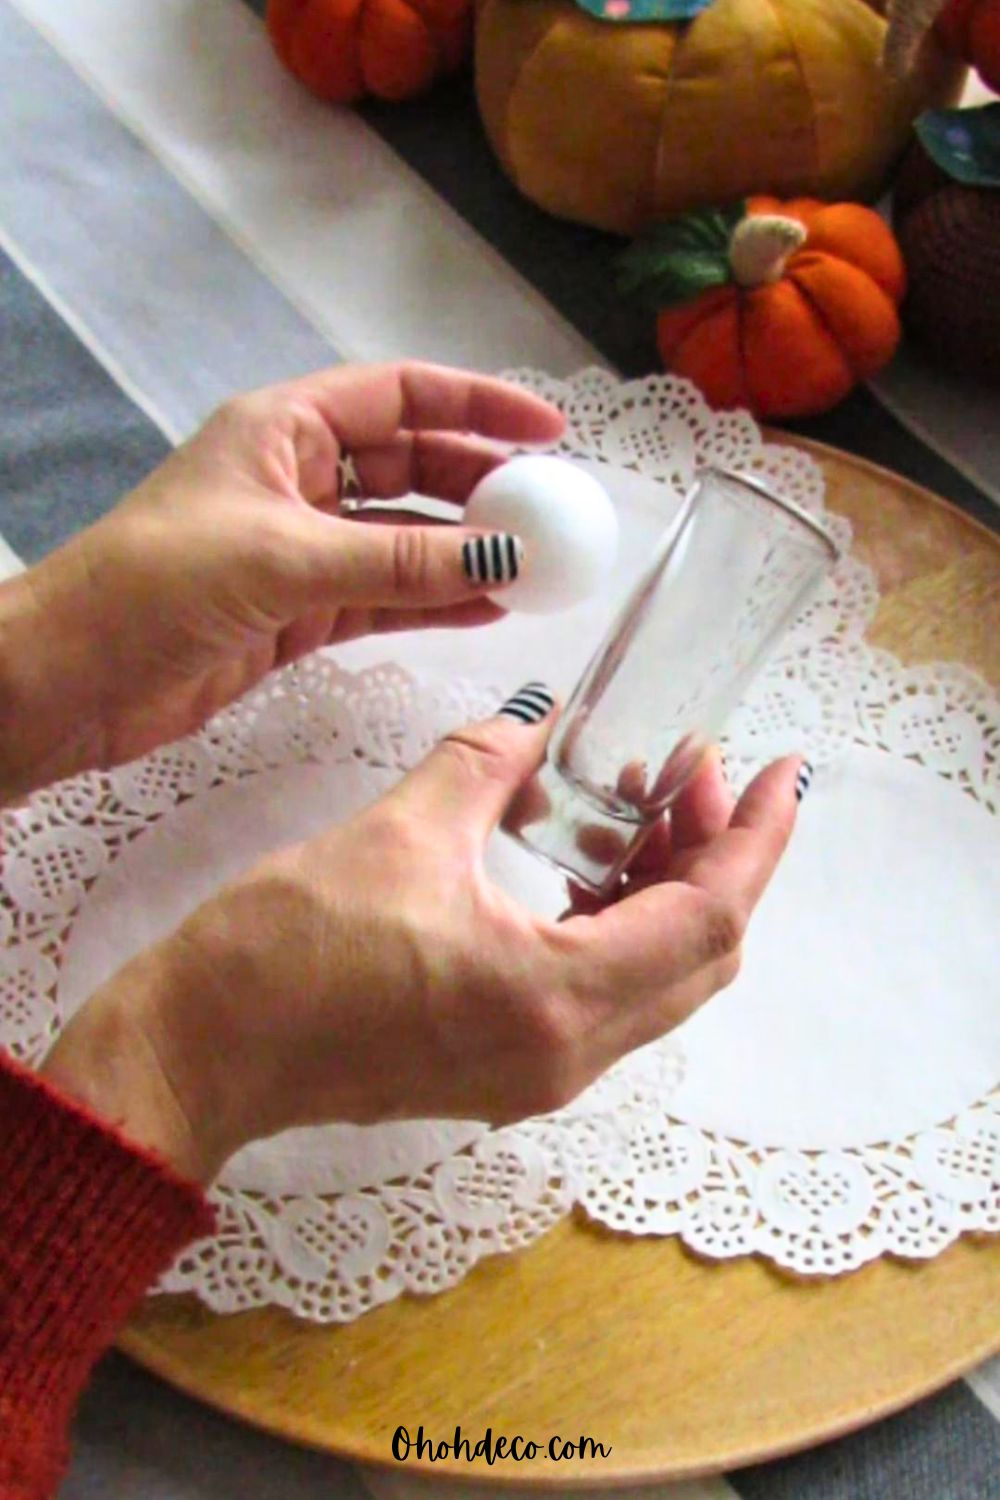
Dip a paper doily completely in water, then gently lay it over the ball. Center the doily and arrange the edges into soft folds so the ghost has a lovely floating shape.
Leave it to dry fully before removing the ball and glass.
Once it is dry, draw two small black eyes with a marker.
The dry ghost stands on its own, and you can place an LED tealight underneath for a warm spooky glow.
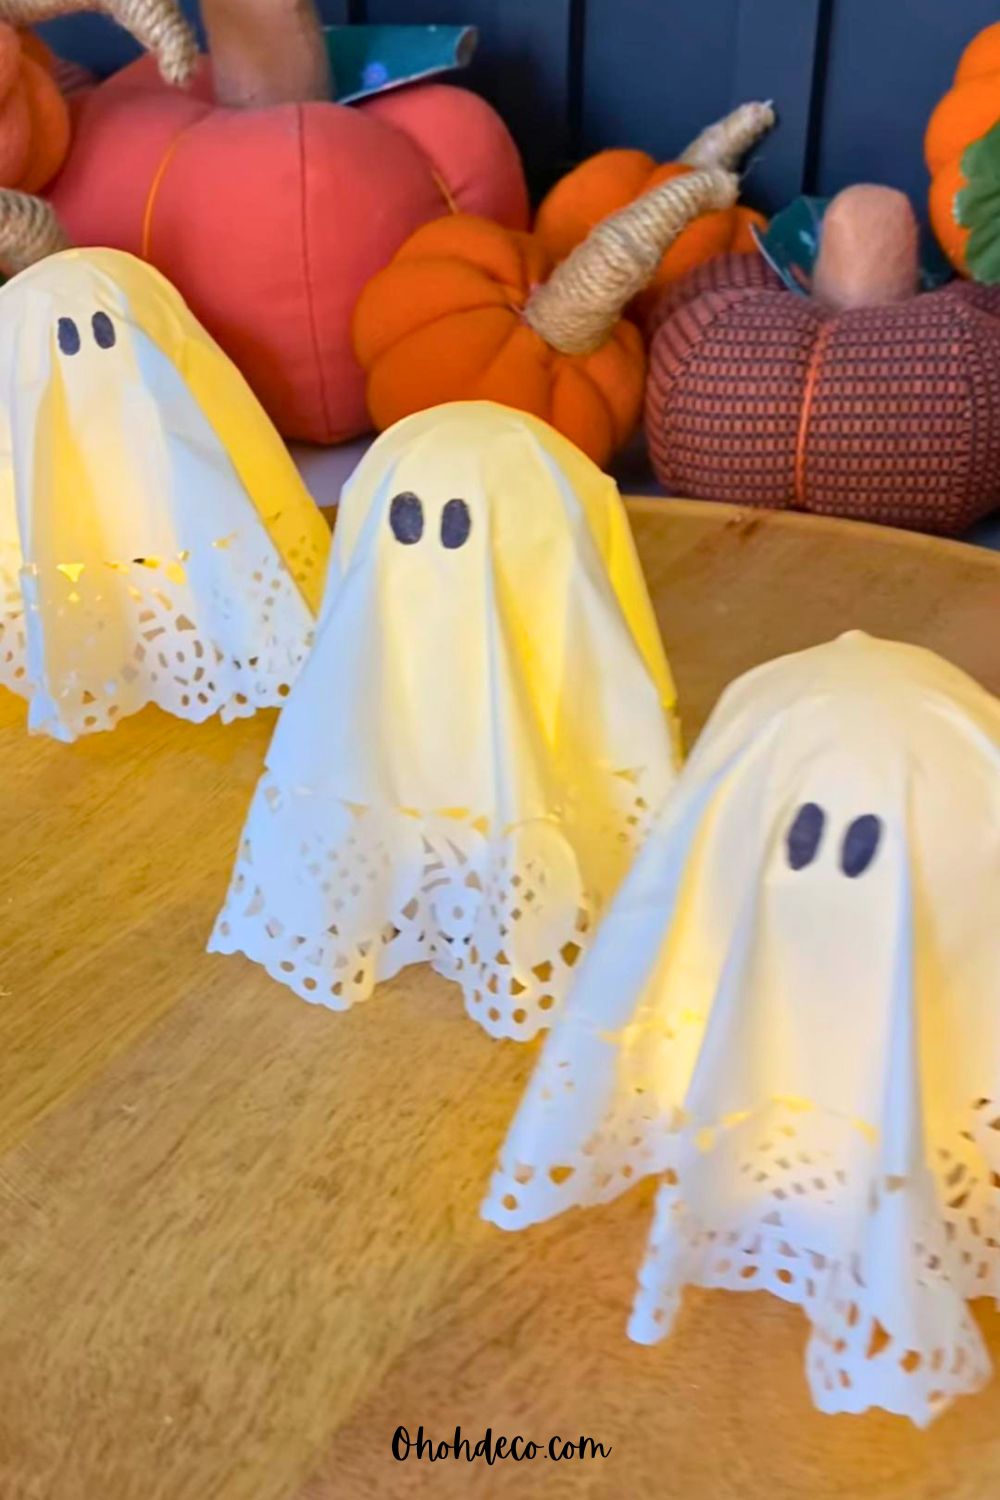
Make several in different shapes and group them together on a tray, shelf, or dining table.
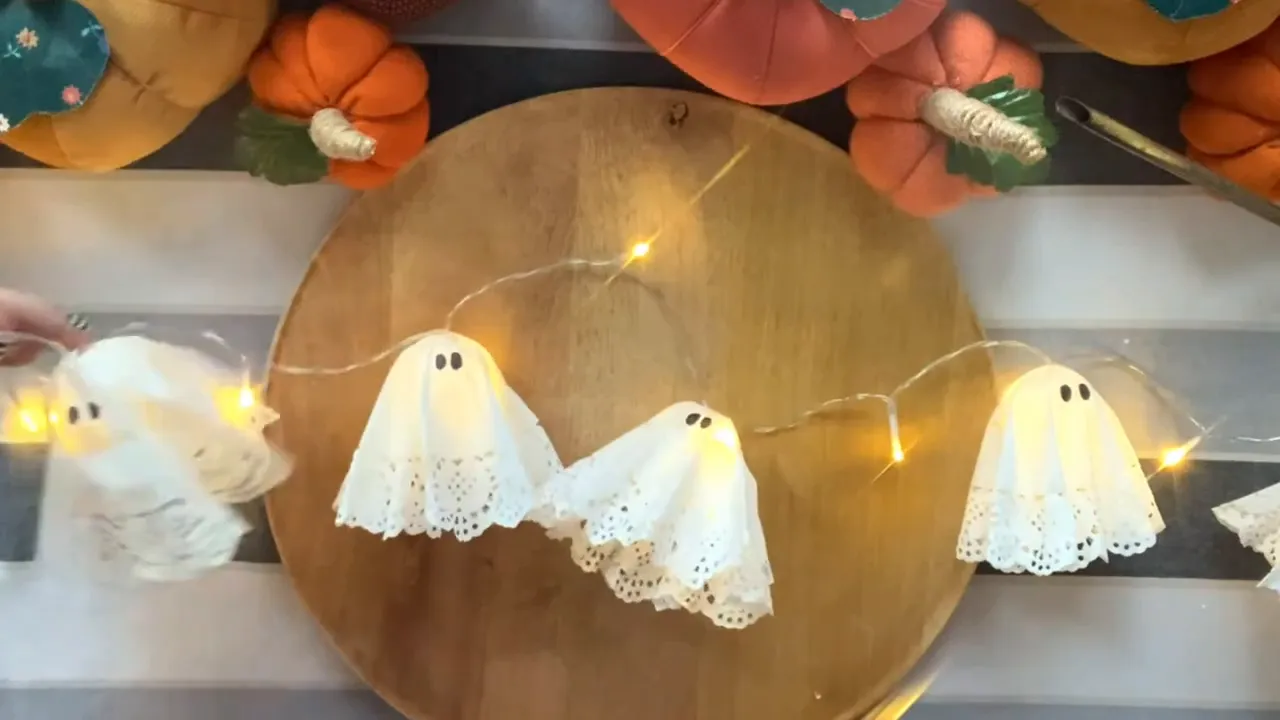
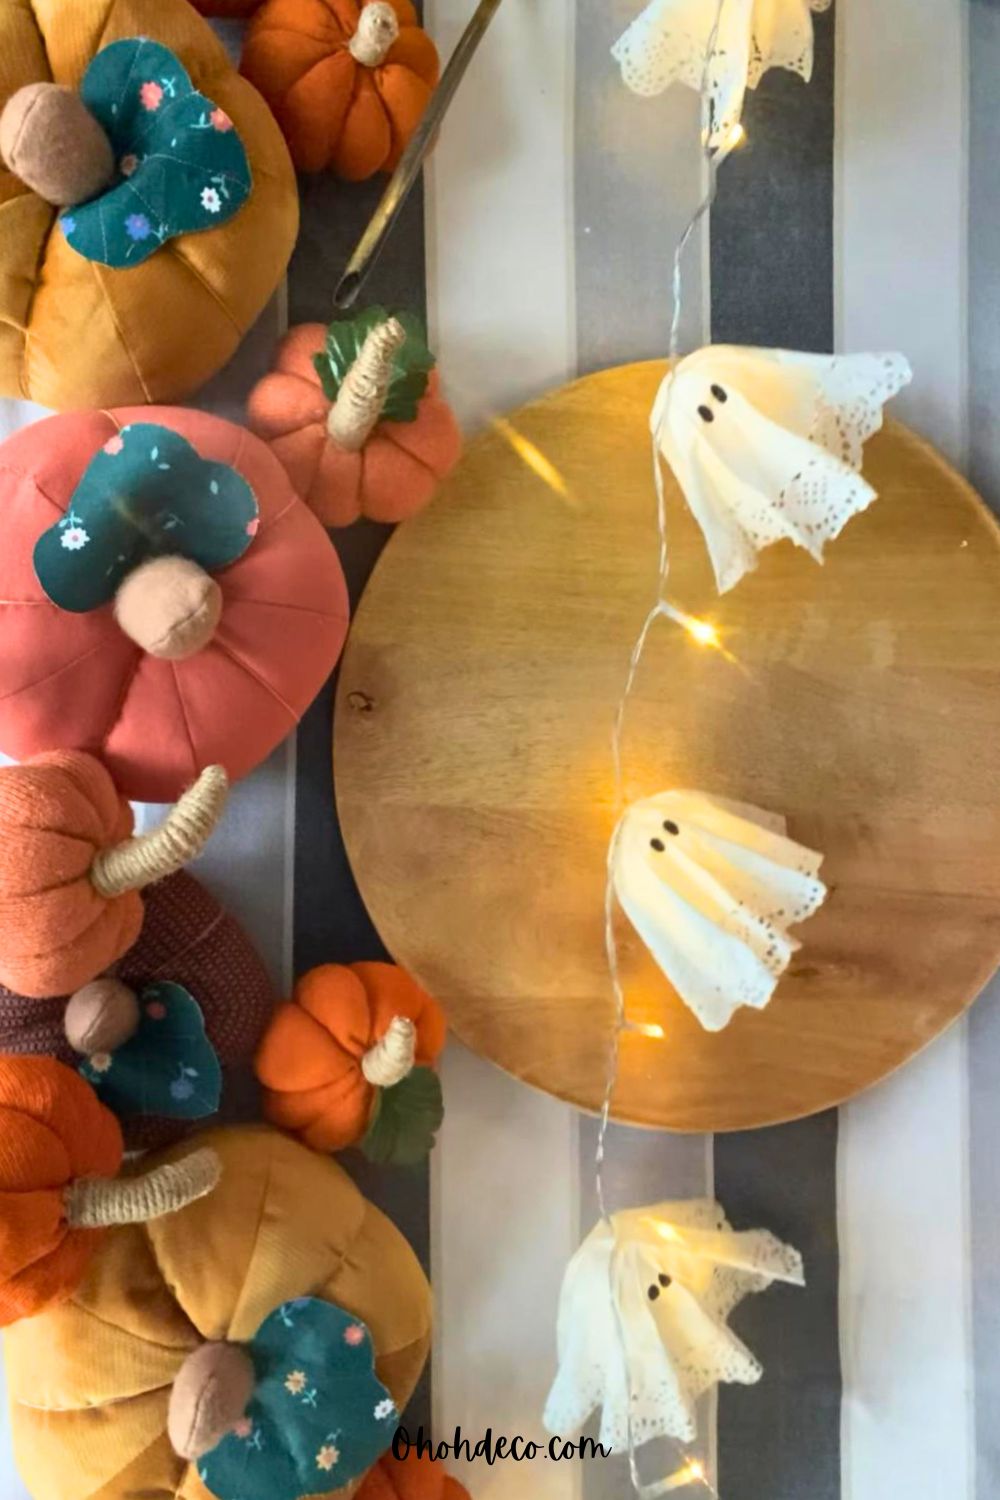
For a second version, make a tiny hole at the top of each ghost’s head with a craft knife, then slide each one onto a string of fairy lights.
The result is a glowing ghost garland that looks especially charming in the evening.
2. Turn an Egg Carton into Mini Witch Hats
An egg carton is perfect for making mini witch hats because its pointed cups already have the right shape.
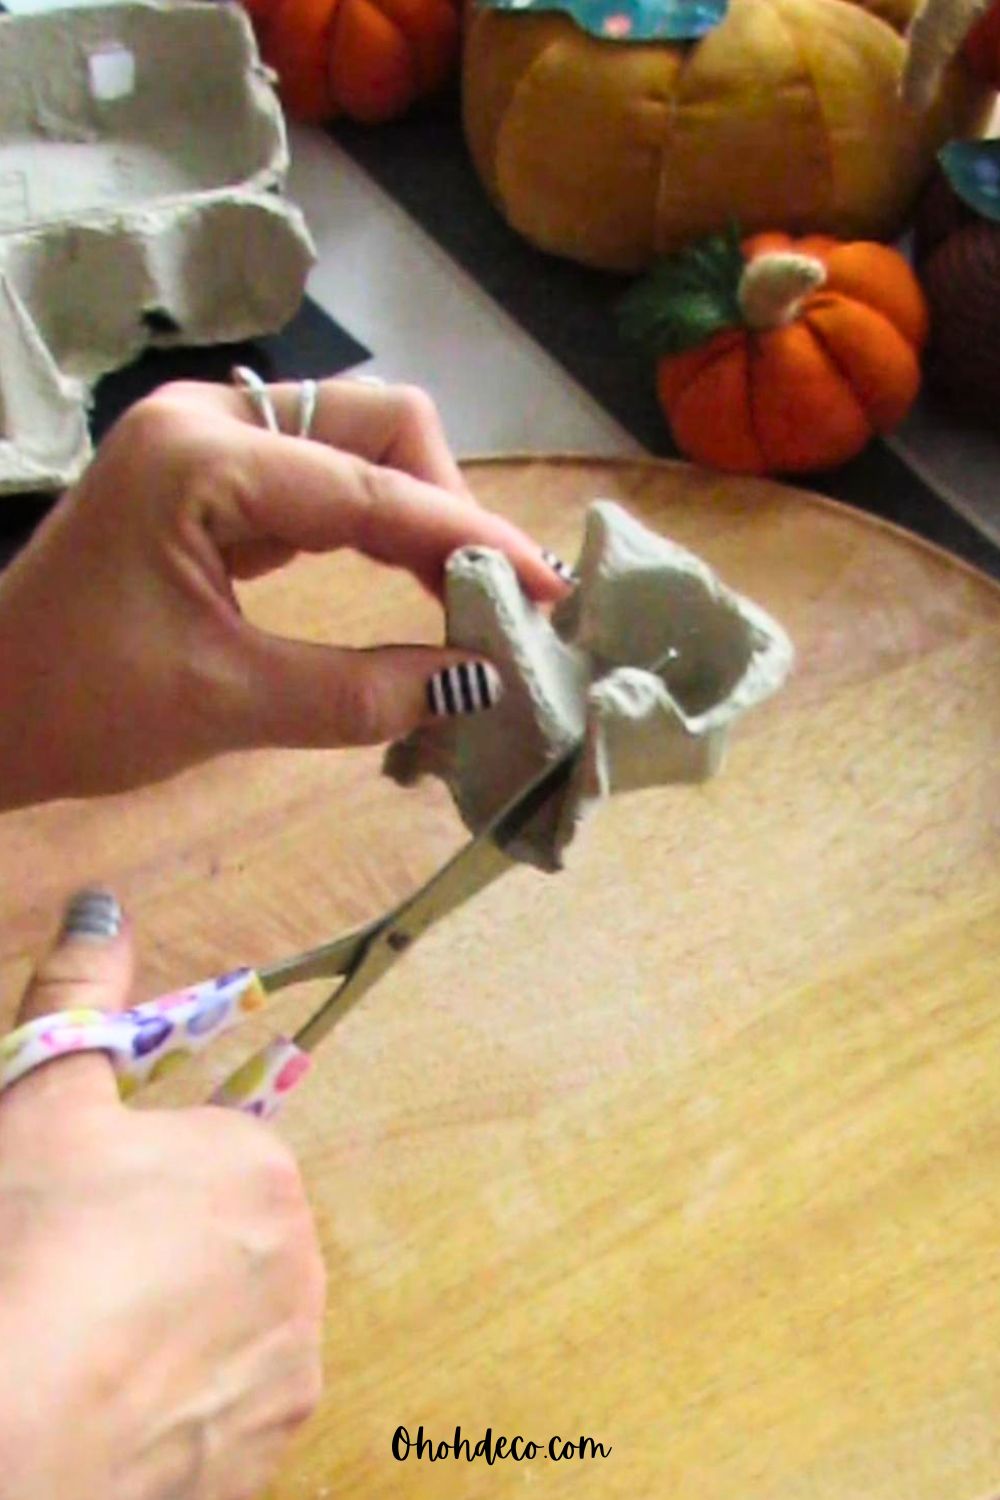
Cut out the tall center sections of the carton and trim the bottom edges neatly. Paint each piece black and let it dry.
While the paint dries, trace and cut a circle from black paper. This becomes the brim of the hat.
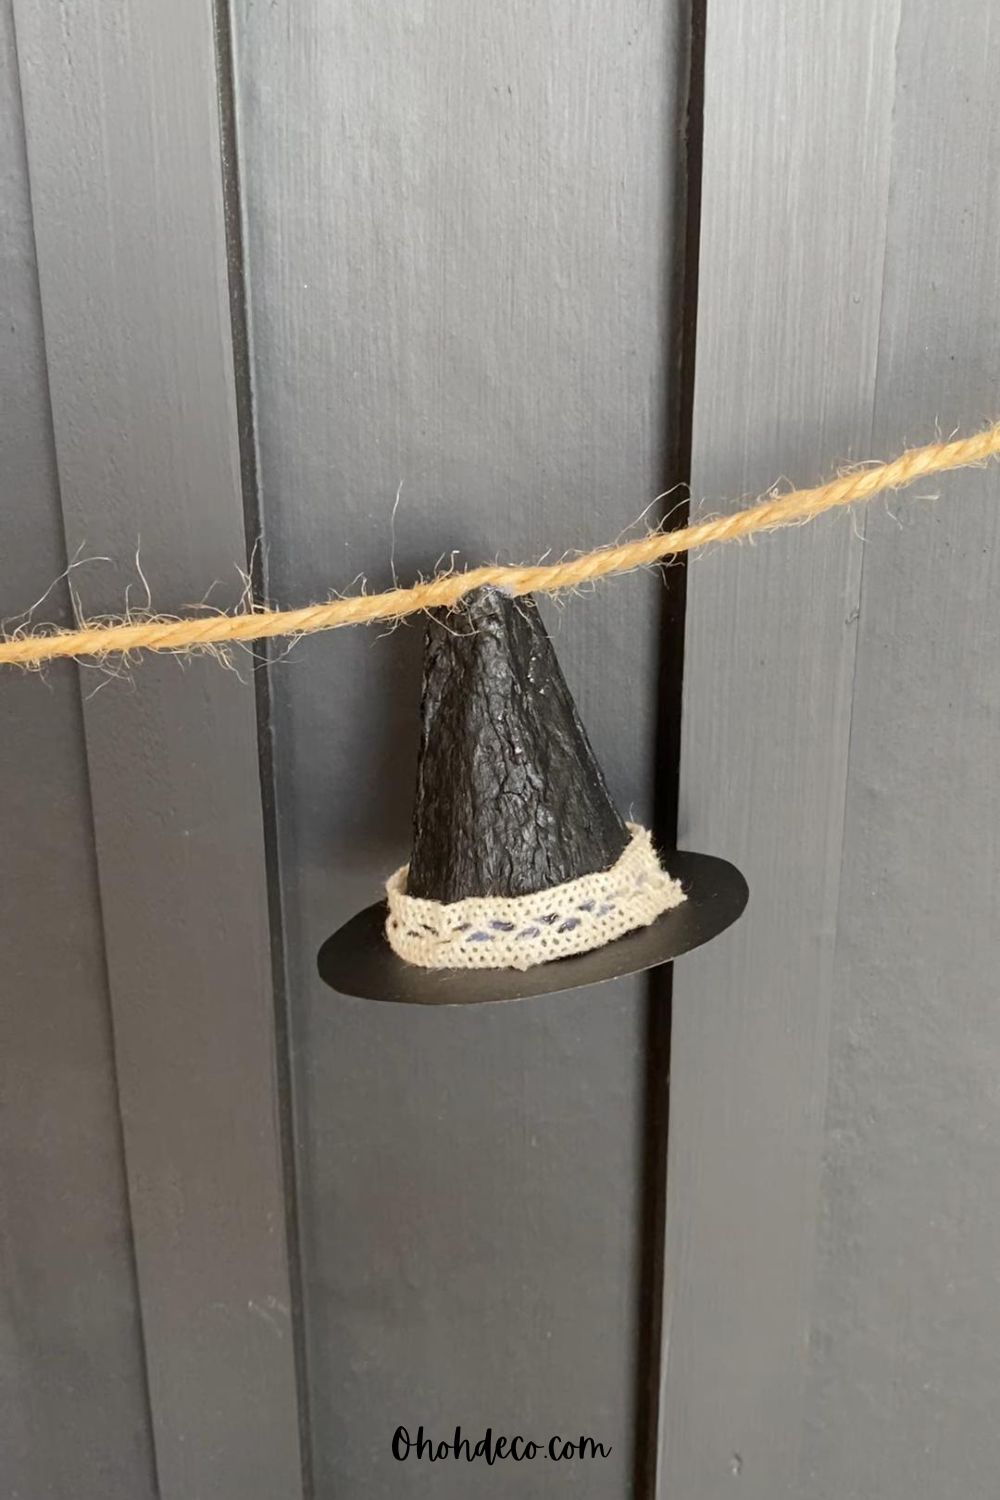
Glue the painted carton point into the center of the paper circle, then finish it with a small piece of ribbon or lace trim around the base.
It is a very simple transformation, but the little hats look so cute.
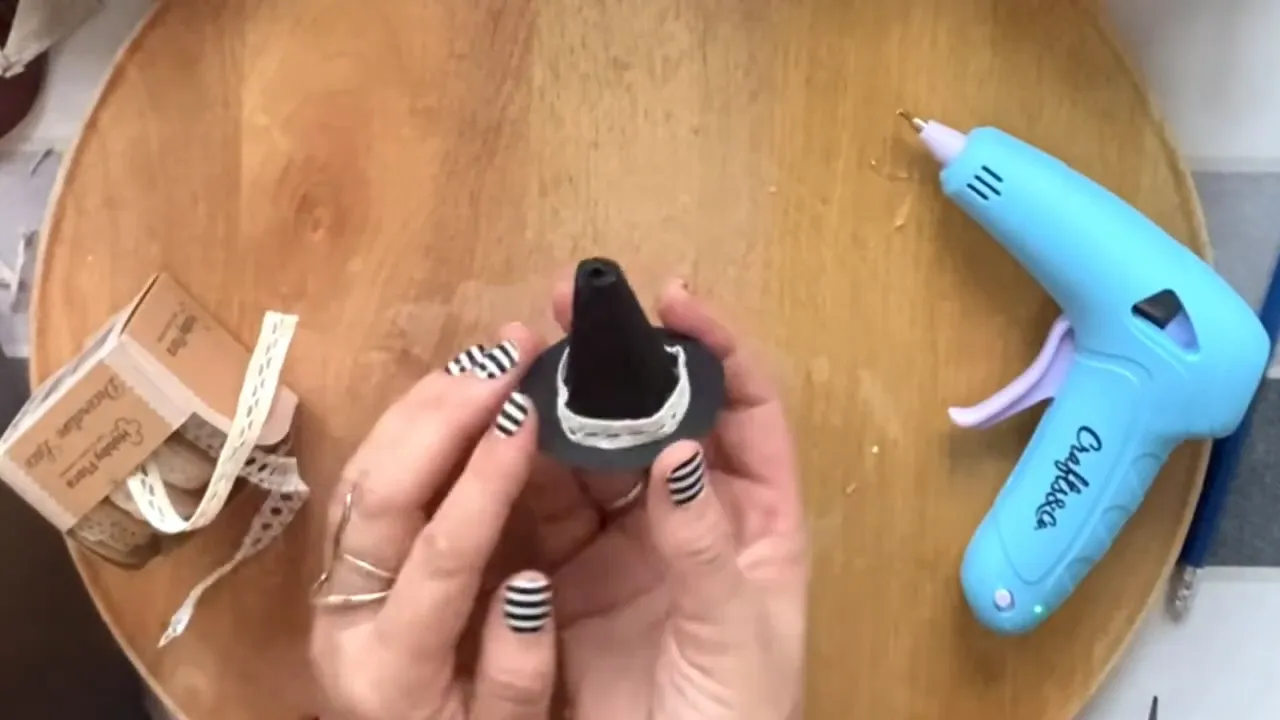
Add a loop of ribbon to turn each mini hat into an ornament, or save them for the mixed Halloween garland.
If you do not have ribbon, a thin strip of white paper, twine, or lace works nicely too. The contrast around the hat base is what makes the shape stand out.
3. Create Mini Witch Brooms with Twigs and Twine
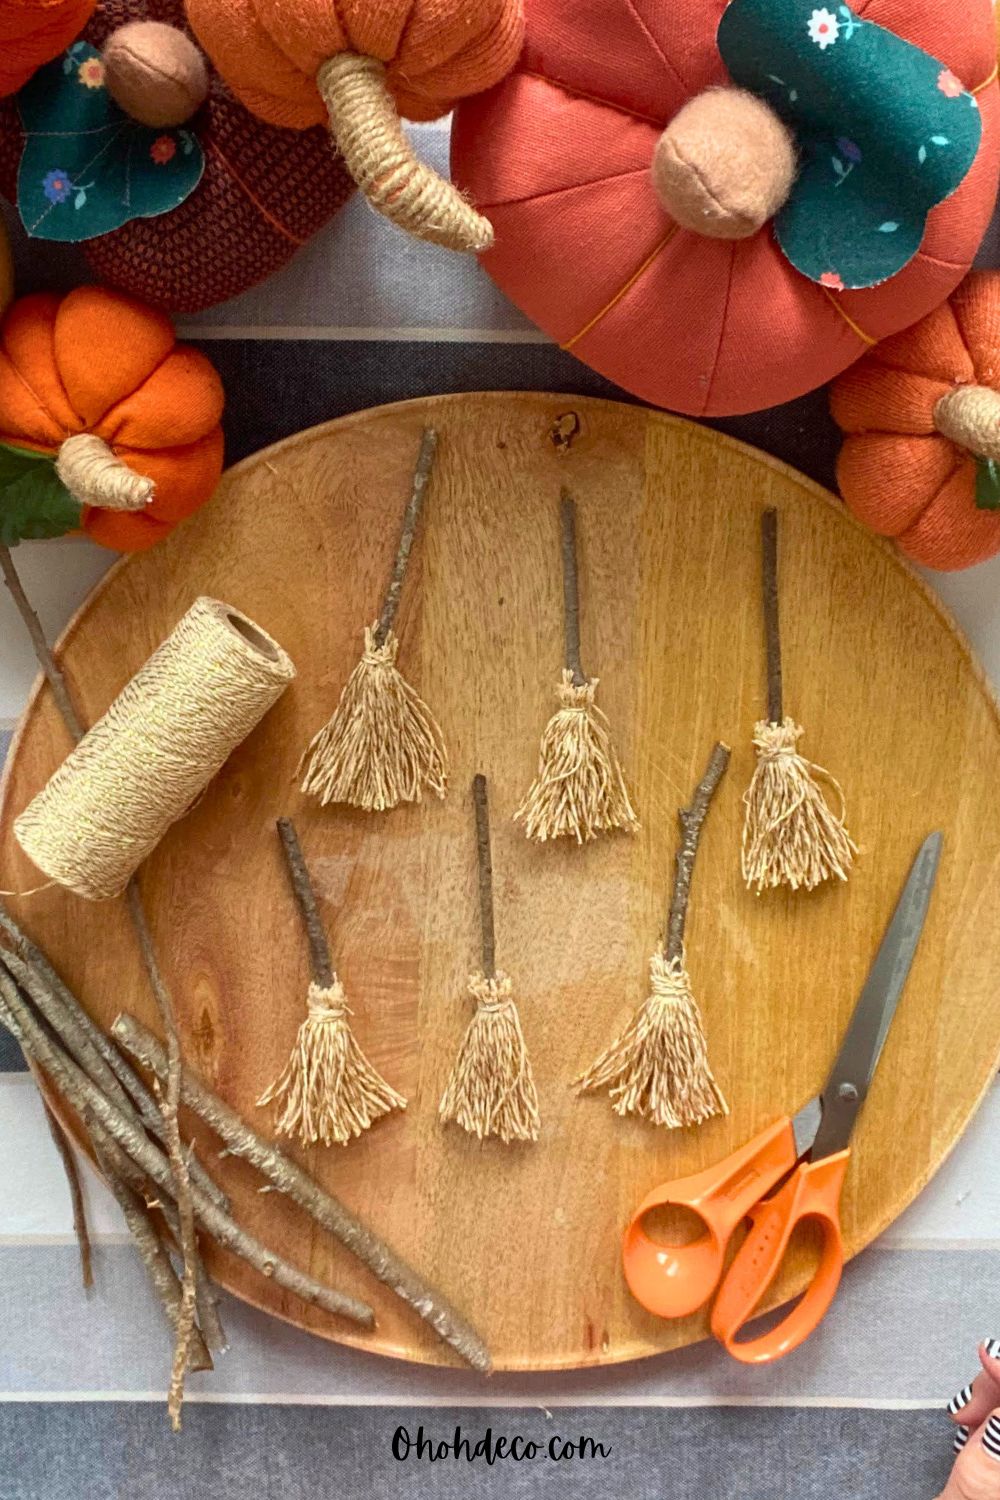
For these tiny witch brooms, collect a few small twigs and use jute rope or twine for the bristles.
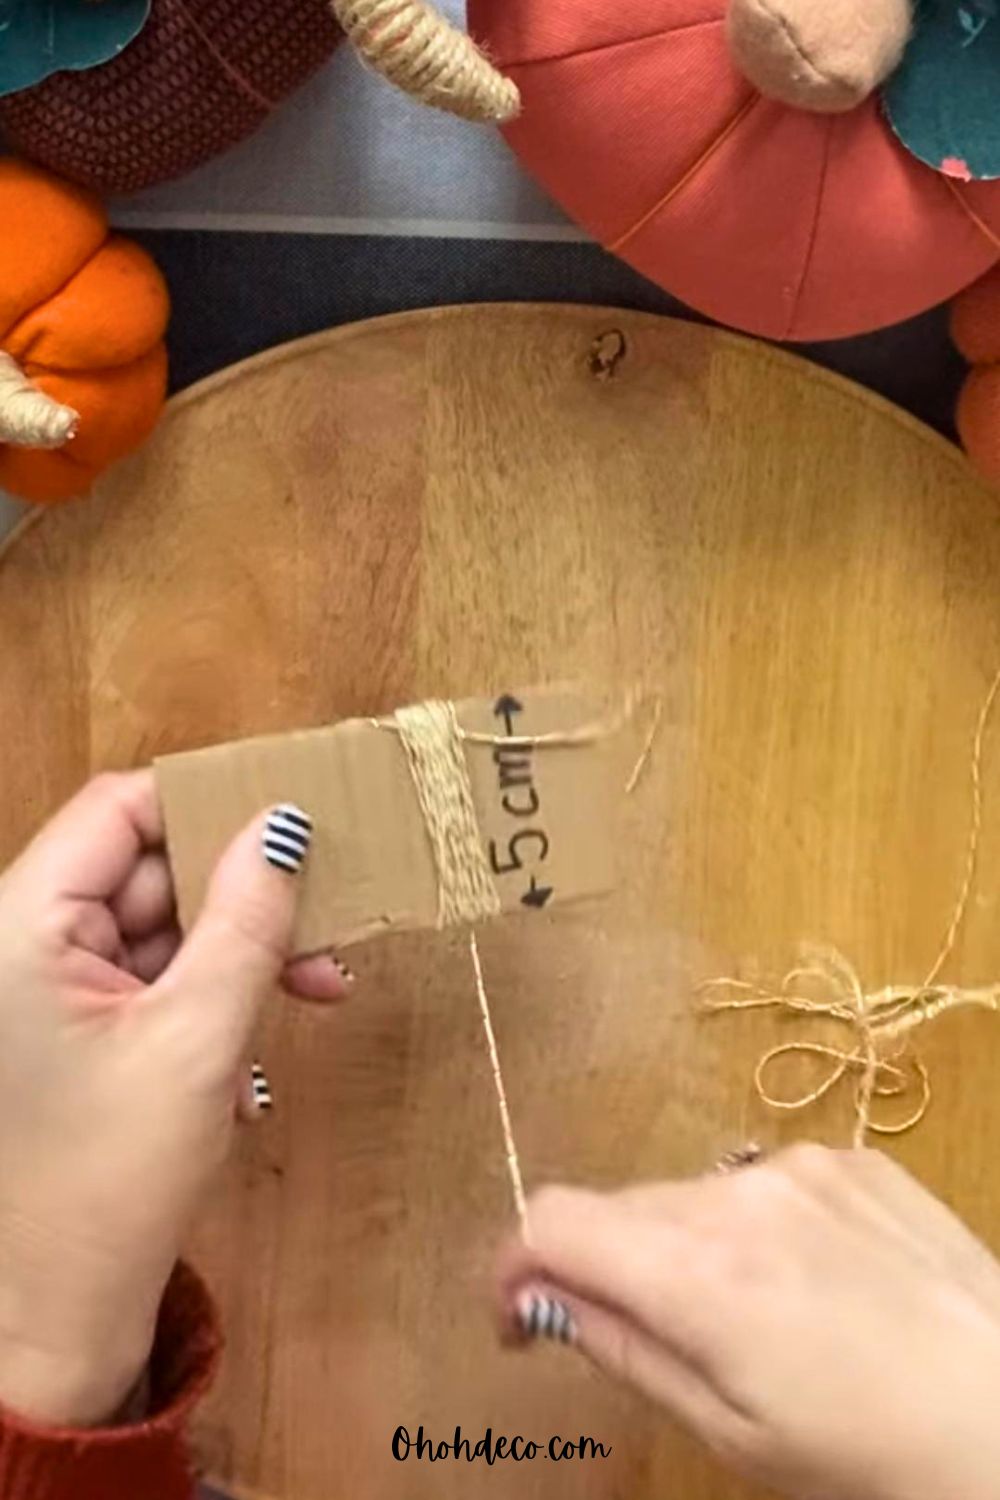
Cut a piece of cardboard about 5 cm wide. Place a short strand of twine across the cardboard first, then wrap more twine around the cardboard many times. Tie the short strand tightly around the wrapped twine to hold all the layers together. Cut through the loops on the opposite side to create a little tassel. This tassel is the broom head.
Apply a generous amount of glue to one end of a twig and press the tied section of the tassel around it.
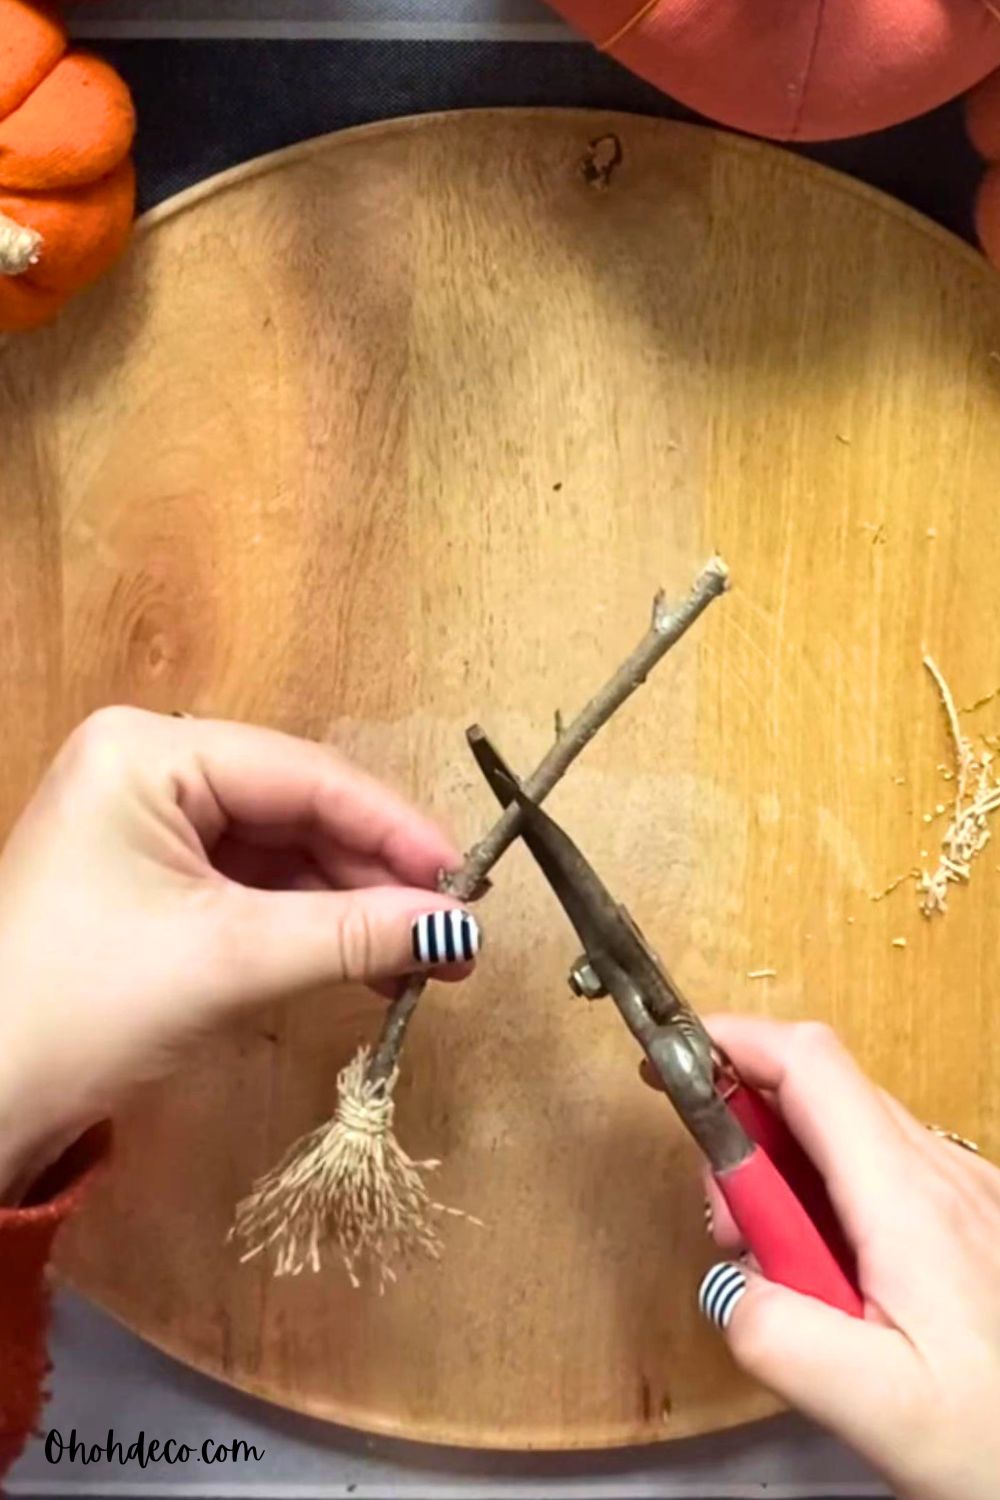
Fold the twine over the stick and secure it with more glue. Wrap a separate pice of rope around the top of the broom bristles and knot it tightly.
Open the lower strands with scissors, then trim them until the broom has a neat shape. It does not have to be perfect. A slightly uneven broom looks wonderfully rustic and witchy.
Combine Witch Hats and Brooms into a Halloween Garland
Once you have a little collection of hats and brooms, turn them into a garland.
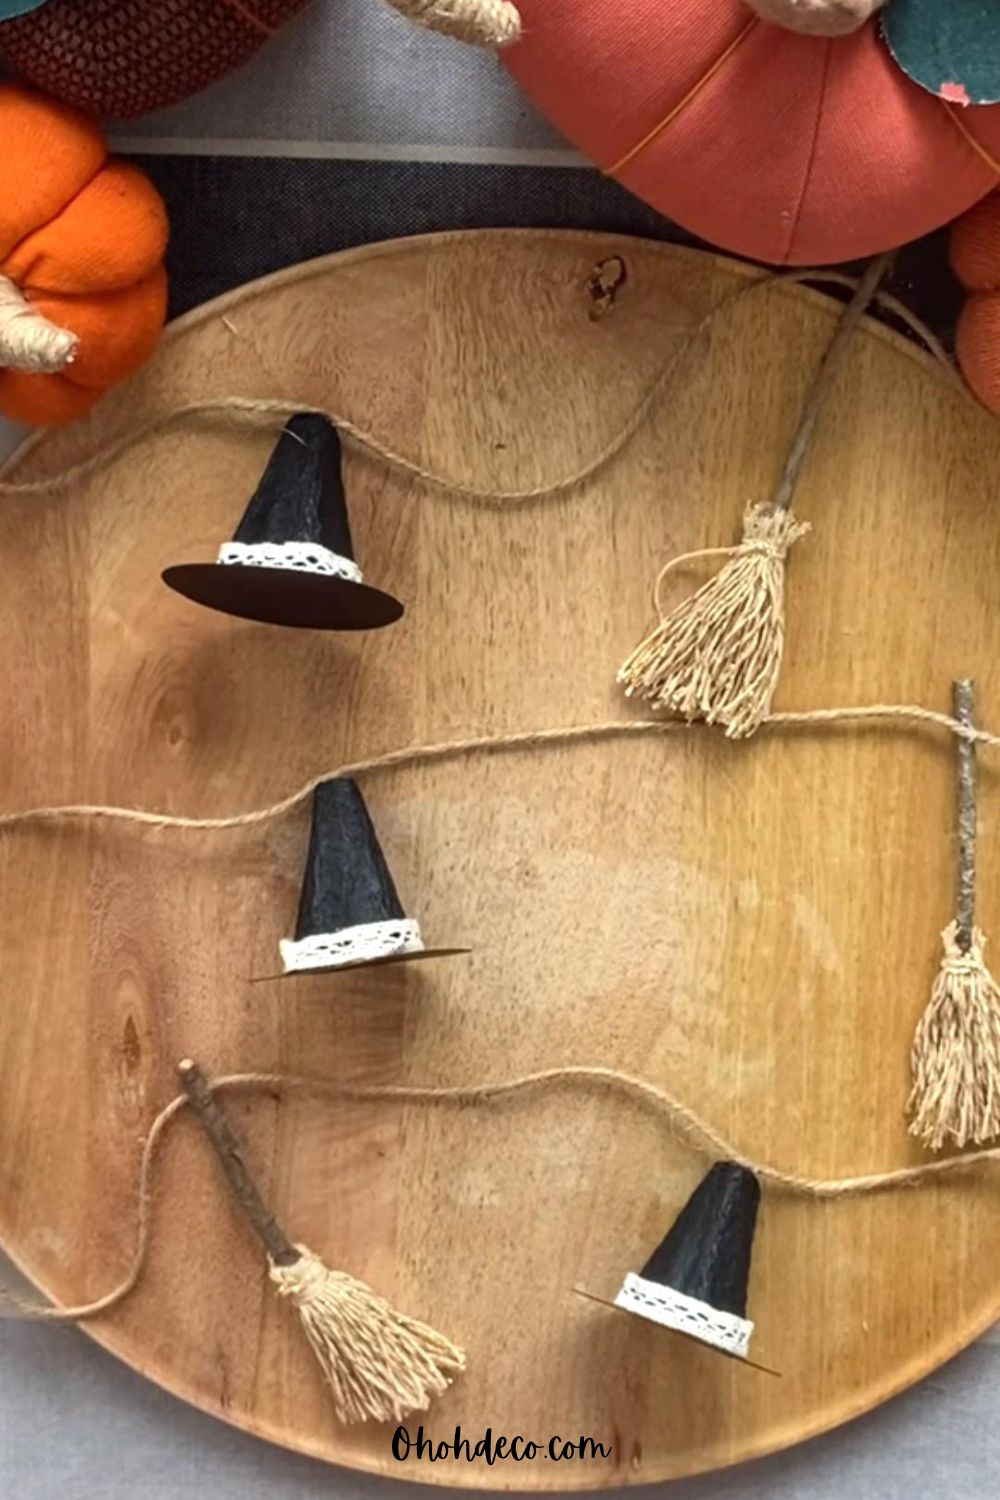
Cut a long piece of twine to fit your chosen space. Add a small dot of glue to the top of a broom and press it onto the twine. Glue a witch hat next, then continue alternating hats and brooms.
Try to keep a similar amount of space between each piece, but do not measure too much. The handmade look is exactly what makes it fun.
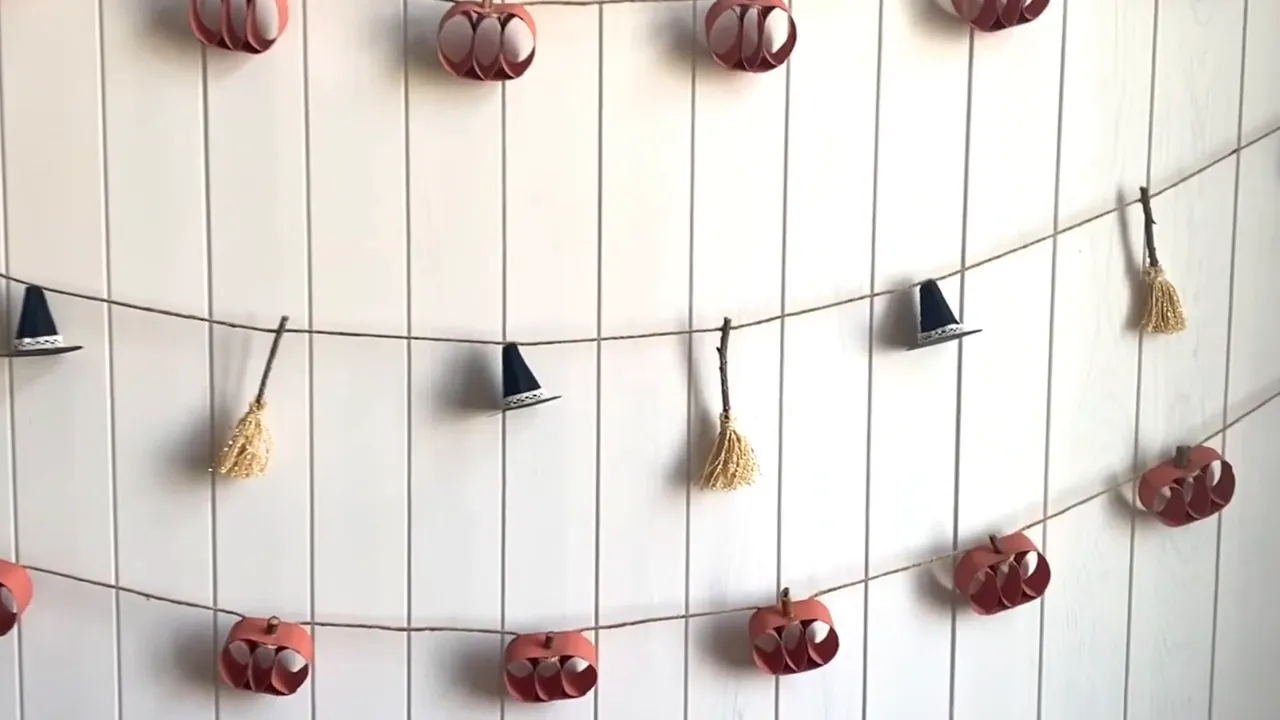
Hang the garland across a wall, window, shelf, or mantel. It looks especially nice mixed with pumpkins, either real, store-bought, or homemade.
Since the decorations are lightweight, this is an easy project for almost any space.
4. Make a Toilet Paper Roll Pumpkin Garland
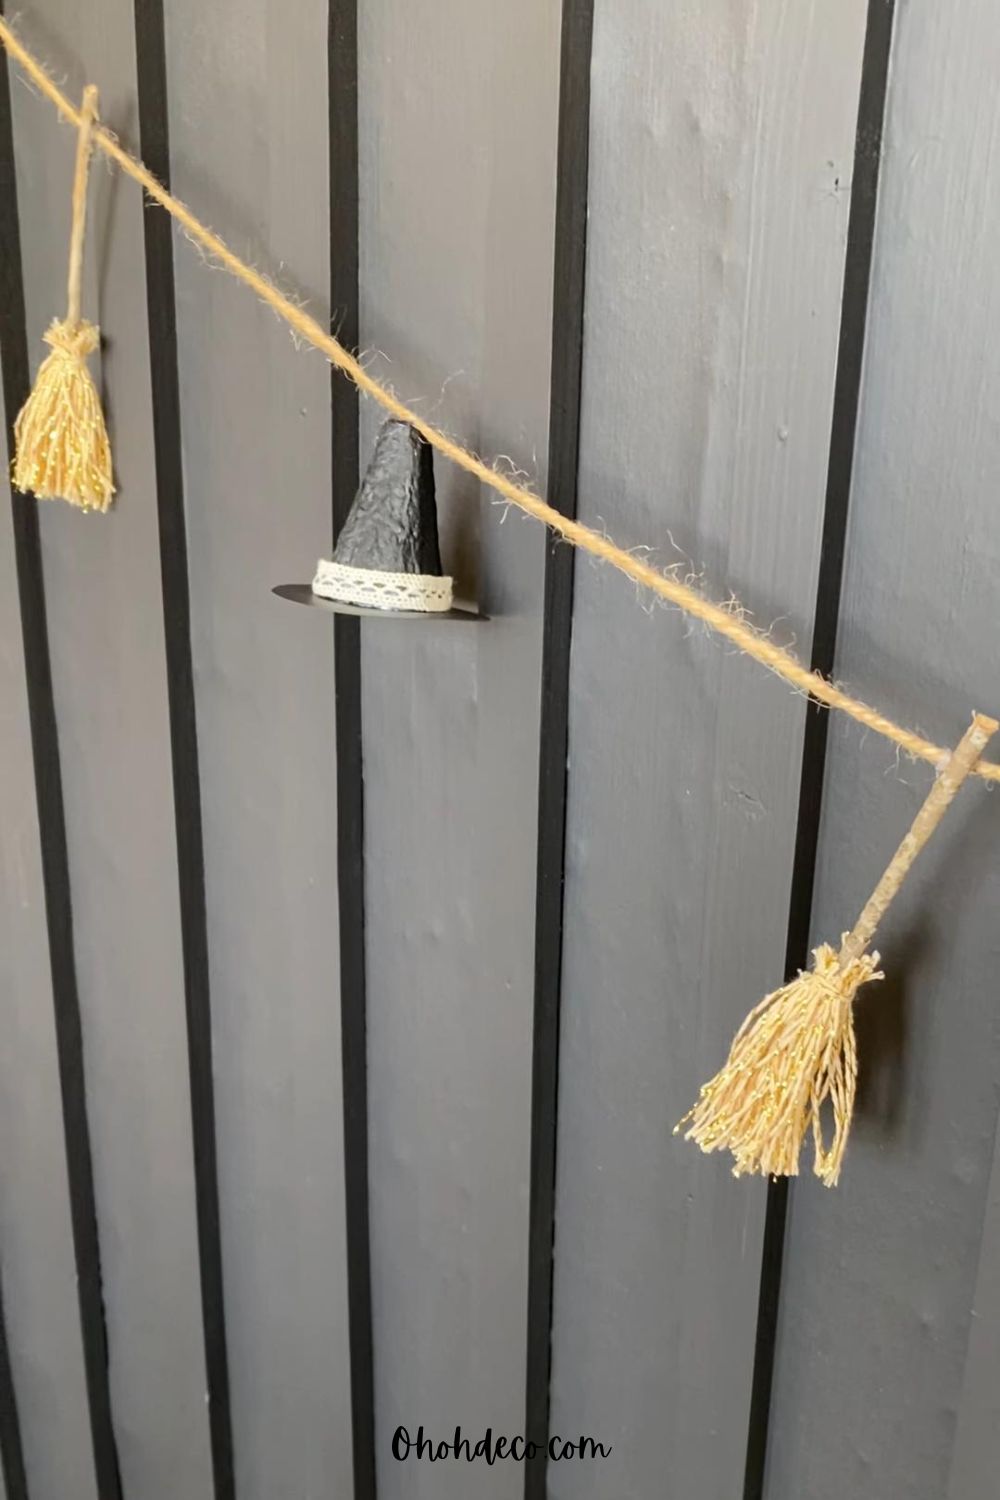
Empty toilet paper rolls become the cutest recycled pumpkin garland.
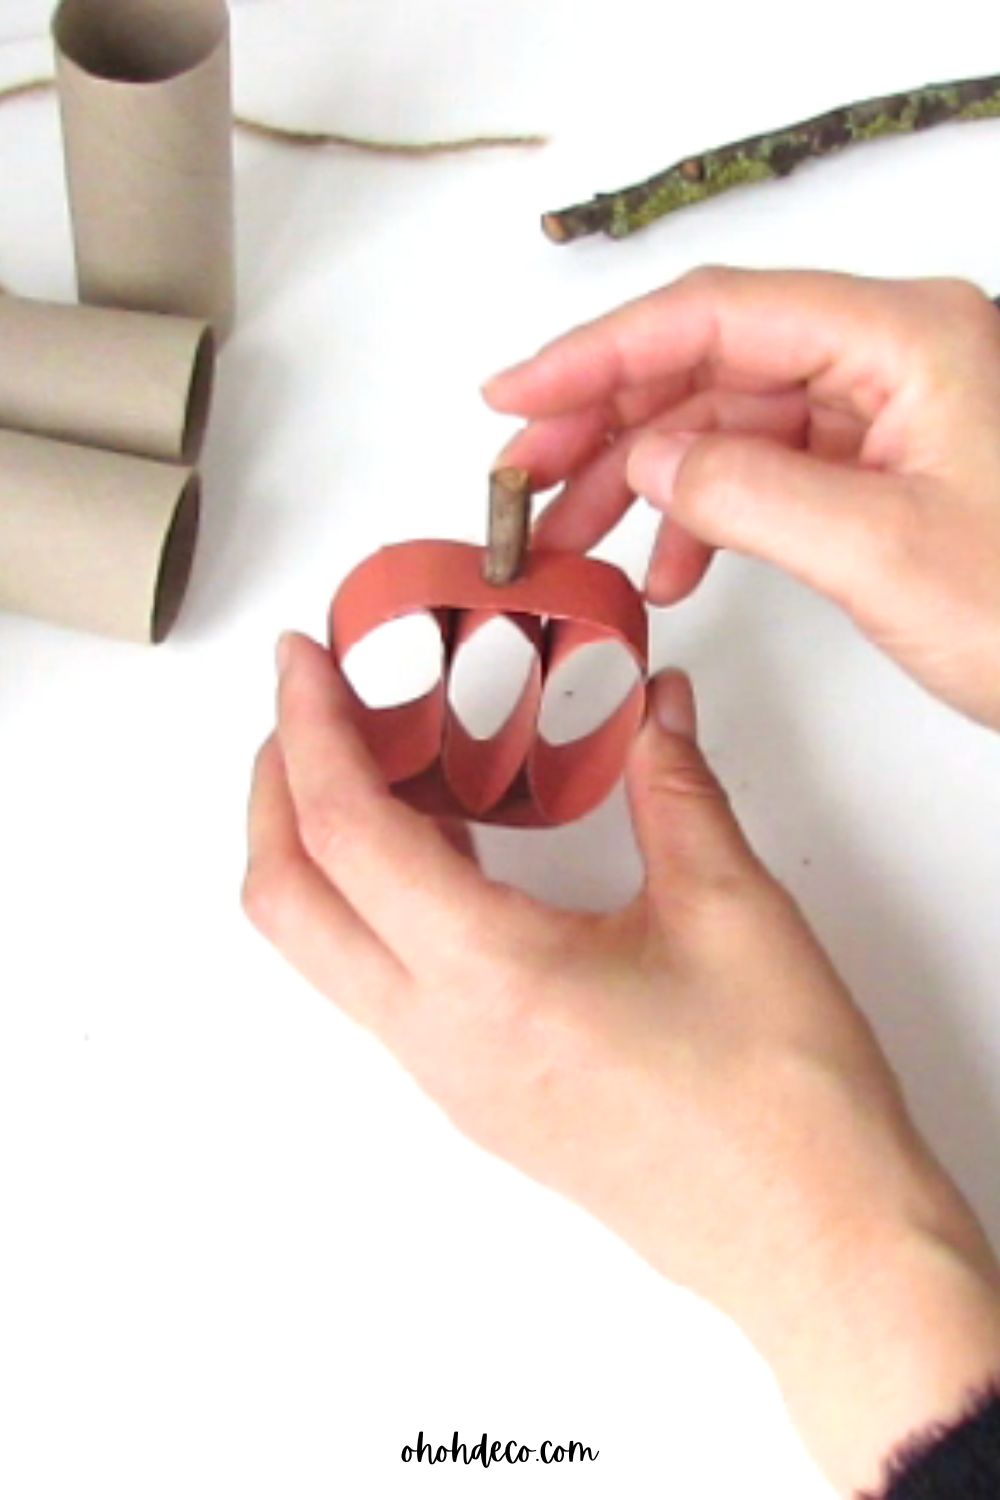
First, paint the rolls orange inside and out, then allow the paint to dry.
Flatten one roll and cut it into four pieces of similar width.
Glue three pieces together adding a dot of glue in them center. Cut the fourth piece along its folds to create two smaller curved pieces. Glue those pieces to the top and bottom edges to fill out the pumpkin shape.
A small twig glued at the top makes a simple stem.
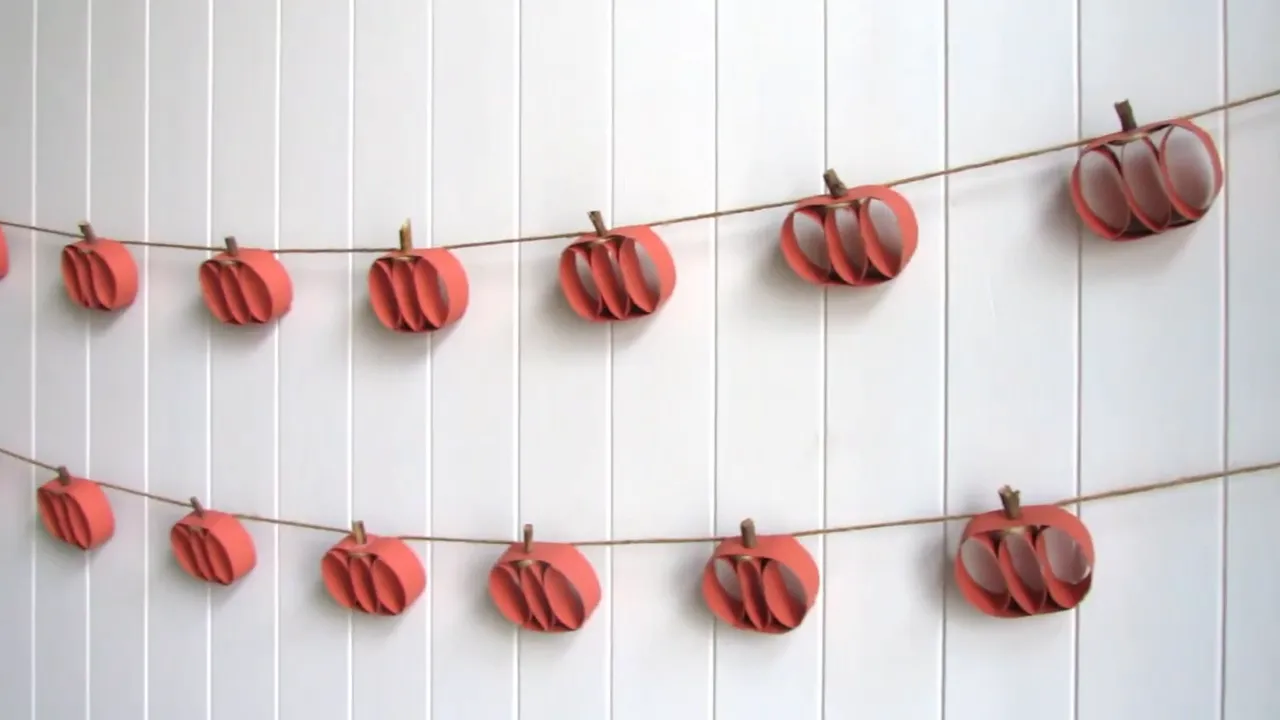
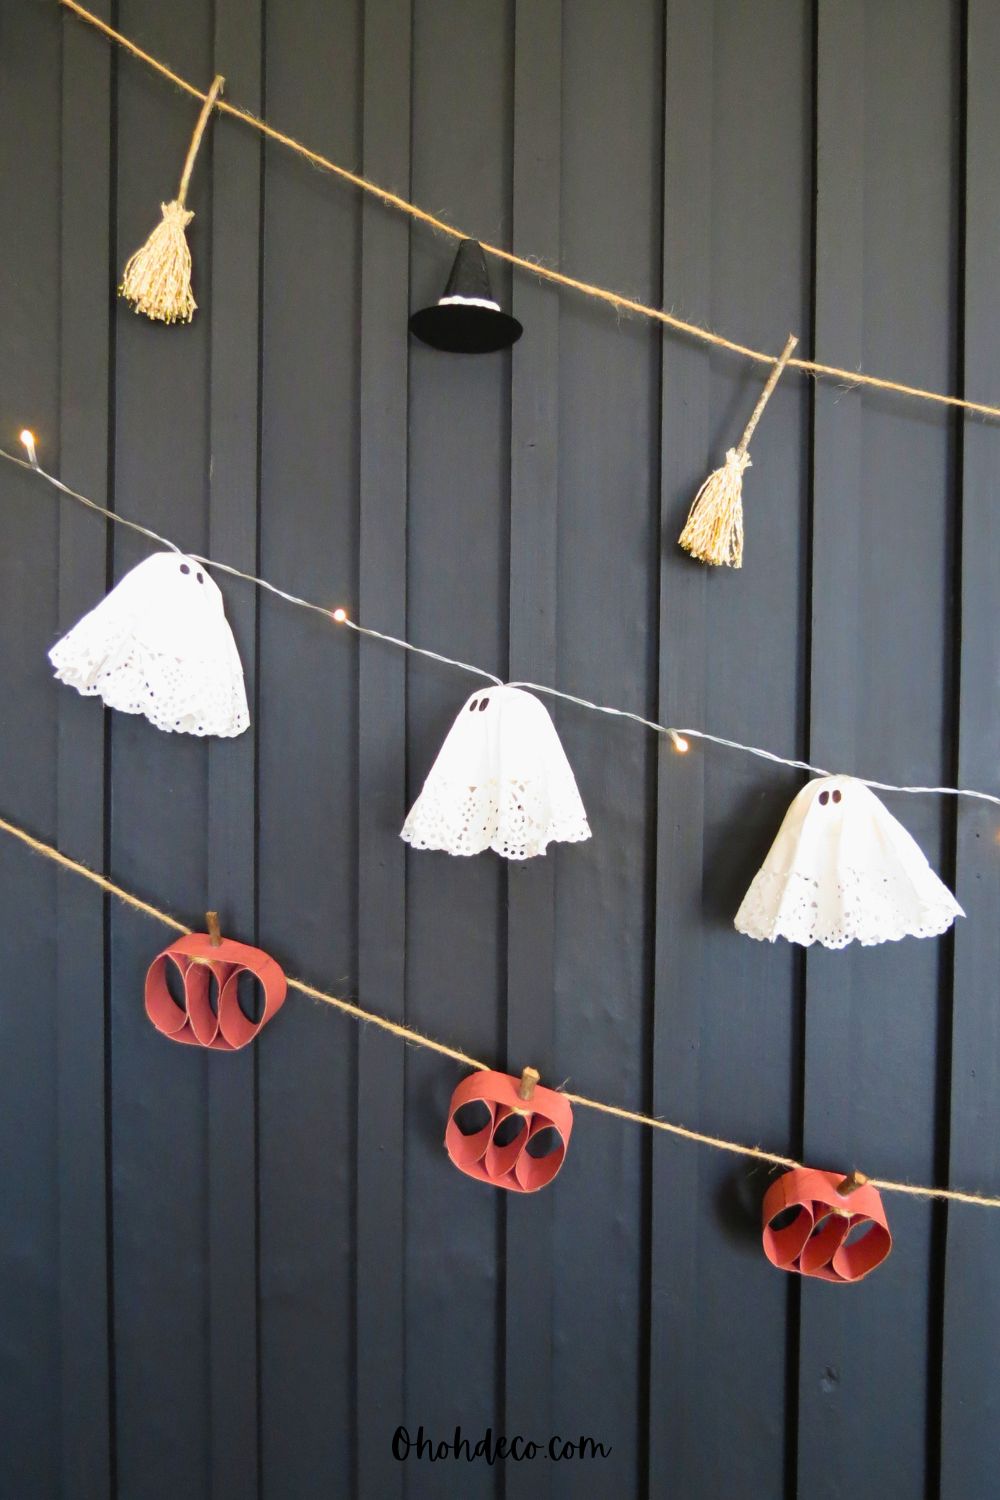
Make as many cardboard pumpkins as you like, then pass a long piece of twine through them. There is no need to glue them to the string, so you can slide each pumpkin along and adjust the spacing later.
This is a lovely fall decoration on its own, and it also works beautifully layered with the witch hat and broom garland.
5. Shape Stuffed Balloon Pumpkins
For the final craft, use orange balloons and cushion filler to make soft little pumpkins.
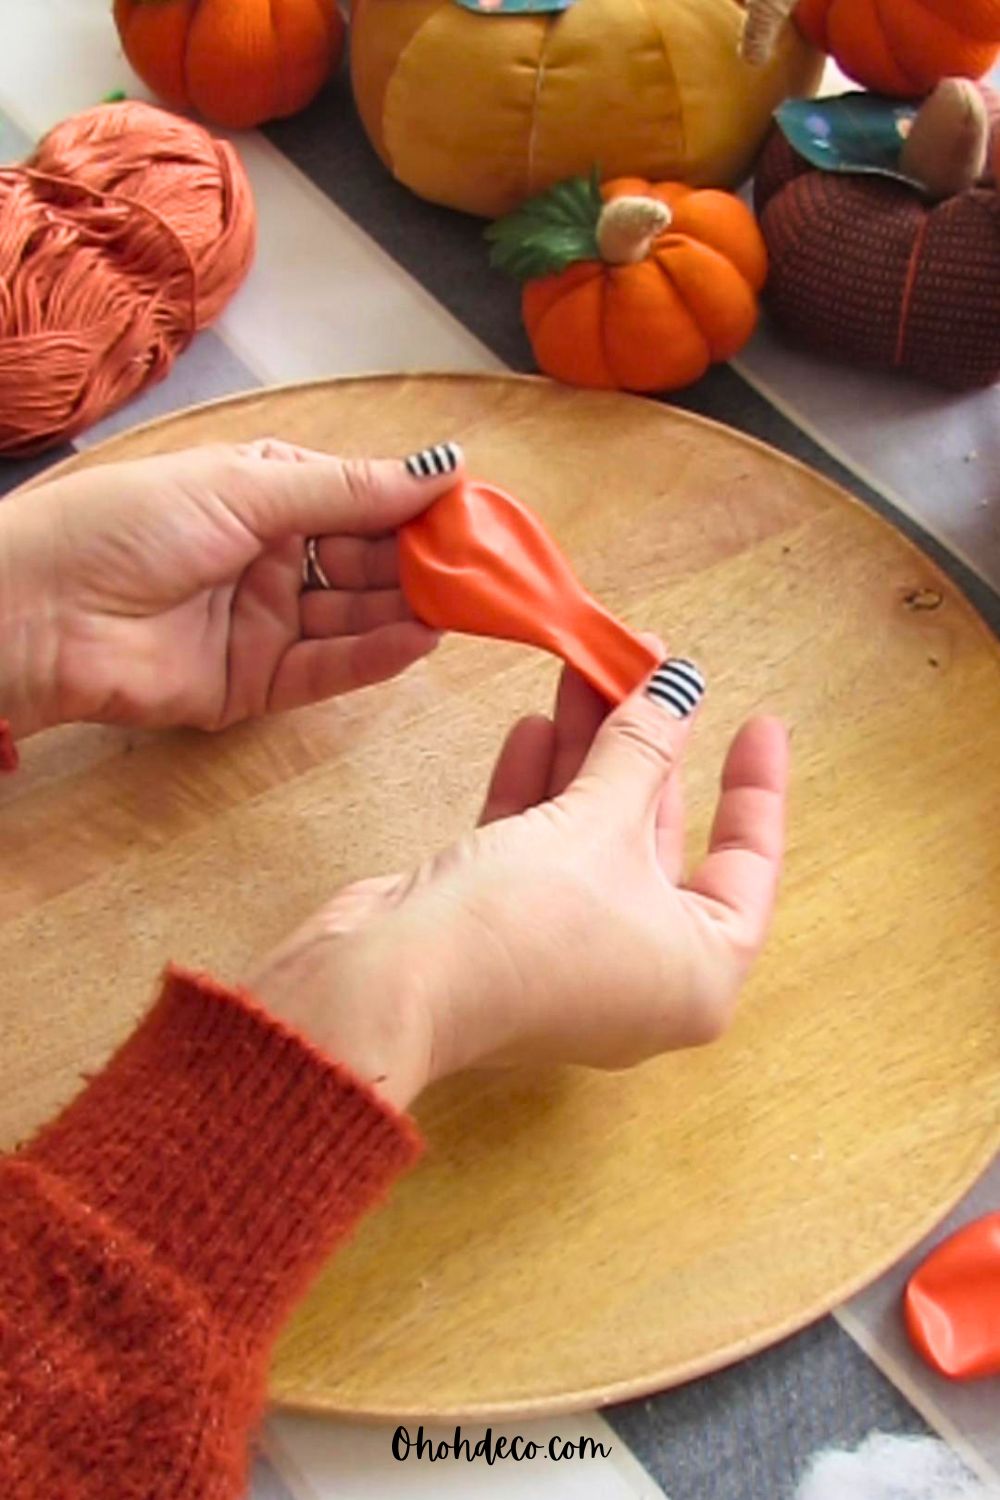
Cut the balloon neck around the middle, not too close to the balloon body. Stretch the opening gently with your fingers, then push in a generous amount of stuffing. Keep adding filler until the pumpkin is as full and round as you like. Shape it with your hands, making the bottom slightly flatter so it sits nicely.
To make the stem, fold a green pipe cleaner in half and twist it together, push the rounded folded end inside the balloon.
Next, tie orange yarn around the balloon opening and the stem to close the pumpkin. Then tight the yarn around the pumpkin in several directions. Keep tension on the yarn as you work, because each wrap creates one of the pumpkin’s sections. Tie secure knots as you go, then trim the extra yarn.
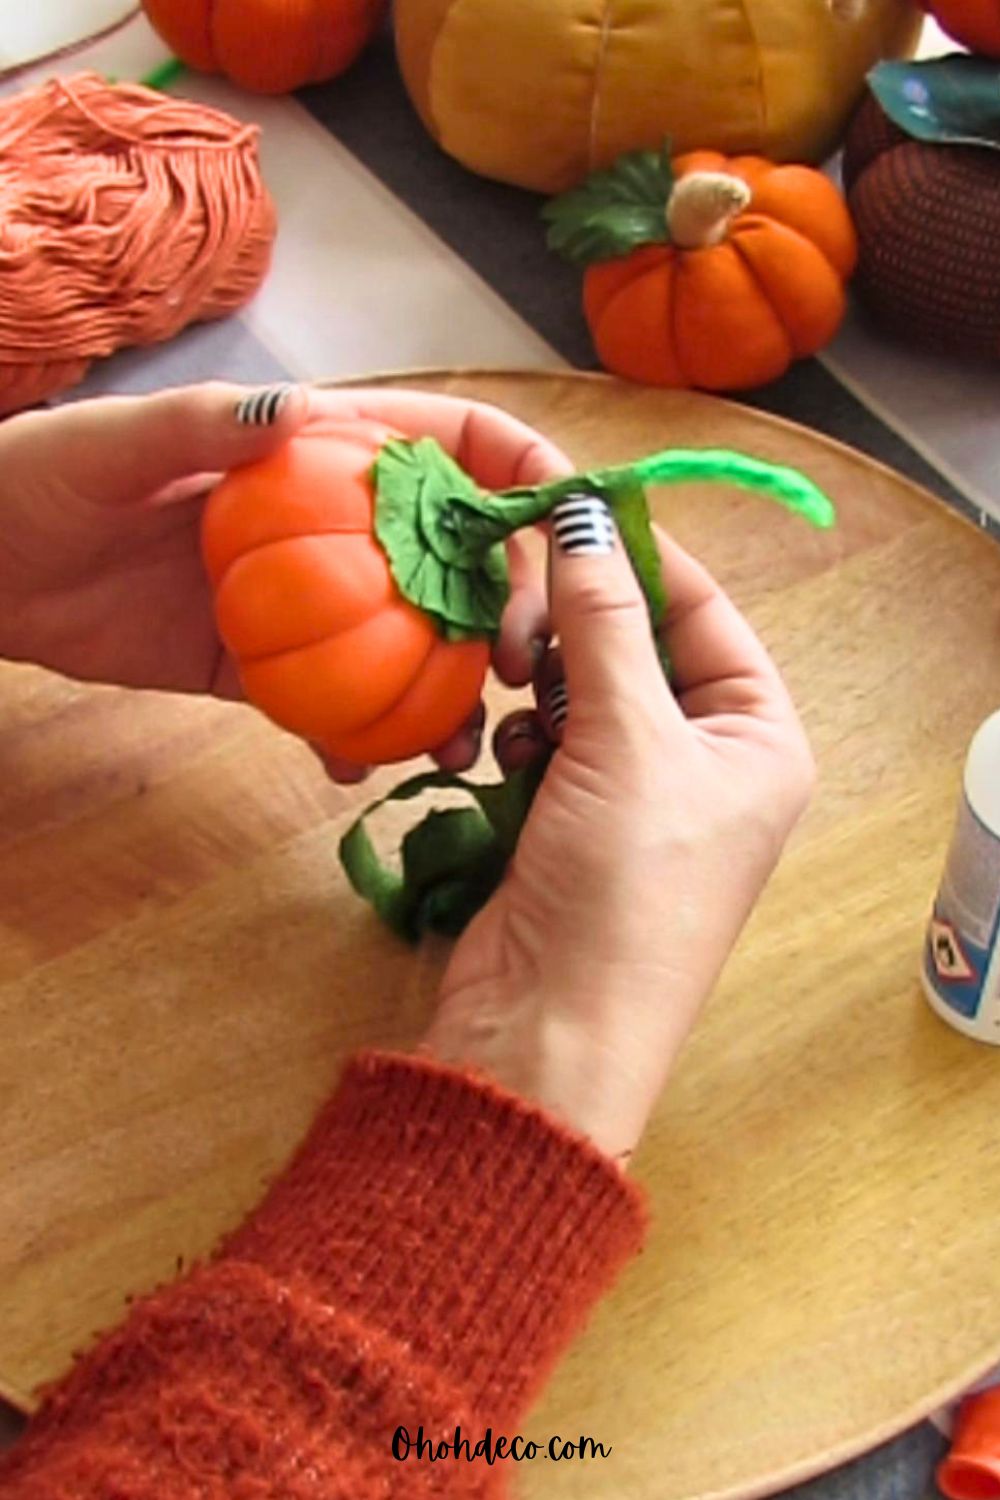
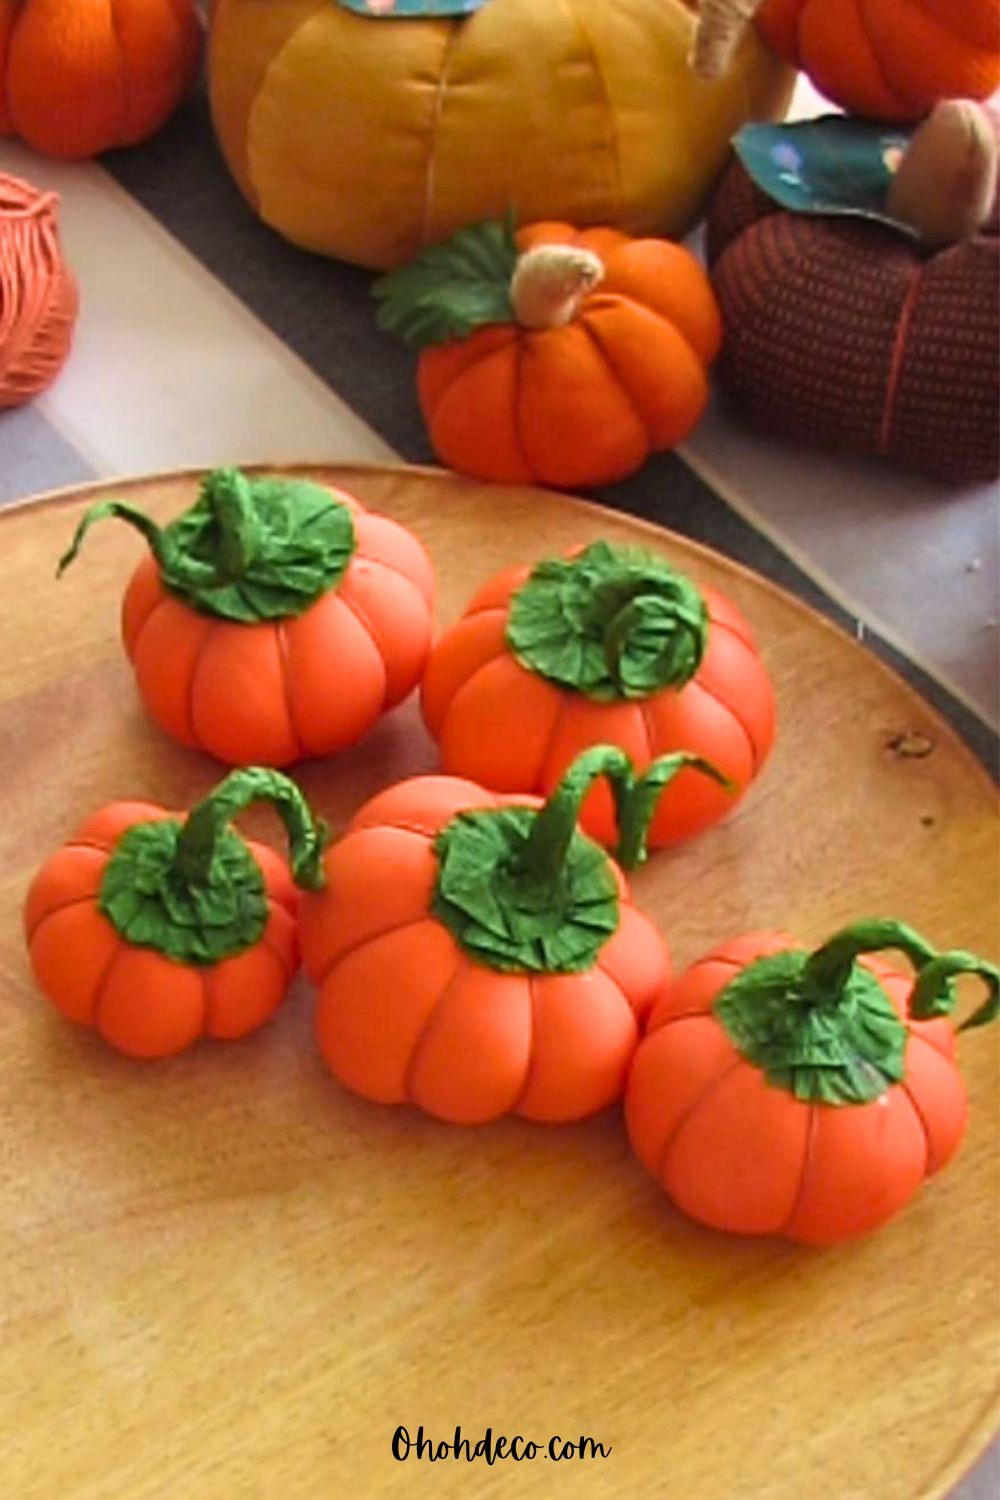
For a more finished stem, wrap and glue green crepe paper around the balloon opening and the pipe cleaner.
Twist and curl the pipe cleaner around a pencil for a playful vine shape. You can add small crepe paper leaves around the stem too.
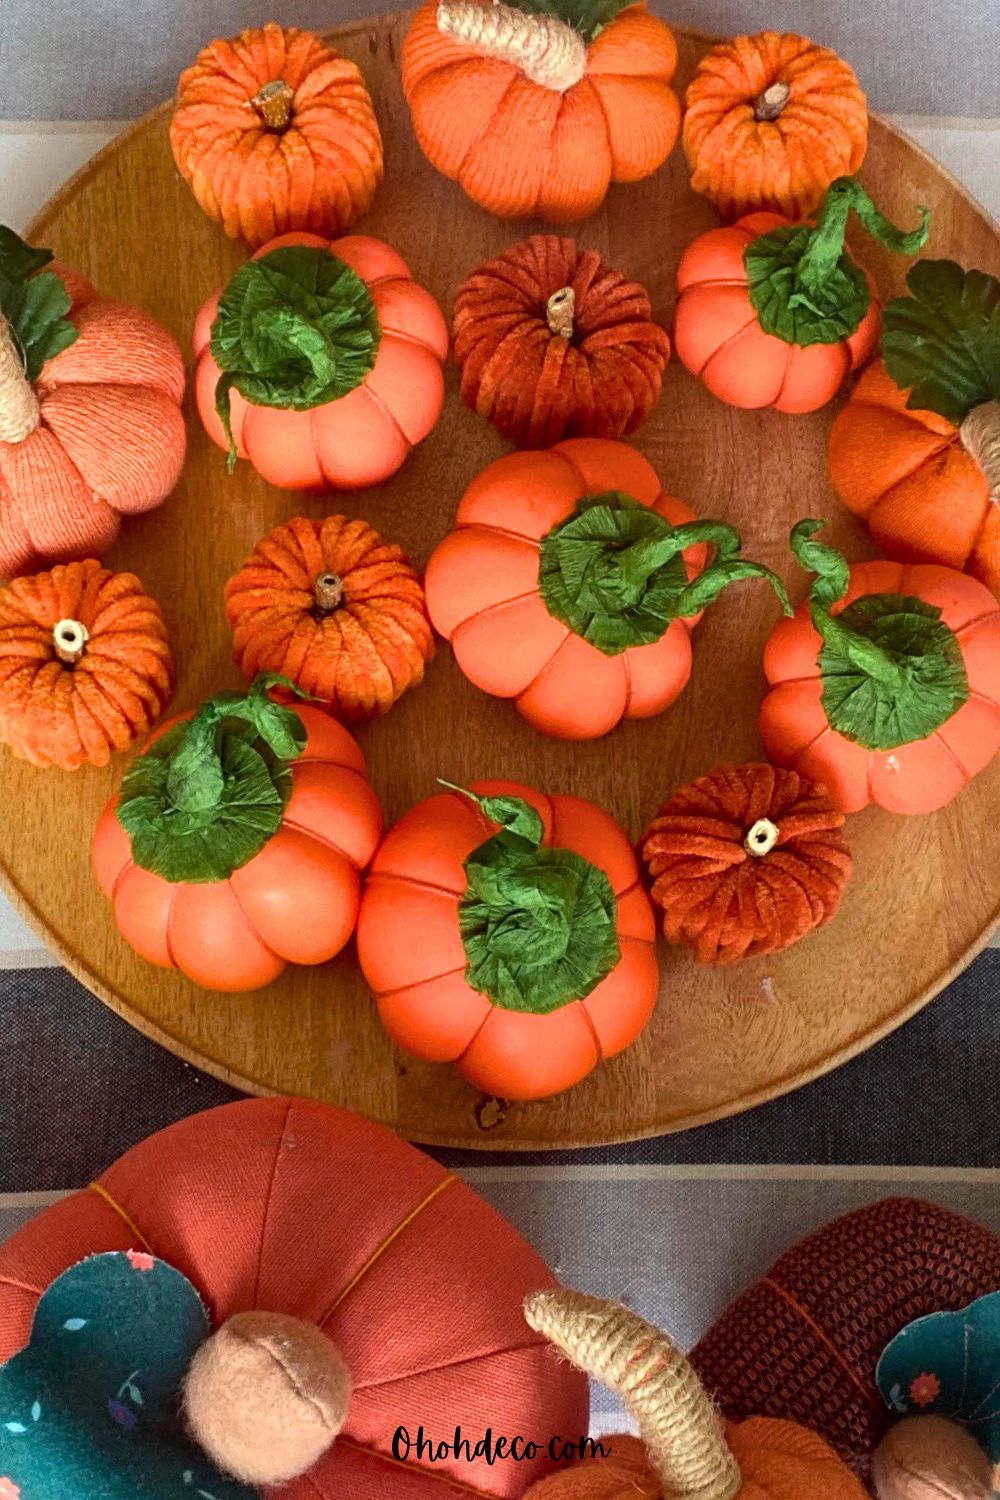
Make tiny pumpkins, larger pumpkins, and everything in between. They look lovely mixed with fabric pumpkins or the recycled paper roll pumpkins.
Display Your Handmade Halloween Decorations
These five cheap Halloween crafts work well individually, but they are even more fun together.
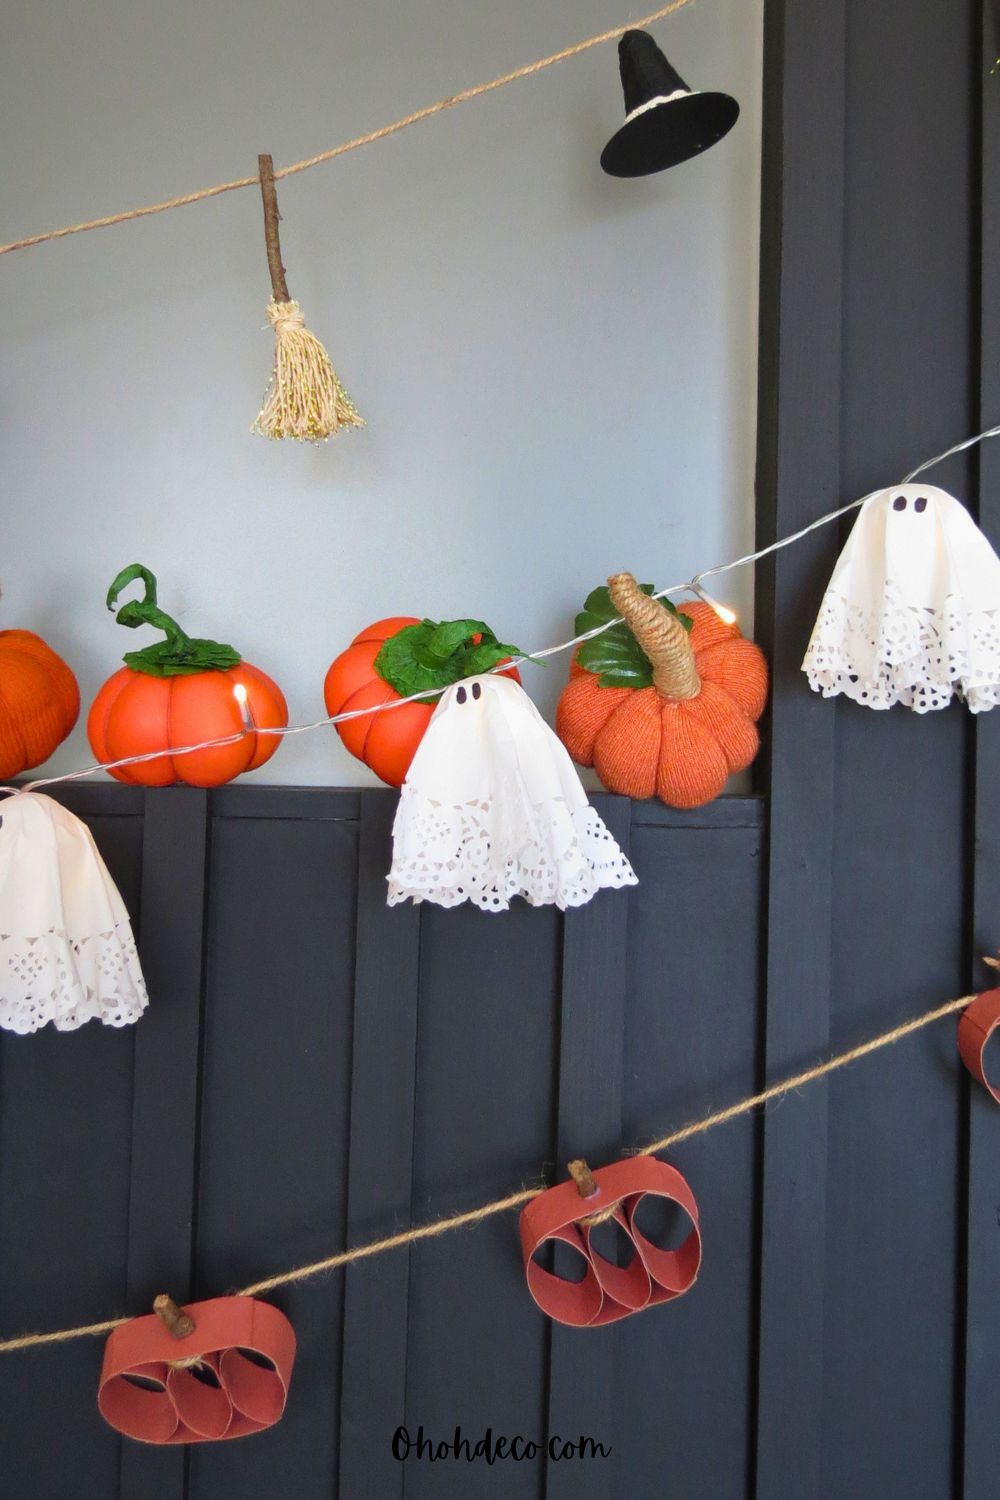
Place glowing paper ghosts on a tray with pumpkins, hang the mini witch garland above a doorway, and use the paper roll pumpkin garland to bring fall color to a wall.
A few small handmade details can make the whole house feel ready for spooky season.
For full details and the complete step-by-step tutorial, watch the DIY Halloween decorations video.
Which decoration would you make first: the glowing paper ghosts, mini witch hats, tiny brooms, recycled cardboard pumpkins, or stuffed balloon pumpkins?
Share your favorite in the comments.
RELATED: Vintage Halloween Decor: A Nostalgic Guide to Spooky Style That Never Goes Out of Fashion
RELATED: halloween crafts for adults 70 ideas
Want to remember it? Save these DIY Halloween Decorations on your favorite Pinterest Board.