

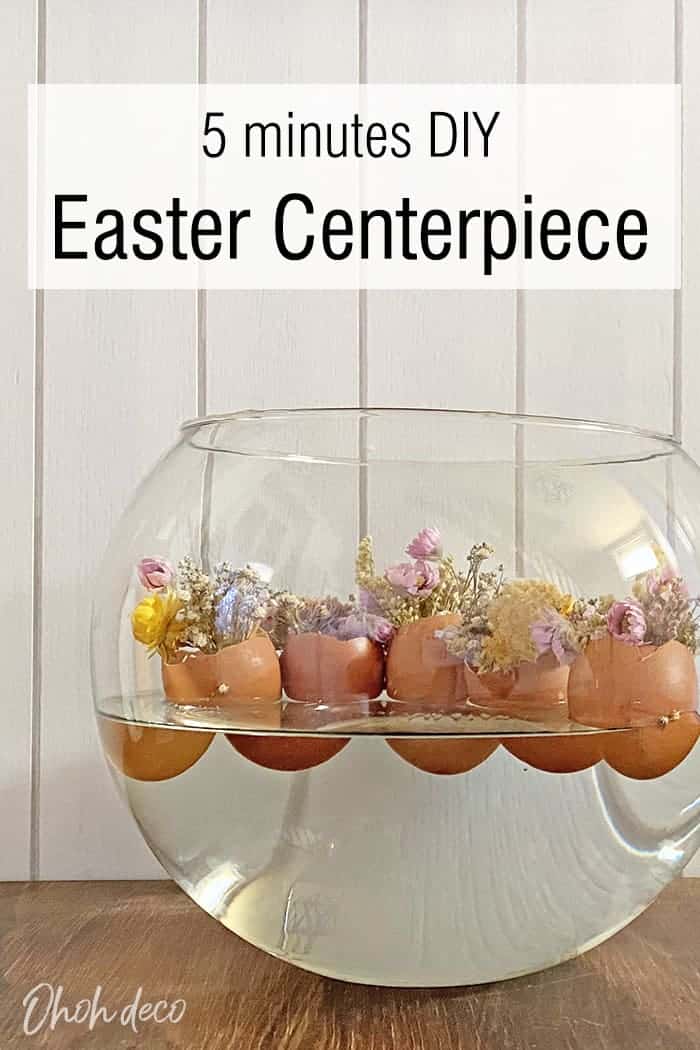
If you’re looking for a unique and creative way to decorate your Easter table, look no further than this easy Easter shell craft!
In this blog post, we’ll show you how to create a centerpiece that’s both beautiful and easy to make – using just a few simple materials.
From hollowing out the shells to adding your favorite flowers and decorations, we’ll cover all the steps to make your Easter celebration unforgettable.
[ This post probably contains affiliate links, our full disclosure policy is boring, but you can read it HERE ]
Gather the supplies for the Easter centerpiece

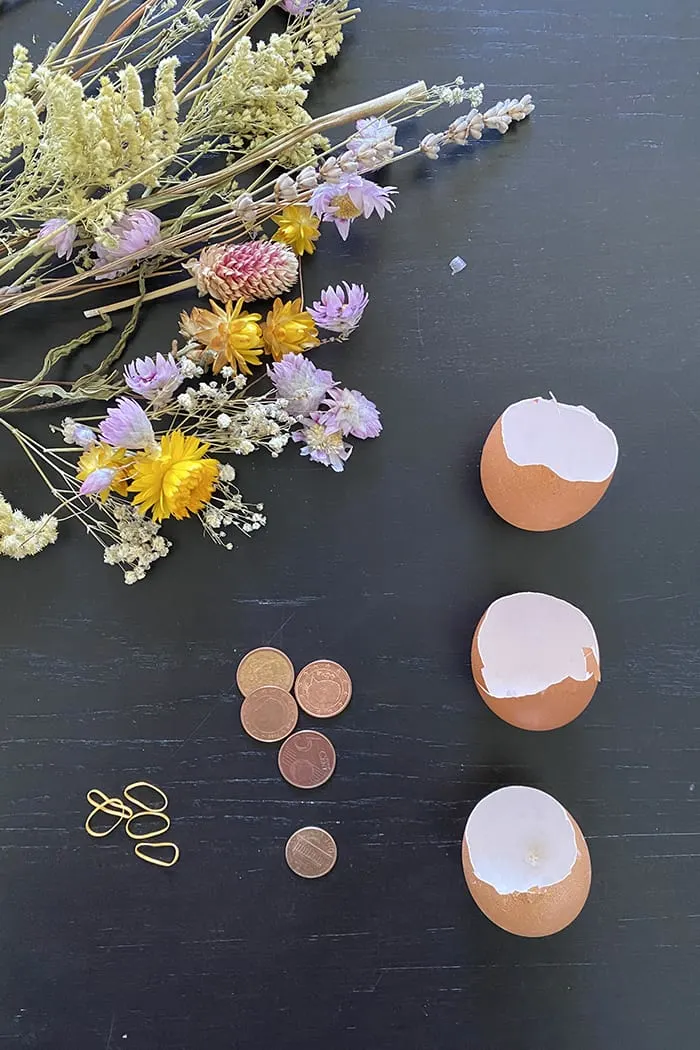
To begin creating your egg shell centerpiece, you’ll need to gather some supplies. Don’t worry, it won’t take much! Here’s a list of what you’ll need:
- A half-dozen or so eggs (depending on how many you want to use)
- Dried Flowers of your choice
- Vase or container (like this one or this other)
- Pennies
- Small rubber band (I used these)
- Scissors
Now that you have your supplies ready, it’s time to start the fun part – creating your centerpiece! First up is choosing your flowers.
RELATED: How to make a Seasonal DIY Wall Hanging
RELATED: Make a DIY Spring Wreath in 10 minutes
Watch the video step-by-step tutorial on Youtube
Step 1: Choose your flowers
Now it’s time to get creative with your dried flowers! Depending on your personal style, you can go for a classic and elegant look with white or pastel-colored flowers, or you can add a pop of color with bright and bold blooms.
If you’re feeling playful, you can even mix and match different types of flowers for a fun and eclectic look.
When selecting your flowers, consider the size of your eggshells and the overall size of your centerpiece.
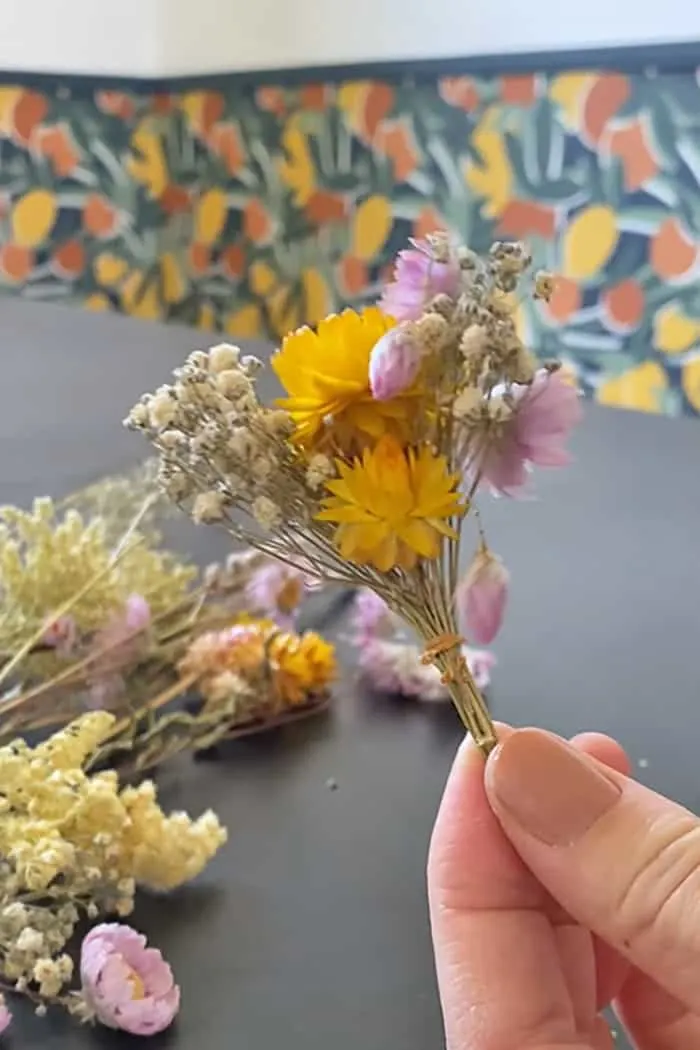
You don’t want to overpower the delicate egg shells with large and bulky flowers. Instead, choose small, delicate blooms such as daisies, pansies, or baby’s breath.
Grab a few flowers and make a small bouquet. Wrap the stem together using a small rubber band ( I used these) or string.
Once the bouquet is made, cut the stems just below the rubber band.
Once you’ve chosen your flowers, it’s time to move on to the next step.

Step 2: Clean out the egg shells
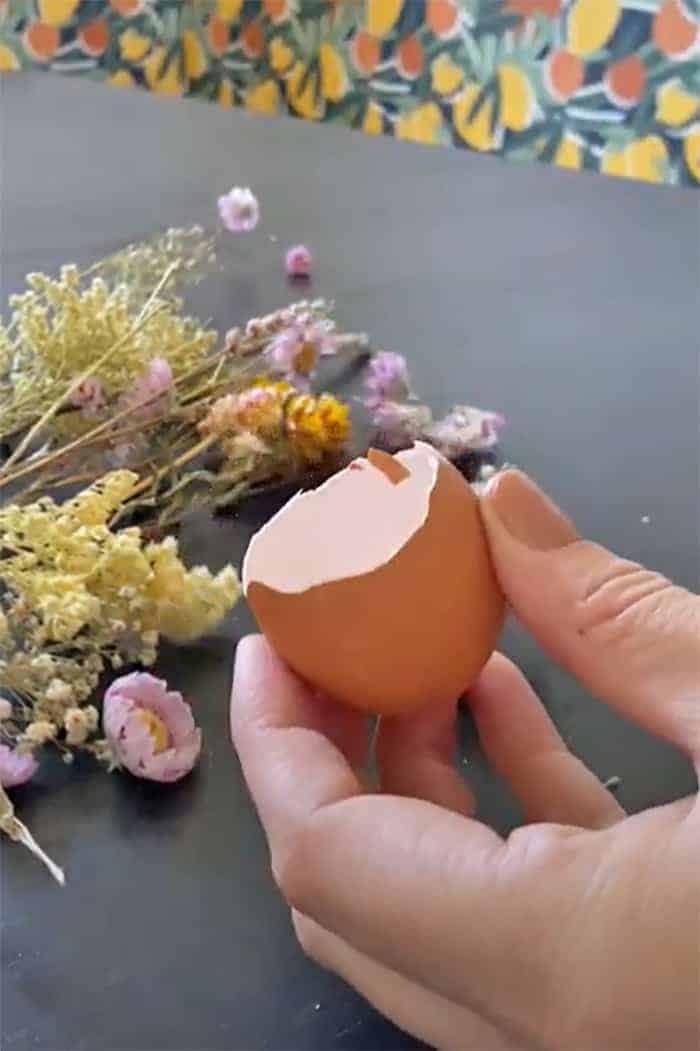
To make this centrepiece you will use the lower part of the eggshell. Break your eggs in half, trying to make the bottom part a little bigger than the top. Make yourself an omelet 😉
Clean the empty shells well. Remove the inner membrane stuck to the egg shell, them clean with water and soap, let dry.
Prepare as much shell as you want. Their number depends on the size of the centerpiece you want to make.
RELATED: Easter Bunny Wreath
RELATED: Easy to make Easter decorations with a Scandinavian look

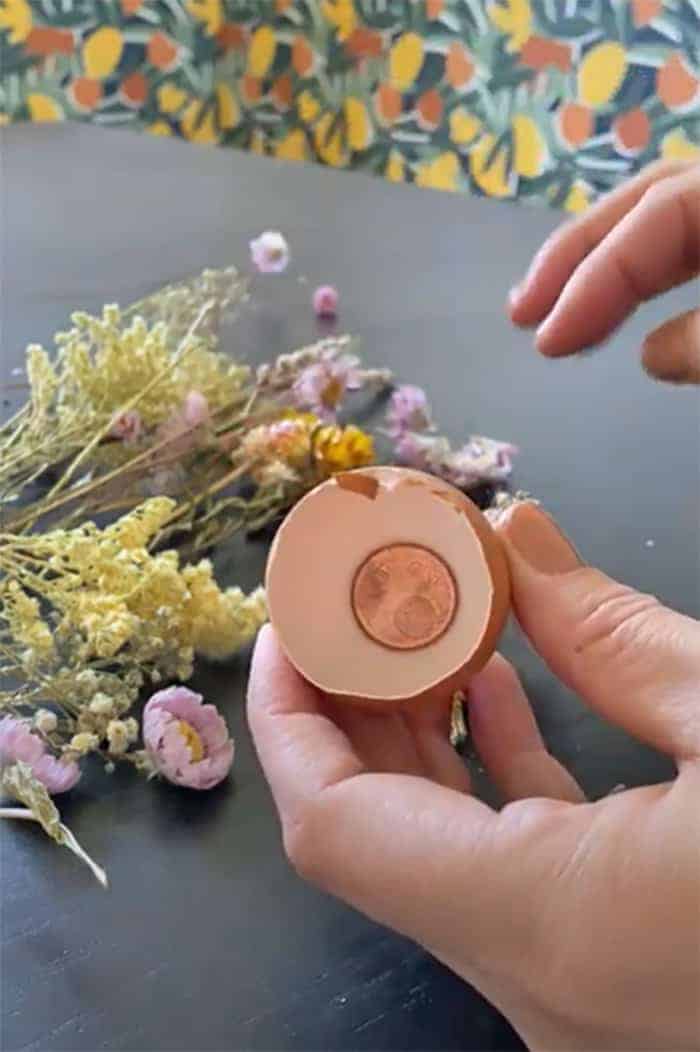
Step 3: Put some ballast
The last thing you want is for your painstakingly crafted Easter centerpiece to tip over and ruin all your hard work. That’s where ballast comes in.
By adding just a little bit of weight to the bottom of your egg shells, you can ensure that they stay upright.
Fill the bottom of each egg shell with a penny (or any copper coin). This will add weight without taking up too much space.
Just put the penny in the bottom of the eggshell, no need to glue it.
Once your ballast is in place, you’re ready to move on to the next step: filling your egg shells with flowers

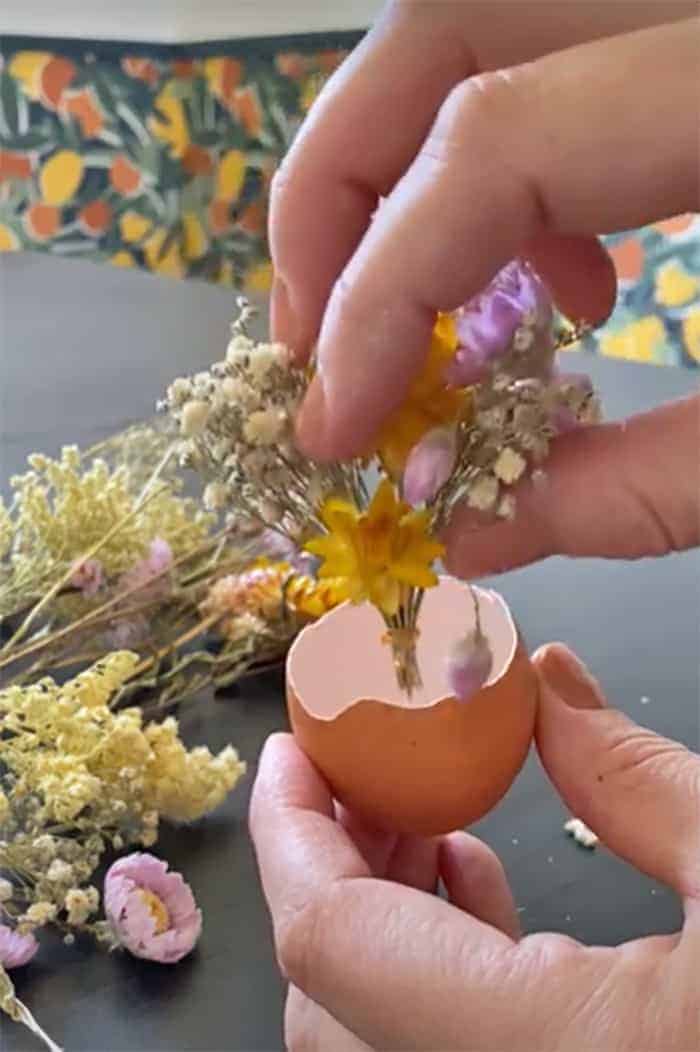
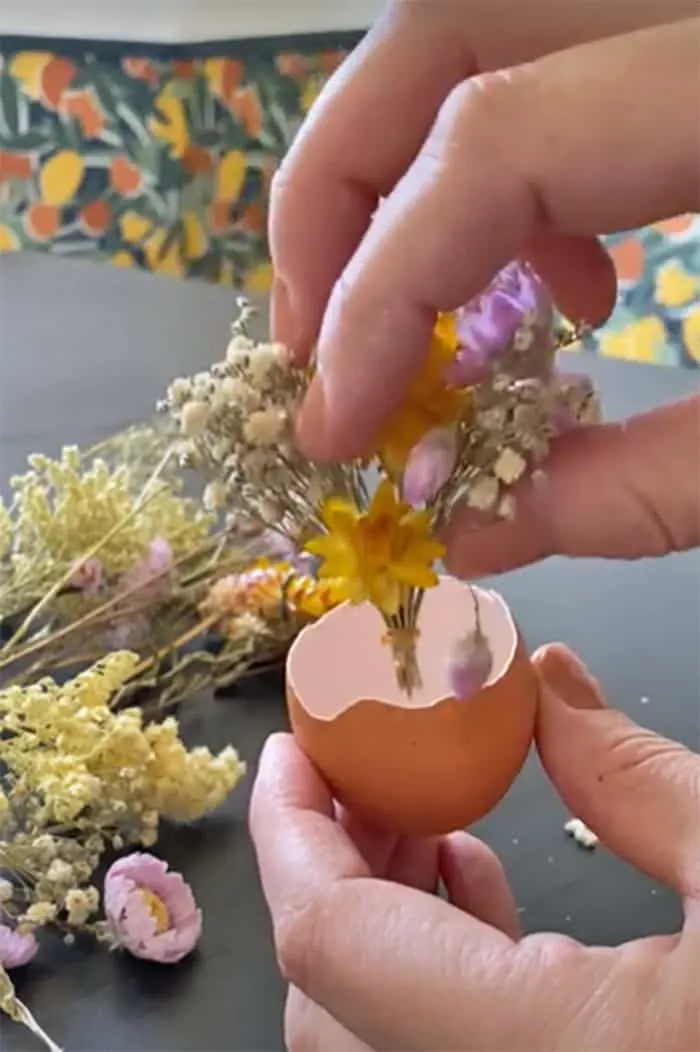
Step 4: Arrange the egg shell centerpiece
Once your egg shells are prepared and stable, it’s time to add the finishing touches to your Easter centerpiece.
This step is all about showcasing your creativity and personal style. Depending on the look you’re going for, you can fill your egg shells with a variety of dried flowers.
Grab the small bouquet and place it into the egg shell. Again no need to glue. The bouquet must fit into the shell.
If it’s too tall cut again the stems to prevent the shell from turning over and the egg from sinking (let’s avoid any last-minute Easter drama).
RELATED: How to make Easter bunny eggs
RELATED: 15 awesome DIY Easter eggs ideas
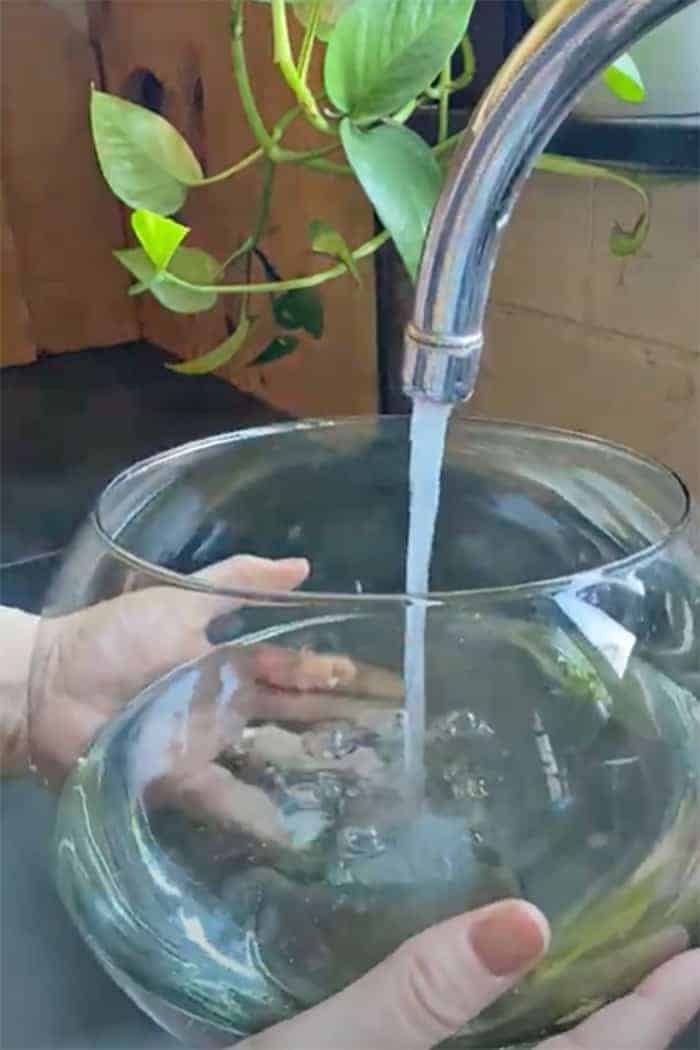
Step 5: Pick the right centerpiece container
Begin by selecting a vase or container that will hold your egg shells upright. You can use a traditional vase, an aquarium, a salad bowl or a large platter depending on the look you want to achieve.
Fill your container up to halfway with water. Wipe the rim of the vase to remove small droplets.
Place the vase in the center of your table, on a console, or anywhere you want to display your Easter decoration.

Step 6: Arrange the egg shell centerpiece
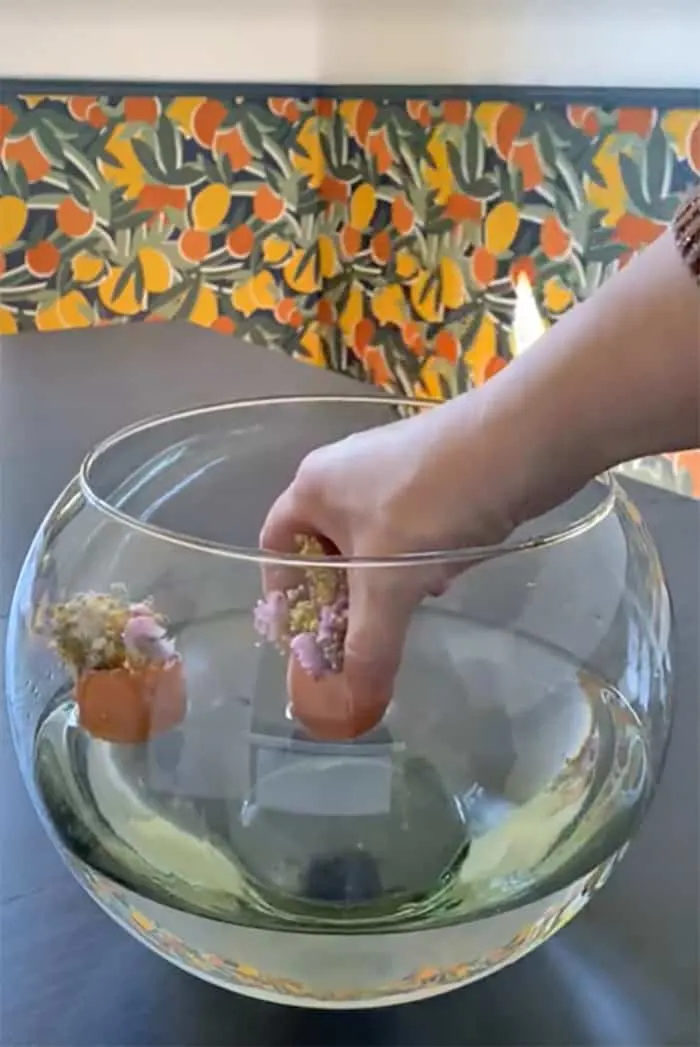
Next, start placing your egg shells into the vase or container.
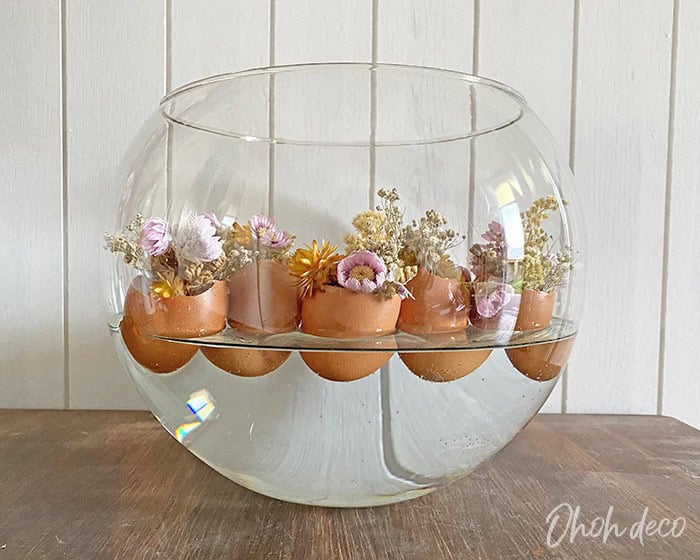
You can choose to put just a few eggs and let them move as they please in the vase or you can fill your container for a very flowery result of the most beautiful effect.
Play around with the egg shells until you find an arrangement that pleases you.

In conclusion, creating a stunning Easter centerpiece doesn’t have to be complicated or expensive. With just a few egg shells, some flowers, and a little creativity, you can impress your guests with a unique and beautiful decoration.
Remember to clean out the egg shells, fill them with ballast and flowers, and add your personal touches to make it truly your own.
As you display your egg shell masterpiece, your guests will be in awe of your crafting skills and creativity. So, don’t be afraid to give it a try and add some egg-citement to your Easter celebration!
I love to see your creations, so don’t hesitate to leave a comment or tag me on Instagram ohoh.deco.
Want to remember it? Save this DIY egg shell Easter centerpiece on your favorite Pinterest board.

You will find all the tutorials featured in the video on my “Best DIY” page
Amaryllis