My city has turn purple with all the Jacaranda trees blooming around, it’s so beautiful and will only last a few weeks.
I realized that Easter is just around the corner and I had to think about my favorite spring craft: decorating eggs!
[ This post probably contains affiliate links, our full disclosure policy is really boring, but you can read it HERE ]
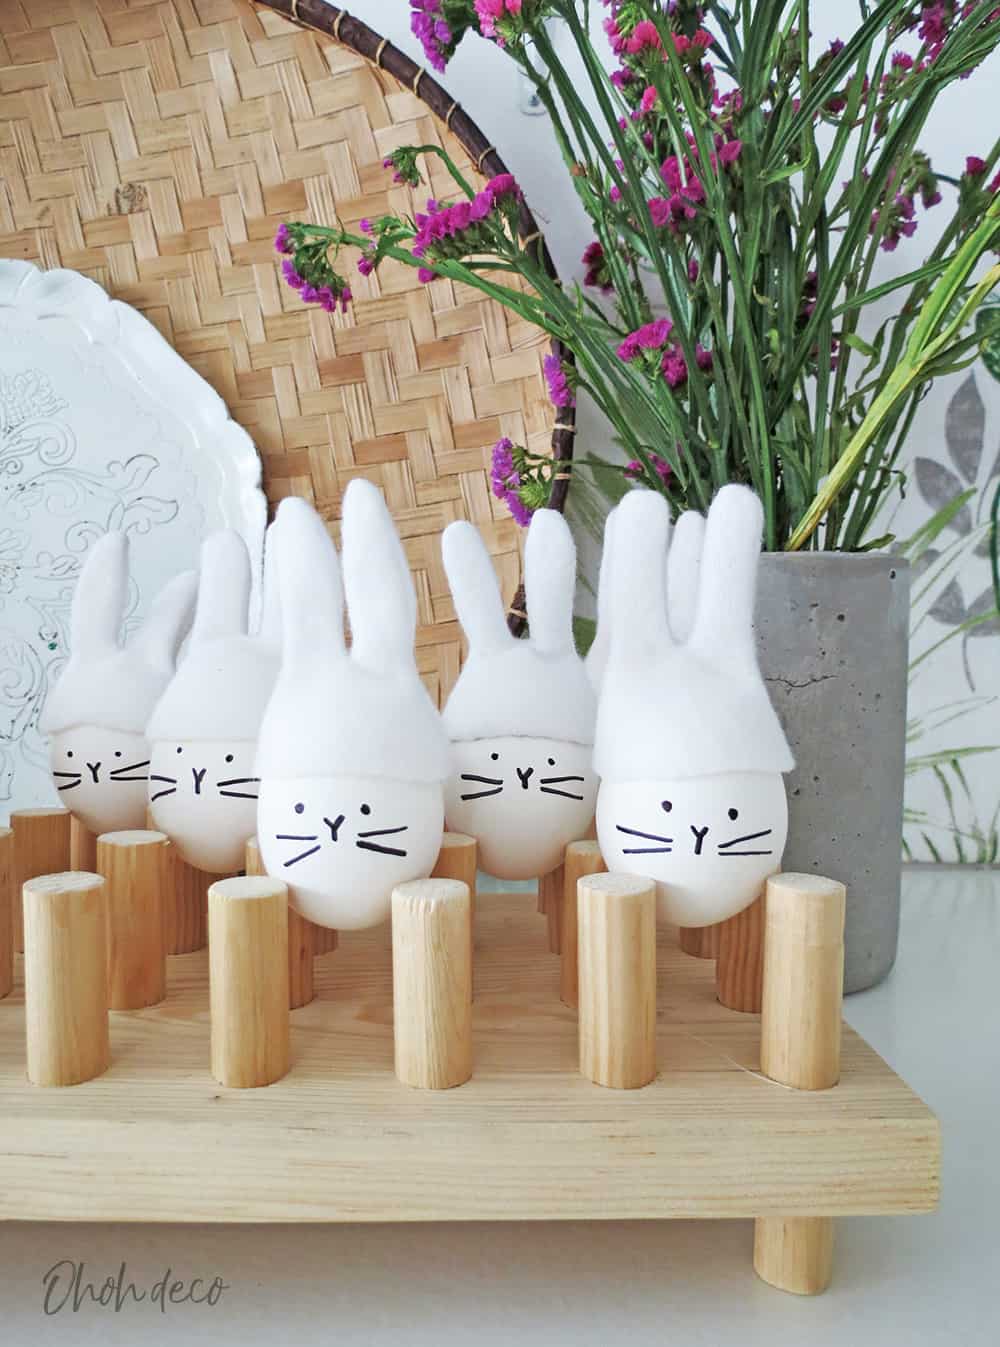
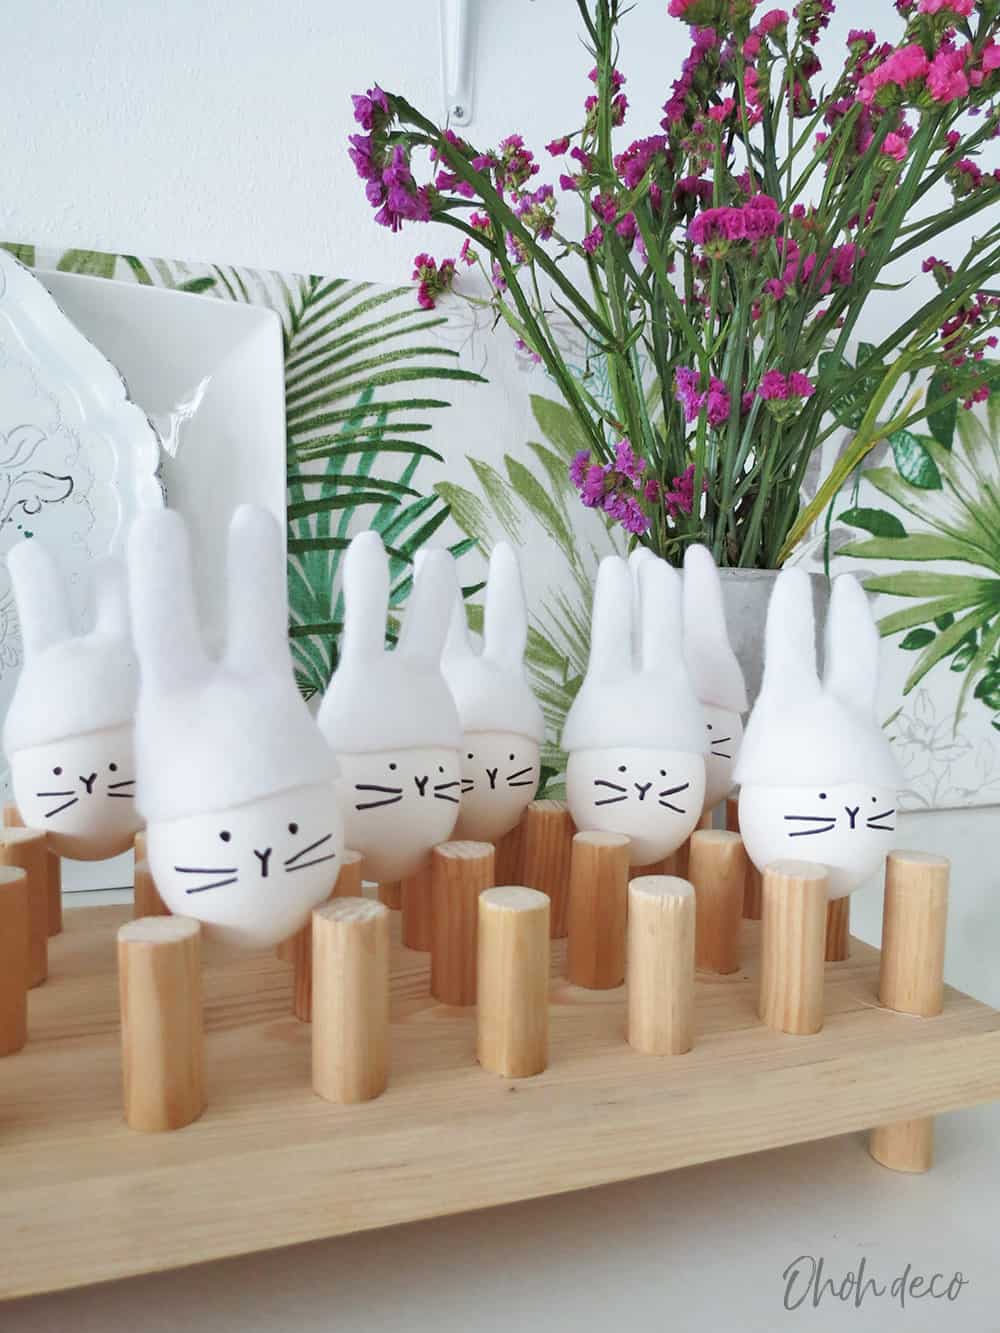
This year I decided to turn the eggs into cute little bunnies.
I have to admit I have no idea why a rabbit is bringing the Easter eggs. But it’s a nice inspiration to make Easter decorations.
These little hats are super easy to make. I used a sewing machine but it’s easy to sew it by hand. The rabbit ears are small so it goes pretty fast.
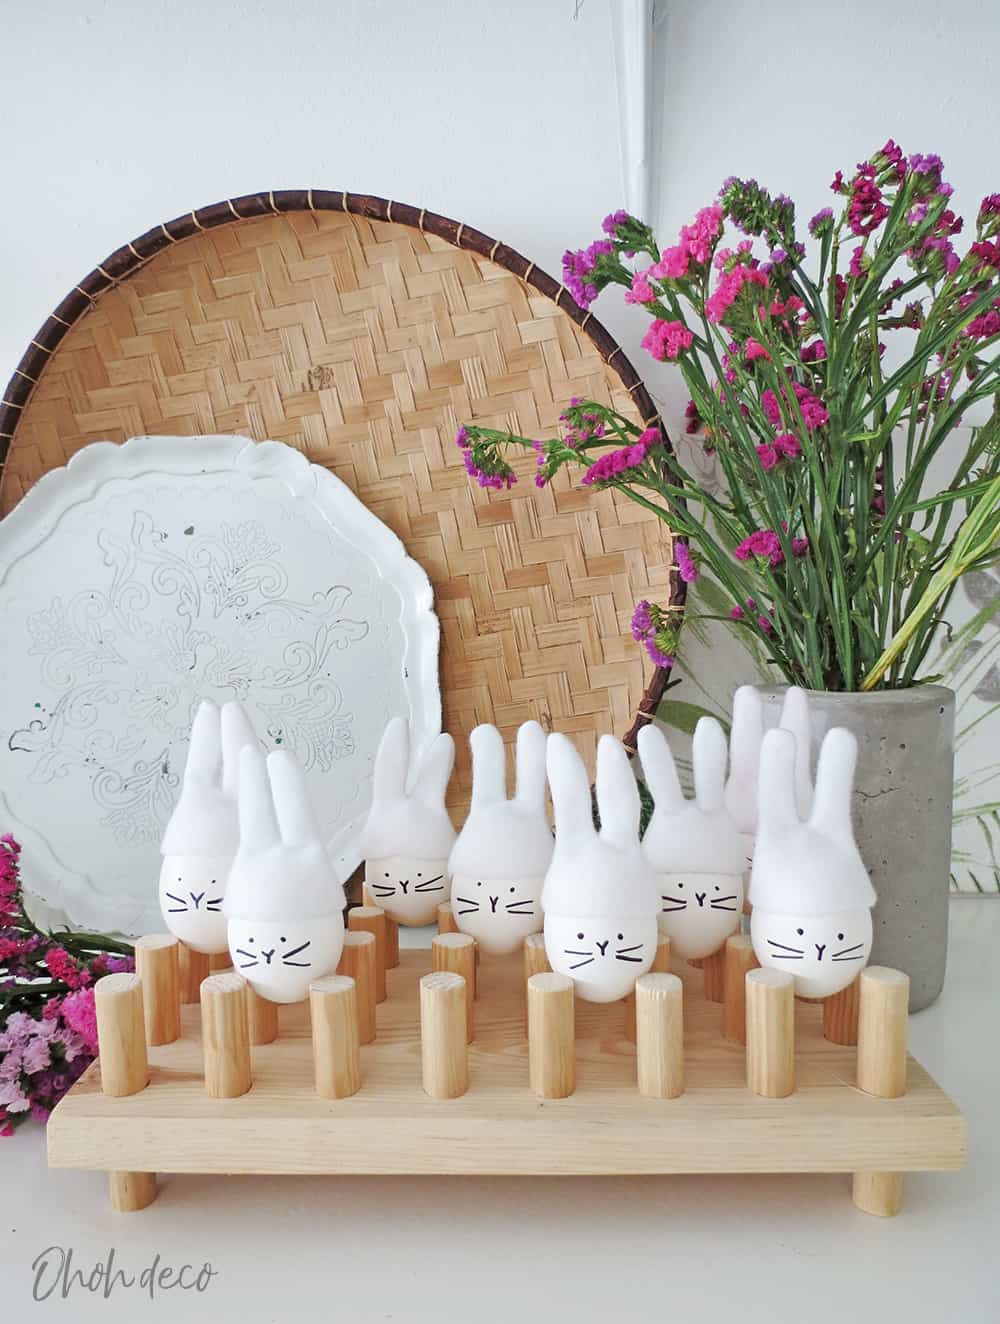
I made a cap and add some face lines with a sharpie and done, I have a bunny family ready to celebrate Easter! Aren’t they cute?
RELATED: Easter Bunny Wreath
RELATED: How to make an Easter bunny bag (no sewing)

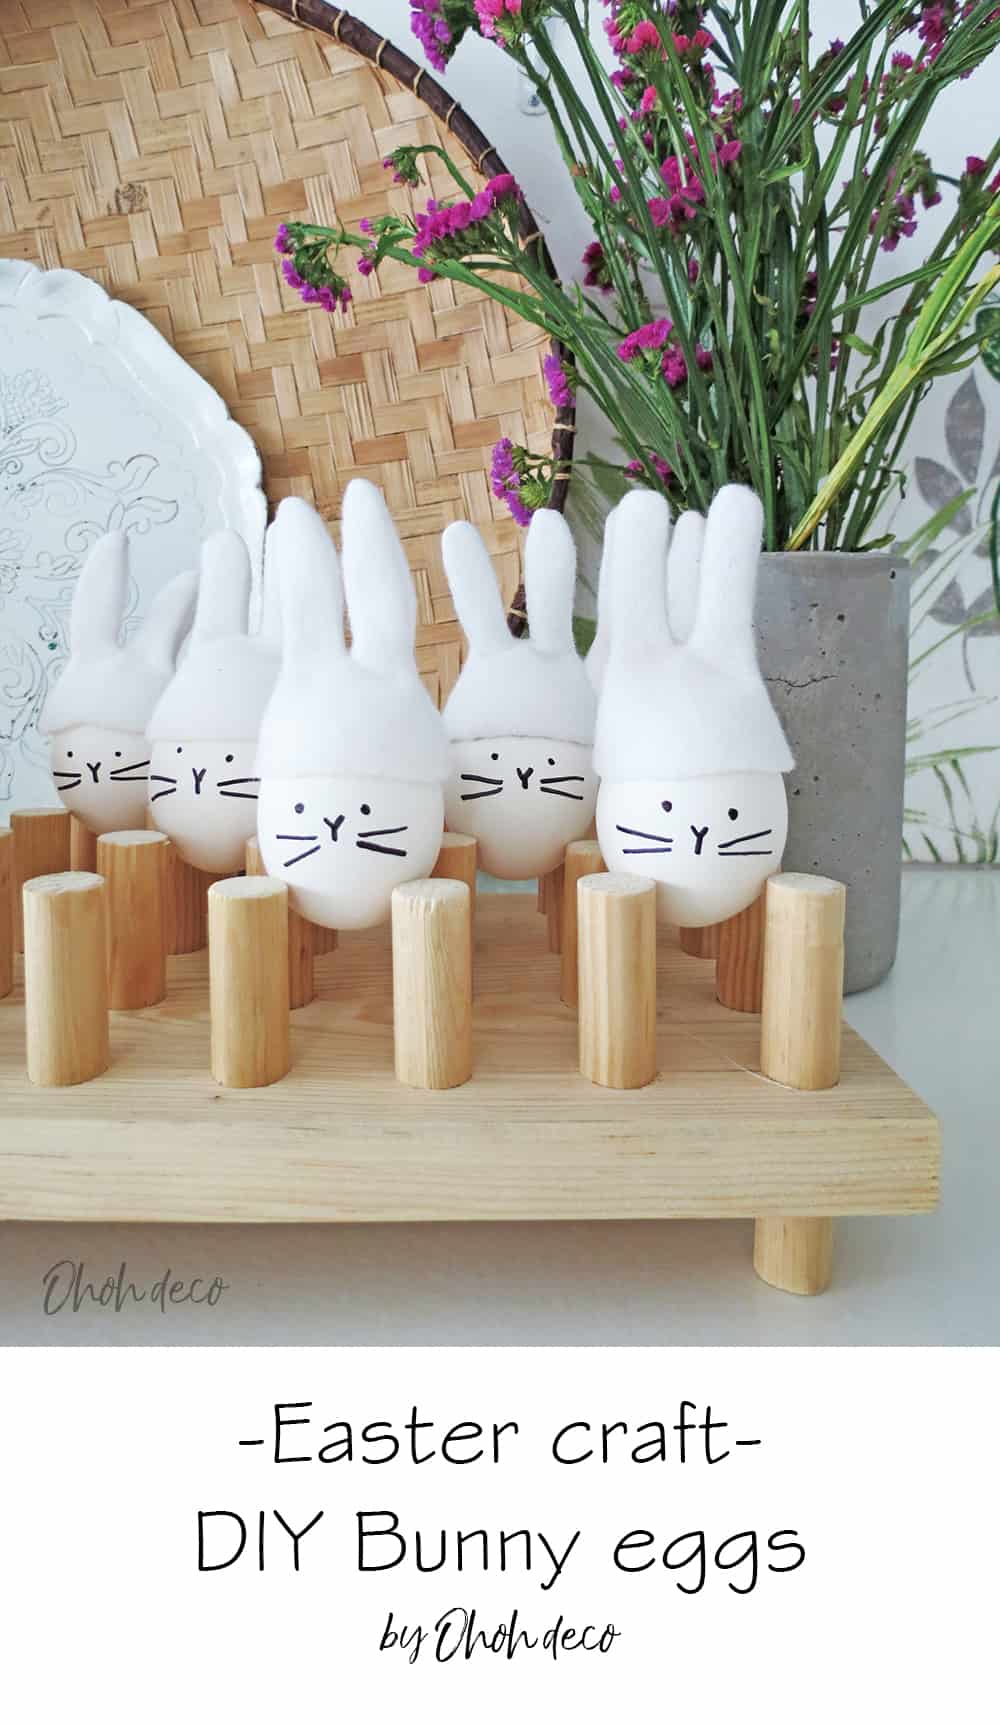
How to make Easter bunny eggs
Supplies you will need to turn eggs into Easter bunny:
- boiled eggs
- white fleece fabric or jersey fabric
- white thread
- sewing machine (optional, you can make the caps sewing by hand too)
- a sharpie
- Small white pom poms
- Silicon glue
- the free pattern (available in my library)
>>> DOWNLOAD the FREE PATTERN <<<
The library access is for subscriber only, you can join HERE. It’s free and you will receive my newsletter with the last DIY from the blog right in your inbox (not spam…just fun crafts ideas!)
Print the pattern and cut out the bunny ear shape following the lines.
Pin two small pieces of fleece fabric on top of each other (wrong side out) and report the ear shape on the top piece.
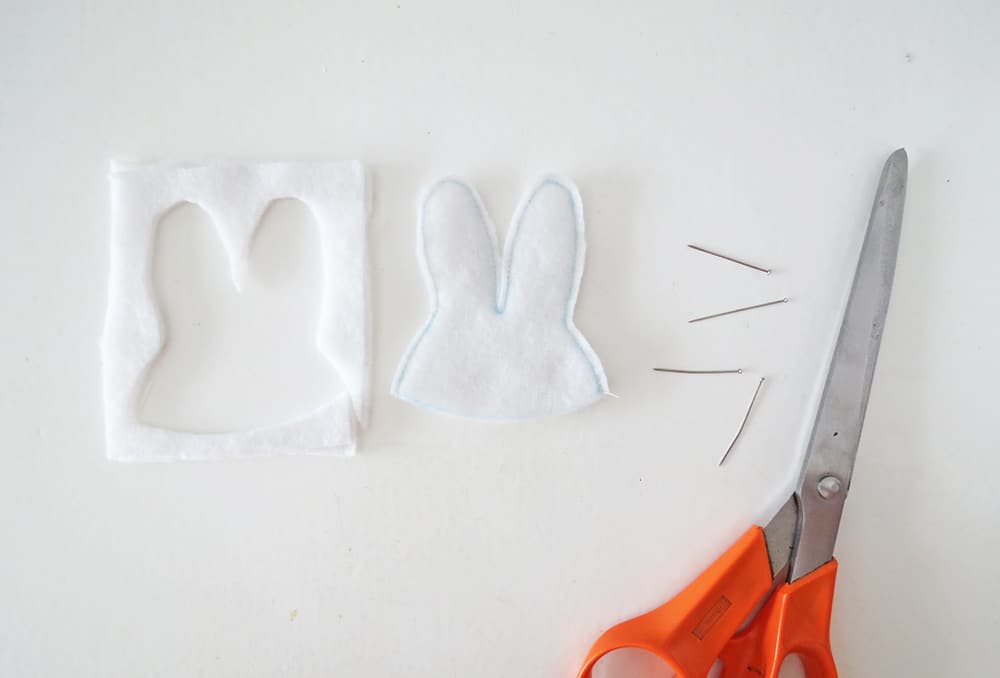
Using small straight stitches, sew the bunny ears cap following the shape.
Don’t sew the bottom of the cap. Remove the pins and cut the fabric at a few millimeters of the seam.
Cut the bottom of the cap following the drawing mark.
As I have one, I used my sewing machine but you can also sew the caps by hand. They are small, so it’s quite fast to make.
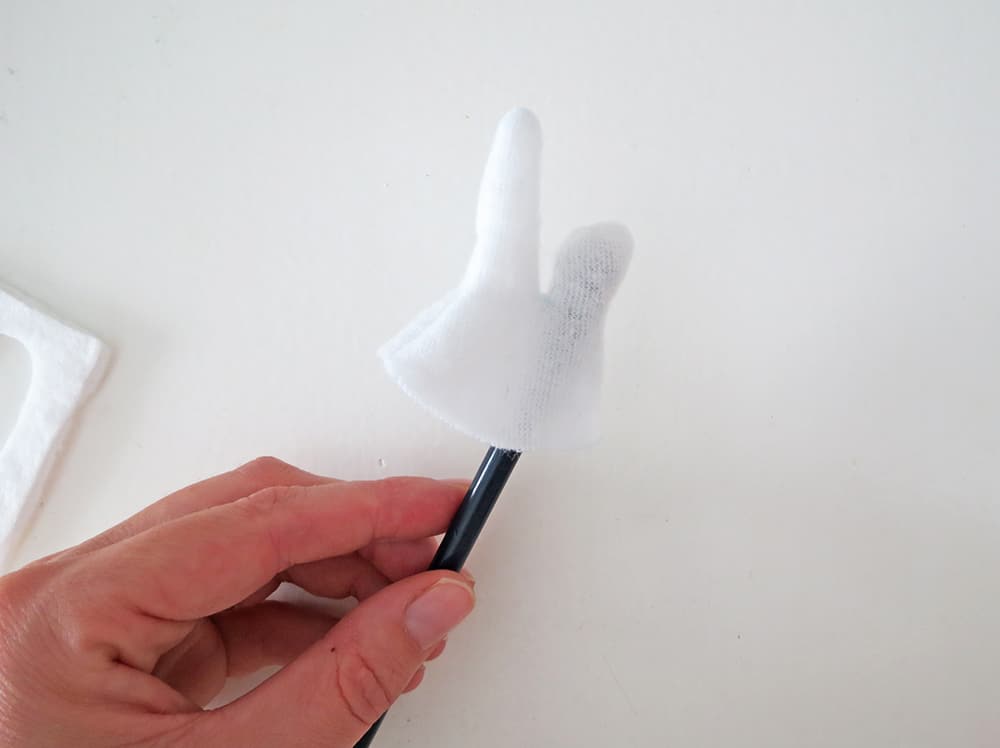
Turn the cap right side out, you can use a pencil to push out the ears.
Repeat as many time as you want to make as much bunny caps you want.
It just takes me a few minutes to make, so it’s fun and easy to make a bunny family.
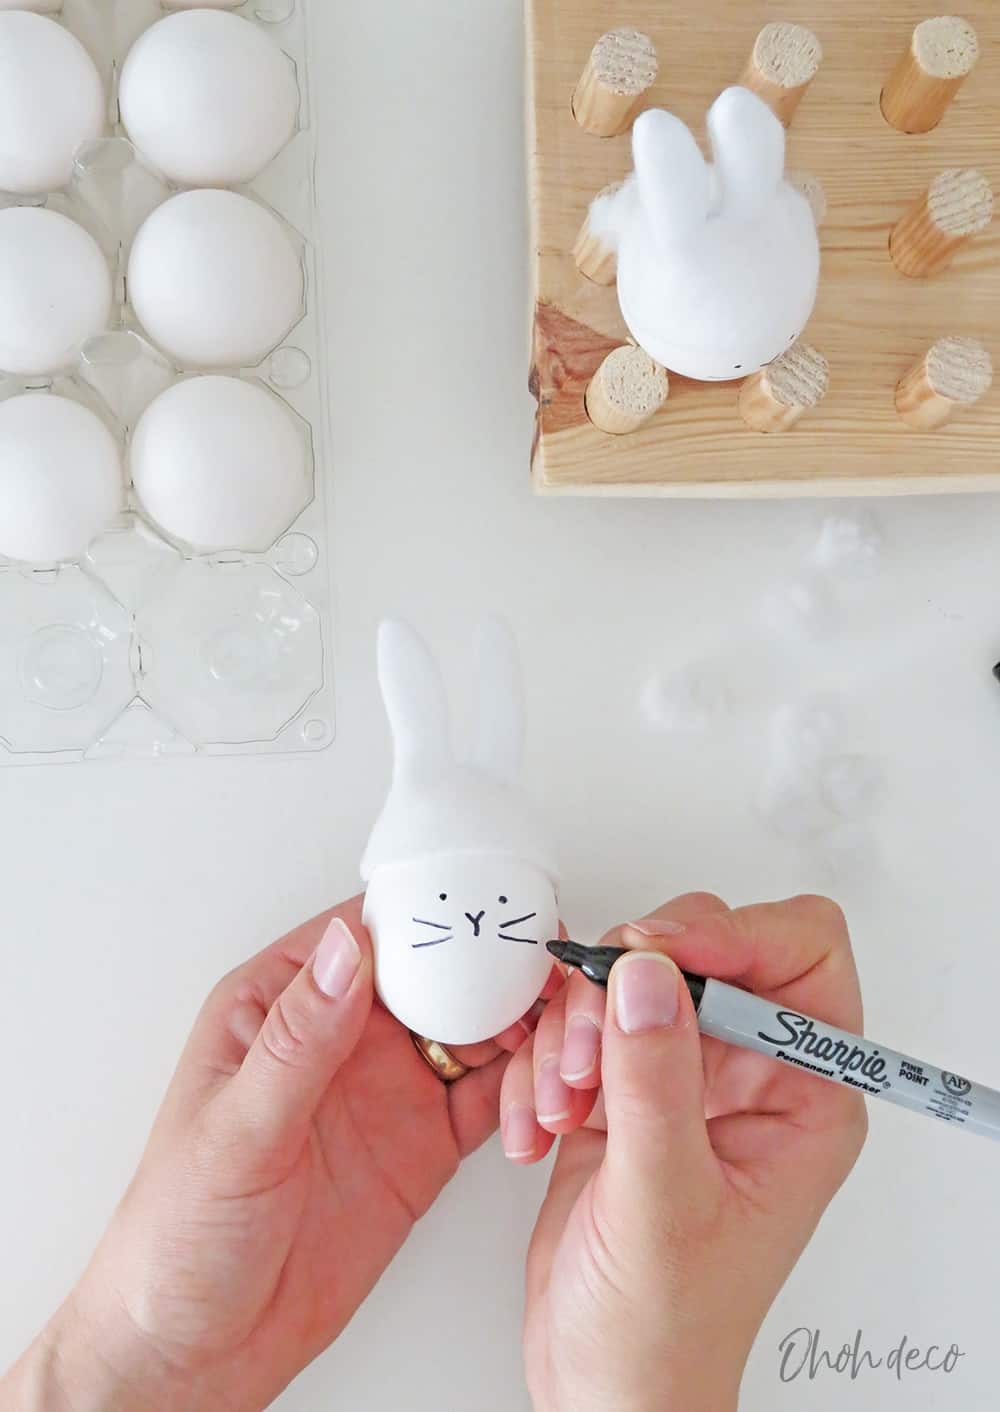
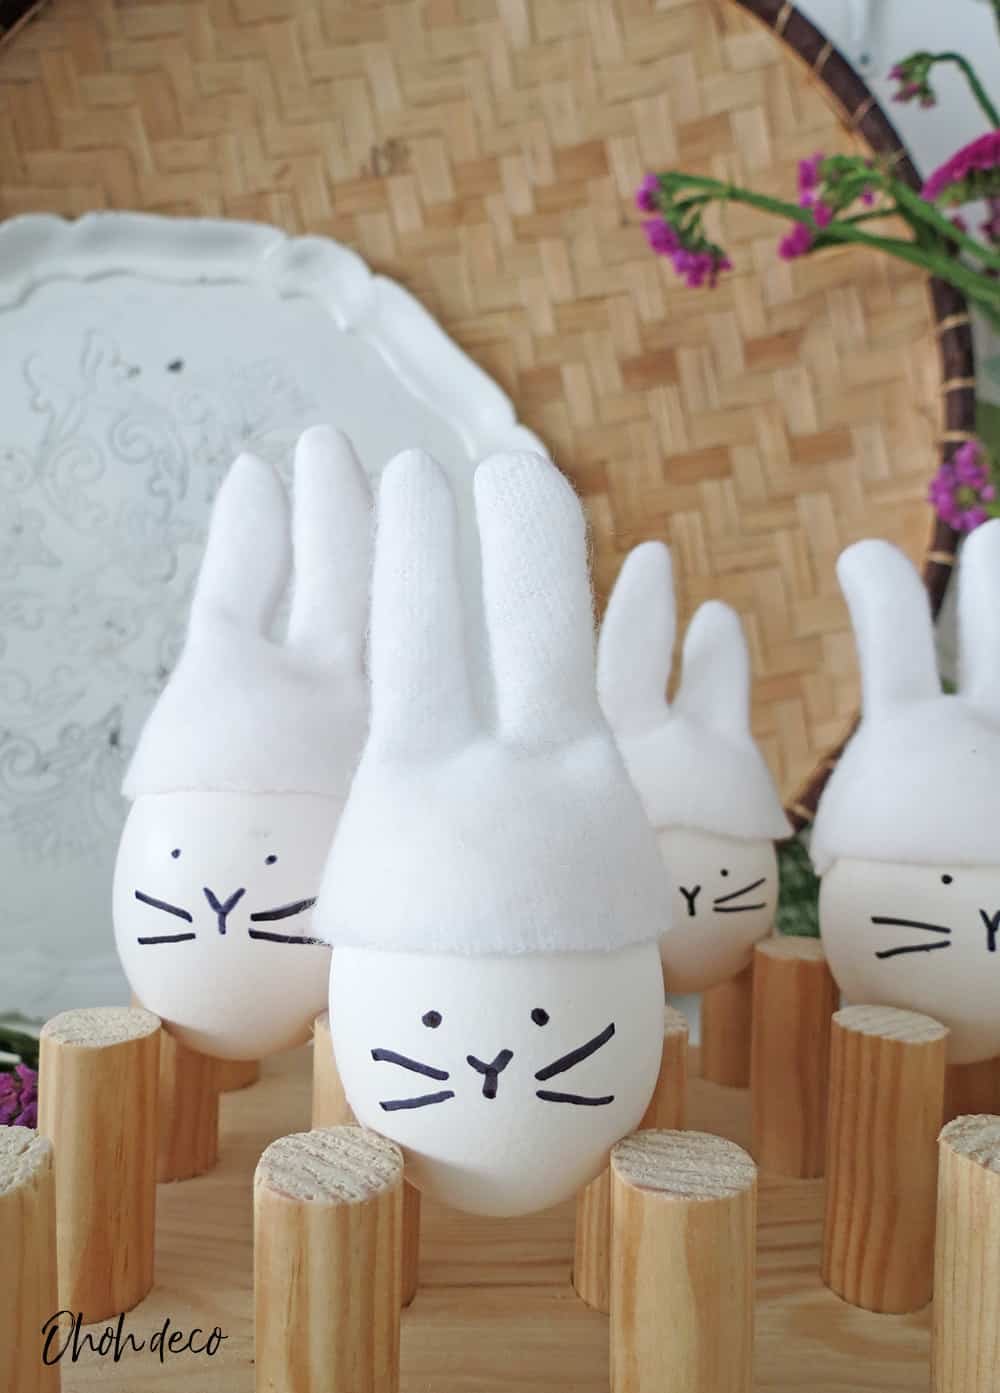
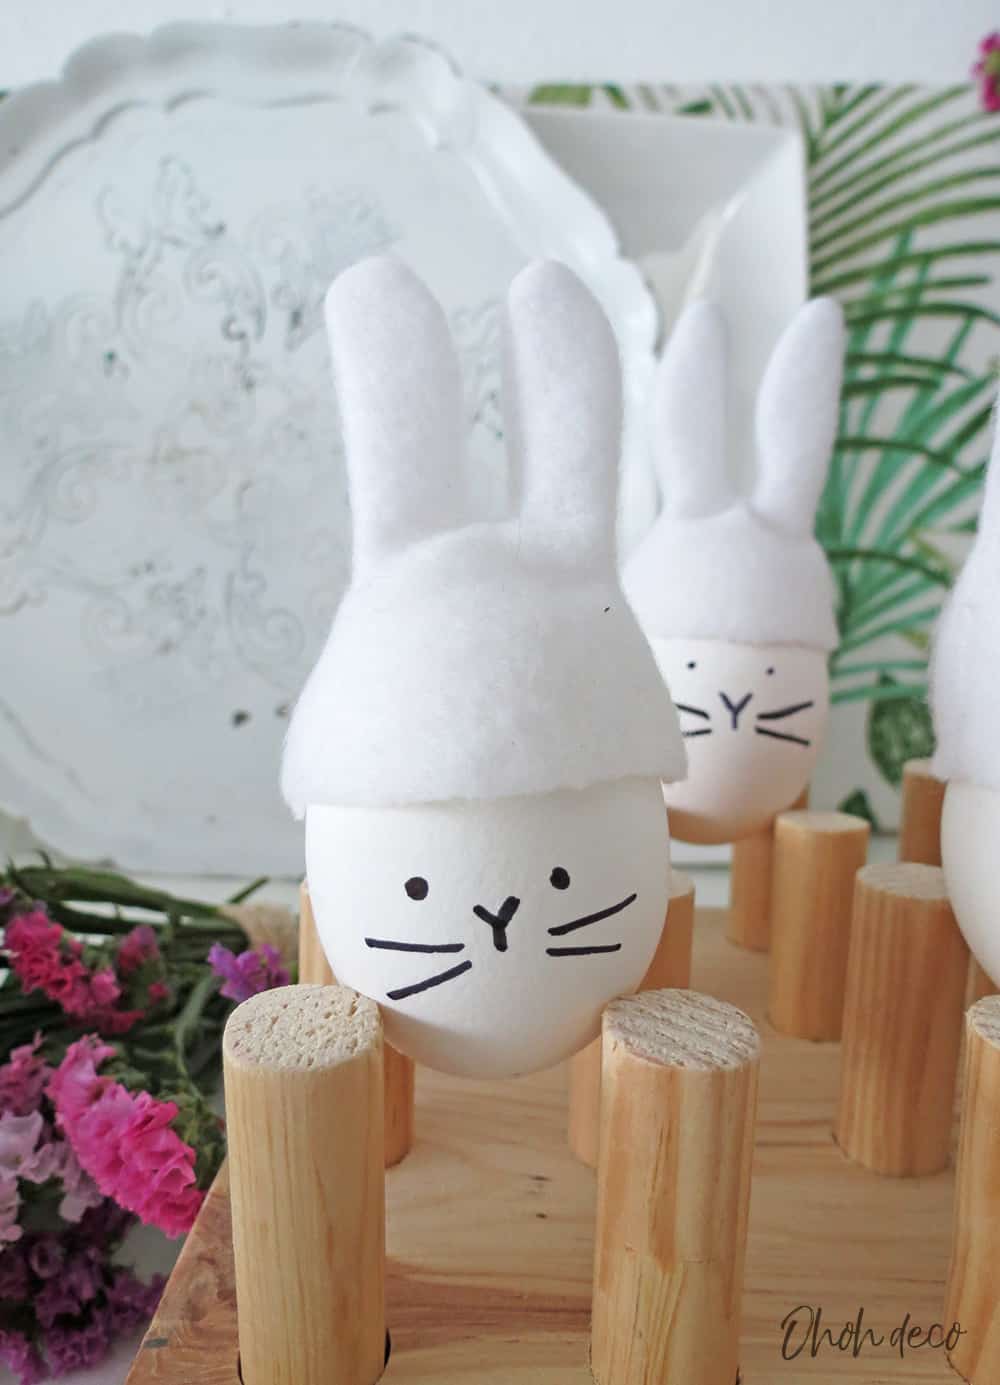
Place the cap on the egg and use a sharpie to draw the bunny face.
Make two dots for the eyes, then a “Y” shape in the middle for the nose and two lines on each side for the whiskers.
Simple, right?
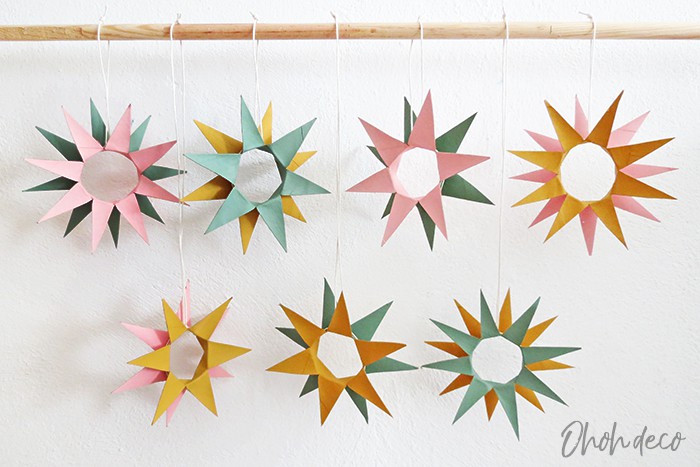
RELATED: Easy to make Easter decorations with a Scandinavian look
RELATED: Make a DIY Spring Wreath in 10 minutes
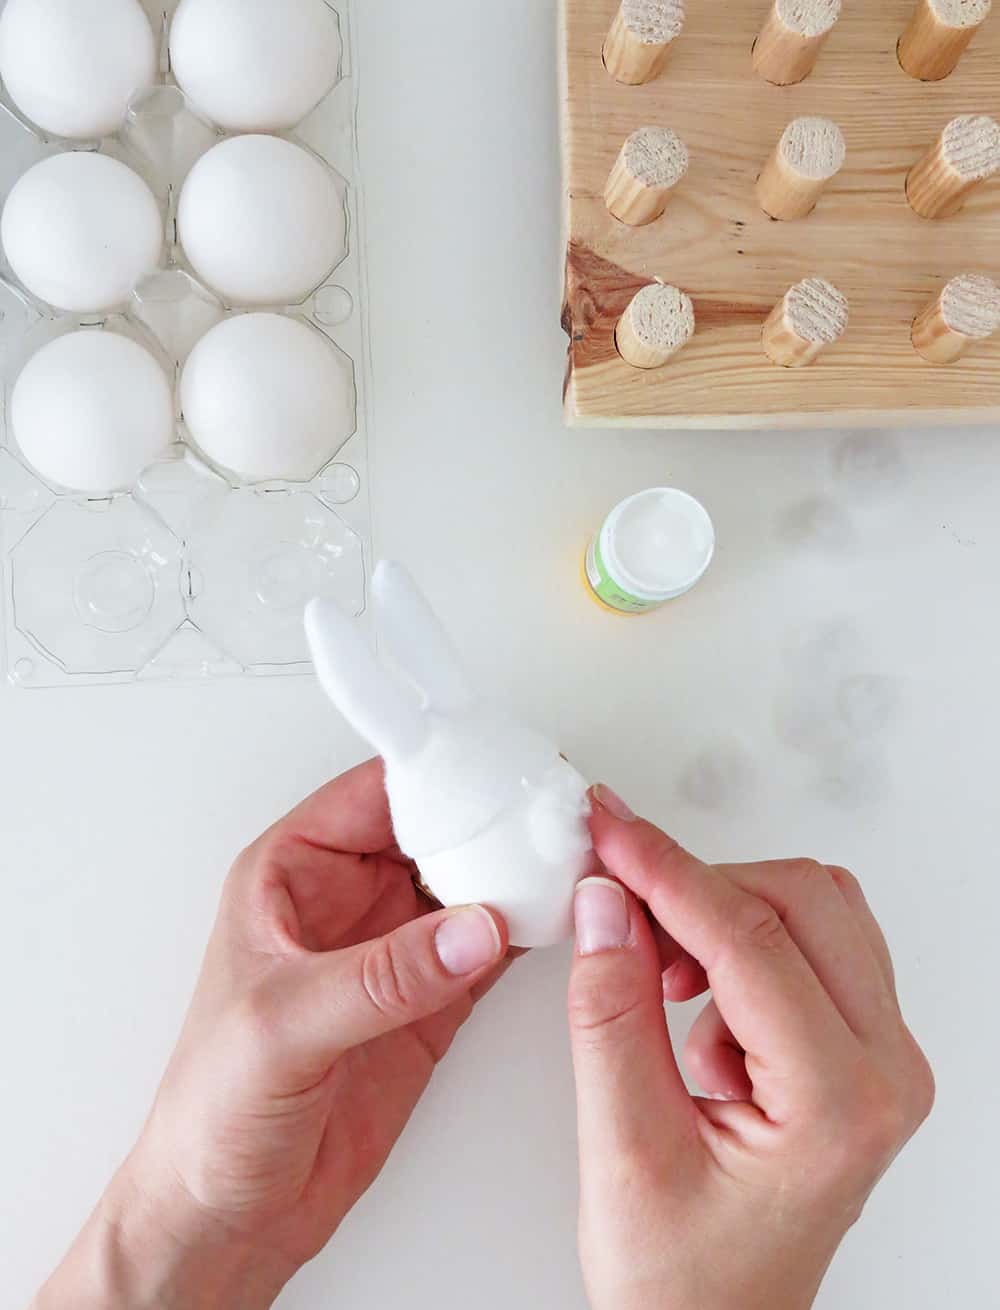
We can’t forget the ultimate detail, gluing a little pom-pom on the back to make the bunny tail.
And done, you just turned an egg into a cute little Easter bunny!

Don’t you think they are cute? What are your plans for Easter? Any fun decor idea you can share in the comments?
You can place the Easter bunny eggs in egg cups or glue them on a piece of white cardboard so that they stand upright.
As I suggest you above, avoid using hot glue on the eggshells, prefer this kind of silicone glue.
What I like about this craft is that you can reuse the bunny ears for the next years.
Just store them flat in a plastic bag and done! You will be ready to dress up more Easter bunny eggs next year!
Want to remember it? Save these DIY Easter bunny eggs on your favorite Pinterest board.
You will find all the tutorials featured in the video on my “Best DIY” page.
Amaryllis
Adorable! Cutest bunny-eggs!
Thanks Dinah