Every Holiday is a good excuse for adding decorations. Easter is no exception, and we are pleased to bring spring into our homes.
If you like fresh and modern Easter decor, this Easter bunny wreath made of wooden beads will please you.
[ This post probably contains affiliate links, our full disclosure policy is really boring, but you can read it HERE ]
It is a quite simple Easter craft to make that you can finish in less than one hour.
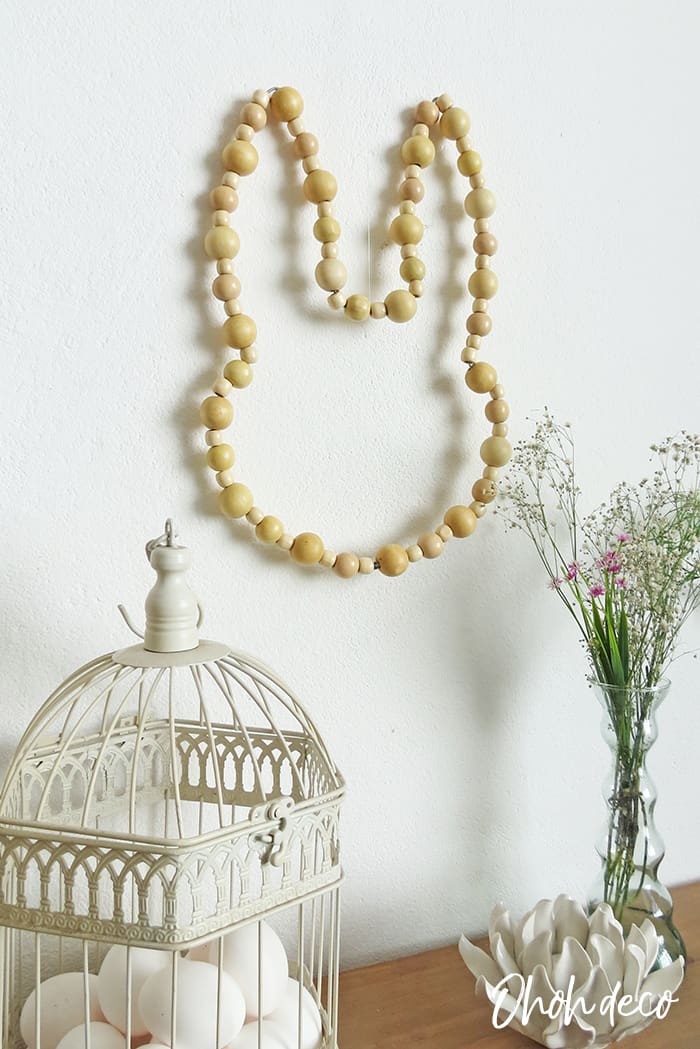
You can hang it on your front door or on a wall. I kept the bunny wreath very minimal but feel free to add some flowers or a ribbon for a personal touch.
This beaded bunny wreath was created for spring and Easter, but it will also make a nice wall decoration for a kid’s room, don’t you agree?
Scroll down to read the tutorial or watch the video.
RELATED: Easy to make Easter decorations with a Scandinavian look
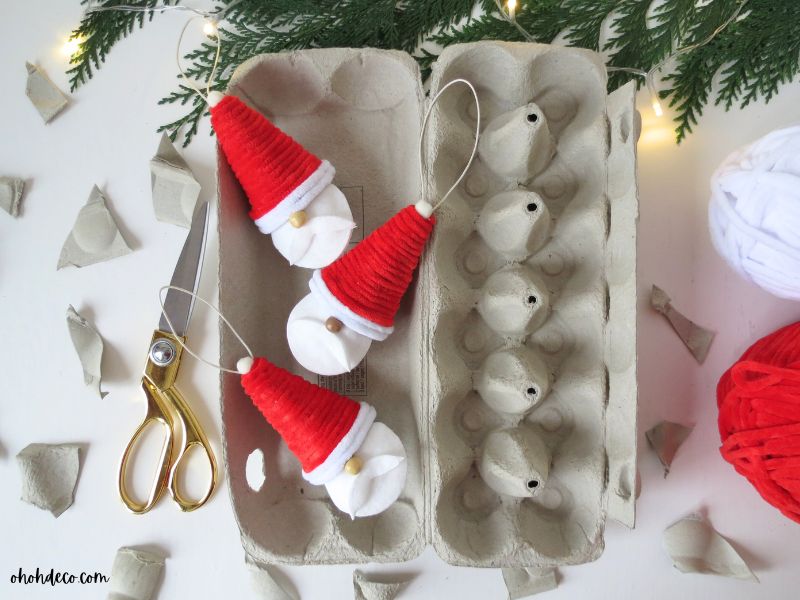
RELATED: Easter craft: Bunny cap for eggs

How to make an Easter Bunny Wreath
Supplies you will need to make your beaded wreath:
-
- Wooden beads of various sizes
- Wire of 2mm thickness (1 1/4 yard long or 1,2 meter )
- Pliers
- The Free bunny template (If you already are a member, click HERE for direct access to download your template)
- Nylon thread
The FREE bunny template is available in my resource library along with a bunch of other great prints and patterns. All you need to do is fill out the form and check your inbox for a welcome email with the password in. Click here to get in >>>> FREE LIBRARY ACCESS
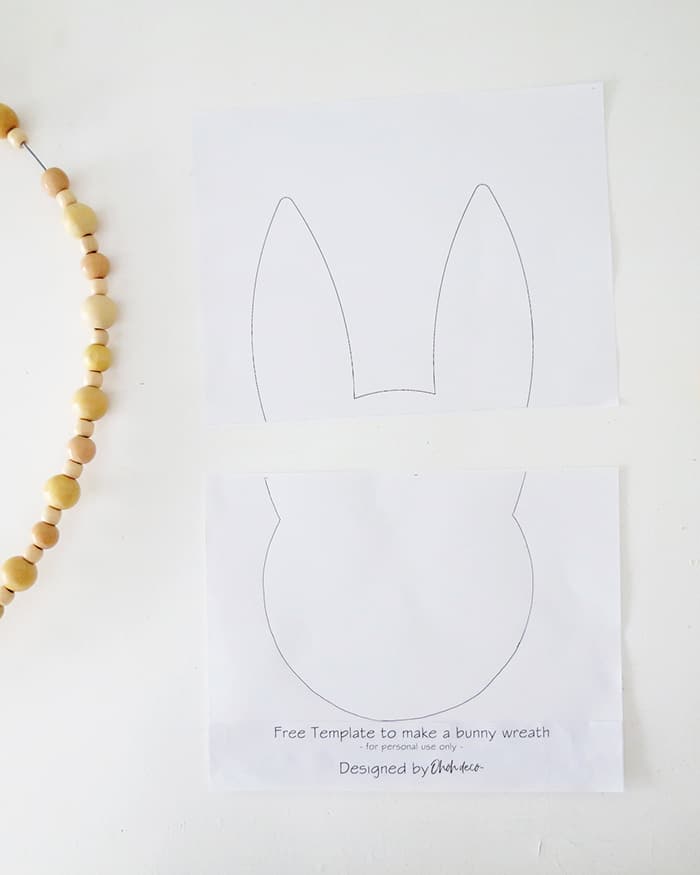
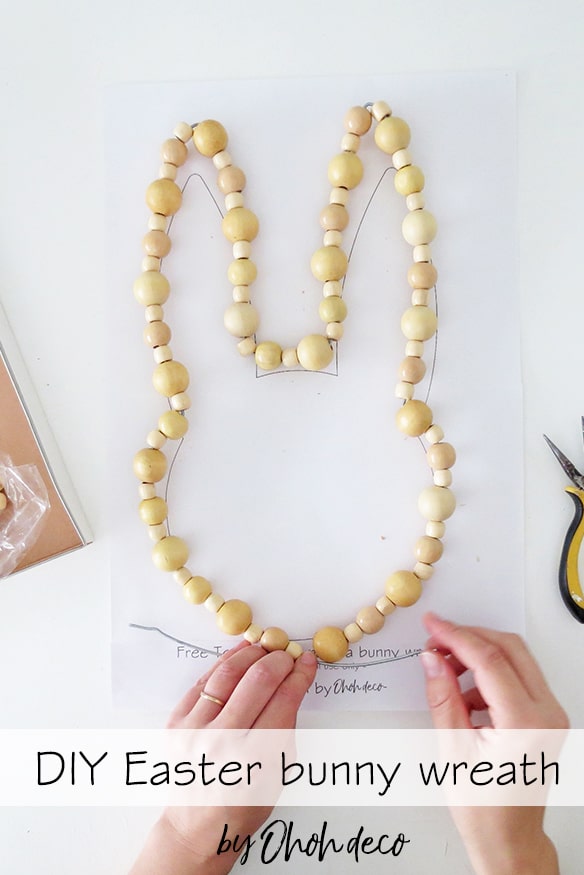
Print and assemble the two sheets of the template, to have a bunny head shape.
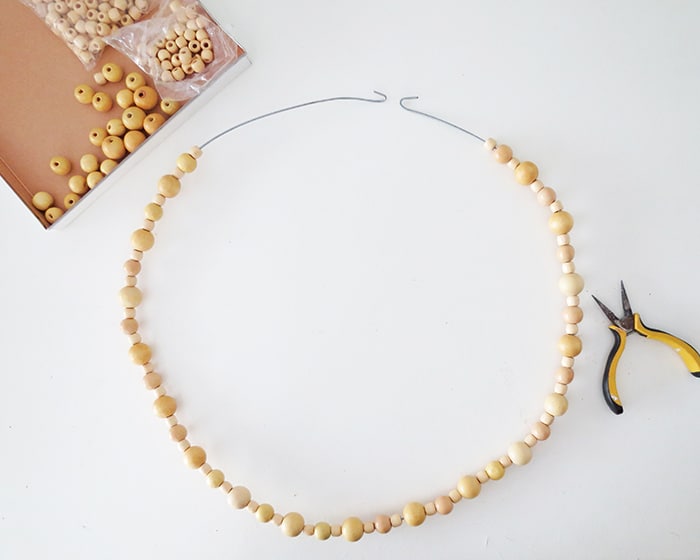
Cut a piece of wire, about 1 1/4 yard long. Fold one end and pass the beads through it.
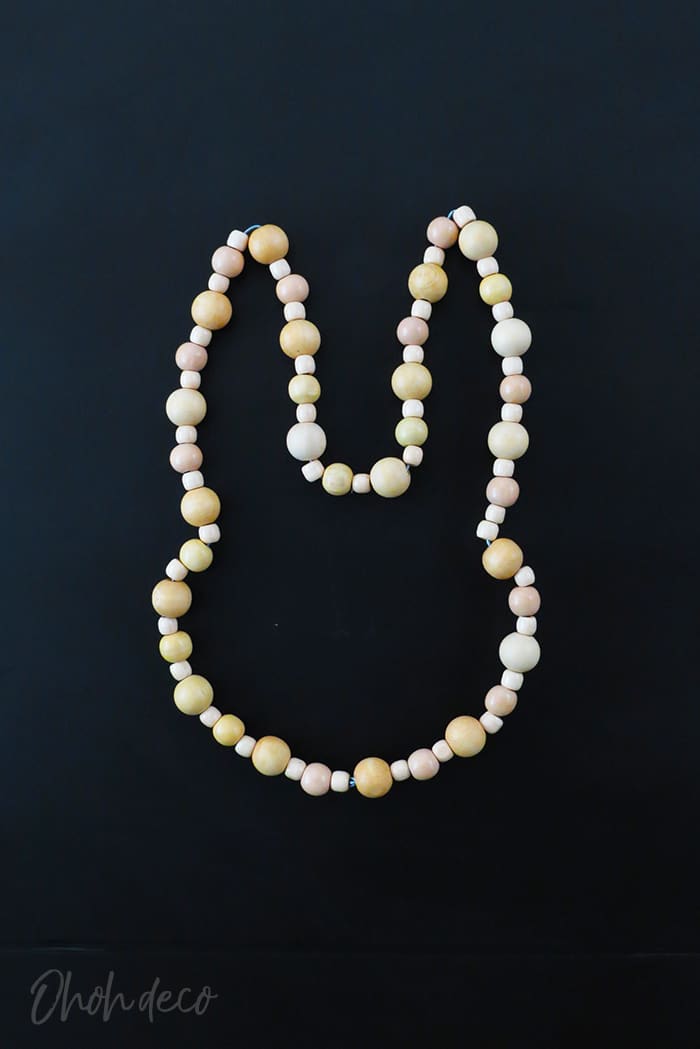
You can choose to play with several wooden beads sizes or keep it uniform using a unique bead size, up to you.
Once you are done passing the beads fold the second end of the wire.
You must leave part of the wire visible, this will allow you to move the beads around and bend the wire more easily to create the bunny shape.
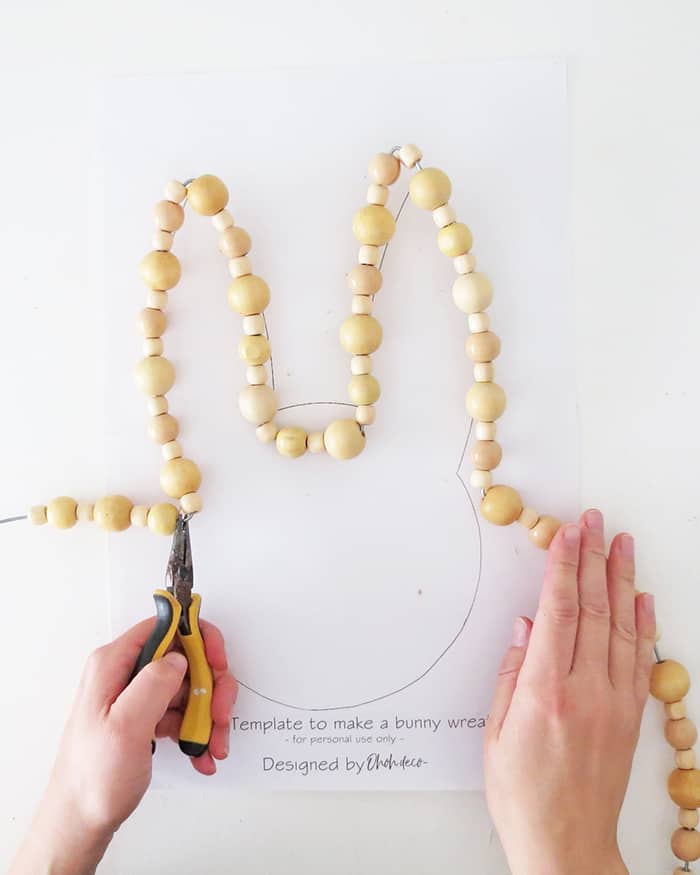
Start by placing the center of your wire on the space between the bunny hears, fold the hears shapes using a plier.
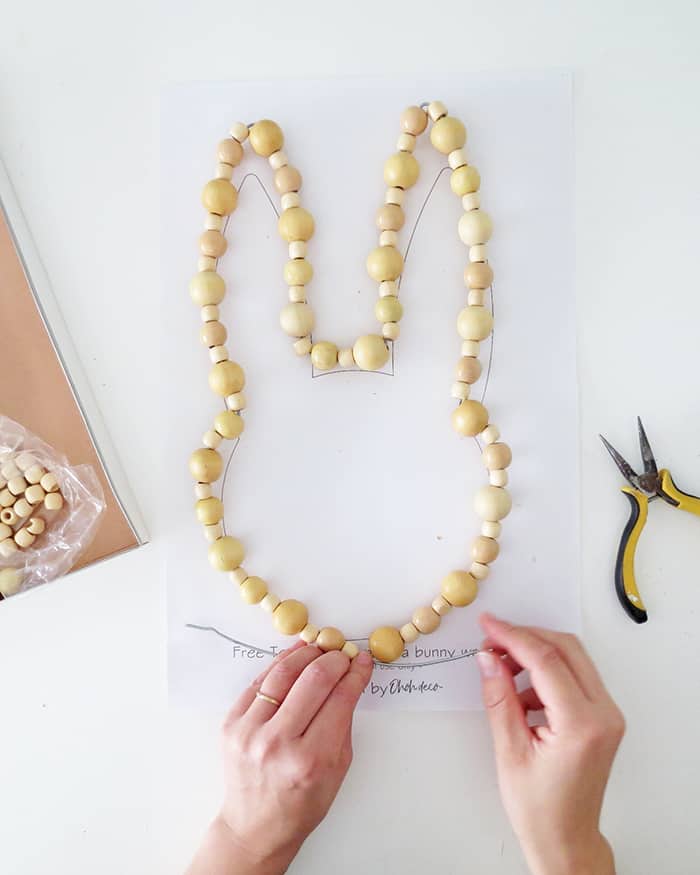
Keep folding the wire following the template shape.
Add or remove beads if necessary to finish with both wire ends in the lower part of the bunny head shape.
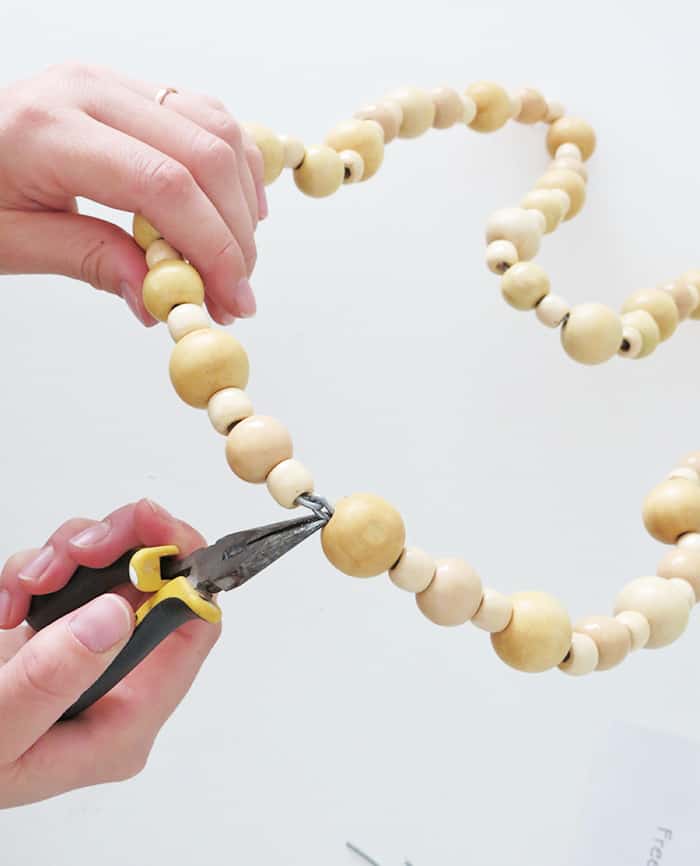
Fold both wires to makes loops and keep the wreath close.
Cut the extra wire length, flatten the loops and hide them into the beads.
Remember the bunny template to make this Easter wreath is available for FREE in the resource library.
Get your FREE LIBRARY ACCESS and enjoy a bunch of other great prints and patterns.

Attach an invisible nylon thread on top of the bunny head and hang your wreath where you like.
Another option is to attach each end of the thread at each hears tip.
It makes it easier to hang the wreath straight. It’s what I did to hang the wreath on my door and it works like a charm.
NO time to DIY? Check these 3 cute bunny wreaths you can buy online:
Watch the video tutorial of the DIY bunny wreath
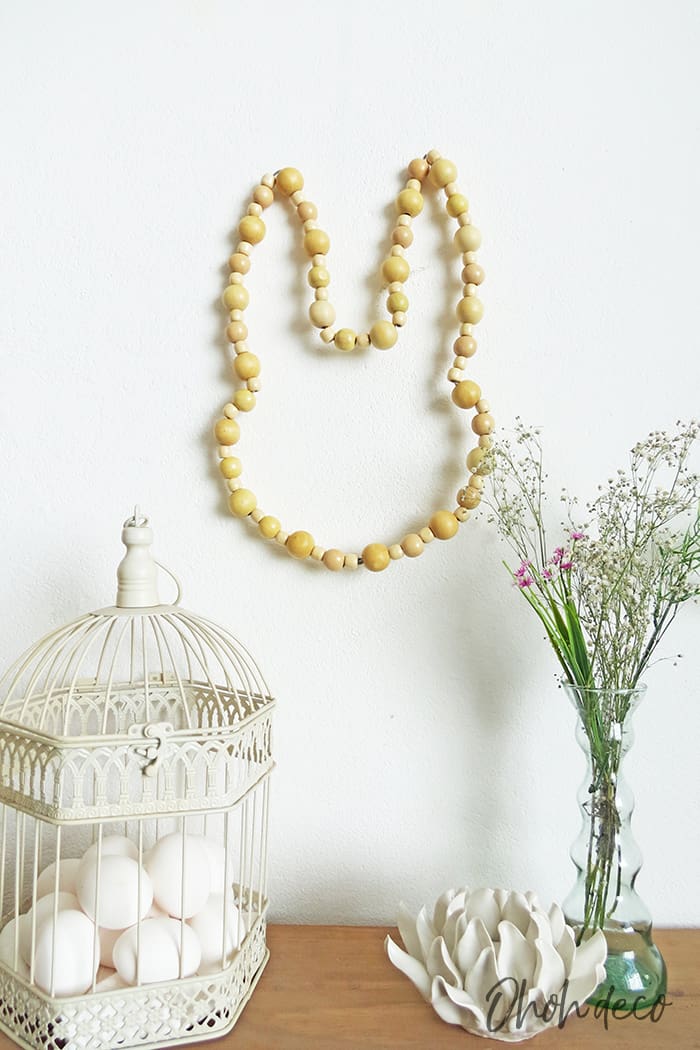
And done! I like how this modern Easter wreath turns out.
I choose to keep it simple but you can add some flowers or a ribbon if you want it more festive.
I finally decide to hang my rabbit wreath on our front door. It’s cute and quite resistant to rainy days.
Tell me, where would you like to hang the bunny wreath? Would you do it for Easter or as a decoration for a kid’s bedroom or playroom?
RELATED: How to make an Easter bunny bag – no sewing
RELATED: Customized bunnies socks
Watch the video tutorial to make an Easter bunny wreath.
Don’t miss the fun. Follow Ohoh deco on Youtube and be the first to find out about the new DIY and crafts ideas.
Want to remember it? Save this DIY Easter Bunny wreath on your favorite Pinterest board.
You will find all the tutorials featured in the video on my “Best DIY” page.
Amaryllis