
I have a thing for toilet paper roll crafts. This material is free and super easy to work with. Tt´s perfect to create seasonal decorations.
Add a touch of whimsy to your home with this easy and creative DIY butterfly wall decor project.
With just a few simple materials, you can create a stunning piece of art that will bring a smile to any room.
Whether you want to create an elegant or quirky design, the options are endless with this 3D butterfly wall decor.
Let’s get started and transform your walls into a beautiful butterfly wonderland!
[ This post probably contains affiliate links, our full disclosure policy is boring, but you can read it HERE ]
RELATED: Easy to make 3D Paper house
RELATED: Heart Garland DIY
How do you make a toilet roll butterfly?
First you need to gather a few supplies:
If you like to craft with toilet paper rolls, you may like to try these.
You will need double sided tape to fix the butterflies on the wall, this one is the best option as it won’t damage the wall and it’s material will hold well the butterflies.
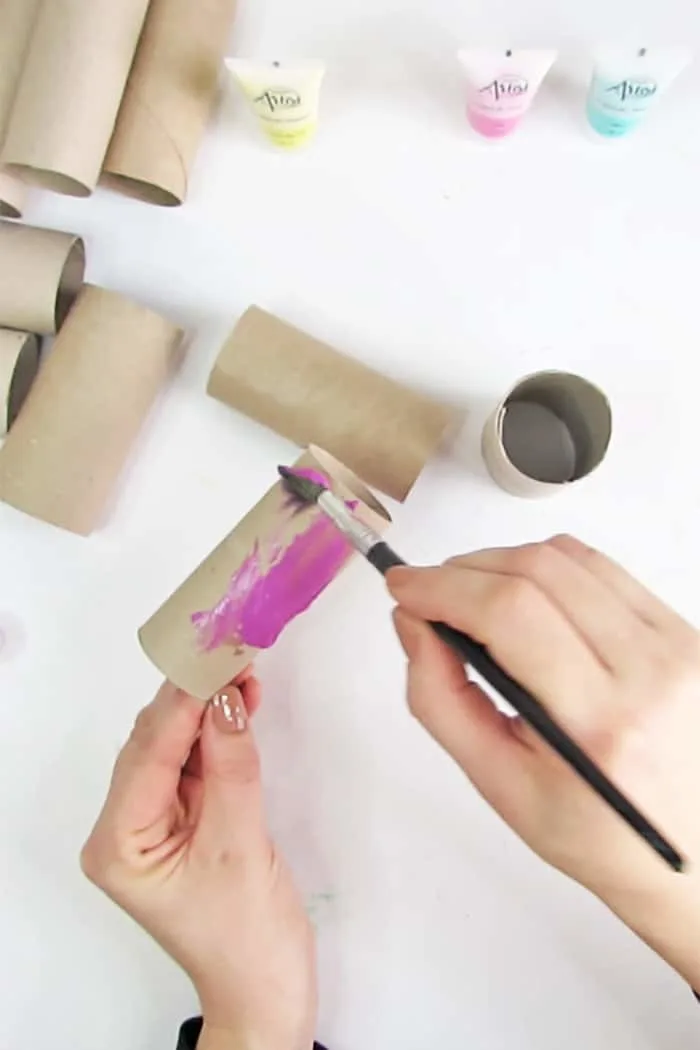
Start by painting the cardboard rolls, in and out. I choose to work with pastel colors. Feel free to use any colors that match your decoration or your mood.
Make this craft with me watching the video of DIY butterfly wall decor.
RELATED: Paper Lampshade DIY
RELATED: 30 Toilet Paper Rolls crafts ideas for adults
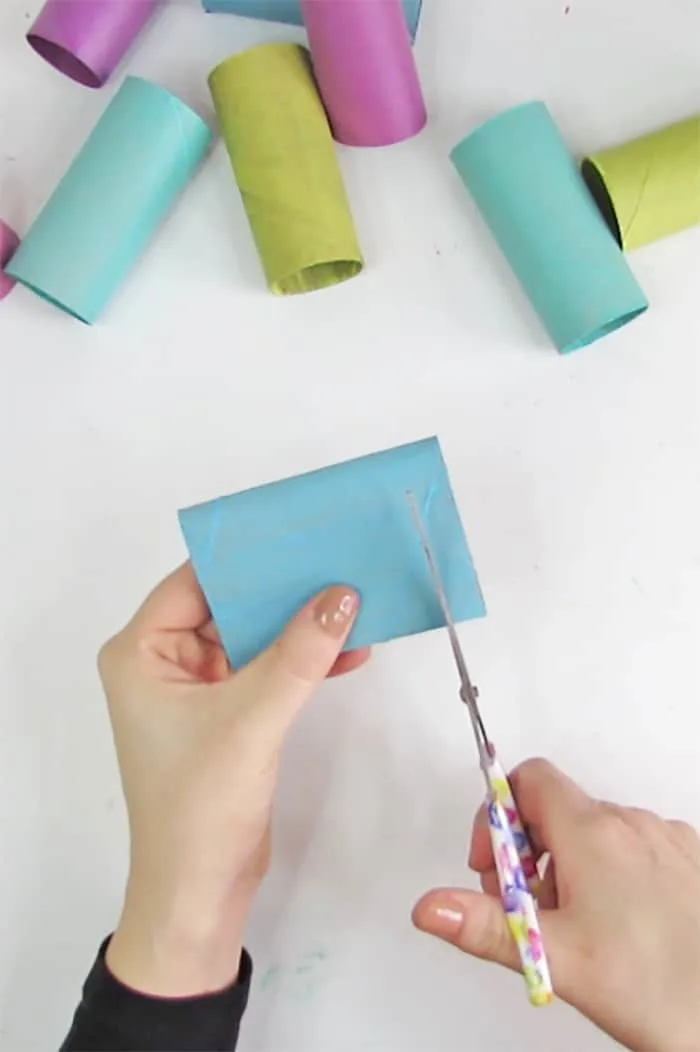
Pess the toilet roll flat and cut it into slices. In one roll you can make one large and one small butterfly.
Try to cut 8 pieces out of the roll.
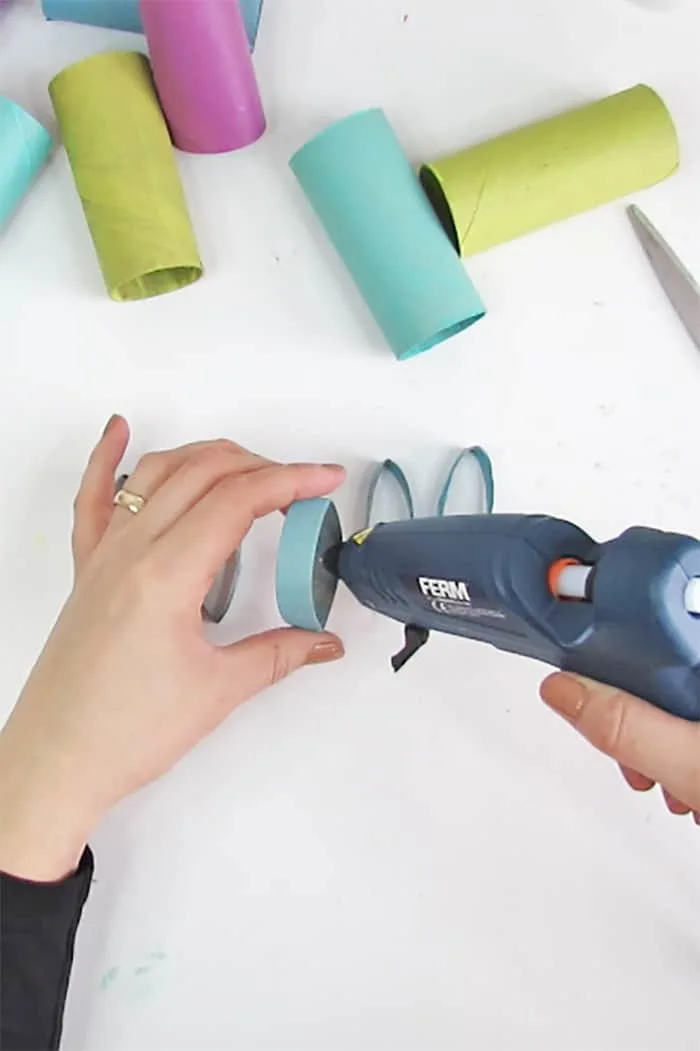
You will need 5 cardboard slices to make a large butterfly. Take the first piece, add a dot of glue inside.
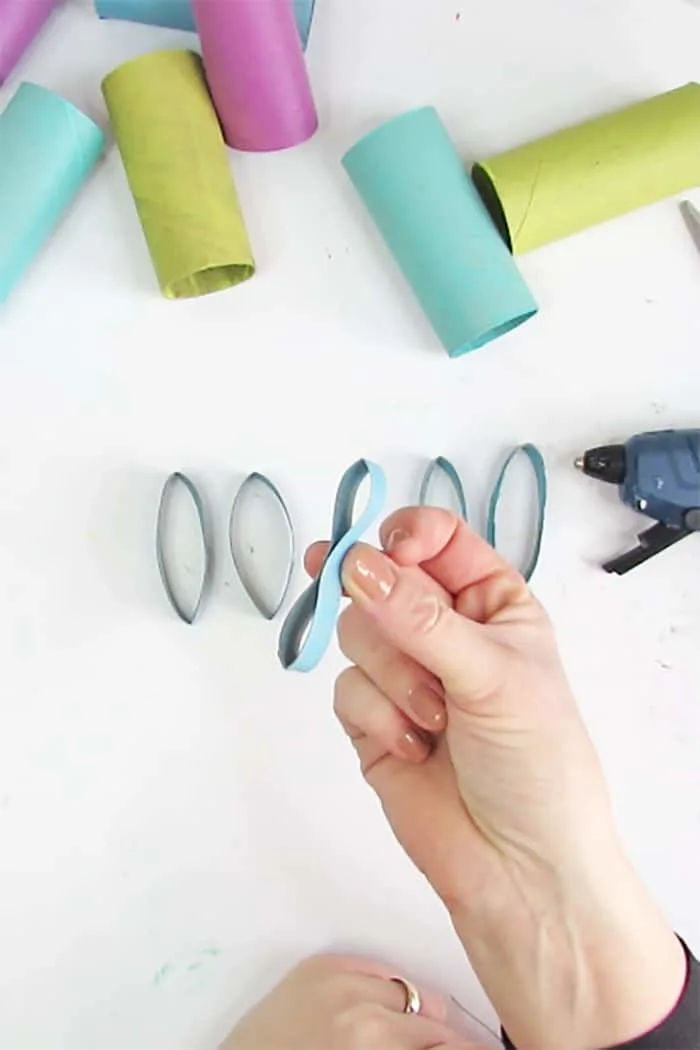
Press to make the butterfly body.
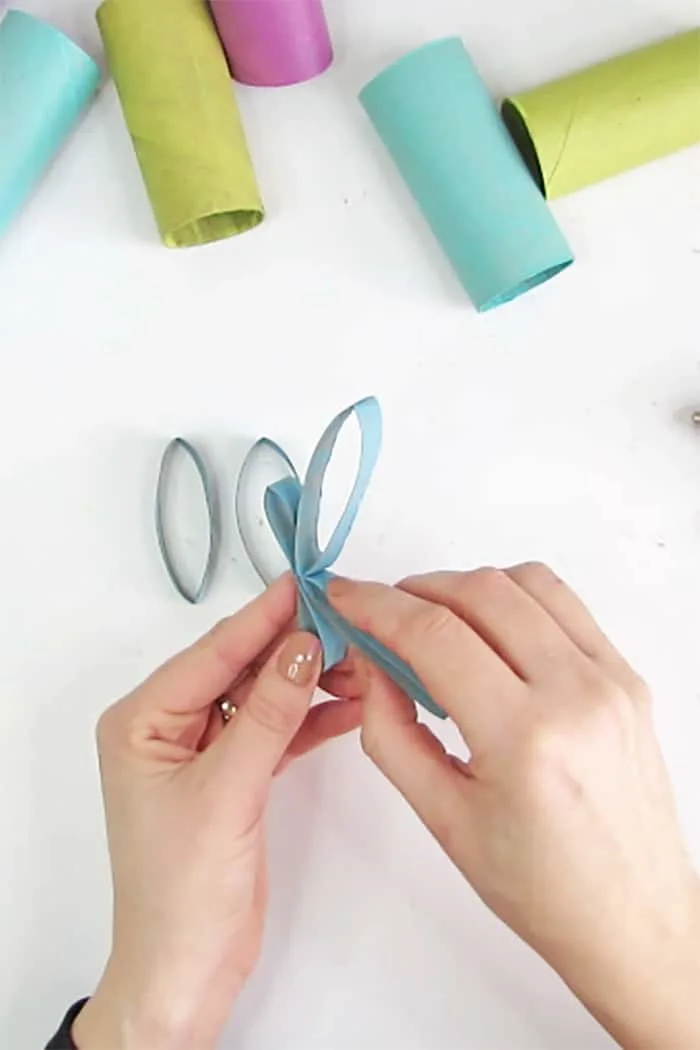
Glue two pieces on one side of the body to make a first wing.
Repeat on the other side to make the second wing.
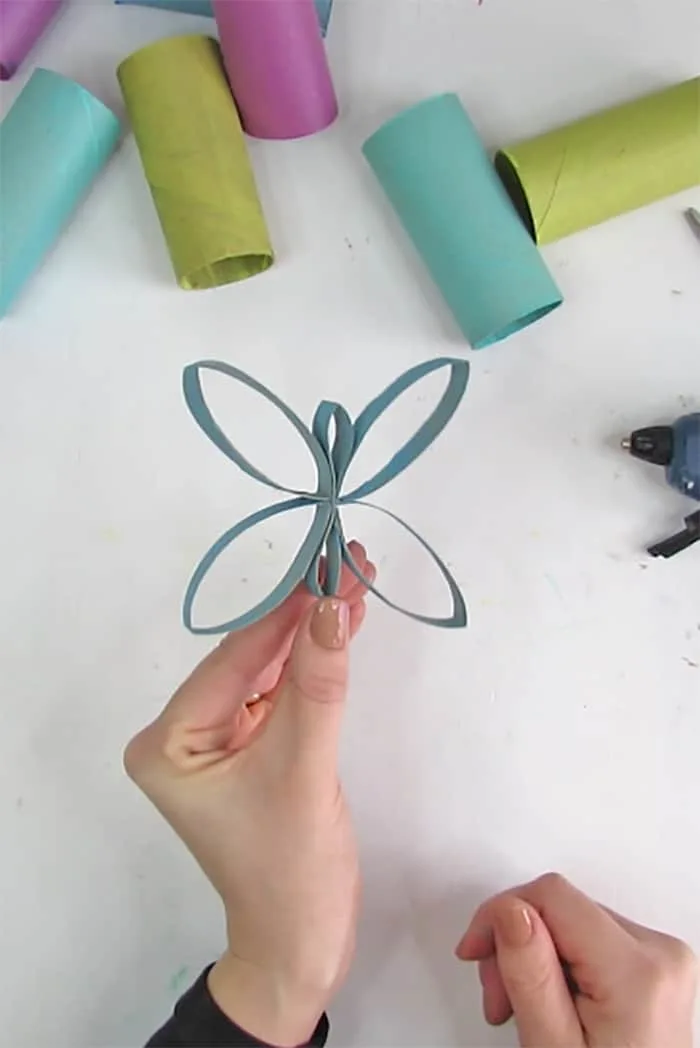
And done! It´s that easy to make a butterfly out of a toilet paper roll.
RELATED: How to make Christmas ornaments with toilet paper roll
RELATED: Paper Christmas Ornaments, 12 easy DIY ideas
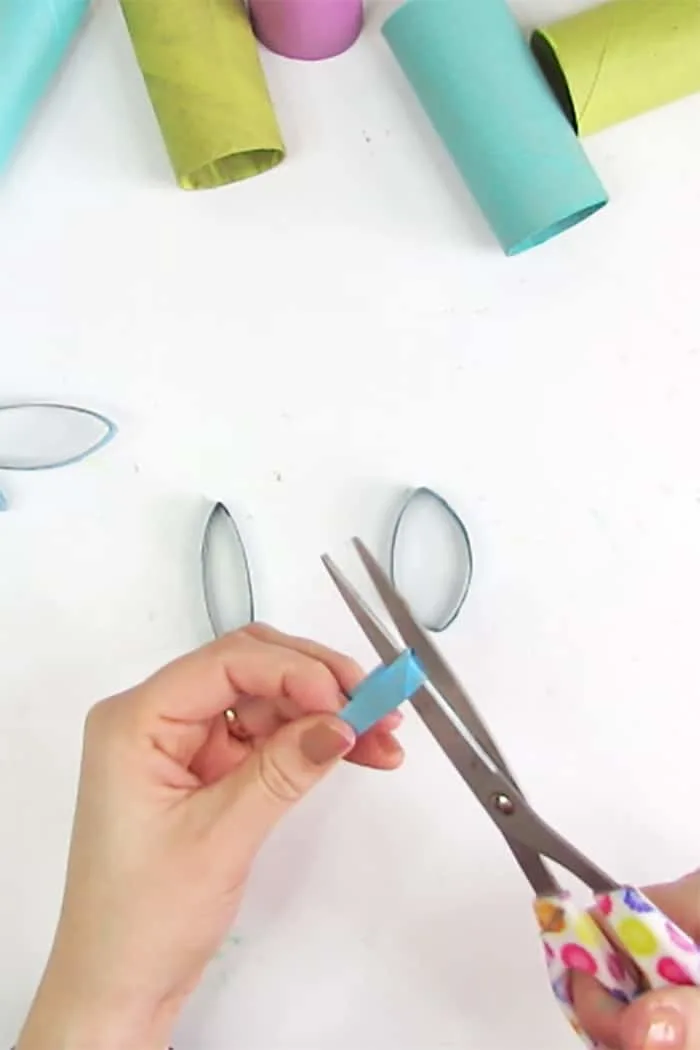
Take 3 “slices” of cardboard roll to make a small butterfly.
Open one piece and cut each side of the opening diagonally to create tips.
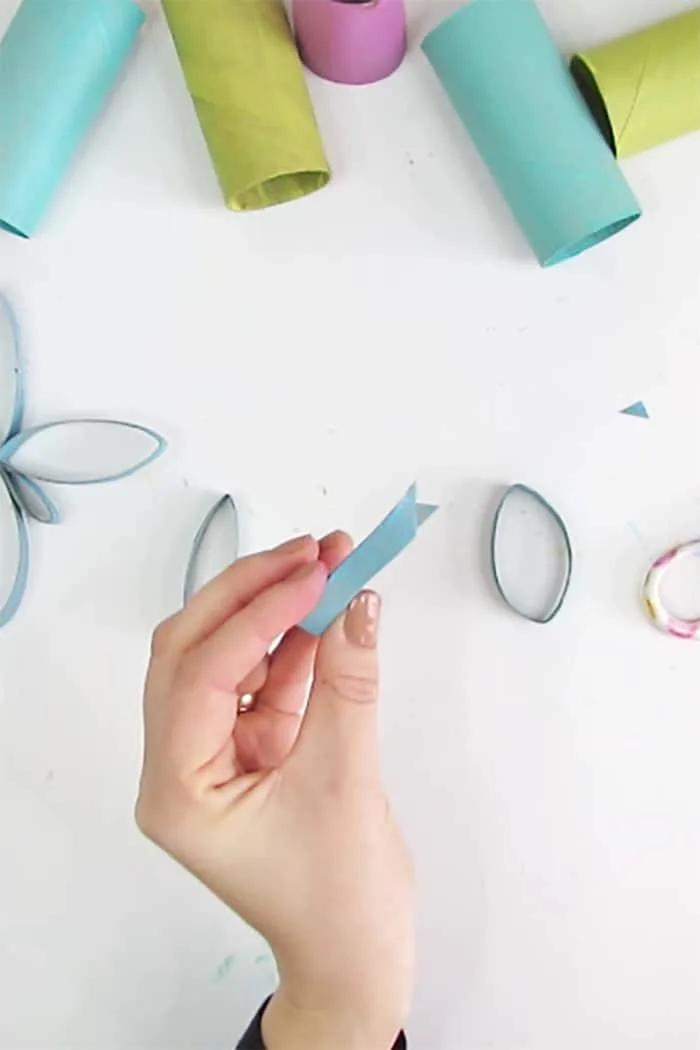
Glue sides together to make the butterfly body. As you can see the tips look like the butterfly antennas.
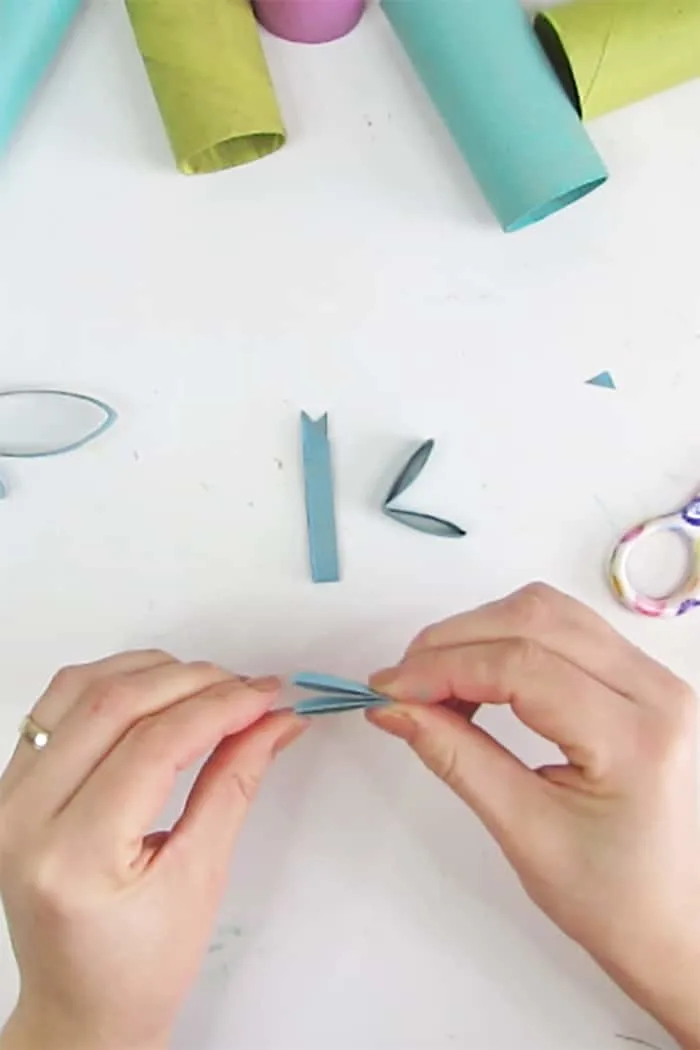
Fold the two other pieces in the middle.
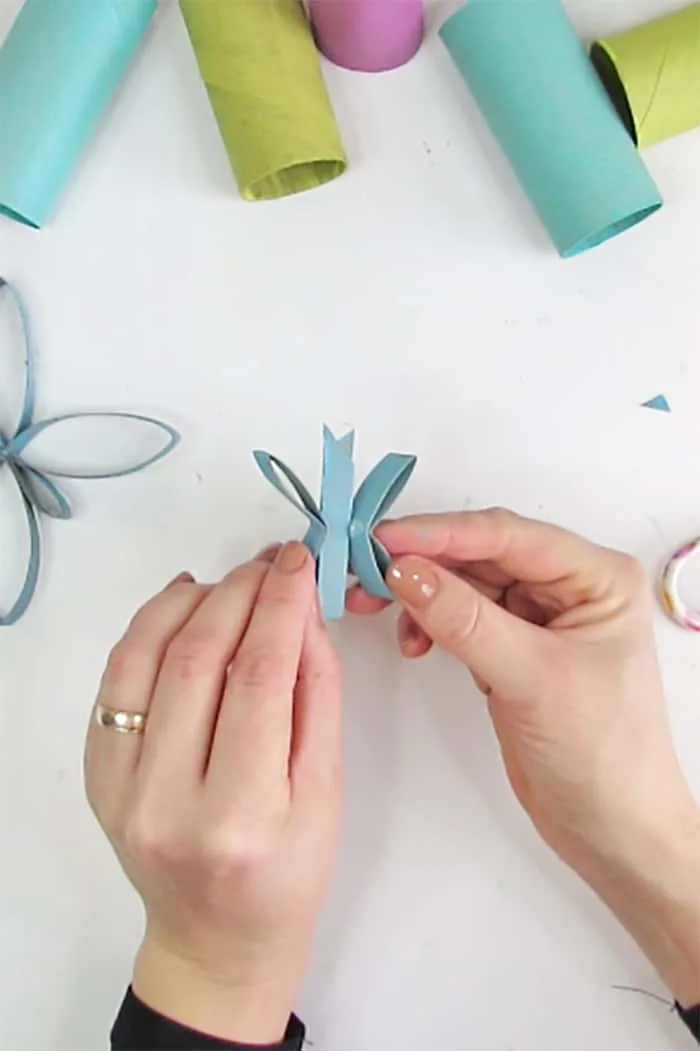
Add a little glue and fix them on each side of the body to make the wings.
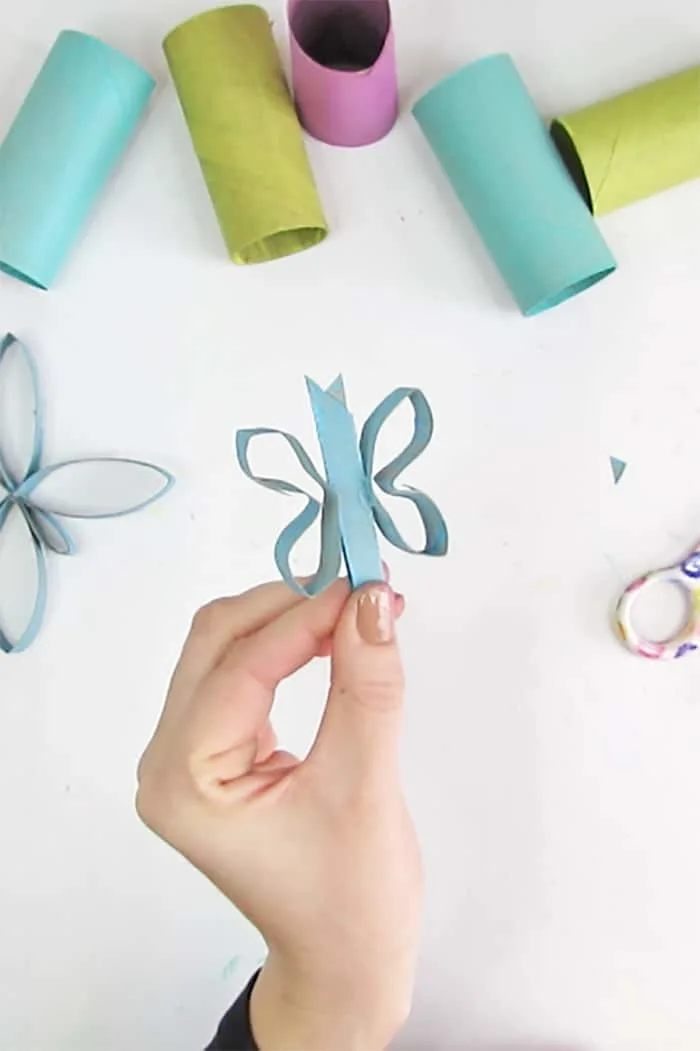
Open a little the wings to give them a nice shape and done. It’s also very simple to craft a small butterfly.
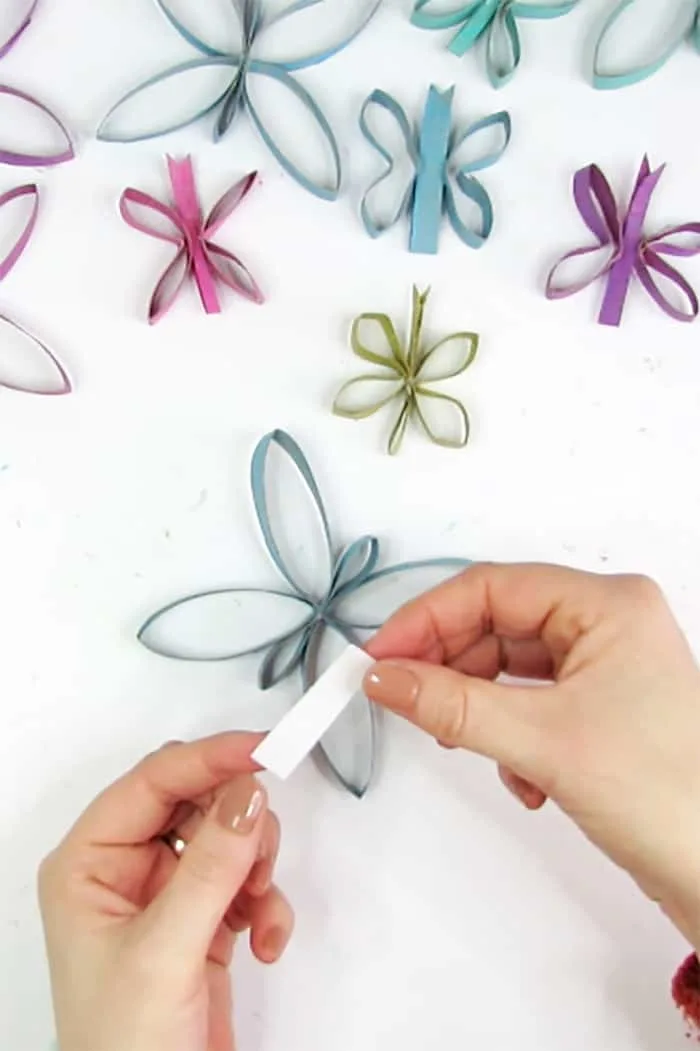
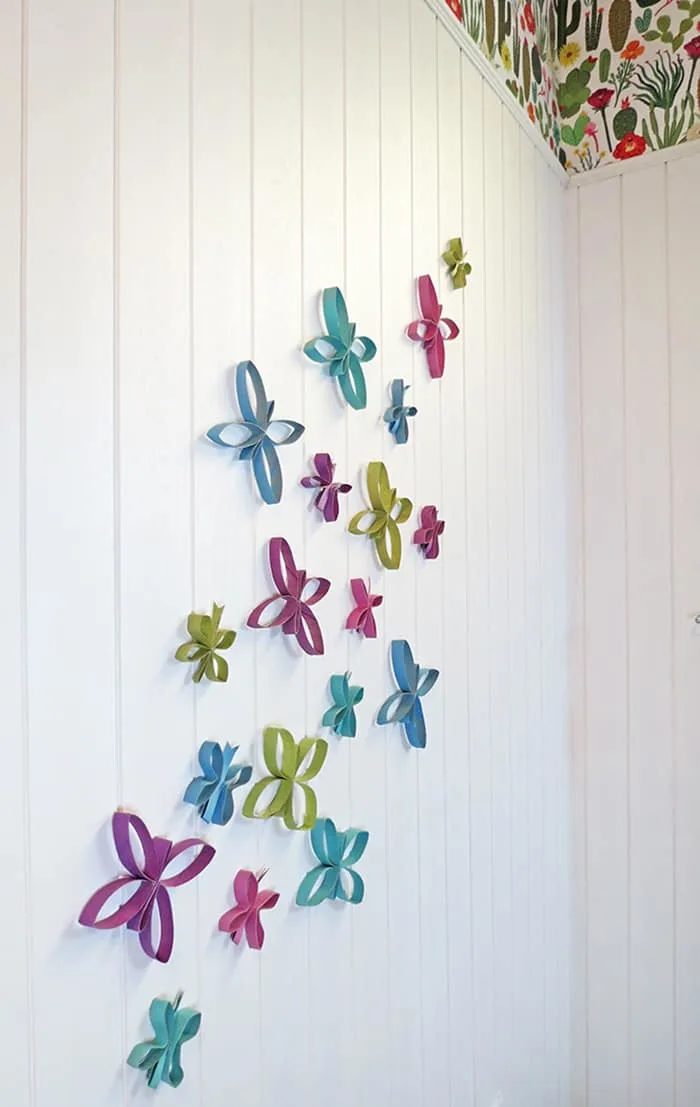
Make as many butterflies as you like. To give you an idea, I made 10 small and 10 large butterflies to create my wall decor.
Add pieces of double sided tape on the back of each butterfly.
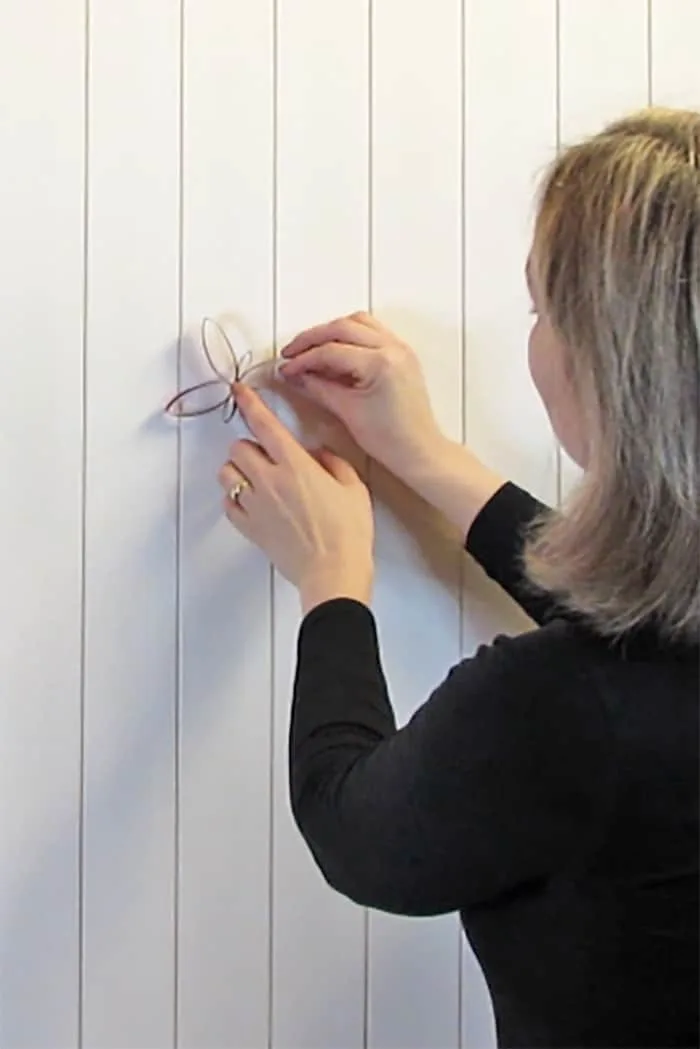
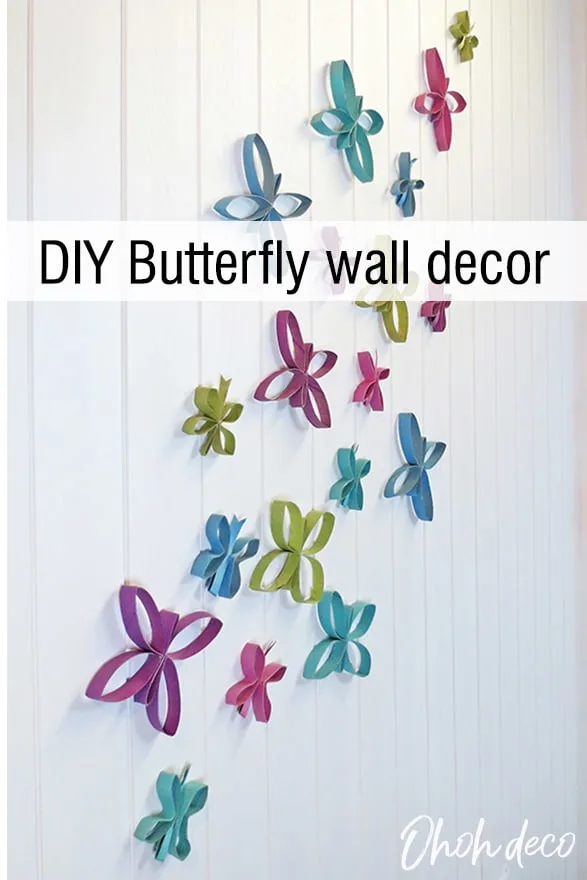
Spred the DIY butterflies on the wall to create a colorful cloud.
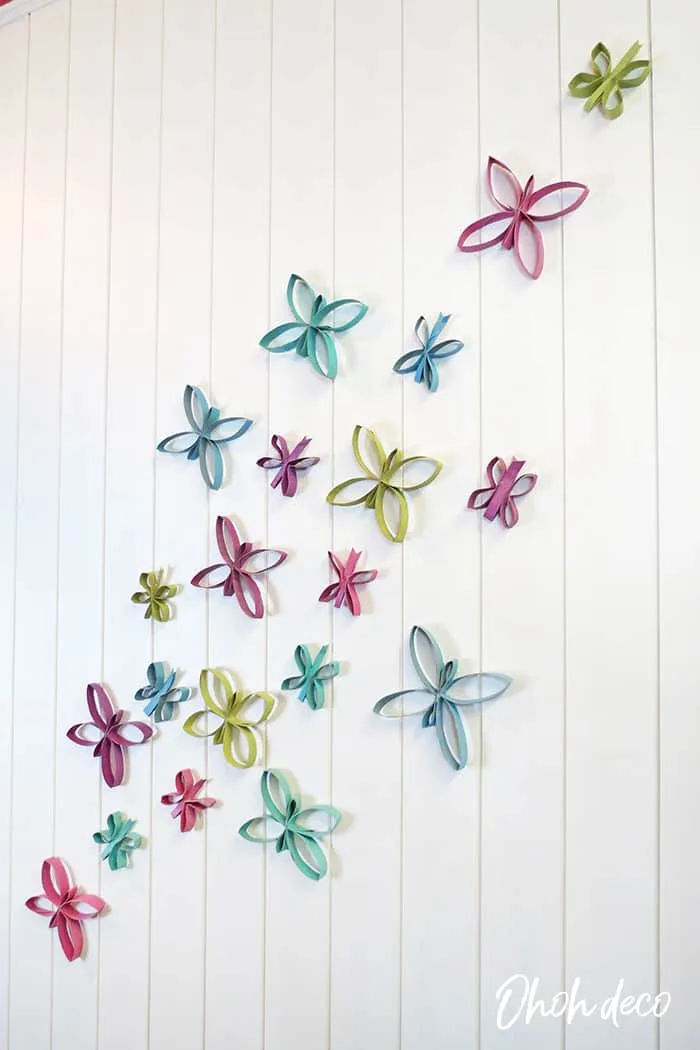
I hope you enjoyed this butterfly craft idea for wall.
It´s perfect to decorate for spring. And It´s a fun craft to make with children too.
If you like more detailed instructions, go watch the video tutorial.
I love to see your creations, please share them in the comments or on Instagram @ohoh.deco
RELATED: Toilet paper roll flowers
RELATED: Easy to make Star Garland
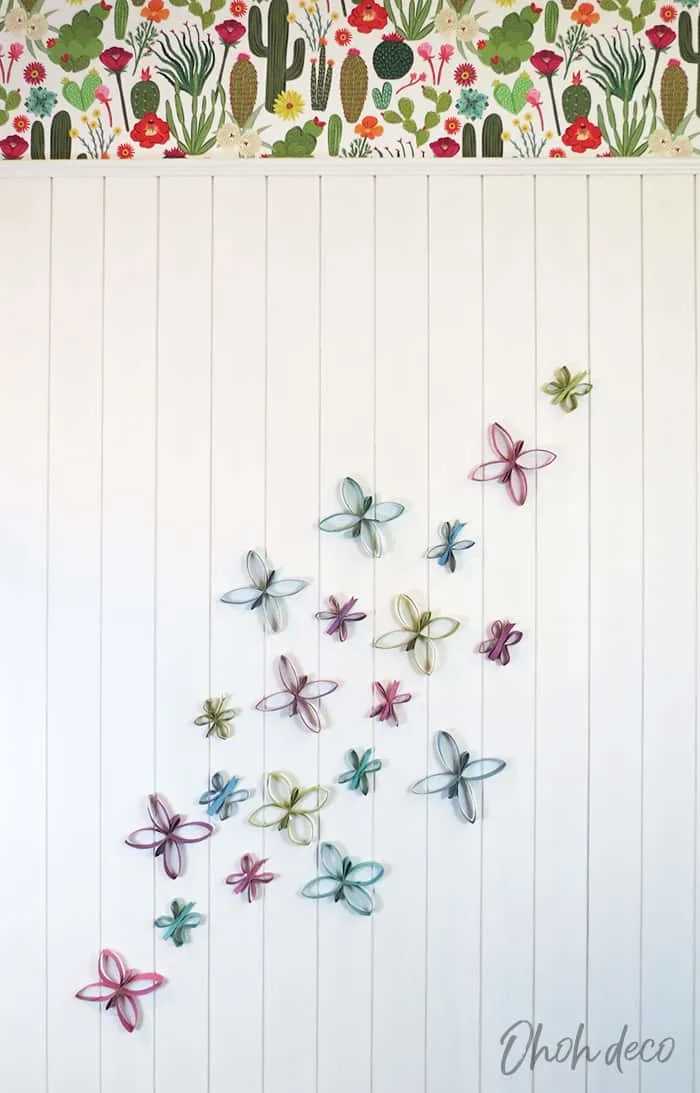
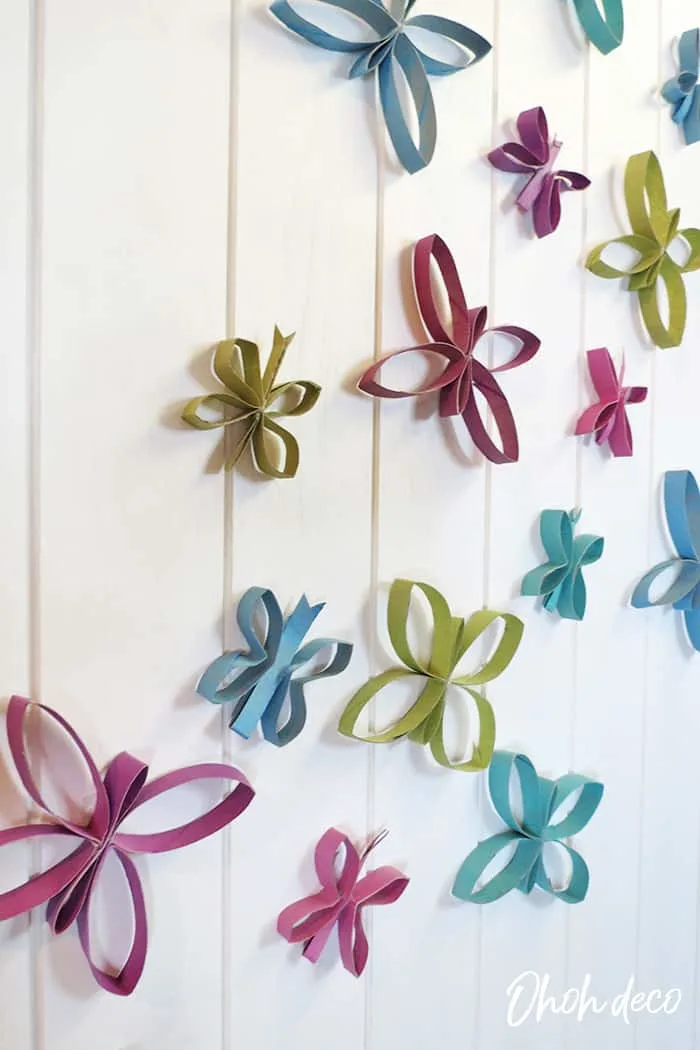
Want to remember it? Save this DIY Butterfly wall decor on your favorite Pinterest board.
Like to see more ideas? Visit my Best DIY page!
Amaryllis