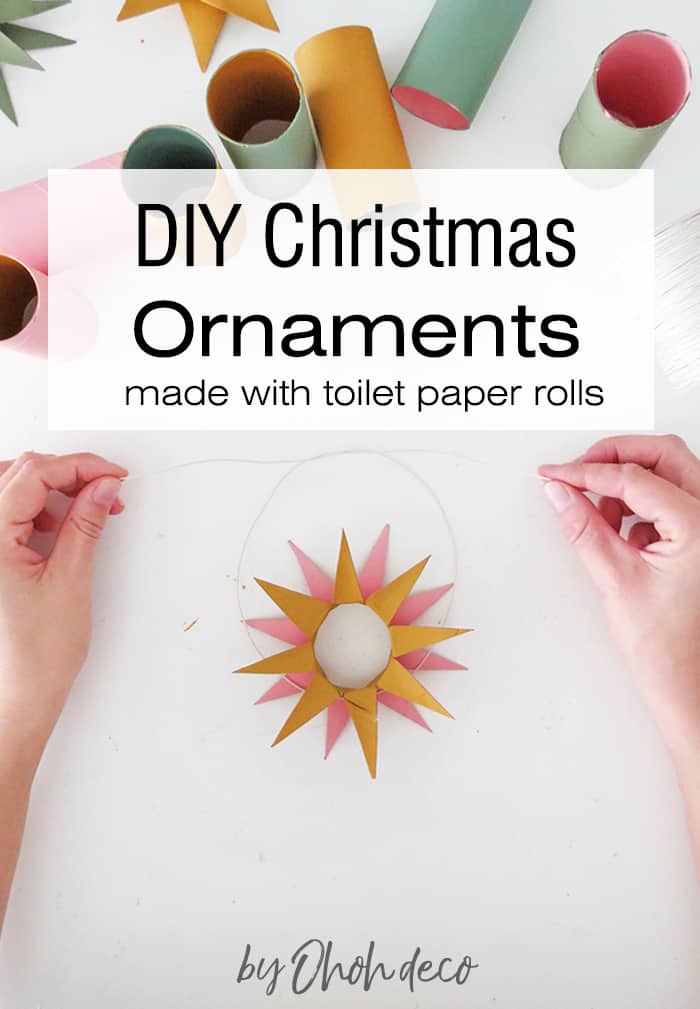
Toilet paper roll is maybe not the first material you may think about to make pretty Christmas ornaments.
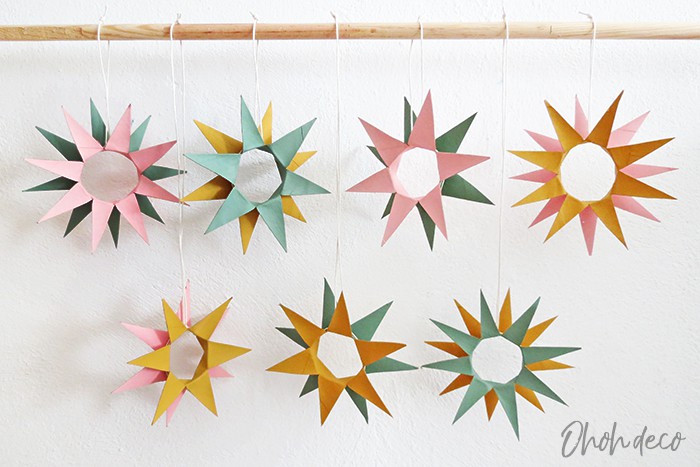
Well, I will show you can create some pretty star-shaped Christmas ornaments with this common item.
[ This post probably contains affiliates links, our full disclosure policy is really boring, but you can read it HERE ]
Start saving your toilet rolls! This craft idea is so simple that you will surely want to make a bunch of these Christmas decorations.
These DIY ornaments are perfect to make with kids too. In the tutorial below, I show you how to make bi-colored ornaments. If you want to give a try with kiddos you can choose to paint the roll with only one color or leave them in cardboard.
It will look nice too and will be easier to craft with small children.
Ready to craft for Christmas?
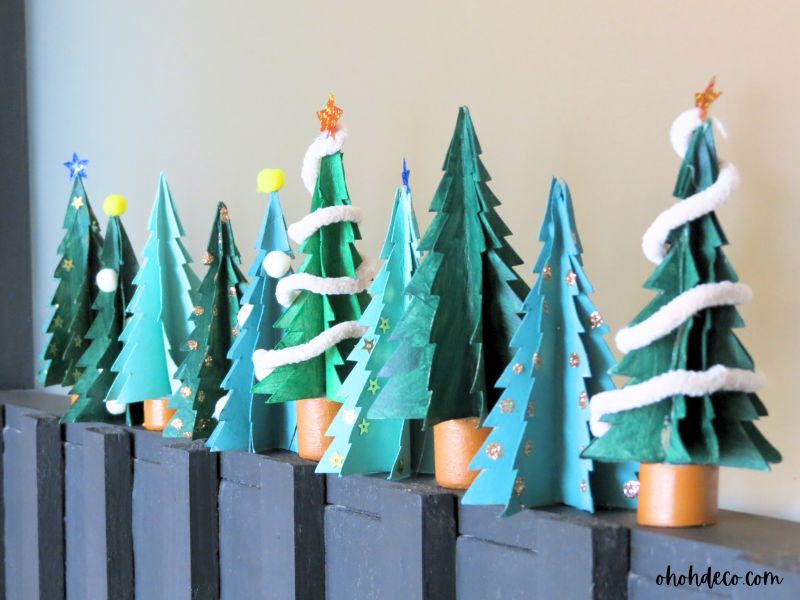
RELATED: How to make a Christmas gingerbread village with cardboard
RELATED: DIY toilet roll Advent calendar
How to make Christmas ornaments with toilet paper rolls
Materials you will need to make these easy Christmas decorations:
- Toilet paper rolls (I never thought it will be possible to actually buy toilet rolls, without the paper.)
- Paints
- A brush
- A ruler
- A pencil
- Scissors
- Twine string
Let’s start making these easy DIY Christmas ornaments. If you like videos, you can watch the toilet rolls ornaments tutorial on my Youtube channel too.
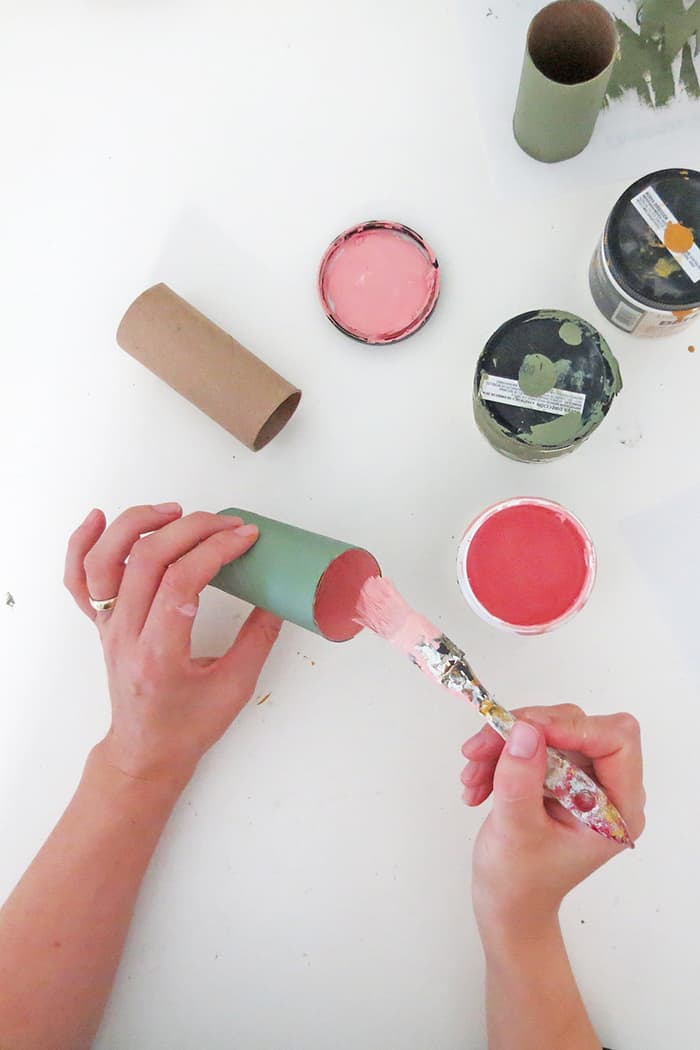
Start by panting the toilet rolls. To give the ornaments a nice contrast you can paint the rolls with two different colors, one inside, one outside.
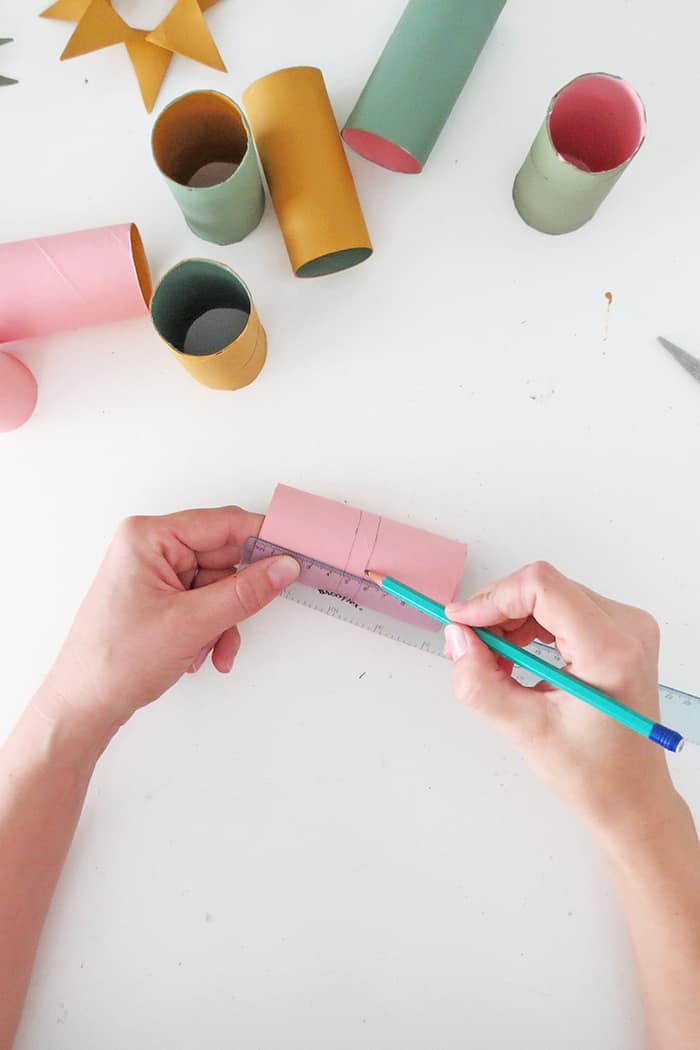
Once your rolls are painted and dried, take a ruler and trace two parallel lines on the roll center.
Lines must have a 1/2 inch distance from each other. Trace the lines all around the roll.
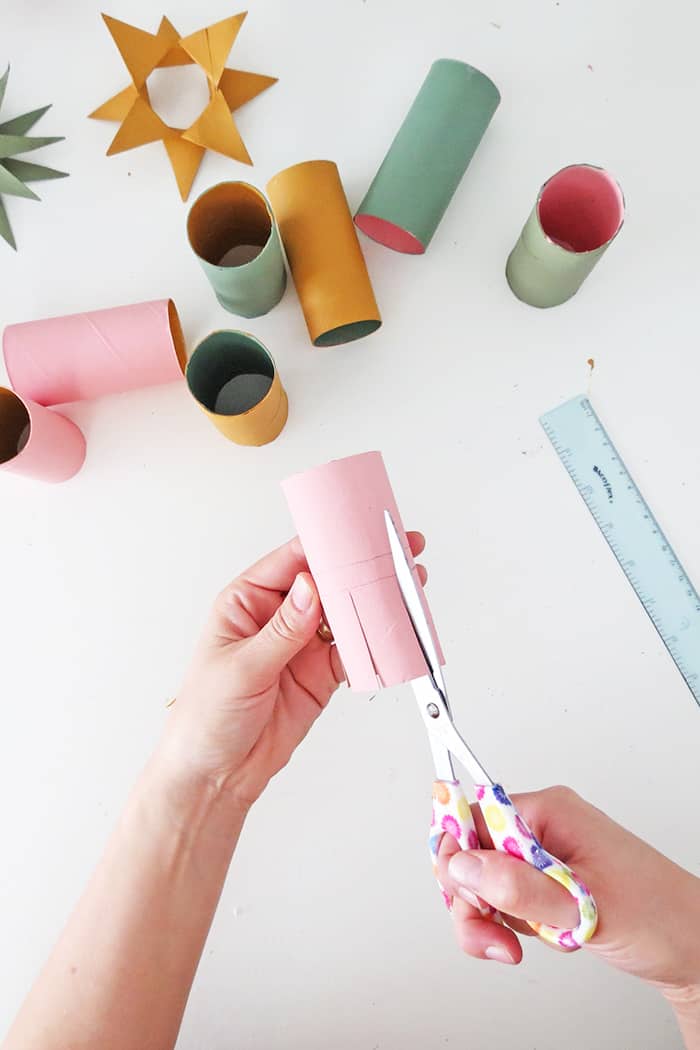
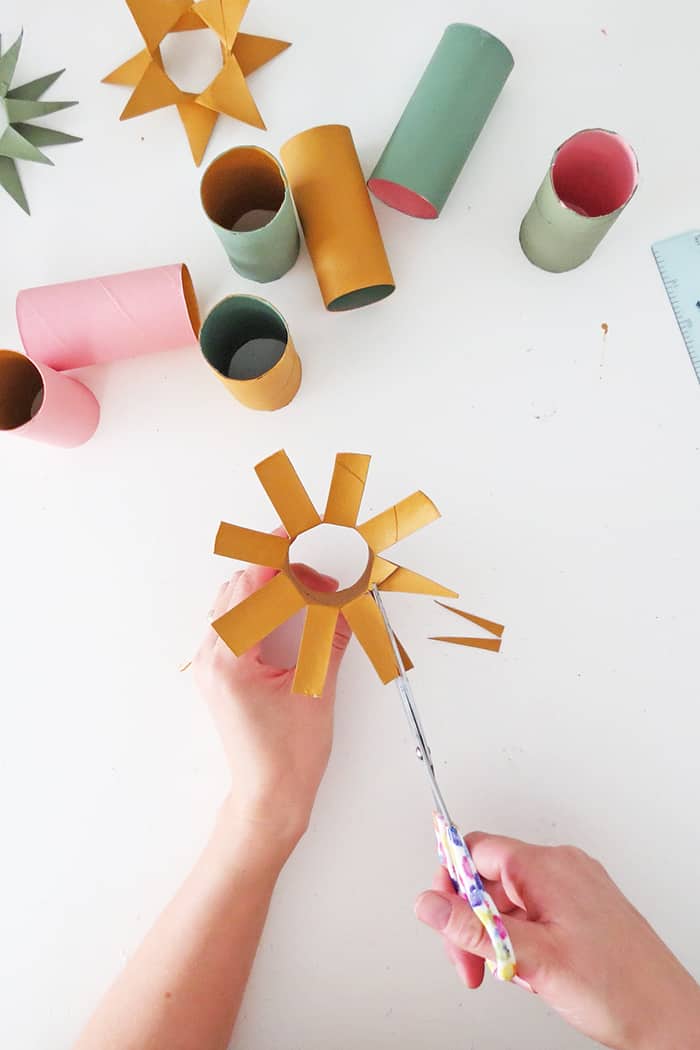
Take the scissors and cut notches on one side of the roll. Try to cut all the notches at the same wide, you can choose to make 6 or 8 strips.
Stop the cuts at the line. The center of the roll, aka the space between the lines you traced, must remain uncut.
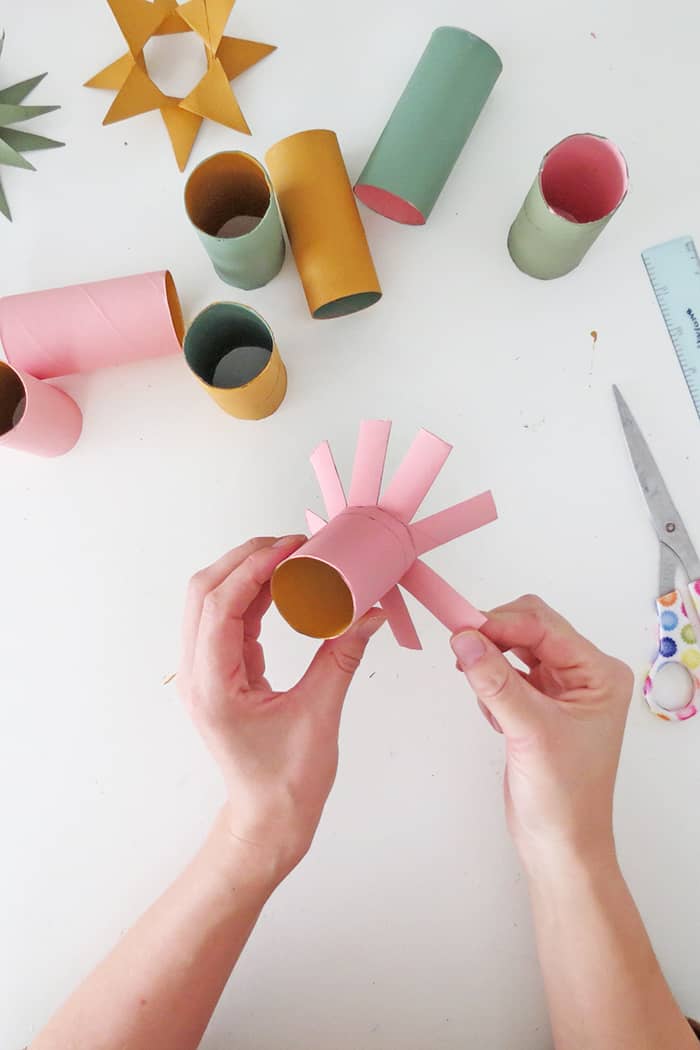
Fold the straps. As you stopped the cuts at the line, the flaps will open following the line too.
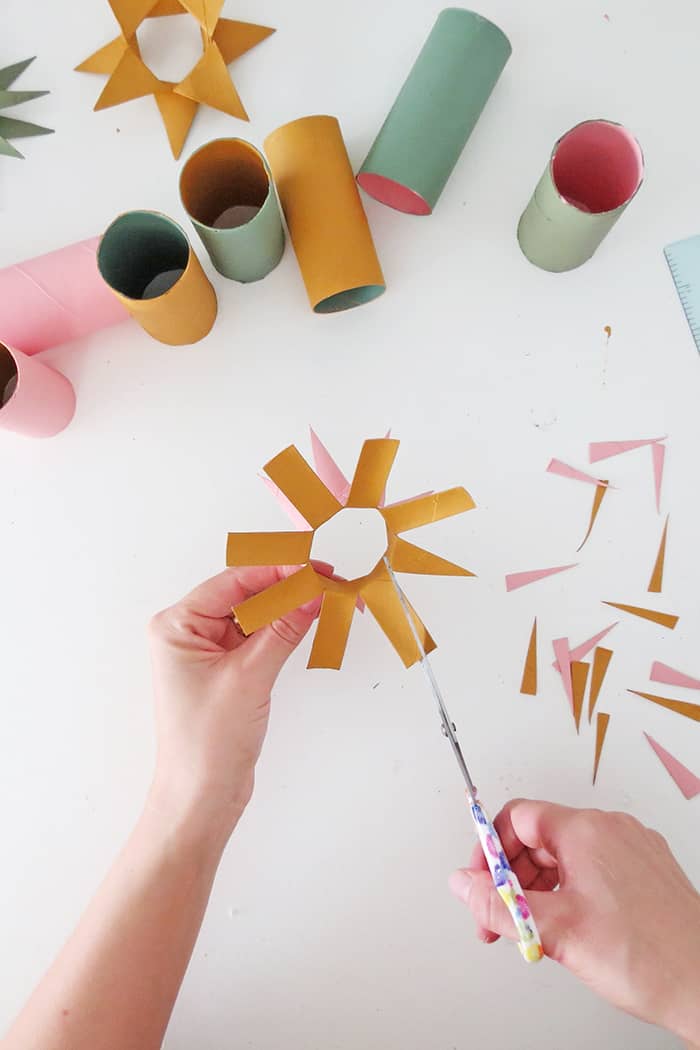
Cut each flap with a tip shape to create the star shape of the ornament.
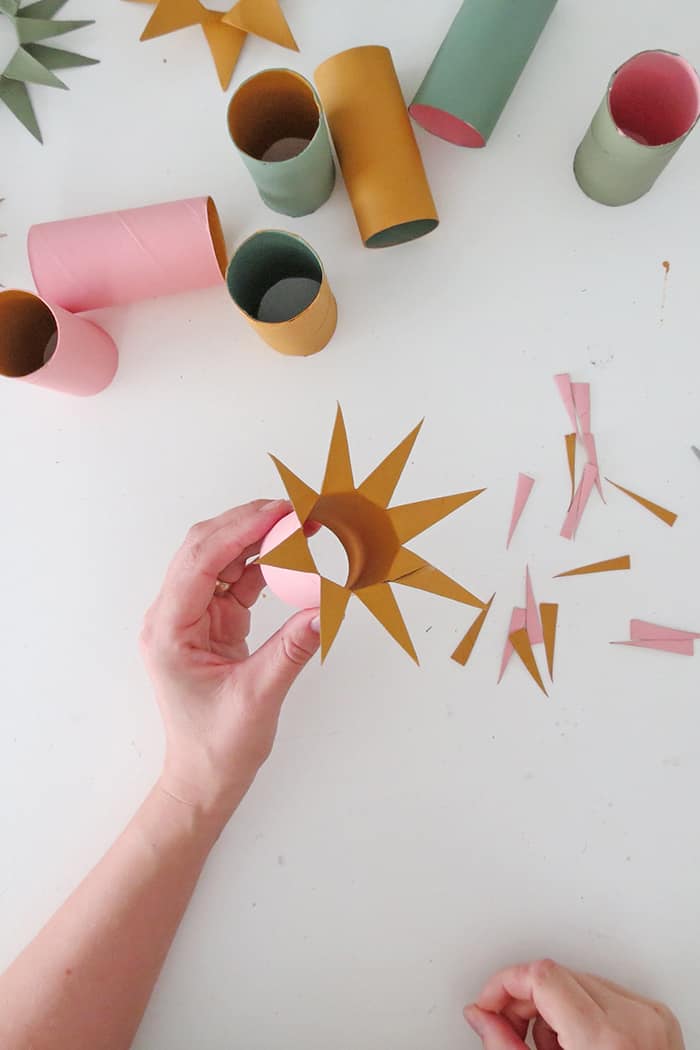
Almost done, you finished the first half of your ornament. Repeat the previous steps to make the second half of the decoration.
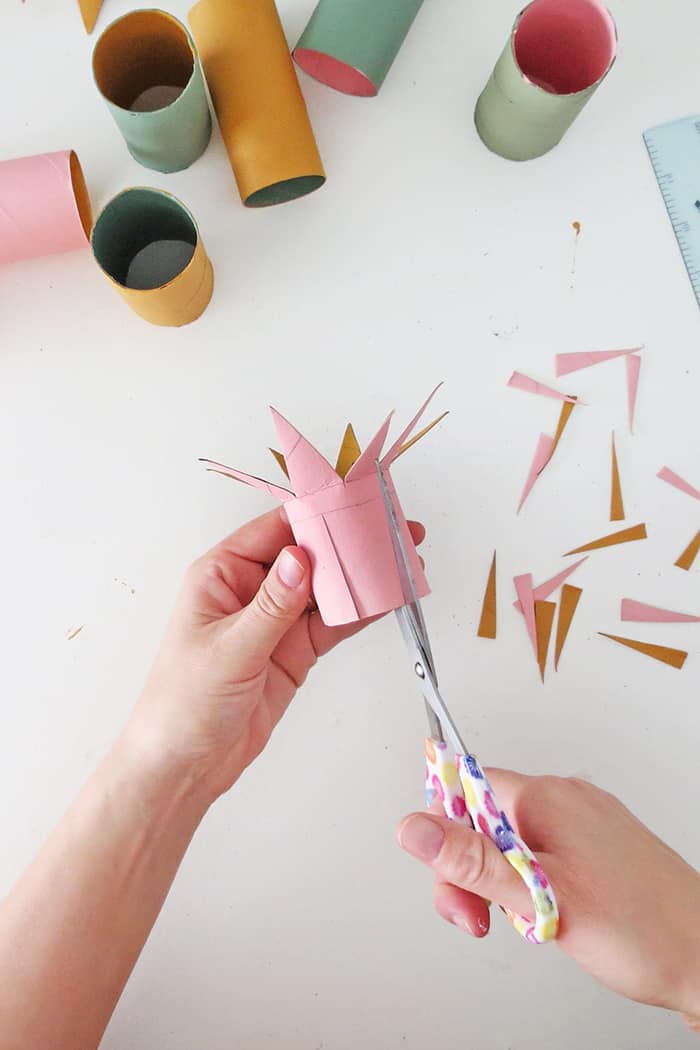
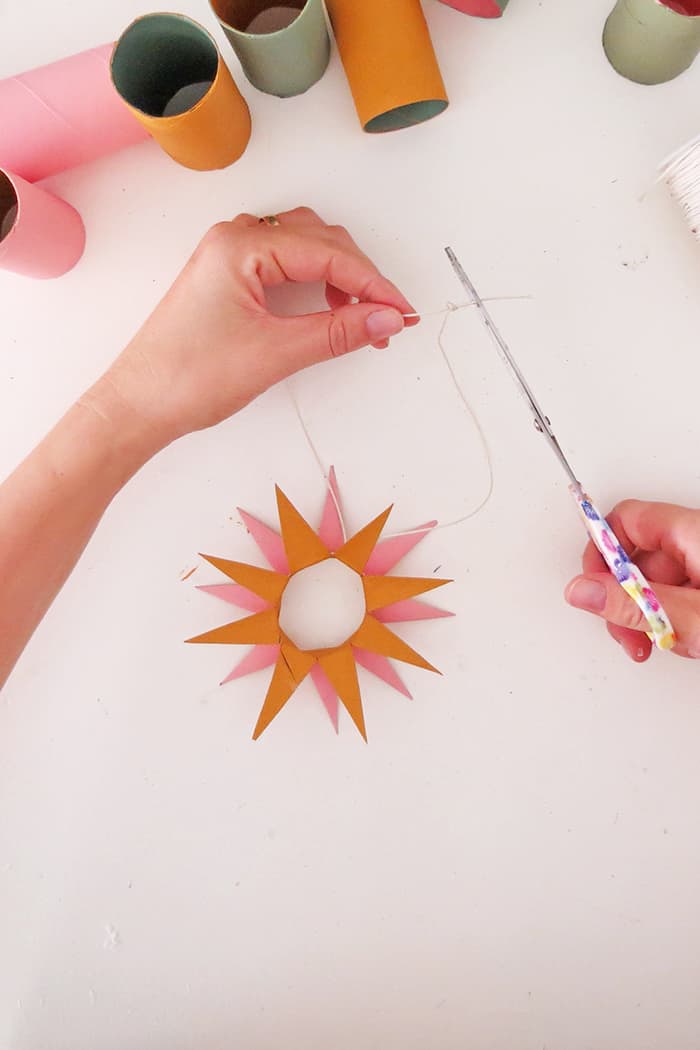
Cut the same number of notches on the other side of the roll. Notches must be offset from the first row of notches. So when you open the flaps the spikes will position staggered and make a pretty star shape.
Open the flaps and cut them with a tip shape.
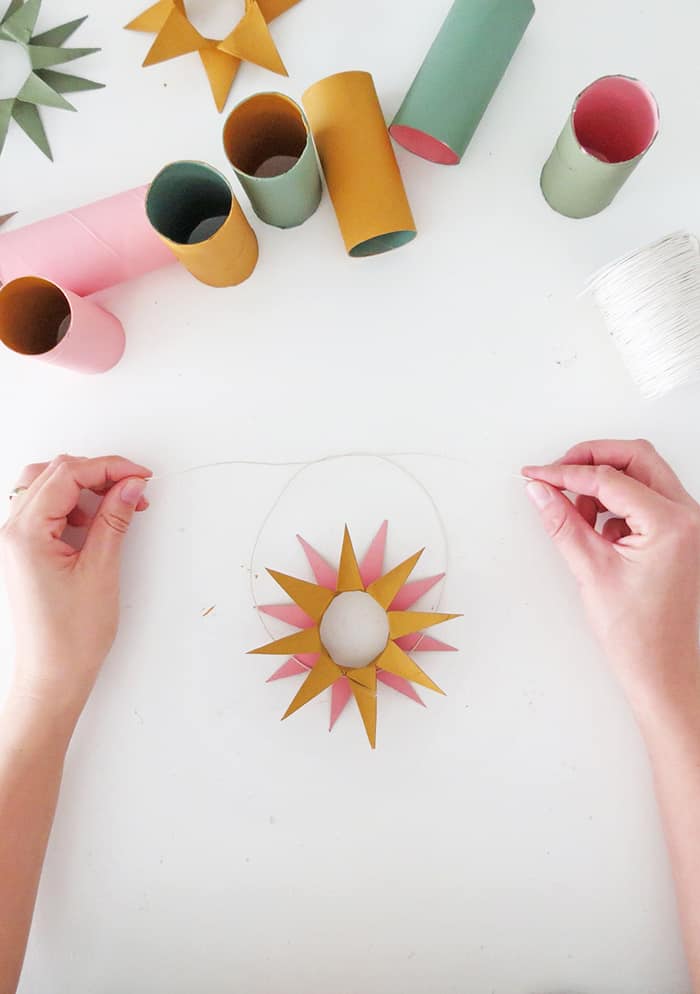
Cut a piece of twine, pass it around the ornament and attach it with a knot. You can add a dot of glue to hold the twine in place.
Make a loop with the twine and attach ends with a knot, so you can hang your ornament on the tree.
Watch the video tutorial to make Christmas ornaments with toilet paper rolls
Follow Ohoh deco on Youtube and be the first to find out about the new DIY.
RELATED: 25 easy DIY Scandinavian Christmas Ornaments
RELATED: Easy to make Felt Christmas Ornaments patterns
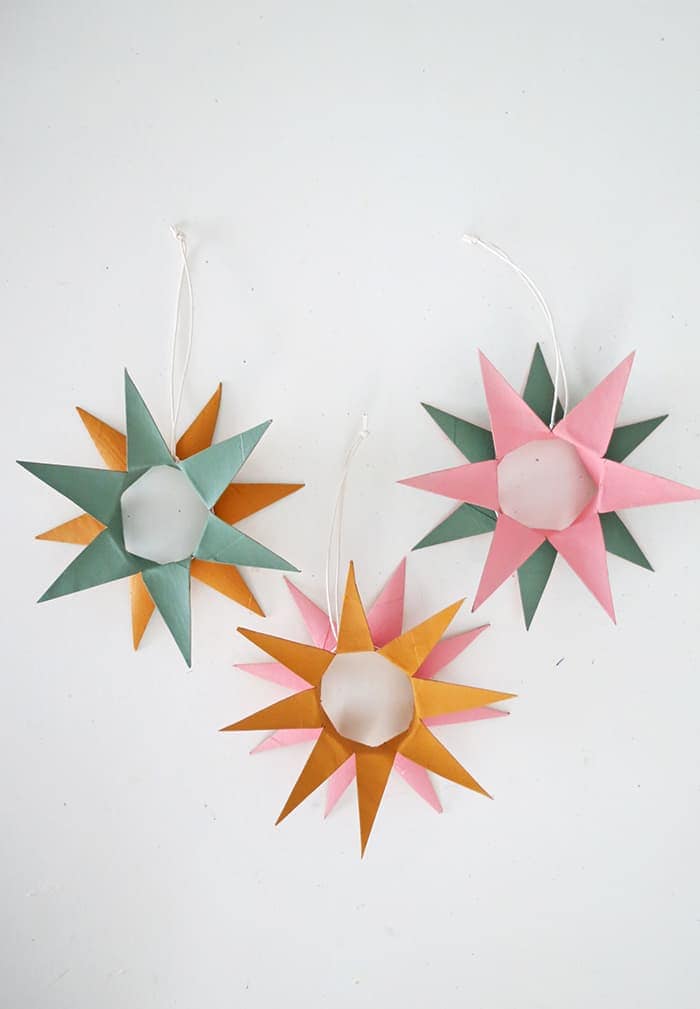
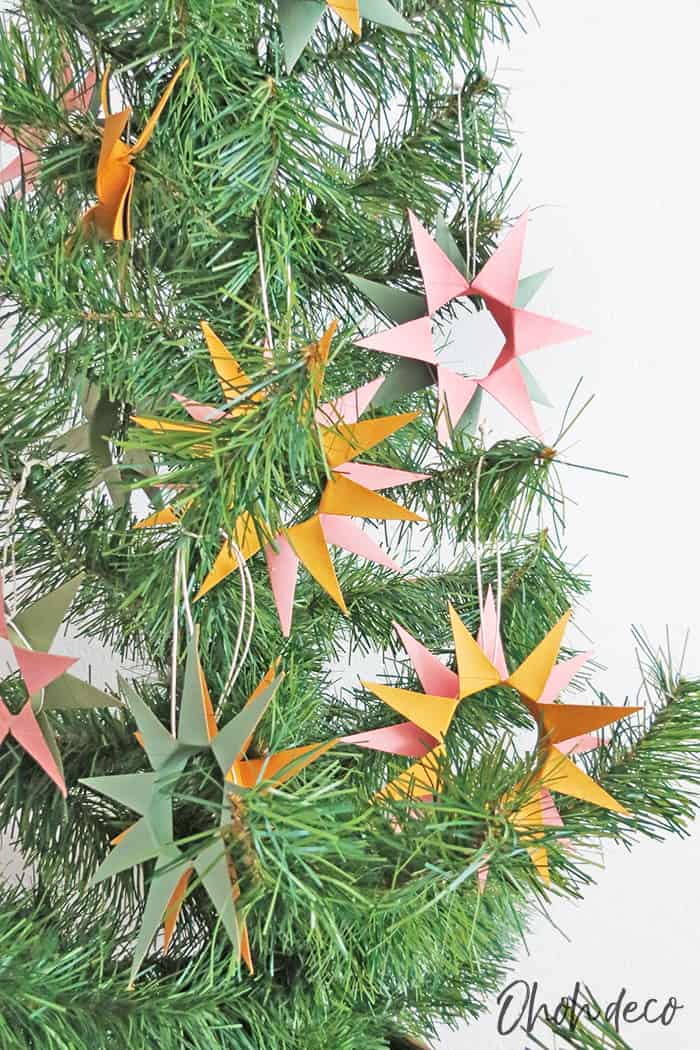
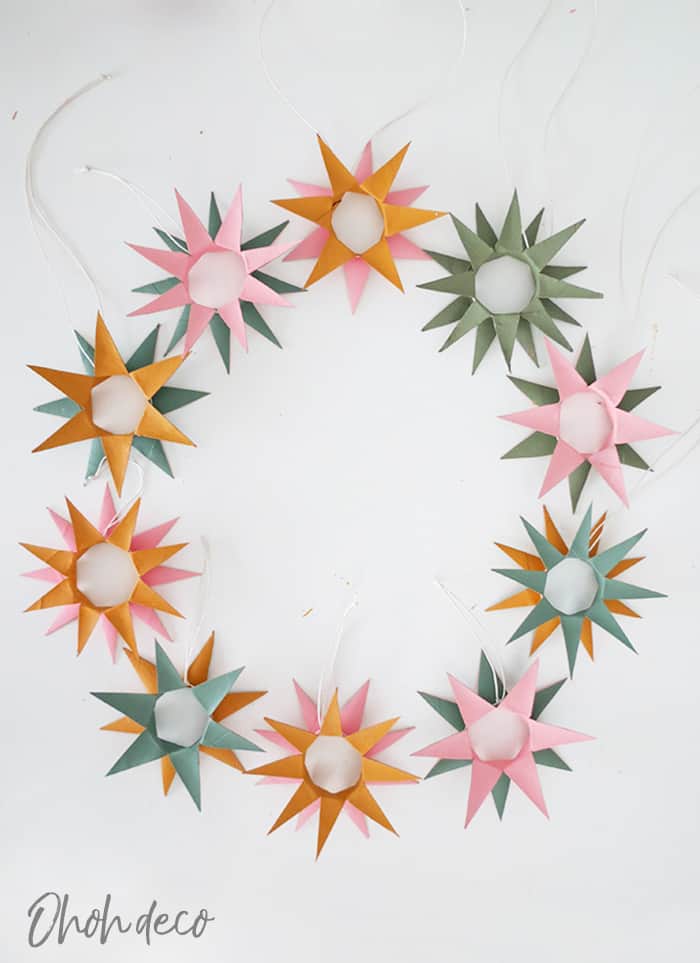
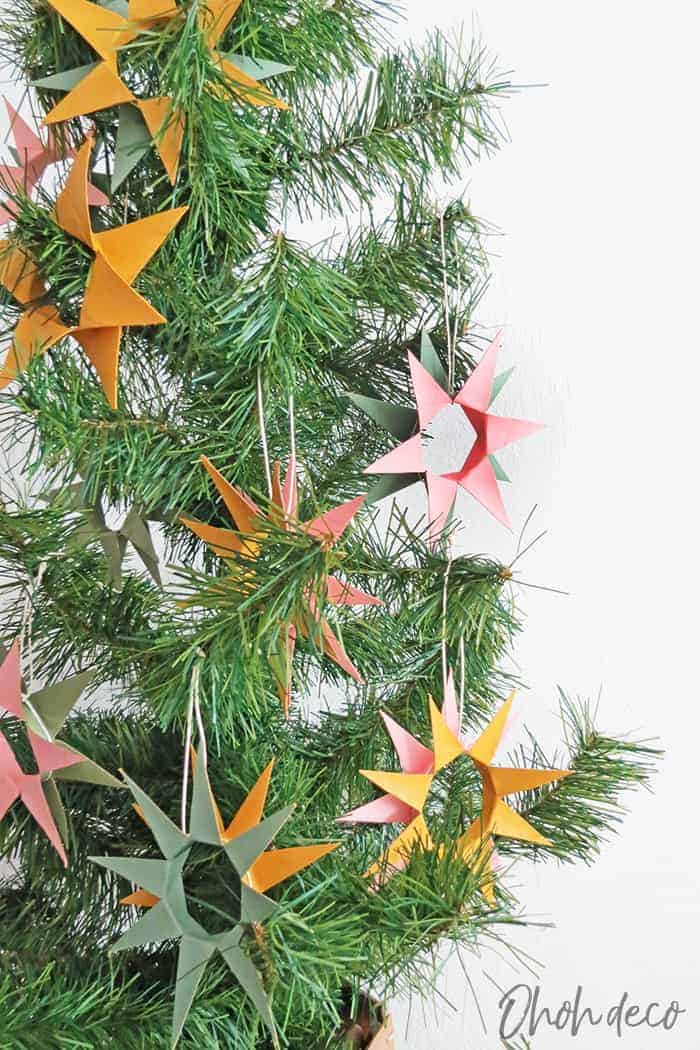
And done! Make as many ornaments as you want in any colors you like.
Cardboard rolls are very easy to work with. I like the natural brown cardboard shade but I think Christmas decorations look better with some colors.
I painted these stars ornament with vintage colors but there are a lot of pretty shade combination you can try, like silver and blue, gold and white, or a traditional green and red.
I love to see what you craft with my tutorials, so don’t hesitate to share your creation. You can leave a comment or sent me a message at [email protected]. Have fun crafting.
Want to remember it? Save these Christmas ornaments made from toilet paper roll in your favorite Pinterest board.
You will find all the tutorials featured in the video on my “Best DIY” page.
Amaryllis
thanks for sharing the stars instructions. I will be using this in my kids bible study class.
You are welcome, Carol. It’s a very fun craft to make with kids.
Hi Amaryllis,
Is it okay with you if I print out these instructions for our library customers? I work at a public library on Vancouver Island. Thank you for considering!
Hello Kenda, You are welcome to print it for the Library! I hope people will enjoy making recycled ornaments instead of buying some and contaminating 😉 Thanks, fo asking!