
Quick and easy crafts are the best. Especially at Christmas time, when there are a million other things to do.
There is nothing better than homemade ornaments, it´s unique and it brings a personal touch to your holiday decoration.
[ This post probably contains affiliate links, our full disclosure policy is really boring, but you can read it HERE ]
For me, it´s also about making something together as a family and having the kids involved to decorate the house for Christmas.
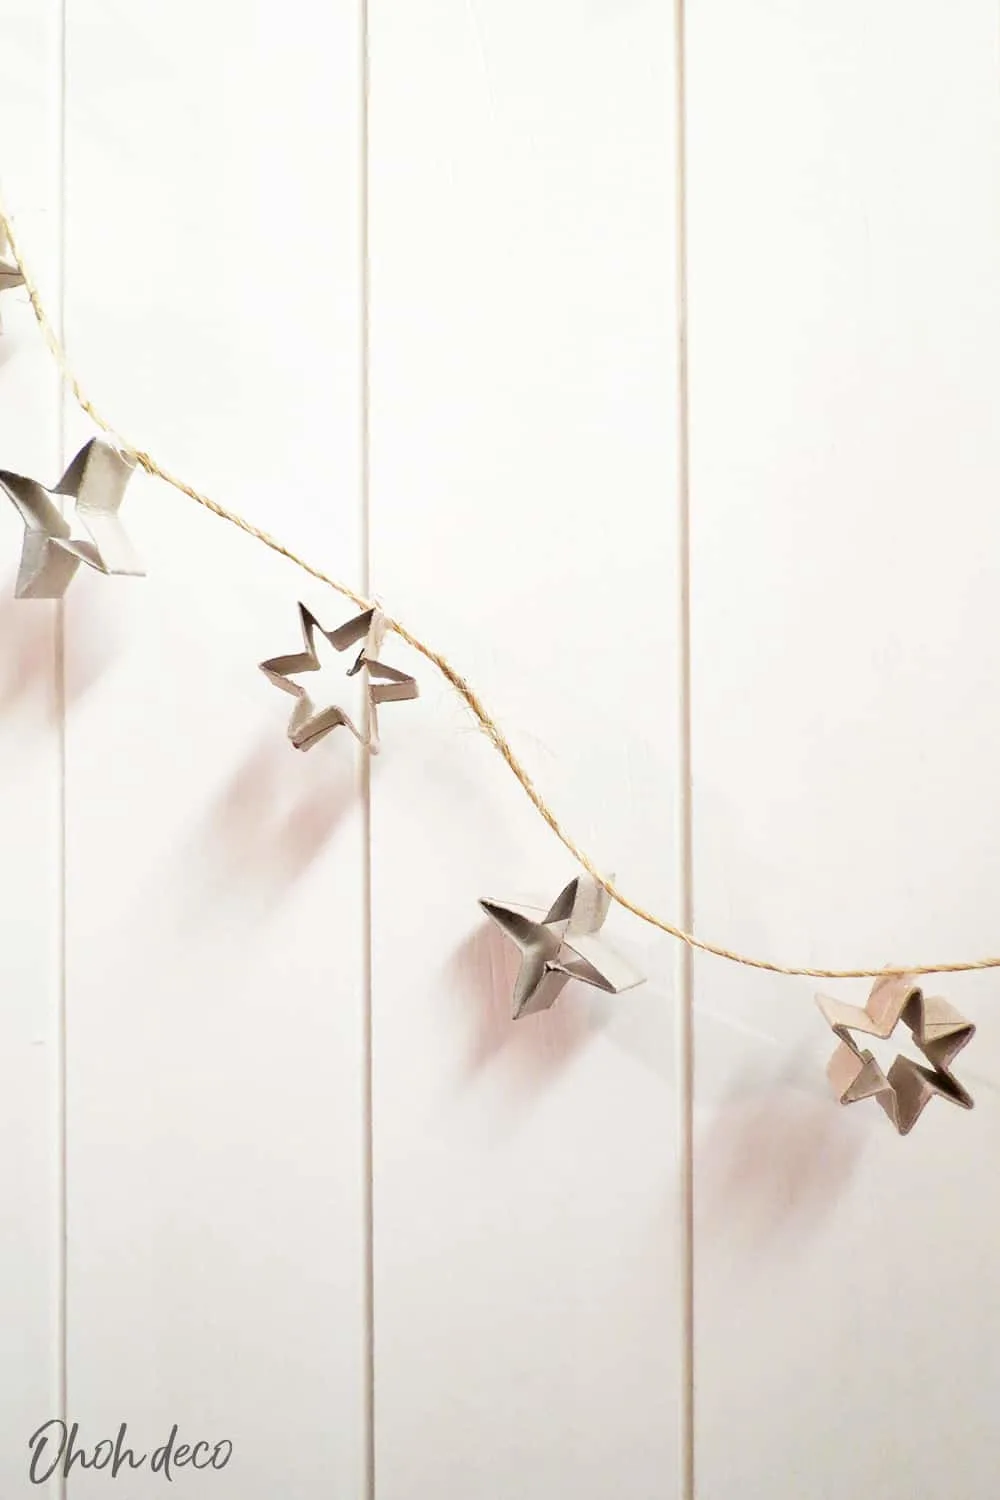
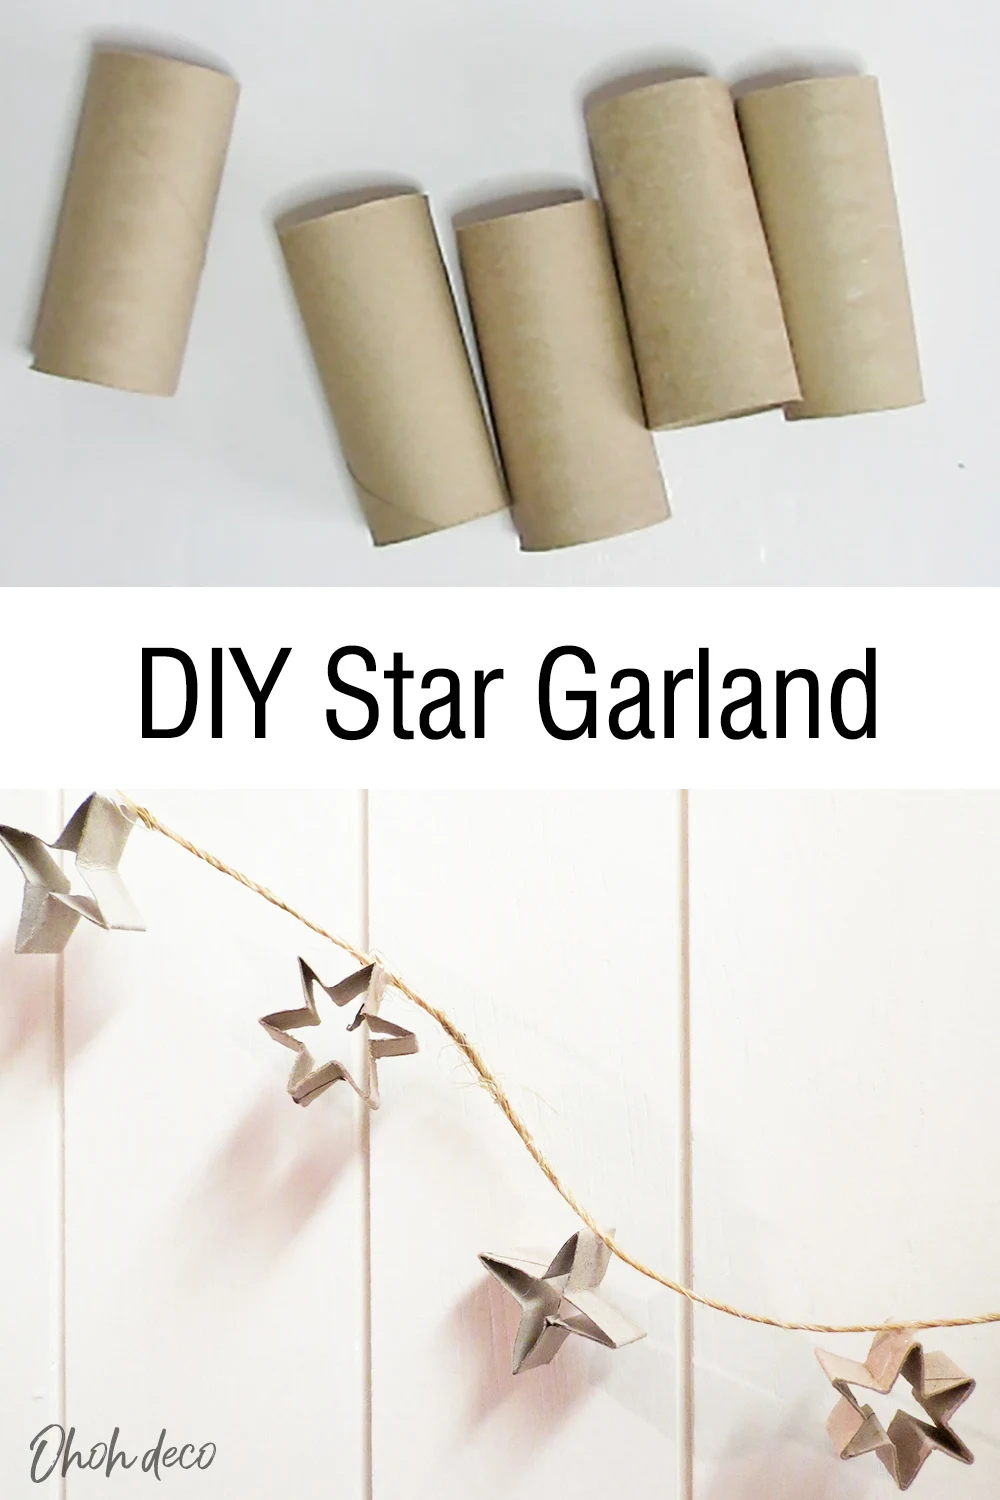
This DIY star garland is easy to make and doable by all, from toddlers to growing-up.
How to make stars garland
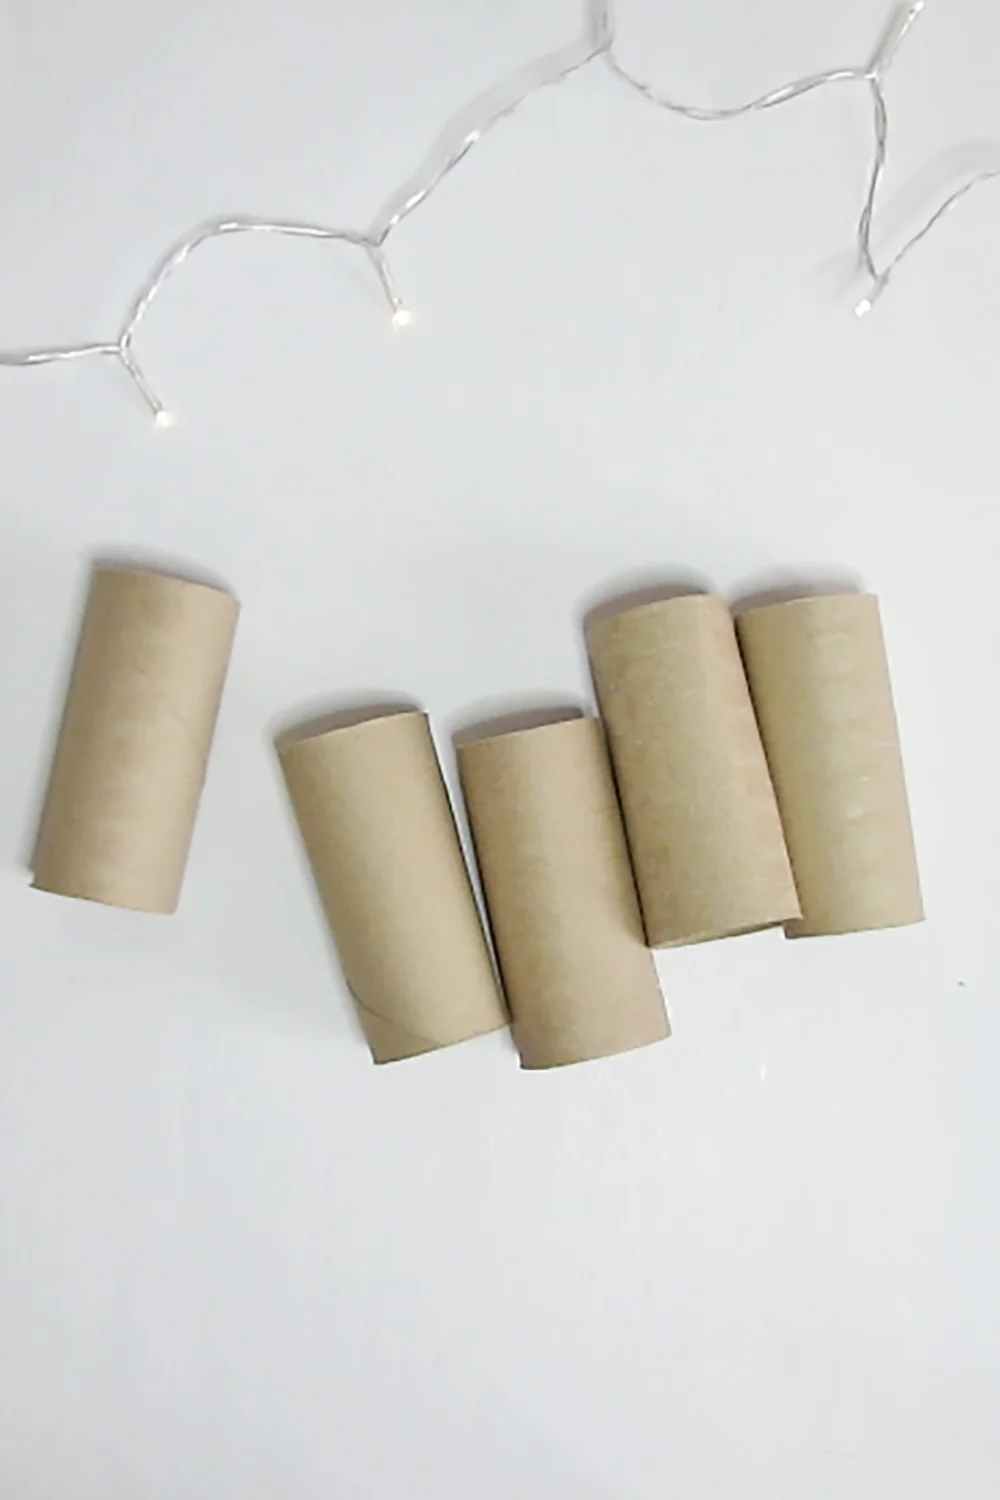
For this garland, we will use toilet paper rolls. I love making DIY with recycled material, it’s easy and cheap.
Hope you have some rolls on hand to do this DIY.
RELATED: DIY Felt Christmas ornaments
RELATED: How to make Christmas ornaments with toilet paper roll
Supplies to make Stars garland
- Toilet paper rolls
- scissors (unrelated: Am I the only one obsessed with pretty scissors?)
- Glue (I used this kind but this other will also work)
- Twine rope
The number of cardboard rolls you need for this craft depends on the length of the garland you want to create, between 5 and 10 is a good amount.
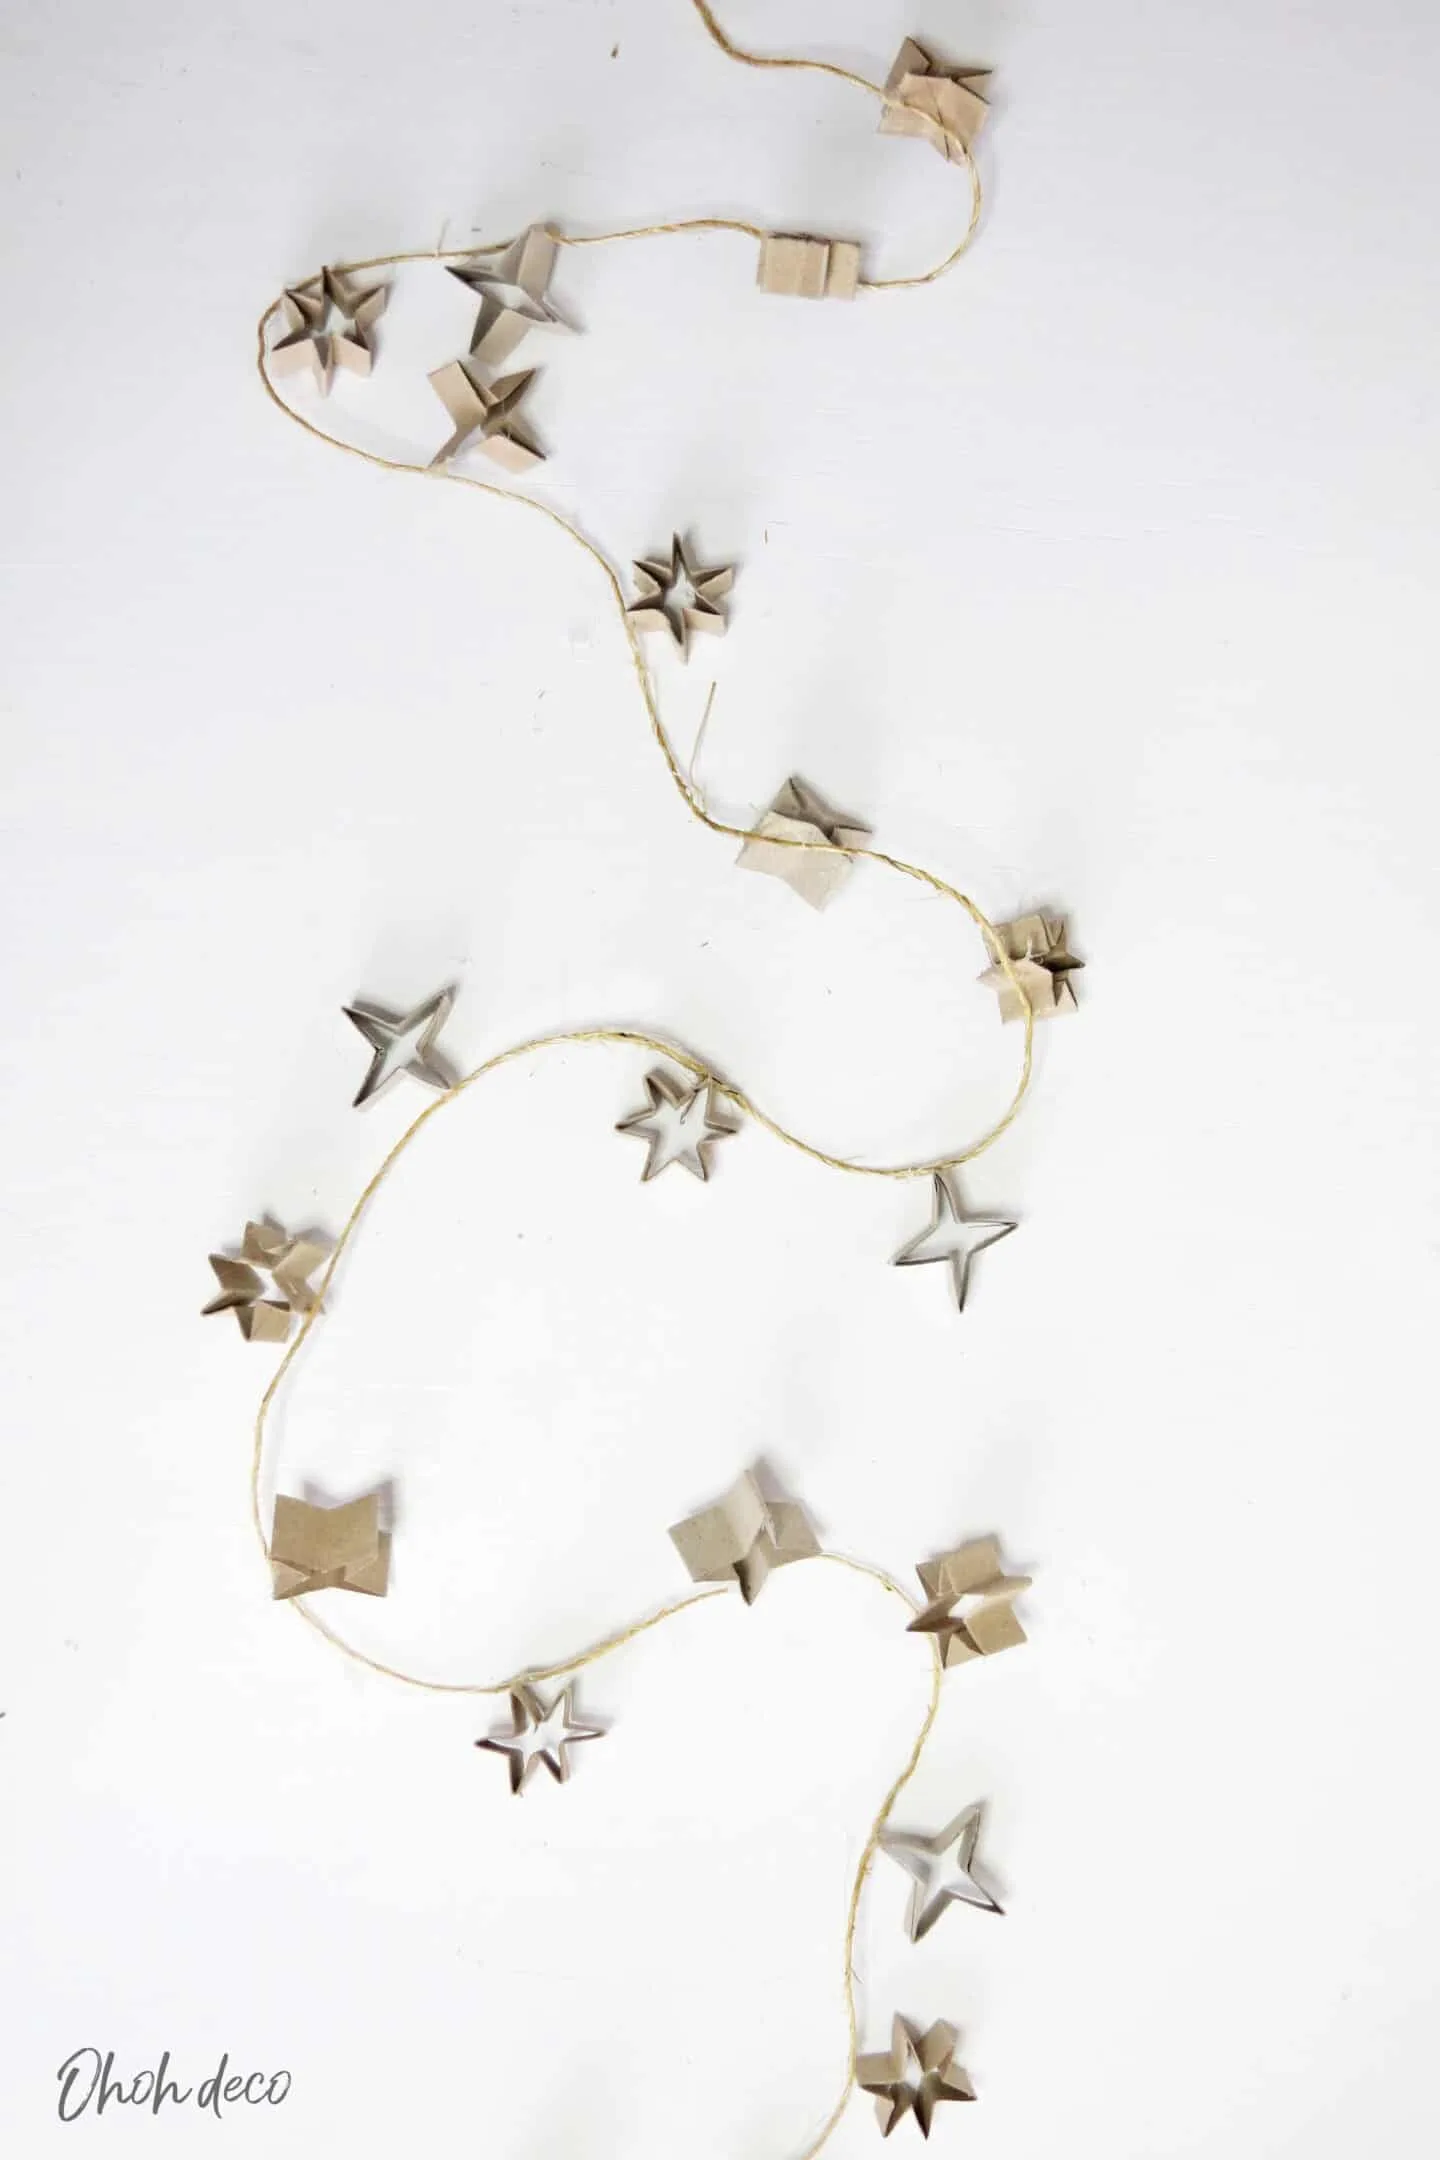
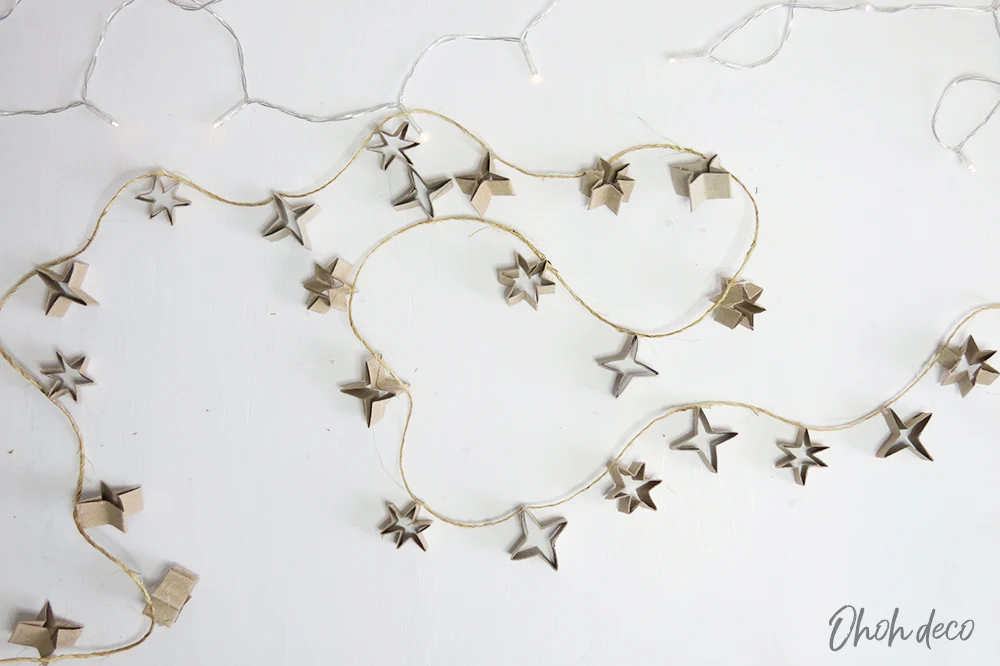
The garland is a combination of 6 and 4 pointed-stars.
How to make 6-pointed stars
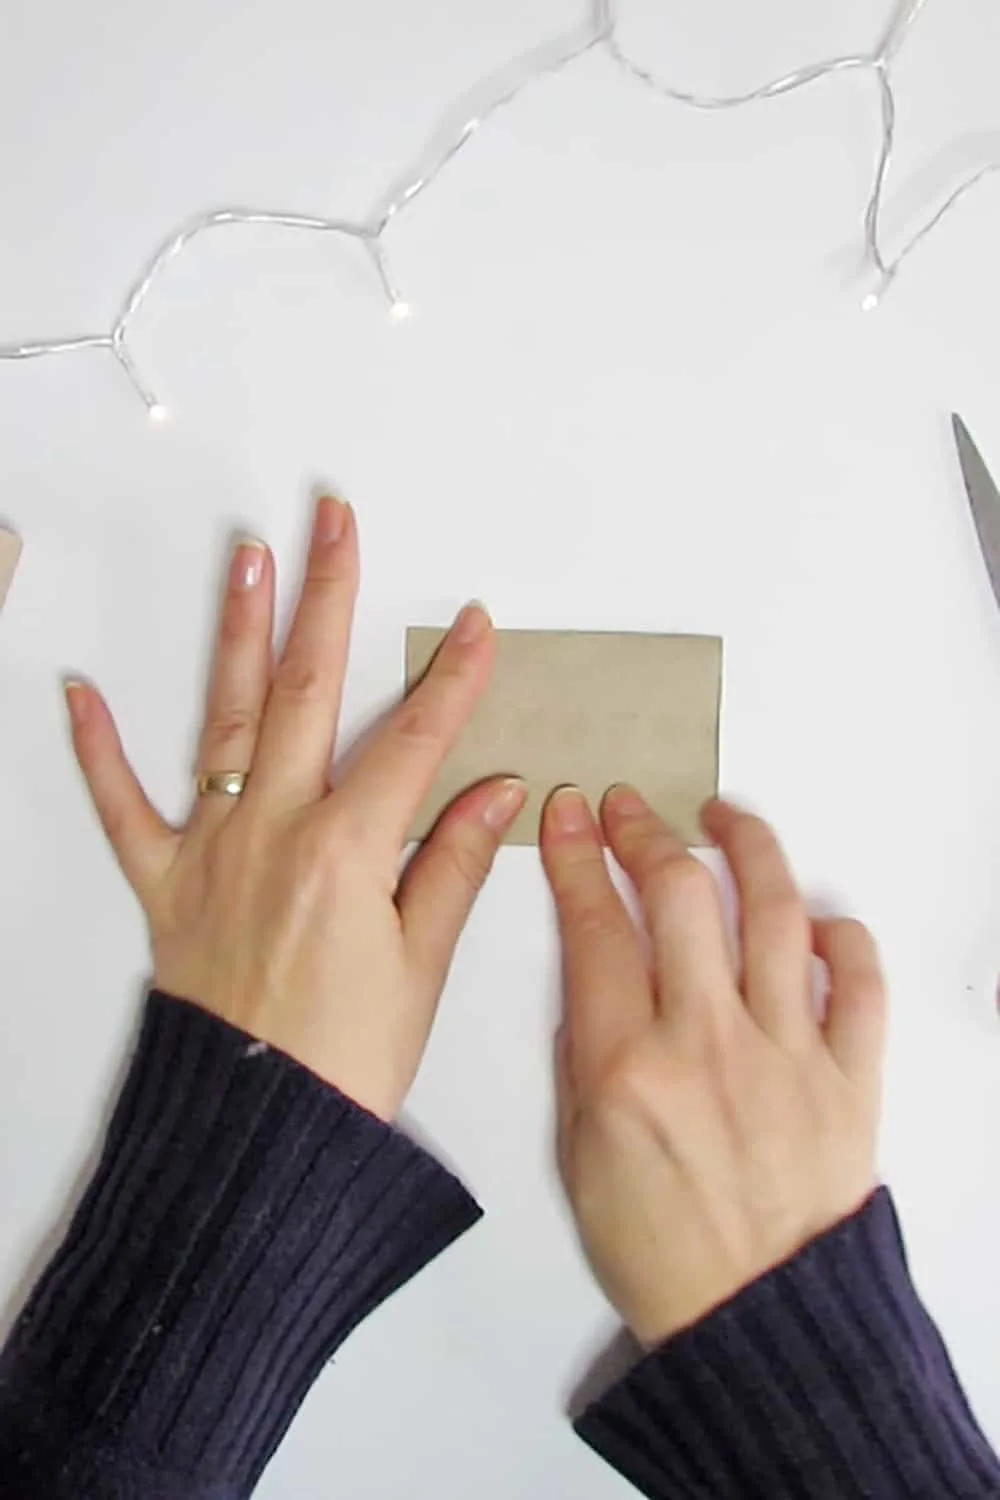
To make 6 branches stars with the cardboard, press flat the toilet paper roll.
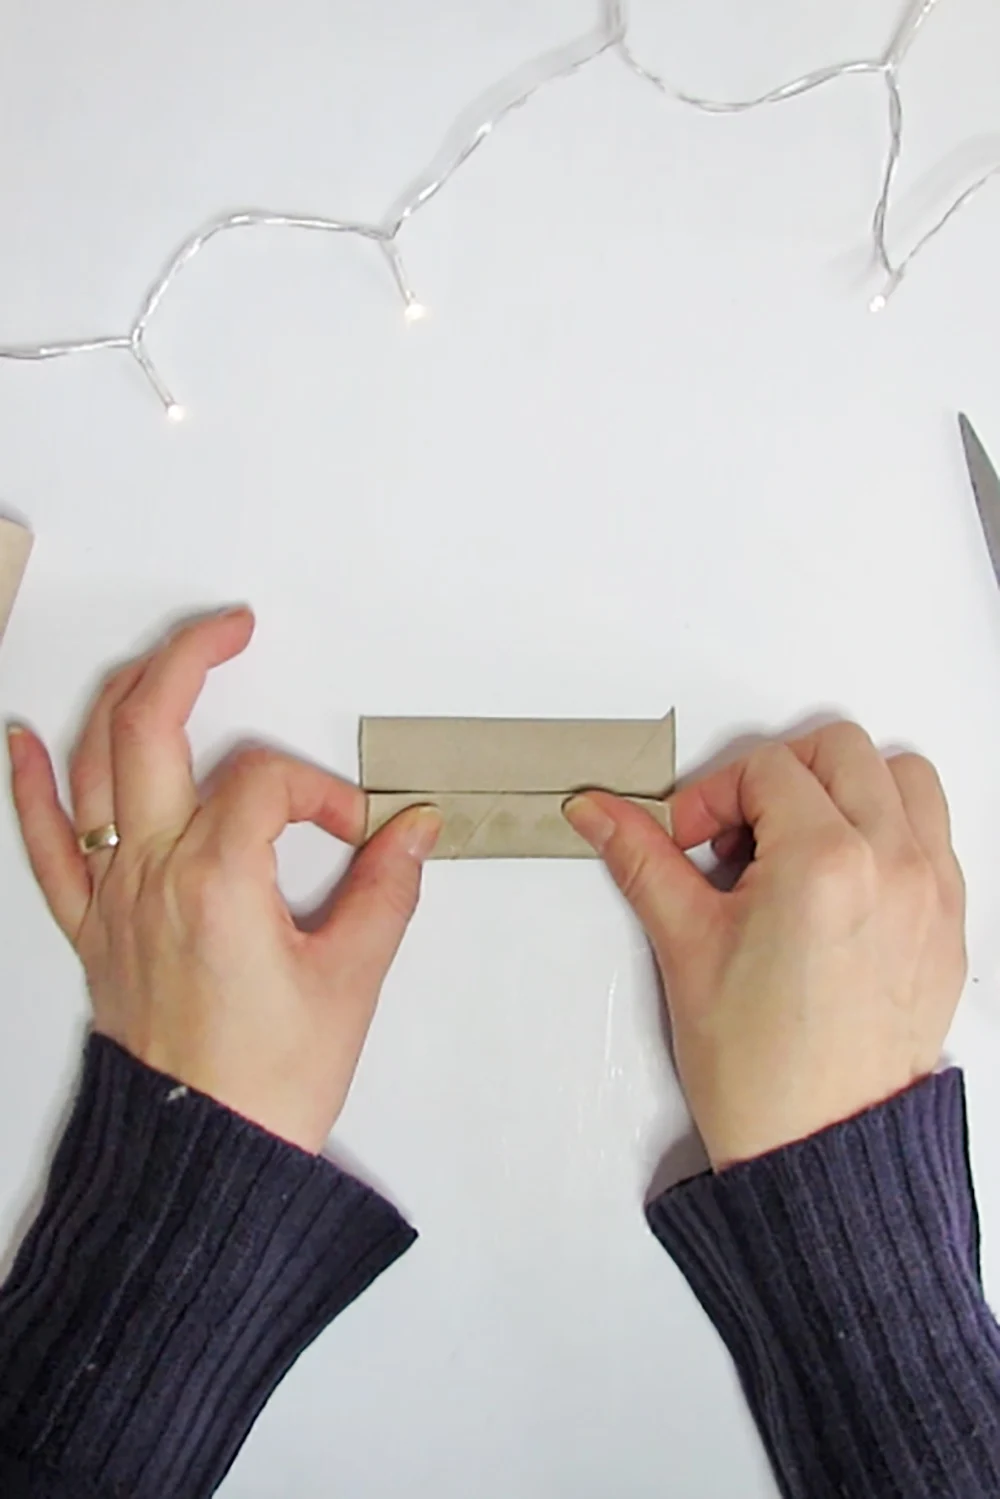
Make the first fold at 1/3 of the width and press. Make a second fold on the opposite side, also at 1/3 of the width. The flat roll must have 2 folds and be divided into 3 equal parts in its length.
Unfold the roll. If you look at it from above, the folds should form a hexagon.
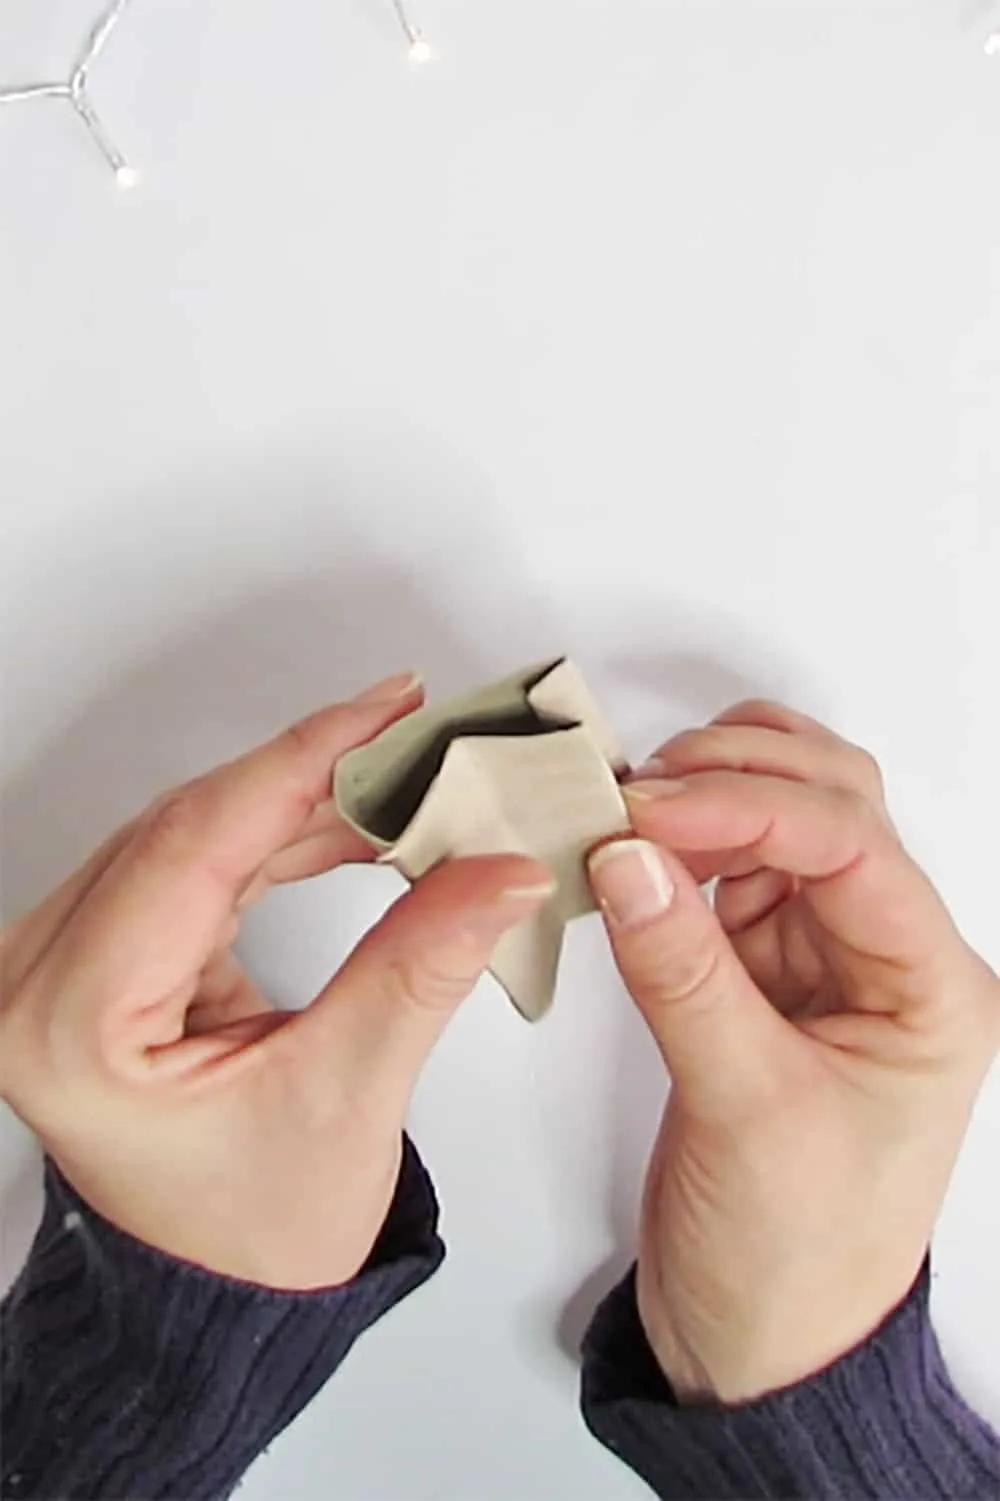
Join two folds edge to edge and make an inner fold between the two. Press and repeat this step with all the folds to make the star shape.
If you have any doubts about this step, you can watch the video tutorial.
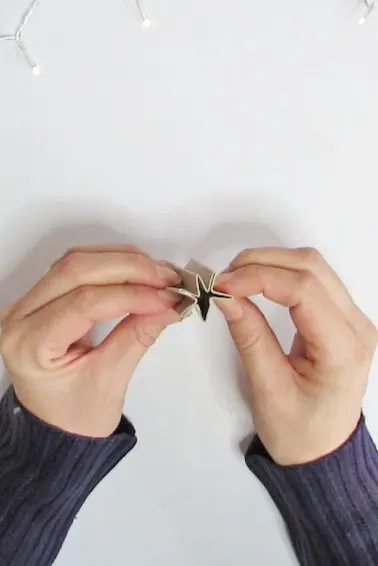
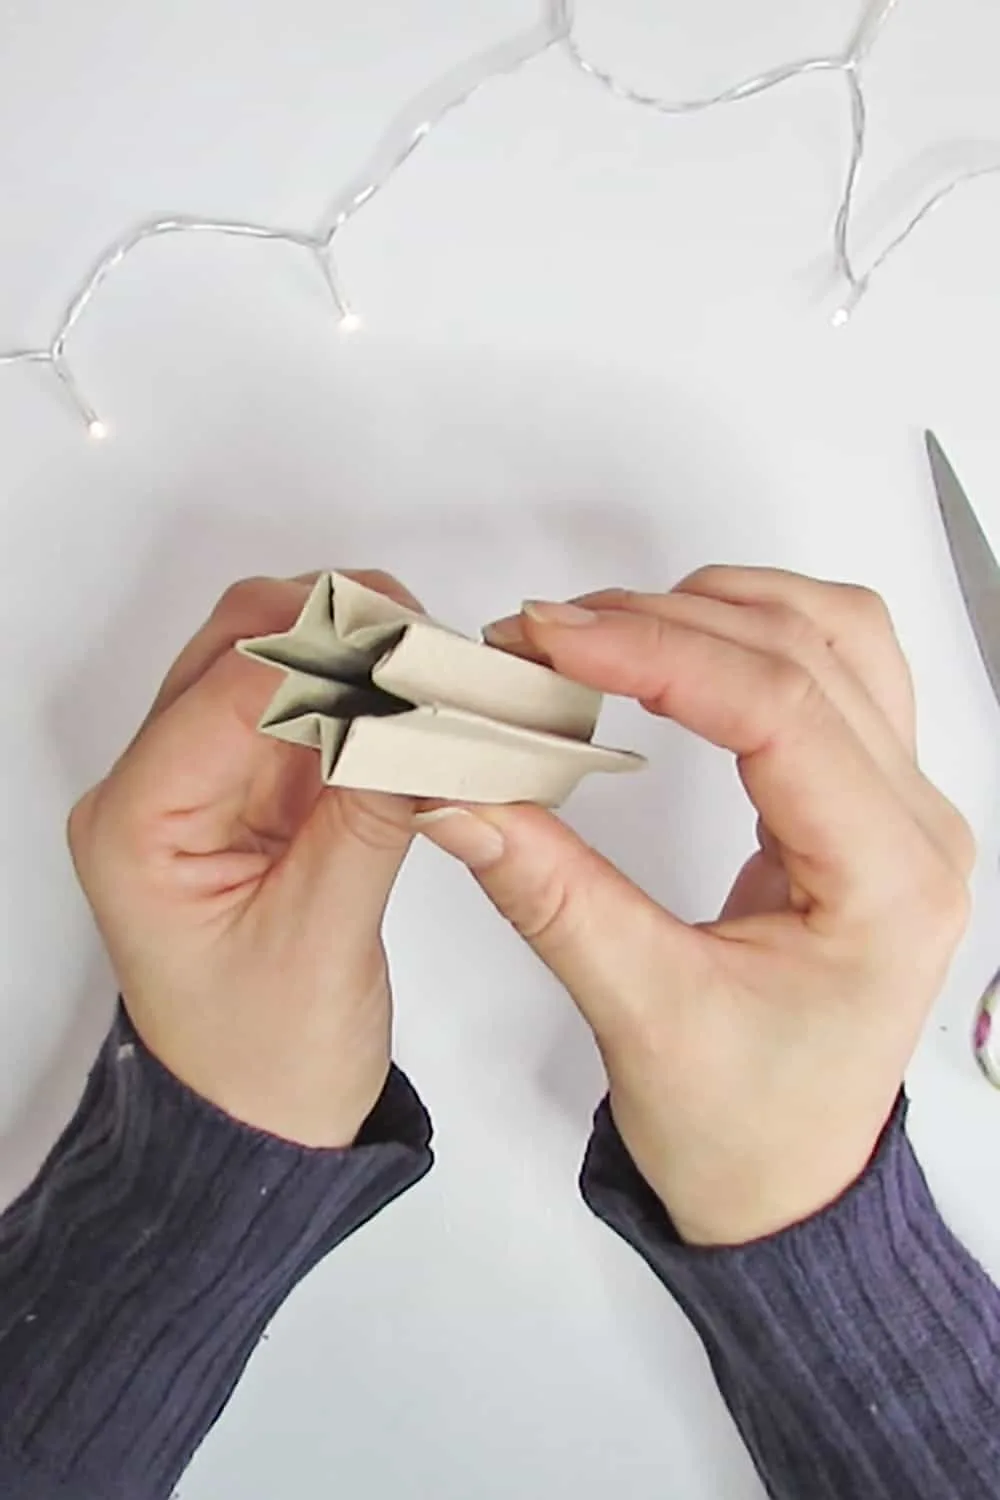
Mark the folds well and as you fold, you will see the star shape forming.
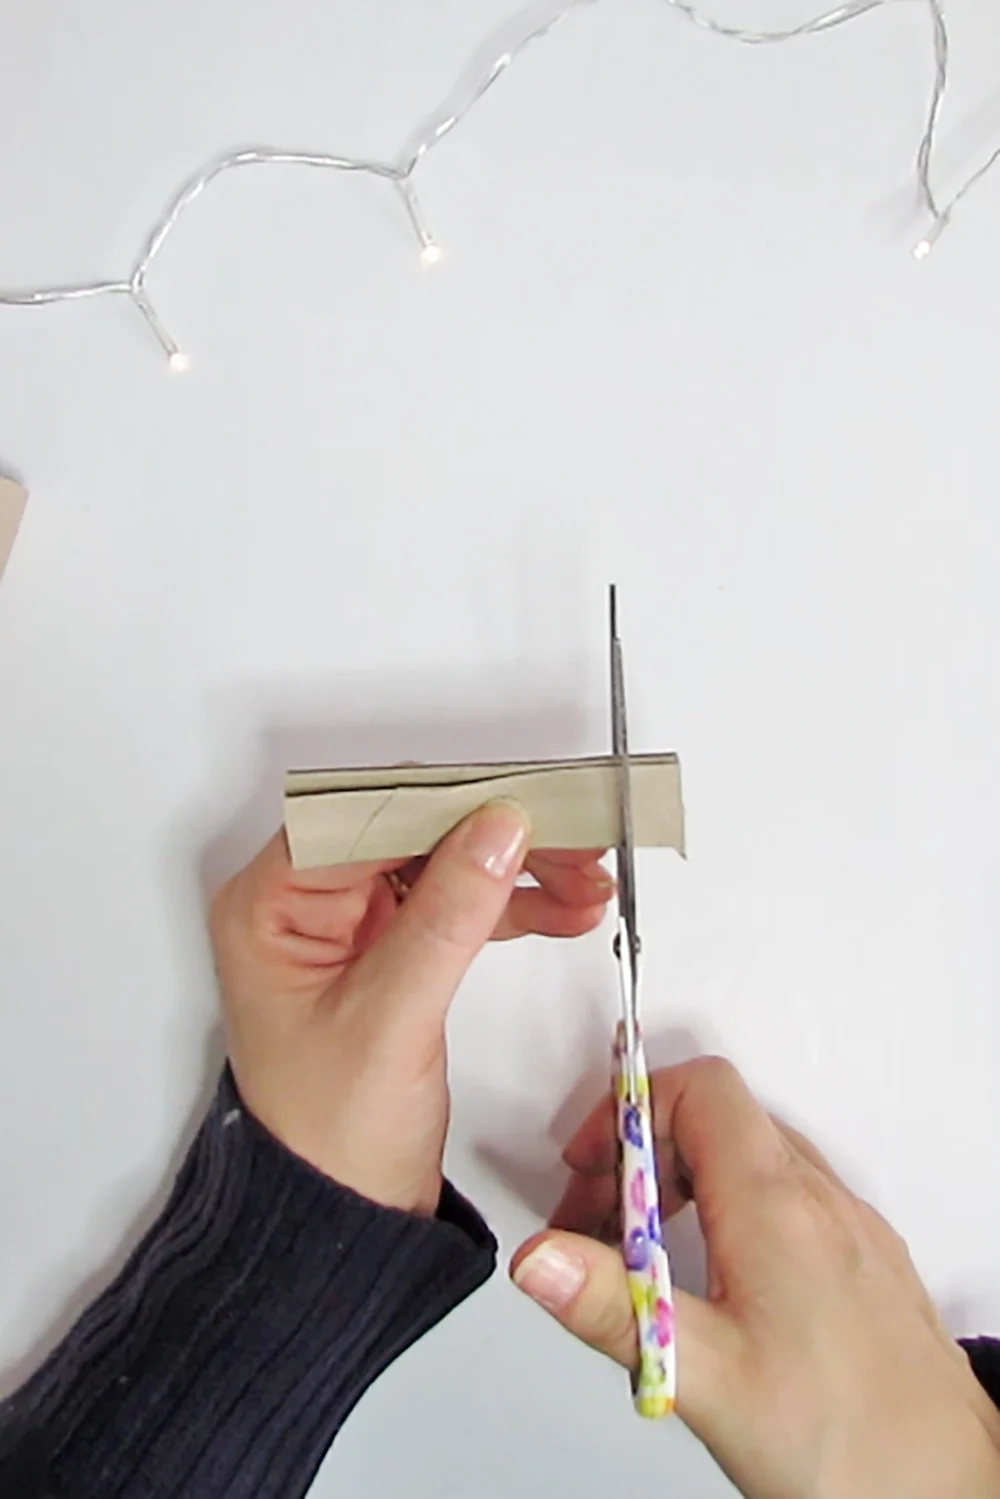
Keep the roll folded and flatten the star shape so you can cut the roll to have several stars. You can make
6 stars out of a roll.
Try that the stars have all the same thickness, it will look nicer on the garland.
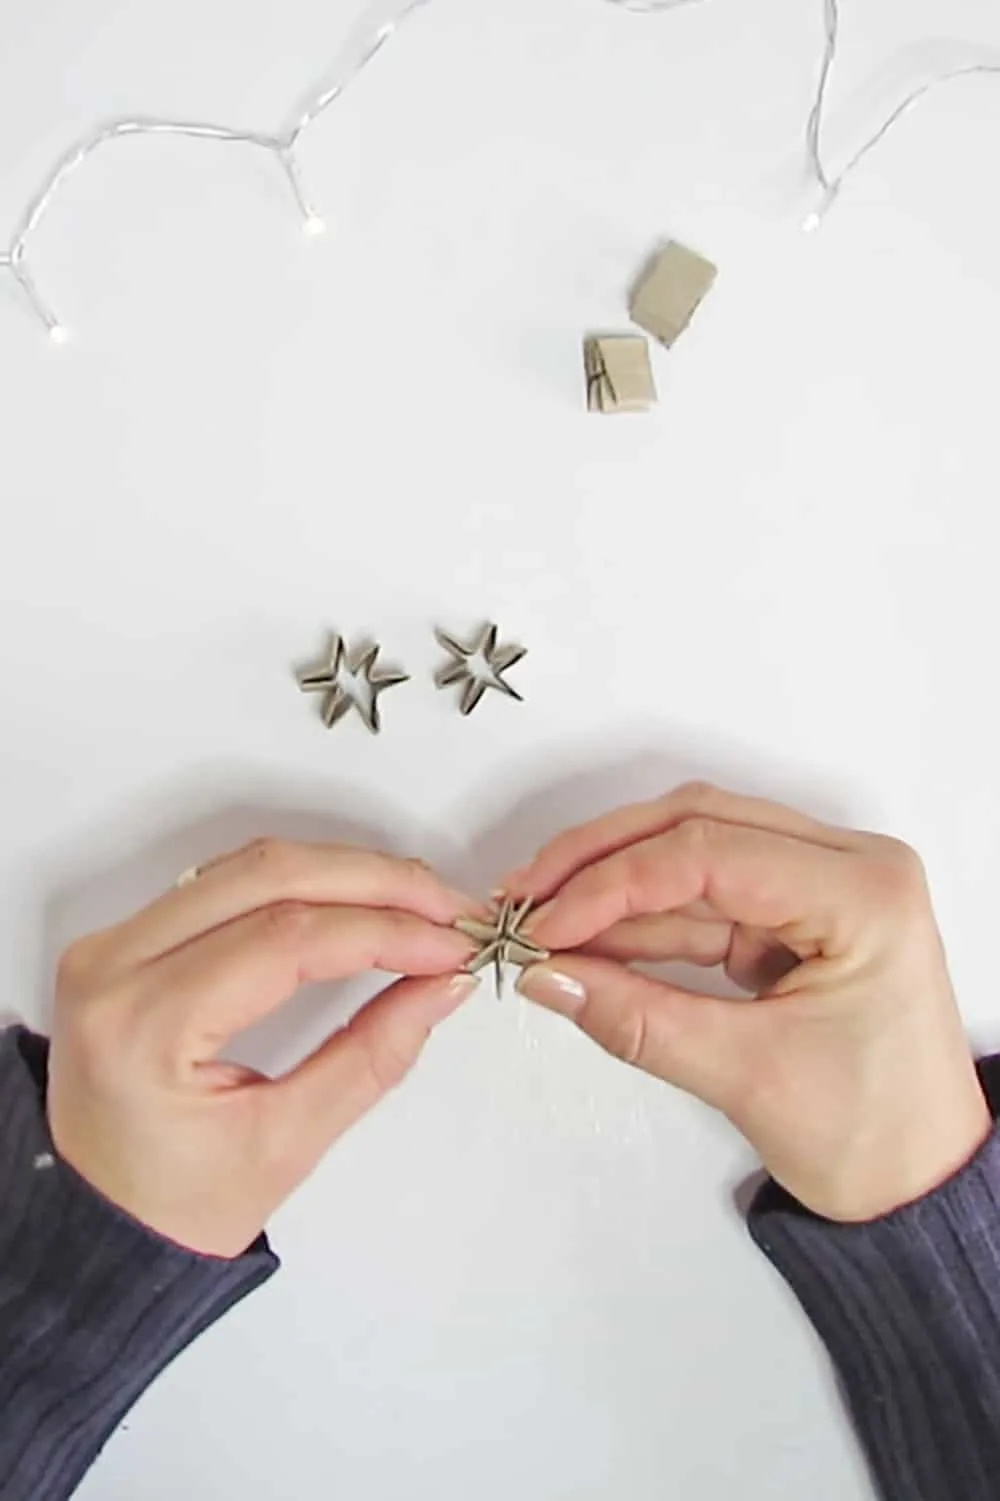
Unfold and shape the little cardboard stars.
RELATED:
RELATED:
How to make 4-pointed stars
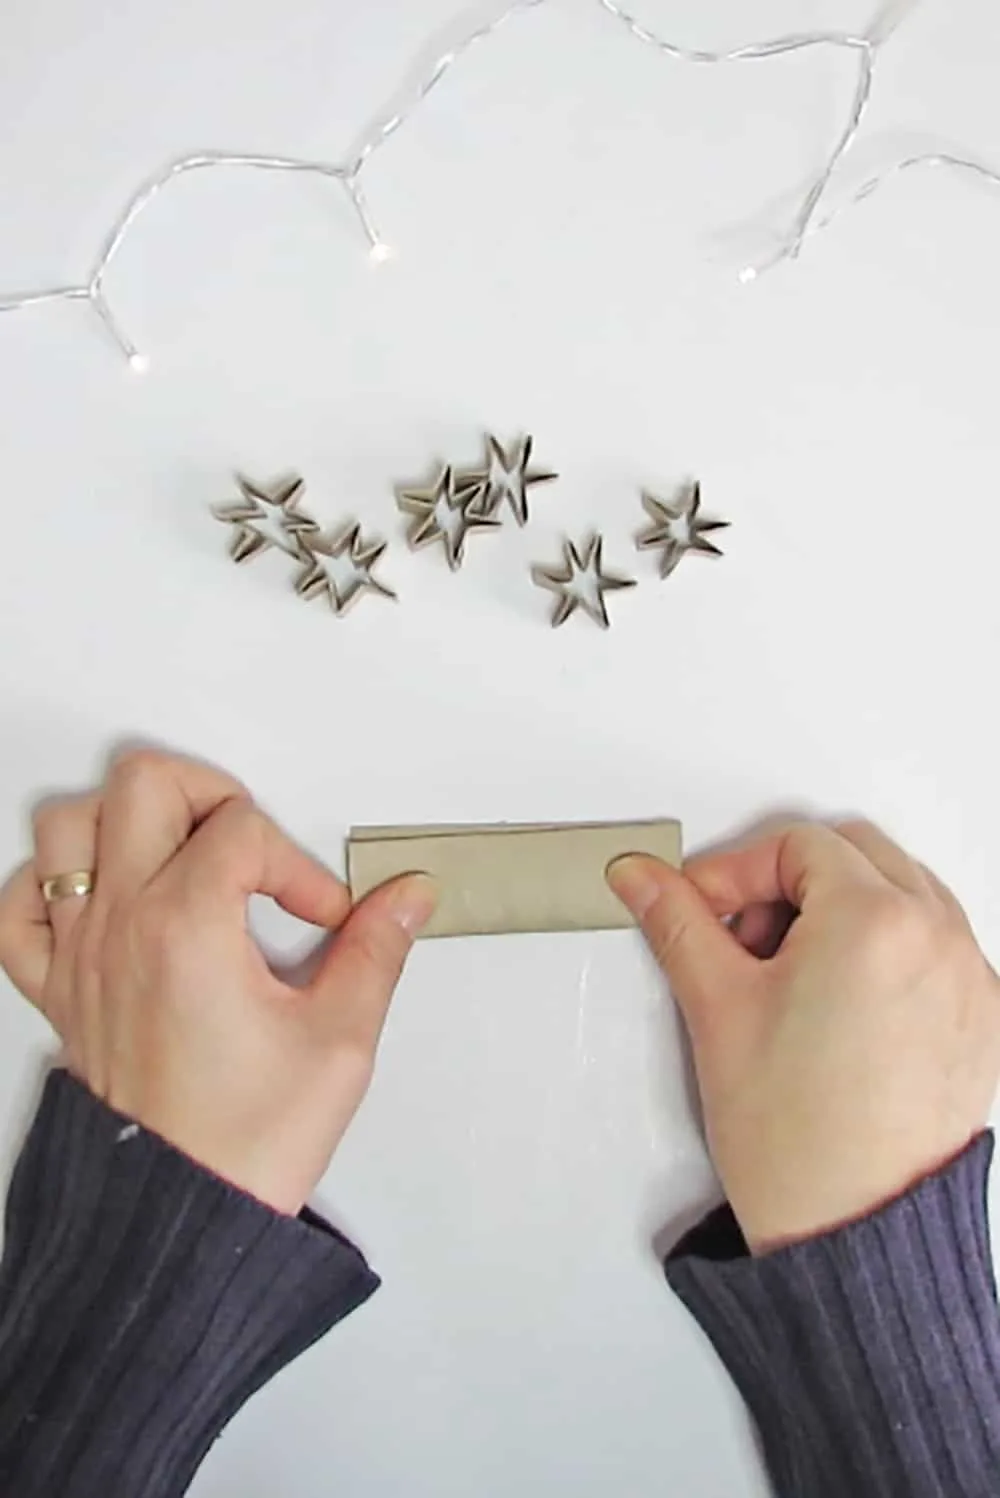
And now I show you how to make 4-pointed stars with toilet rolls.
Take the paper roll and flatten it. Fold it in the center, lengthwise.
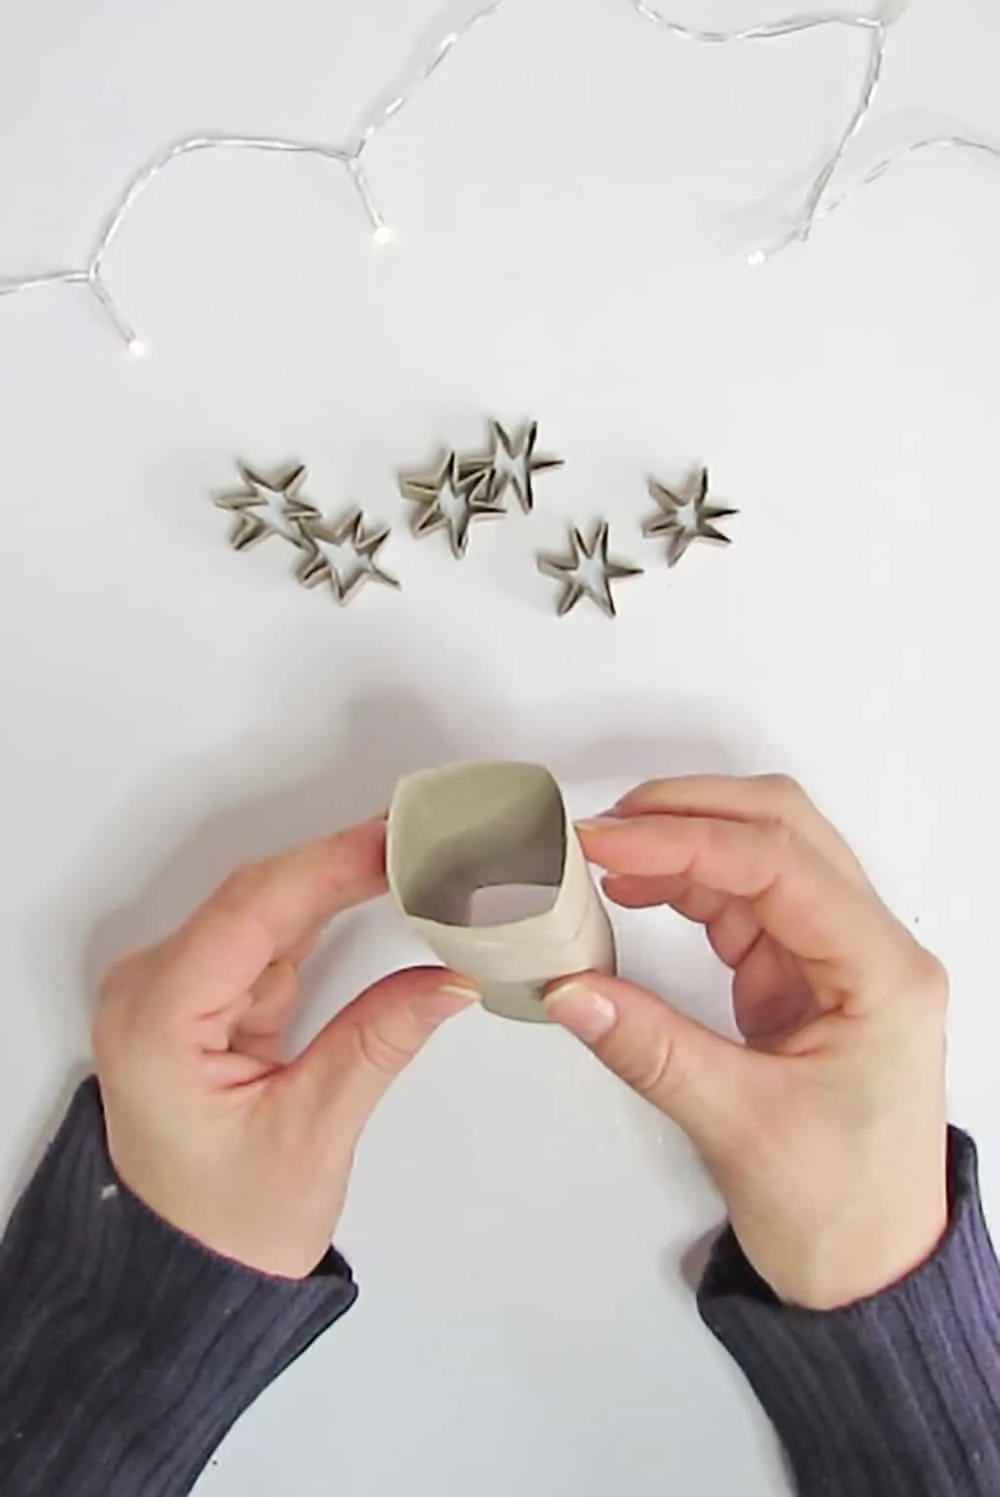
Unfold the roll. If you look at it from above, the folds should form a square.
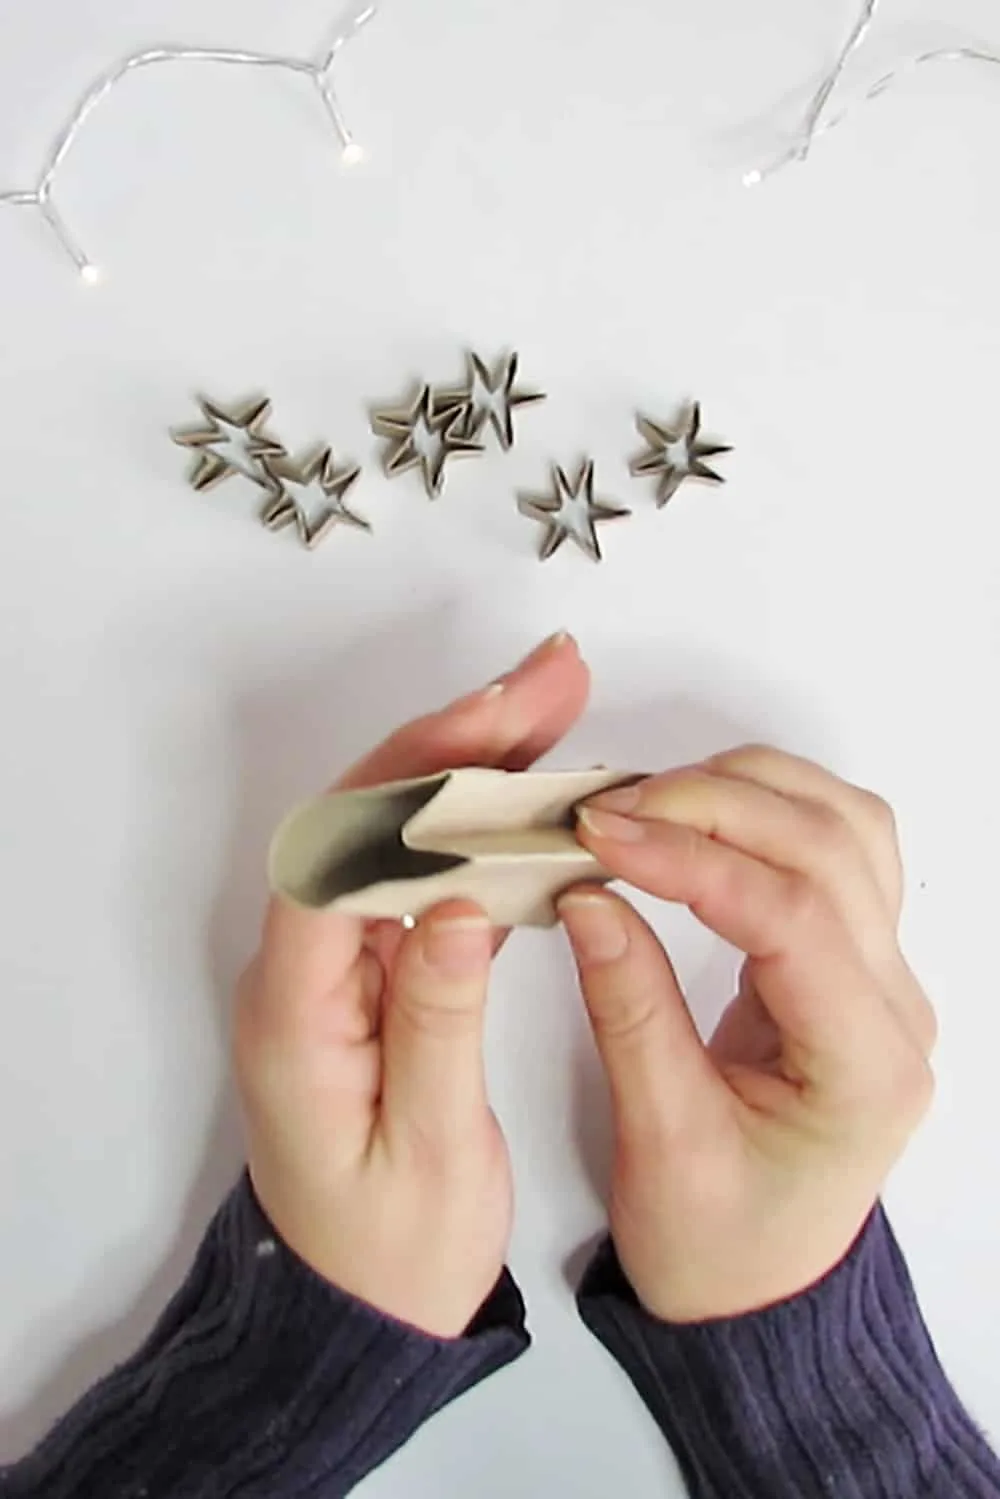
Join two folds edge to edge and make an inner fold between the two. Press and repeat this step with all the folds to make the star shape.
If you have any doubts about this step, you can watch the video tutorial.
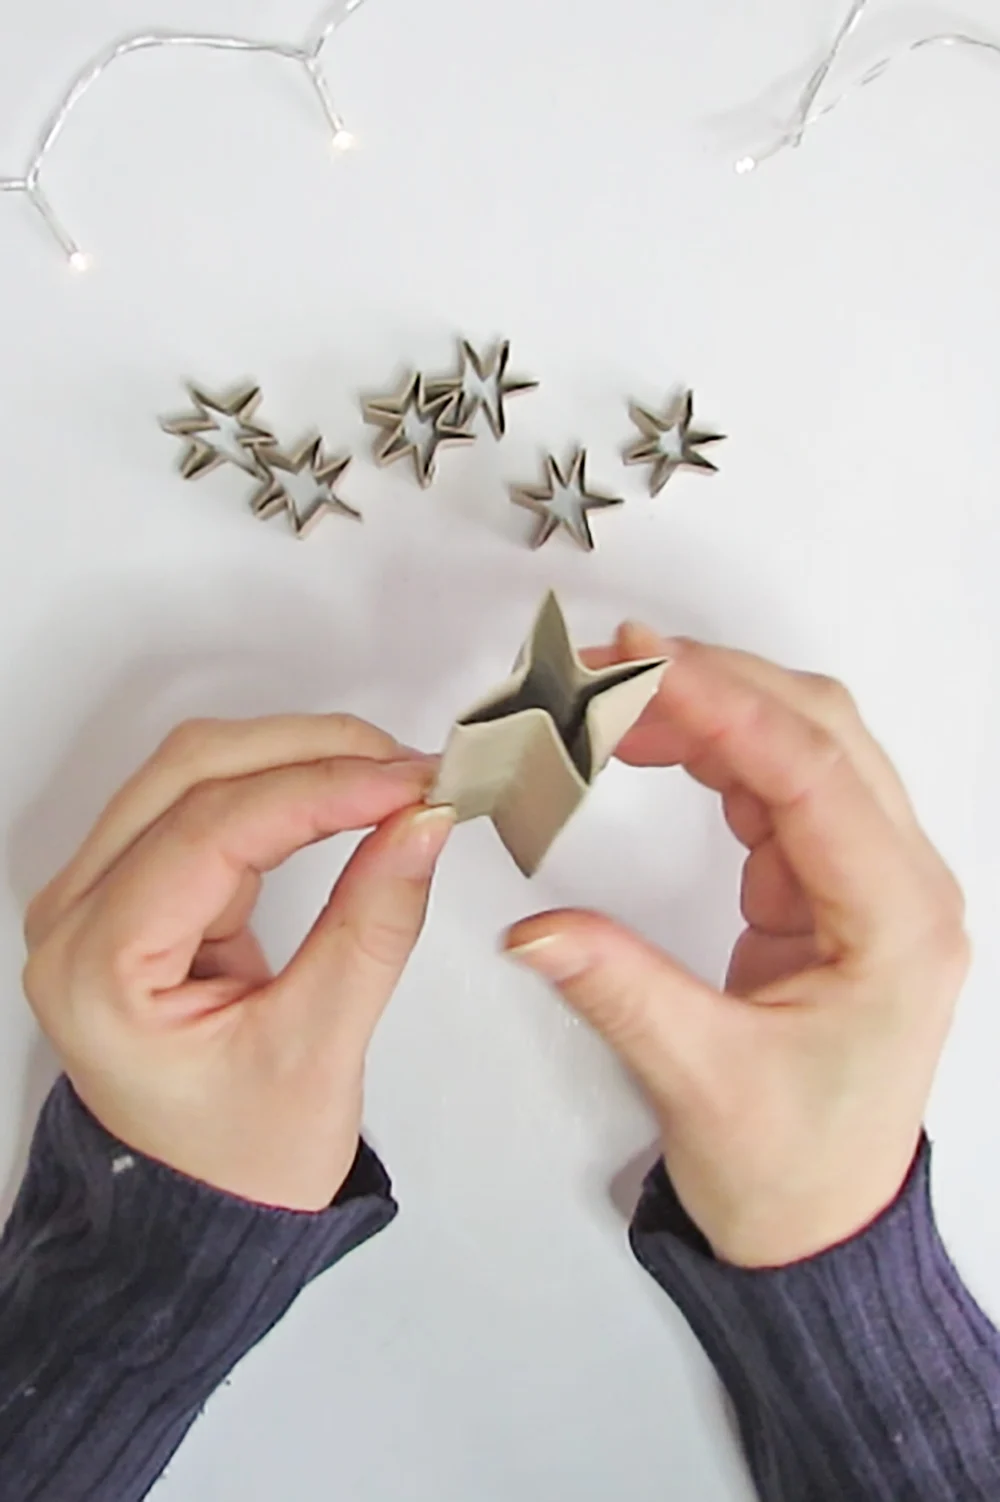
Press well the folds and as you fold, you will see the star shape forming.
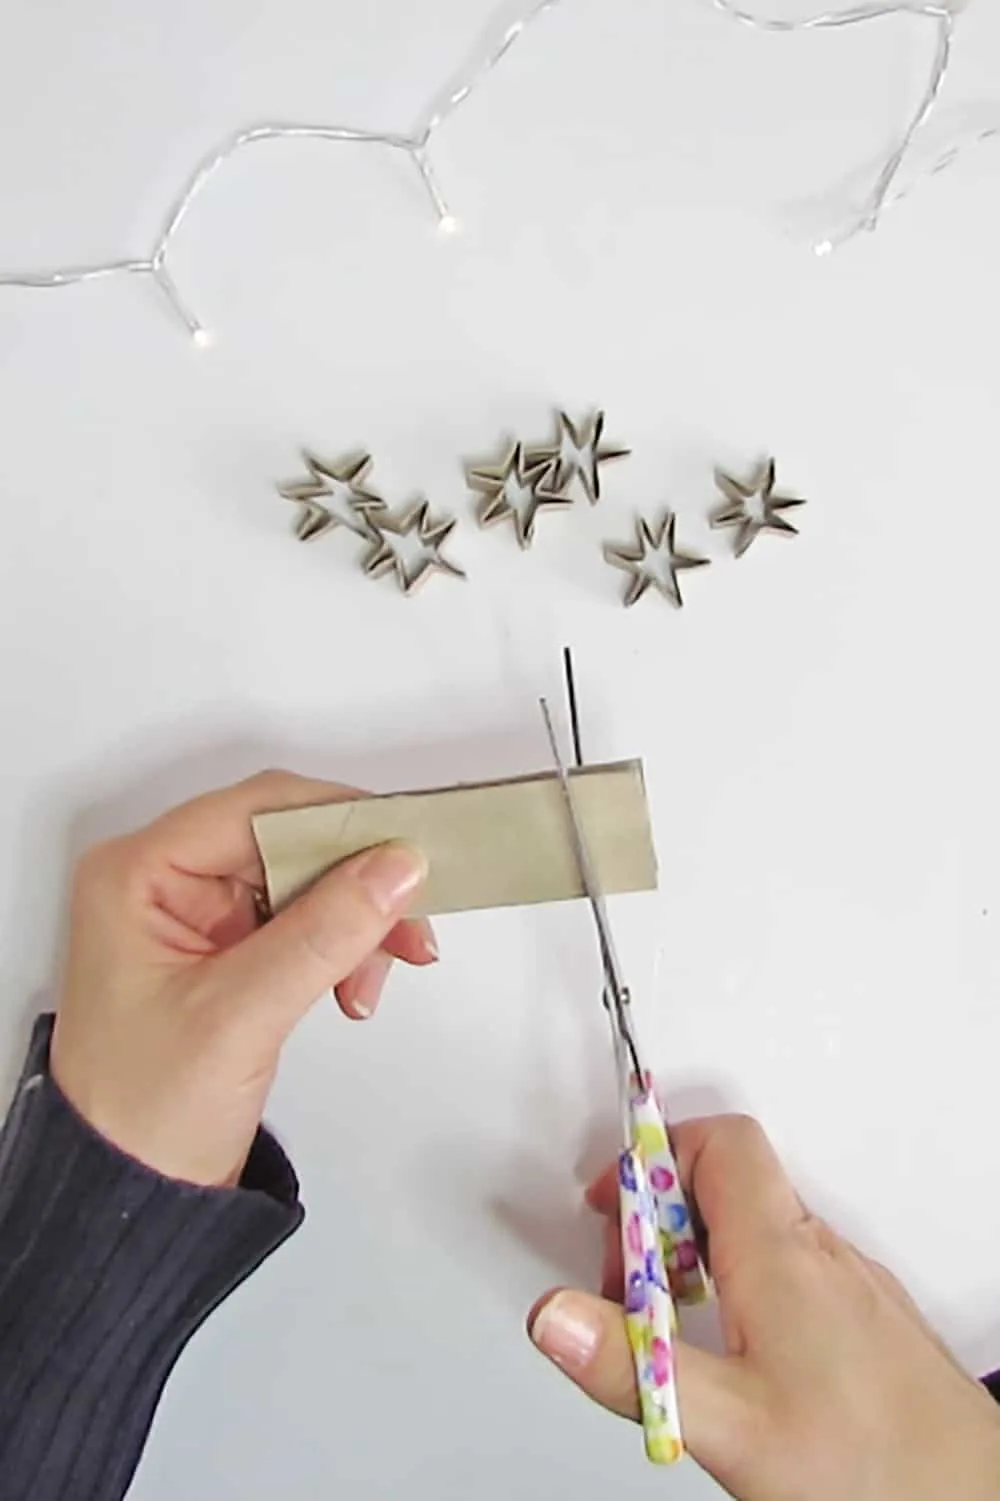
Flatten folded roll and cut it to have several stars. You can make 6 4-pointed stars out of a roll.
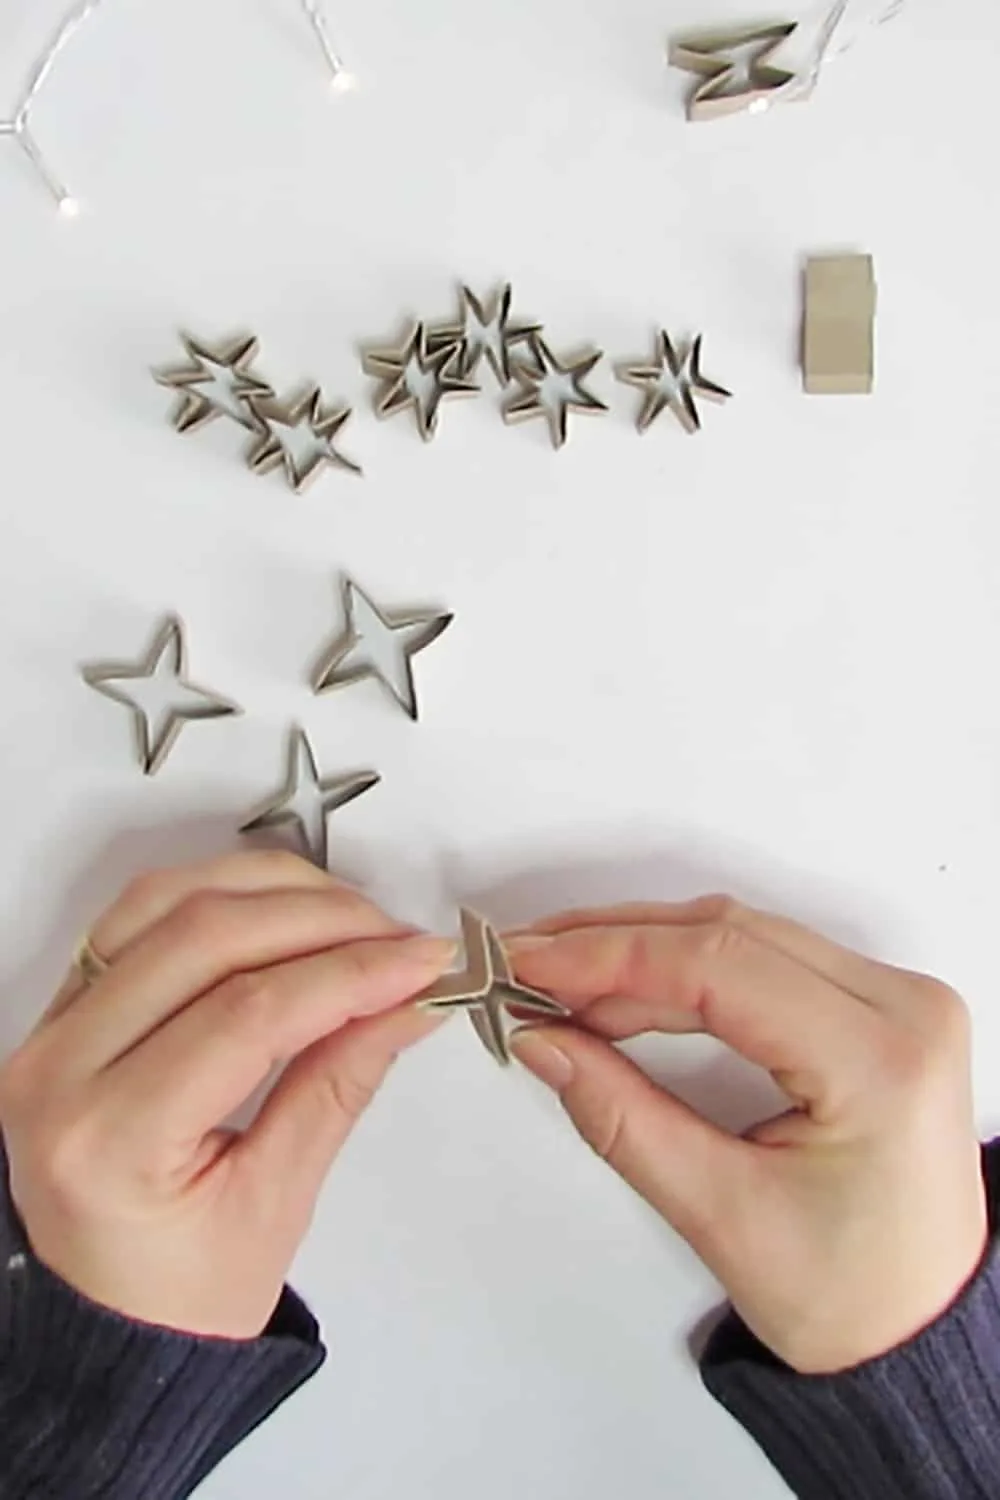
Take the little cardboard star and give them a nice shape.
How to assemble the Stars Garland
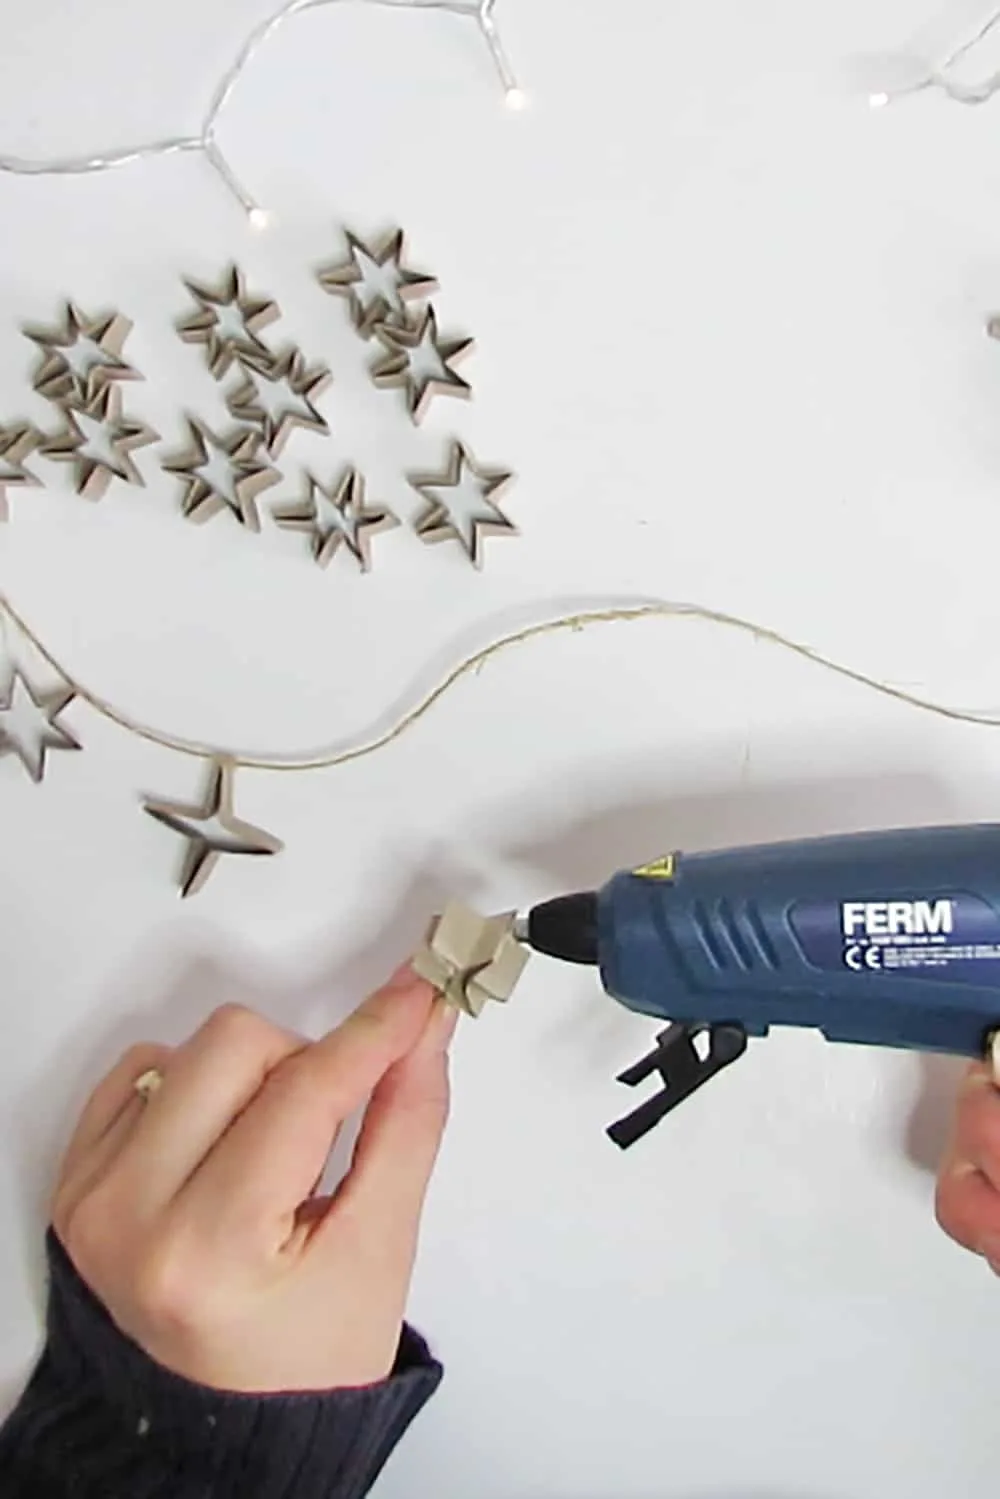
Cut a piece of twine rope. Add a dot of glue on the tip of the star and attach it with the rope.
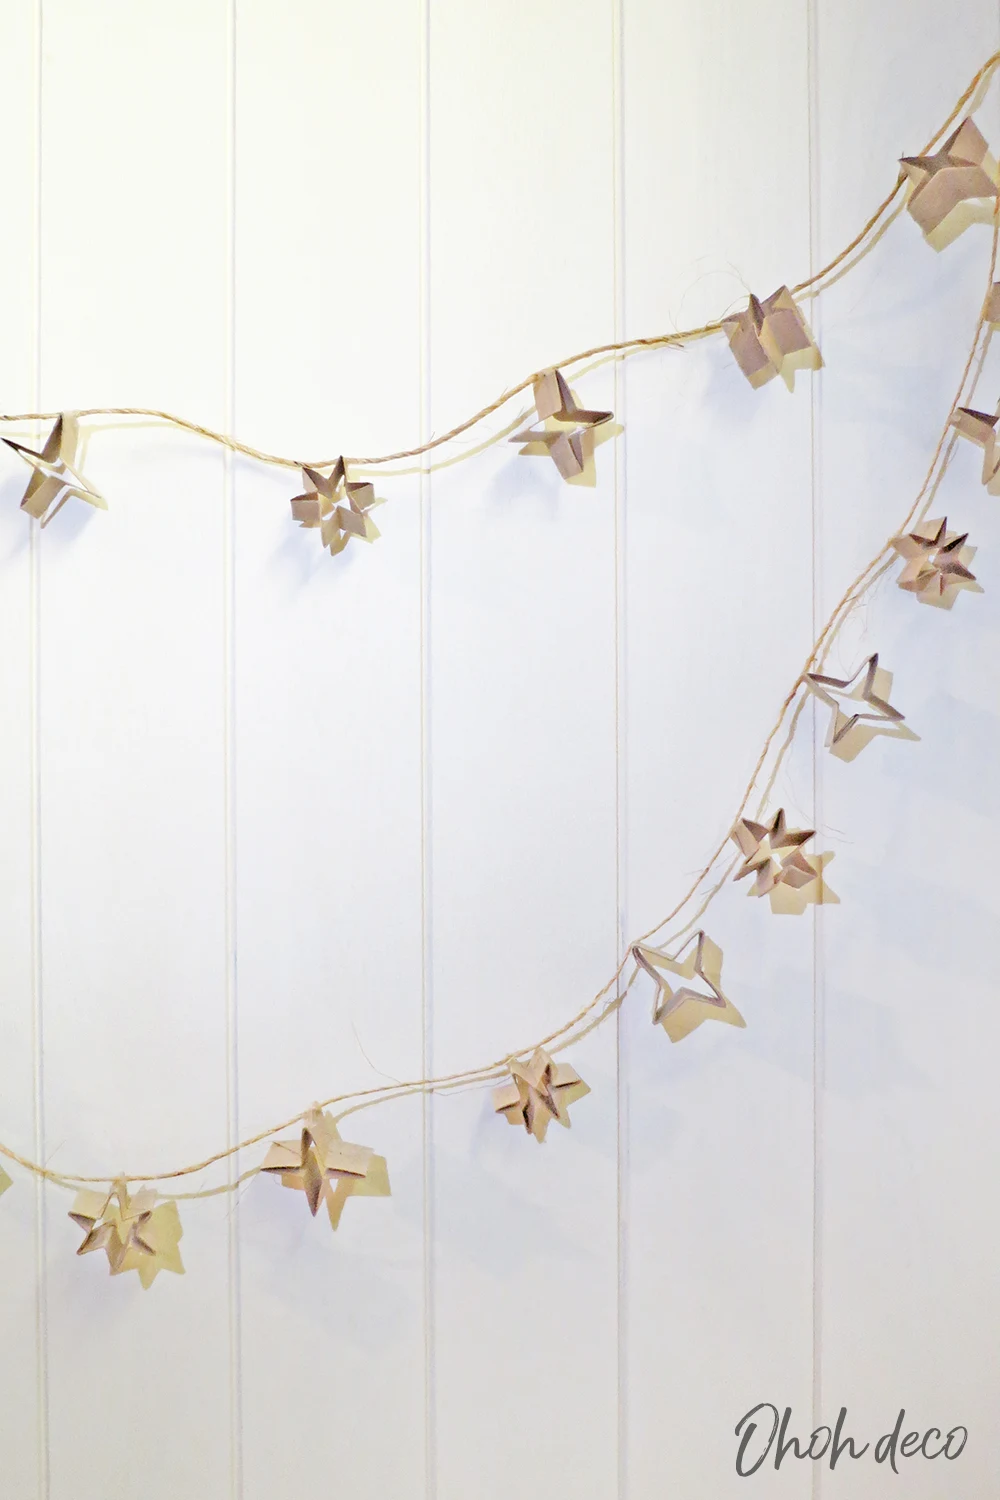
Alternate 6-pointed and 4-pointed stars. Try to glue them at the same distance of each other for a nice looking garland.
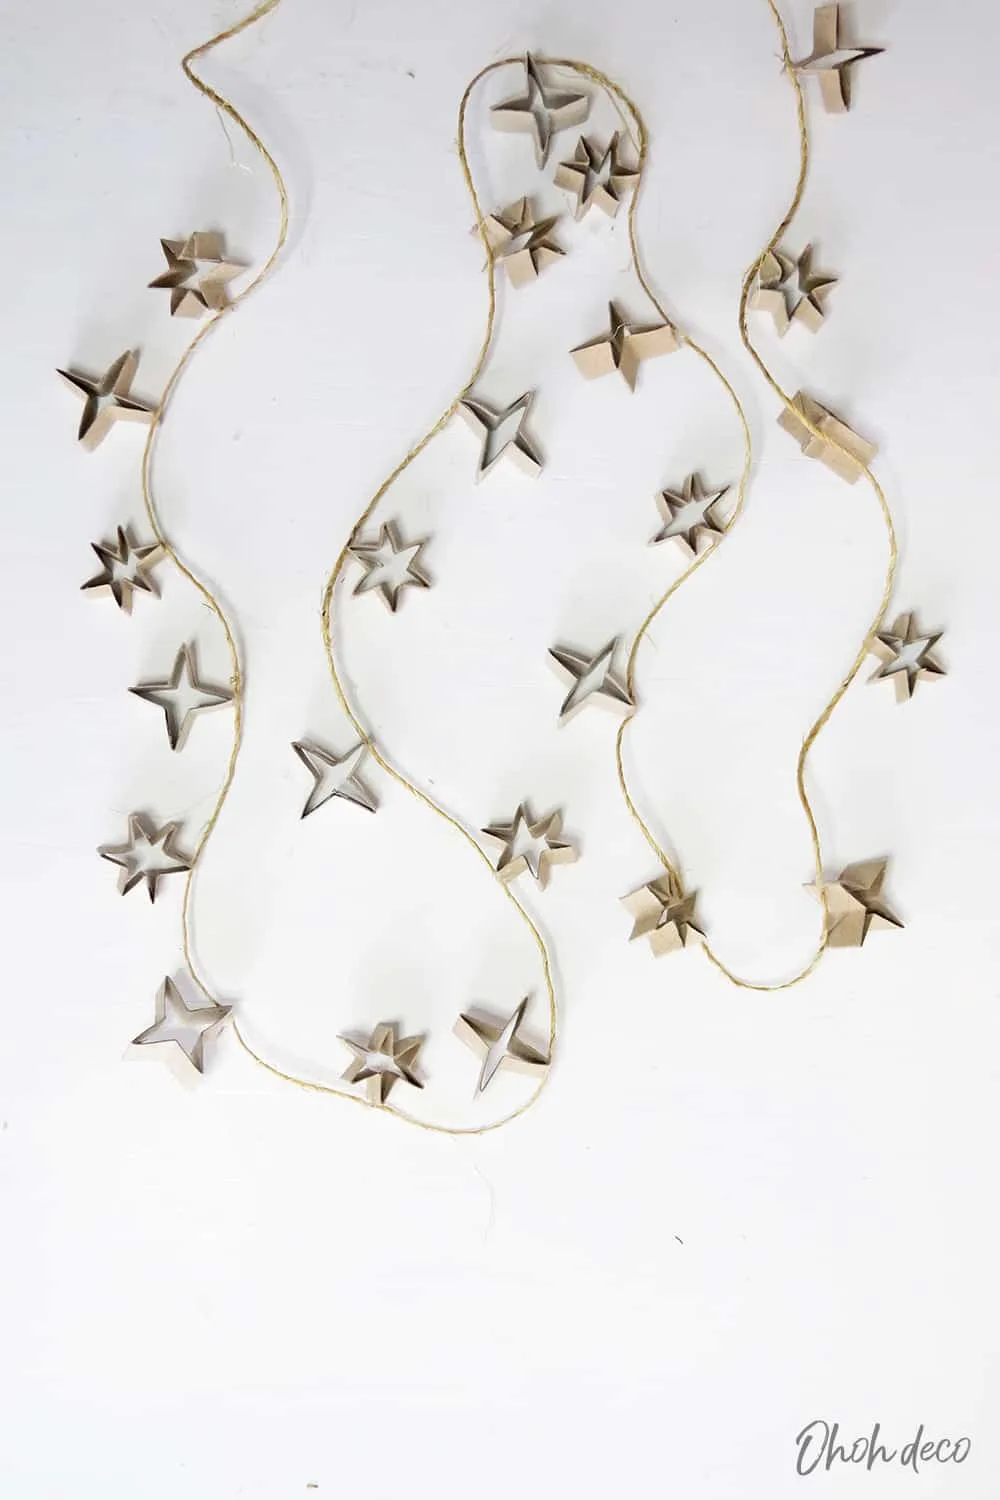
And done! You just made a cute star garland out of a few toilet paper rolls.
I like the cardboard look of it but you can also paint the stars if you like too. If so, do it before gluing them on the rope.
It will look awesome too and some paint and glitter to create a festive garland.
Or you can also paint the stars white, red and blue to make a fourth of july garland.
It will also work great with any pastel color if you like to use it as birthday or party decoration.
You get it, you can create as many versions of this star’s garland as you like.
Don’t miss the fun. Follow Ohoh deco on Youtube and be the first to find out about the new DIY and crafts ideas.
I love to see your creations, so don’t hesitate to leave a comment or tag me on Instagram ohoh.deco.
.
Want to remember it? Save this DIY Star Garland in your favorite Pinterest board
You will find all the tutorials featured in the video on my “Best DIY” page
Amaryllis
isoscella
Monday 12th of December 2022
Such a lovely idea!
isoscella | https://www.isoscella.co.uk/
amaryllis
Tuesday 20th of December 2022
Thank you :)