
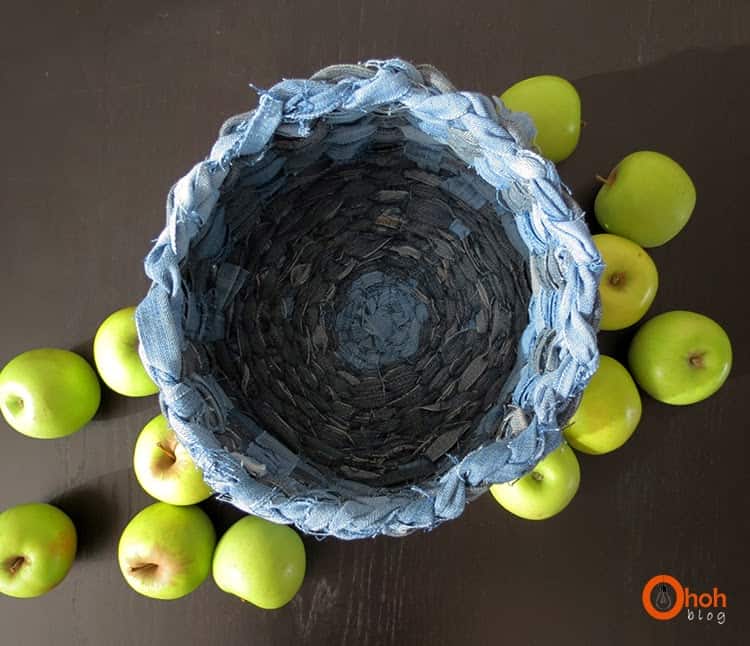
“Do you have a pile of old jeans that you no longer wear but can’t bear to throw away? Instead of letting them collect dust in your closet, why not repurpose them into a useful and stylish DIY Denim Basket?”
Denim is such a versatile cloth piece, we all own at least a few pairs. In my case, it’s my daily mom uniform.
After a time they always get used and start to have holes…but there’s still plenty of good fabric to rescue.
Would you rather throw away your old denim or reuse them? For a while, I stacked my family’s old denim in a corner of my closet, but I had to find a solution to recycle them and decide to weave a DIY denim basket.
It’s quite easy to make even if the weaving process takes some time.
If you have more denim to recycle, you can also try to make a DIY rug with old denim
[ This post probably contains affiliates links, our full disclosure policy is really boring, but you can read it HERE ]
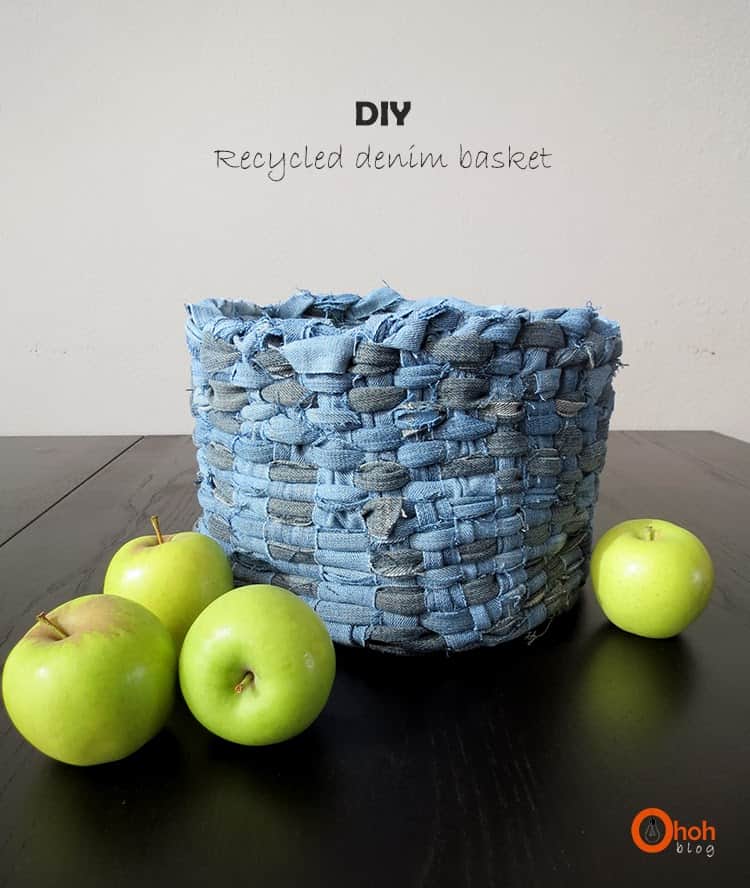
DIY recycled denim basket
Material you will need to make your basket:
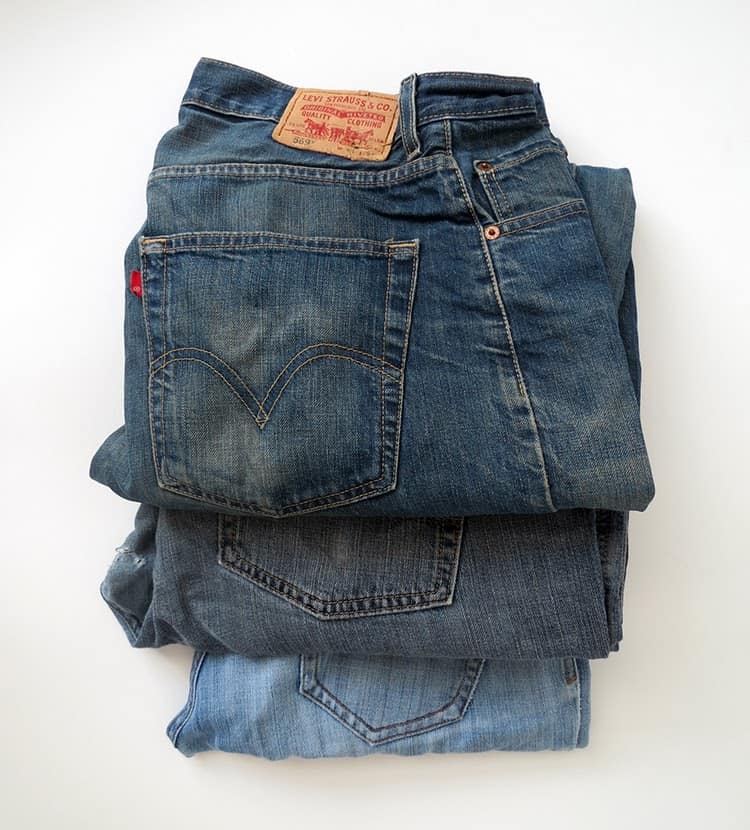
- old denims
- Fabric scissors
- A sewing machine
- a container to use as a model for your basket (I used a bucket, the same kind as in the DIY make a stool with bucket).
If your old jeans denim stack is quite high, you can probably pick up some great ideas in this book.
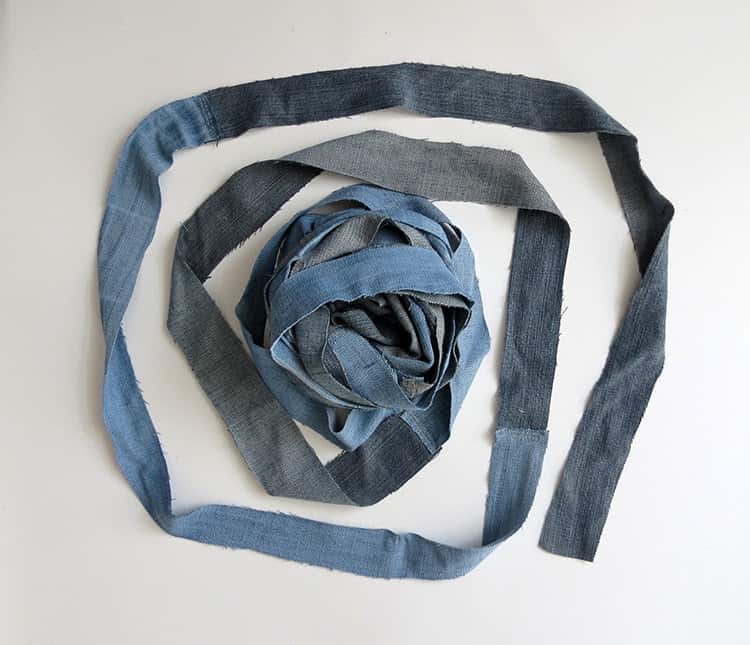
Cut strips of denim +/- 1″ wide and sew them end to end to make a long “ribbon”. This ribbon is what you will use to weave your basket.
You also need strips to make the base of your basket. The number of strips to make the base depend on your basket size, the bigger your basket is the more strips you will need.
My basket is quite big and I used 20 stripes. Place a few strips next to each other, tie them in the center with a strip and spread them on a flat surface to make a ” * ” shape.
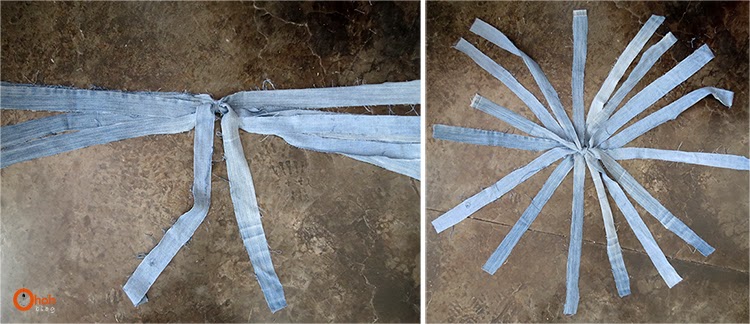
Take your denim ribbon and tie with a knot with one end in the center of the base and start to weave.
You pass the ribbon around the strips. Once above, once below, once above, once below….
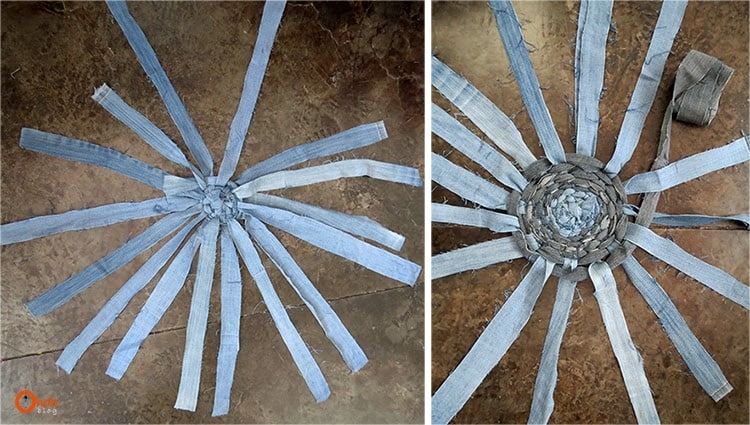
You weave until you have the size that you desire for the base of your basket.
You must occasionally pull the strips to adjust weaving. Place your weaved base on your container model (bucket, bowl …).
And you can continue to weave the sides of your basket.
Depending on the size, you may have to add strips of fabric on the side to have a weaving tight enough so the side of your basket is rigid enough to stand on itself.
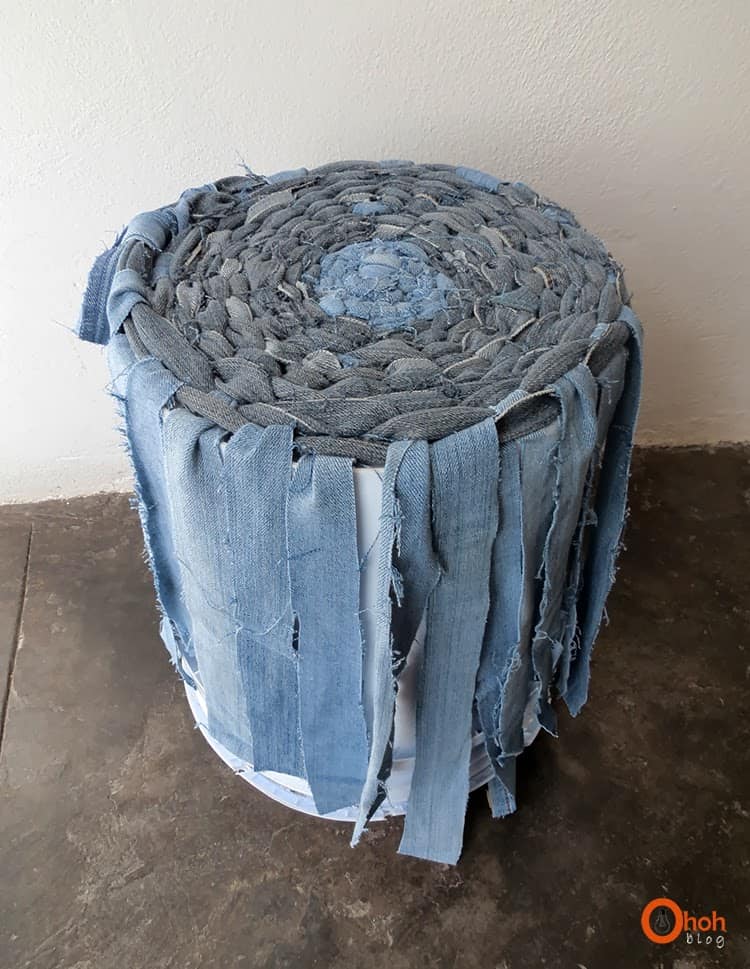
Once you have completed weaving, you have to finish the edge of the basket. You attach the strips of fabric together by tying knots.
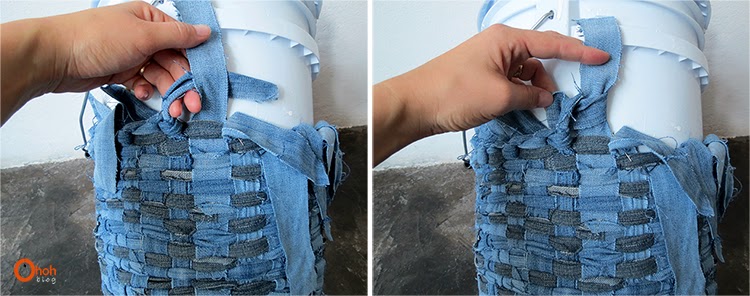
Your basket is almost done. You’ve got to cut the extra stips and fold them inside the basket. You can either sew or glue them.
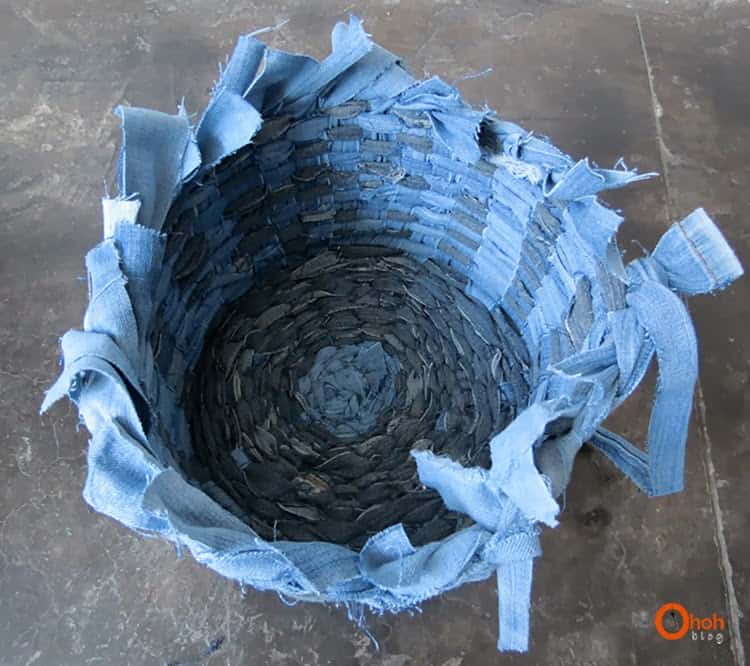
Voila, not too bad for used denim! If you wonder, I used two pairs of denim to make this basket.
Upcycling old clothing is a great way to get creative. I hope you will enjoy making this upcycled jeans basket.
I would love to see what you make so don’t hesitate to share it in the comment!
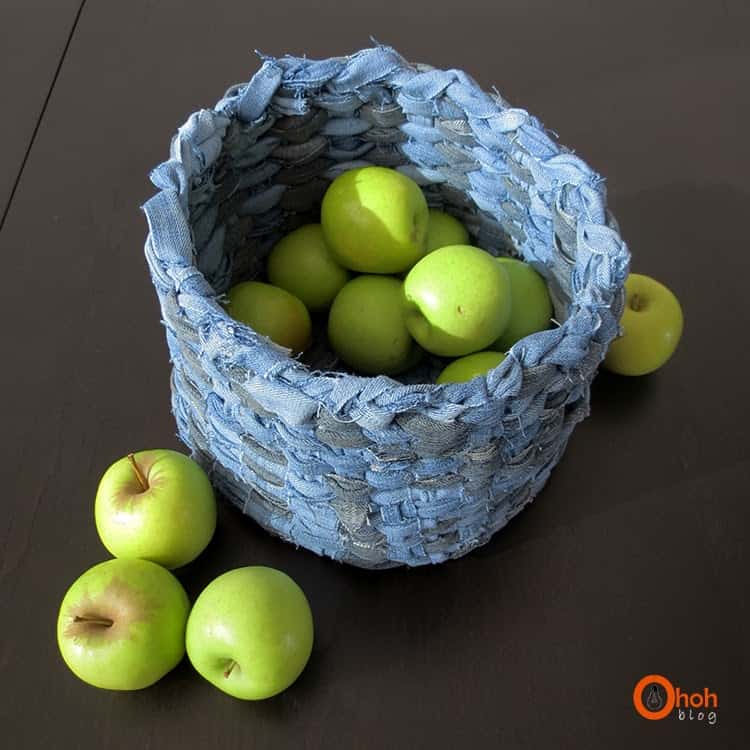
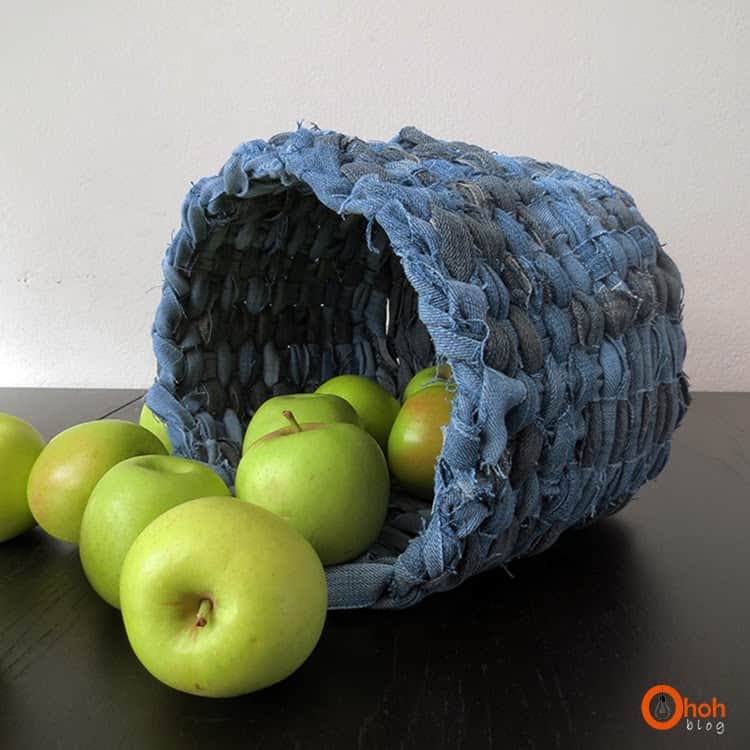
In conclusion, repurposing old jeans into a DIY denim basket is not only a fun and creative way to recycle, but it also serves as a reminder that ordinary items can be given a new life.
By following these simple steps, you can create a practical and charming storage solution while also reducing your carbon footprint. So grab those old jeans and start upcycling!
It’s time to put your creativity into action and create your own DIY denim basket. Happy crafting!
RELATED: 100 Denim Crafts for DIY Enthusiasts
RELATED: DIY Customized denim jackets
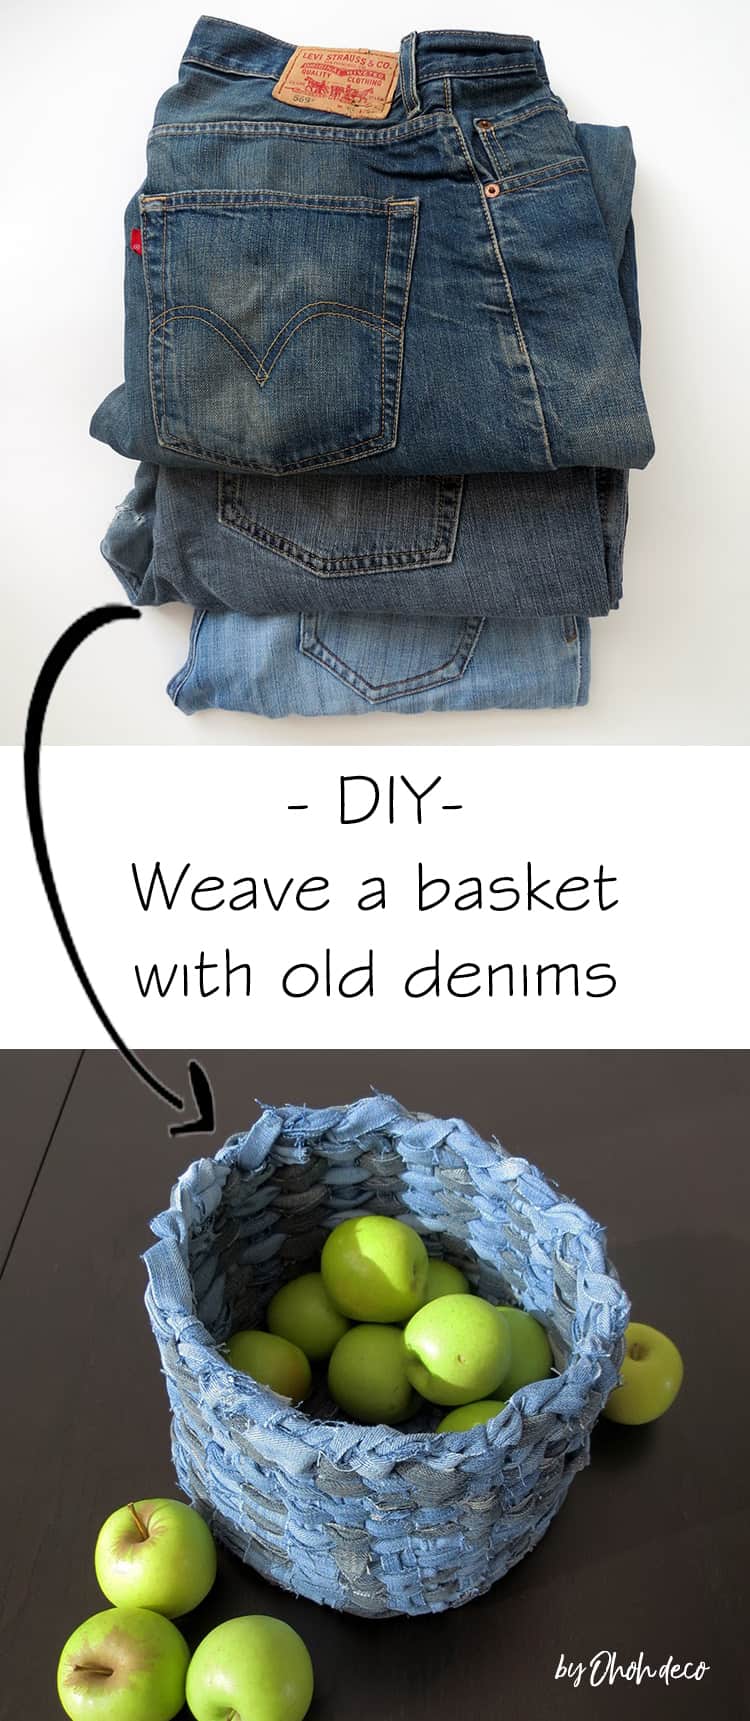
Want to remember it? Save this DIY denim basket in your favorite Pinterest board.
You will find all the tutorials featured in the video on my “Best DIY” page.


Et depuis, Diego cherche ses jean's dans toute la maison !!!
Chouette quand même ce panier ! On peut y mettre les habits de princesse ou plein de "coches Papyco" !
This is great! Much better than crochetting. Thnaks for this good idea.
Está fenomenal! Muchas gracias por compartir!
I love this idea, and your instructions seem clear and achievable. Thank you.
great idea and your photos look out of this world
Fabulous idea and I love the look off your basket!!! This is a great way to reuse pre-loved denim, Ama. I would love you to add this to our Ongoing Denim Refashioning link party…
https://www.threadingmyway.com/2012/09/threading-your-way-refashioning-with.html
Hi Ama, I've featured your denim basket today…
https://www.threadingmyway.com/2014/06/threading-your-way-features_22.html
Very, very good idea to reuse "old denim" 🙂 Congrats!!!
Super comme idée !!!
J'adore !!!
Merci pour le tuto …..
Cool
What a great idea! Thank you for showing!
Liebe Grüße, Sabine
Hey, I am actually trying your tutorial right now and I am not entirly sure what you mean by: "And you continue to weave the sides of your basket. Depending on the size, you may have to add strips of fabric." How do I add those additional strips. Because my "walls" wont stand up straight and I am guessing its because I don't have enough strips to weave with.
Would love a tip.
Thanks.
Rita
Hey Rita, If your "wall" strips are not long enough for the basket height you want, you can sew other strips pieces at each end to lengthen them. I hope this will help you. Let me know if you have any doubt!
What should the length be to start with?
This looks absolutely wonderful, a lot better than jeans on me. 😉
Thank you for sharing. 🙂
HEy,
That is a lovely idea.
I was reading through it and just thought about trying it out with a mixture of denim and ribbons.
Thanks,and nice idea to add ribbons!
Good that it is in various languages
Thanks! Unfortunately I don't have time to write the new posts in spanish and french…but you can always use the translator in the sidebar menu or leave me a message!
How long are the staring strips suppose to be?
The strips that are knotted together are about 1 meter lenght,and I started to weave with a ribbon of 5 meters…then I sew more denim strips to make it long enough to finish the basket! The dimensions can change if you make a smaller or bigger basket!
This is such a lovely idea! We used your idea for making some Easter baskets out of a stack of old jeans, and our guests were very impressed. And my girls loved the idea to recycle old clothing this way. Thank you for sharing this inspiration!
Hi Marilyn, I'm so glad you liked this DIY. I would love to see your Easter baskets, you can share in the comments or send me a email, if you like too! Thanks.
Love all the shades of blue. Going to give it a try! Thanks!
Thnaks Nancy! Have fun crafting your basket!
It`a great idea, I love it!
About how big is this basket?
Hello, the basket is about 11 inches diameter and 7 inches high.
I love this. BUT I have tried 3 times and just can't figure it out. I can't get the base to look right. Did you tie the 8 strips together in the center or tie the very long ribbon end around the 8 strips after laying in a sunburst pattern? ALSO with the even amount of ribbons over/under/over/under pattern doesn't work out right. SO confused
Hello Dione, To make the sunburst pattern (the bottom of the basket)I used 8 long ribbons. I used one of them to make a knot and to attach them all together in the center. Then you have to extend all the ribbons to make the sunburst shape. Take an other ribbon, make a knot to attach it with the center on the sunburst and start weaving. You have to tighten the fabric often during the first weaving loops. I hope this will help you!
I sure wish I could figure this weaving out. My Dad gave me a bunch of his old worn out jeans because I have a sewing machine and like to sew. I saw this basket you made and thought it would be cool to make him one or two and be able to give his jeans back to him but I just can't get the hang of starting the weave. I cut the strips out and I made one crazy long chain …maybe too long. I'll just keep trying. Those baskets are really cool though!
Hello Teckla, I hope you found the way to make your dad some baskets! Tell me if you need more explanation.
I seem to be a bit lost. In the beginning attach the strips to make on long strip. Then I'm not clear on tie the knot. How. Thanks
You need to attach 8-9 strips together, with a knot in the center, to make the base of the basket. With an other strip (a very long one) you start breading your basket,passing the long strip once above and once under every strip how form the basket base.
So if I'm reading right,we should really measure the strips we lay out first to be as long or longer as the walls of our basket,because that's the length our walls will be,right?Then make the continuous length of fabric or at least very long to start the weaving,& then add on to this piece to keep making basket…have I understood this right?tyvm
Hello Angie, yes this correct. The length of the layered strip must been the length of the basket side + the radius of the basket bottom. Have fun making your basket!
Are we suppose to remove the bucket after the weaving or not?
Yes you have to remove it. The bucket is just a shape to help you to weave.
I love this!! It took me three tries but I finally made my own. My only thing is it doesn’t keep its shape. Once I take it off the bucket, it goes flat. Did I do something wrong??
Hello Mellisa, maybe you didn’t you haven’t made the weaving tight enough … it’s maybe why the basket sag! I hope you will not have to start it again 😉
I am confused, when i put the knot with all the bits for the starburst bit it looks like a giant octopus, this looks nothing like your pics in the tutorial
If you attach the 8 straps in the center you kind of have a 16 arms octopus….Then with one other long strap you start weaving the “octopus arms” one time above, one time below, starting from the center knot. I hope it makes sense for you 😉
hi can you please explain the finishing off
Im just not getting how to tie of the ends and what to do with the loose pieces
Much appreciate it
Hello Fiona, sure. You grab one end and you make a knot with the one next to it, and so on until you tied the all basket edge. Once you are done knotting, your weaving is secure and won’t fall apart but the ends doesn’t look very nice. You can cut them a little but be sure to keep a lenght of 1 inch (2.5 cm) so you can fold each end into the basket and slide it inside the weaving. You can add a dot of fabric glue if you want, I didn’t and it hold perfectly.
Not quite enough detail. Would love to make it but I have too many questions. I assume this is your blog?
Hello Kim, I surely need to make a video for this DIY. It´s on my endless to do list. Meanwhile I can answer your questions 😉
This is a very useful container and you make it look easy to do.
I plan on using a plastic garden pot as a guide.
I’d love to try hand in this. Rather prefer to watch the video but am having quite difficulty getting it to play all the way through. Is your video located on YT at all? Lovely idea! Thank you for sharing
Hello, I don´t have a video for the DIY denim basket…but I definitely need to make one!