
I know, planters again! I think this may be the last planter post for this spring, all my house plants have been happily replanted. The last ones were those little cacti, who were stuck together in the same pot and definitely needed more soil space.
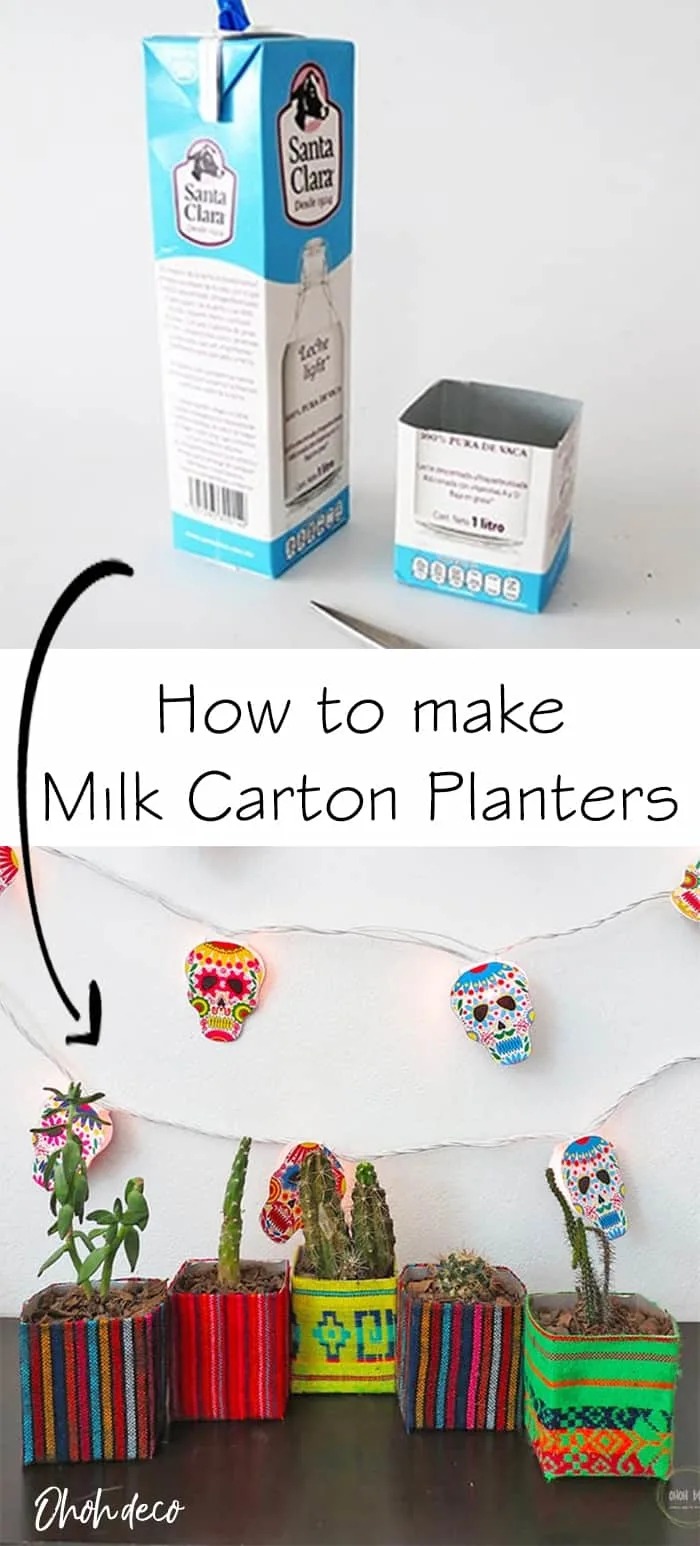
I made colorful planters recycling some milk cartons. Using milk cartons for planting seeds and small plants is an easy and cheap idea!
I like pretty decor items and as we all know milk containers are far from nice looking. So I can up with a fun idea for decorating your milk cartons.
[ This post probably contains affiliates links, our full disclosure policy is really boring, but you can read it HERE ]
RELATED: 70 easy to make DIY planters
RELATED: How to make recycled planters
How to make milk carton planters?
Materials you will need to make this project:
- Milk or juice carton
- Scissors
- Fabric
- Glue
- A foam brush (or a sponge)
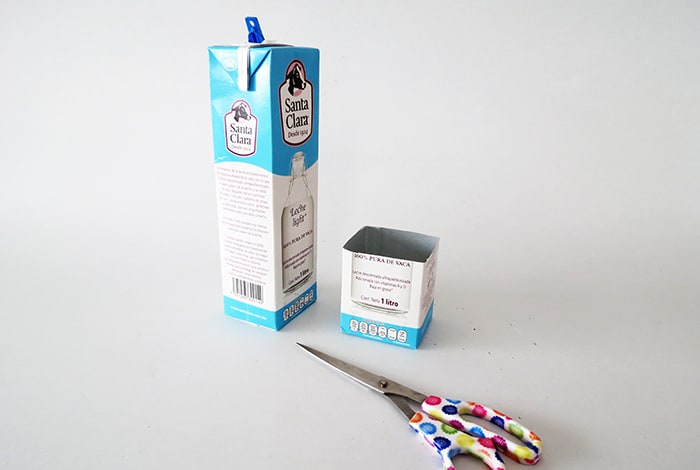
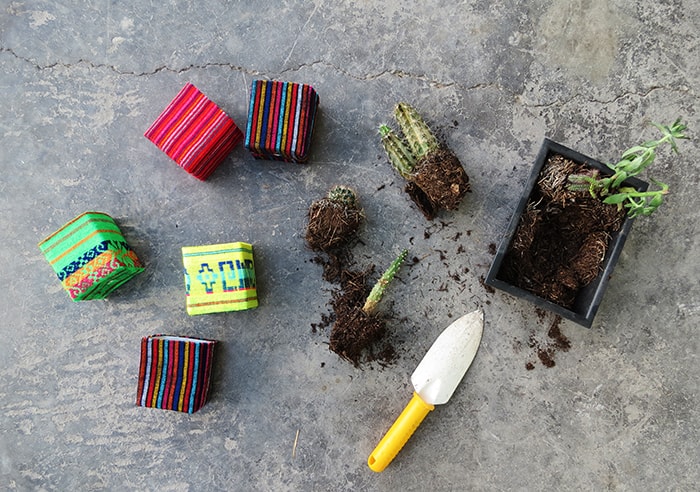
Let start making some cute planters. Collect some milk or juice cartons, clean them, and cut the bottom to make the planter.
I like to trace a line around the bottom to help me cut straight. You can use scissors or a cutter, choose what works best for you.
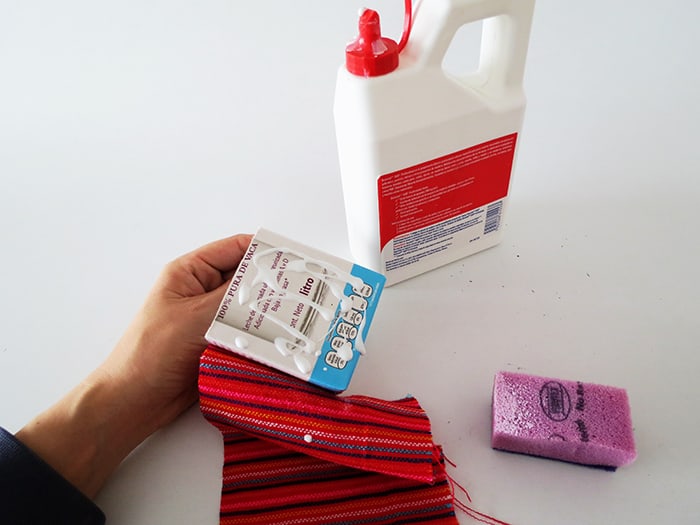
Cut a strip of fabric and glue it around the planter. I use white glue and spread on the carton with a sponge.
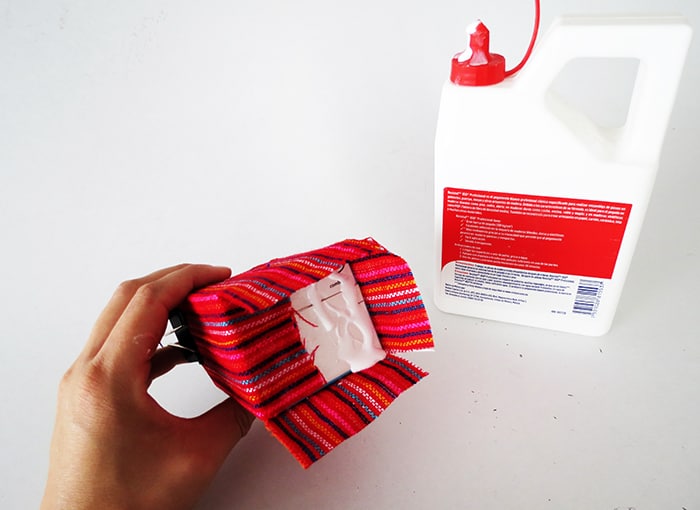
Cut each corner of the fabric to be able to fold and glue it on the bottom. Put a little glue on the top edge to avoid the fabric fraying.
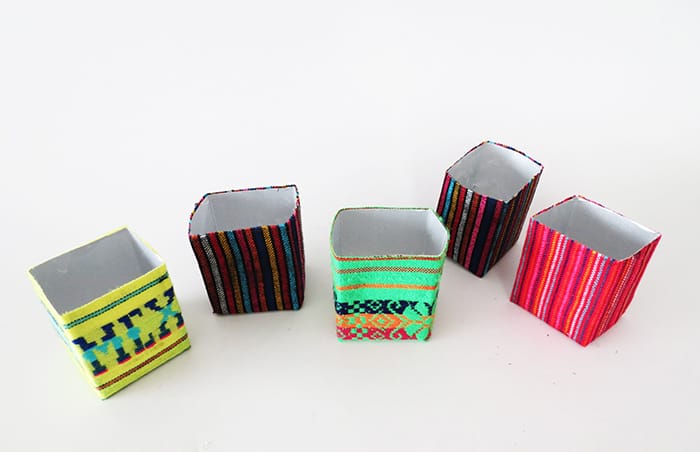
Of course, some Mexican-colored fabrics were the perfect match for my cactus.
This project will work with any other fabric, as long as it’s thick enough to cover the milk carton label.
Once the glue is completely dry, you can put your plants in.
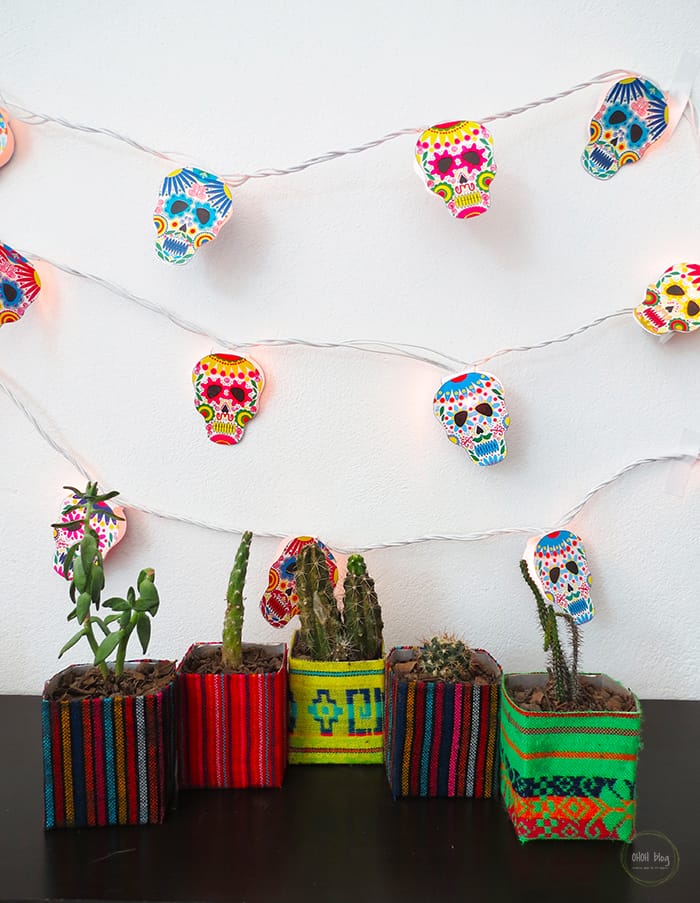
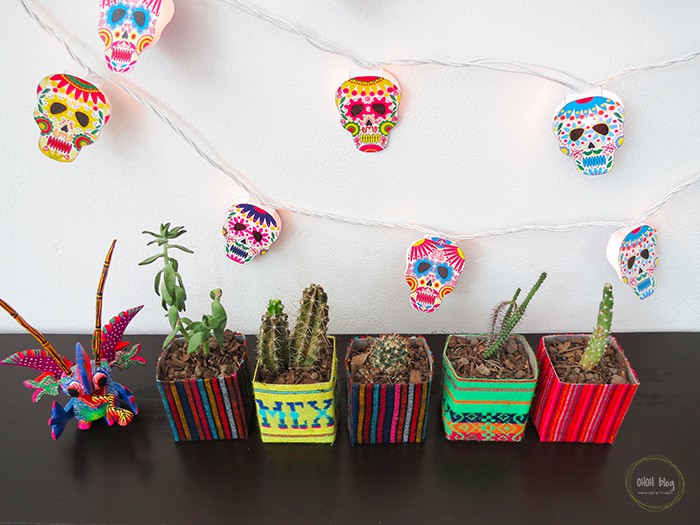
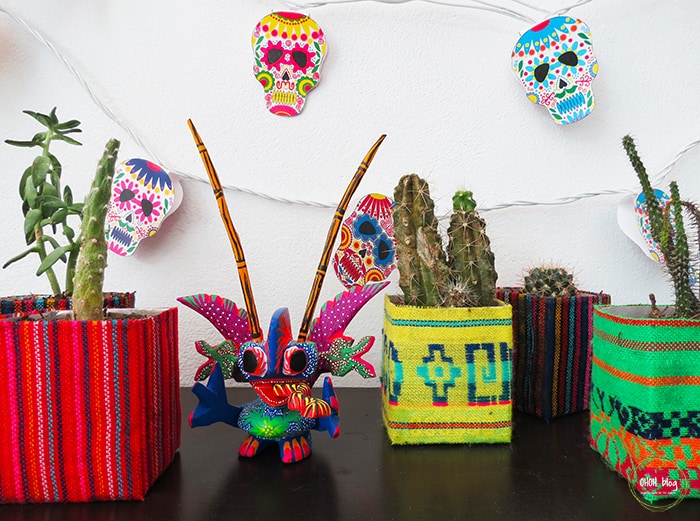
For now, they stand on the console table, but they will make perfect centerpieces for my table decor for 5 de mayo.
If you want to complete your Mexican decor with a colorful cord light, the Calaveras skull printable is available in the shop.
You can use these small milk carton planters for planting seeds or flowers.
Milk cartons can be used as planters without any problem. The carton is layered inside with a waterproof coat, no risk to see your planter falling apart.
To avoid overwatering you have two options.
First, you can punch a hole in the planter bottom so that water drains.
The second option is that you can add some pebbles in the planter bottom before adding the soil. It will prevent the roots from soaking in water and rotting.
Have fun crafting your upcycled planters.
RELATED: DIY tin can planters
RELATED: DIY papel picado banner
Want to remember it? Save these DIY milk carton planters on your favorite Pinterest board.
You will find all the tutorials featured in the video on my “Best DIY” page.
Amaryllis
Barbie Chiu
Wednesday 20th of April 2016
It is so good to see something very interesting in your site that I can't stop on reading. This is indeed a good article. Thank you for sharing and for inspiring your readers. Have a good day! Visit my site too.
triciajoy.com
www.triciajoy.com
Dalia
Friday 15th of April 2016
Did I ever tell you I thought you lived in Spain for a long time? And now when I saw the dumbnail I thought it was going to be one of these US-American milkcanister-crafts. But no, actual milk cartons, like we have in Europe. I can copy that! Viva la Mexico! :-P
Ama Ryllis
Friday 15th of April 2016
I love Spain but I never lived there! I think you can find tetra pak everywhere...but yes they are very common in Europe. Happy crafting!