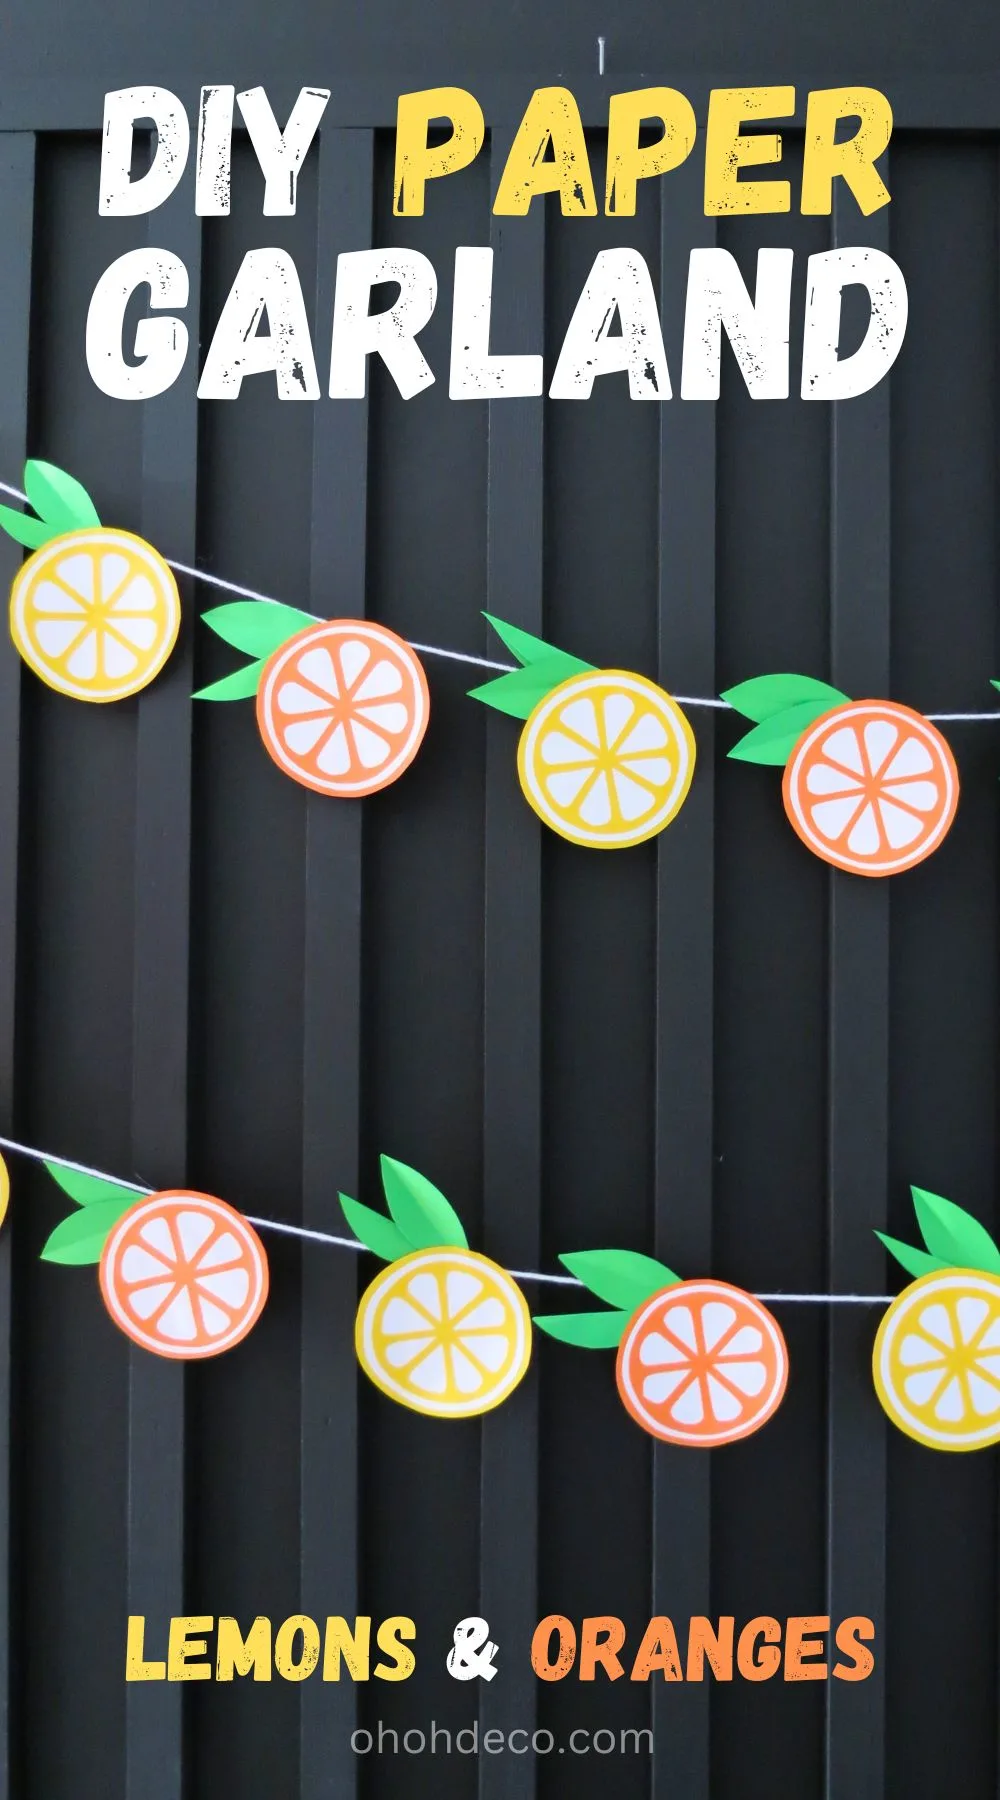
Hosting a Summer party or looking to brighten up your home? Dive into the world of easy crafts with a stunning paper garland DIY that will add a pop of color and personality to any space.
In this step-by-step tutorial, you will learn how to create a vibrant lemon and orange paper garland on a budget. From gathering materials to hanging up your masterpiece, you’ll discover how easy and fun it is to craft your own beautiful decor.
Get ready to unleash your creativity and impress your guests with this eye-catching project!
Gather Your Materials
To get started, gather your materials for creating the lemon and orange garland.
You will need:
- Yellow, Orange, Green and White paper sheets
- A pencil
- A pair of scissors
- Glue
- Yarn or twine
- A glass (these are adorables)
Create Your Lemon and Orange Shapes
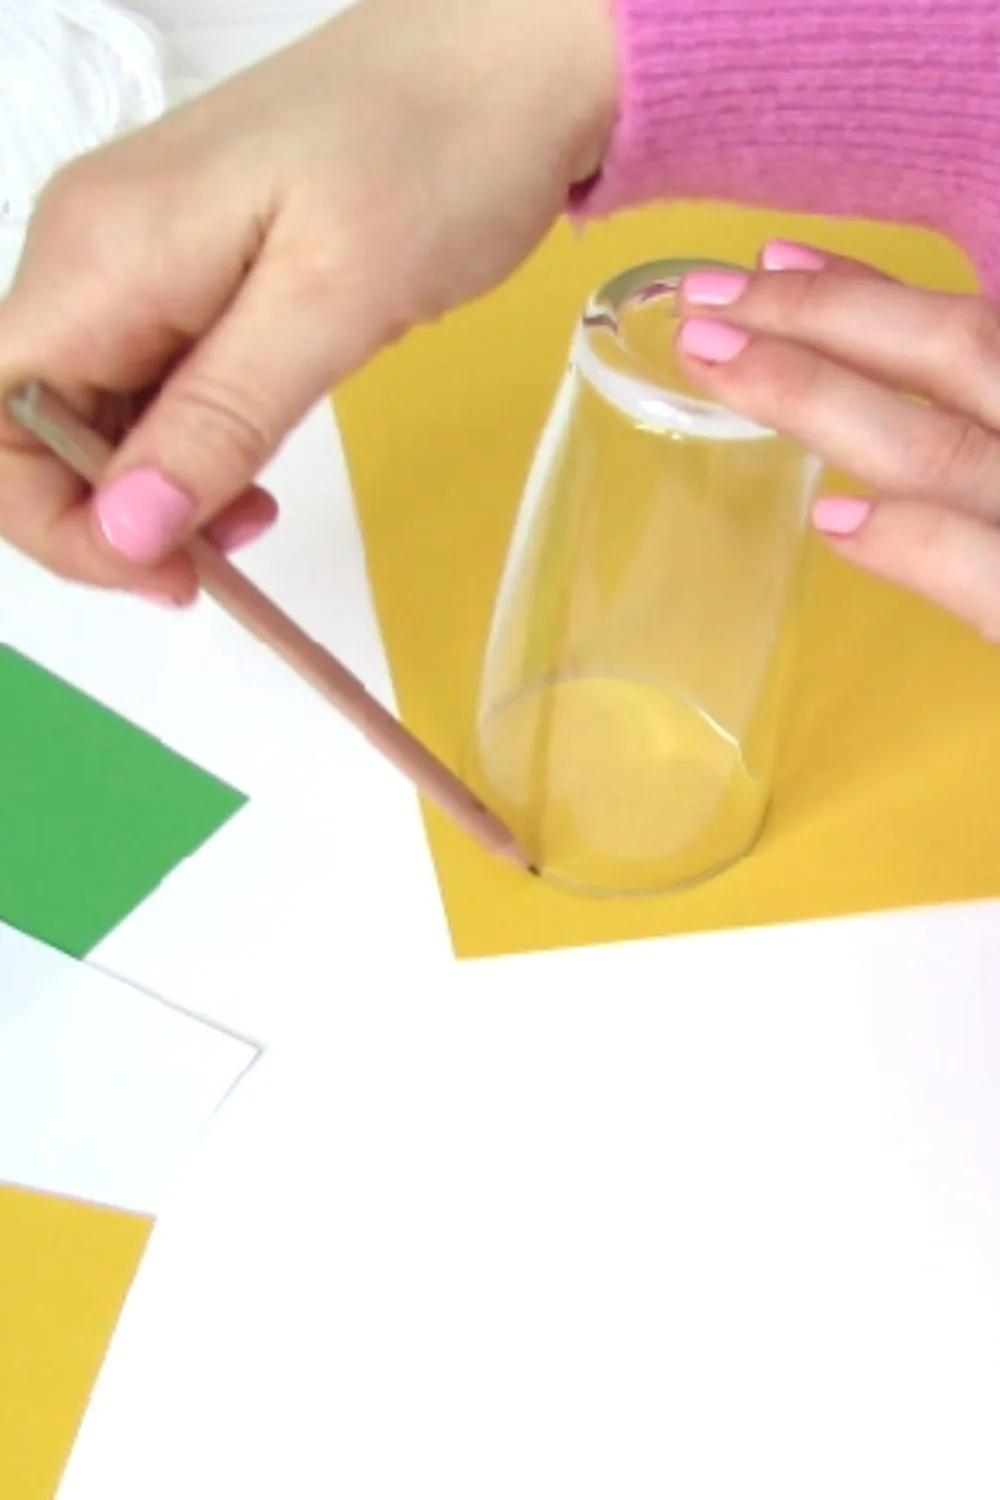
To create your lemon and orange shapes, start by cutting the yellow and orange colored paper into circles. Use a pencil and a glass as template to report a circular shape on the paper, then carefully cut it out with scissors.
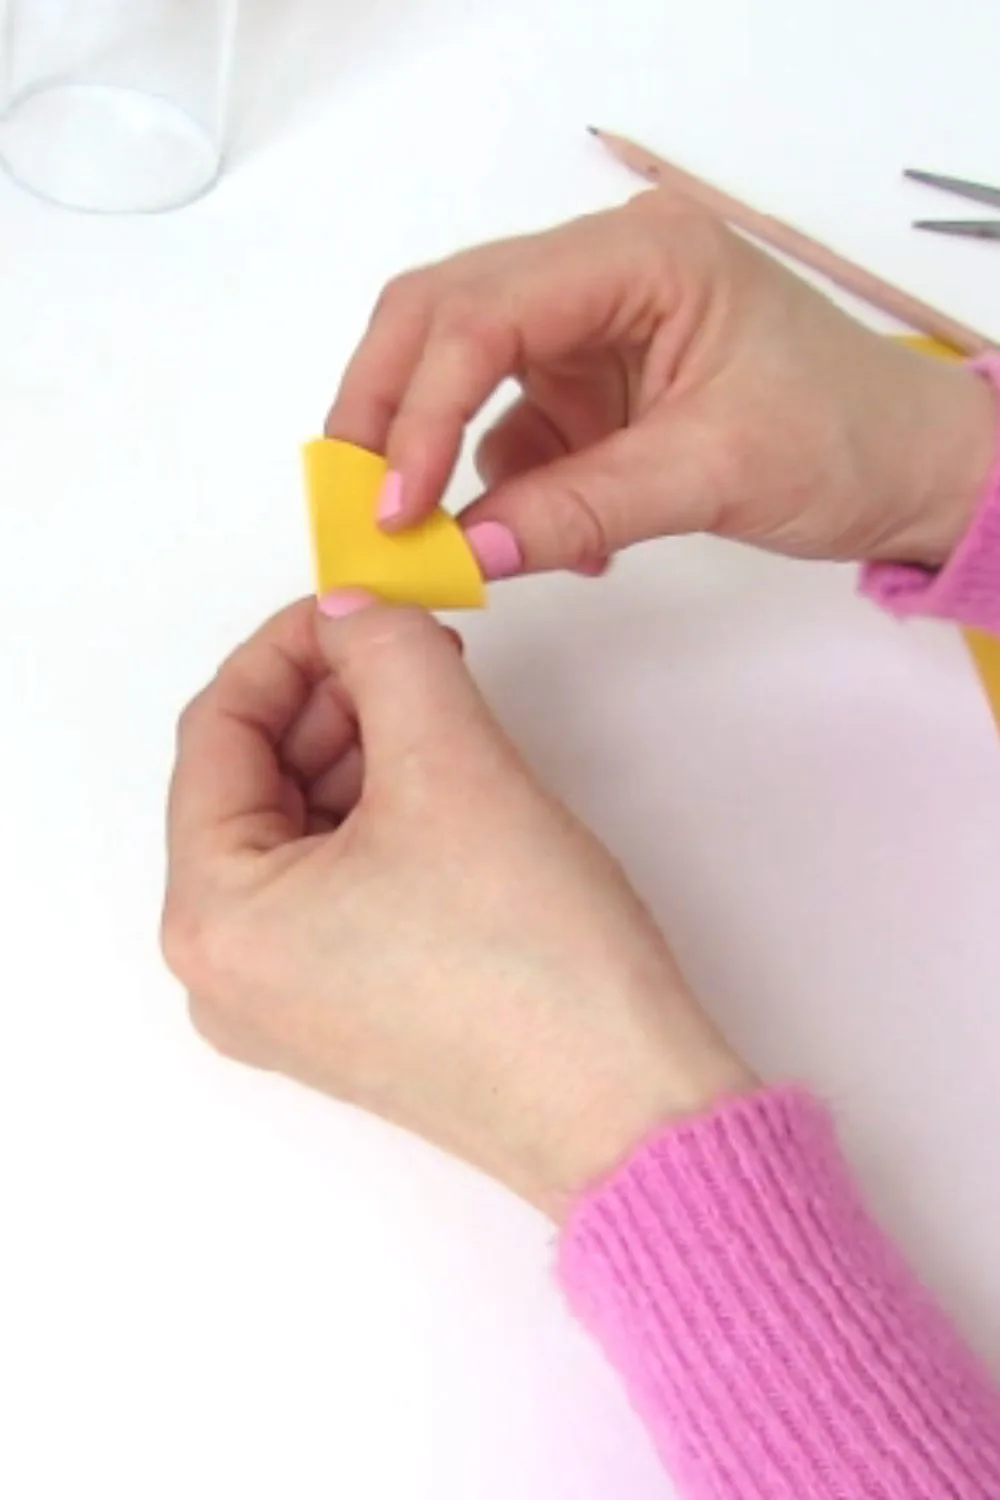
Next, fold the circle shape 3 times to reduce the circle at 1/8 of it’s initial dimension, like a slice of pizza.
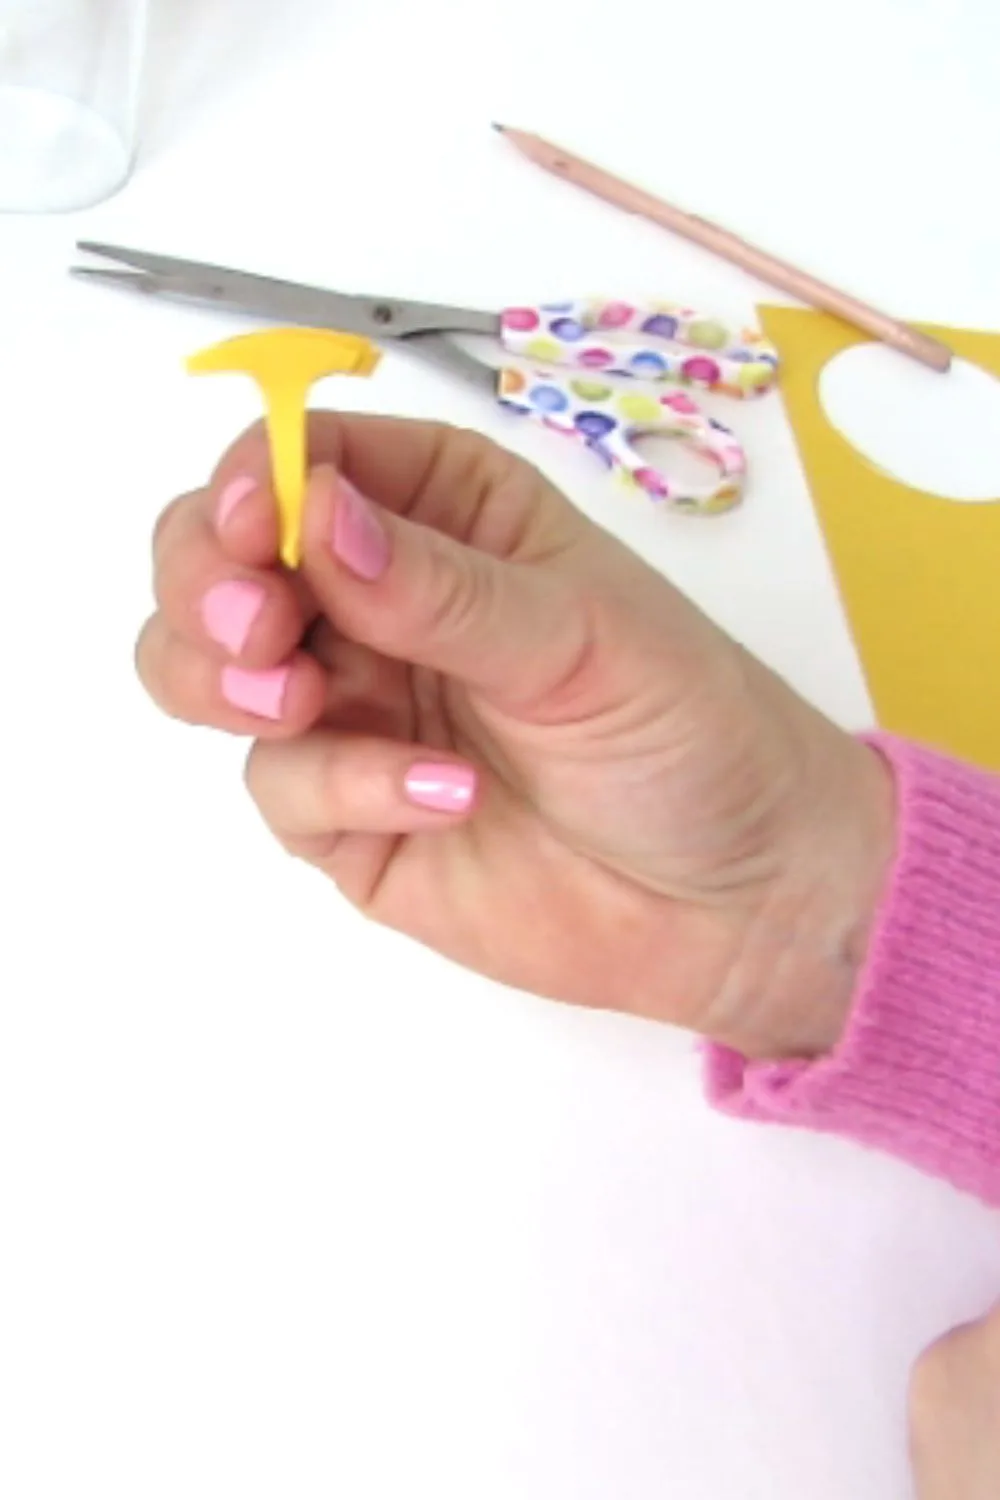
Make two cuts in each side of the folded paper to create the lemon wedges. Your piece of pizza should look like a “T”.
Open the paper and lay it flat. You must have the shape of a lemon (or orange) slice.
Add glue on the lemon paper slice and paste it on a white sheet of paper.
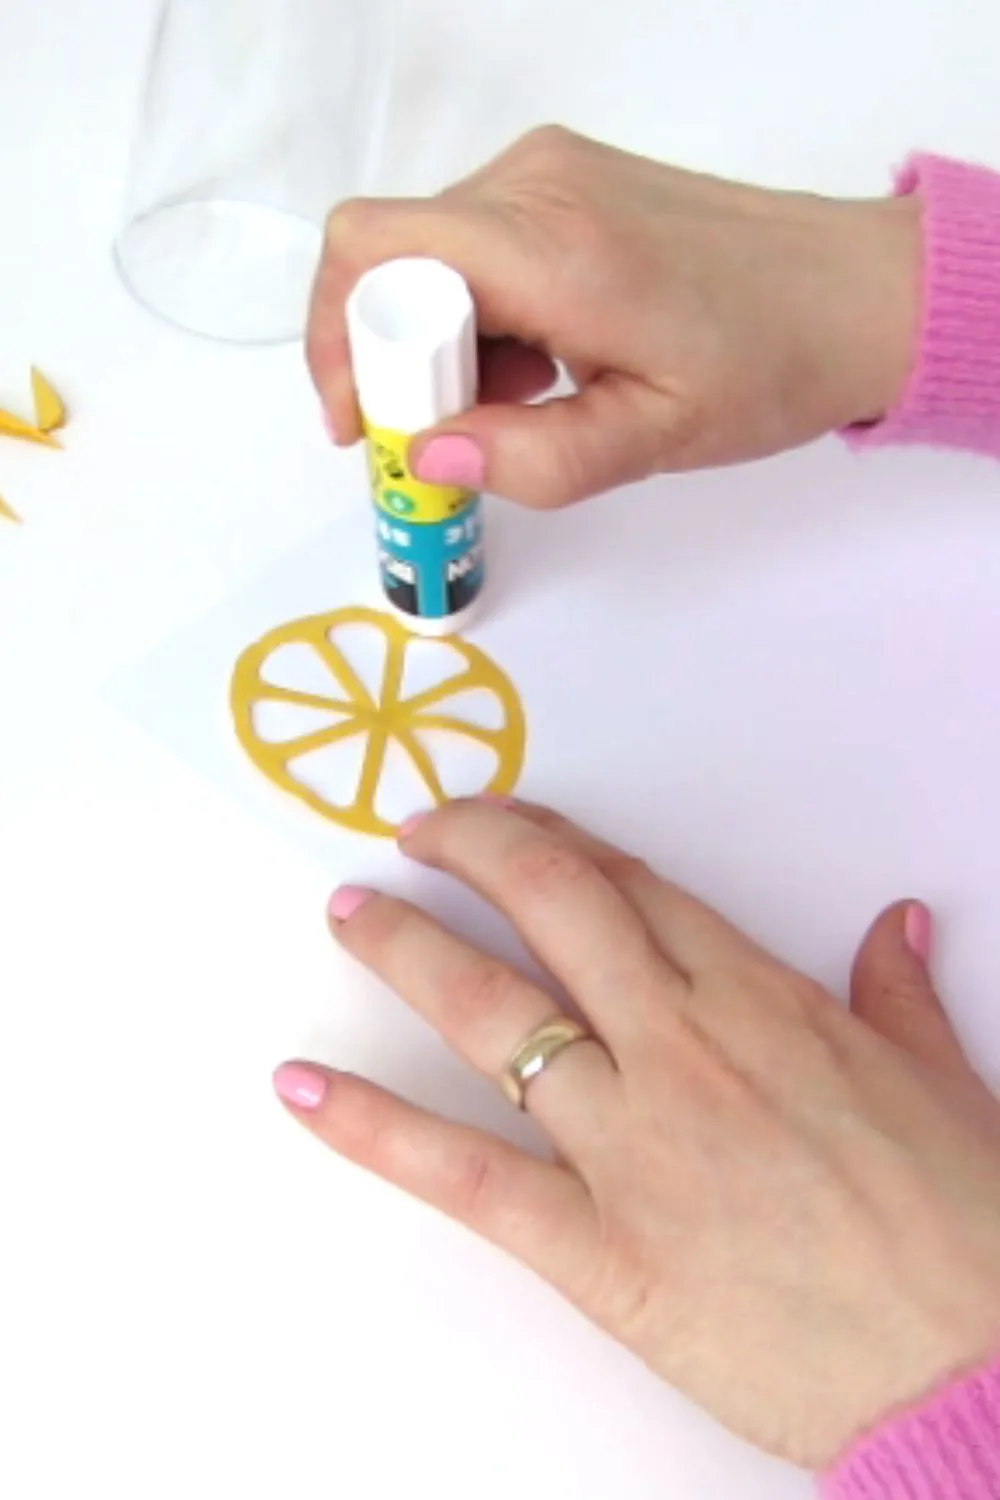
Cut the white sheet following the circle shape adding an allowance of 1/8 in. (2-3 mm).
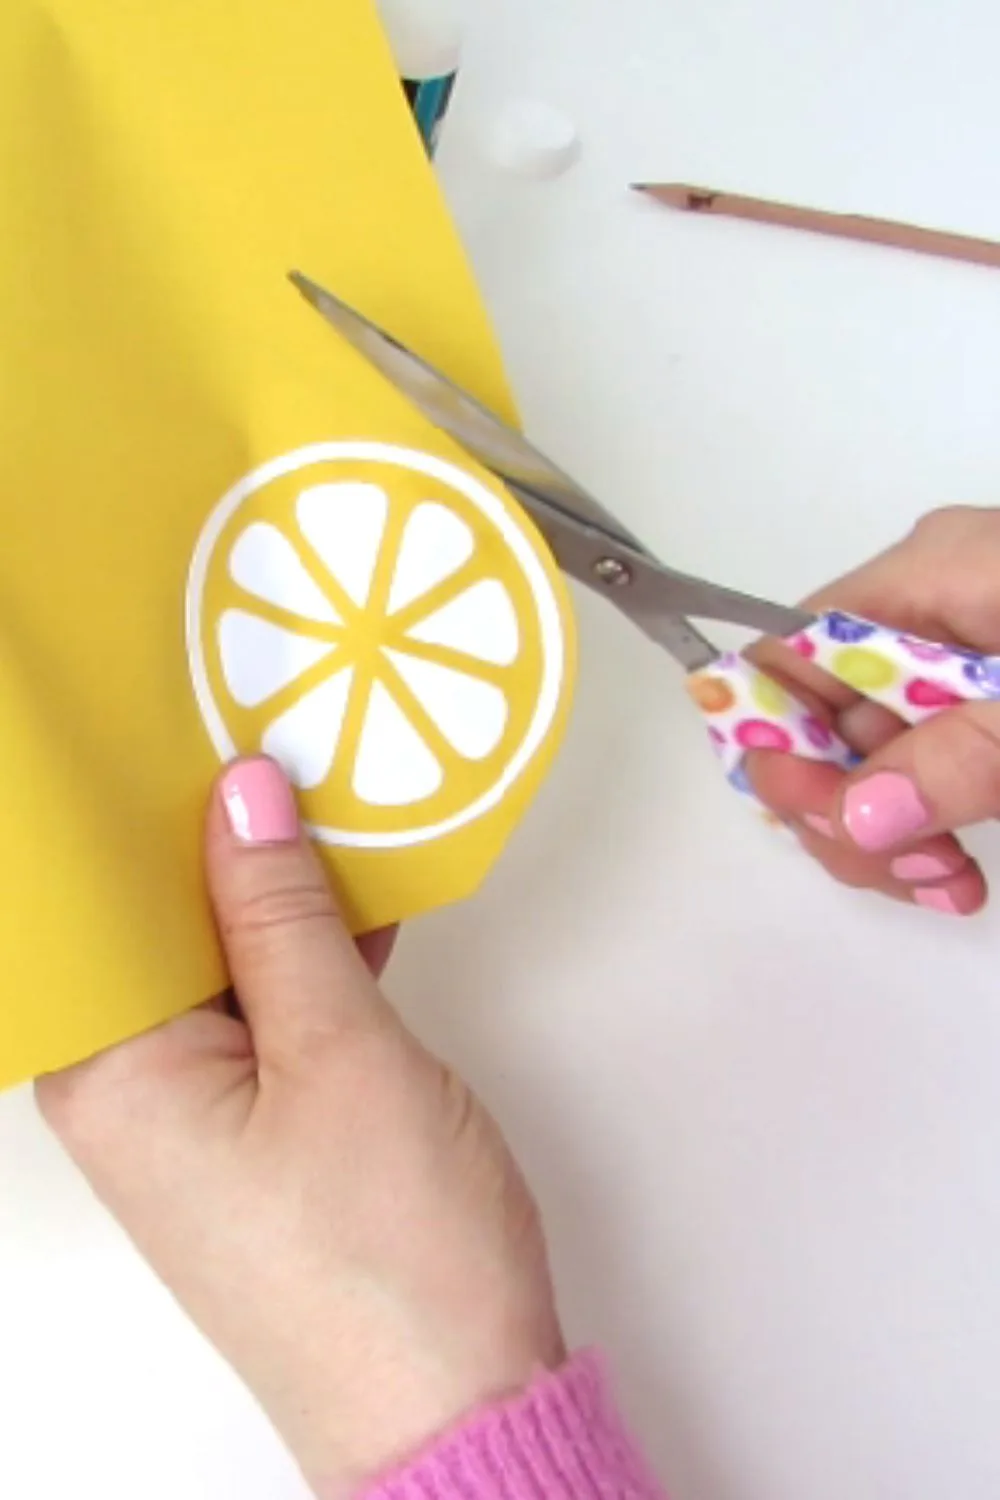
Glue the lemon shape on a yellow paper, and again cut following the circle shape adding an allowance of 1/8 in. (2-3mm).
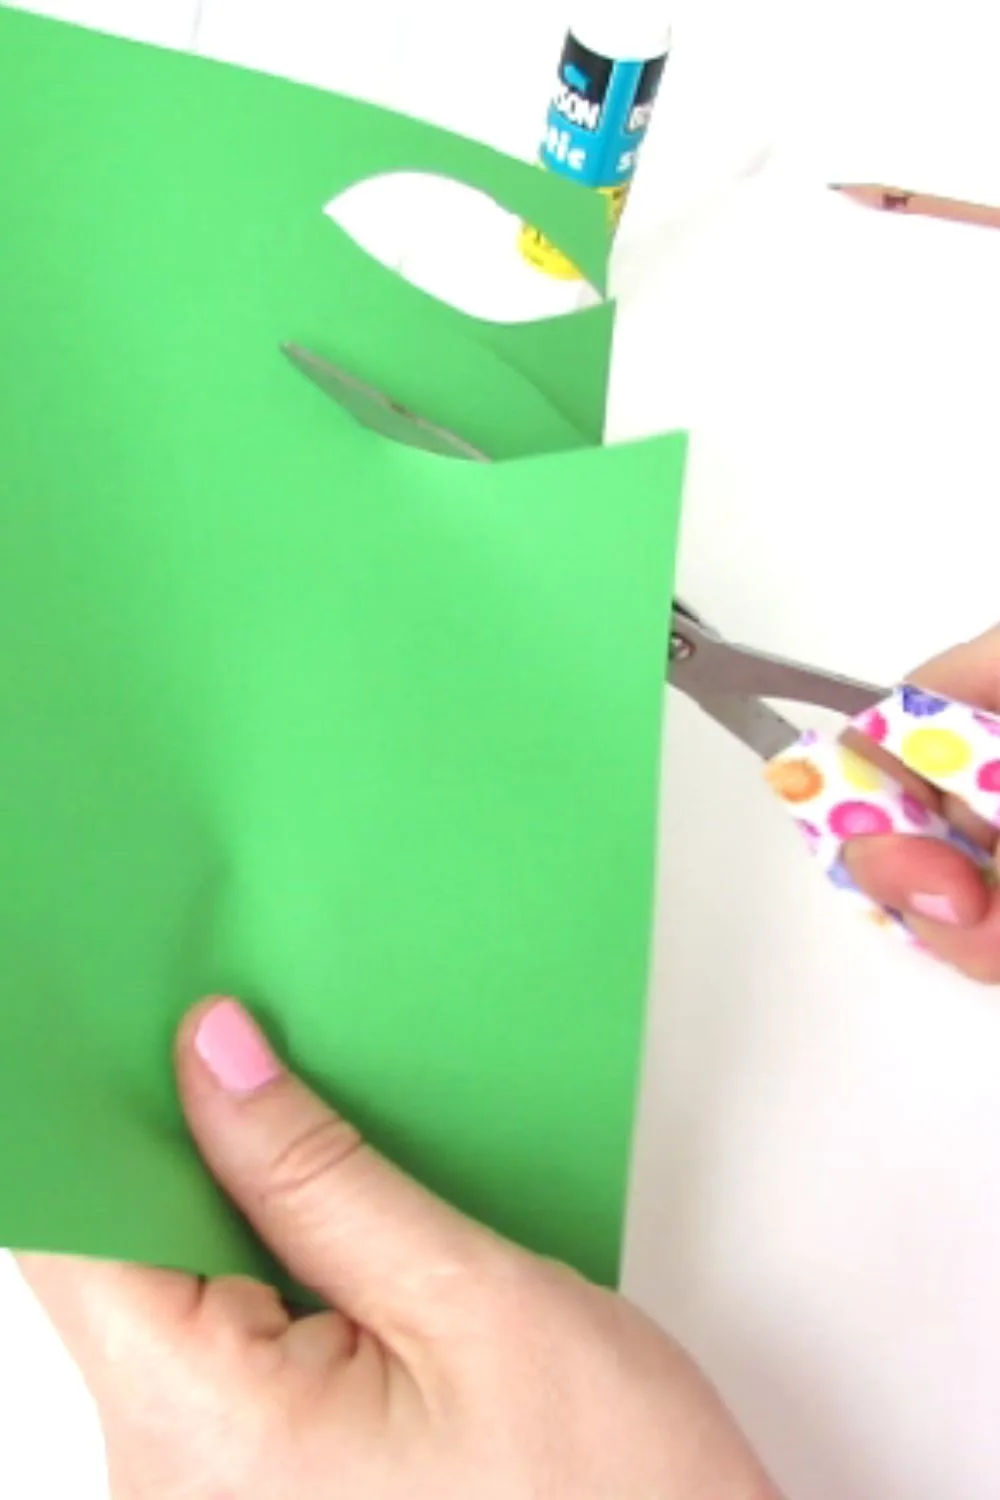
Now that the lemon slice is made, you can add some leaves. Cut 2 leaf shapes in the green paper, fold them lengthwise and glue them on the back of the fruit slice.
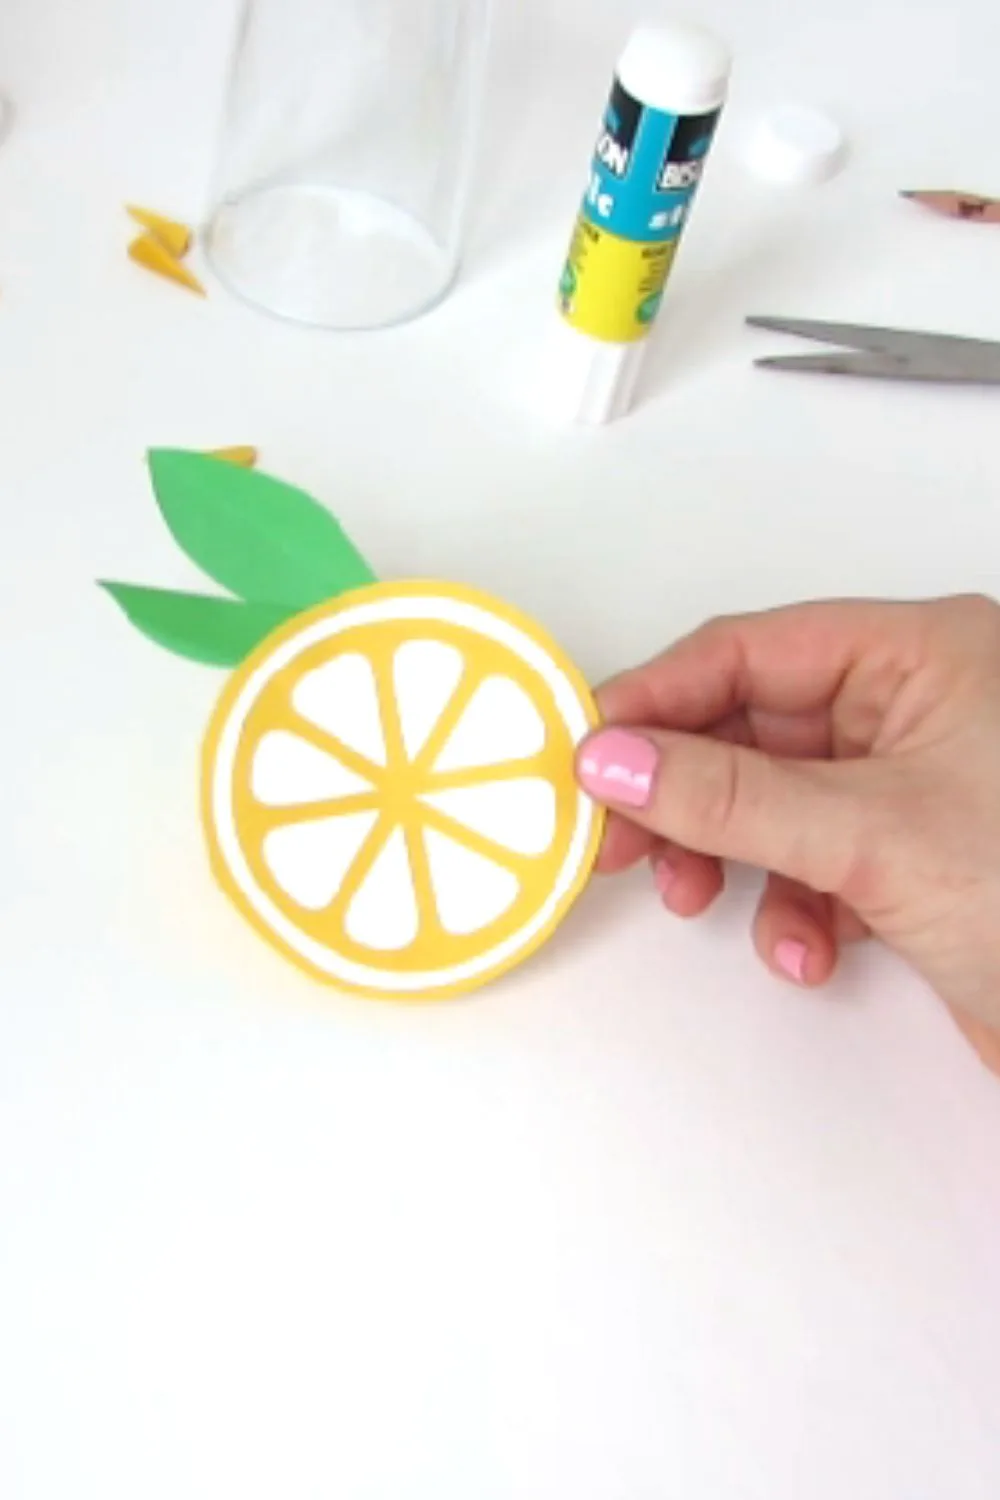
Repeat this process for as many fruit slices as you would like to include in your DIY paper garland. Once you have all of your shapes ready, you can move on creating a stunning paper display for your space.
I made orange and lemon slices, but you can also use light pink or green paper sheets to make limes and grapefruits.
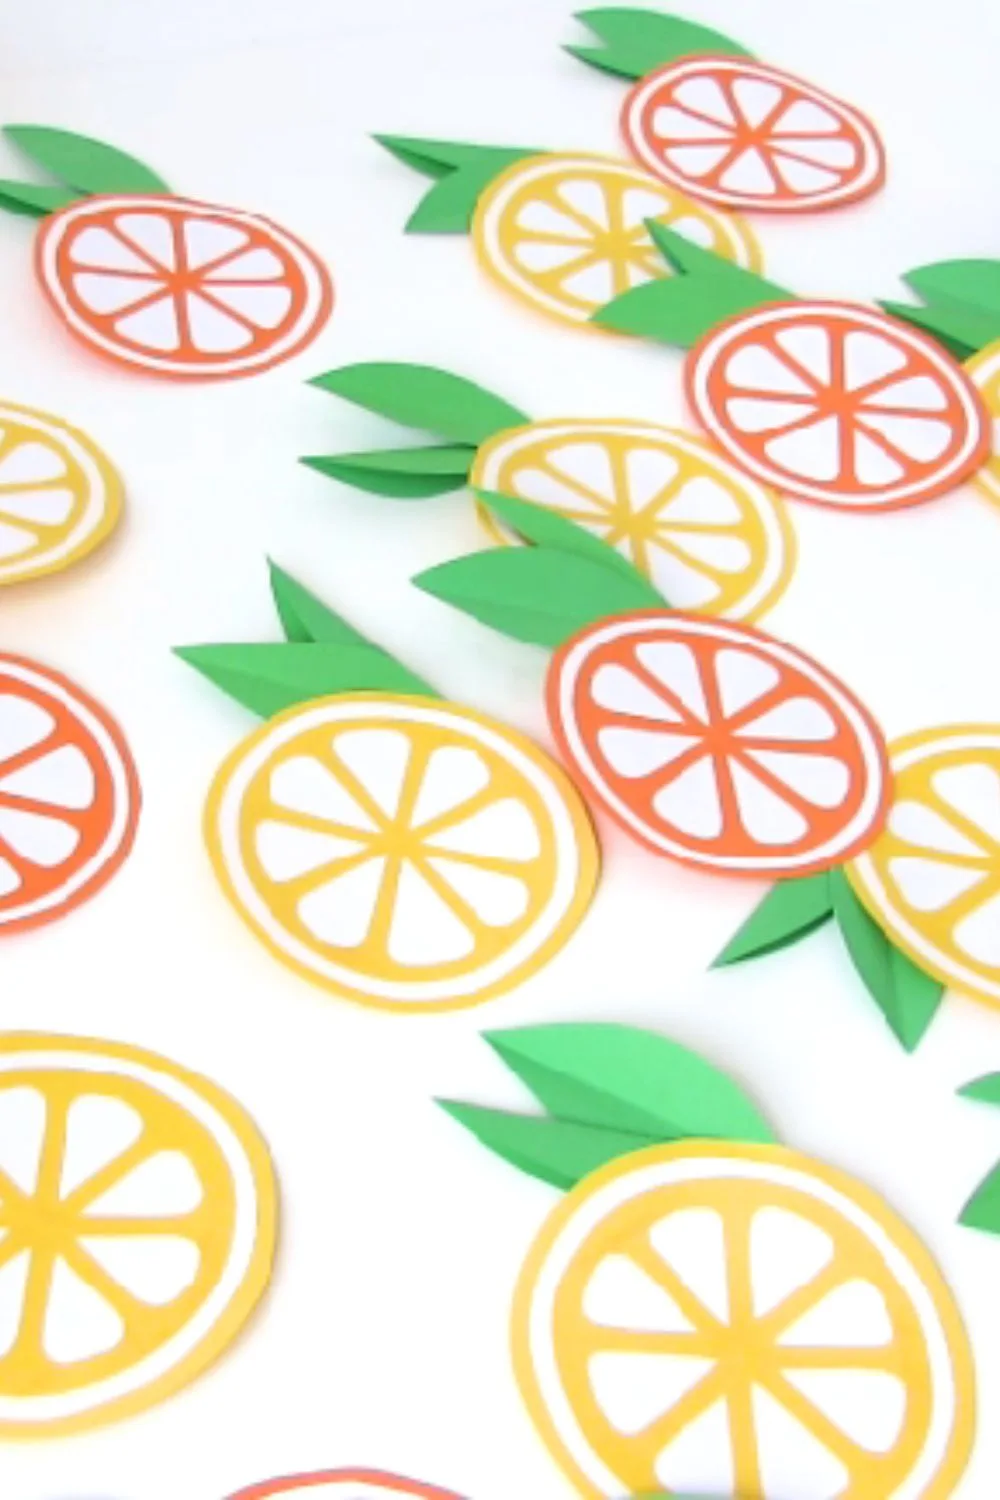
String Your Garland Together
Now that you have all of your lemon and orange shapes cut out and ready to go, it’s time to string your garland together.
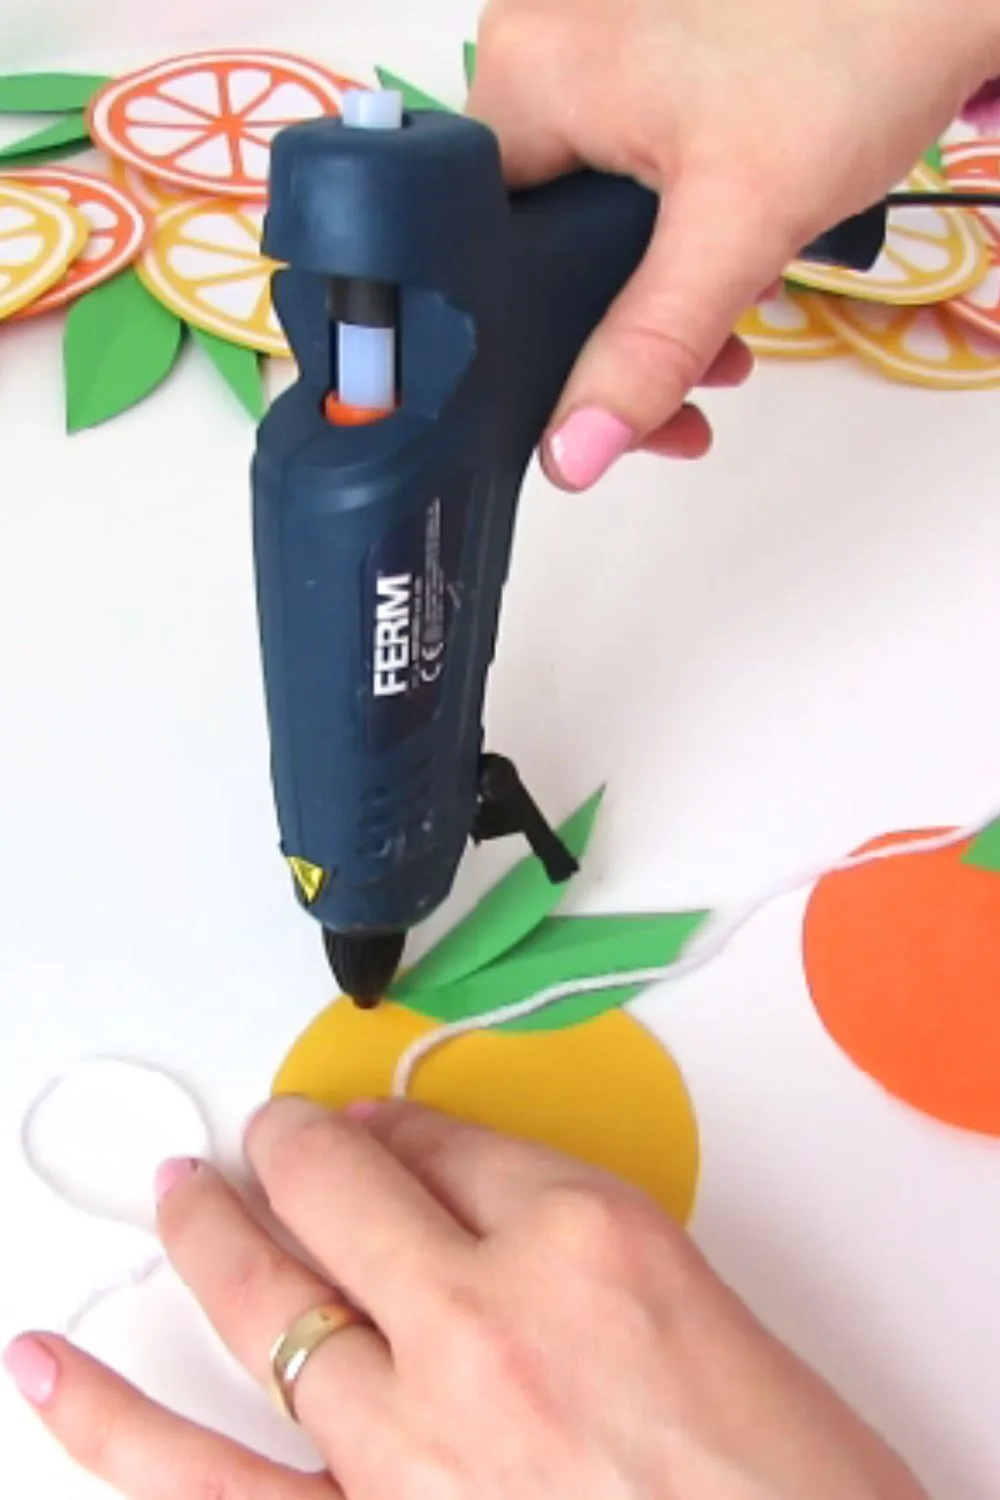
Place the fruits wrong side up, ad a dot of glue on the back and attach the string. Be sure to space them out evenly along the string to create a balanced and visually appealing display.
I used a glue gun, but you can also use regular craft glue or a piece of tape to put your paper garland together.
Once all of your fruits are strung together, you’ll be ready to hang and enjoy your stunning paper garland.
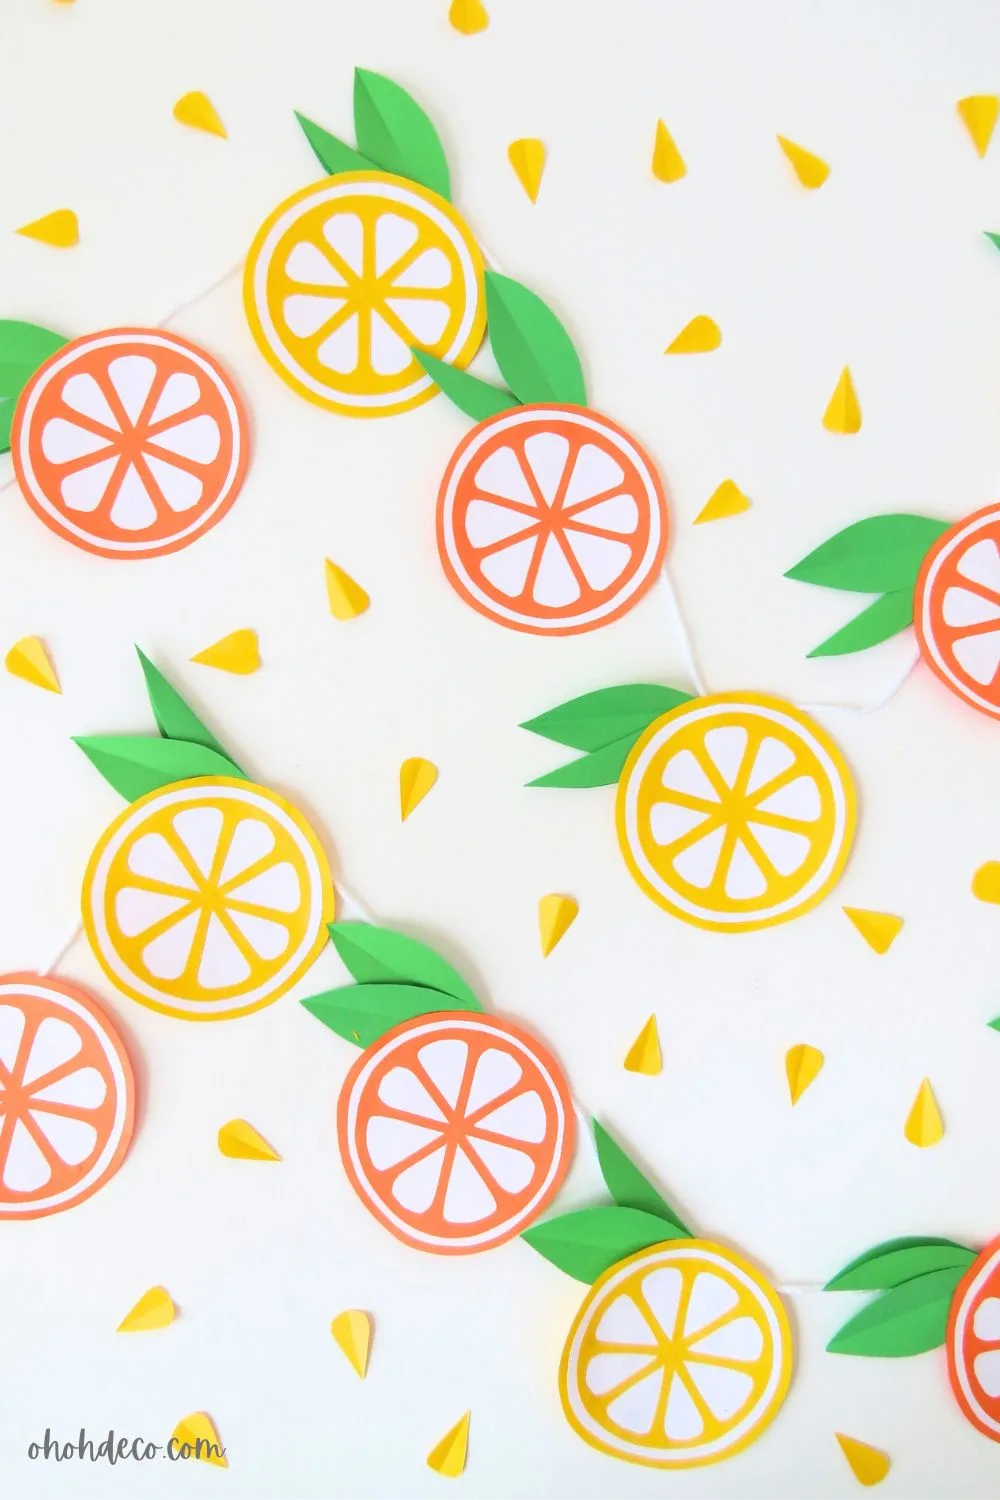
You can also watch the tutorial of the Paper Garland DIY on Youtube
Hang and Enjoy Your Stunning Paper Garland
Now that you have completed stringing your garland together, it’s time to find the perfect spot to hang it up and enjoy the fruits of your labor.
Consider draping it along a mantelpiece, across a window, or even as a colorful backdrop for a special event.
The bright and cheerful colors of the paper fruits will surely bring a touch of whimsy and charm to any room they adorn.
So go ahead, hang up your stunning paper garland, and bask in the delightful ambiance it creates.
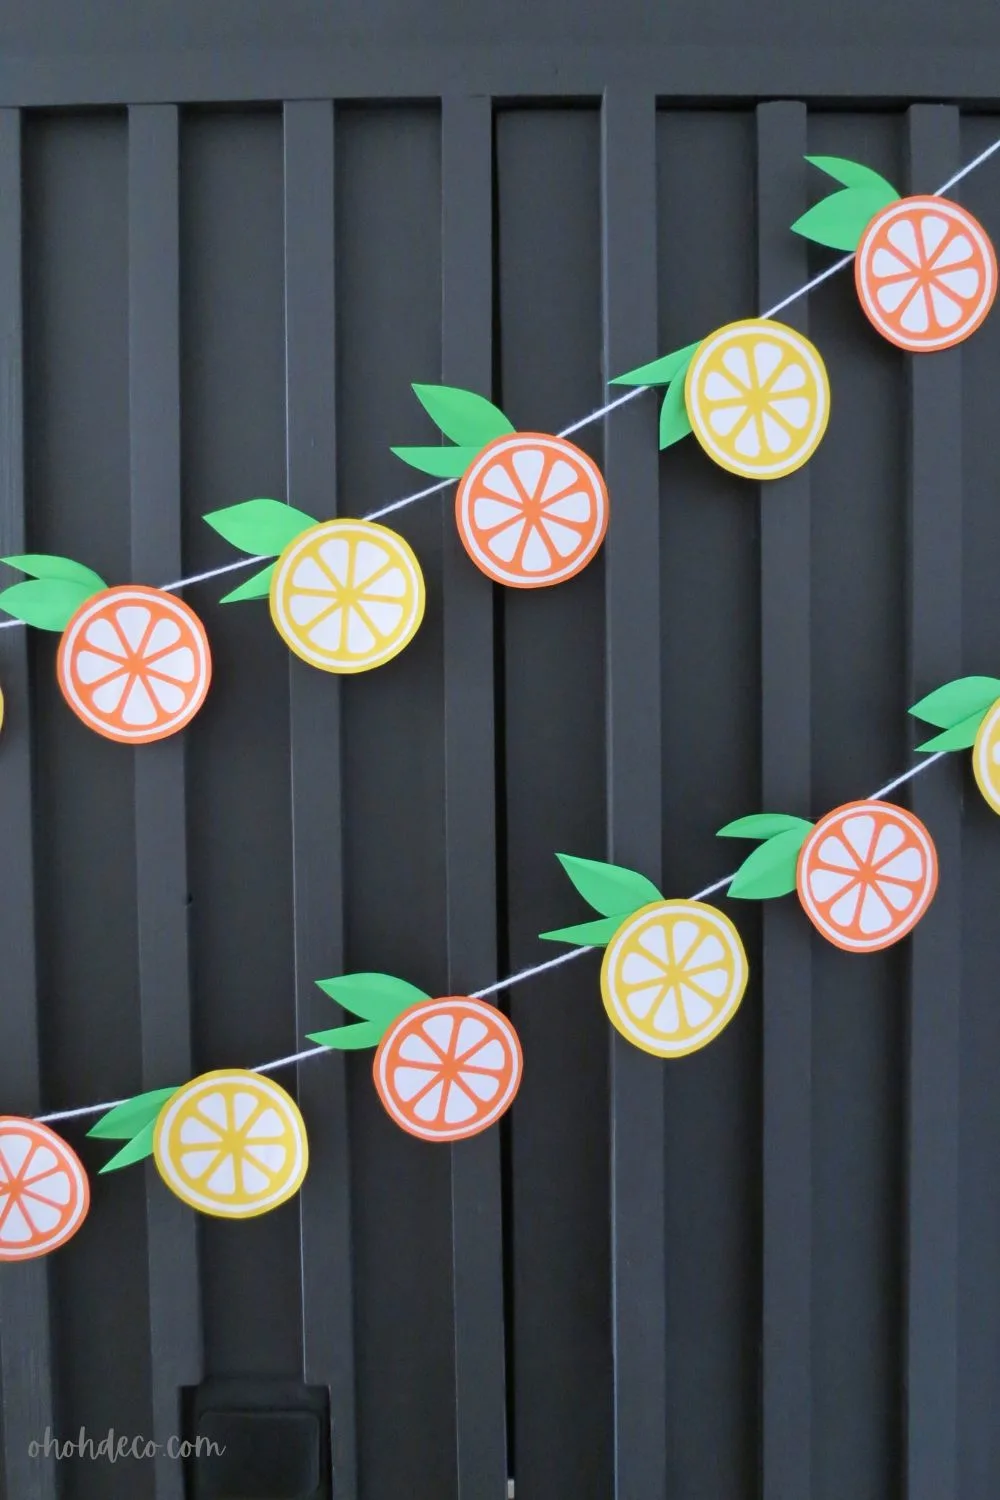
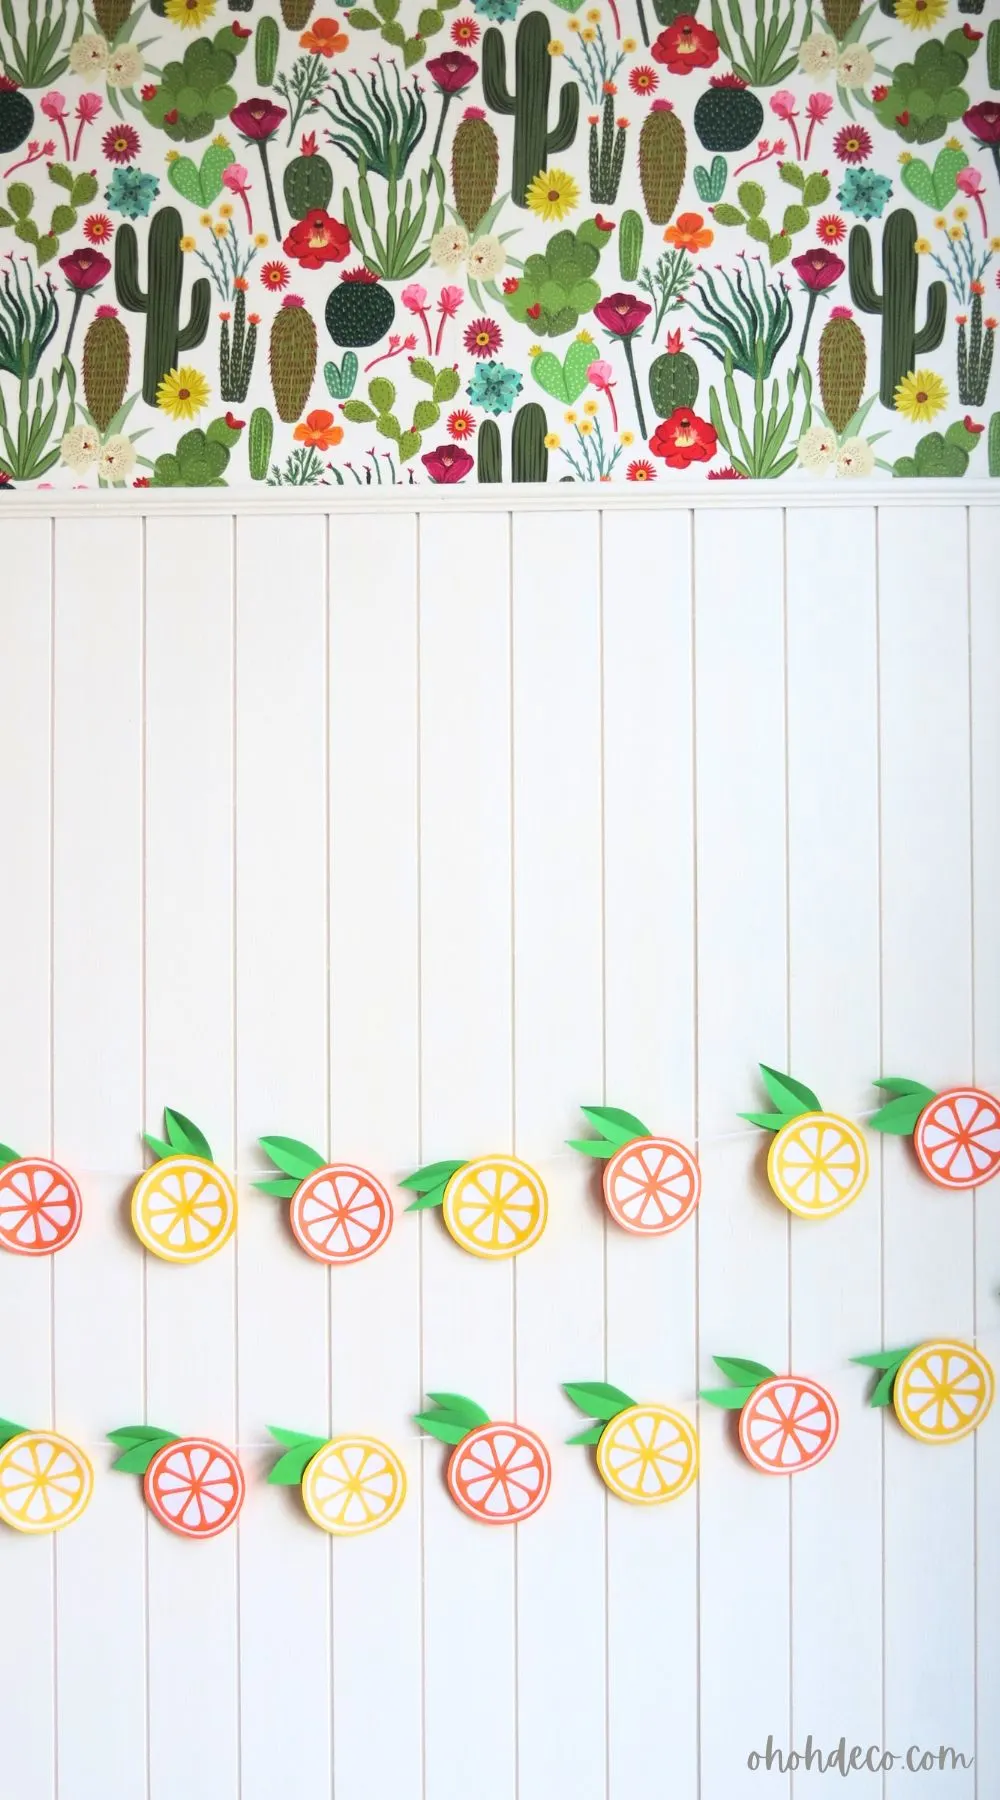
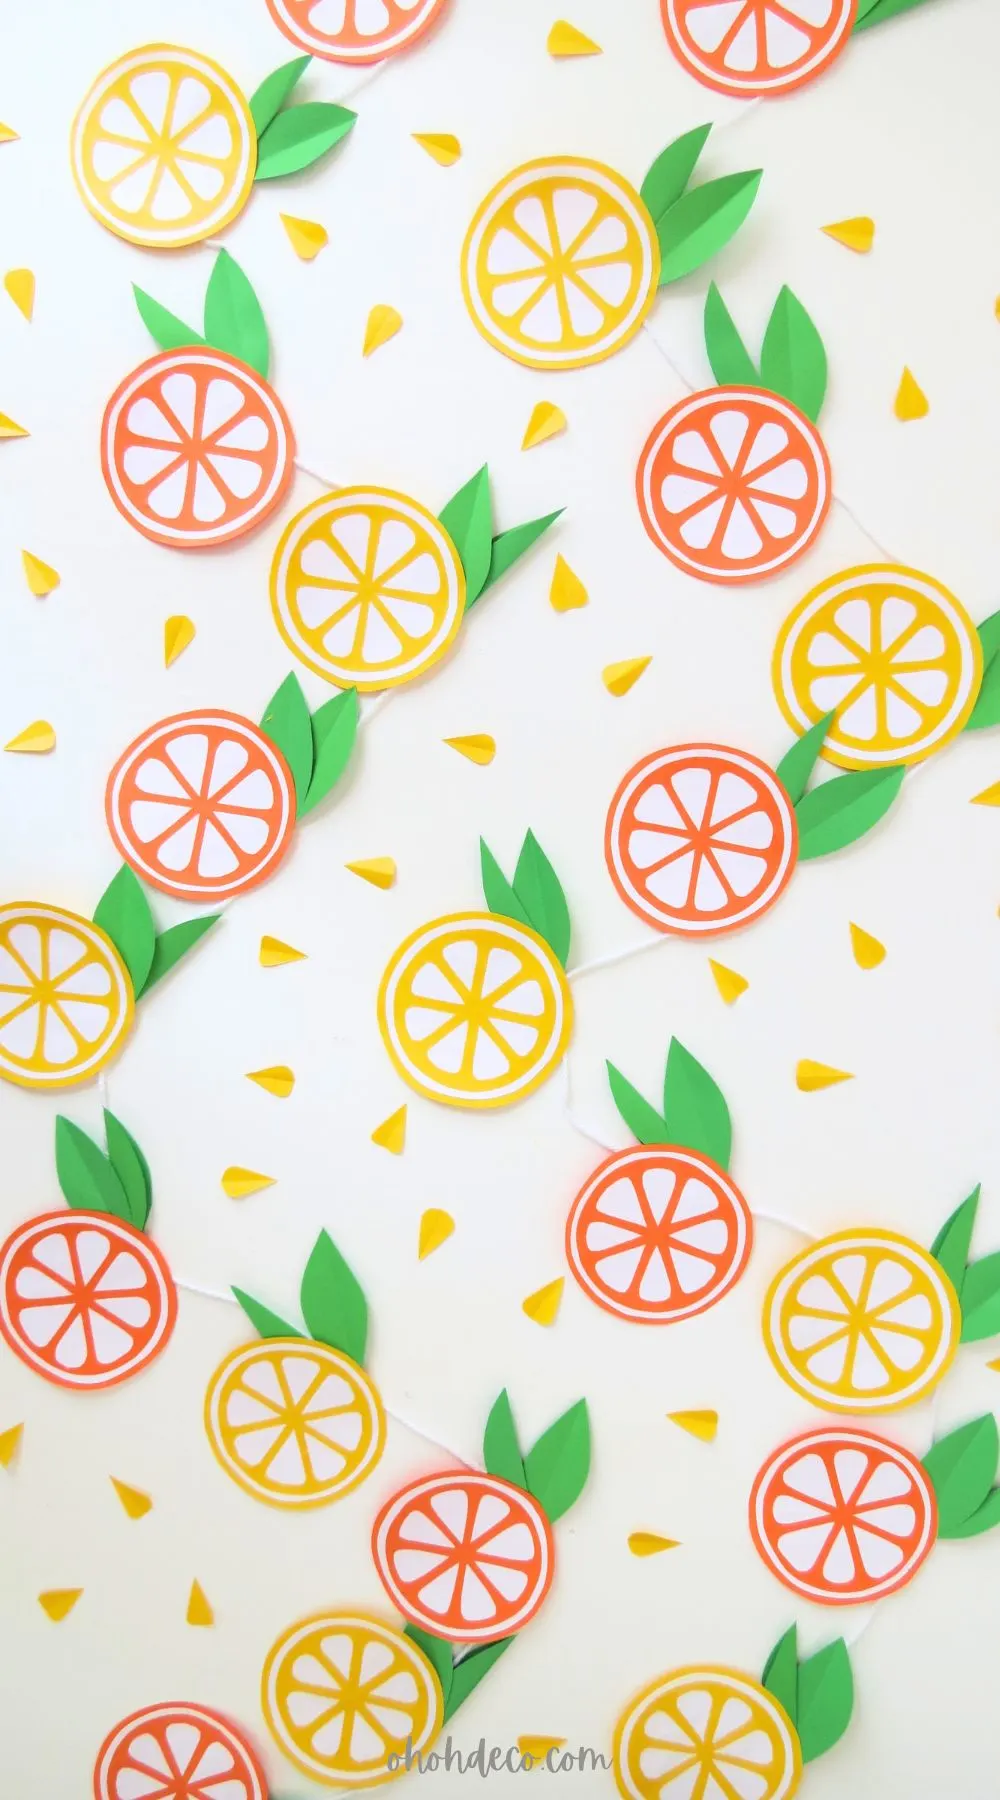
In conclusion, with just a few simple supplies, you can transform your space with a stunning DIY paper garland that exudes summer zest and vibrancy.
Let your creativity shine as you hang this colorful masterpiece and bask in the festive ambiance it brings.
Remember, a DIY Summer decoration can go a long way in elevating your decor without breaking the bank. Unleash your inner artist and spruce up your surroundings with a budget-friendly burst of citrus-inspired charm. So get crafting and enjoy the fruits of your labor!
RELATED: Make a paper leaves garland in 30 minutes
RELATED: Colorful fruits crafts ideas to make this Summer
Want to remember it? Save this Paper Garland DIY on your favorite Pinterest board.
