As a family of five sharing the same bathroom, you can imagine the mess it can be. So even if not everything is organized all the time it helps to have specific storage. I use boxes to keep my stock of soaps and shampoos, various jar (upgraded with this tutorial DIY to customize glass jars lids) to put Qtips and make-up pads. I also hanged a small DIY rope shelf to store my beauty products.
[ This post probably contains affiliates links, our full disclosure policy is really boring, but you can read it HERE ]
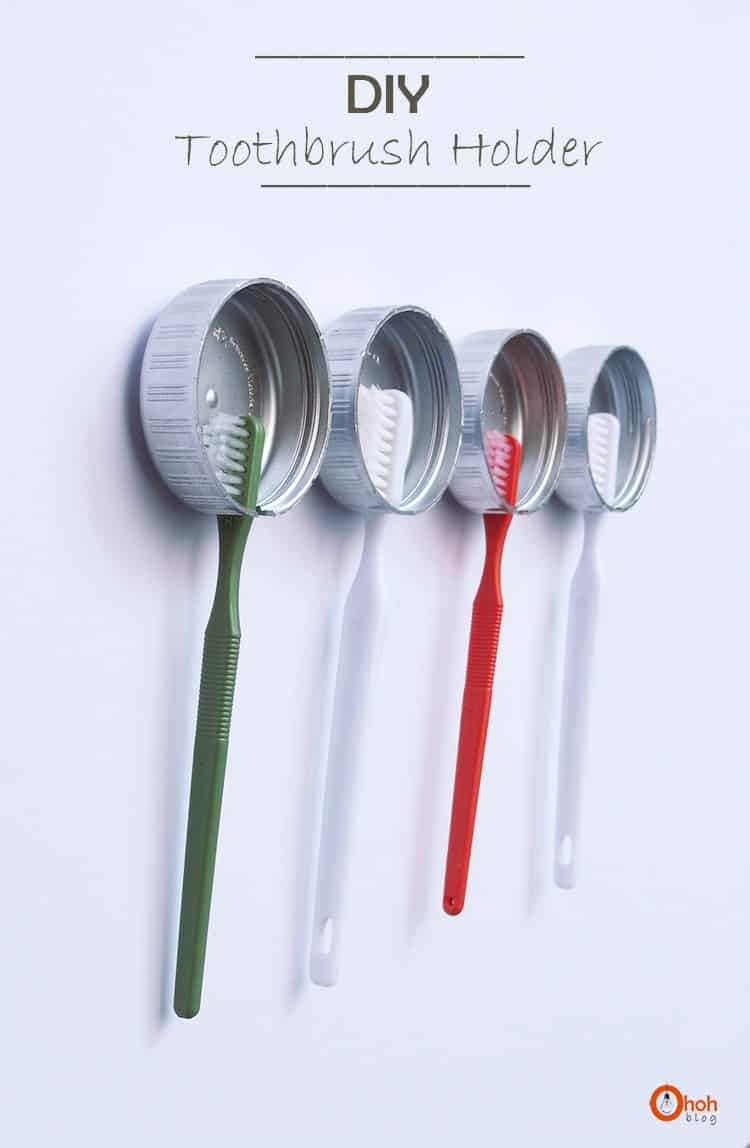
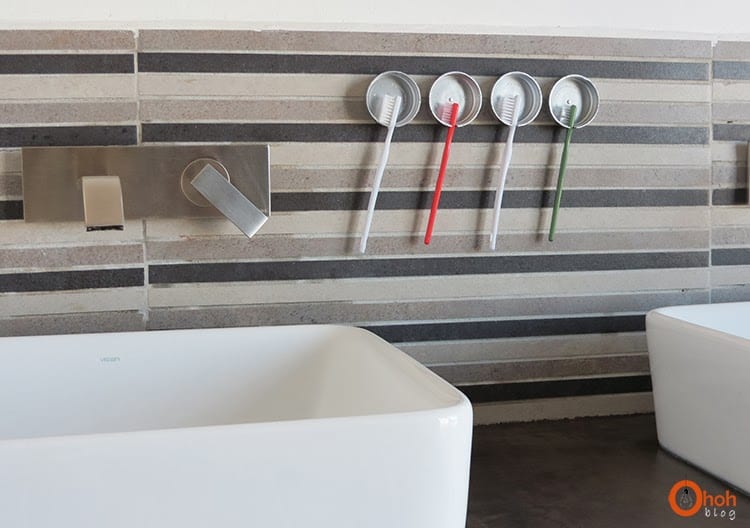
Instead of keeping all the toothbrushes in a glass, I made a wall hanging storage with large plastic caps and a piece of velcro! Very effective and so easy to make!
* * *
Somos una familia de cuatro personas que comparte el mismo baño, puedes imaginar el desorden que puede ser. Así que si no todo está organizado todo el tiempo, es útil tener almacenamientos específicos. Utilizo cajas para guardar mi reserva de jabones y champús, varios frascos para poner los cotonetes y algodones para desmaquillase. También colgué un pequeño estante en la pared para guardar mis productos de belleza.
¡En lugar de guardar todos los cepillos de dientes en un vaso, hice un almacenamiento para colgarlos en la pared con grandes tapas de plástico y un pedazo de velcro! Muy efectivo y muy fácil de hacer!
* * *
Nous sommes une famille de quatre personnes qui partageons la même salle de bain, tu peux imaginer le désordre qui l’y a parfois. Même se tout n’est pas organisé tout le temps, c’est utile d’avoir des rangements spécifiques. J’utilise des boîtes pour stocker les savons et les shampoings, quelques pots pour mettre les cotons-tiges et du coton démaquillants. J’ai également accroché une petite étagère au mur pour ranger mes produits de beauté.
Au lieu de garder toutes les brosses à dents dans un verre, j’ai fait un rangement mural avec de grands capuchons en plastique et un morceau de velcro! Très efficace et très facile à faire!
How to make a DIY Toothbrush Holder
Materials you will need:
- 5 plastic caps from jug water bottles
- Spray paint (optional)
- cutter knife
- adhesive velcro (dots tape are the easiest)
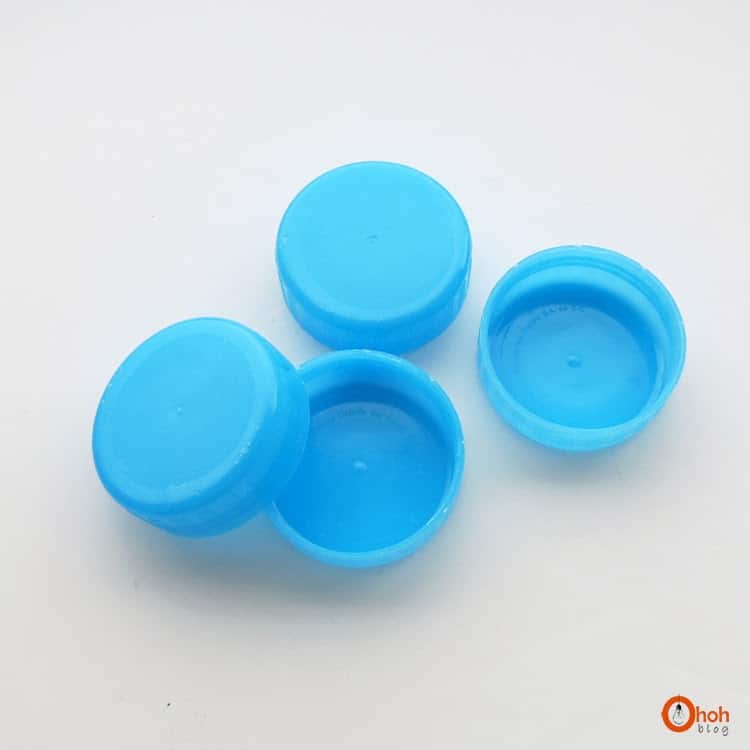
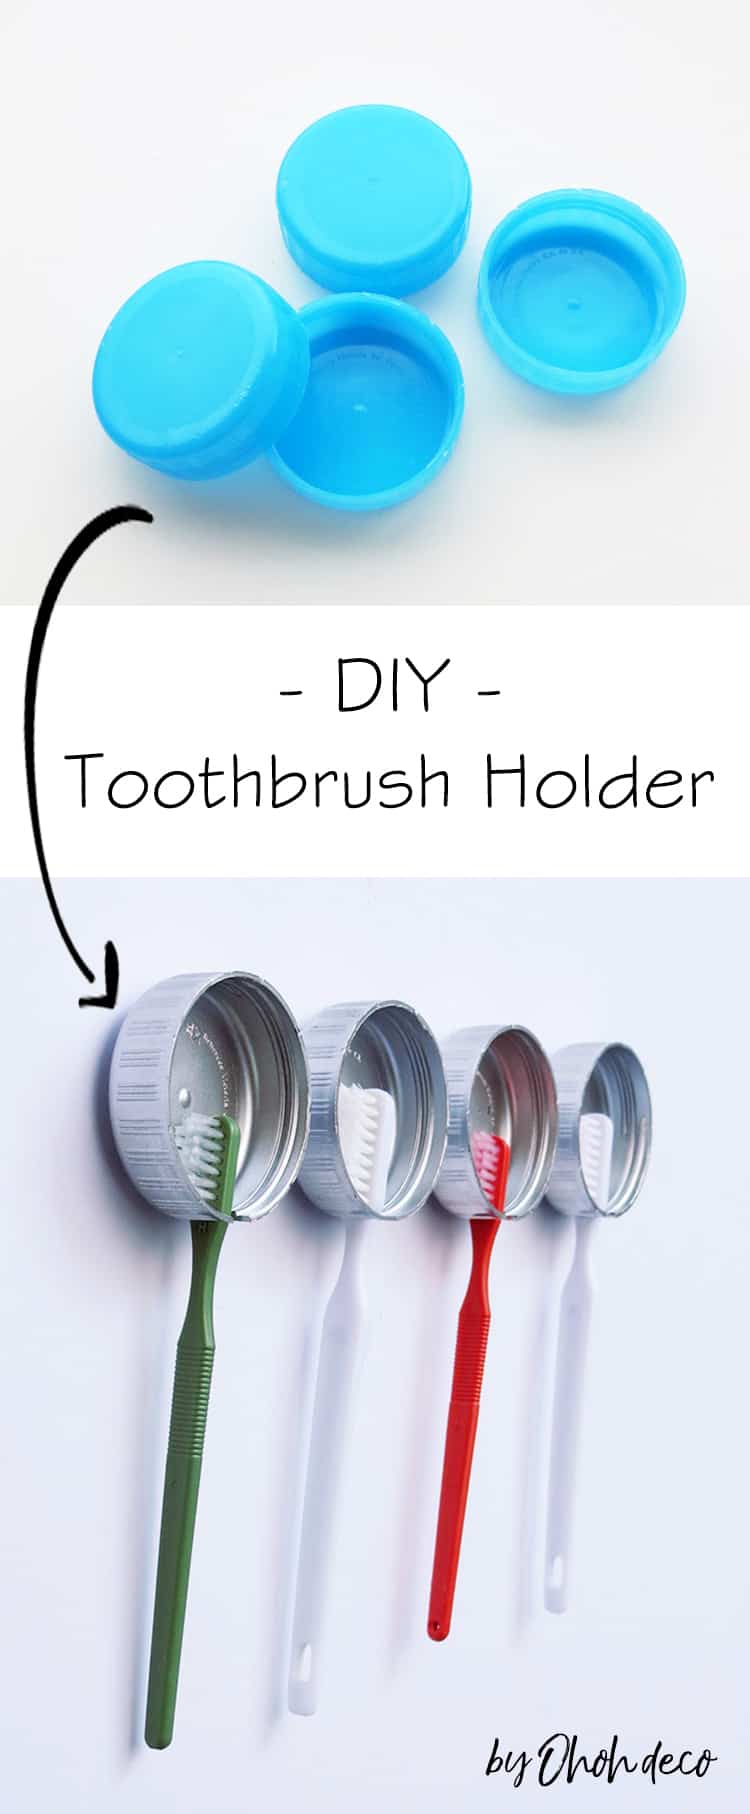
If you wonder, these are the kind of caps I used to make the toothbrush holder
Material que necesitaras:
- Tapones de garrafones
- Pintura en spray (opcional)
- Cutter
- Tiras de velcro adhesivas
Matériel nécessaire:
- Bouchon de bouteille de 20 L
- Peinture en spray (optionnel)
- Cutter
- Velcro adhésif.
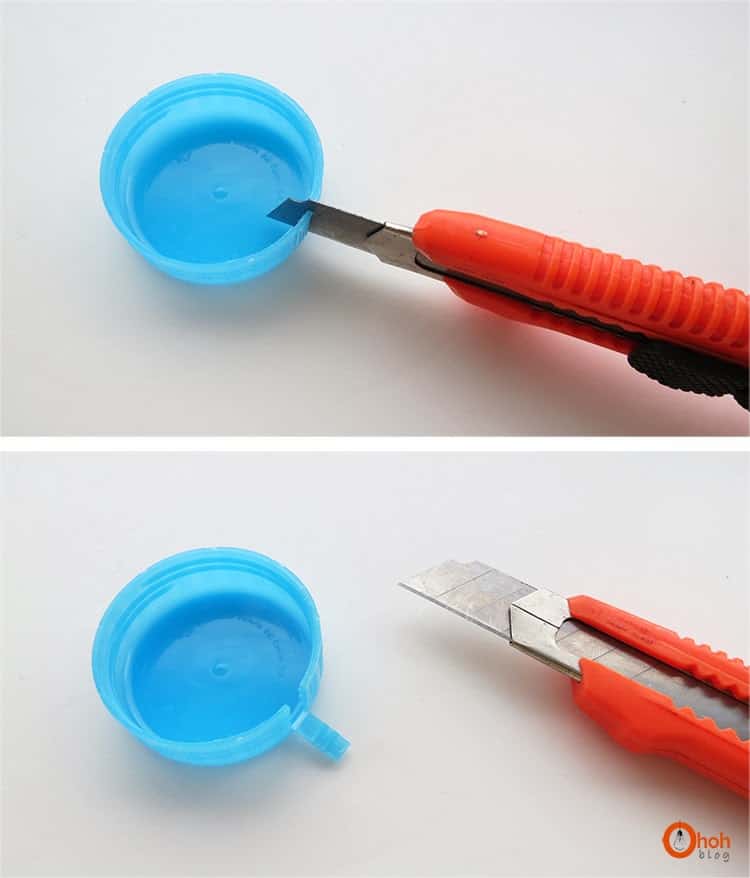
Remove the label from the caps and I cut a notch with a cutter.
Quitas las etiquetas de los tampones y cortas una muesca con un cutter.
Enlève les étiquettes des capuchons et découpe une encoche avec un cutter.
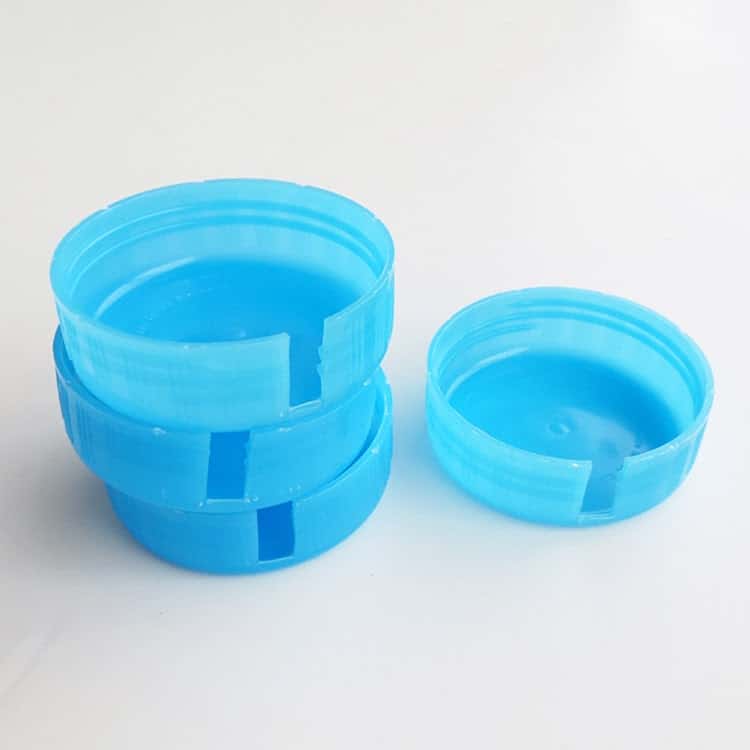
I thought it would be prettier with another color that the blue, so I spray painted the caps (be sure to use non-toxic paint).
Me pareció que iba a ser más bonito pintar los tapones con aerosol (tengan en cuenta de utilizar una pintura no tóxica).
Je trouvais ça plus joli, donc j’ai peint les bouchons avec un spray (utilise de la peinture non toxique).
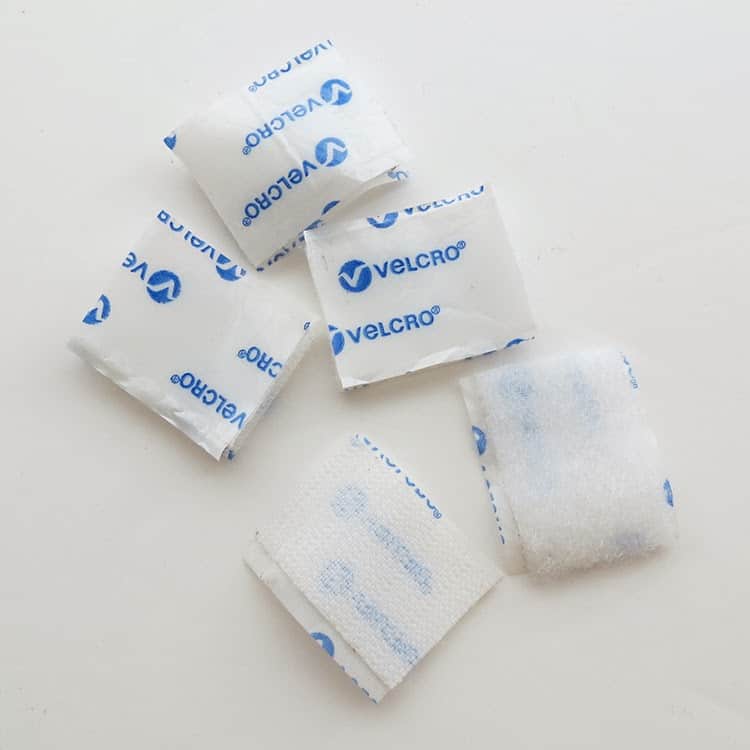
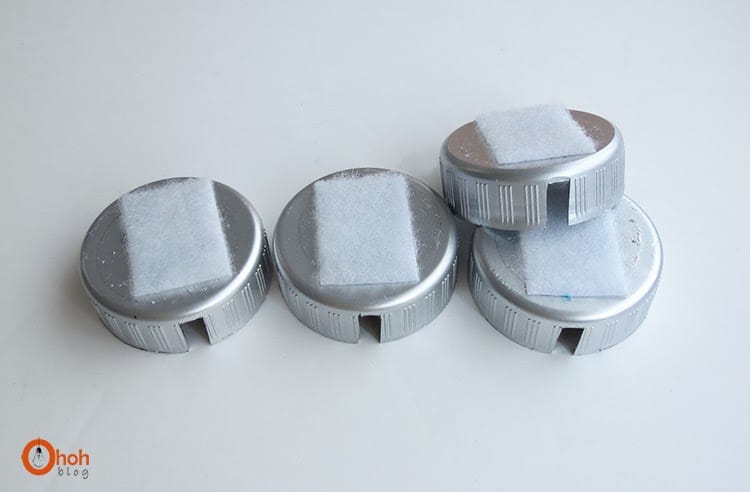
I cut pieces of adhesive velcro to fit on the back of the cap. Glue one part of the velcro on the cap and the second on the wall. That way you can easily remove your toothbrush holder for cleaning.
Corté trozos de velcro adhesivo para que cupieran en la parte posterior de la tapa. Pegue una parte del velcro en la tapa y la segunda en la pared. De esa manera, puedes quitar fácilmente el porta cepillo de dientes para limpiarlo.
J’ai découpé des morceaux de velcro adhésif de manière a ce qu’ils aient la même taille que l’arrière du bouchon. Colle une partie du velcro sur le capuchon et la seconde sur le mur. De cette façon, tu peux facilement retirer ton porte-brosse à dents pour le nettoyer.
And voila, the toothbrushes are stored on the wall … it’s something less than lying around! I still need more storage, maybe some hanging baskets for bathroom storage will do the trick.
My bathroom is far from finish but you can see the last upgrade in this post: Our bathroom reveal
What do you think of this toothbrush holder? Tell me everything in comments and don’t hesitate to share your DIY, I love to see what you make with my tutorials!
Y aquí está, los cepillos de dientes están colgados en la pared … ¡Es algo menos que se amontona al lado de los lavabos! ¿Qué te parece este sistema de almacenamiento? Cuéntame todo en los comentarios y no dudes en compartir tu bricolaje, me encanta ver lo que haces con mis pasos a pasos!
Et voila, les brosses a dents sont rangées au mur…c’est déjà un truc en moins qui traîne! Qu’est ce que tu penses de ce système de rangement? Raconte moi tout dans les commentaires et n’hésite pas a me faire partager ton bricolage, j’adore voir ce que tu fait avec mes tutoriels!
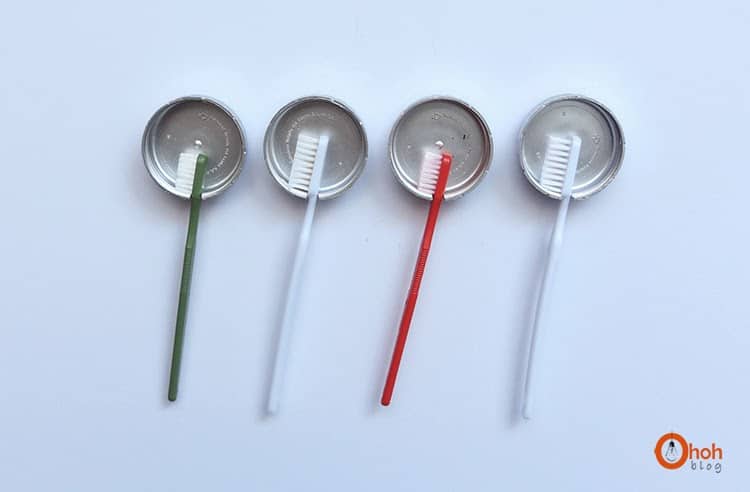
Et voila!
Want to remember it? Save this DIY toothbrush holder in your favorite Pinterest board.
You will find all the tutorials featured in the video on my “Best DIY” page.

Comme dirait l'autre, il suffisait d'y penser 😉
Super, pas cher et facile à réaliser ! Tu vois, tu n'as pas besoin d'avoir Ikéa près de chez toi !
Bisous de 5G-ri
yavèka…c'est vrai…et pour Ikea, si j'en veux un tout près…mais c'est pas gagné!
Great idea. Will do .l
This is such a smart idea!! I love how simple it is and loving it more because it's a recycling project!! Good job 🙂
I agree with you one thing I don’t like is the brush is not covered totally because you have germs all around the bathroom I seen a show that when you flush your toilet he puts these germs from your urine or feces in the airthey can get on your toothbrushes and other items in the bathroom
@Carol, you have a great point I thought the same thing, unless the caps were placed on the inside a cabinet in the bathroom I will say that it is recommended that you always put the lid down before flushing
that's a brilliant idea!
et en plus on peut jouer avec les couleurs des bouchons… tout en permettant d'ajouter autant de brosses à dent que l'on veut suivant si la famille venait à s'agrandir….
Bises de Ham-on-Hour 😉
Que bien hecho!
Ca permet de bien entretenir les dents de la mer 😉
So smart!!
Thank you so much you have given the great blogs site by which we can get more advantage. my company
This is so cute. Haven’t thought bottle caps could make such a cute DIY project.
Bottles caps can be surprisingly useful 😉 Thanks Joanna!
Maybe
In a musical house it could be put on a staff design as notes, with black painted cap.
One weakness that I see is that with them open, when the toilet is flushed and all the little water micro- droplets are going all over the place…
Just close the lid, then flush.
That was my thought, too. I d never get everyone to close the toilet lid to flush. Inside the medicine cabinet or the back of another cupboard door would work.
Put a sign up and remind everyone how toilet germs are spreading all over the bathroom. Once everybody gets used to the new habit they’ll all start doing it. Depending on their ages give rewards for compliance.
I will have to try this my self thanks.
Love ur ideal .so convenient
Thanks Edith. It’s super easy to make 😉
That’s a really great idea. I can’t wait to try it. Along with all the other ideas I’ve read. Thank you so much🦋
You are welcome Tina. Feel free to share your creation with me at amaohoh(at)gmail(dot)com, I love to see what my readers make.
I cant wait to read and learn more about everything
This reminds us me of my Dad. He would love this.
I love this idea! It would look perfect in my rustic bathroom. Thanks! 🙂
Kind of a cute idea. However, if you are reducing waste and recycling, why did you go and purchase plastic caps? Secondly, as others have stated, these are open to all the germs that float around in the air.
Hello Susan, I didn’t purchase any plastic caps. In Mexico, we avoid drinking tap water and have 20 liters bottles instead (which are returnable) so I used these caps.
I know there is a big debate about the germs that float in the air and can contaminate toothbrushes … but in my opinion, storing toothbrushes in a closed cabinet, keep them moist, in addition, with the heat in the bathroom and the dark it’s the perfect environment to grow bacteria and fungus … so I prefer to let the toothbrushes dry out! Everyone chooses 😉
This is such a great way to use up bottle tops and do your ‘bit’ to save the world!
Thanks Jaydee
Tbh i would never have thought of that and its brilliant when you have no space especially when there is a few of you well done might have to try this with our toothbrushes
Thanks! We have used them for years and these toothbrush holders are so practical