One of my goals for this the year is redo the playroom. I’ve started a few weeks ago and I have been sharing the process on my Instagram. As you can imagine with three kids it’s a little slow…but it’s going ahead.
UPDATE: If you like to see the full playroom makeover, read the Kids playroom ideas post.
[ This post probably contains affiliate links, our full disclosure policy is really boring, but you can read it HERE ]
I have painted a rainbow on one wall, placed some shelving and upgraded the plastic drawers. My daughter likes to draw a lot, so she has a table in a corner of the playroom and needed some extra storage for her drawing supplies.
The kids used this shelf unit has a bookshelf, and as you can imagine it has already be strained. But I still wanted to keep it, because it’s a convenient storage and also because I prefer to renovate or upgrade what I have rather than throwing away and buying new.
It’s a quite simple upgrade to make, you won’t need any fancy tools. I used scrap wood so I didn´t spend a dime, which is pretty pleasant too!
RELATED: DIY Easy Box shelves
RELATED: DIY round coffee table
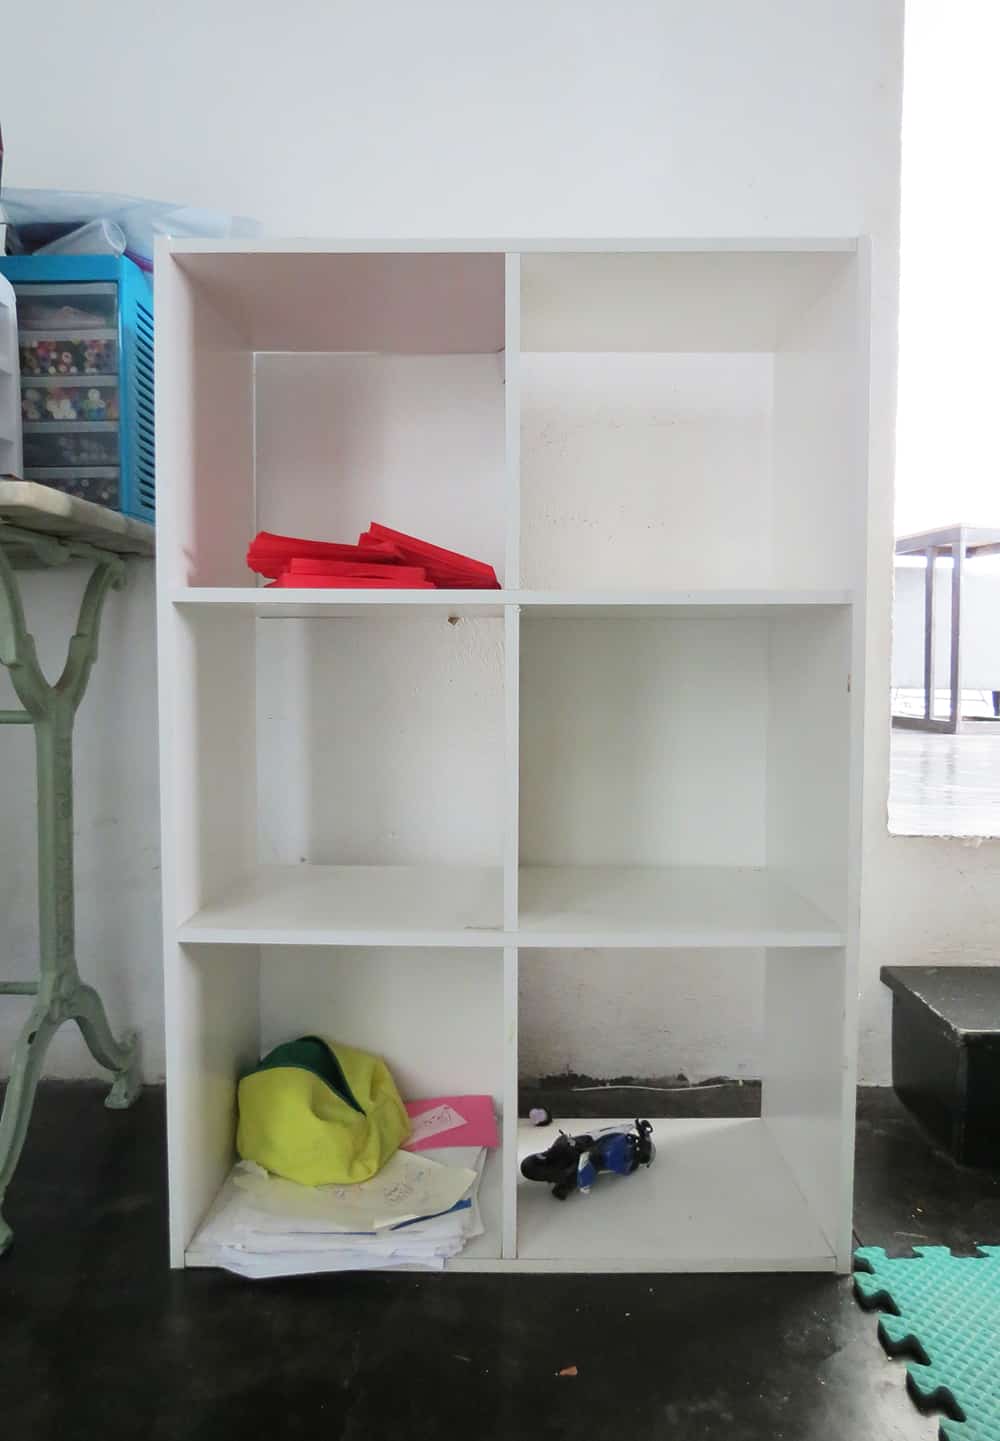
As you can see it’s a quite simple shelf unit, I’m pretty sure most of you have one similar home.
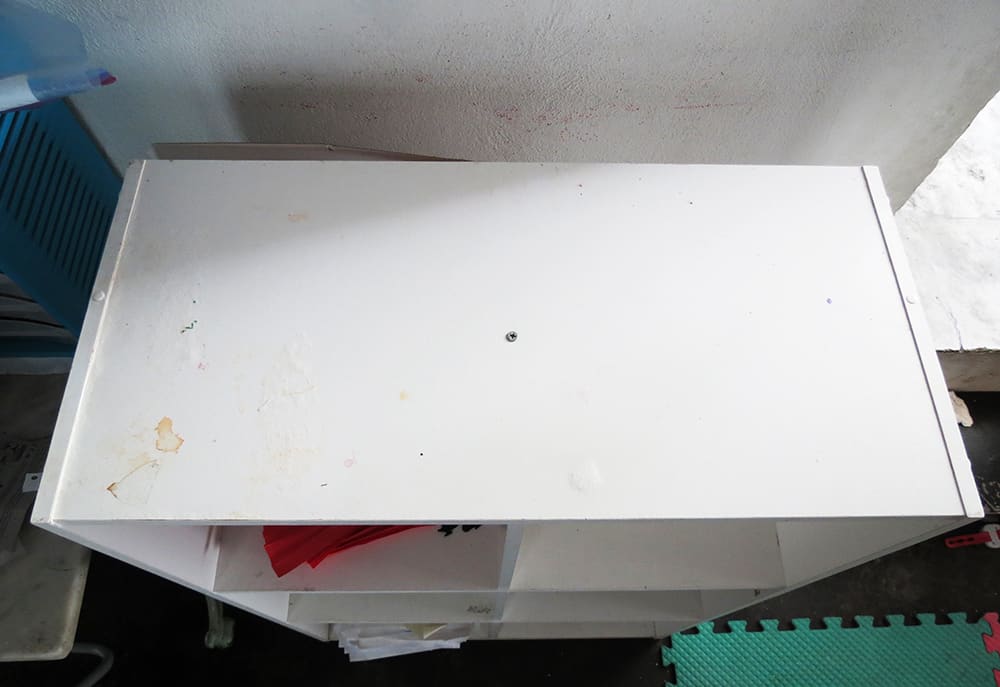
Mine has scratches on top and stickers on the side…but it’s still sturdy and therefor rescatable.
How to upcycle a shelving unit
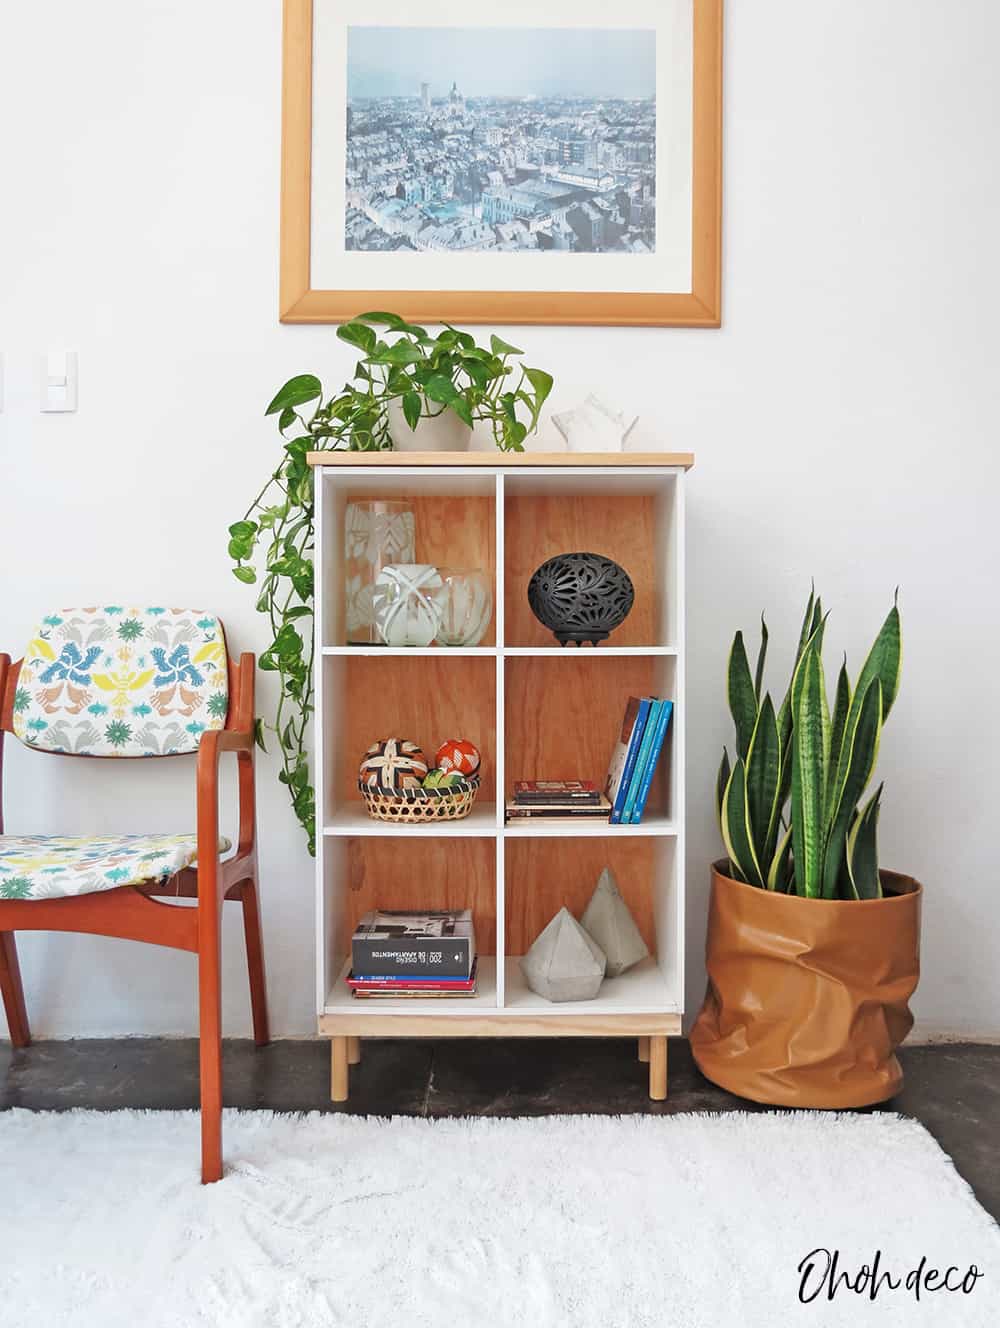
What I did was adding some legs, put a new backdrop and add a wood top. I detail you every step below.
I used a few simple tools: a drill, a mitre box and a saw, sanding paper, wood glue, and some pressure clamps.
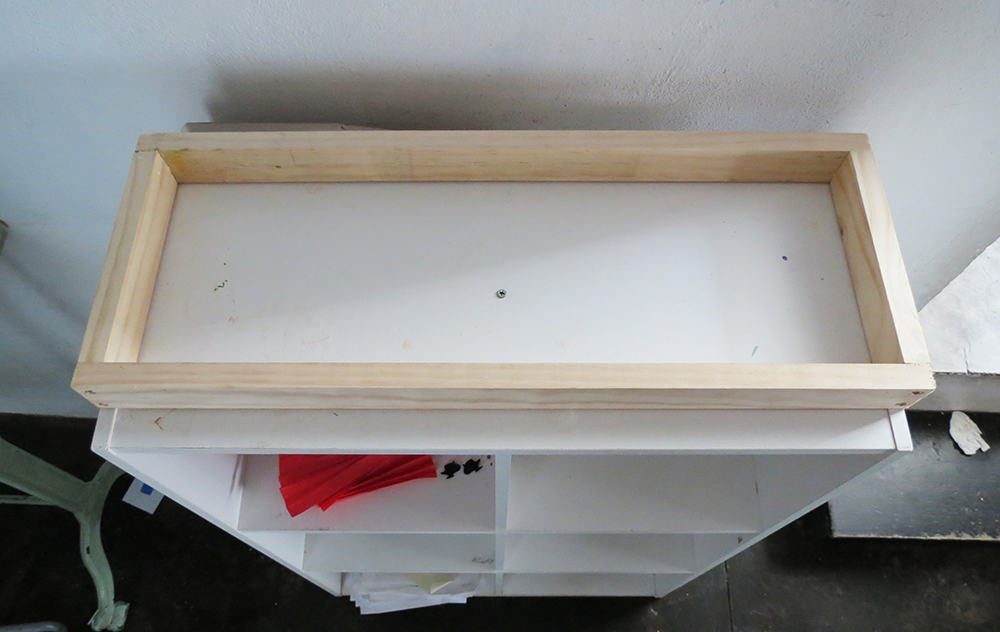
To add the legs, I created a frame using 2 x 1 wood trim. The frame is the same length as the shelf unit and the depth is one inch shorter than the shelf.
I made my frame narrower and the distance between the legs is a little too short.… so don’t do the same mistake and make your frame just 1 inch less deep than your shelf.
I cutted the wood trim with the mitre box and use dowels and glue to fix them together.
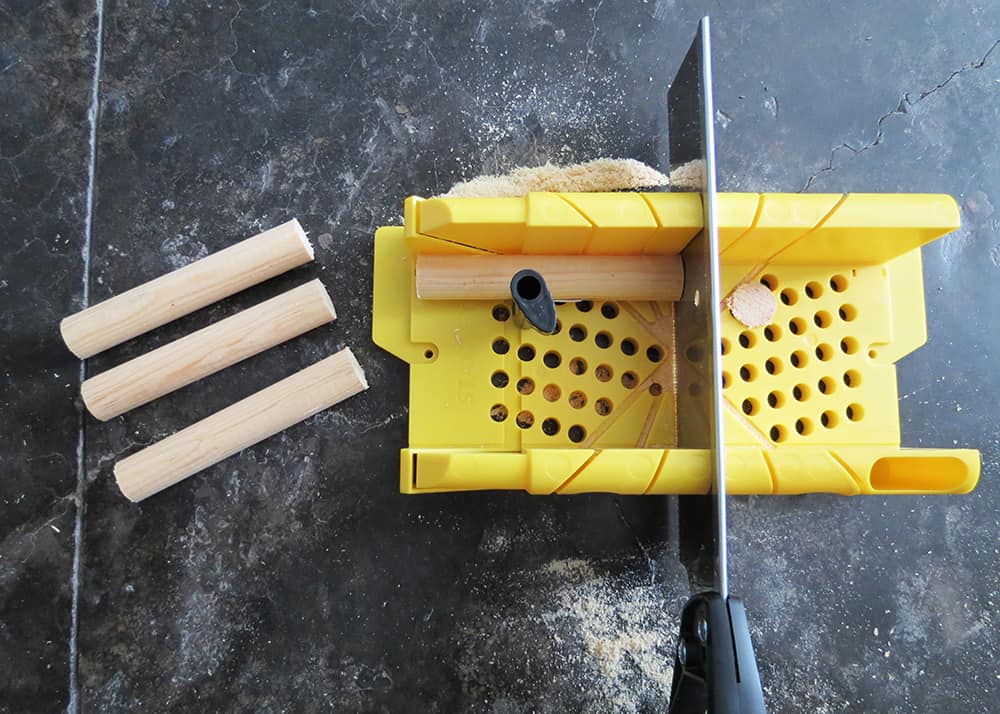
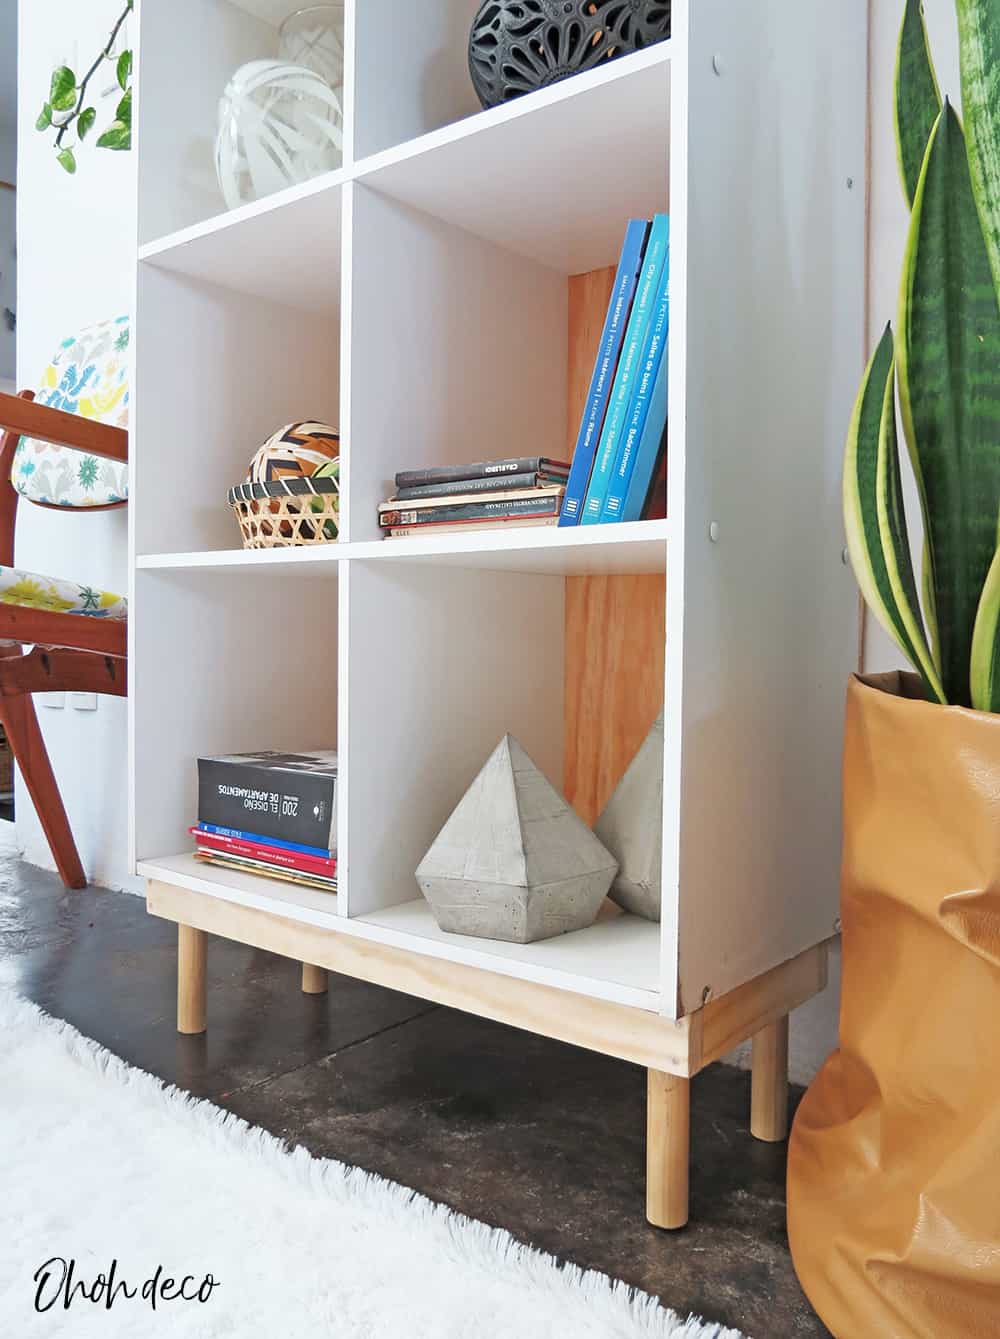
To make the legs, I cut 4 pieces of dowels of 1 inch diameter. Each legs is 6 inches long.
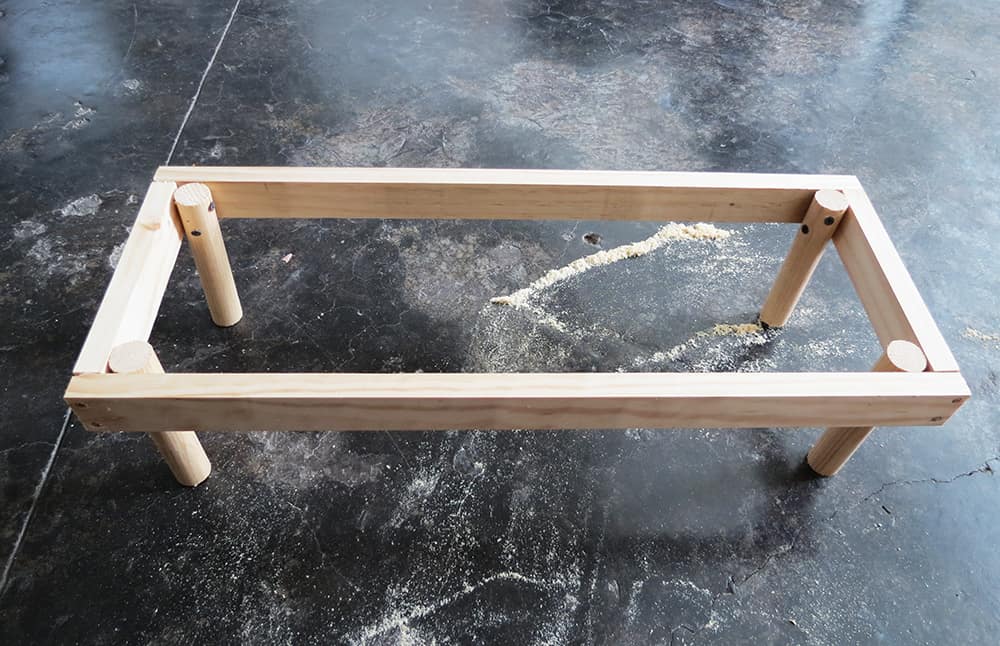
I fixed a legs in each corner of the frame using two screws. To avoid the dowel to crack, I drilled first a tiny hole in it and then put the screw in.
The screws must be placed perpendicularly to each other, so each leg is fixed on two different side of the frame.
Then I add glue on top of the frame, placed the shelf unit on it, and hold both with clamps and some heavy books on top. I waited for the glue to dry and done, the shelf unit has now legs!
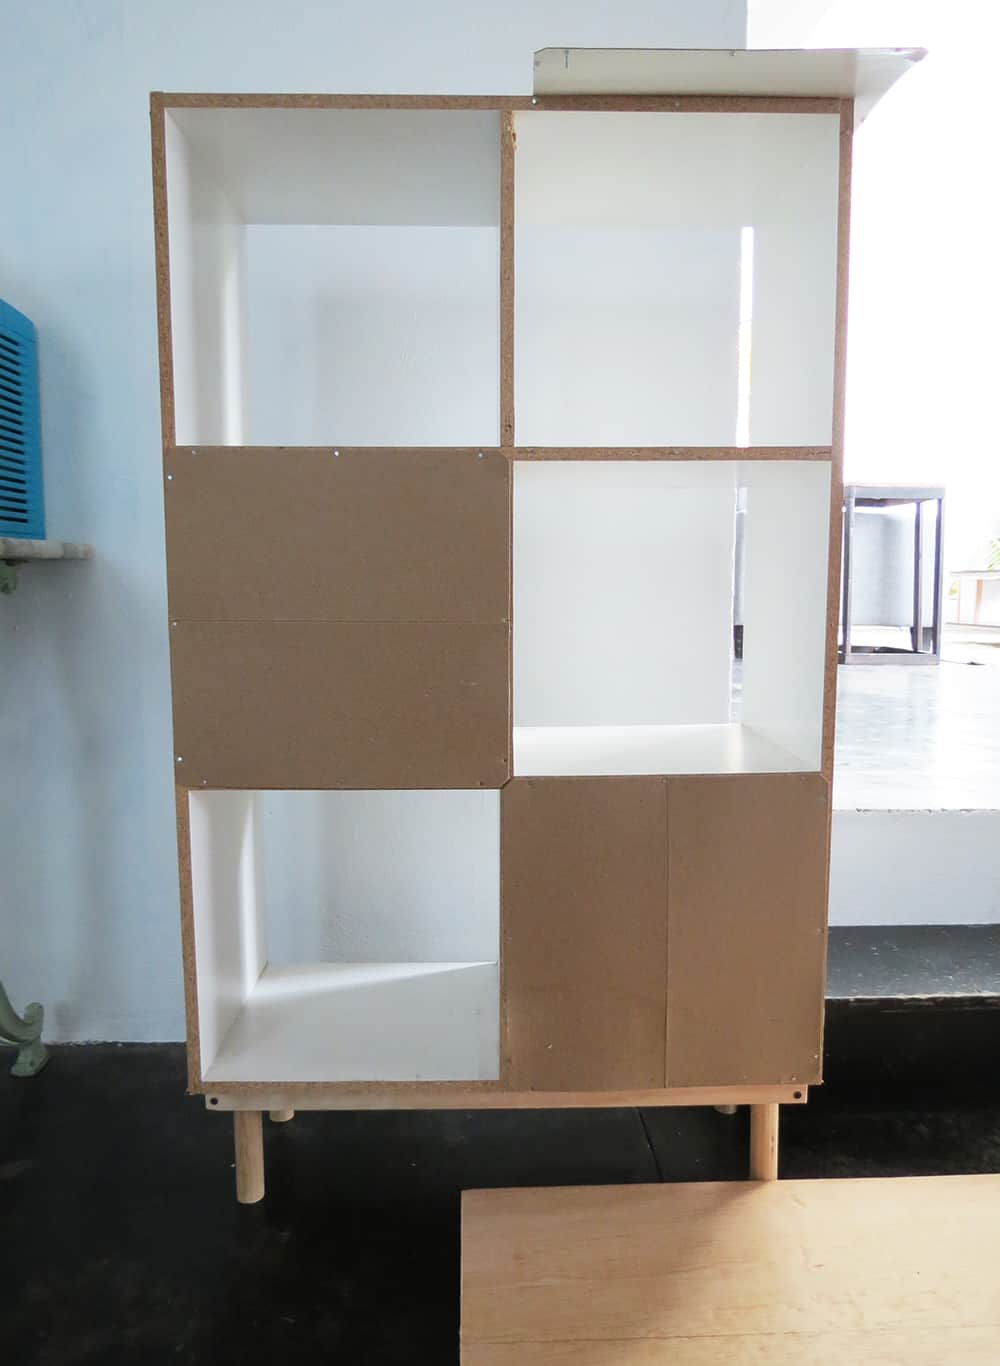
I removed the cardboard on back and replace it by a piece of 6mm plywood the same size as the shelf back.
I used a jigsaw to cut it, but you can ask your hardware store to make the cut for you.
I lay the shelf on the floor, back facing up, put glue on every edge and place the plywood on top. Again I used heavy books to press the plywood with the shelf while the glue dried.

To make the wood top, I assemble two lumbers edge to edge using dowels and glue. I have cut the wood top 1 inch wider and 1/2 inch deeper than the shelf.
I sanded it and applied two coats of acrylic varnish. Then I glue it on top of the shelf…using my heavy books again (I will consider this DIY as my weekly workout ;).
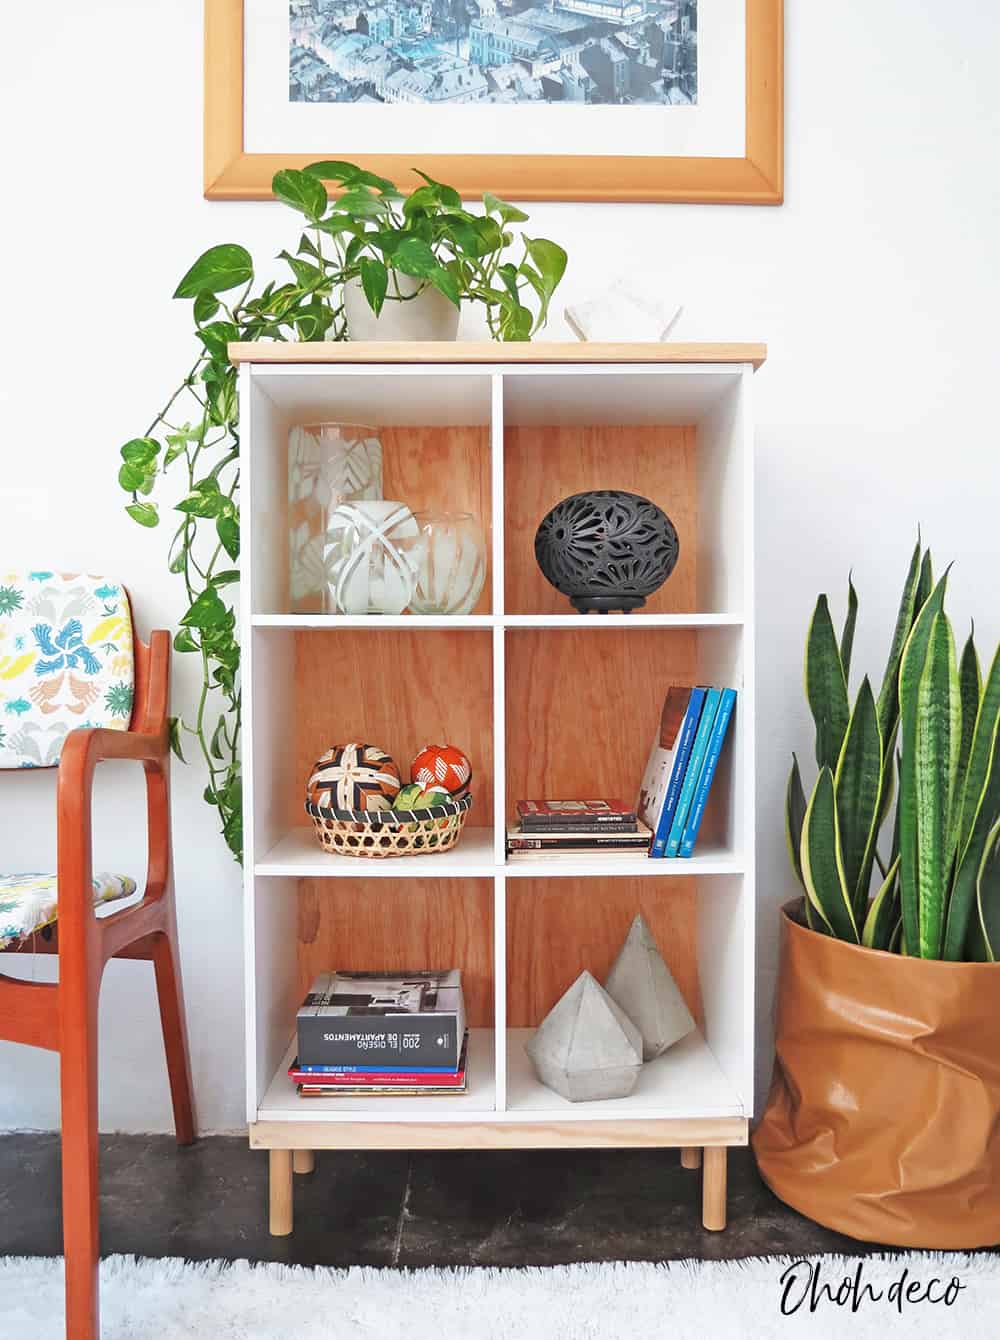
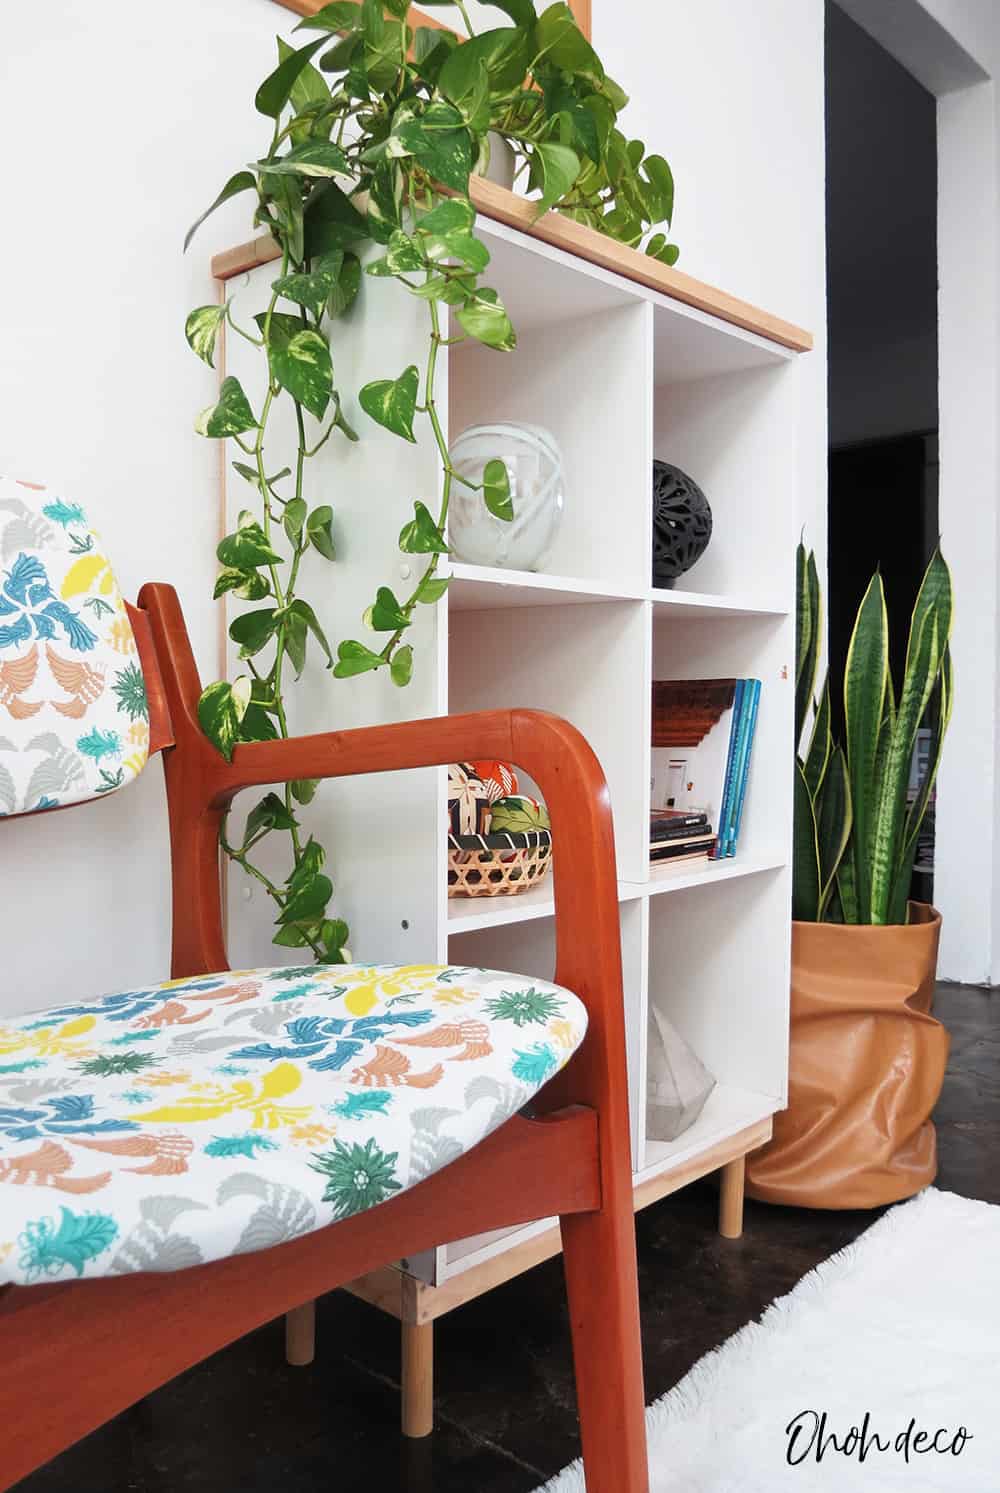
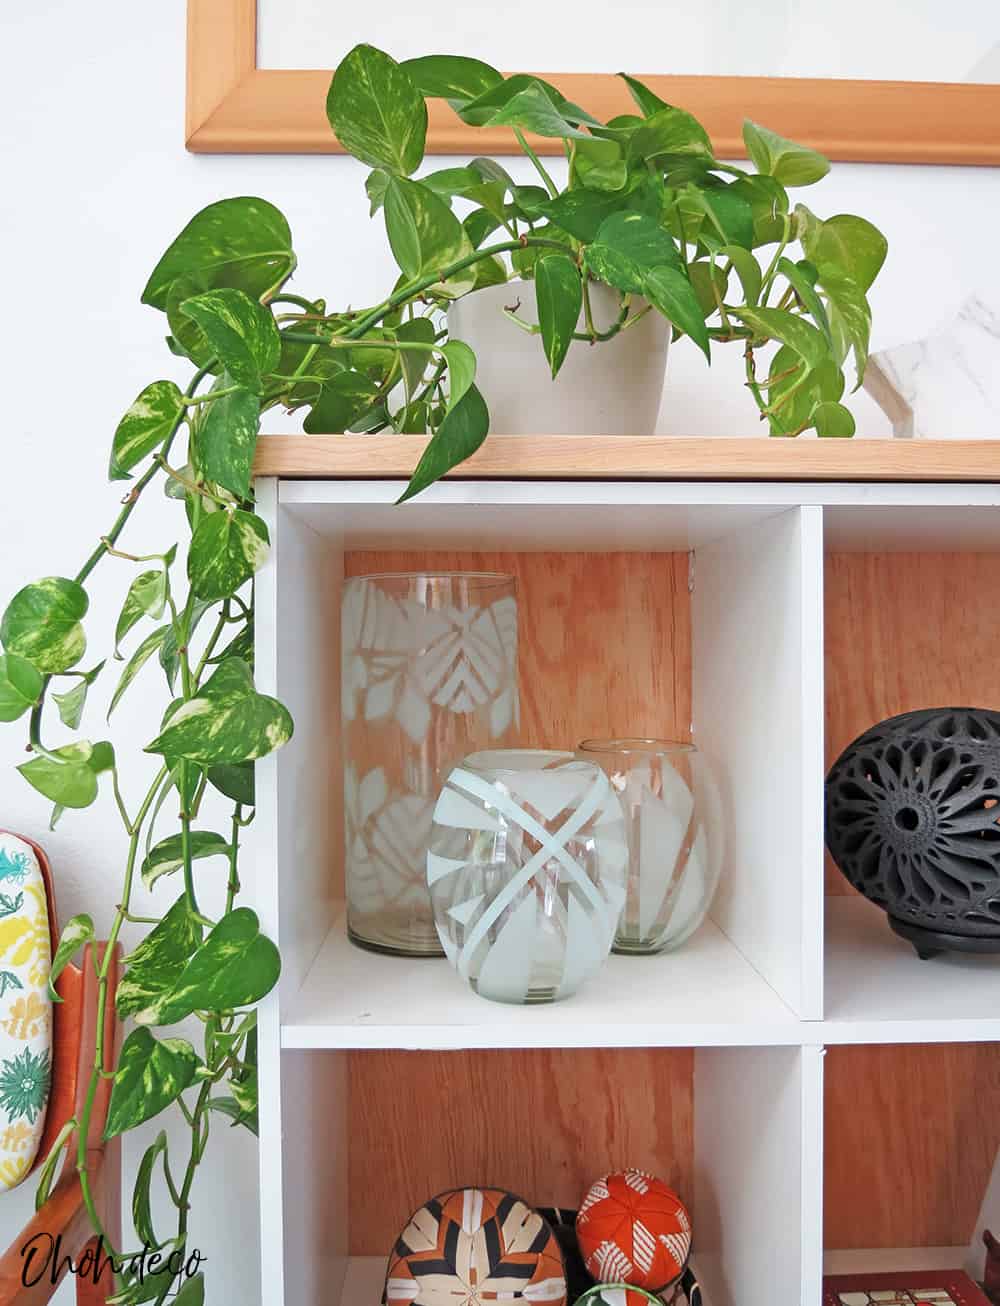
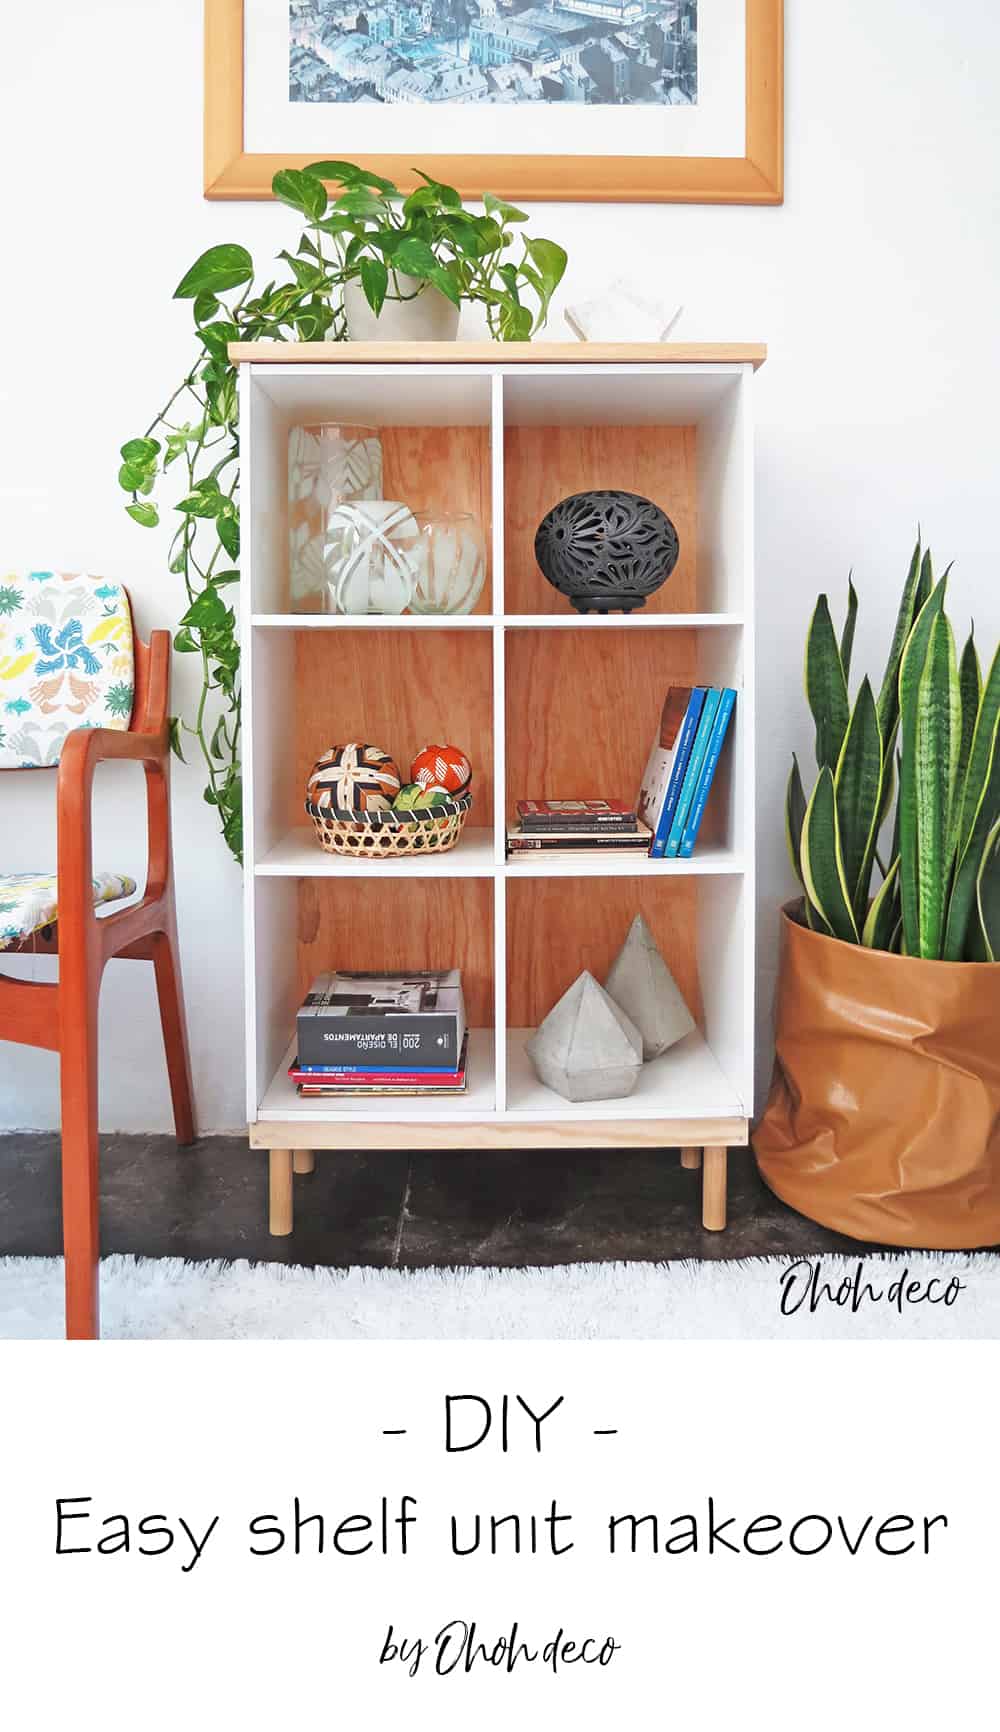
And done! The boring shelf unit converted into a nice display. It put it in my living room while I finish the playroom makeover…I really like it, so it may stay there for awhile.
I choose to leave the legs, back and top in wood natural color, but you can stain it or paint it to match you decor.
I love upcycled storages, they are such an easy way to keep the house nice looking and organize on a budget.
So tell me, what do you think of this furniture makeover?
I love to see your creations, so don’t hesitate to let me a comment or share them on social media (FB: @ohohdeco IG: ohoh.deco)
RELATED: DIY cardboard Wall shelf
RELATED: The school desk makeover
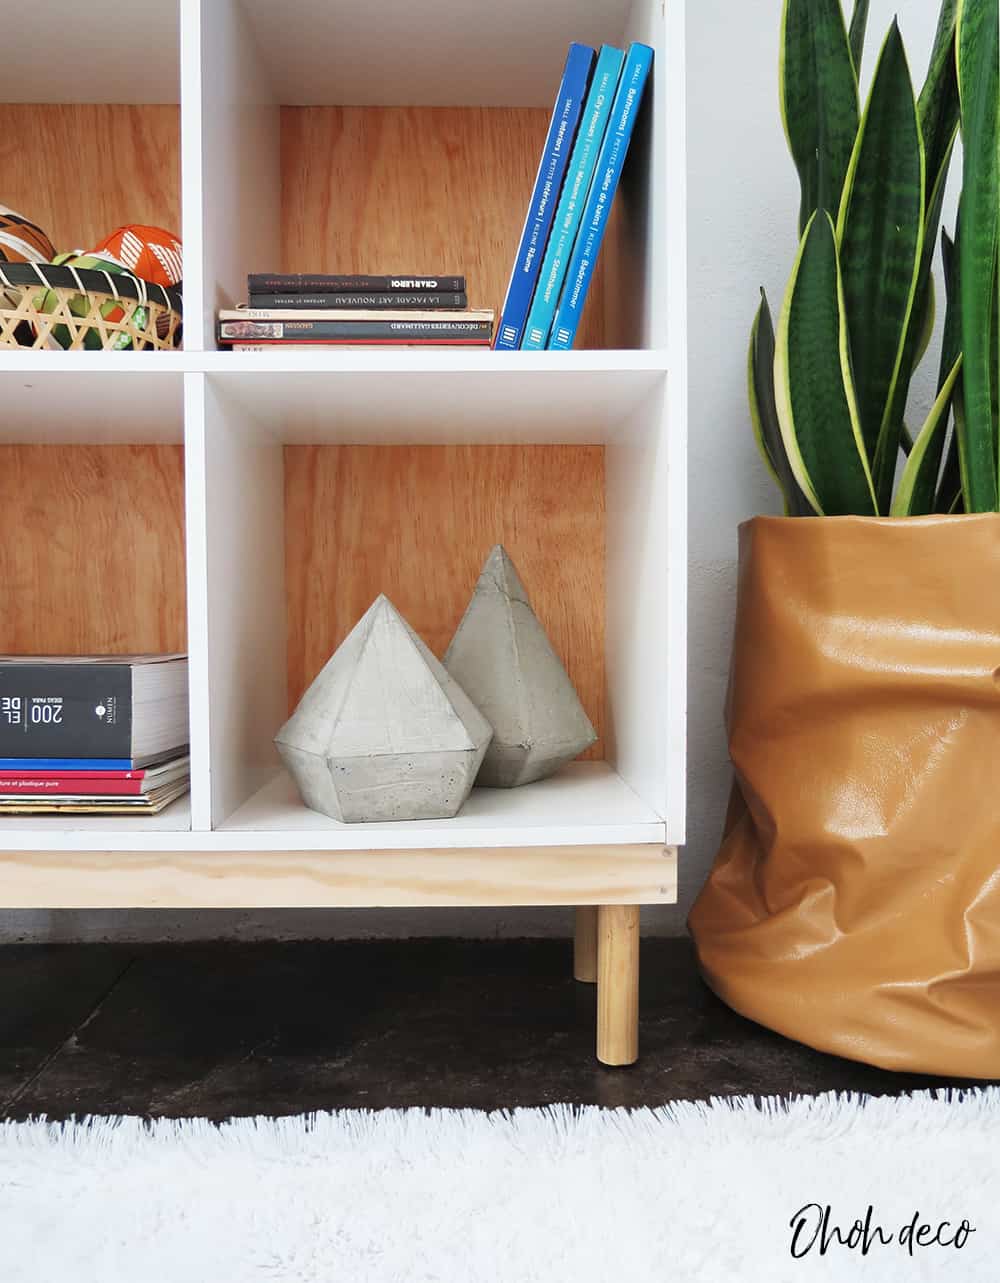
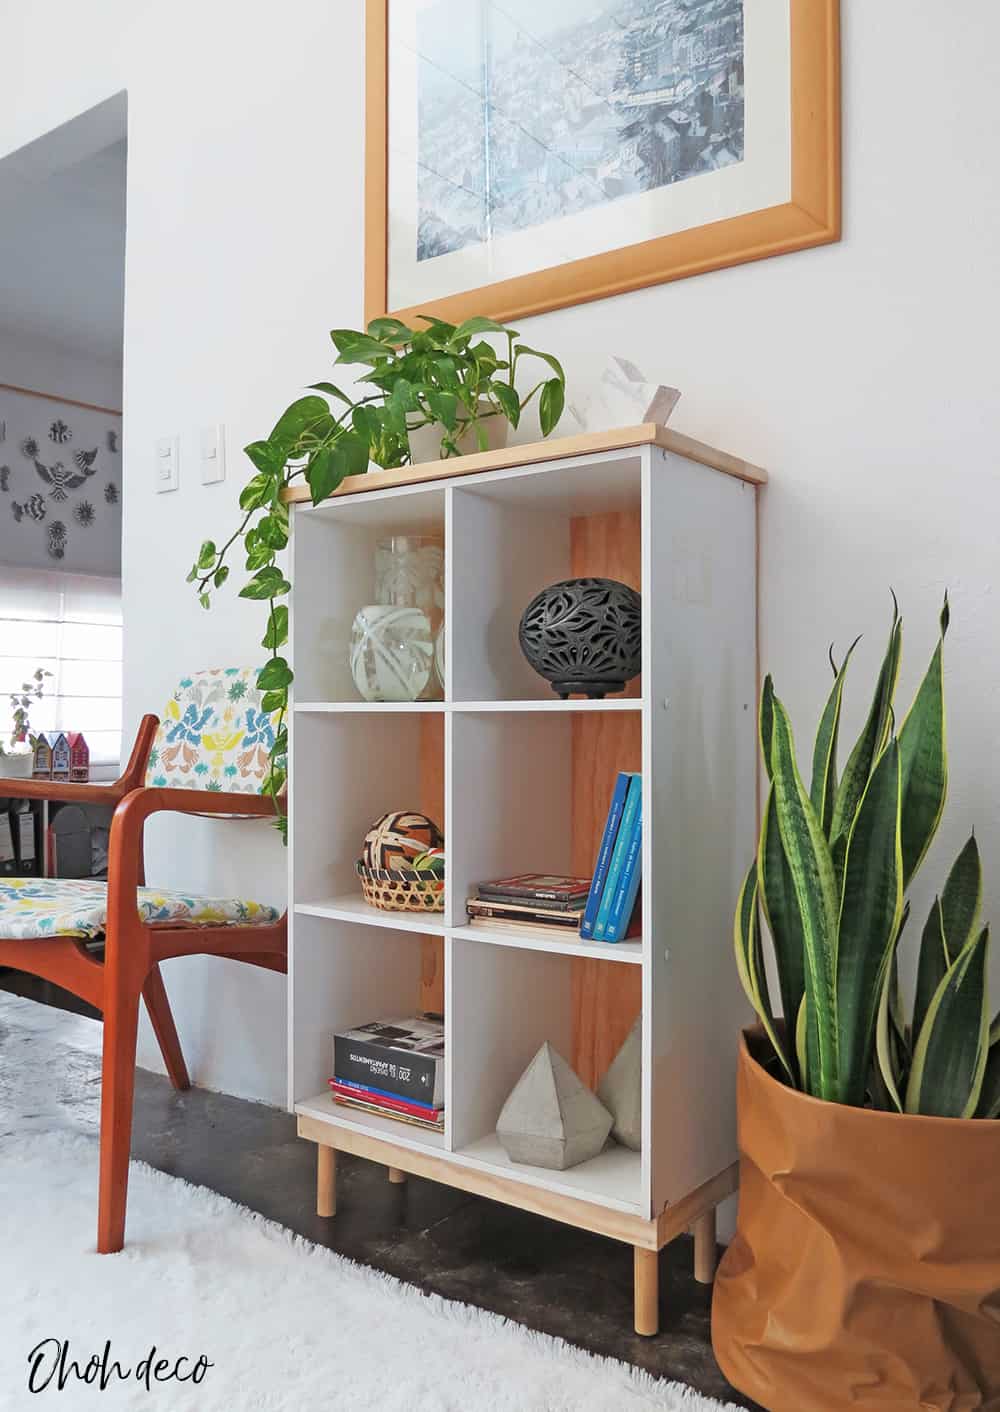
Can you spotted all the DIY in this pic? I help you: The etched glass, the concrete book holders, the rolling planter, the star box and the fabric globes.
Want to remember it? Save this upcycled shelving unit in your favorite Pinterest board
You will find all the tutorials featured in the video on my “Best DIY” page.
Amaryllis


Your bookcase redo is extremely impressive. Also, the frame for the bottom is very well thought out and explained. Congrats on a job incredibly well done!
Thank you so much Elizabeth!
Me gusta mucho como te ha quedado, lo veo mucho mejor con esas patitas que corriendo por el suelo, jiji. Y la madera en la parte superior le da mas aire de armarito y con esa planta tan verde es que yo también la dejaría en la sala de estar jajaja.
Besote!!!!
Si, me gustaria quedarme la para la sala…pero entonces tengo que buscar otro almacenamiento para el cuarto de juego! Bueno ya lo voy a pensar…lo bueno es que no es pesada y es fácil cambiar la de lugar!
Great makeover ! It looks so much nicer than before and with quite few changes actually !
Thanks, and you are right it was quite simple to make!