
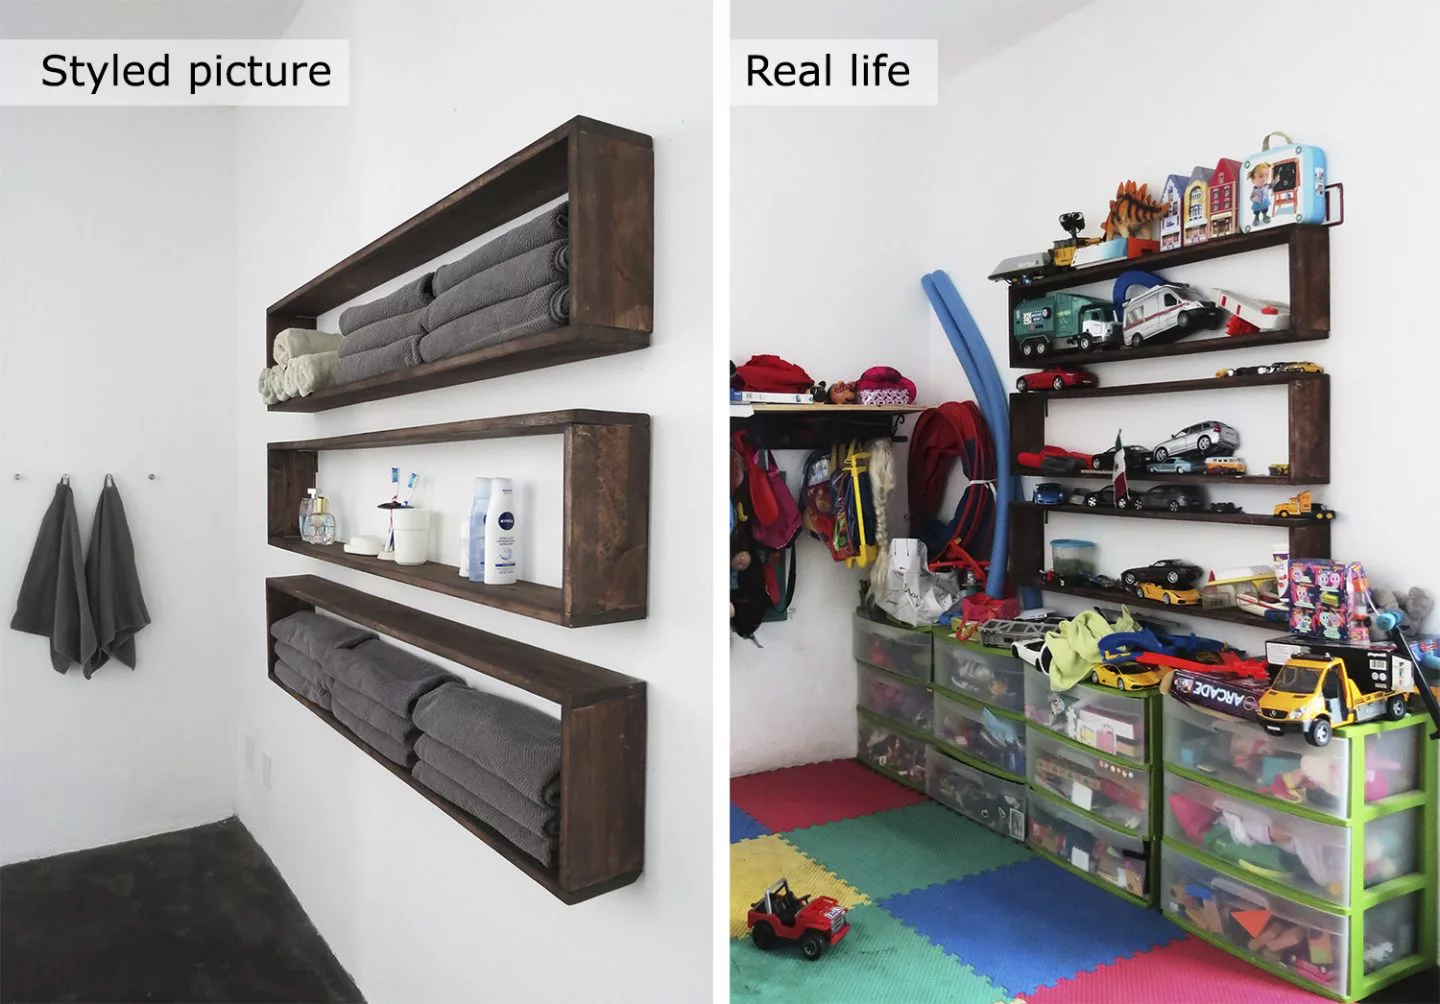
As the kids are back to school, I tried to clean the house a bit. I plan on refreshing the playroom, but before starting I had to sort and organize the toys. Years ago, I made some nice box shelving for Bob Vila. As the storage project was planned to be displayed in a bathroom, I styled it with towels, soaps, and beauty products to take the pictures….The truth is the shelves were placed in the kid’s playroom.
[ This post probably contains affiliates links, our full disclosure policy is really boring, but you can read it HERE ]
The two reasons for that is I don’t have a wall big enough to hang them in my bathroom, and the second is I needed some storage in the kid’s room. Slowly but surely the box shelves ended up filled with a complete mess. Just check the pictures below to be convinced.
RELATED: DIY drop shaped shelf
RELATED: DIY geometric display shelf
* * *
Ya que los niños regresaron a la escuela, traté de limpiar un poco la casa. Planeo refrescar la sala de juegos, pero antes de comenzar tuve que arreglar y organizar los juguetes. Hace años, hice algunas bonitas repisas para Bob Vila. Como el proyecto de almacenamiento se planeó para ser exhibido en un baño, lo estilice con toallas, jabones y productos de belleza para los fotos … Lo cierto es que los estantes se colocaron en la sala de juegos de los niños.
Las dos razones para eso es que no tengo una pared lo suficientemente grande como para colgarlos en el baño, y el segundo es que necesitaba algo de almacenamiento en la habitación de los niños. Poco a poco, los estantes se llenaron de un completo desastre. Solo revisa las imágenes a continuación para quedar convencido.
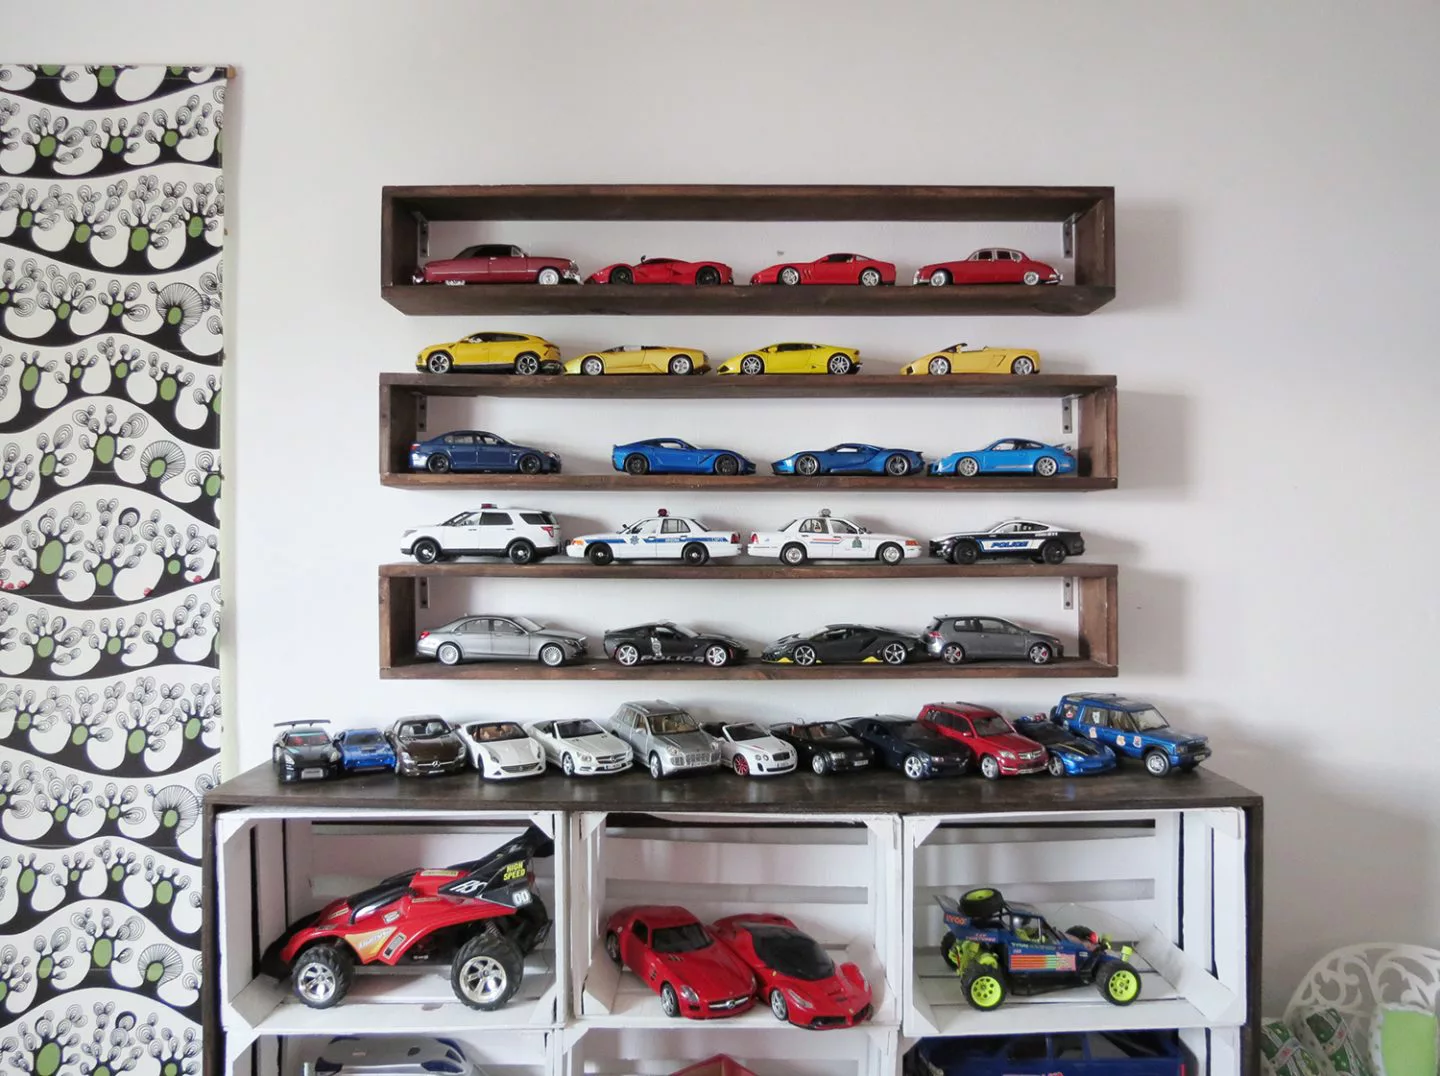
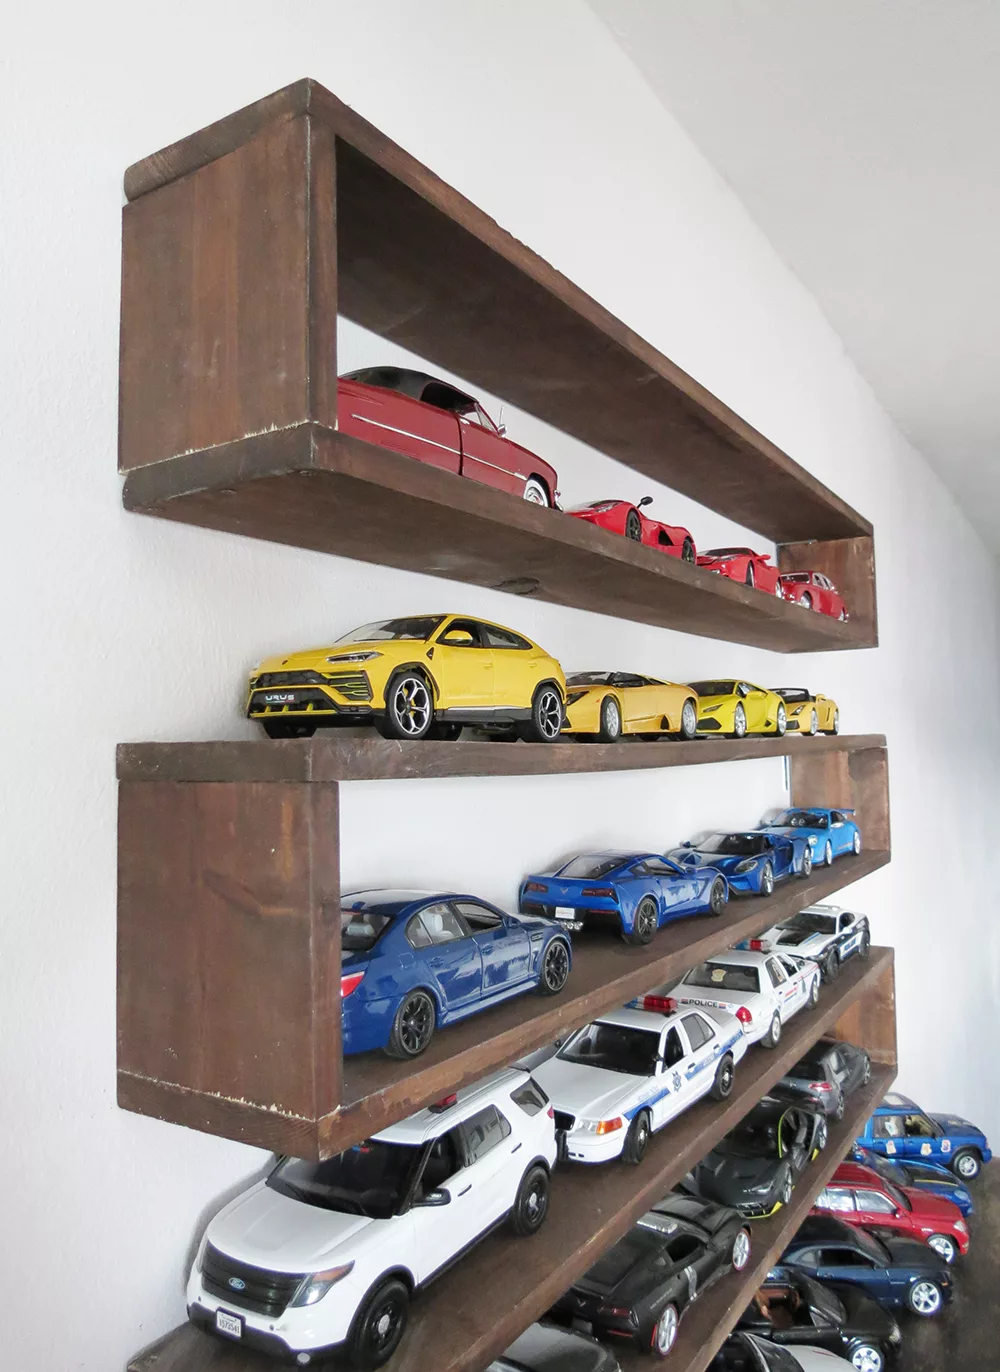
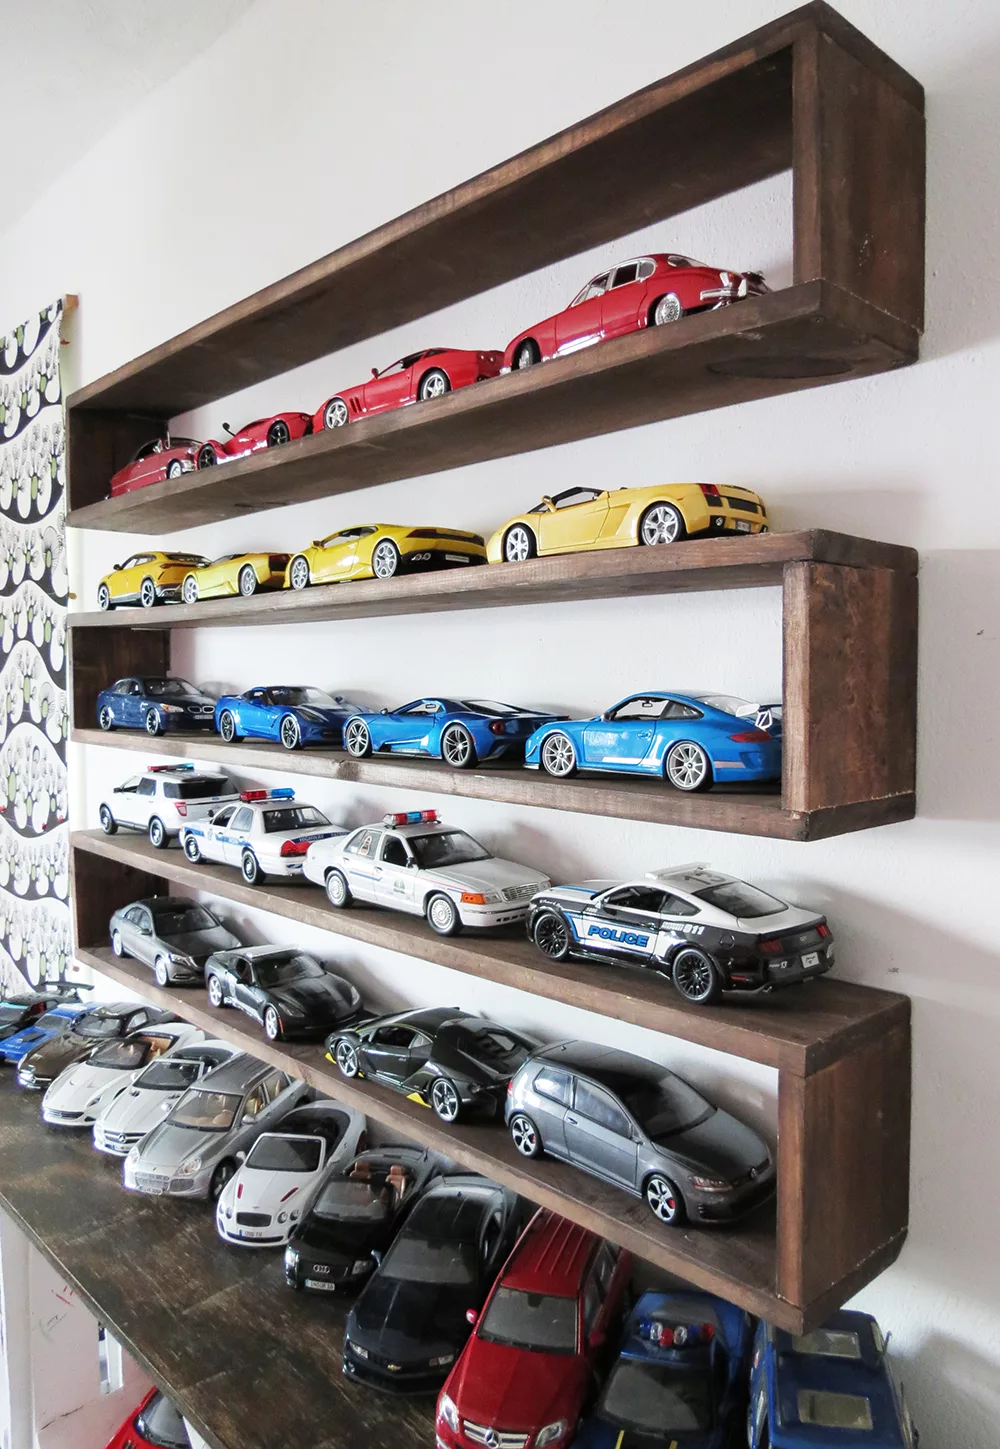
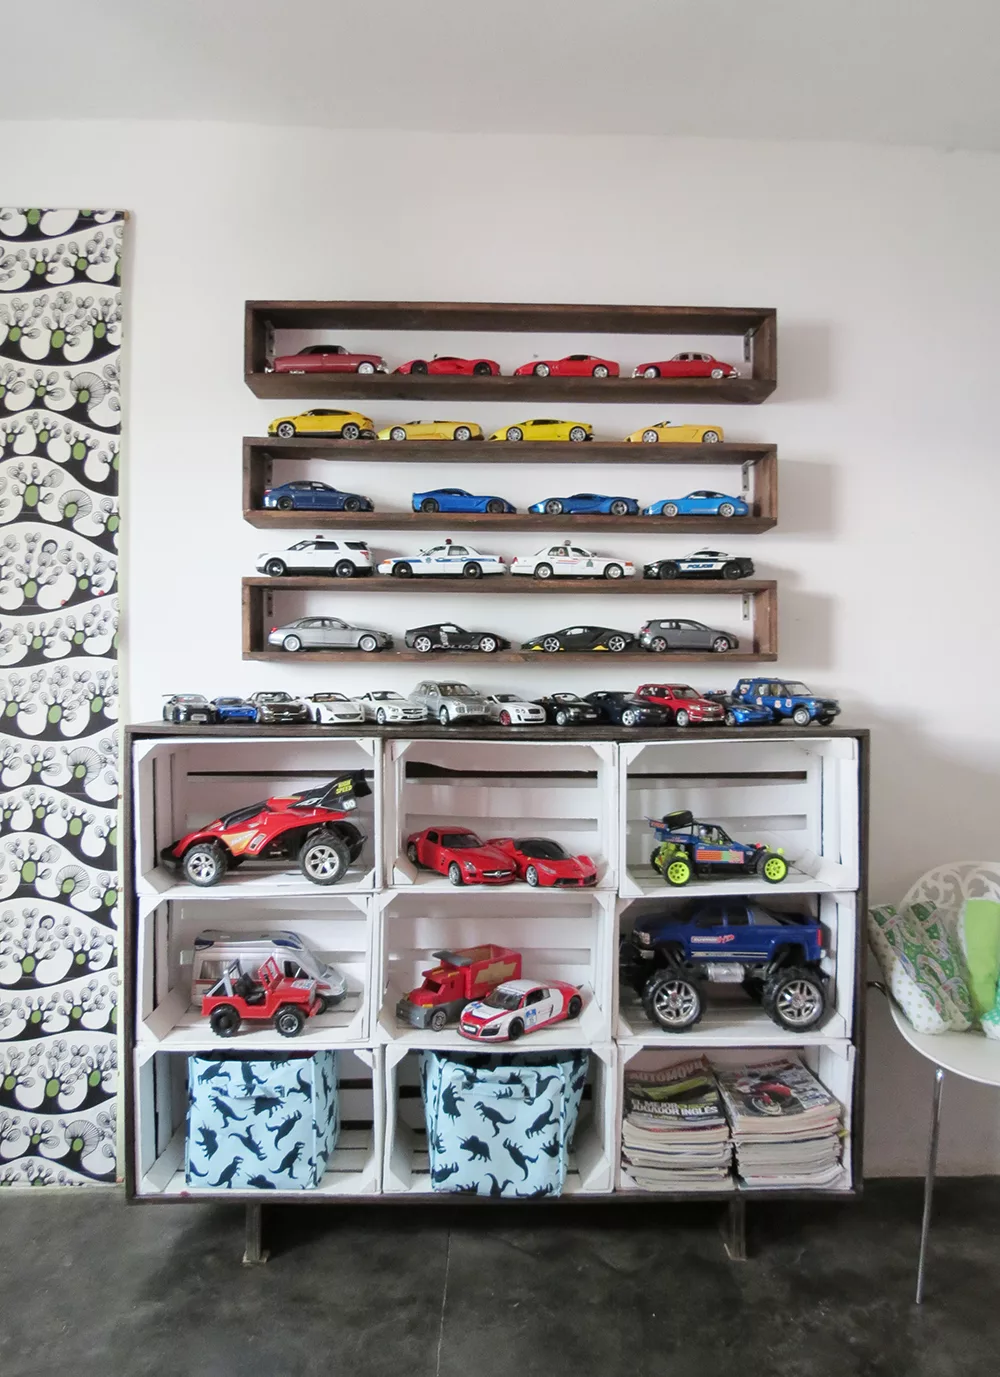
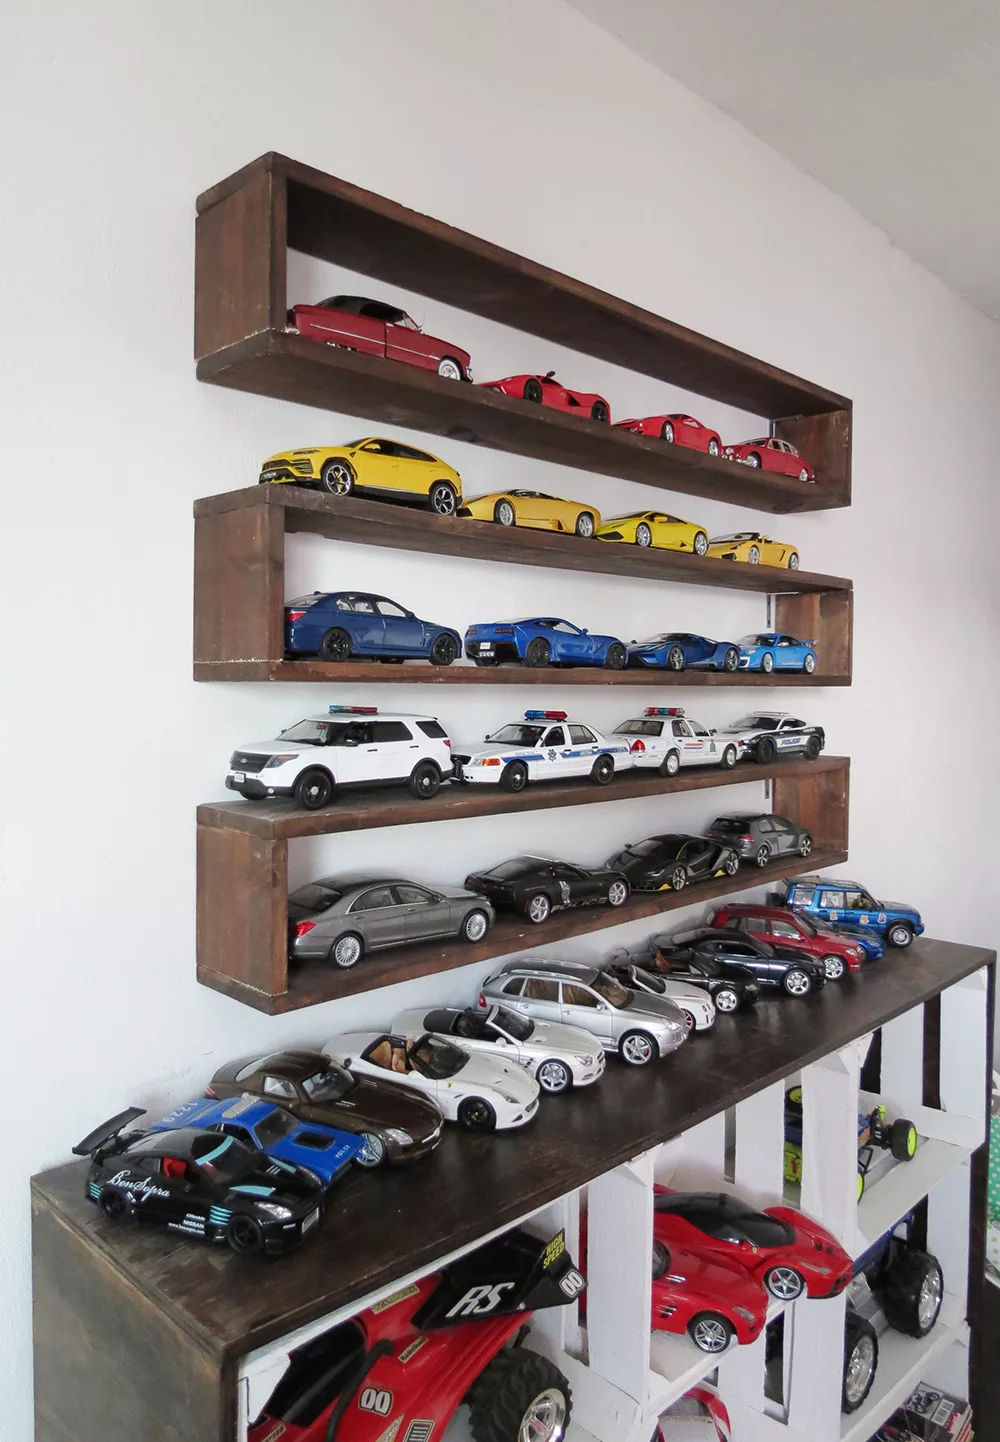
I still like these box shelving and I wanted to give them better use. So I disassemble them, cut the sides to reduce the high, and make them at better dimensions to store my son’s car collection. I screw them back in his bedroom, just above the DIY crate storage. And it turns out to be just the perfect wall storage for his 1/18 scale cars.
Materials you will need to build a box wall shelf
- 1×6 lumbers 8ft long
- wood glue
- drill
- 1 1/2 in. screws (12 for each shelf)
- Sanding paper (60 and 120 grid)
- 2 1/2 metal corner braces and screws
- wood stain or paint (optional)
- varnish
- level and pencil
If you want to build some box shelves here goes some indications. I used 6in. x 1in. x 8ft planks and cut them at the following dimensions: 2 pieces of 4 ft to make the top and bottom of the box, and two pieces of 6 inches to make the box sides.
Sand the plank edges, and screw the sides with the top and bottom. The sides are placed in-between top and bottom and fixed with three screws on each end. You can also add some wood glue before screwing to strengthen the assembly. Sand the box, stain or paint them the way you like.
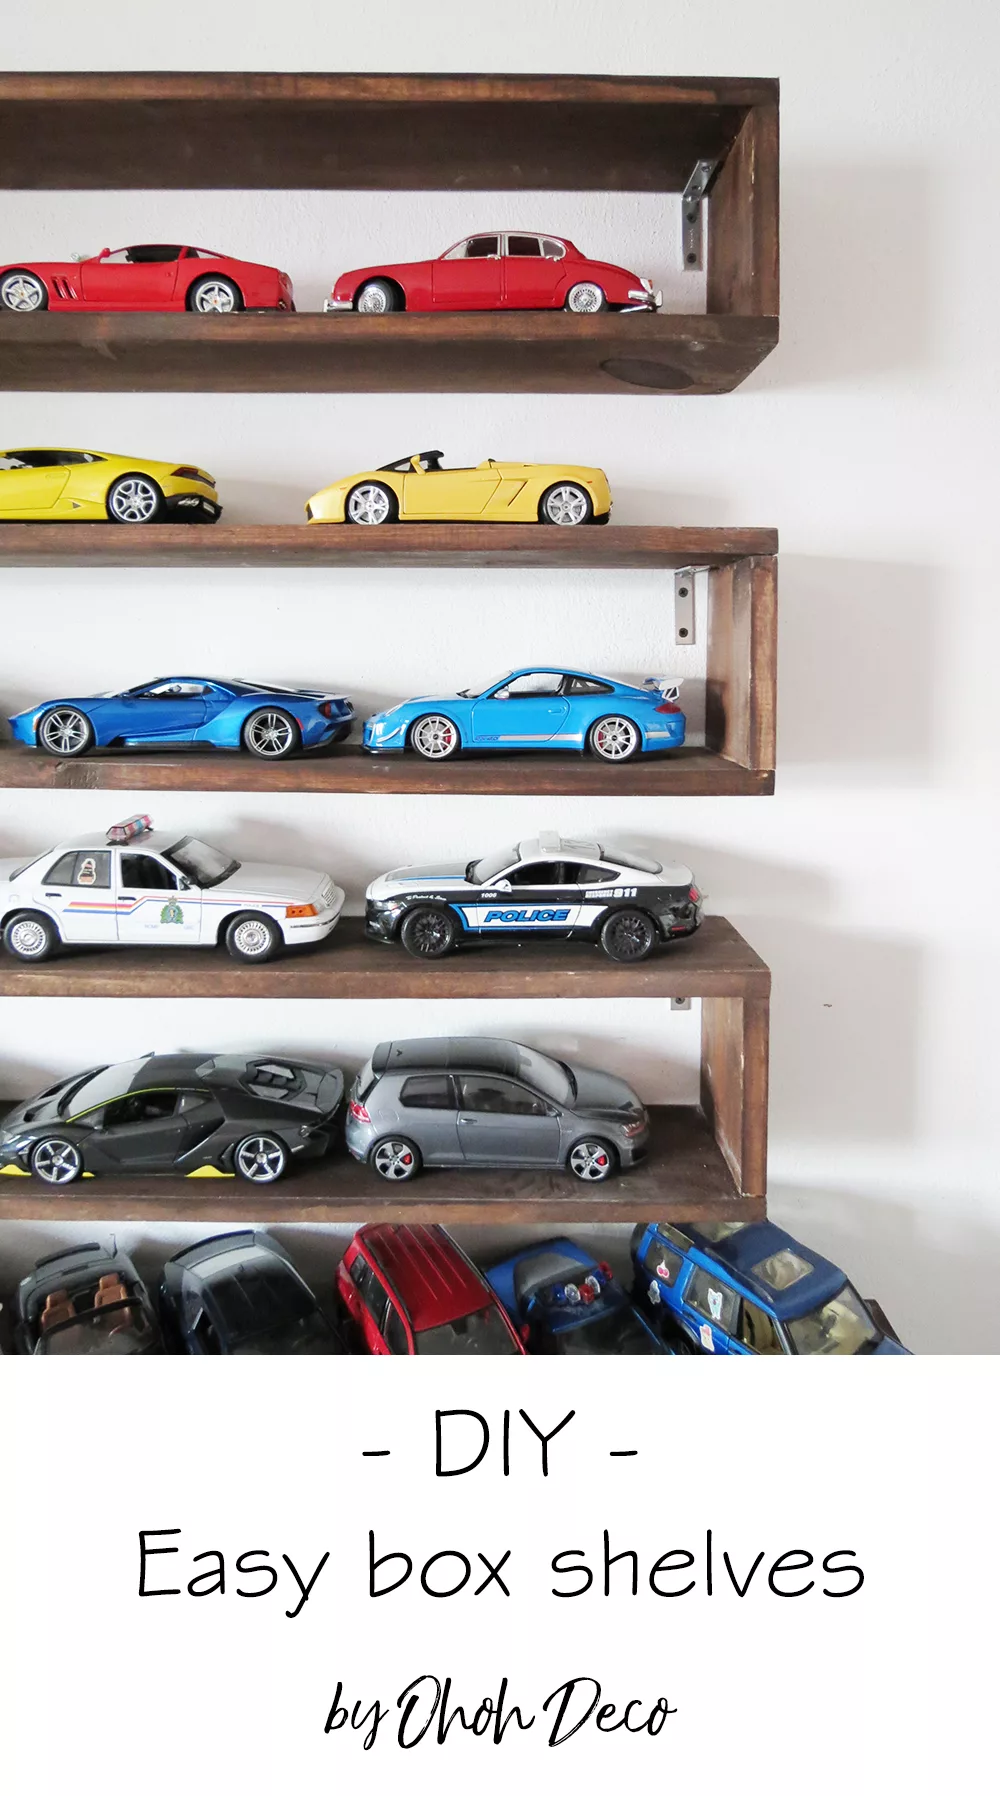
To hang them on the wall, screw a 2 1/2 bracket on each box top corner and screw them on the wall. And done, the perfect storage to display your collectibles.
If you want a more detailed tutorial, with step by step pictures, don’t hesitate to have a look at the one I wrote for Bob Vila. And remember you can easily adapt the box shelf dimension to your needs. What do you think? What would you like to display in these shelves?
* * *
Como todavia estas repisas me gustan bastante, quise darles un mejor uso. Entonces las desarme, corté los lados para reducir el tamaño y hacer que quedaran para exhibir la coleccion de carritos de mi hijo. Las colgue en su habitación, justo encima del almacenamiento hecho con huacales. Resulta ser el almacenamiento de pared perfecto para sus autos de escala 1/18.
Si deseas construir algunas repisas, aquí te dejo algunas indicaciones. Usé tablones de 15cmx 2 cm x 244cm y los corte a las siguientes medidas: 2 piezas de 122 cm para hacer la parte superior e inferior de la caja, y dos piezas de 15 cm para hacer los lados de la caja.
Lije los bordes de cada pieza y atornille los lados con la parte superior e inferior. Los lados se colocan entre la parte superior e inferior y se fijan con 3 pijas a cada extremo. También puedes agregar un poco de pegamento para madera antes de atornillar para fortalecer el ensamblaje. Lije la caja, la puedes tintar o pintar de la forma que deseas.
Para colgarla en la pared, atornilla un ménsula de 6x6cm en las esquinas superiores de la caja, luego atornilla las en la pared. Y hecho, el almacenamiento perfecto para sus colecciones.
Si desea un tutorial más detallado, con imágenes paso a paso, no dude en echar un vistazo al que escribí para Bob Vila. Y recuerdas que puedes adaptar el tamaño de la caja a tus necesidades. ¿Que piensas? ¿Qué te gustaría presentar en estos estantes?
Want to remember it? Save these DIY box shelves in your favorite Pinterest board.
You will find all the tutorials featured in the video on my “Best DIY” page.
Amaryllis

JB
Monday 26th of November 2018
So cute and the design is perfect. I will try to build this one at home using the same material. Is that a wood?
amaryllis
Tuesday 27th of November 2018
Hello, thanks and yes it's wood, 6in x 1in. x 8ft planks ;)
renee
Wednesday 29th of August 2018
love it...i need shelves and can whip up some of these in a day or too in different sizes i need. glad i found this spot!
amaryllis
Thursday 30th of August 2018
Hello Renee, the box shelves are really fast to build! I'm glad to see I'm not the only one looking for extra storage ;)