
I’m pretty sure you already saw some mud cloth print on decoration lately. It’s a traditional African dyed fabric technique, who is composed of multiples geometrical shapes and symbols.
Even if this dying technique is several centuries old, it still inspires the creation of patterns nowadays.
[ This post probably contains affiliates links, our full disclosure policy is really boring, but you can read it HERE ]
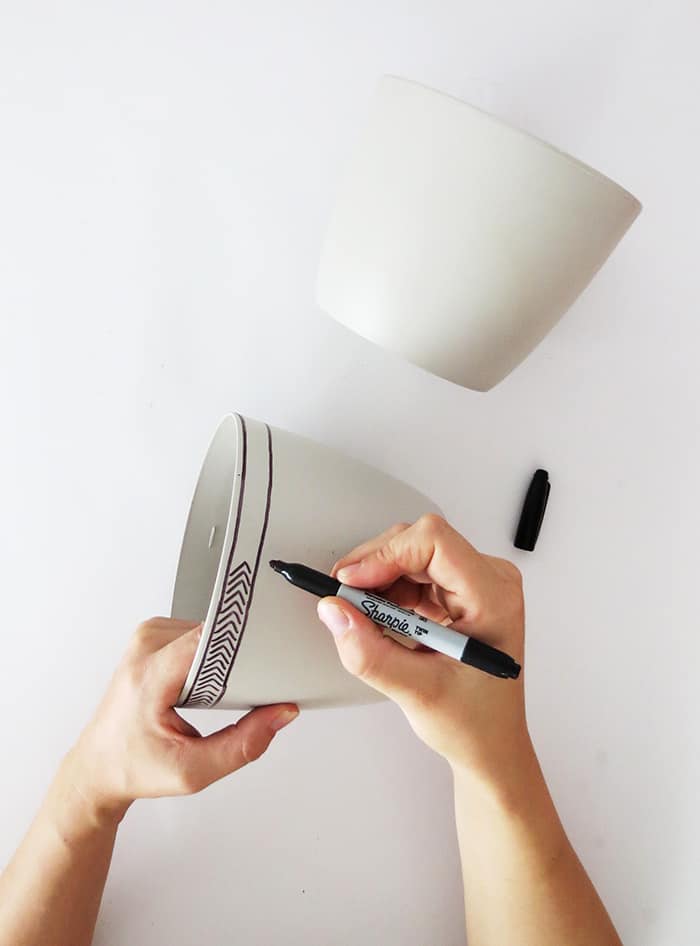
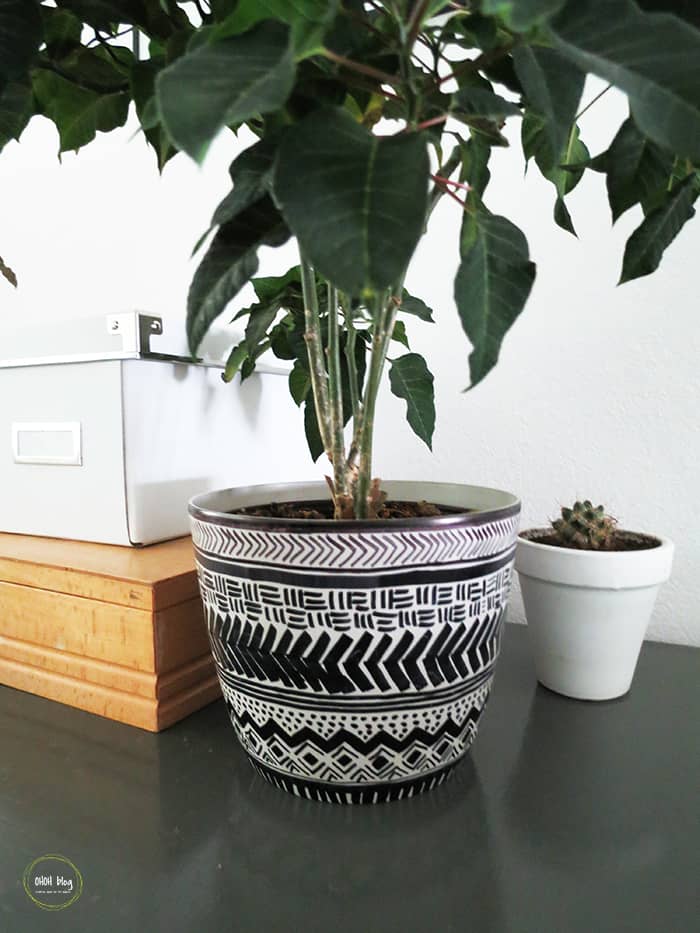
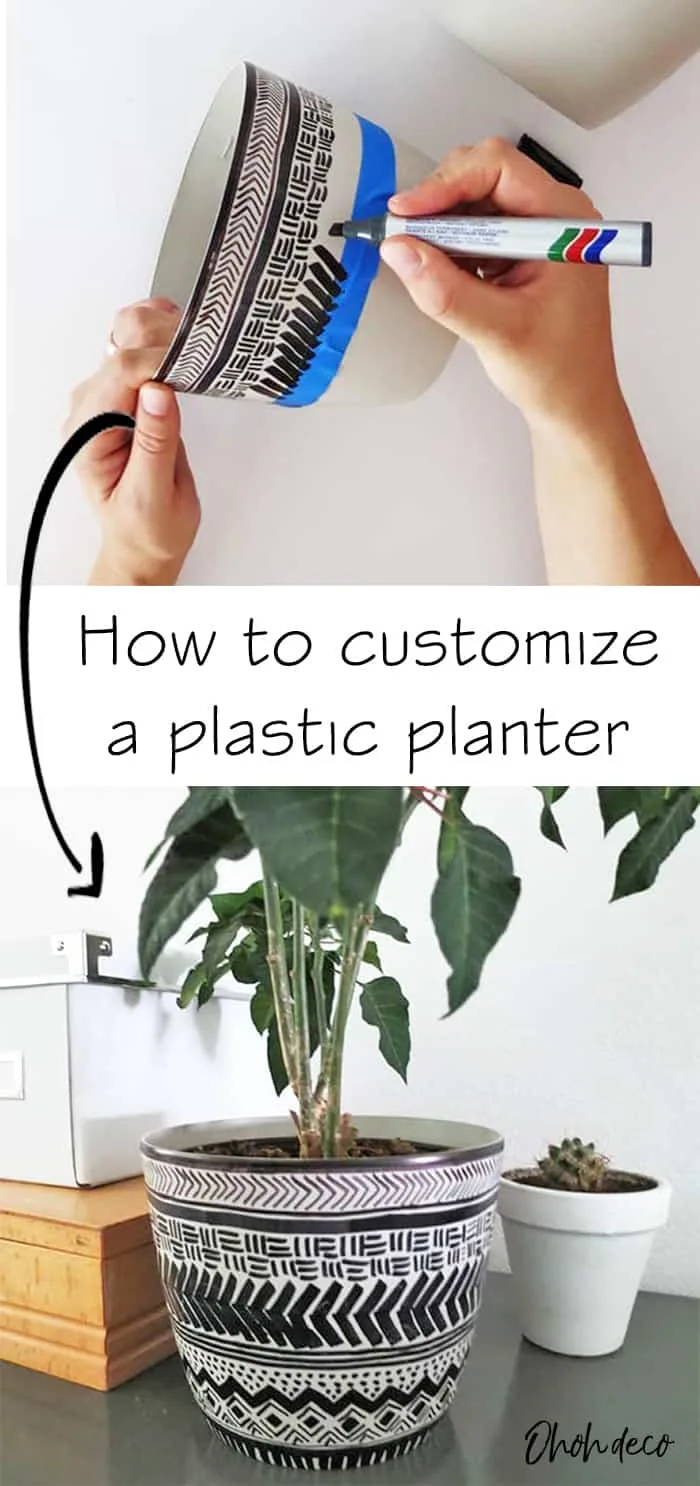
I get those white plastic planters at Home Depot, for 2$. They are functional but not very interesting. So to jazz them up I used a sharpie and draw some mud cloth inspired shapes. Quite simple, right?
A few tips to customize your planter with a sharpie
- Your design will look more interesting if you use several thicknesses of black sharpie (this set is perfect for this project)
- Repeat the same pattern all around the planter to create a row.
- Help yourself placing some tape around the planter to keep your drawing straight. Once you finished the row move the tape lower.
- Look on Pinterest or google to find some traditional mud cloth symbols to get inspired by.
- I made my patterns in black but colored versions are very nice too (so many colors to choose from)
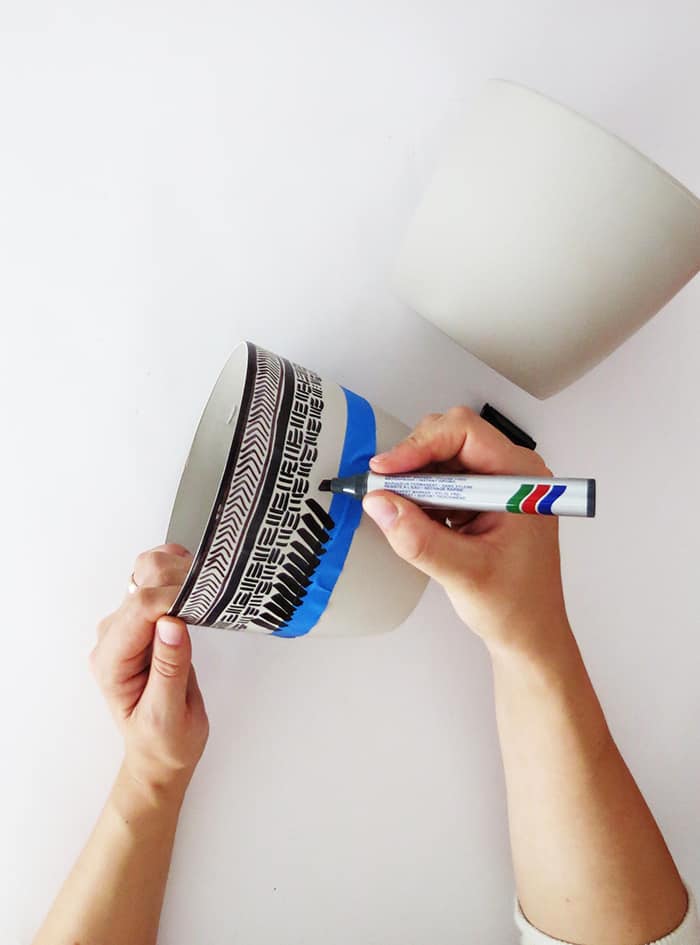
It takes a little time to make all the drawings, but it’s really easy to achieve and for me, it was quite relaxing … like coloring mandalas. I hope you will enjoy it!
You can find more pattern ideas searching on google for “mudcloth designs”, look how gorgeous are these planters.
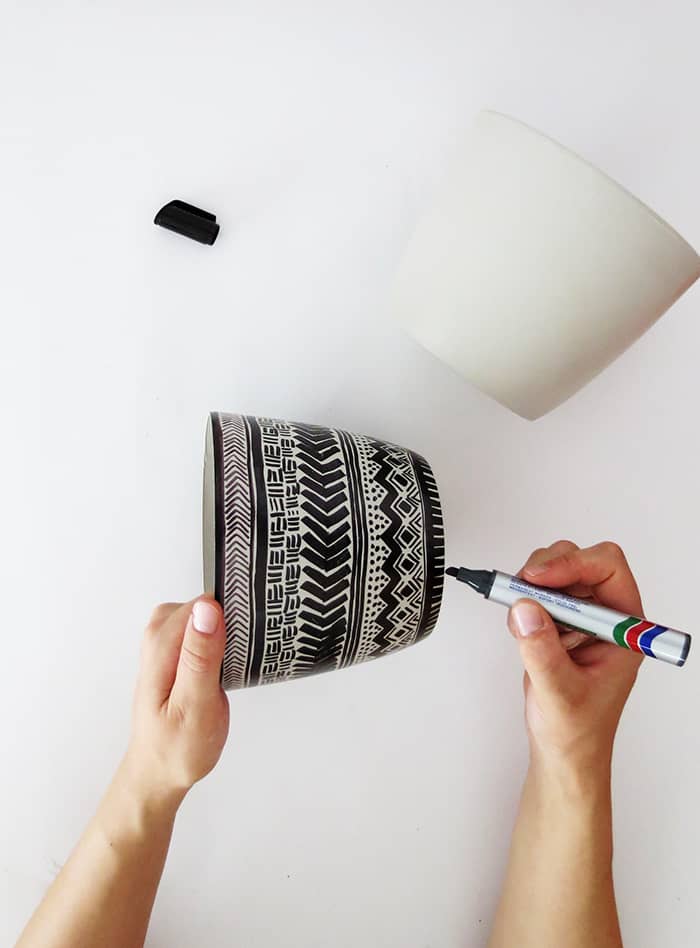
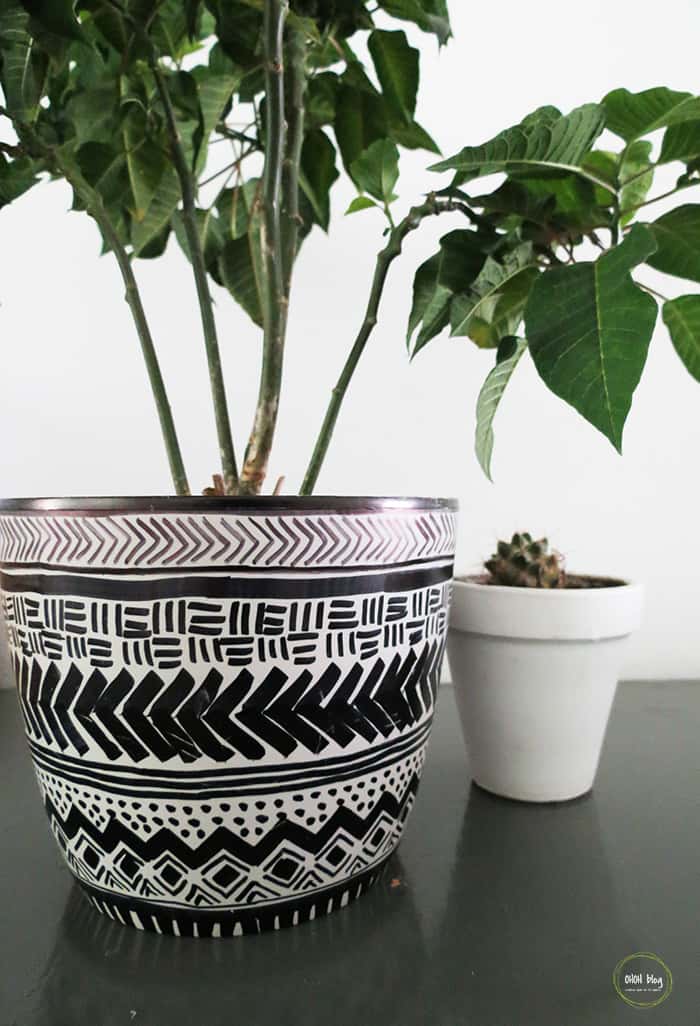
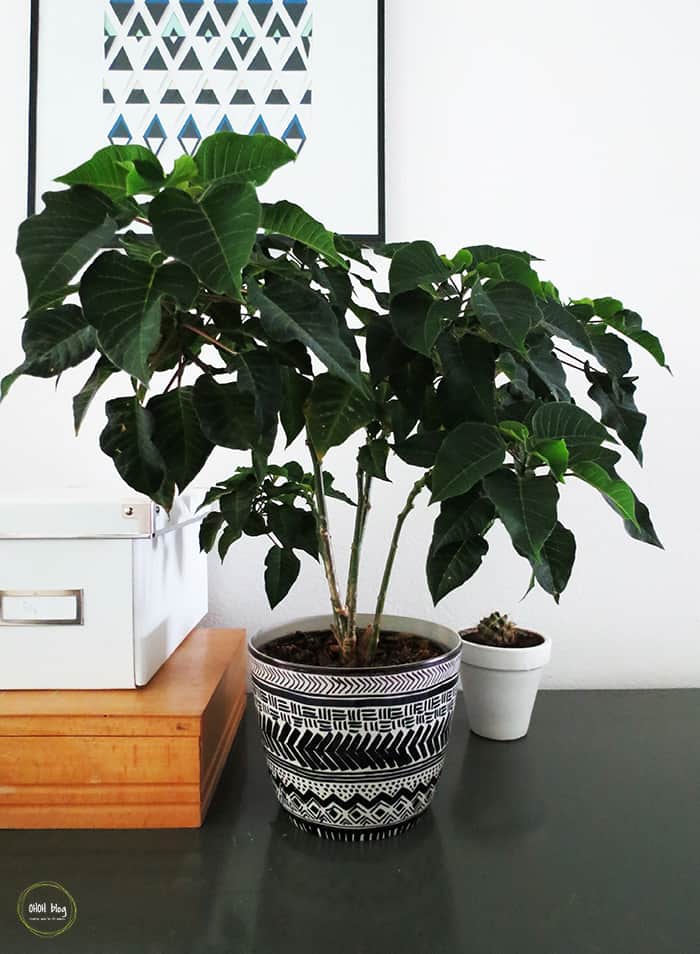
And Tadaaaam, finished! I put the plant back in and done! I bought this poinsettia plant two years ago at Christmas time. It has never flourished again but keeps growing…
The geometric wall art is also a DIY, if you like it you can have a look at the tutorial
RELATED: DIY tin can planter
RELATED: Little houses to decorate your planters
Want to remember it? Save this DIY Customized Planter in your favorite Pinterest board.
Amaryllis

Jurgita K.
Saturday 8th of July 2017
looking great!Muilo Burbulai