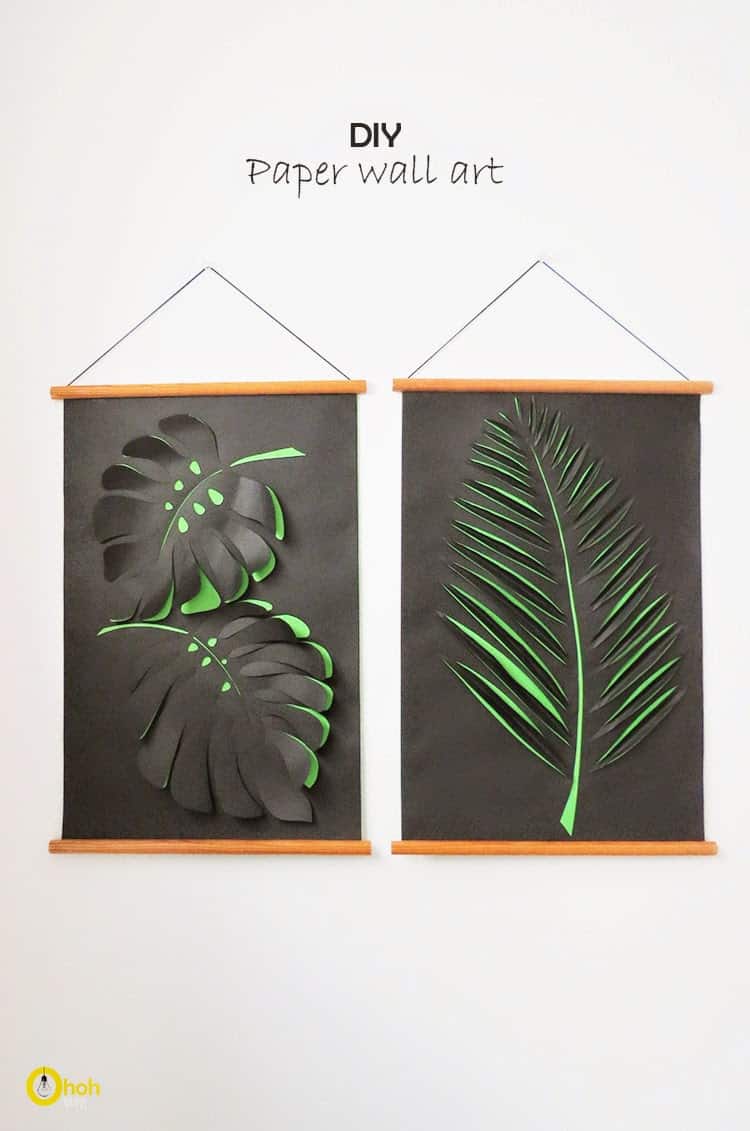
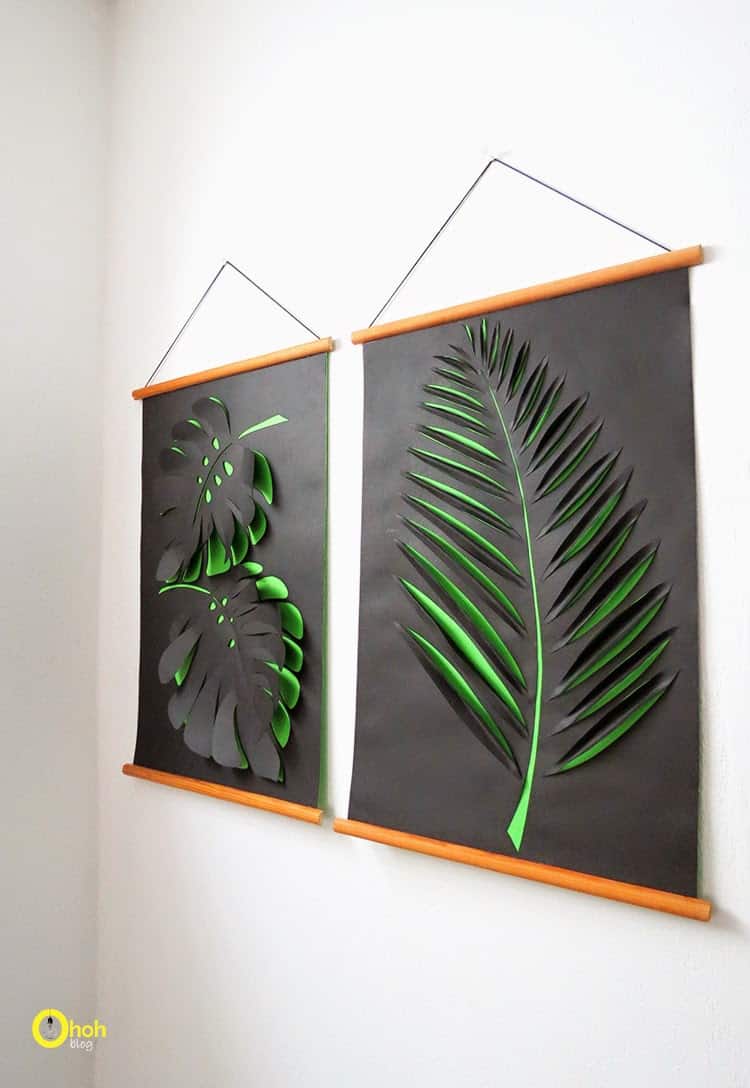
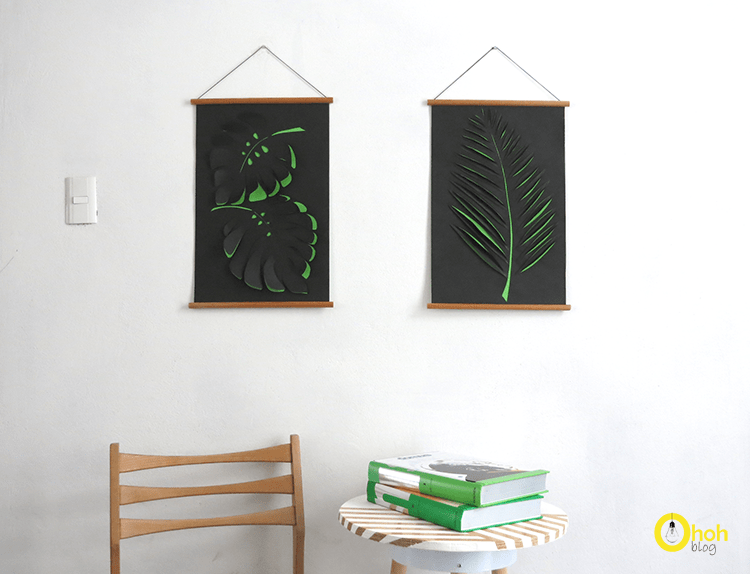
Today I’m gonna show you who to make a nice & cheap art wall. I saw those cute leaves decoupage on Raw Color. I tried to make my own version, using two sheets of paper to give the leaves more volume. I used a bright color but I will work with any kind of paper.
Hoy te mostraré cómo hacer una decoración mural original. Vi estas hermosas hojas cortadas en el sitio de Raw color. Traté de hacer mi propia versión, utilicé dos hojas de papel para dar más volumen. Trabajé colores fuertes, pero puedes utilizar cualquier tipo de papel.
Aujourd’hui, je vais te montrer comment faire une jolie déco murale. J’ai vu ces magnifiques feuilles découpées sur le site Raw Color. J’ai tenté de faire ma propre version, en utilisant deux feuilles de papier pour donner plus de volume. J’ai utilisé des couleurs vives, mais tu peux employer n’importe quel type de papier.
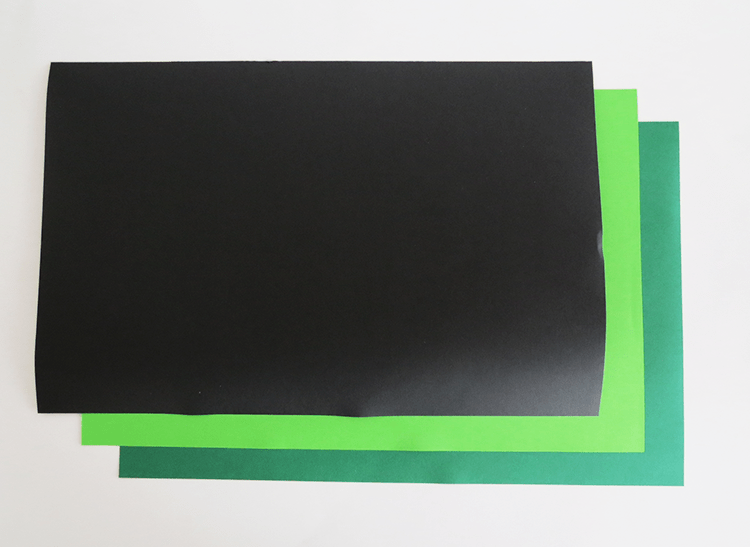
Supplies you gonna need: Color paper sheets, pencil, glue, cutter, dowels (half-round shape), string and push pins.
Suministros que vas a necesitar: hojas de colores, lápiz, pegamento, cutter, palos (perfil de medio circulo), cuerda y chinchetas.
Matériel dont tu auras besoin: feuilles de couleurs, crayon, colle, cutter, bâtons (demi cercle), cordelette et punaises.
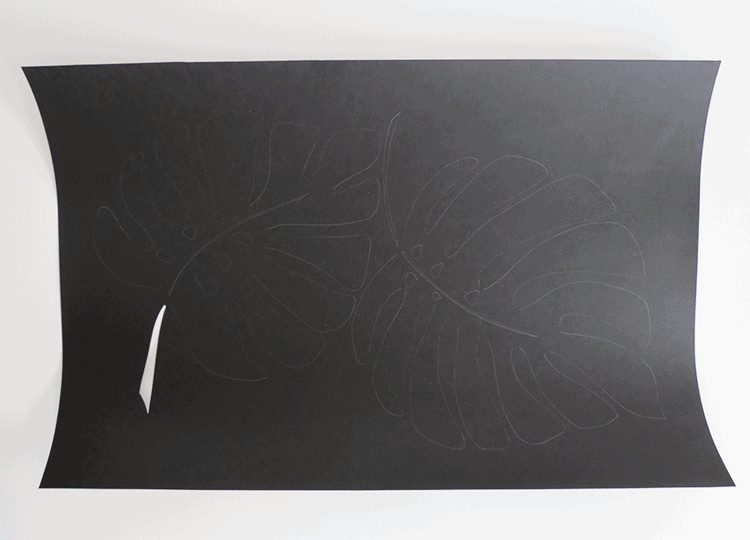
Trace your drawing on the back of the sheet and cut along the lines. Be careful not to cut everything, the leaf must remain attached to several points with the sheet.
Trazas tu diseño en la parte posterior de la hoja y cortas a lo largo de las líneas. Tengas cuidado de no cortar todo, la hoja debe permanecer unida en varios puntos.
Trace ton dessin au dos de la feuille et découpe en suivant les lignes. Attention, ne découpe pas tout, la feuille doit restée attachée à plusieurs endroits.
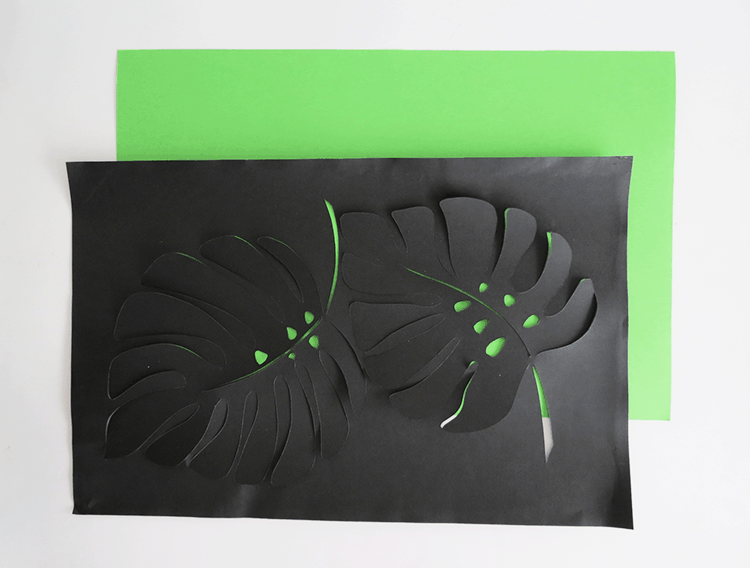
Glue the leaf cut out on another sheet of color.
Pegue la hoja con el recorte en otra hoja del color.
Colle la feuille avec le découpage sur une autre feuille de couleur.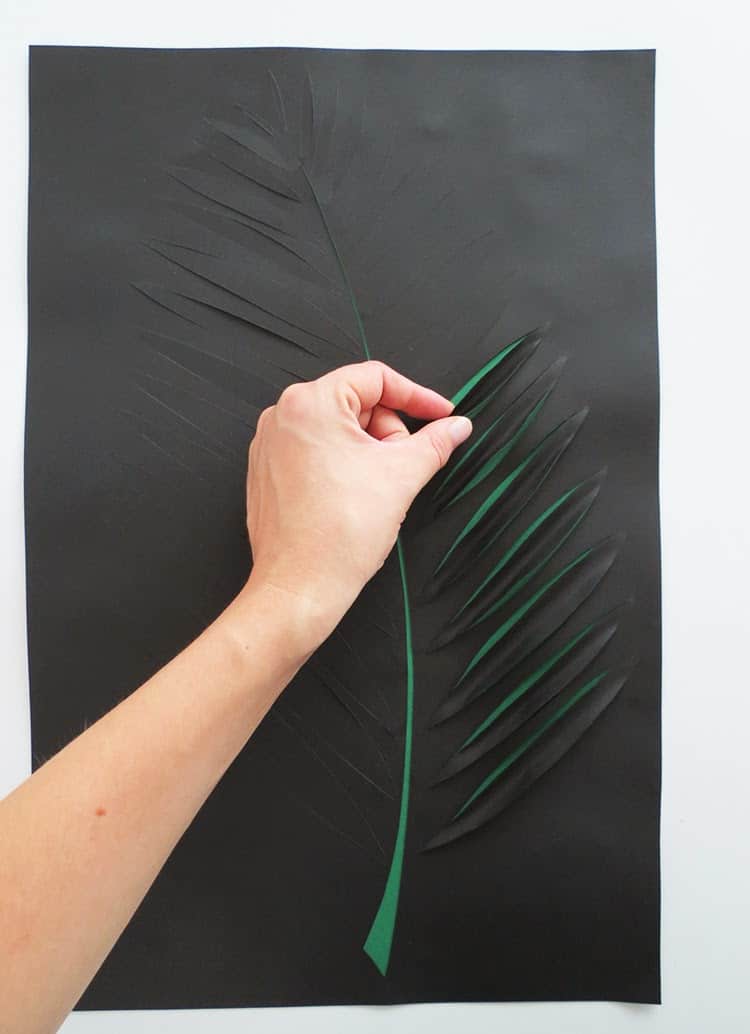
Fold the cut out leaves to give volume.
Doblas la hojas recortadas par darles volumen.
Plie les feuilles découpées pour donner du volume.
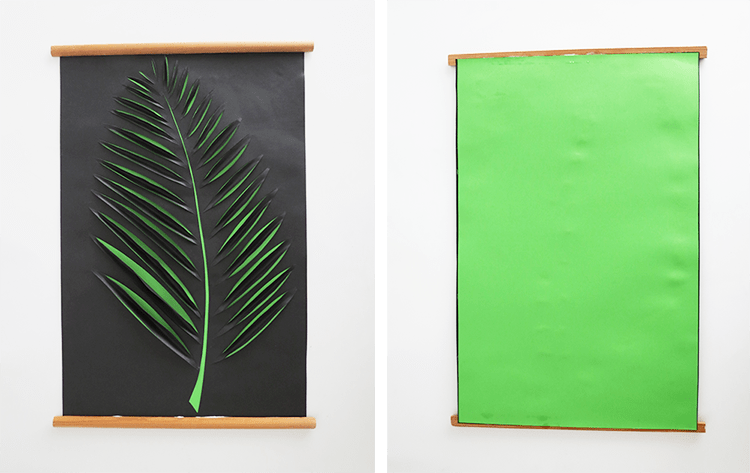
Glue on the top and bottom of the sheet the dowels.
Pegue en la parte superior e inferior de la hoja los palitos de madera.
Colle sur le dessus et le dessous de la feuille des bâtonnets en bois.
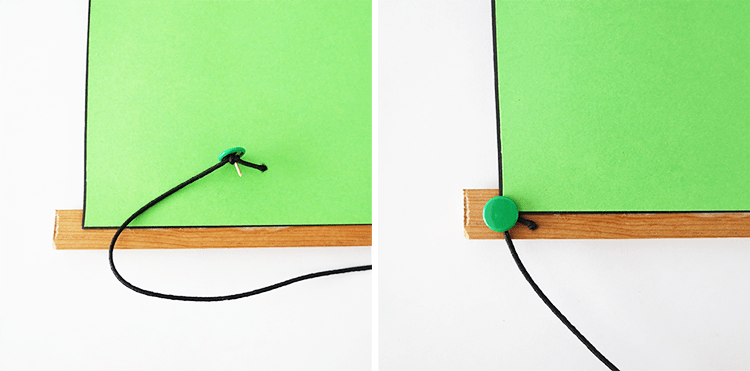
To suspend your leaves, cut a piece of cord, make a knot around a pin and push it on the back of the stick.
Para suspender tus hojas: cortas un trozo de cuerda, haz un nudo al rededor de la chincheta y empuja la en la parte trasera del palo.
Pour pouvoir suspendre tes feuilles: coupe un morceau de cordelette, fait un noeud autour d’une punaise et enfonce la au dos du bâton.
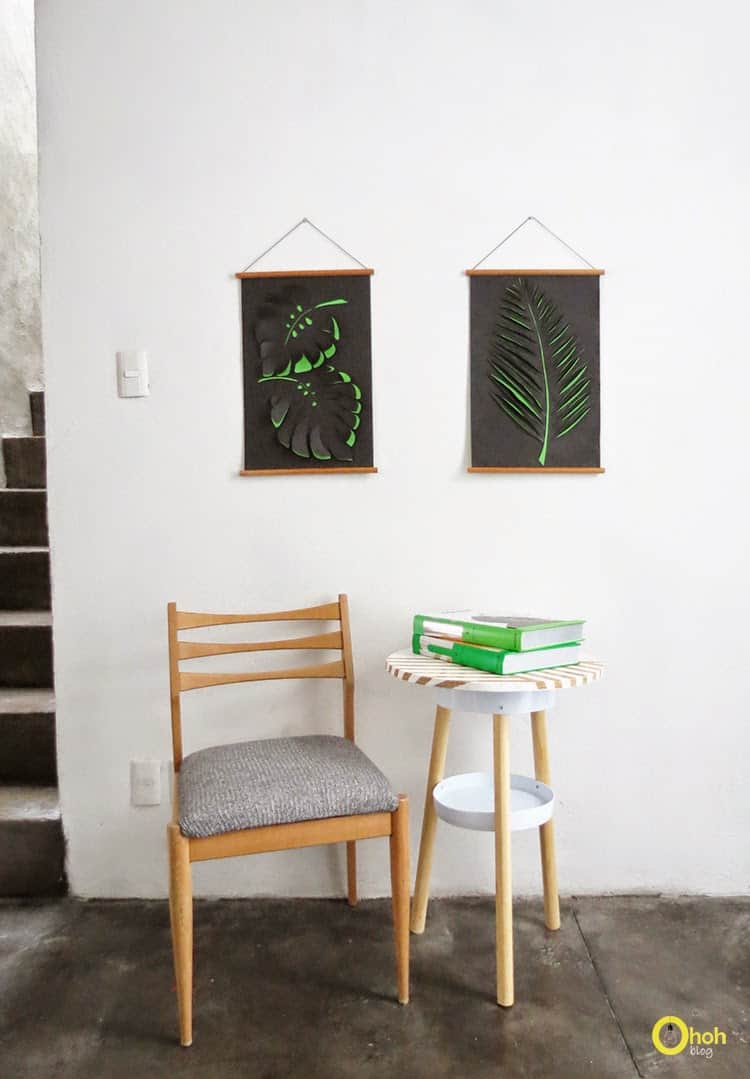
You will find all the tutorials featured in the video on my “Best DIY” page.

Le résultat est vraiment très joli. Merci pour ce tuto détaillé. Je sélectionne ton billet sur Abracadacraft.
Chouette, merci!
Thank you so much, your leaf designs are so refreshing and so easy to make.
Thank you for sharing. Rosemary
Alors ça, c'est super chouette ! Excellente idée et merci pour le tuto. (Sarah)
It's official… I would like to live with you and craft all day. 🙂
Beautiful wall hangings!
hahaha….That would be nice! But I warn you, I'm pretty messy when I craft.
Just found your lovely blog on Pinterest – ohoh I'm amazed! Incredible creative talent! And this project is simply über-genius, thanks for sharing Ama Ryllis:-)
Thanks Mette! I love your blog, so your comment make my day!
Ooh, I love, love, love this Ama!!!
Thanks Allison!
Genia más que genia!! Esta idea es brutal!! GRACIAS
Like your craft. I can not draw so is it possible for you to provide templates of your leaves?
This is such a great innovative idea to have something on your wall that isn't the sort of standard norm. I really love that 3D effect that the final piece produces, it sort of ends up with a old vintage vibe, reminds me of an old friend's house actually, he used to have something like this one one wall, but then something like these Wall Stickers on the other! Ever such a good combination!
Love it, exactly what I need for my walls….
Thanks
What a fab Idea. I will have to have a go
Thank you
Liz
Gorgeous.
The written piece is truly fruitful for me personally; continue posting these types of articles.Paper Shredder site
Great
Above pictures look so fabulous like great thought it looks simply but its not its very hard to cut it same and right way so great job!
This is really great. Thank u
I love this design but Im a little confused. You say to not cut all of the round leaf away but then you say to clue the cut away leaf onto another sheet?
Thank you
Esther x
I love this design but I am a little confused. You say to be careful to not cut all the way through and to leave some bits attached but then you say to glue the cut out leaf another another piece of paper?
Thanks in advance x
Sorry for my late answer, you comment arrived in the spam box! The leaf is cut out in the black paper. To enhance the leaf you need to glue it on a color sheet(green here). You only glue the flat part of the black sheet on the green one. Then you fold the leaf pieces to give them some volume. I hope this explanation helps!
Yes thank you for your reply Ama x
Love the design and how it is done. I was wondering if you have a template or a printable stencil of leaves. I would like to try this! Thanks so much.
Hello Uma, thank you. I just draw the leaves on the paper…I didn't made any template, sorry.
good work. keep it up.
Best Ever!!!
Magnifique. Où peut on trouver les patrons?
Merci de votre réponse
Bonjour Dominique, Je n’ai pas fait de patron pour ce bricolage…peut-être qu’un dessinateur amateur de votre entourage pourra vous aider?
Nice one
Thanks for this amazing post
Thanks for sharing this amazing information. Keep it up Really appreciated
What a great platform that for such nice information. Have a Look keep up the good work
Your blog really helps your visitor all the time.
Oh I LOVE this DIY project!! I am so excited to give this a try!
What a beautiful wall art, I like it and will add it in our next DIY crafts list.
Thanks Dara!
Elizabeth….hi…they are so beautiful. Please what kind of paper did you use?
Hello Elizabeth, thanks. I used big sheets (A2) of opaline paper. It works with any size of paper.
Wowwww que cosa tan encantadora para decorar las paredes, me ha encantado.
Besote!!!!
Muchas gracias Ayla