
Doing blinds and curtains yourself is a quite simple and above all a great way to make some savings.
When you decide to sew your blinds, you can choose exactly the fabric you like, so your window treatment will perfectly match your decor.
If you follow the blog, you know that It’s not the first time I sew shades and that I have already made DIY Roman blinds and relaxed shades.
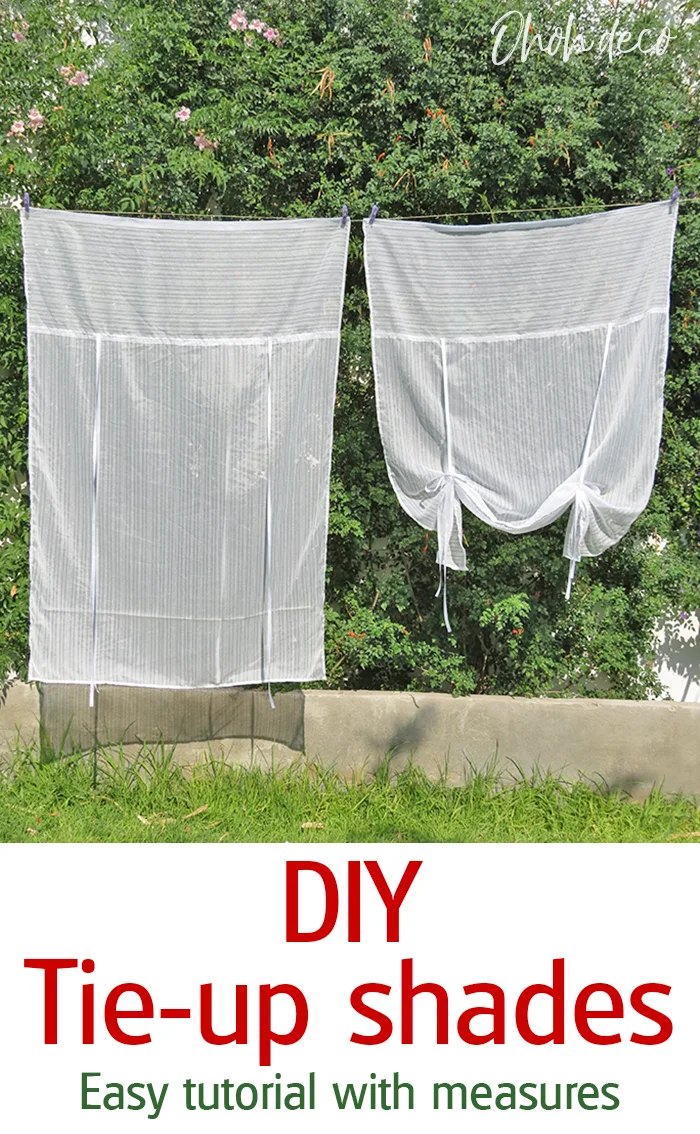
Today I show you how to make tie-up window shades.
[ This post probably contains affiliate links, our full disclosure policy is really boring, but you can read it HERE ]
What is a tie up window shade?
Tie-up shades are a practical and elegant way to dress up a window.
It is a fabric piece that is placed in front of a window to regulate privacy and light.
The blind can be kept open with to knotted ribbons.
Tie-up shades are ideal with light and semi-transparent fabrics.
Tie up shades are not suitable if you want to open and close to the shade several times a day.
RELATED: How to make roman blinds
RELATED: How to make relaxed roman shades
How do you make a simple tie up blind?
The key to successfully sew shades is to take the measurements correctly. I explain how below.
Before taking measurements you have to decide if you want inside or outside mounted shades.
Inside mount blinds fit inside the window frame and will give you a clean look. Outside mounted blinds are mounted outside the frame, are a little wider, and cover the window frame when shut.
The window where I want to place my tie-up blinds is in my daughter’s bedroom and there are already roman shades placed. So I opted for inside mounted shades.
You can also watch the tie up shade tutorial on video.
Supplies to sew tie-up shades

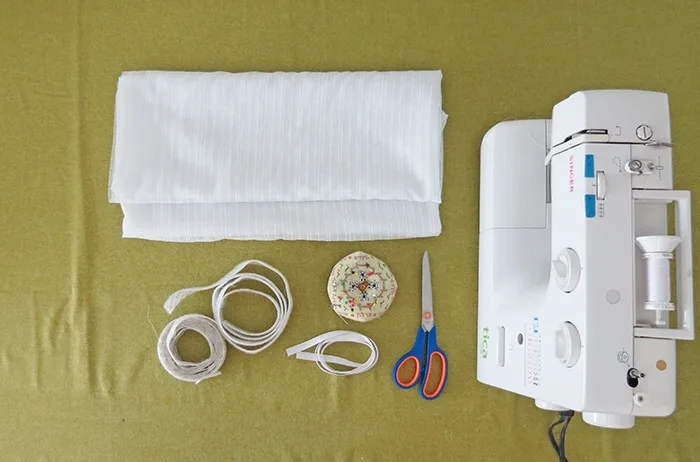
Supplies you will need to make tie up window curtains:
- Fabric
- Ribbon
- Adhesive velcro
- Thread
- Pins
- Scissors
- Iron
- Sewing machine
If you are looking for a nice fabric to make tie-up shades I find that this Japanese fresh lattice fabric and this linen voile are quite beautiful.
How to measure for blinds


Measures the window dimensions and decide if you want 1, 2 or more shades.
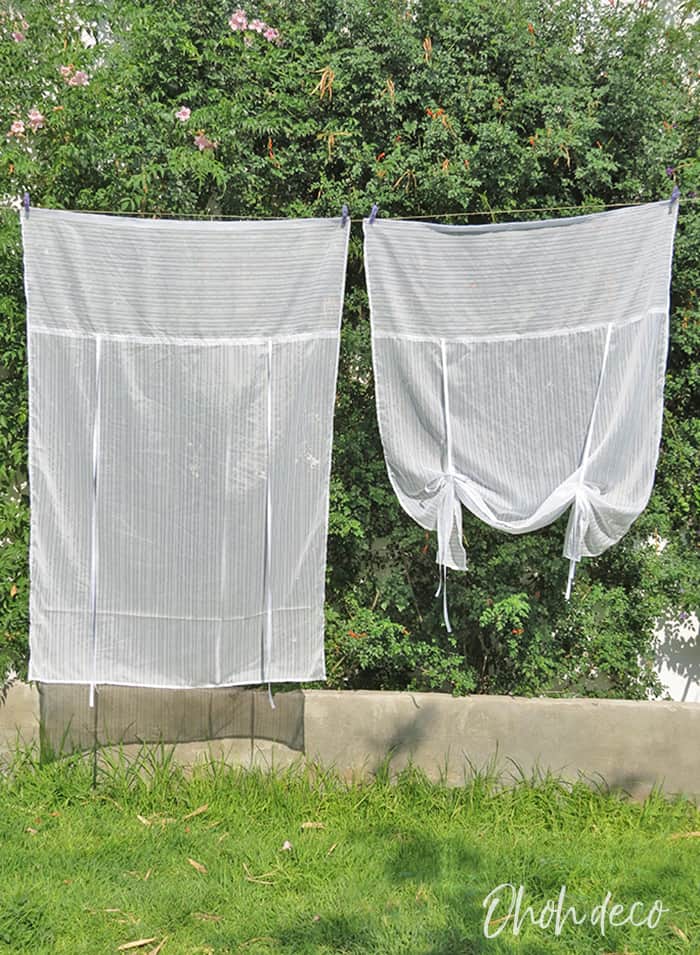
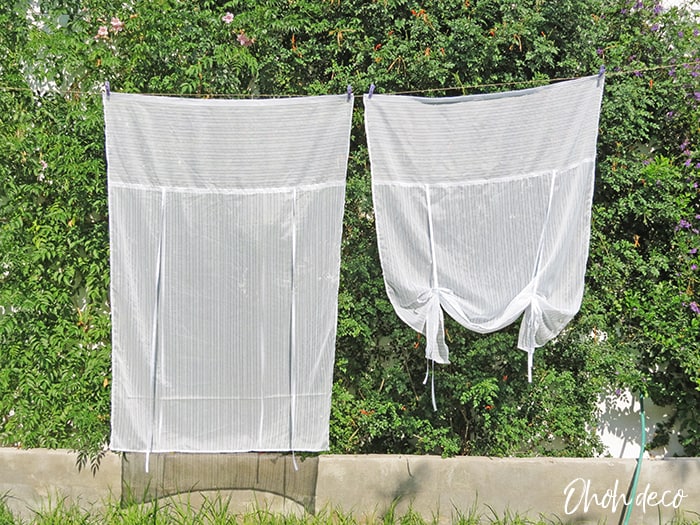
These two windows are quite long, I decided I wanted two blinds that cover the high of both windows.
The two blinds will be identical, one is the red square and one is the blue square (picture above).
To cover the window, the dimension of my finished shades must be 42 in. x 60 in. (108 cm x 152cm).
Now, look at the blue rectangle on the left of the picture above. The shade is made of two pieces of fabric, one flat horizontal rectangle above and one larger vertical rectangle below.
Both are sewn together and on this seam are attached the ribbons that will hold the blind open.
The flat horizontal rectangle has the width of your finished blind + 2 inches seam allowance. In my case is 42 in. + 2 in. = 44 in. (108cm + 5cm = 113 cm).
You can decide the high of the flat rectangle. I will suggest keeping it between 1/4 and 1/3 of your blind total high. My flat rectangle finished high must be 15 in. and I added 2 in. seam allowance, so 17 in. (38cm + 5cm = 43cm)
The piece of fabric I will cut to make the flat rectangle is 44in x 17 in (113cm x 43cm).
The large rectangle will have the same width as the flat one, so in my case is 42 in. + 2 in. = 44 in. (108cm + 5cm = 113 cm)
The high of the large rectangle is the window high less the flat rectangle finished high. In my case 60in. – 15in. = 45in.
You must add 2 in. seam allowance at this measure. So 45in. + 2in. = 47in. is the high of the large rectangle.
The fabric measures to make the large rectangle is 44in. x 47in.
You also need 4 pieces of ribbons. Two pieces to sew in front and two to sew on the back. The ribbons must be cut at the same high of the large rectangle, this means 47in. in my case.
Now you have your two fabric rectangles and 4 ribbon pieces, ready to start sewing tie-up shades!
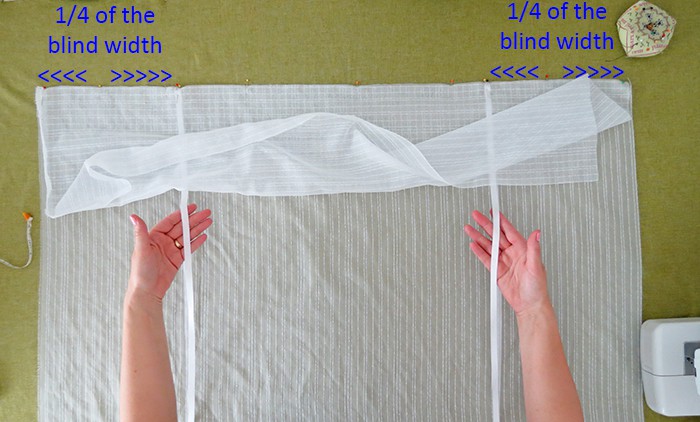
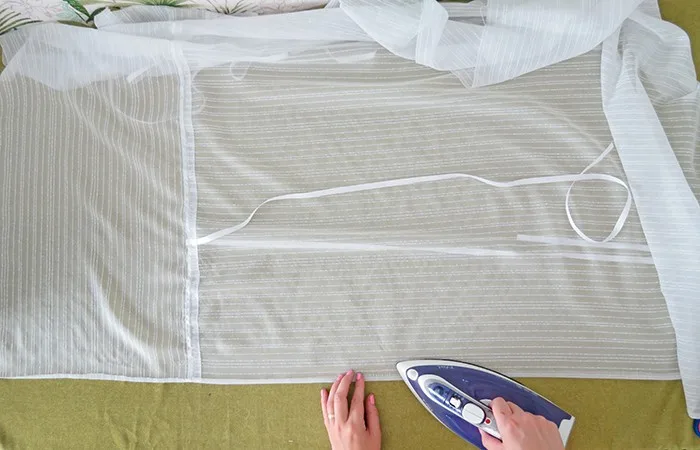
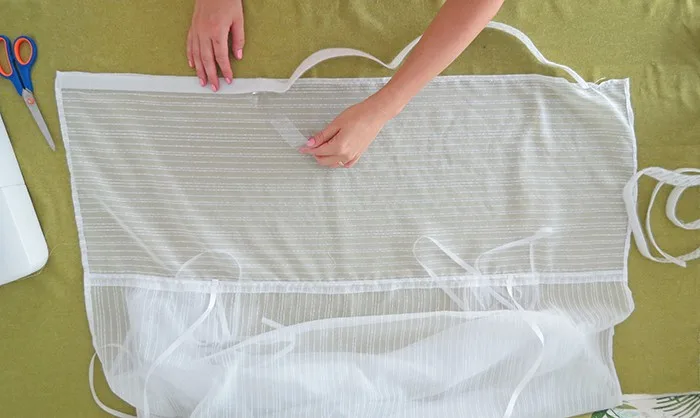
Place the large rectangle o a flat surface, right side facing up.
Place two ribbons on the fabric. The ribbons are placed at more or less 1/4 of the total width. In my case, it’s 11 in. from each fabric edge (width is 44 in. divided by 4 is 11in.).
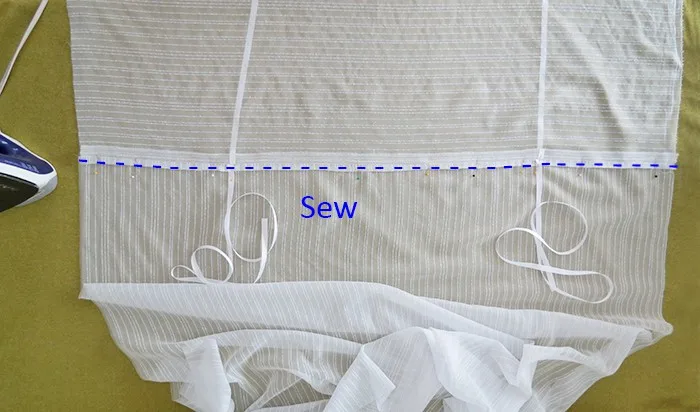
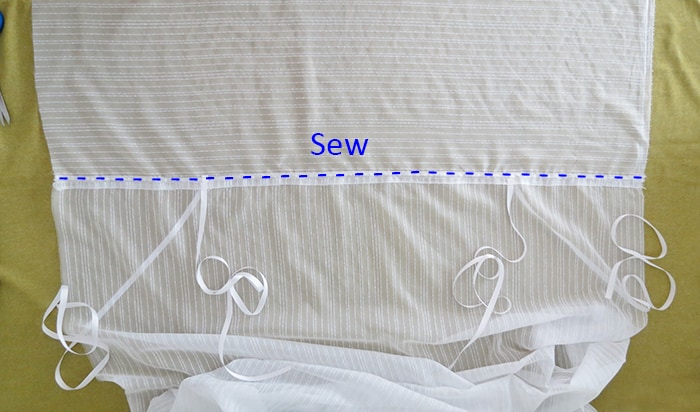
On top of the fabric and ribbons, place the flat rectangle, wrong side up, and align both top edges.
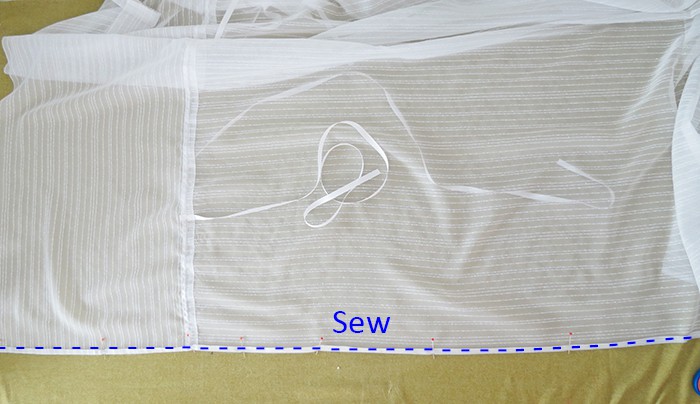
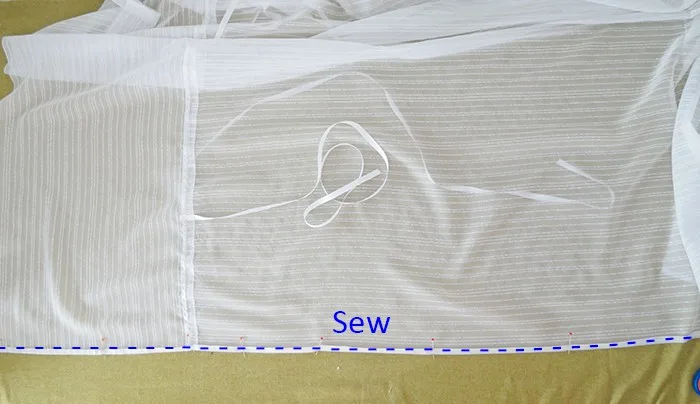
Pin along the top edge and pin the ribbons too.

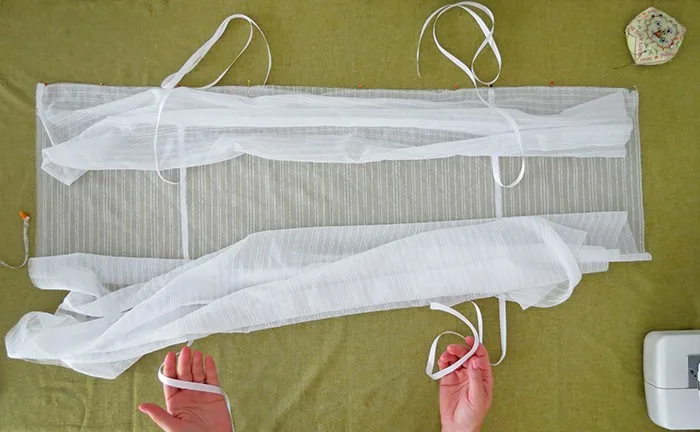
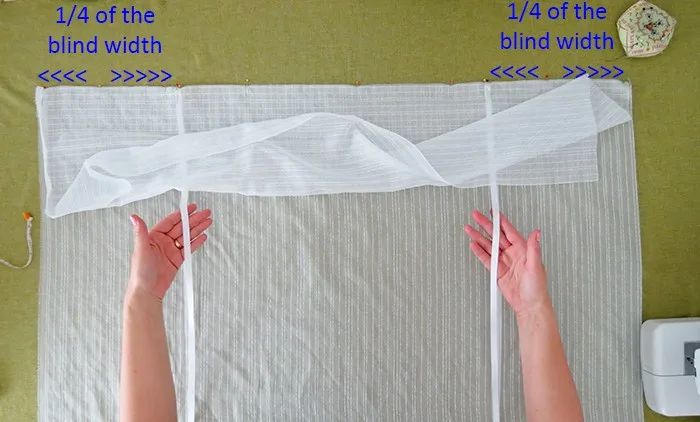
Slide two more ribbons under the fabric. Place them aligned with the ribbons that are in between and pin them with the fabric edges too.

So Just to be sure you have all the layers in order. You must have, starting from your flat surface, two ribbons, the large rectangle, two ribbons and the flat rectangle.
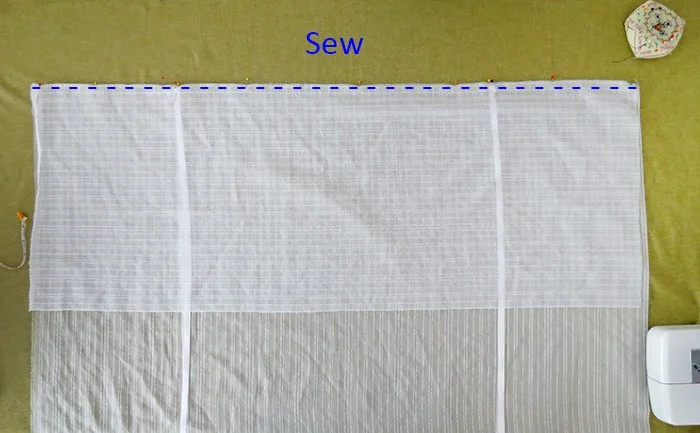
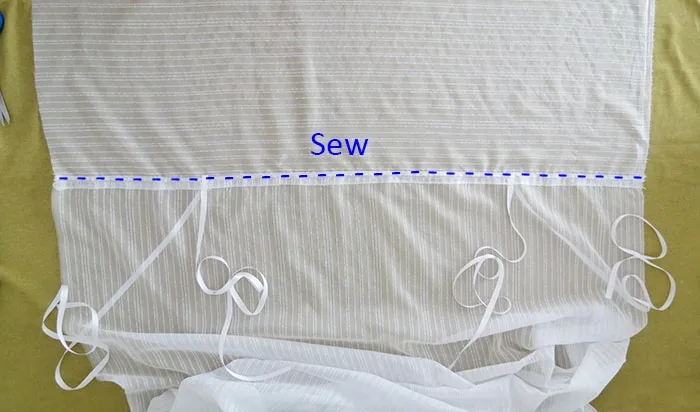
All layers are pinned together along the top edge.
You can now sewing them together!
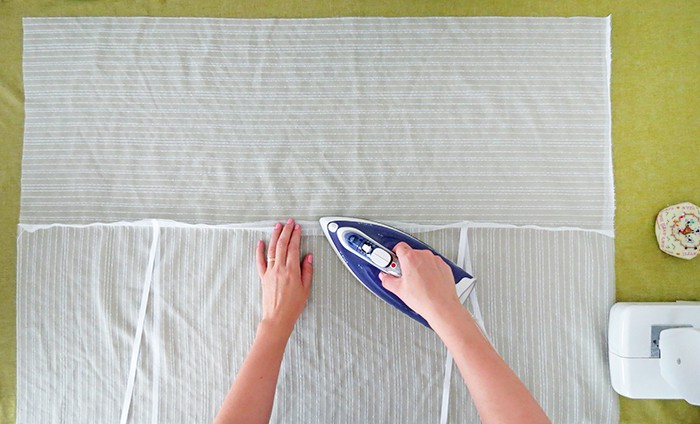

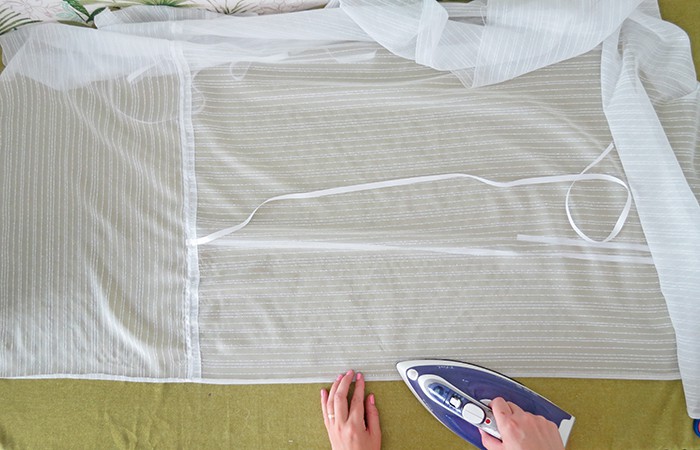
Remove the pins. Open the seam and iron.
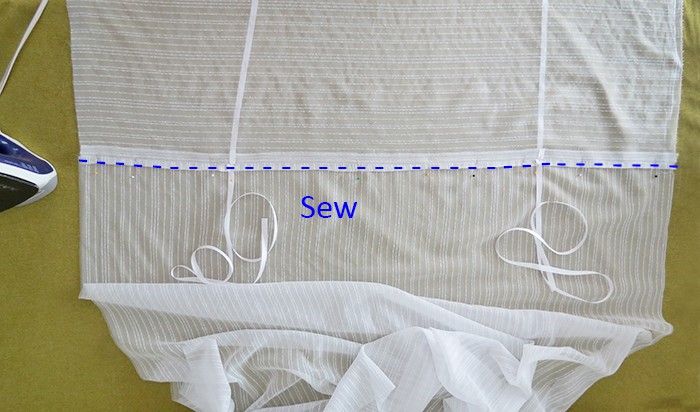
As you want the blind to look nice inside and out, you will finish nicely the back seam with a double fold hem.
Take the lower side of the seam, fold the edge inward and pin. You can pass the iron to hold the fold, then make a seam to hold in place.
Take the upper side of the seam and repeat. Fold the edge inward, iron, pin and sew. Don’t forget place the ribbons down, you don’t want to sew them here.
Time to finish the blind edges. Make a double fold, iron and pin to hold in place.
Sew along the edge. Repeat to finish the same way the bottom edges and both sides.

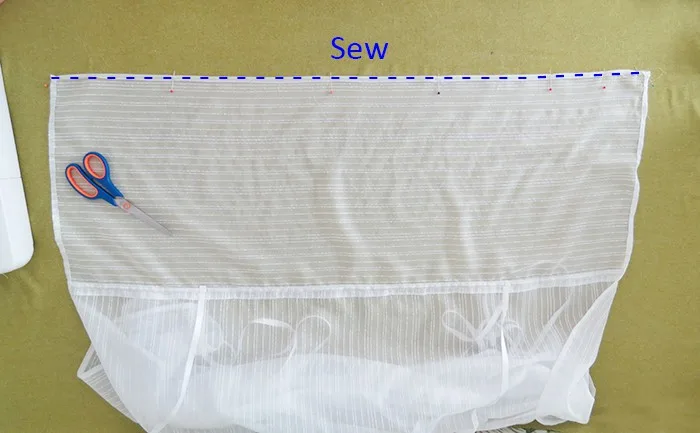
finish the top edge making a simple fold. You pi it an then sew it. There is no need of a double fold here as you will be adding a velco over it.

Place the velco next to the top edge, on the back of the shade. I used adhesive velcro so I just glue it on the fabric.
You can also use regular velcro and sew it o the blind.
I don’t know if adhesive velco will hold when washing the blinds. I didn’t sew it on the shade because some glue will end up on the needle and the thread and it makes it very hard to sew (I tried before and it was a nightmare).
And you are done sewing the shades! Time to hang them on the window.
RELATED: How to make DIY Curtain Rods
RELATED: How to sew a round pillow

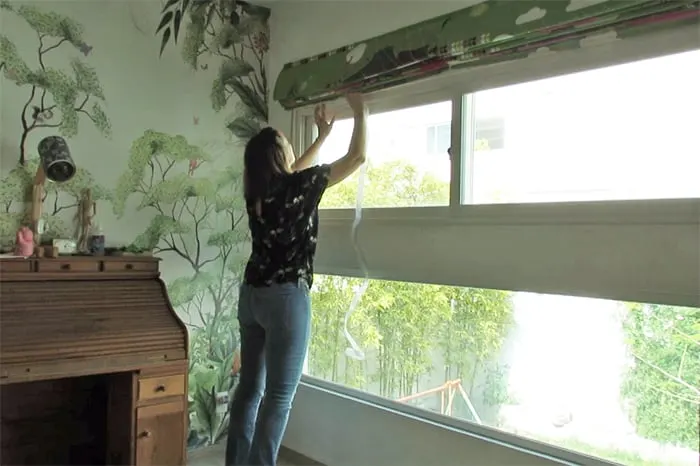
Place the second side of the velcro on top of the windows or on the wall.
These veil shade are very light weight so I’m confident it will hold pretty well.
Let me know if you try with a heavier fabric. You can also screw a wood trim on the wall to hold the shades. You cn check the roman shade tutorial to find out what I’m talking about.
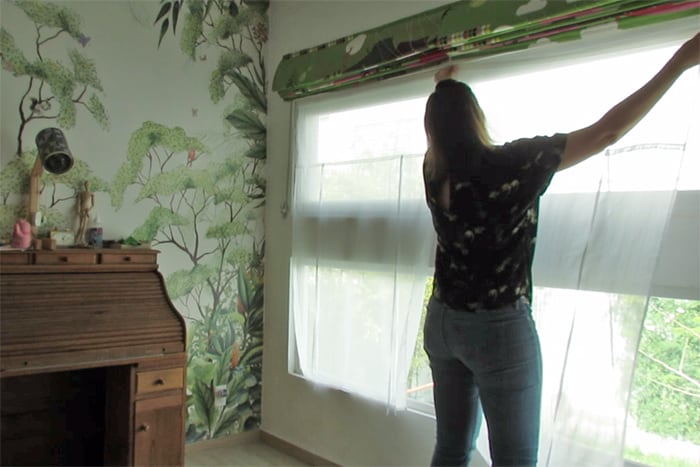

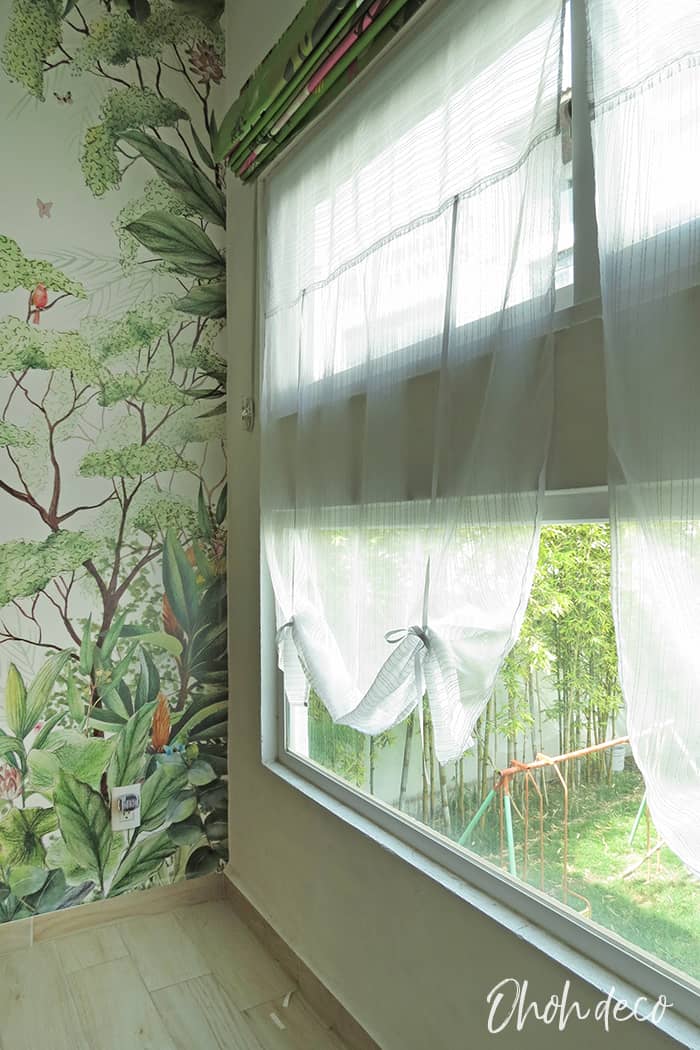
Hang the tie up shades using the velco and done! So easy!
I trim a little the ribbons once the blinds were in place.
You can leave your blinds as it or make knotted with the ribbon for a pretty draped effect.