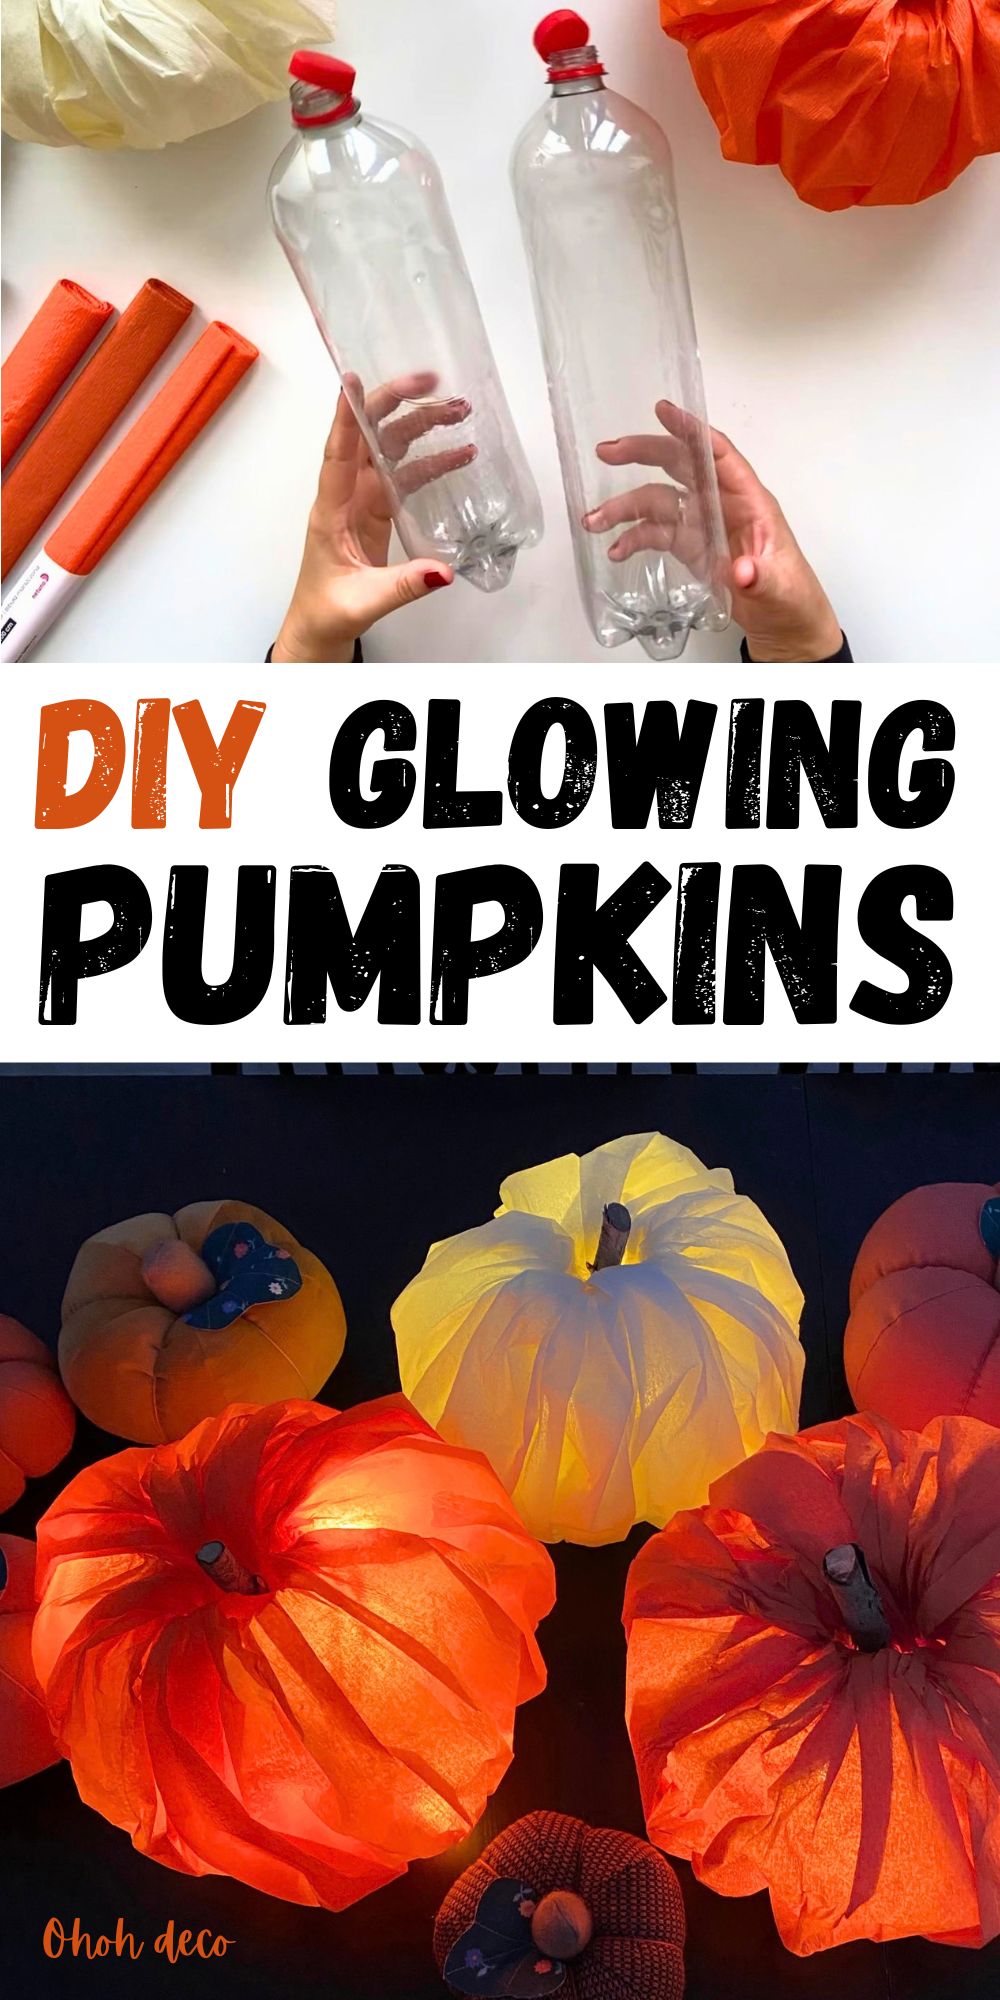
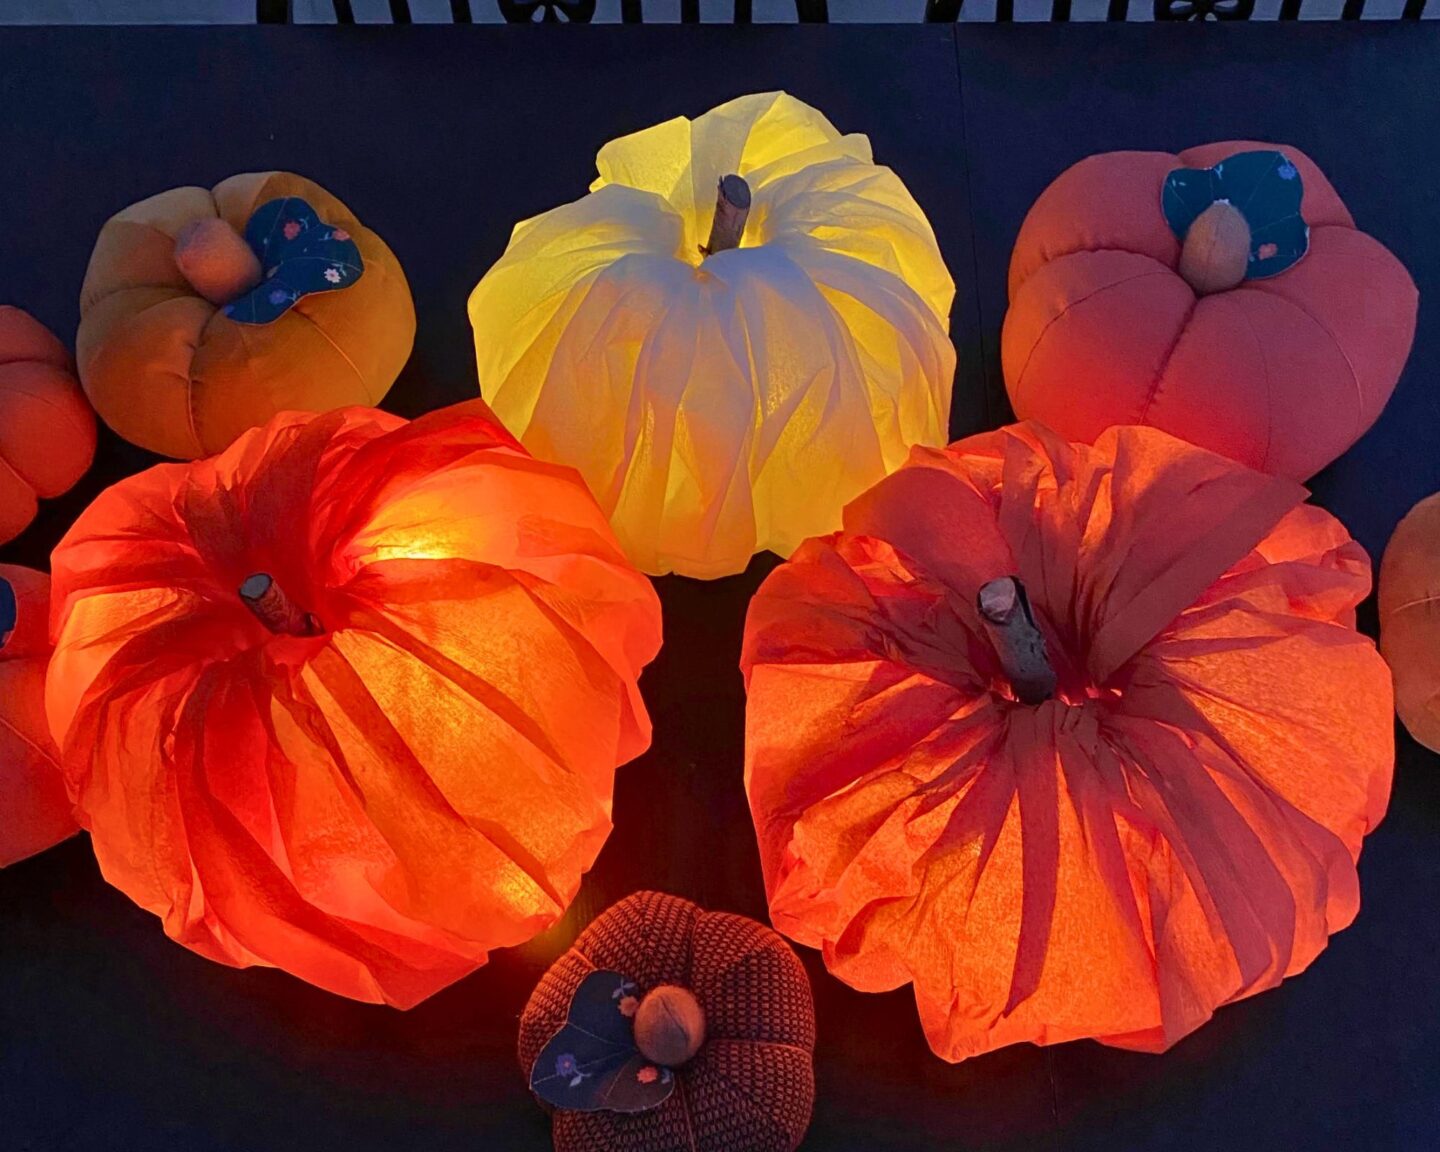
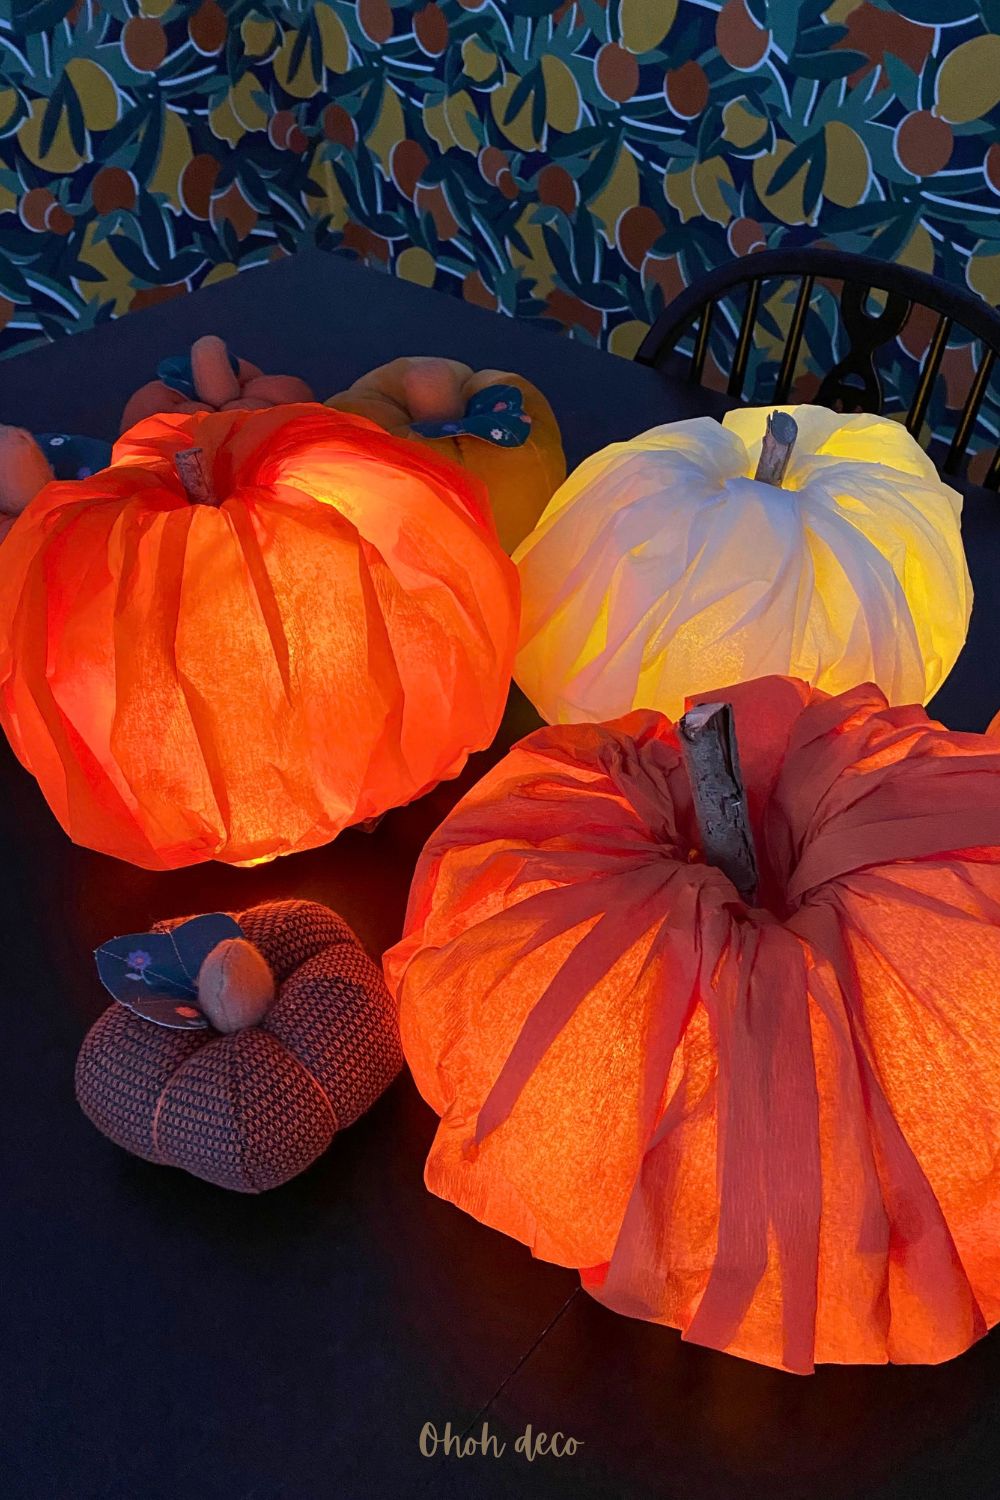
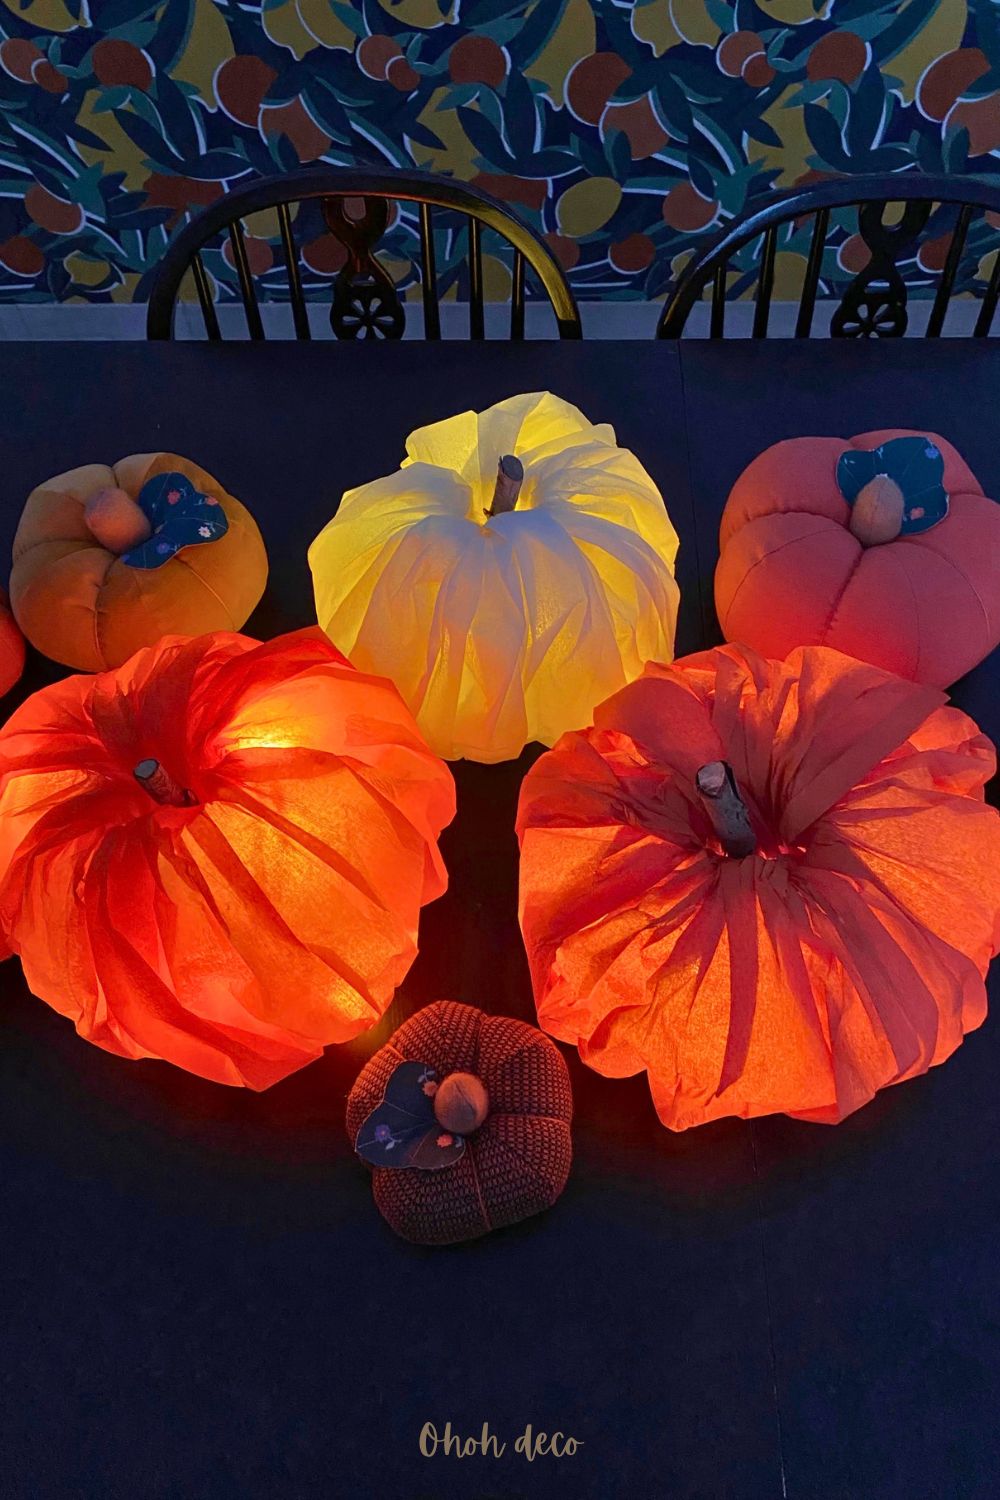
These DIY glowing pumpkins are an eco-friendly, budget-friendly way to elevate your autumn decor while keeping salvageable materials out of the landfill.
With just a few empty plastic jugs, some crepe paper, and basic cordlights, you can transform ordinary household garbage into a patch of vibrant, glowing jack-o’-lanterns.
Whether you are crafting with kids or looking for a clever weekend project, this guide will show you how to turn literal trash into festive decorations.
[ This post probably contains affiliate links; our full disclosure policy is boring, but you can read it HERE ]
Gather Supplies for Your DIY Pumpkin
You’ll need:
- Two emply plastic bottles
- Crepe paper
- Craft knife or utility cutter
- Scissors (sharp and small works best)
- Adhesive tape
- Battery cordlight
- Wooden stick for the stem
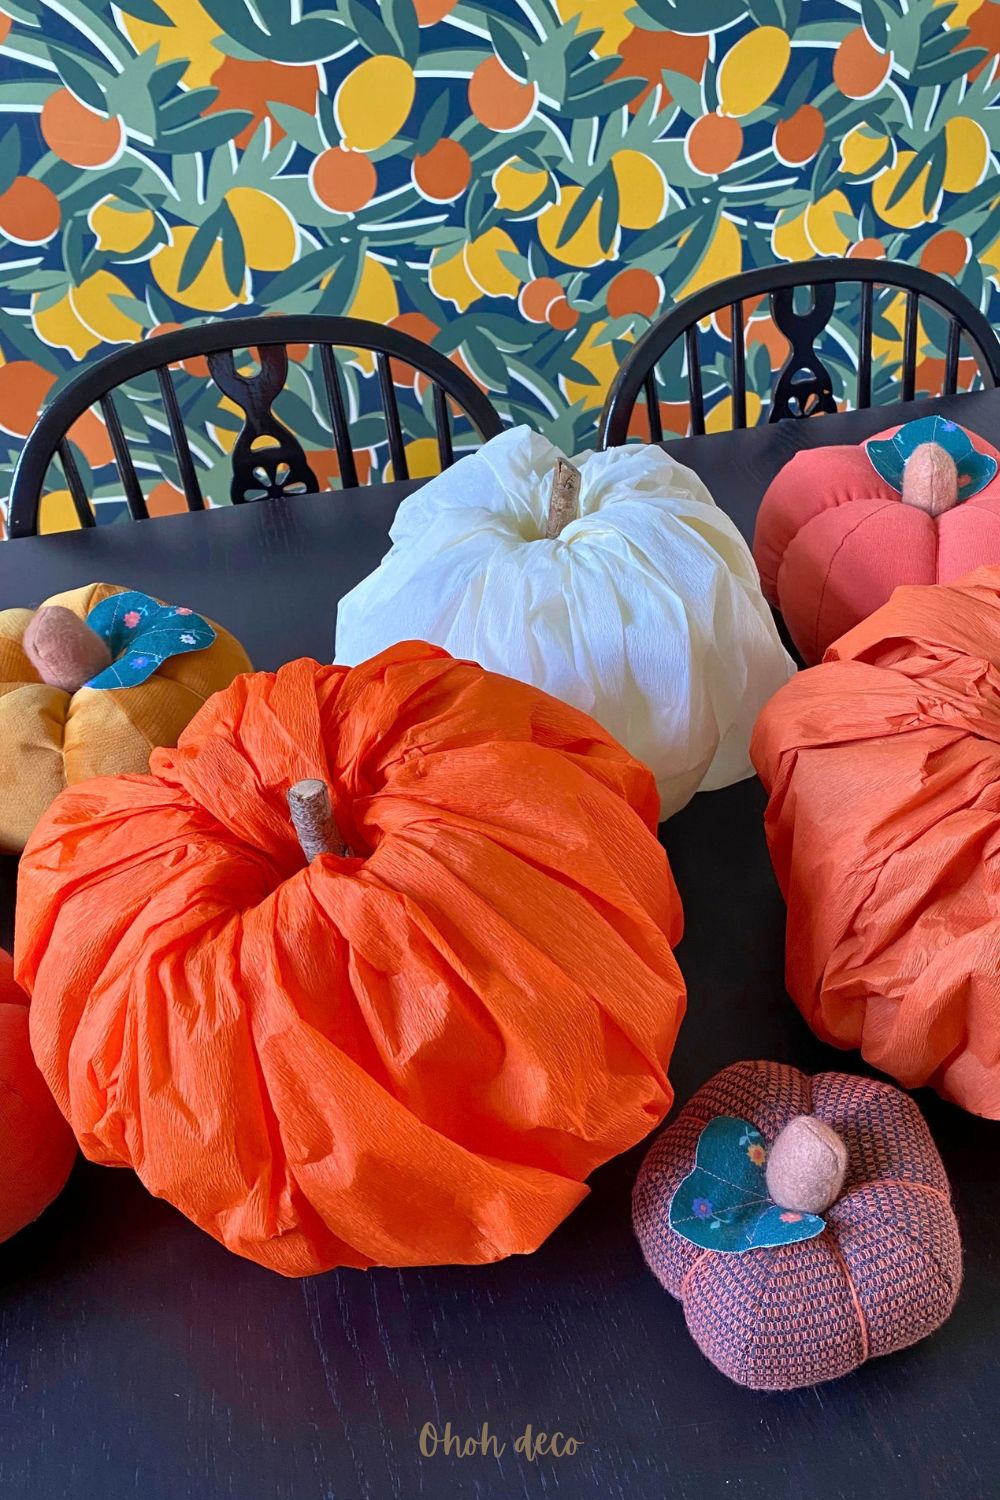
The crepe paper used to make the pumpkin measures 50 cm by 2 m, and you will need one roll for each pumkin you like to make. I used these papers, with various orange shades.
Choose bottles that are clean and dry. A ruler can help you make straighter cuts, though the strips don’t need to be perfect. Since a craft knife is sharp, work on a stable surface and ask an adult for help if needed.
Using a sharp and small pair of scissors is very helpfull, it gives you the precision needed to cut the plastic bottle.
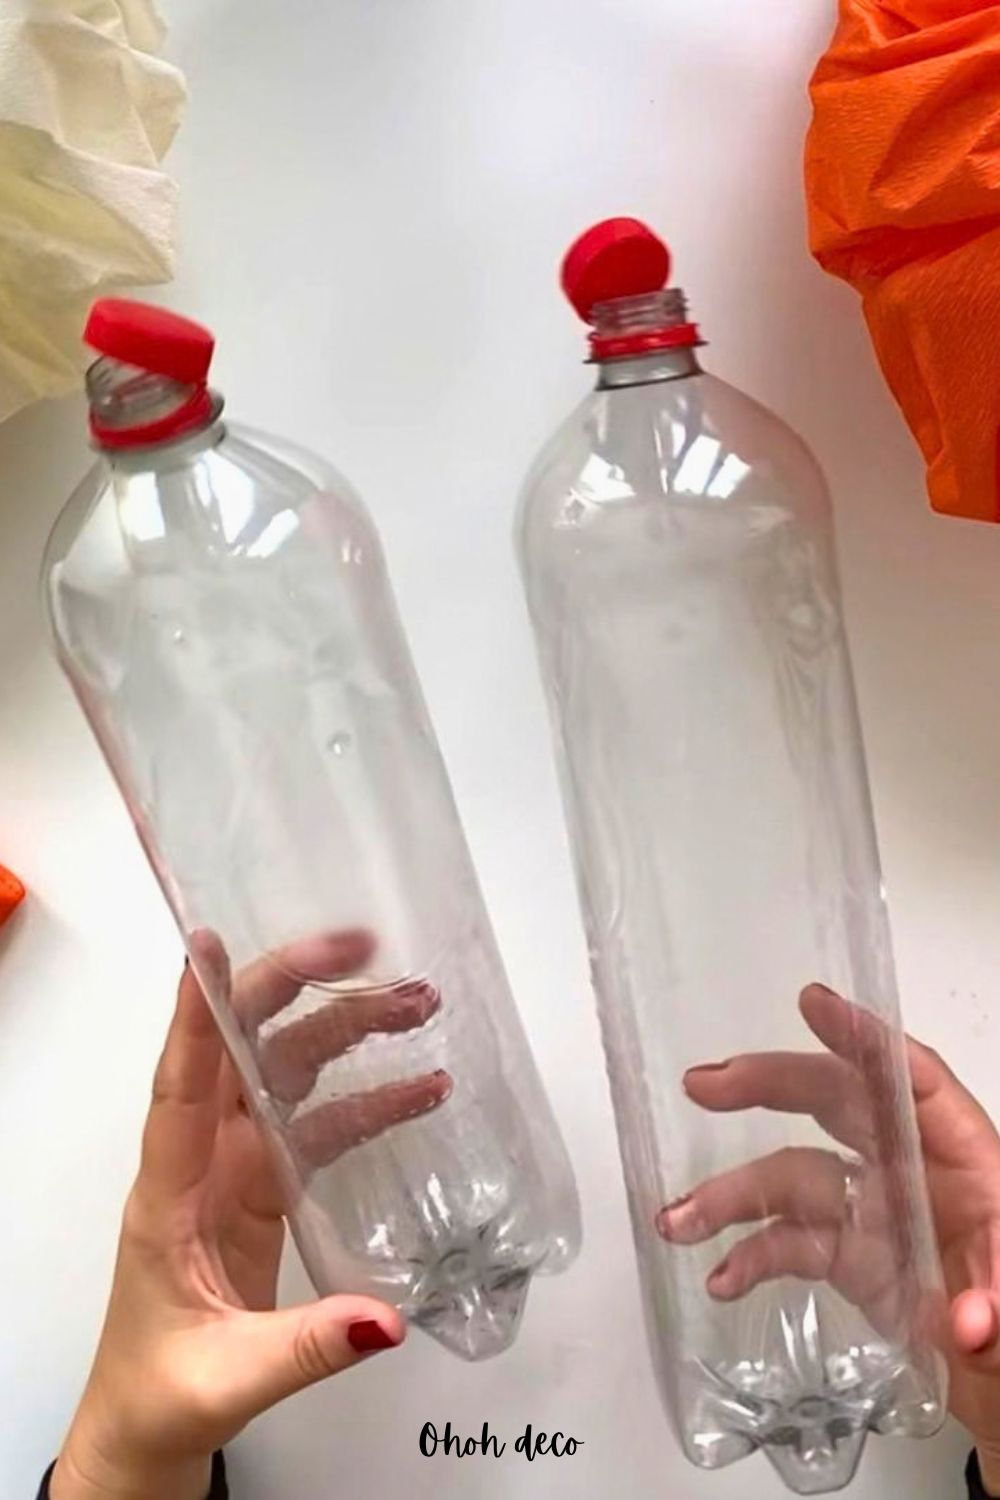
From Bottles to Glowing Pumpkins
1. Make the center from the first bottle
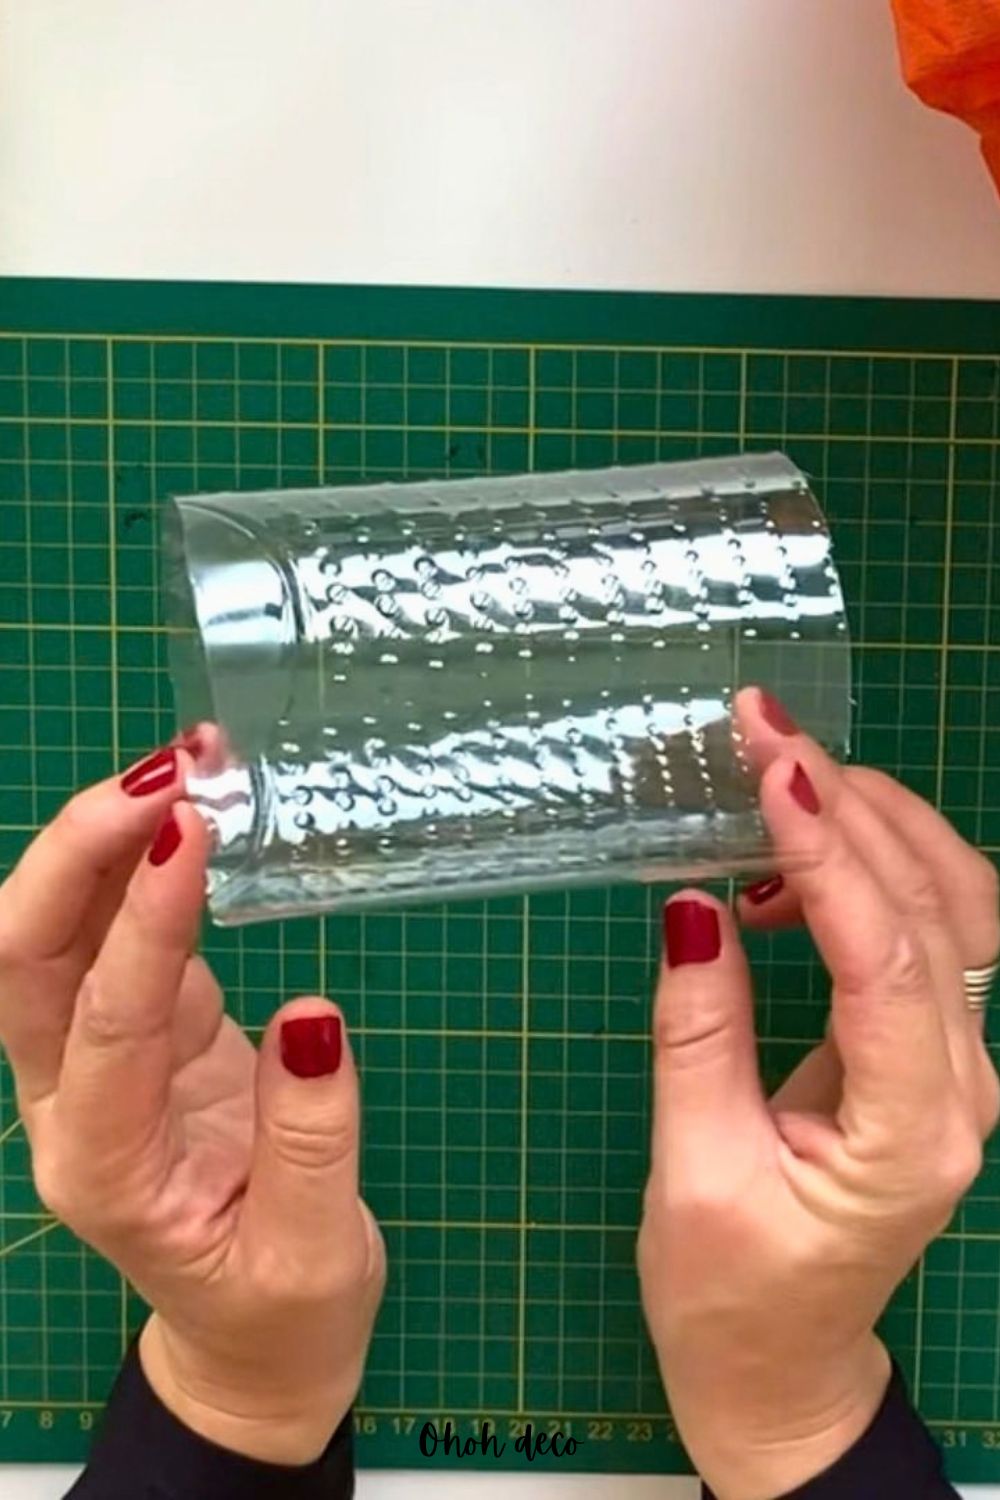
Cut a straight section from the middle of one bottle, aiming for a length of 12–15 cm. This cylinder forms the pumpkin’s center and gives you two edges for attaching the plastic strips.
Try to keep both cuts level. Trim any rough spots that could snag the paper later.
2. Turn the second bottle into strips
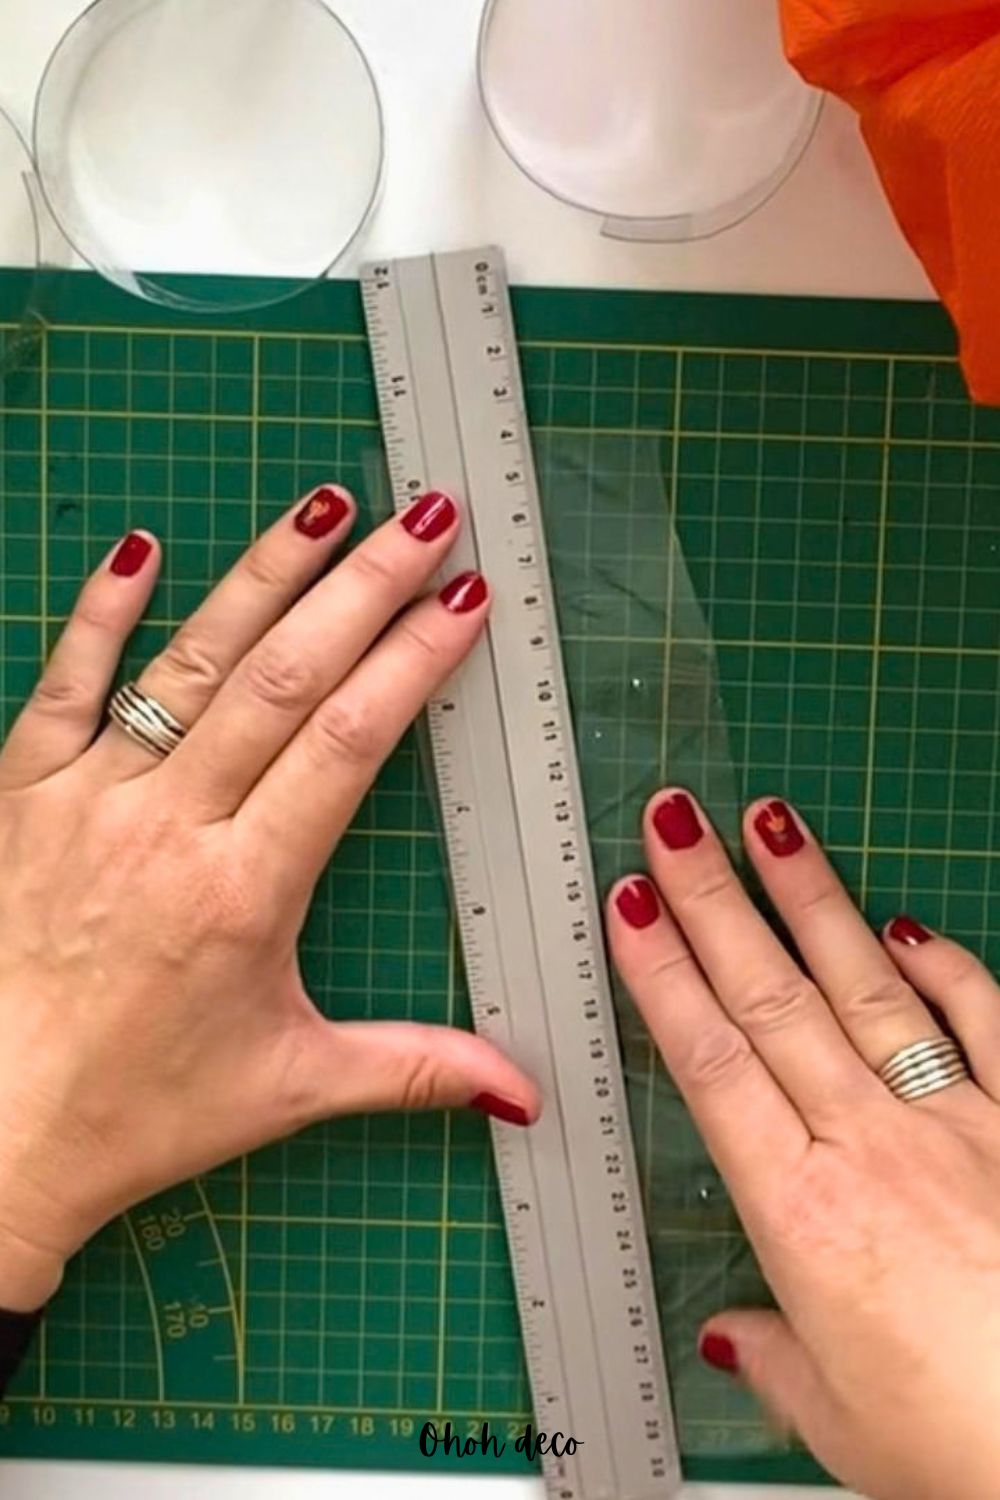
Cut off the base and neck of the second bottle. Open the remaining plastic by cutting down its side, then flatten it into a sheet.
Use a ruler as a guide while cutting the sheet into six strips.
Try for strips to have the same width. They don’t need to match exactly, but even strips help the pumpkin look balanced.
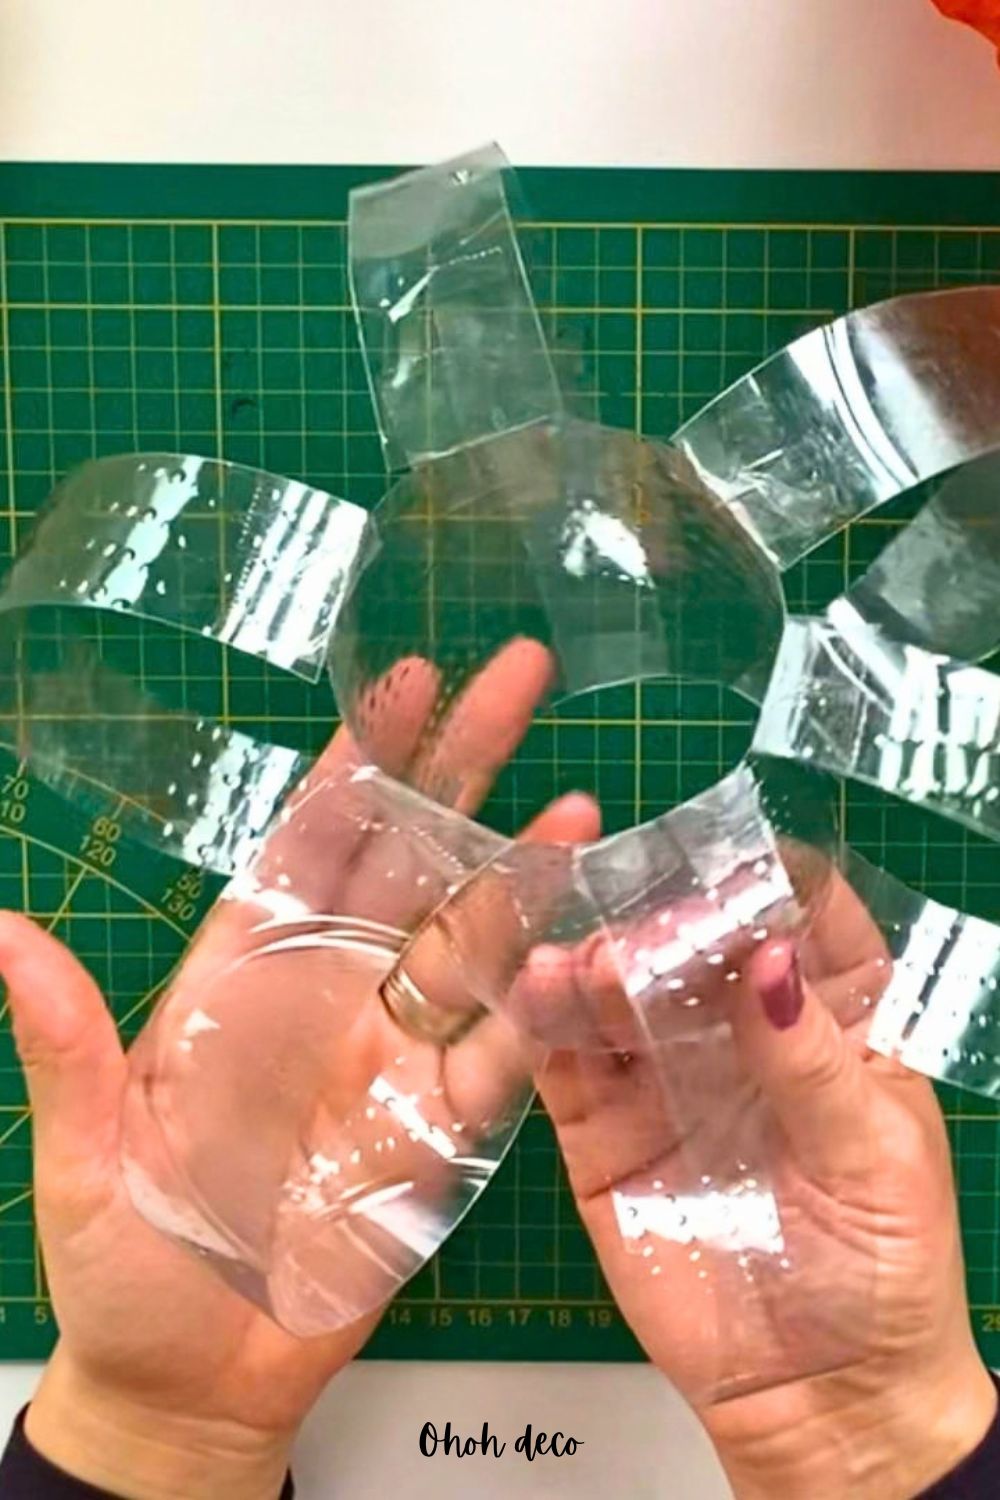
3. Tape the Plastic Strips into a Pumpkin Shape
Attach each strip at the top and bottom of the center piece. Curve the plastic outward, then tape the other end to the bottom edge. The strip should arch away from the center to form one rib.
Repeat with the other strips. Use enough tape to hold each end in place, but keep the central section open for lights if you’re adding them. Check that no strip is loose before moving on.
Pause to look at the pumpkin from the side and from above. The crepe paper will cover the plastic, but a balanced shape makes the finished pumpkin neater.
4. Add the optional light string
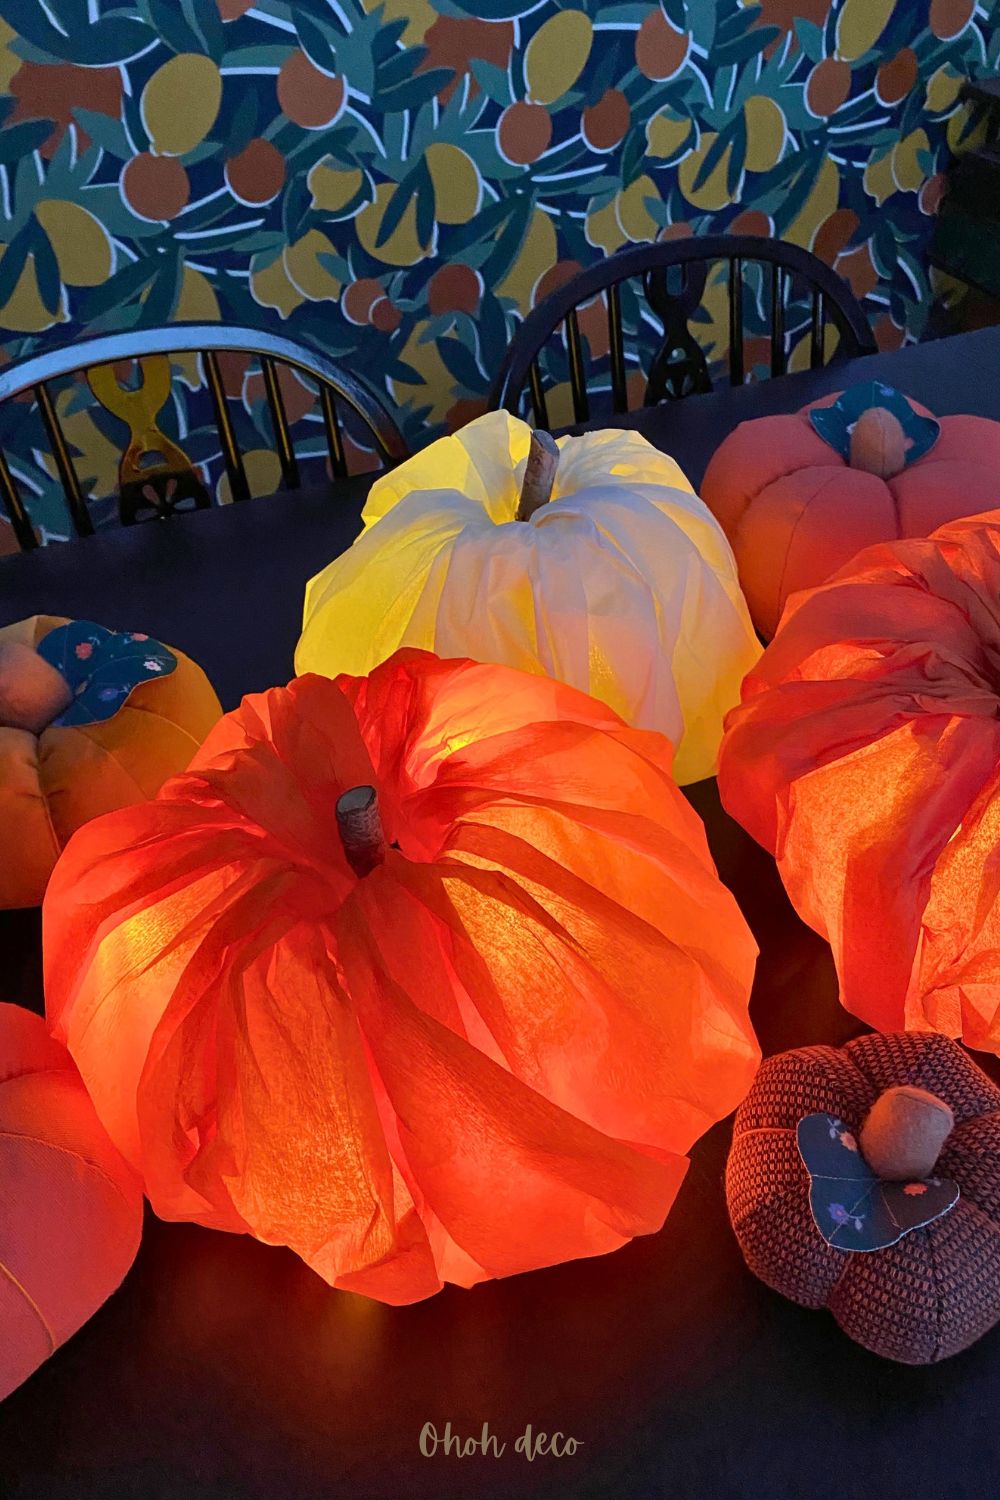
If you’re using lights, wrap the string around the center of the bottle. Tape it in place so it doesn’t slip while you cover the pumpkin. Make sure the wire end with the switch stays accessible.
Skip this step for an unlit decoration.
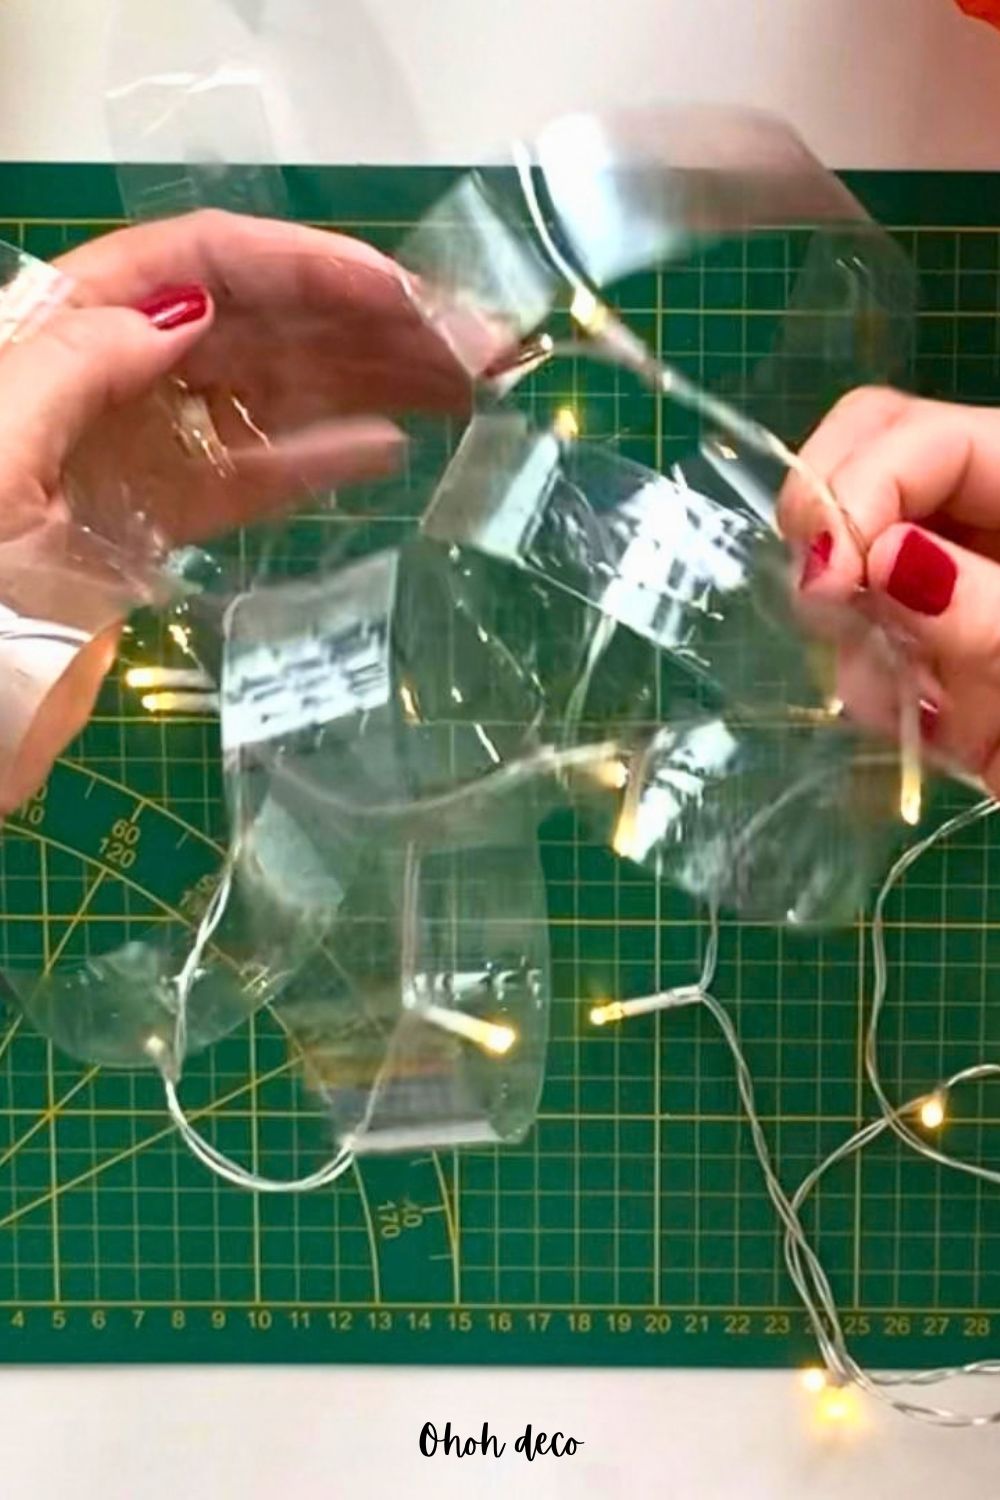
5. Fold and tuck the crepe paper
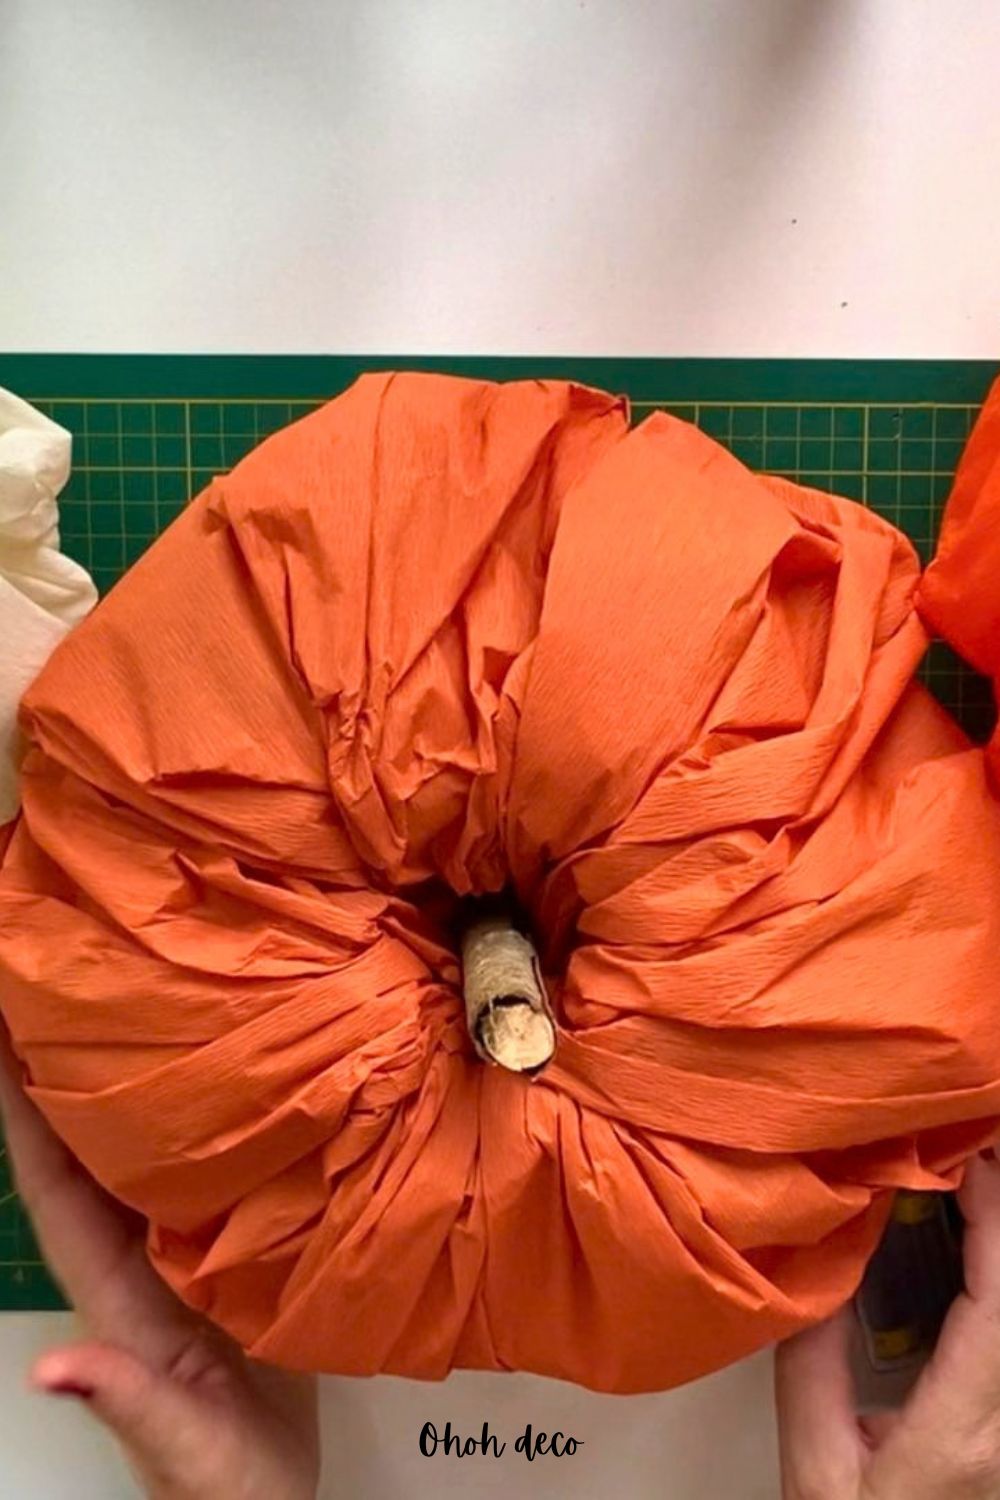
Start near the light switch if you added one. Fold one edge of the crepe paper and tuck it into the central plastic bottle piece, adding a small piece of tape to hold the edge if needed.
Continue around the pumpkin, folding the paper edge and pushing it inside the bottle as you go. Keep the paper snug enough to cover the plastic, but don’t pull so hard that it tears. Use the full 50 cm by 2 m piece to cover the plastic shape.
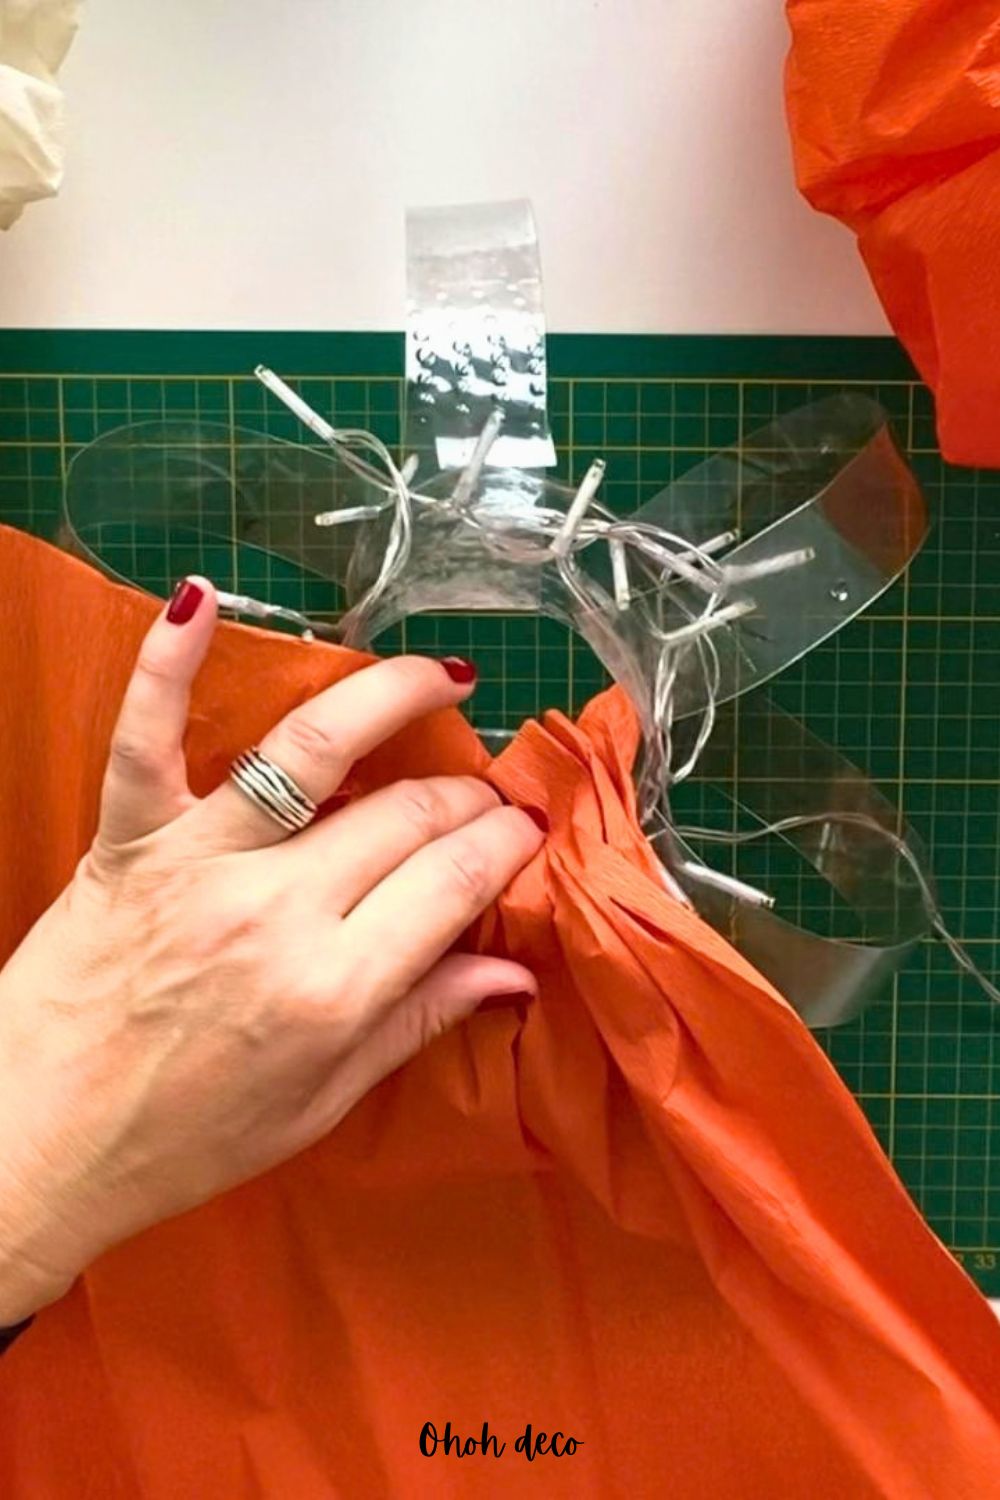
6. Overlap the ends and shape both sides
When you reach the starting point, overlap the two paper edges to close the wrap. Turn the pumpkin over and tuck the paper into the other bottle side. The tucked edges help cover the plastic and keep the paper in place.
Arrange the folds with your fingers to give the pumpkin a nice rounded look. Push in loose paper where needed, and smooth out any spots that look too bulky. Leave the light wire switch free to turn the lights on and off.
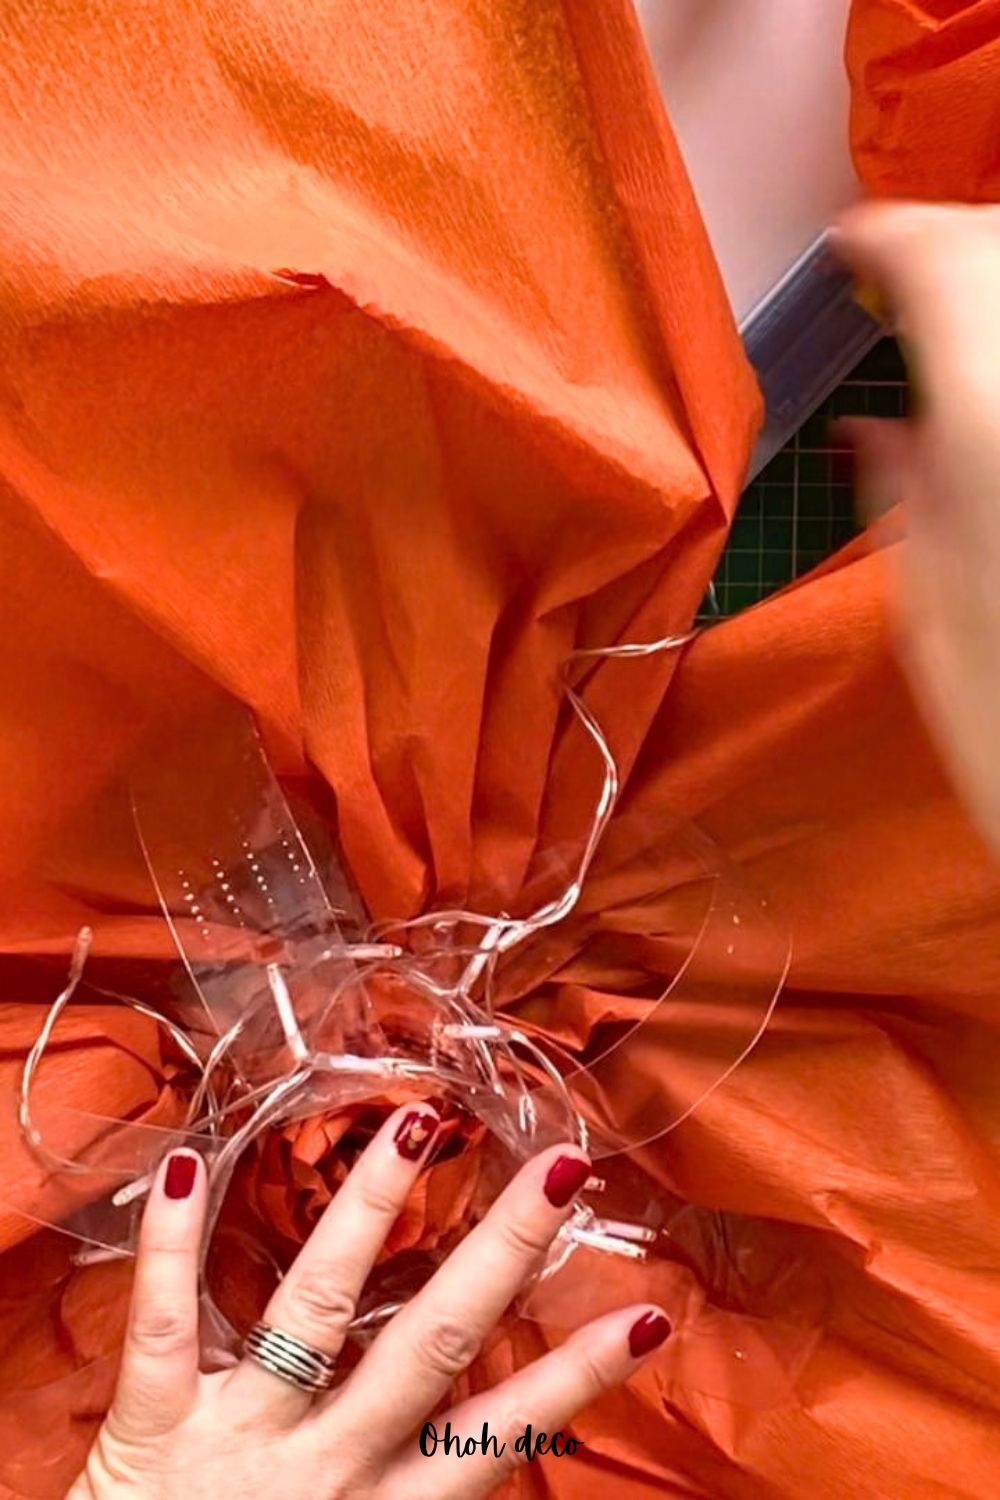
7. Add a wooden-stick stem
Place a wooden stick at the top of the pumpkin to make the stem. Tidy the paper folds around the top so the stem looks like part of the design.
You can also glue a dried leaf on top of the pumpkin next to the stem, if you like to complete the look.
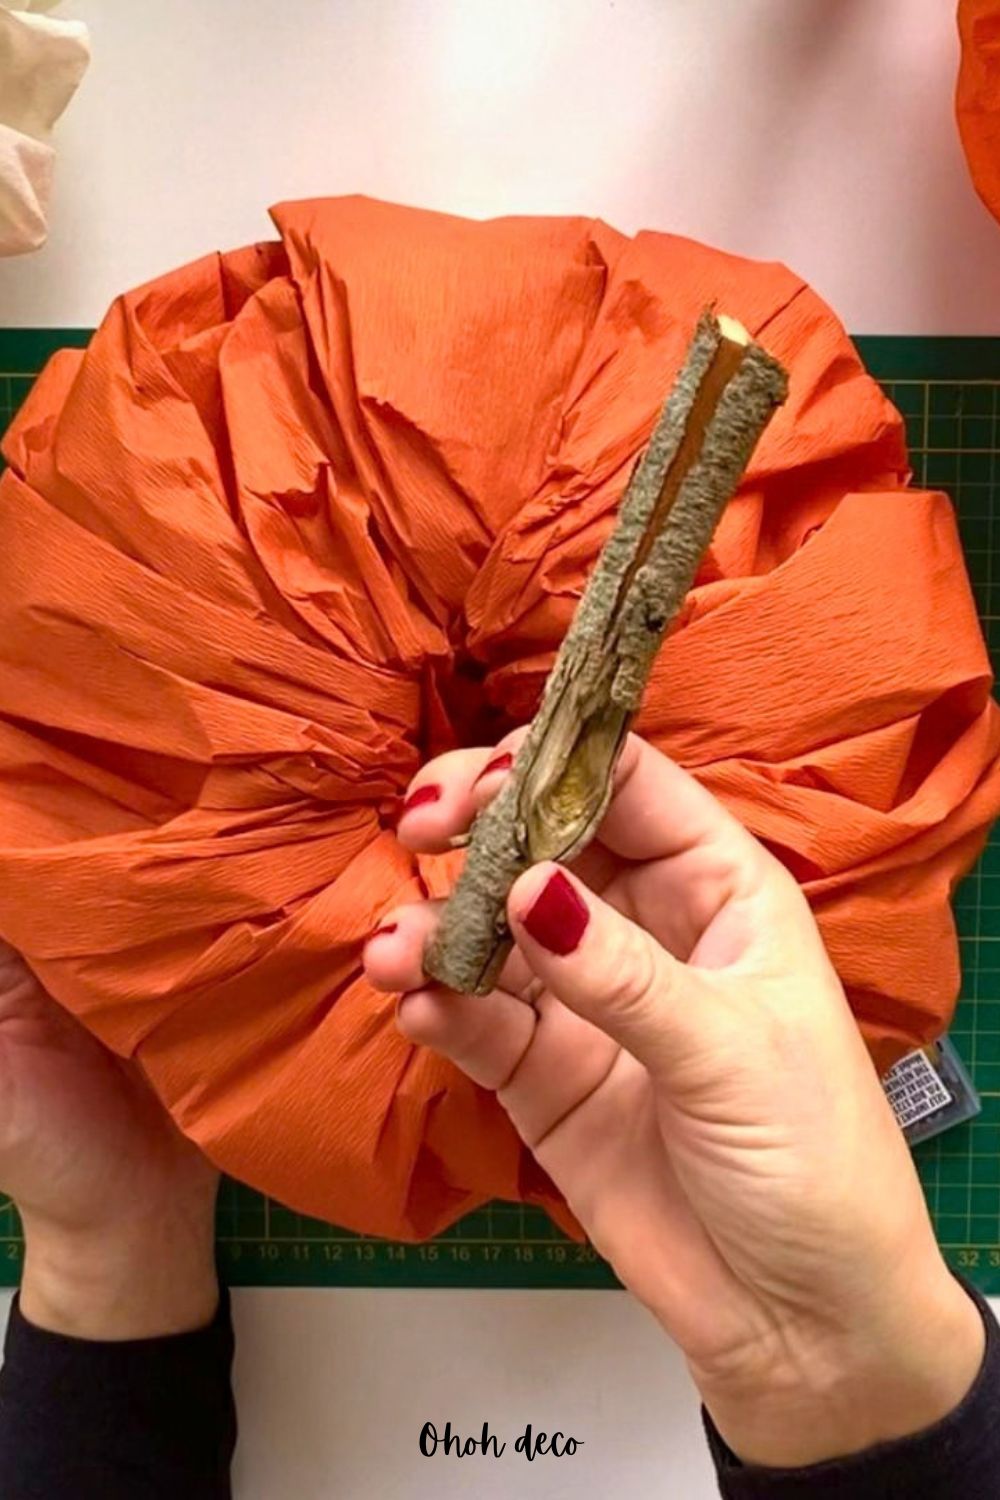
8. Choose a color that suits your display
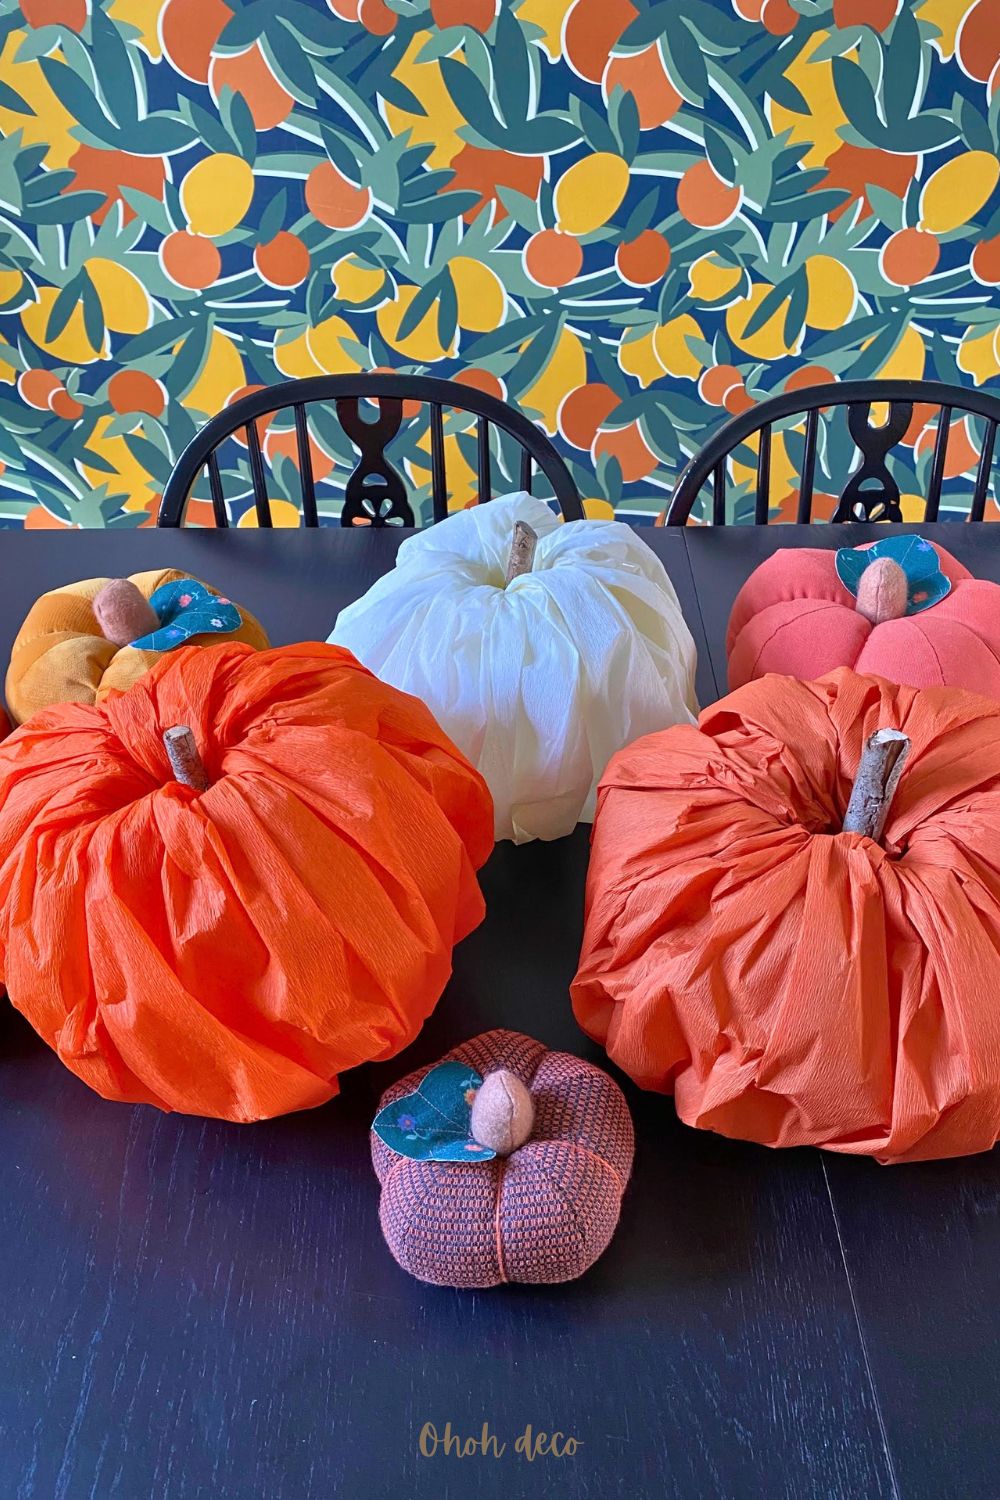
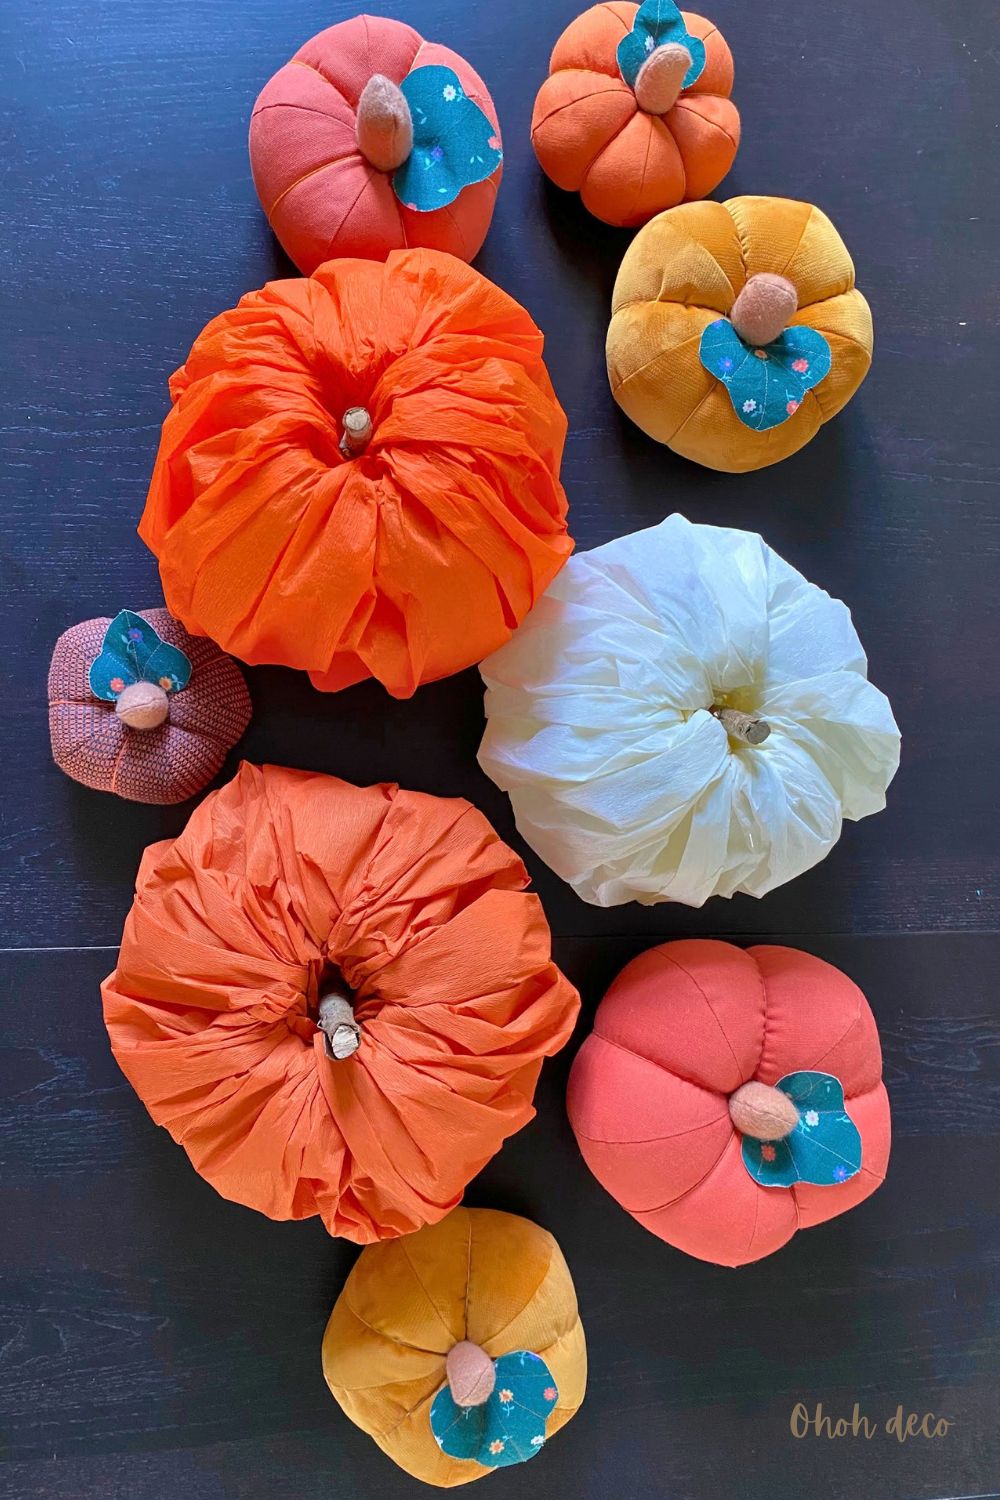
Crepe paper lets you choose the look of your pumpkin. Use orange for a classic fall display, different crepe color shades to make a full set, or pick white for a lighter and more modern look.
You can match the paper to a table display, shelf, or Halloween setup. Use any color you like to fit your space.
Step-by-Step Video: Crafting Glowing Pumpkins
Want to see exactly how to make these plastic pumpkins come to life? Watch our full video tutorial below to see the entire crafting process step-by-step!
I show you the easiest way to carve the plastic using your small scissors, how to fold the crepe paper, and the best way to light them up for maximum glow.
Creating your own DIY glowing pumpkins is the perfect way to save money, help the planet, and add a unique, handmade touch to your Halloween decor.
By rescuing plastic from the recycling bin and using a few simple tools, you can easily create a festive home decor.
.
.
.
.
.
Join the Conversation
Now, I want to hear from you! What color are you going to make your glowing pumpkins? Do you have another great craft idea for reusing plastic bottles?
Drop a comment down below and let me know—I love seeing your creative ideas!
RELATED: How to Transform Your Toilet Paper Rolls into Festive Pumpkins
RELATED: Easy DIY Halloween Decorations
Want to remember it? Save this DIY Glowing Pumpkins on your favorite pinterest board.