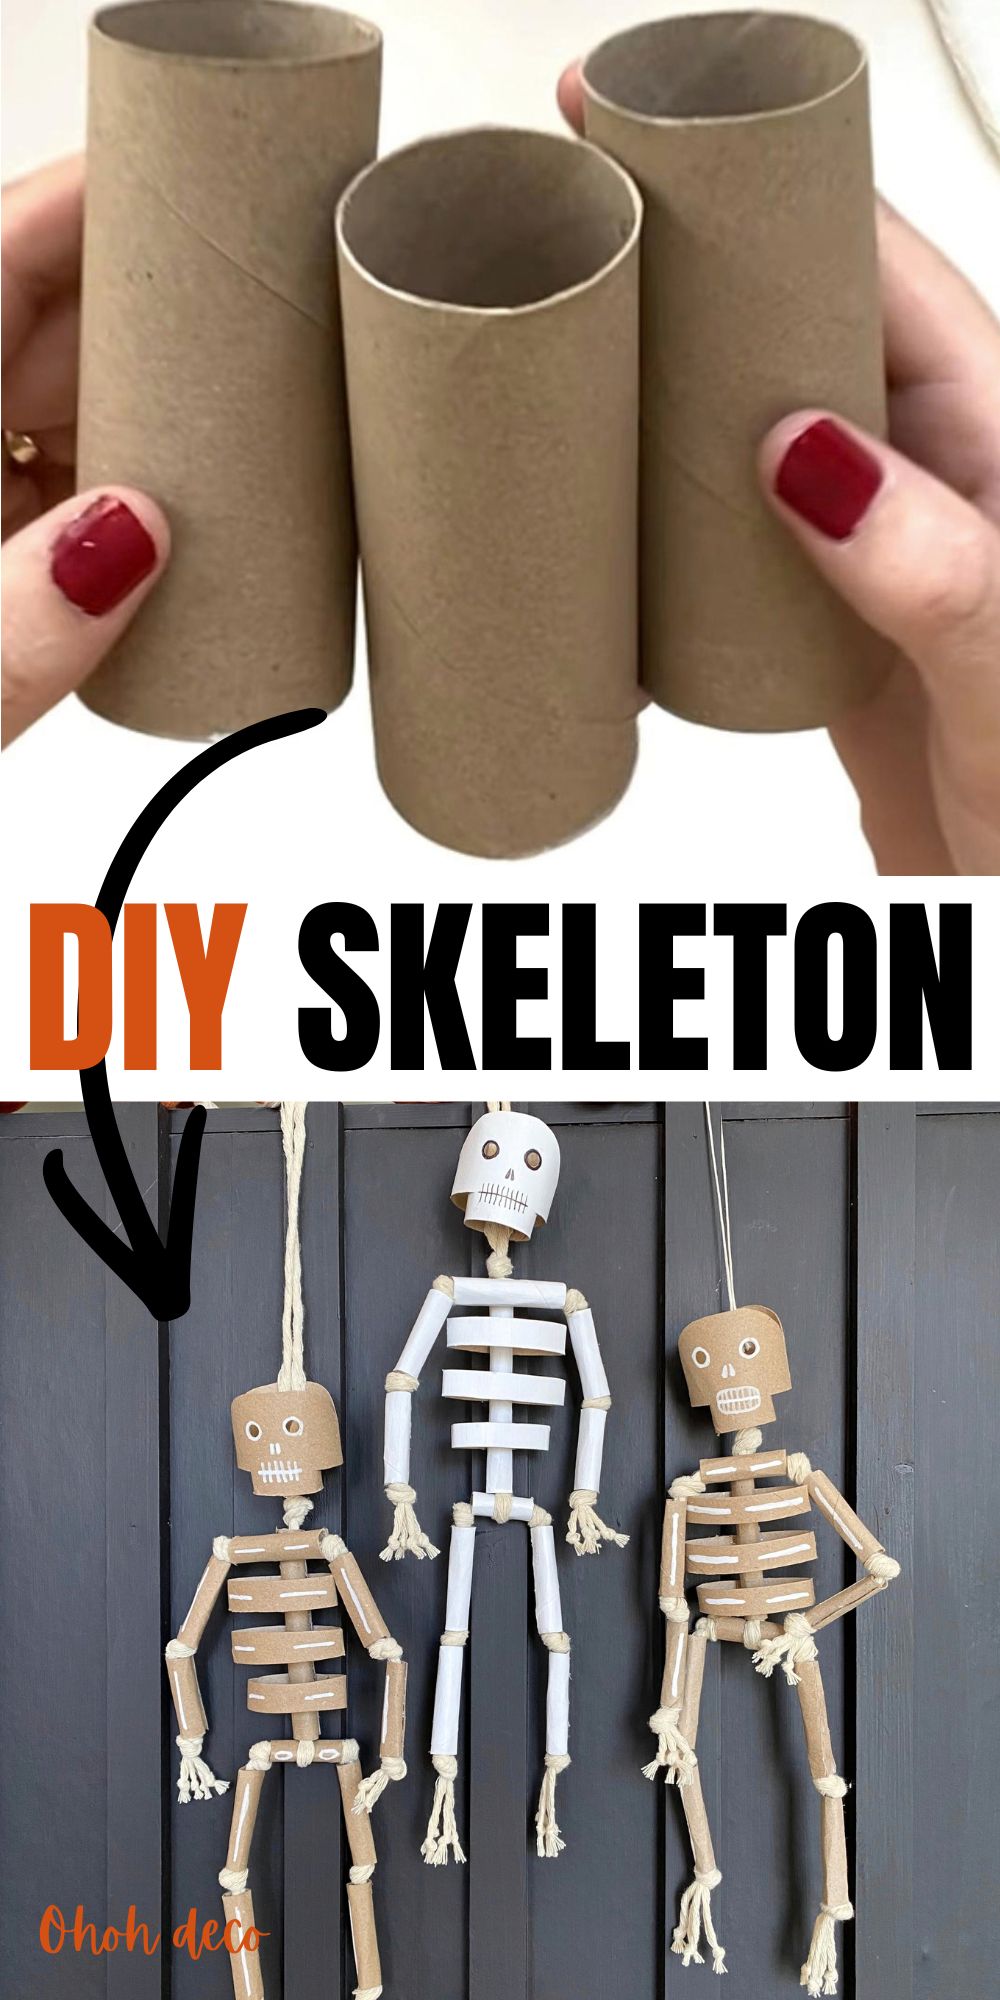
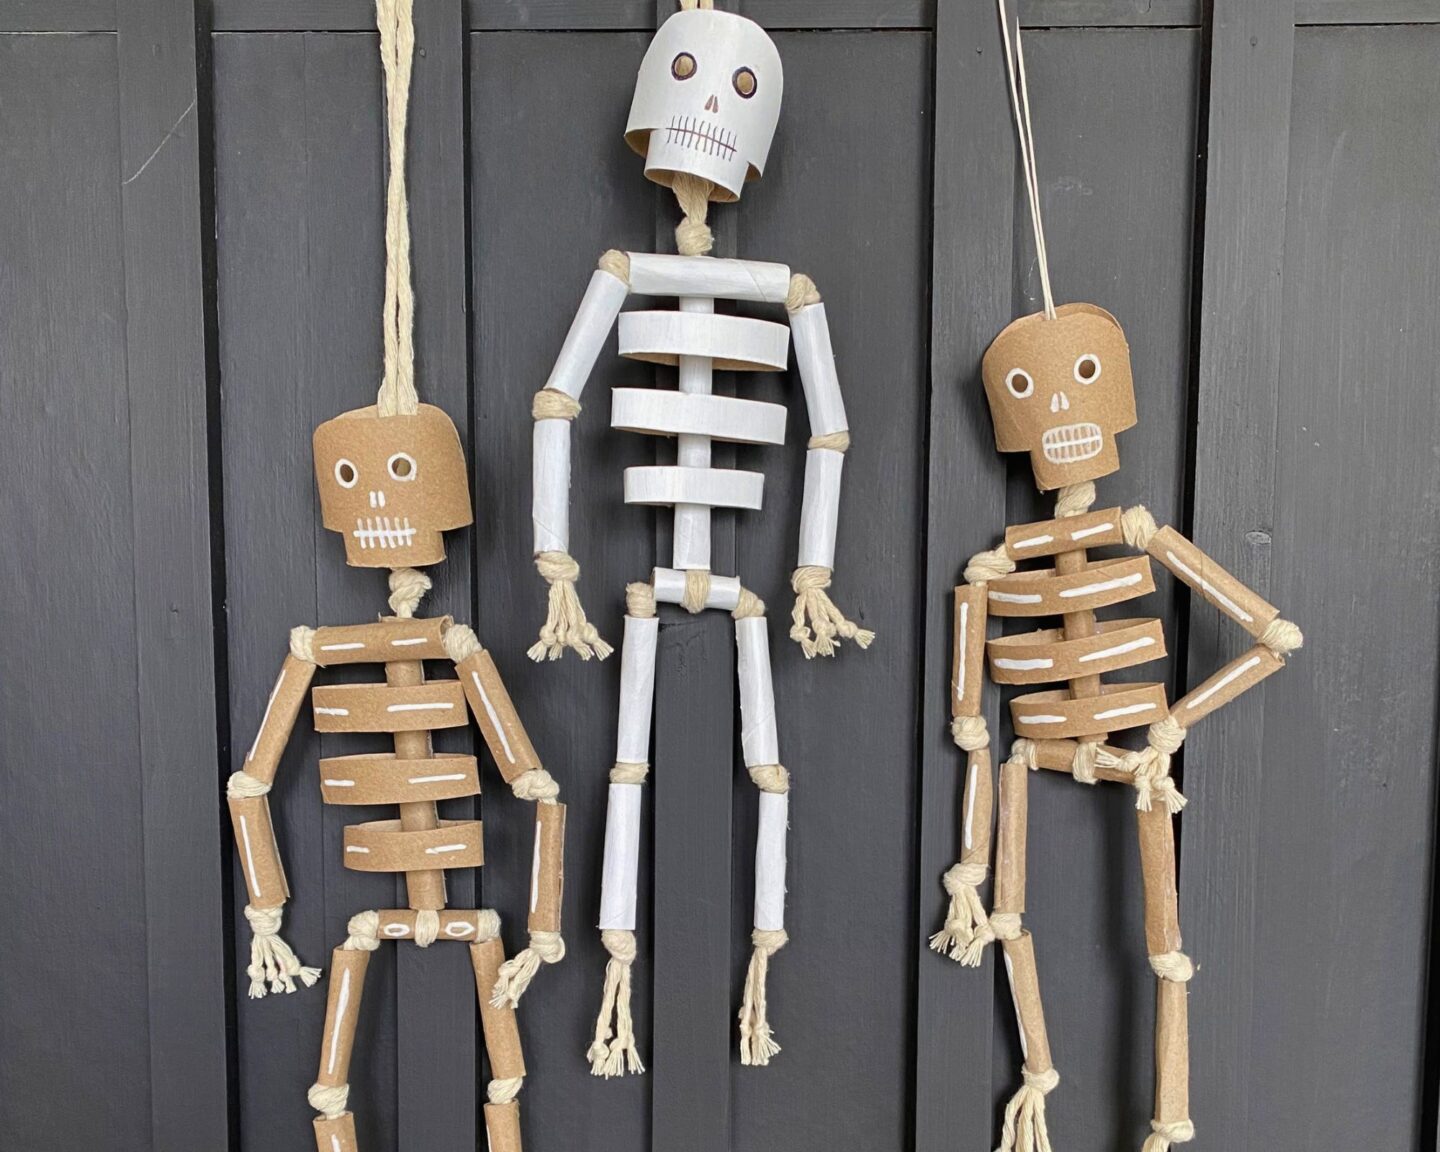
You don’t need to spend a fortune at the store to bring some festive, spooky vibes into your home. In fact, you can make a super cute DIY skeleton with just everyday cardboard rolls.
This is the perfect afternoon craft to get you into the Halloween spirit. Ready to craft? Let’s dive into the step-by-step tutorial!
[ This post probably contains affiliate links; our full disclosure policy is boring, but you can read it HERE ]
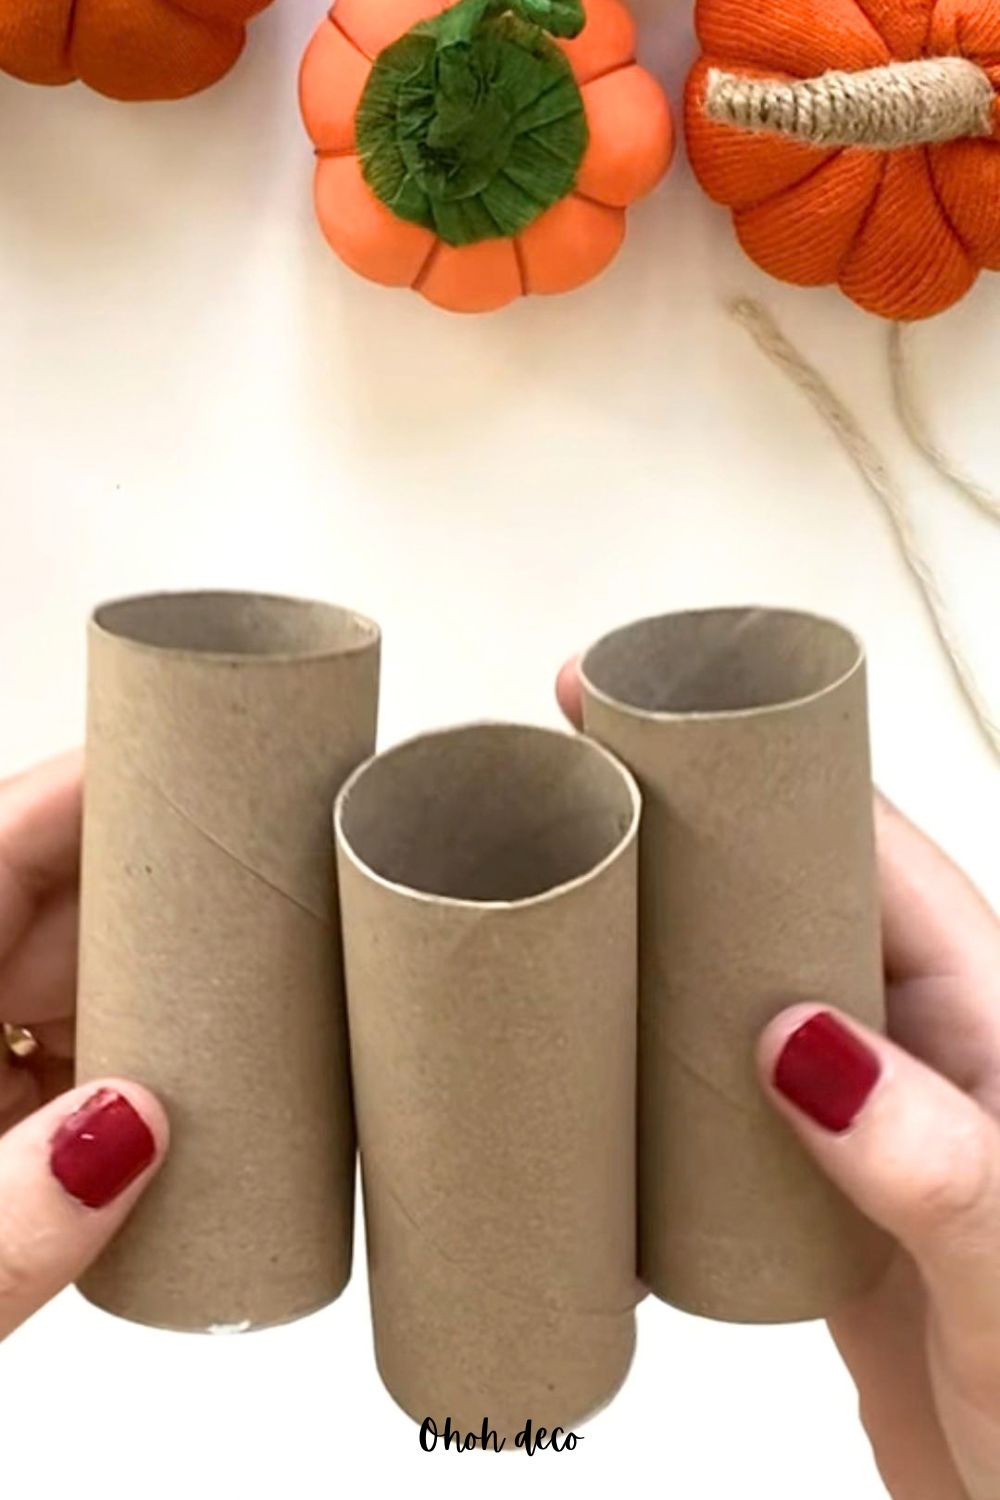
Supply List
Before you start, gather these simple crafting supplies:
- 3 cardboard tubes (toilet paper rolls or cut-down paper towel rolls)
- Macrame rope (cotton yarn or thick regular twine also works perfectly)
- Hot glue gun and glue sticks
- Scissors
- Pencil and a ruler
- Wooden skewer (to help push the rope through the tubes)
- Hole puncher
- Paint marker (optional, for adding bone details)
- White acrylic
Make the DIY Skeleton Step-by-Step Tutorial
Step 1: Prep and Roll the Limbs
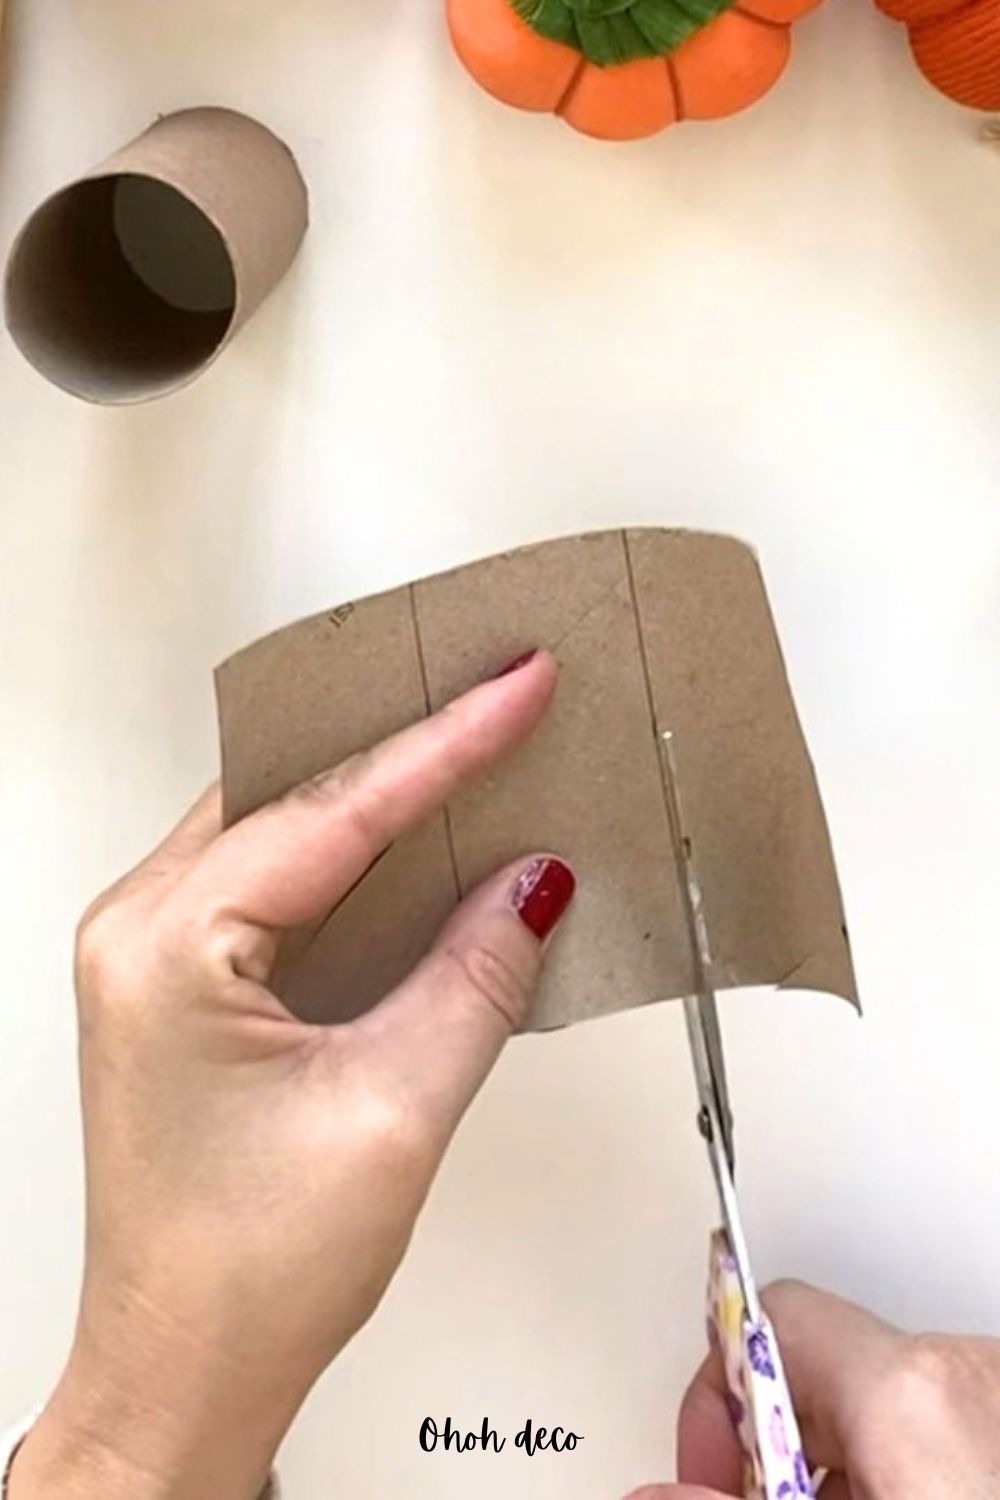
- Take two of your cardboard tubes and cut them open vertically so they lay flat.
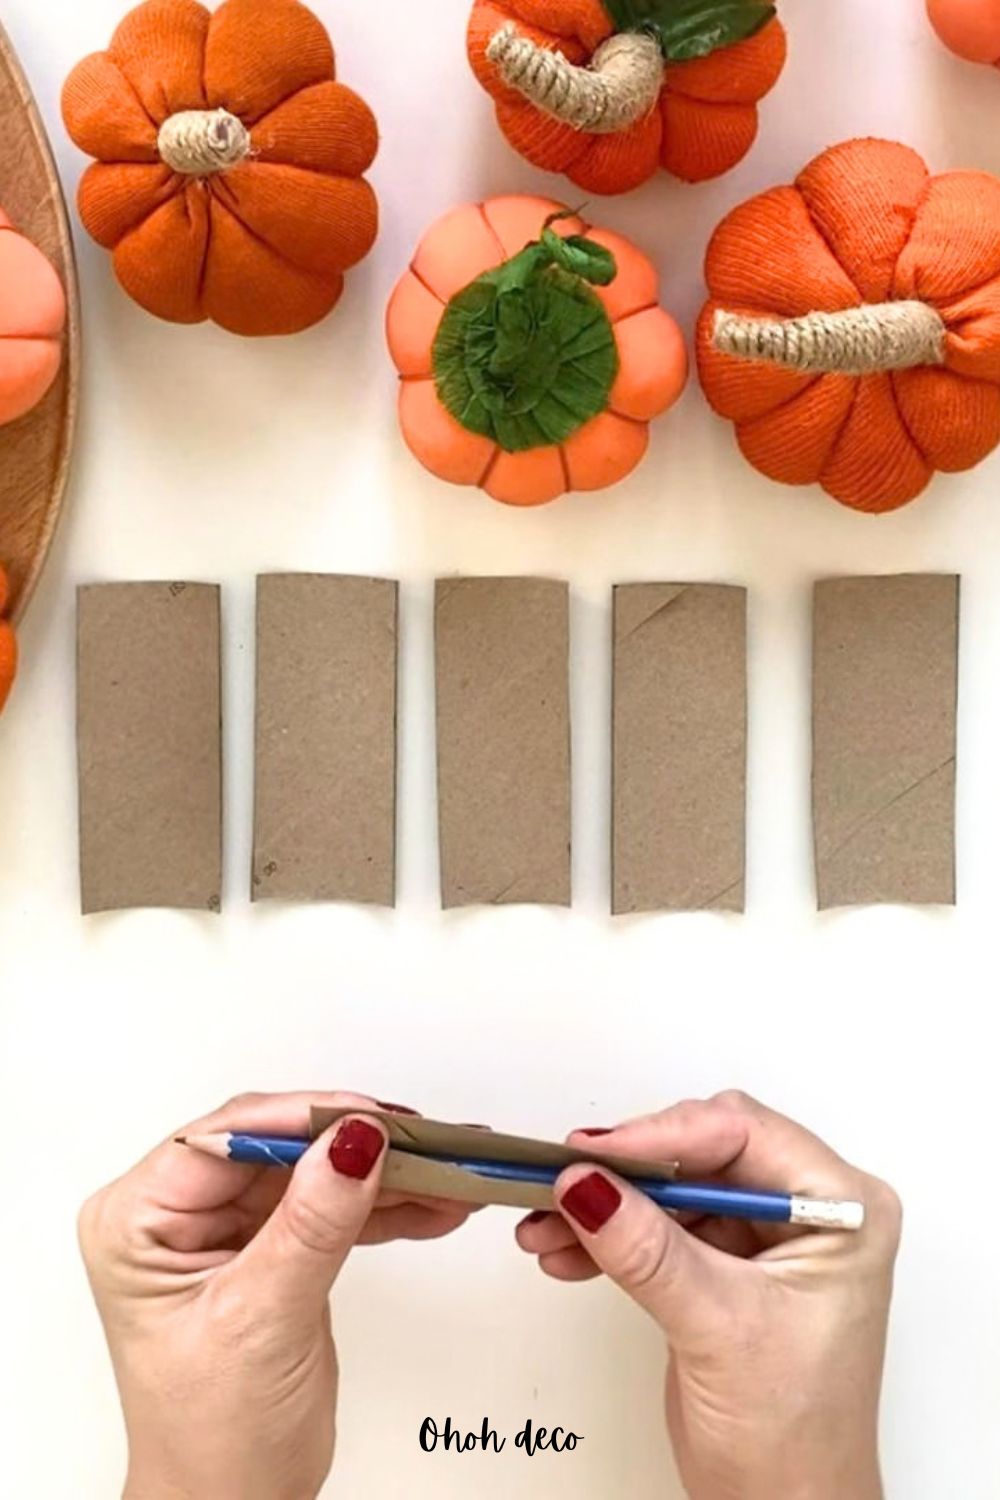
- Measure and cut each flattened tube into three equal parts (roughly 4 to 4.5 cm each). You will end up with six small rectangular pieces total.
- Take one piece and tightly roll it around a pencil to form a narrow, sturdy tube. Secure the edge with a line of hot glue.
- Repeat this for the other five pieces. You now have the basic bone segments
Step 2: Trim the Body Parts
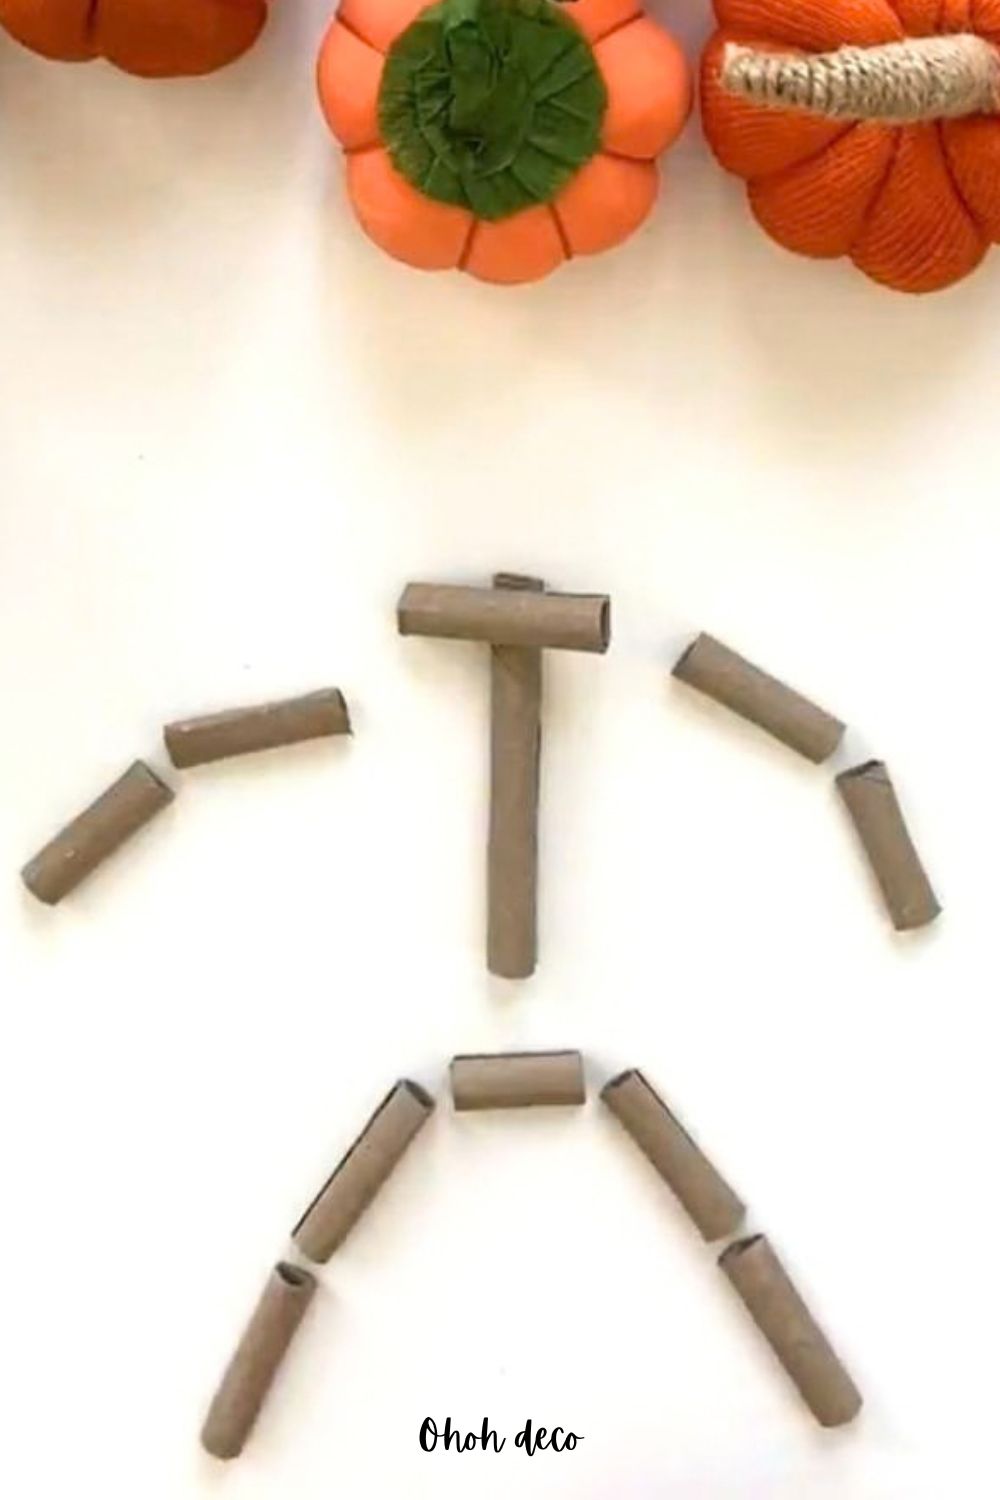
Lay out your six rolled tubes to organize your skeleton:
- The Legs: Take two tubes and cut them directly in half. These four pieces form the upper and lower legs.
- The Arms: Take two tubes. Trim them slightly shorter than the legs, then cut them in half. These four pieces form the upper and lower arms.
- The Spine: Take one full tube to make the spinal cord.
- Shoulders: Cut a tube in half — one piece will be the shoulders and the other will be the pelvis. Trim the pelvis piece down slightly so it is smaller than the shoulders.
Step 3: Build the Torso & Rib Cage
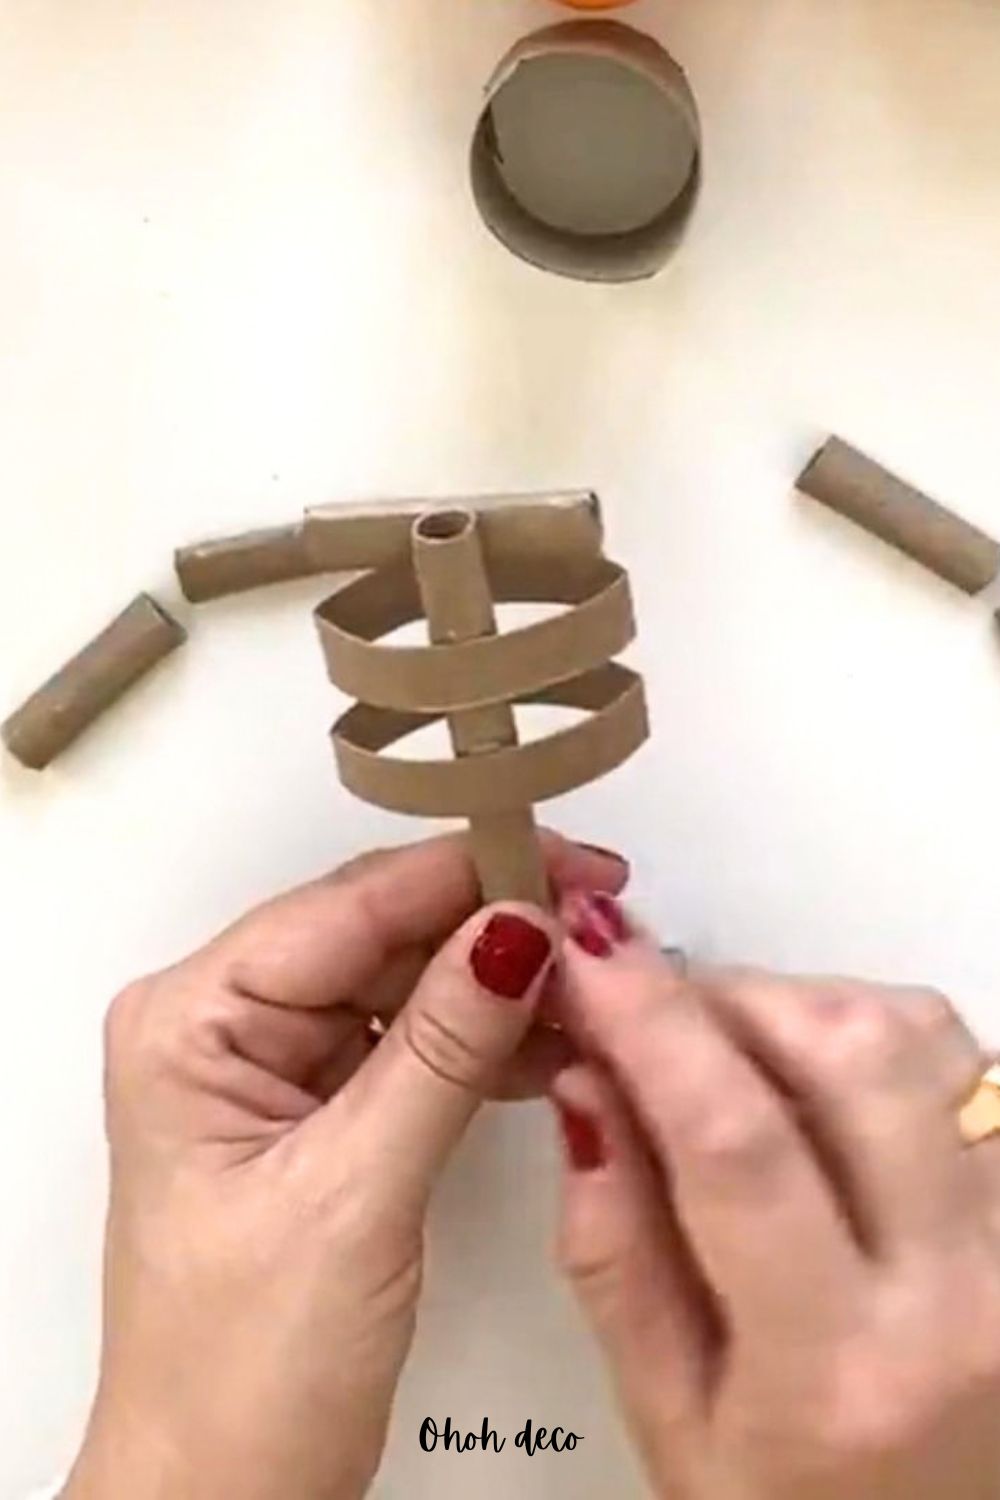
- Glue the shoulder piece horizontally to the top of the spinal cord tube.
- Take your third, uncut cardboard tube. Press it slightly flat and cut it completely in half. Save one half for the head.
- Take the remaining half and slice three curved rings out of it to create the rib cage.
- Cut open one ring. For the bottom rib, trim it down slightly so it is smaller, reglue it closed.
- Glue the three ribs to the back of the spinal cord, leaving even spacing between each rib as you move down. Glue the pelvis piece to the bottom of the spine.
Step 4: Assemble with Rope
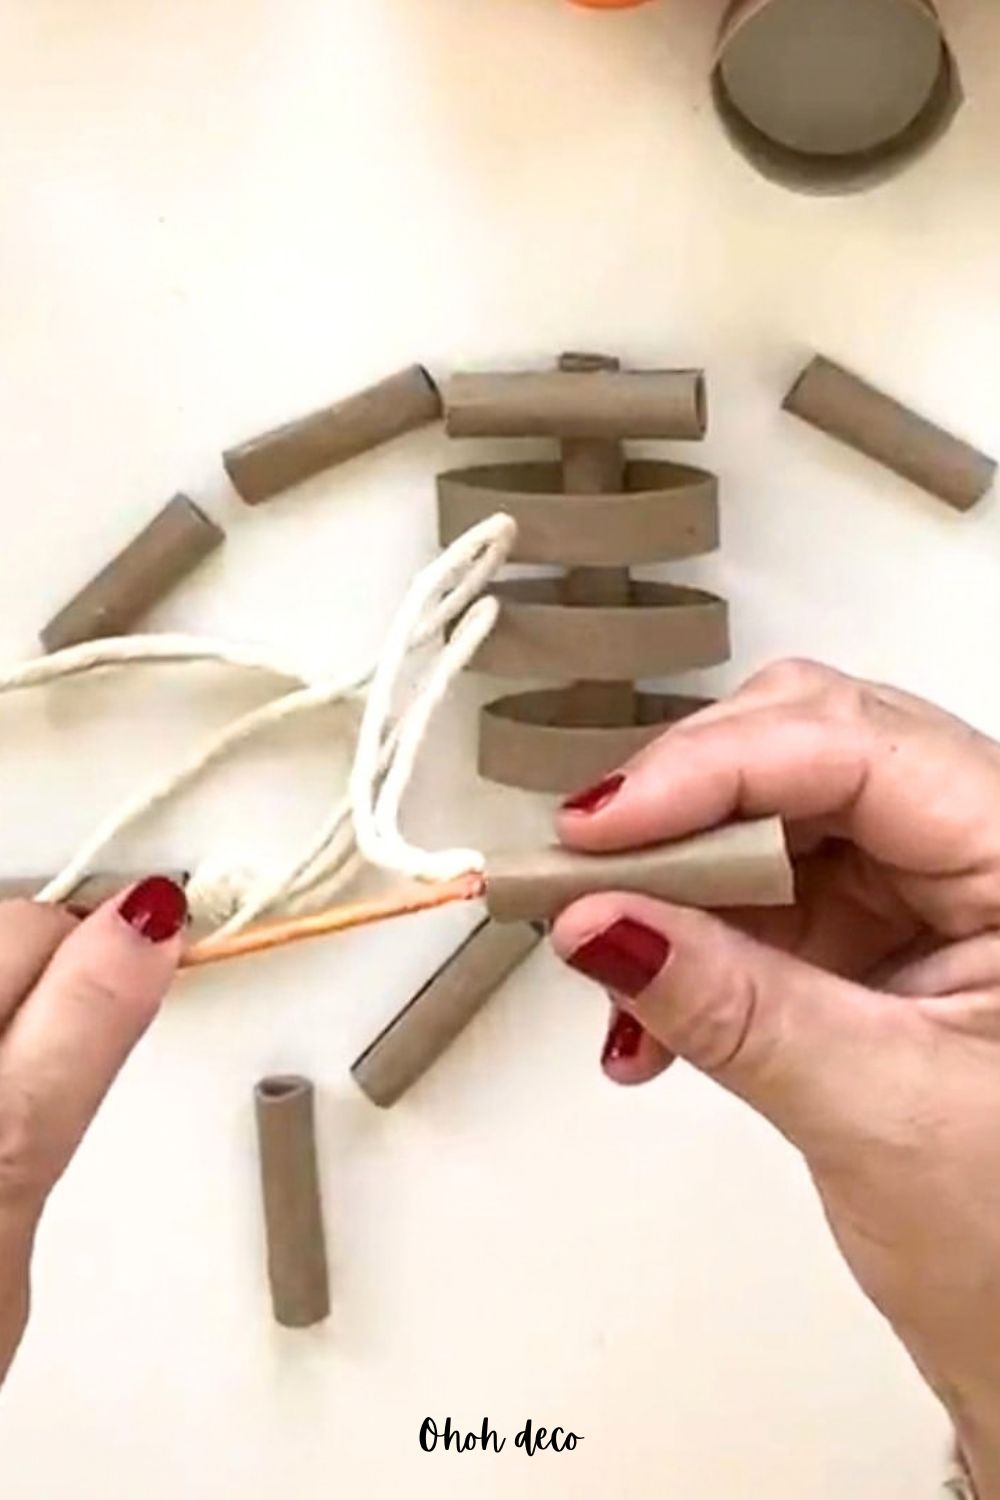
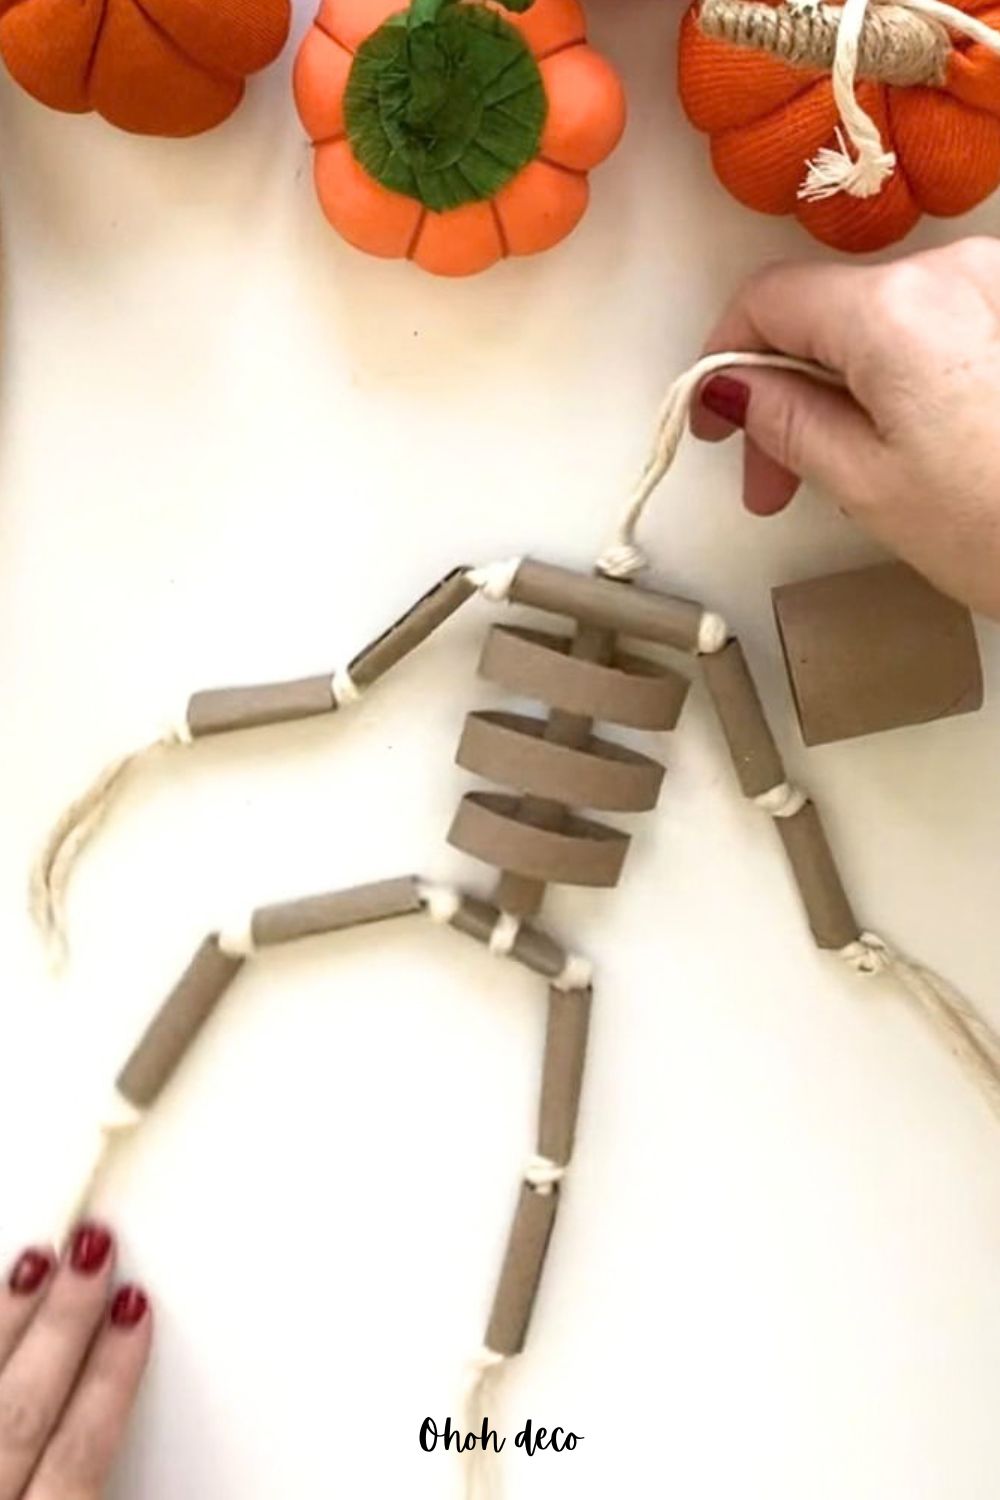
- The Legs: Fold a long piece of macrame rope in half. Use a wooden skewer to push the double rope through a leg tube. Tie a knot at the bottom (leave excess rope for the feet) and tie an other knot at the top. String on the upper leg, tie a knot, and then thread it through the pelvis. Repeat for the other leg.
- The Arms: Fold another piece of rope in half. String on the lower arm, knot it, string on the upper arm, and knot it. Thread the rope horizontally through the shoulder piece, knot it, and continue assembling the second arm on the other side. Leave excess rope on both ends to make the hands.
- Connecting the Body: Take a loop of rope, hot glue it securely to the center of the pelvis, and feed it up through the spinal cord tube, tying a knot at the top to hold the whole body together.
Step 5: Craft the Skull
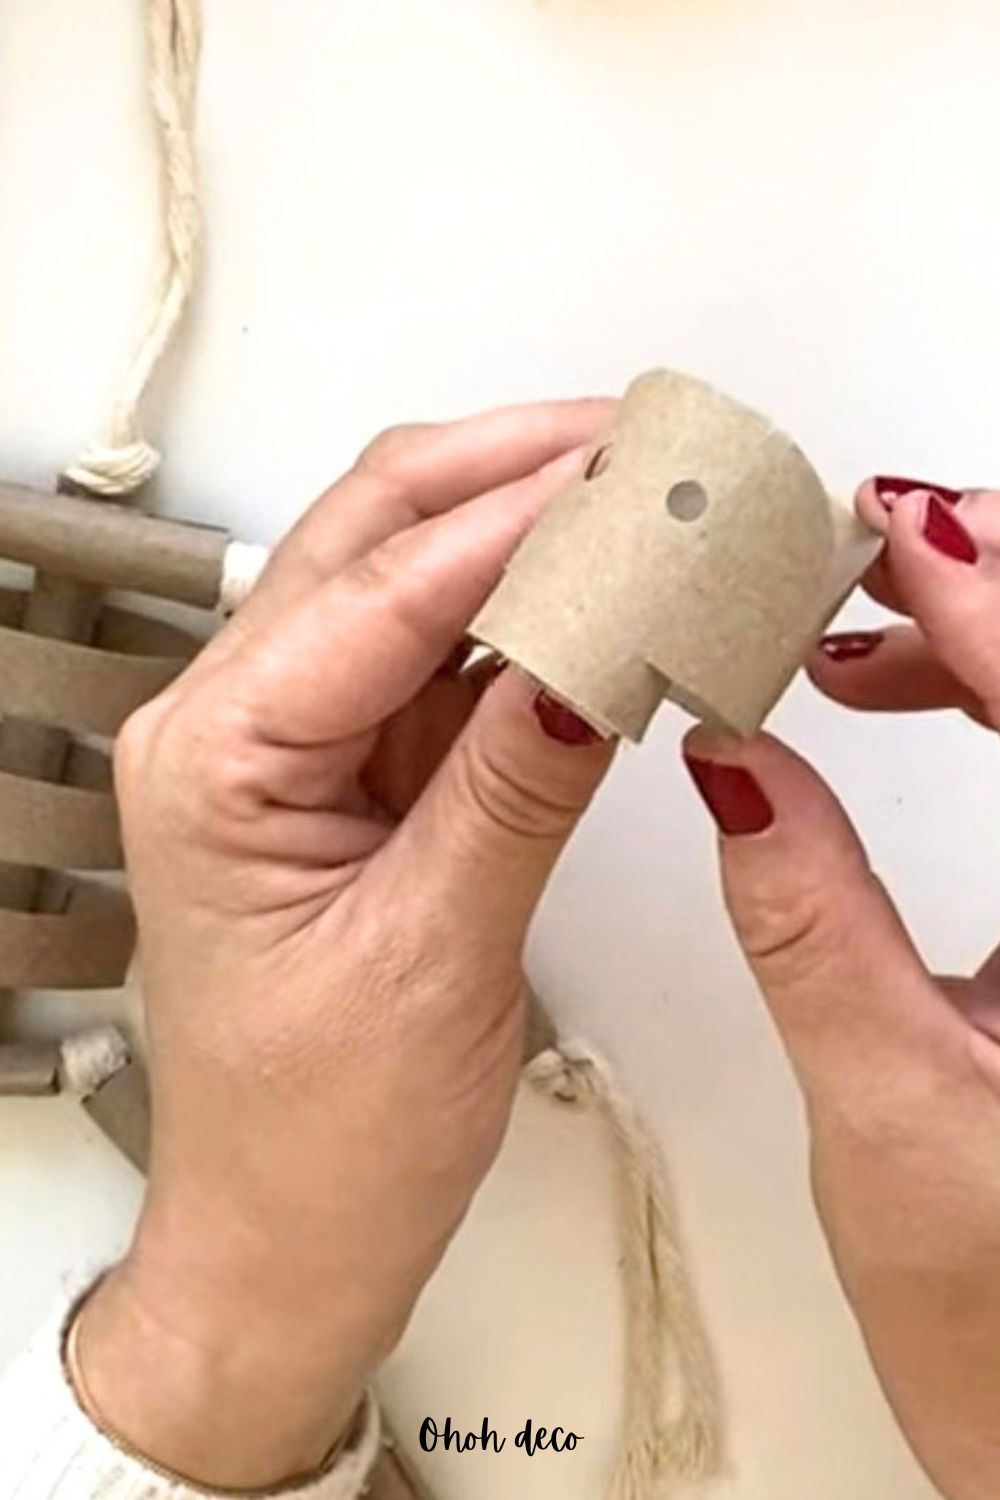
- Take the leftover half-tube you saved in Step 3. Curve and round off the top corners.
- Cut a 1 cm notch into the sides, folding the bottom flaps inward to create a jaw/skull shape. Hot glue the flaps down at the back.
- Mark two eyes with a pencil and punch them out using your hole puncher.
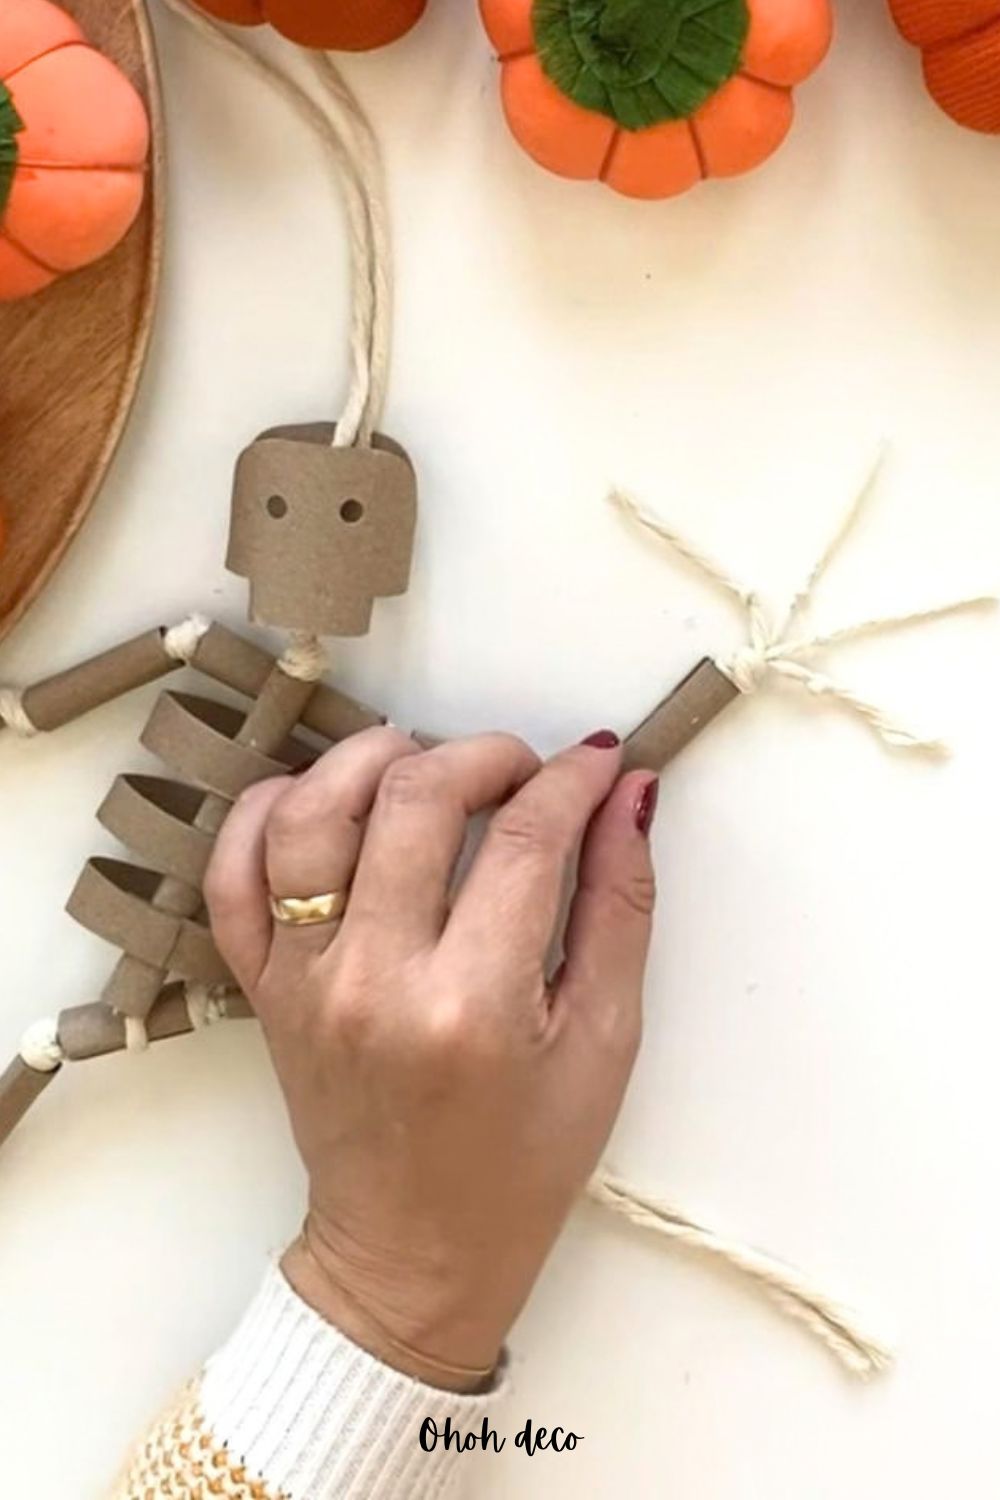
- Use the remaining rope at the top of the spine to tie the head in place, leaving the knot slightly loose so the head can wiggle. Leave a loop at the very top so you can hang your creation!
Step 6: The Finishing Touches
- Unravel the loose rope ends at the bottom of the arms and legs. Separate the cotton fibers into 4-5 groups and tie small knots to mimic little skeleton fingers and feet. Trim away any extra length.
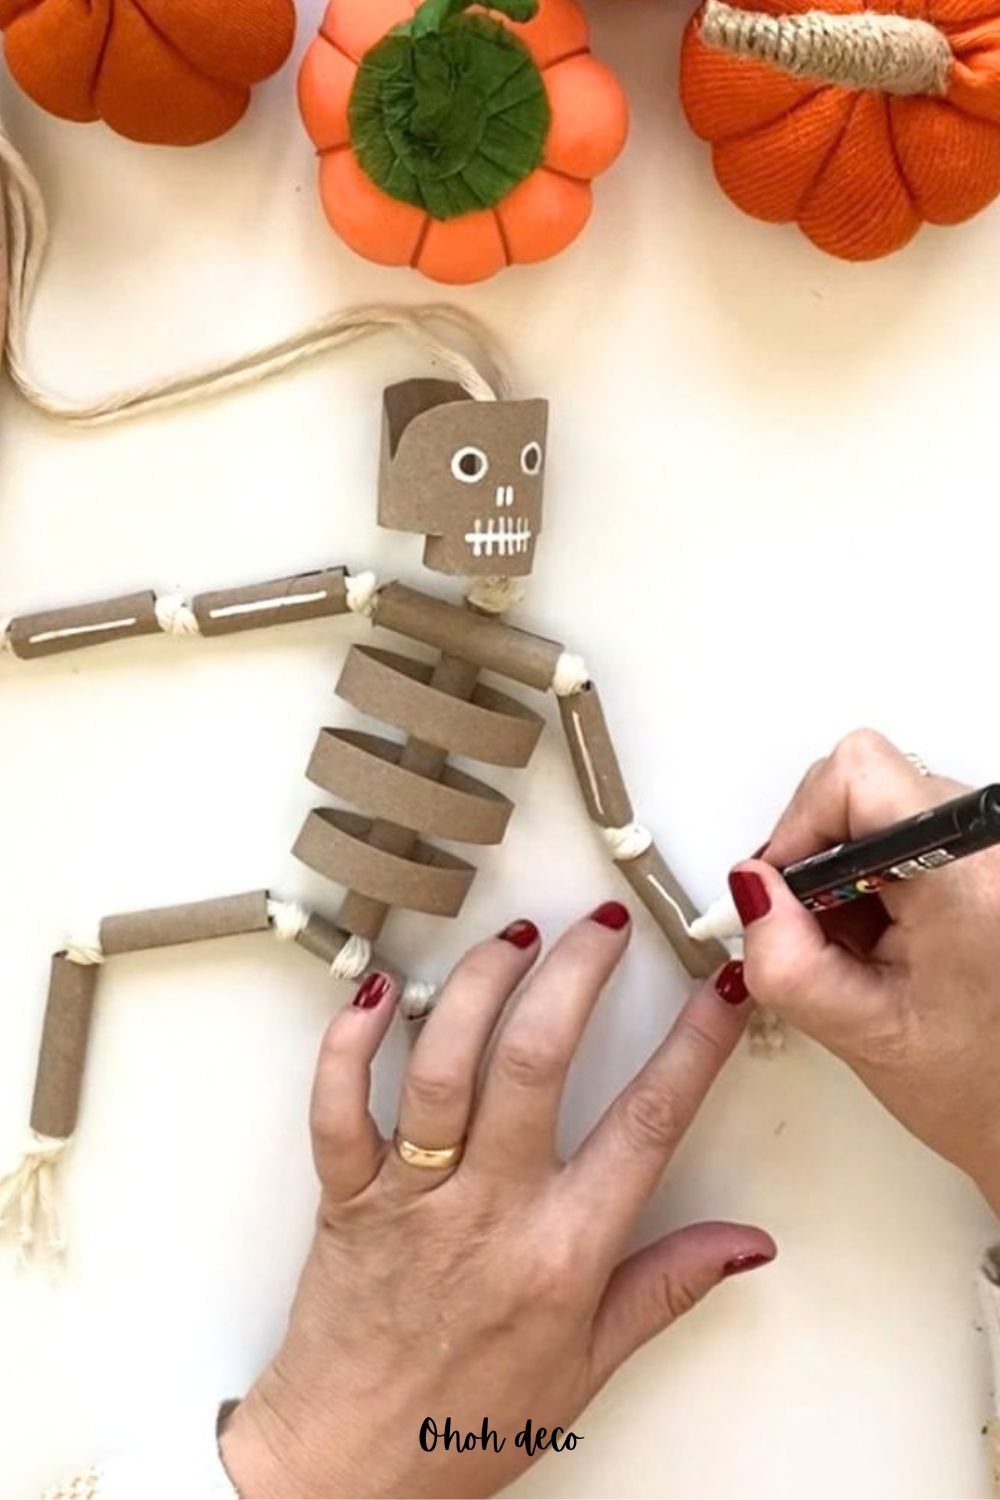
- Grab a white acrylic marker to draw on teeth, kneecaps, or extra bone highlights!
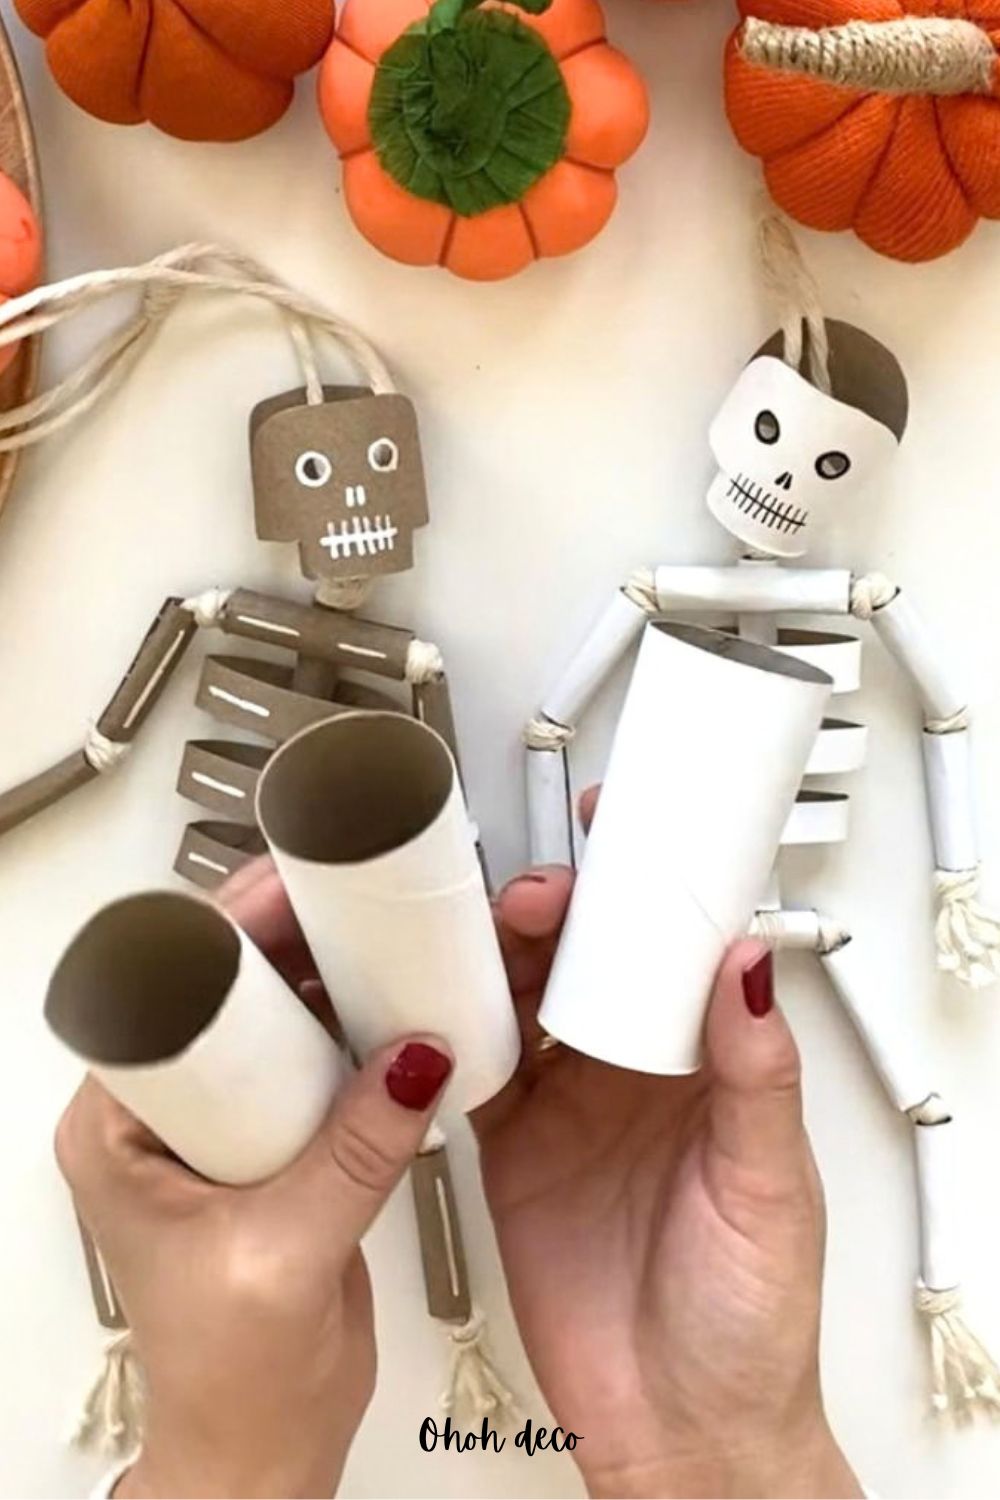
💡 Crafter’s Tip: If you want a completely white skeleton instead of the natural brown cardboard look, paint your toilet paper rolls white before you start cutting and rolling them. It saves a ton of time!
Watch the Video Tutorial
To help you craft your DIY skeleton and learn some extra tips, watch the video tutorial! Seeing the folding, knotting, and cutting techniques in action makes it even easier to follow along and perfect your spooky project.
RELATED: DIY Outdoor Halloween Decorations – 66 easy ideas
RELATED: 35 Easy Halloween sewing projects ideas
Hang Your Spooky DIY Skeleton Creation!
Your DIY skeleton is officially complete, and now it is time to bring it to life! These versatile little figures look fantastic scattered all over the house.
You can hang them on a door knob, loop them into a festive Halloween garland across your fireplace mantle, dangle them from a bookshelf, or even display them right in the front window.
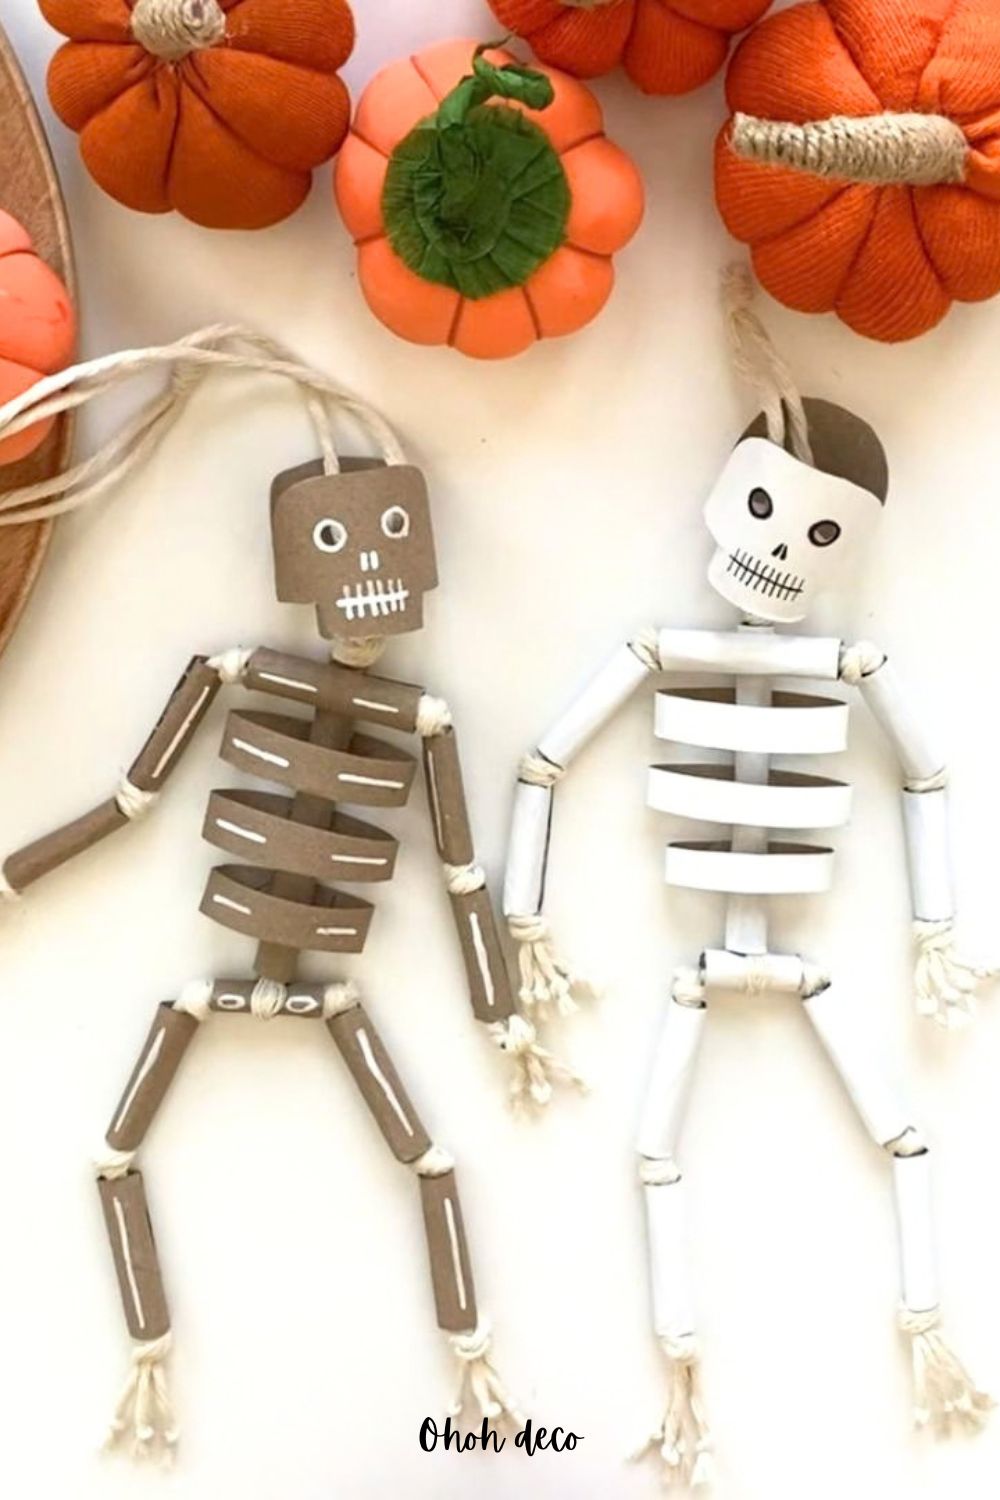
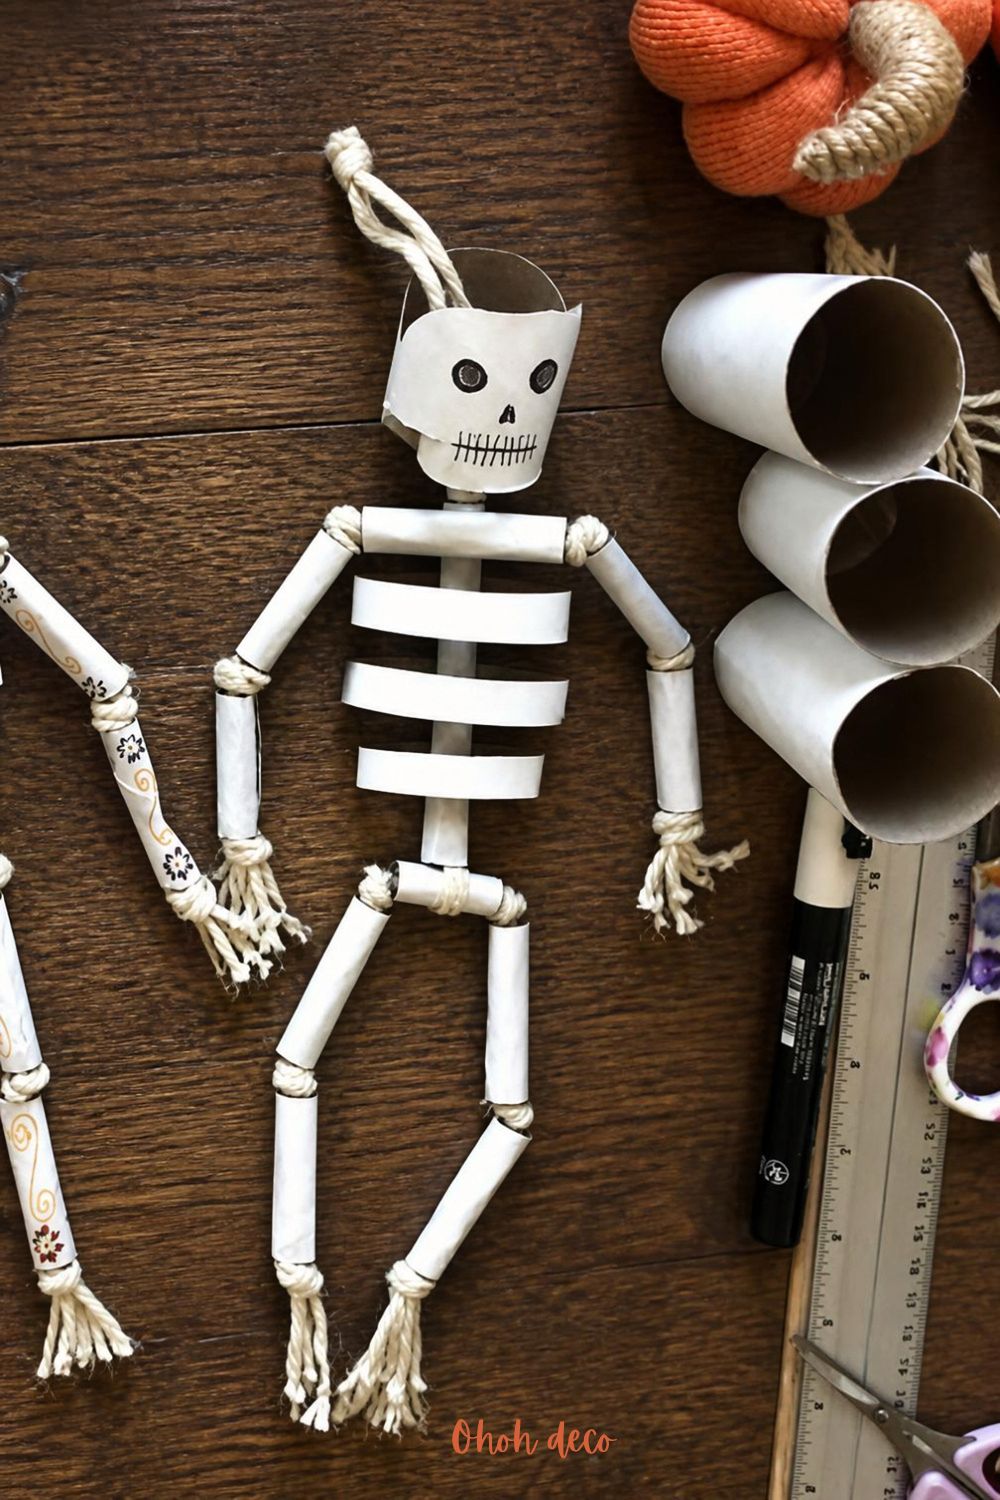
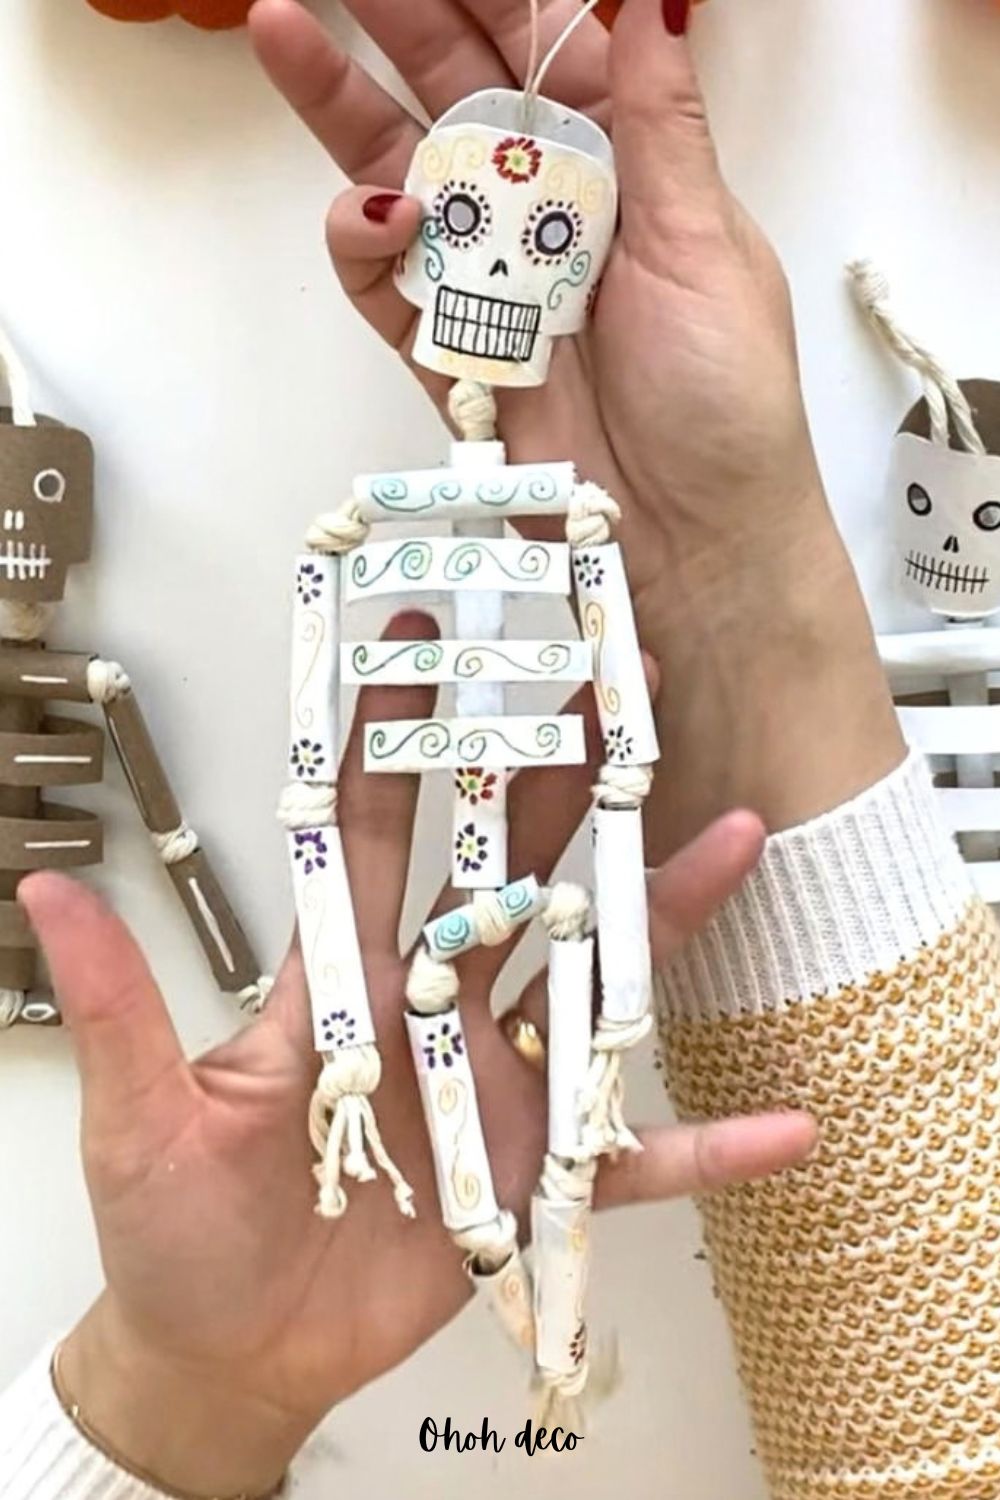
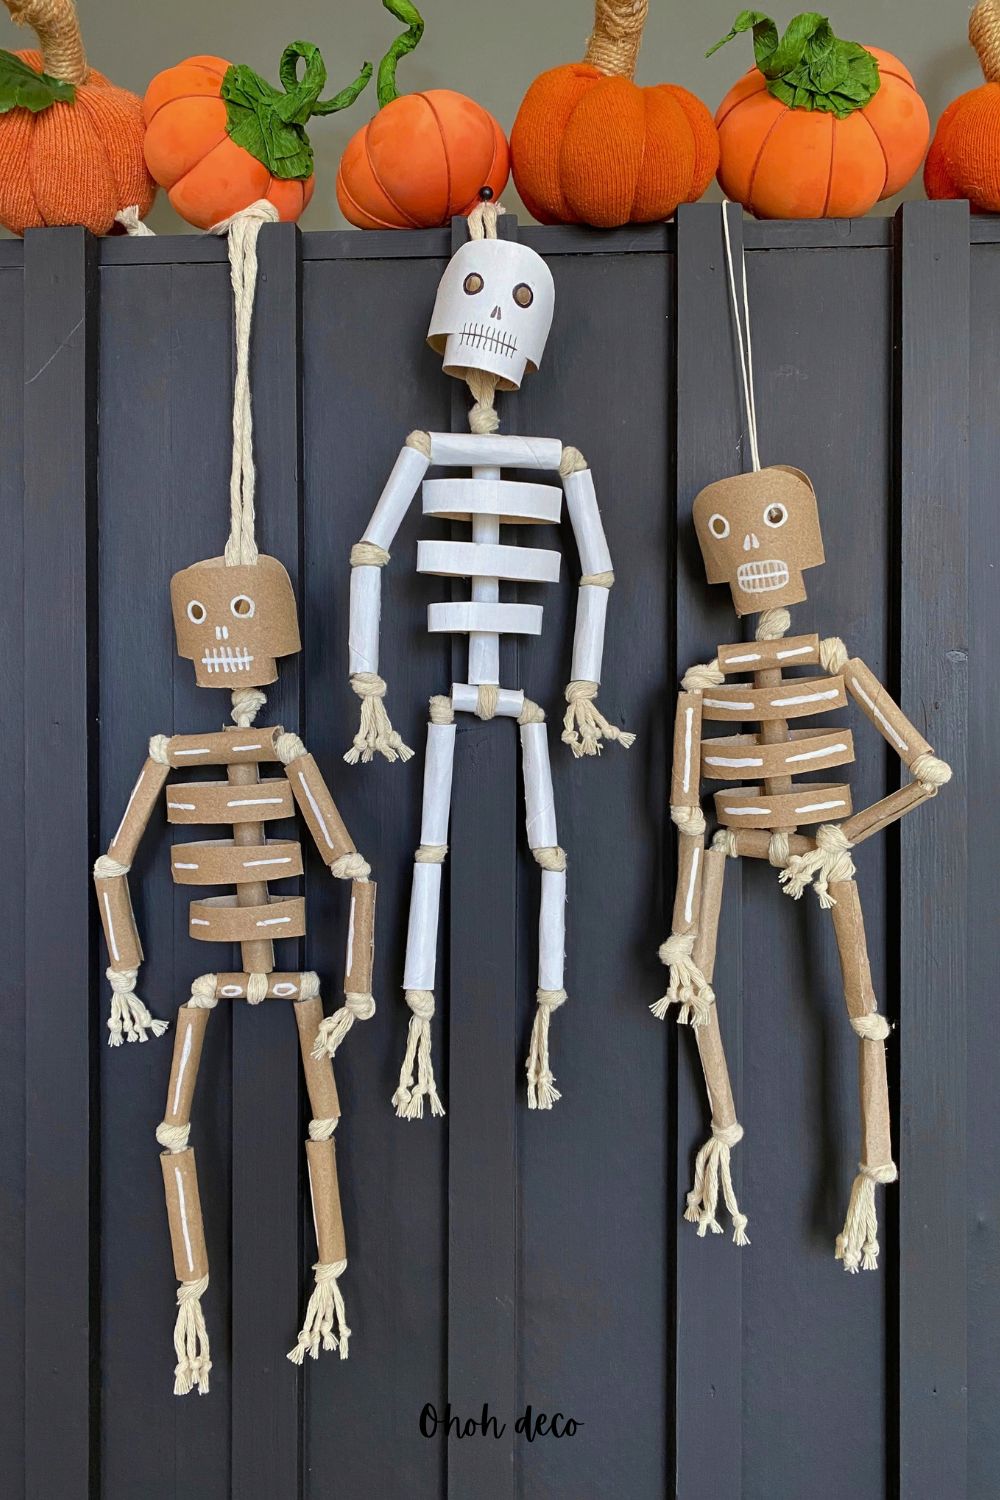
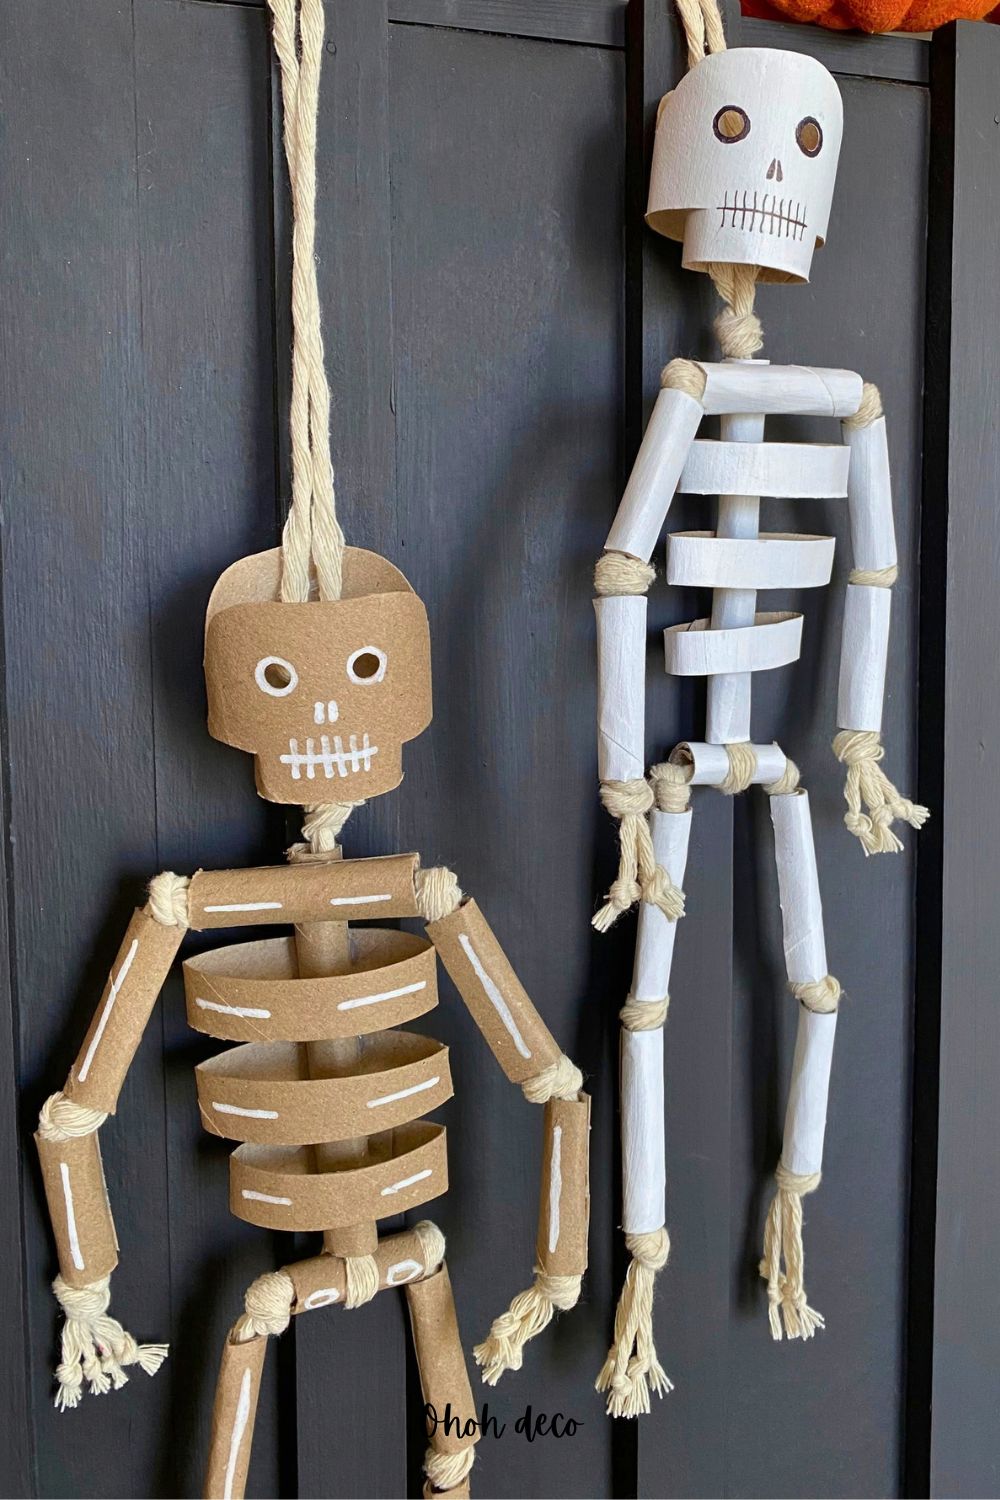
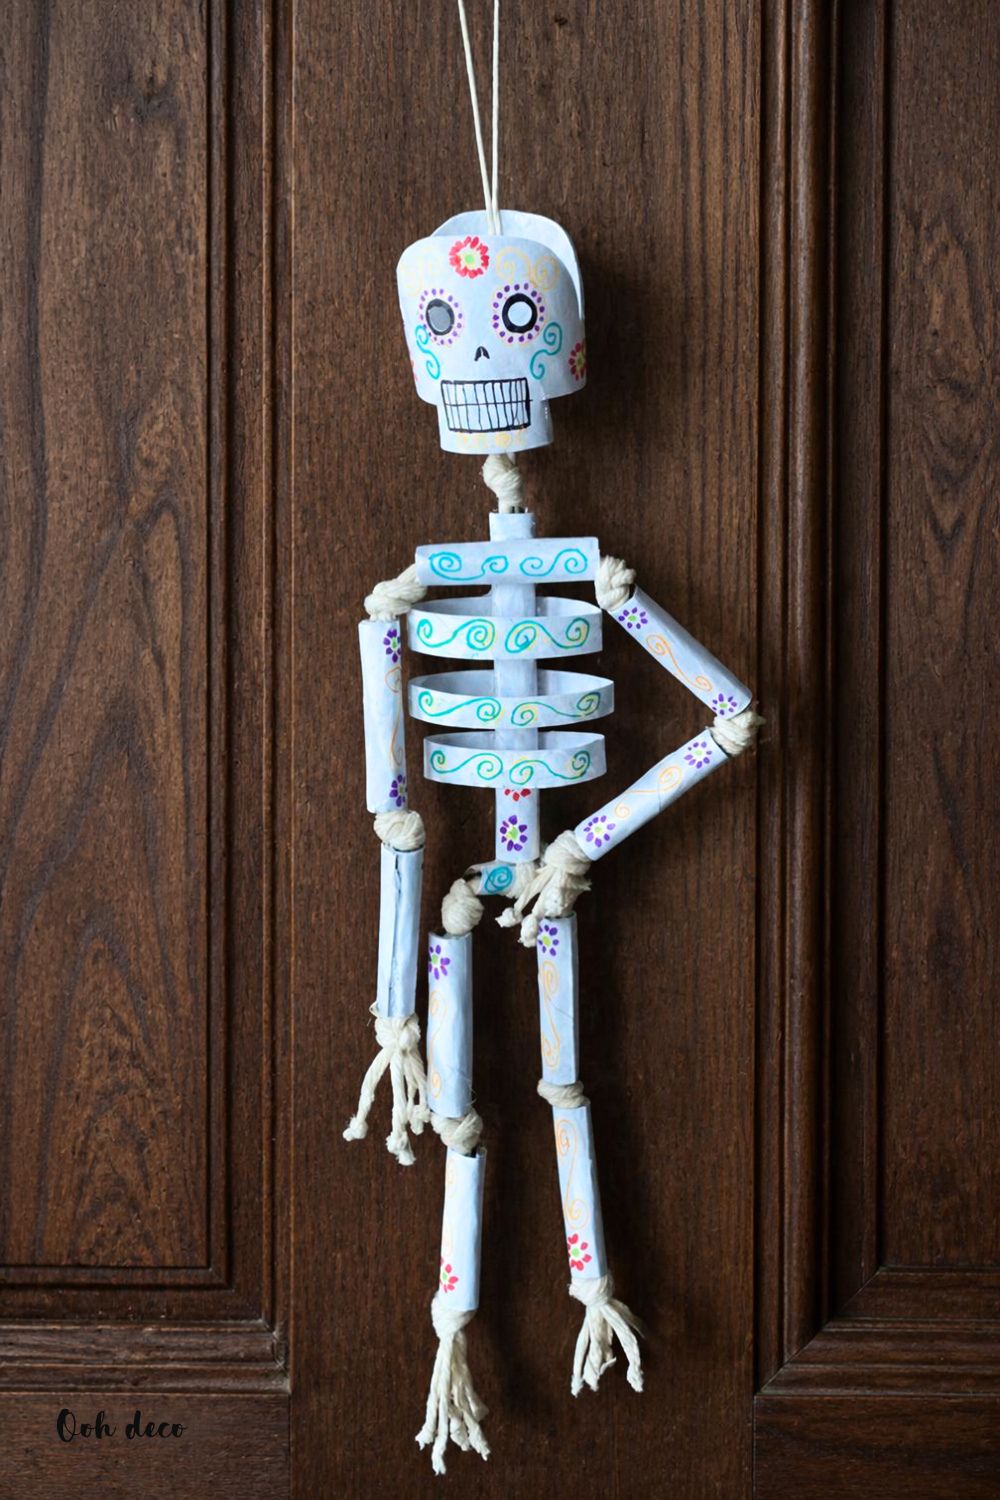
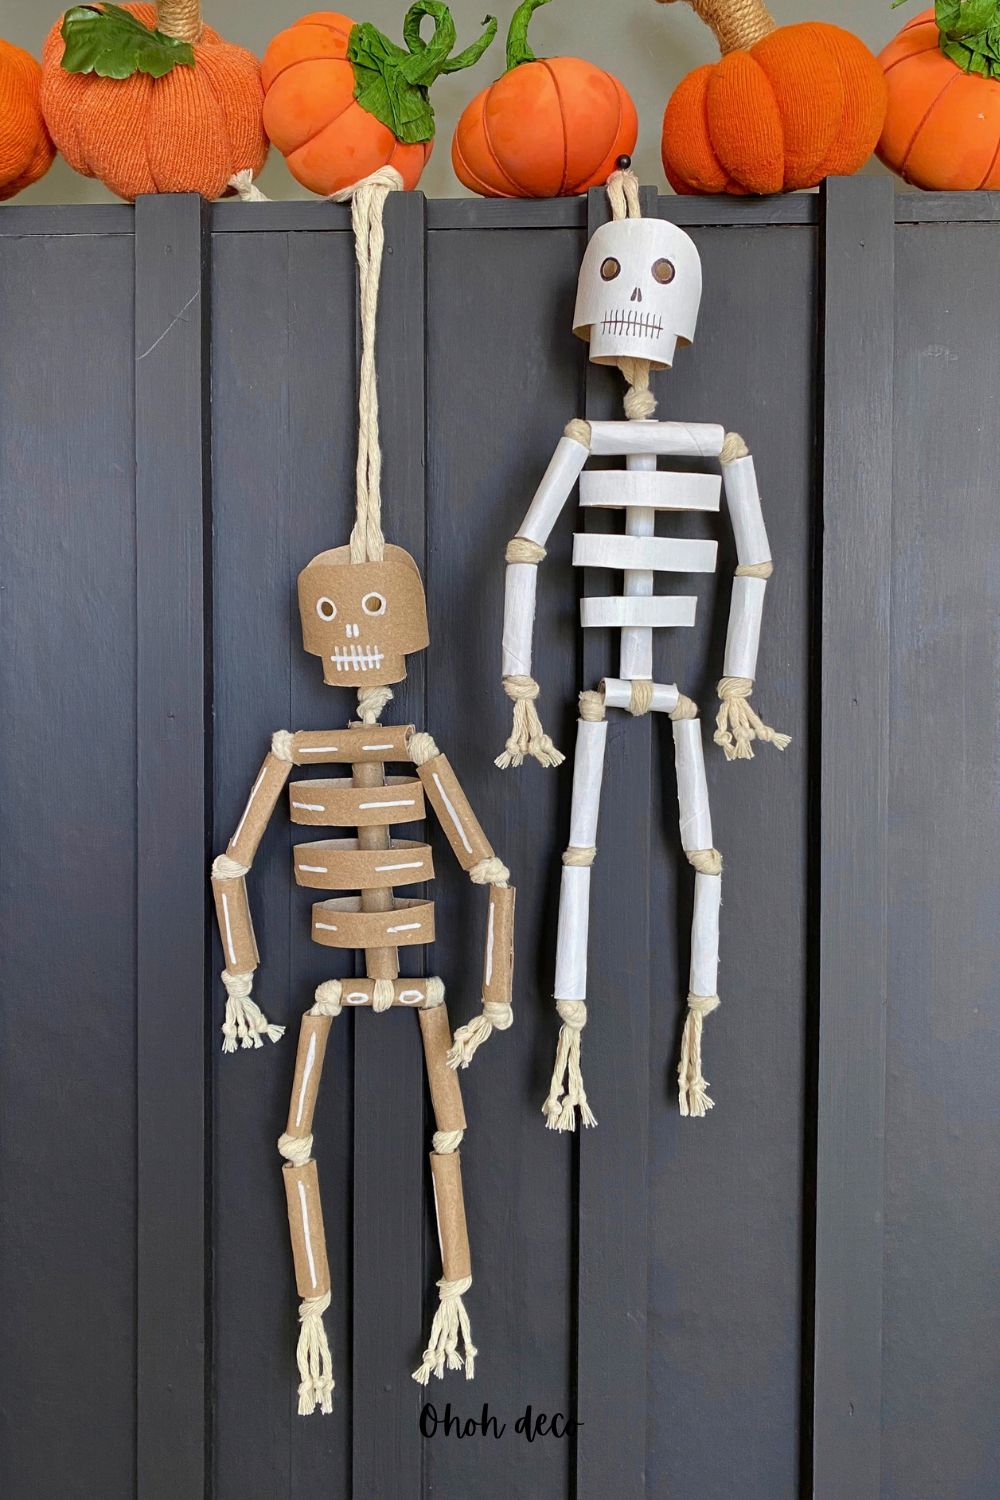
The best part about this project is how easily you can customize it to fit your personal style. You can keep it minimalist and leave the cardboard its natural brown color, or coat it in classic white or black paint.
If you want to get creative, try designing a colorful Dia de los Muertos sugar skull face, or use scrap fabric and yarn to dress them up in miniature costumes!
Because it is so customizable, this is a wonderful, budget-friendly craft to make with kids. If you are crafting with younger children, you can easily swap out the hot glue gun for strong invisible tape or school glue to make the project much safer for little hands.
Where are you planning to display your new spooky friend? Are you going for a classic white look or a colorful sugar skull design? Leave a comment below and share your ideas with me!
RELATED: Unconventional Halloween Crafts for Adults, 80 Easy Ideas
RELATED: DIY Halloween Decorations in 5 Minutes: 5 Cheap Crafts Made from Things Around the House
Want to remember it? Save this DIY Skeleton made out of Toilet Paper rolls on your favorite Pinterest board.