
I’ve got this knit fabric lying around for more than two years, I bought it because it was pretty!! I used a small piece to make this chair cover and then forgot about it!
I first tough to make a knit cardigan, like this one, but I change my mind and I decide to make a sweater.
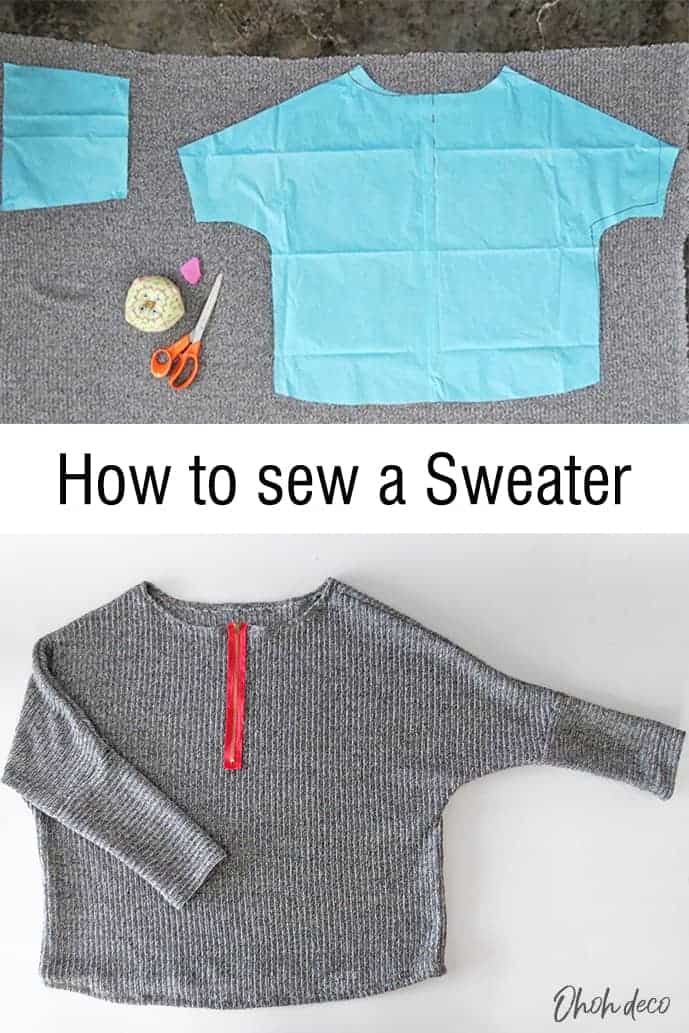
I didn’t have any pattern on hand so I find a way to make the sweater without one. I use an XL t-shirt as a template to make my pattern.
I will explain how to draw the sweater pattern and how to sew the pieces together to make a nice garment. It’s much easier than you think.
Ready to sew your sweater?
RELATED: Succulent pillow pattern
RELATED: How to embroider a sweater
[ This post probably contains affiliate links, our full disclosure policy is boring, but you can read it HERE ]
How to make a Sweater
Supplies you will need for a sweater:
- Knit fabric
- Matching thread
- Sewing machine
- Scissors
- Measuring tape
- Pins or sewing clips
- Large piece of paper
- Sharpie
You can easily find knit fabric online, I found the nicest fabrics when typing “sweater knit fabric by yard”, look at this beautiful one or this other pretty option.
Wool, Cotton, synthetic fibers, or a combination of these are the most common sweater fabric you can buy. They will work great for this project.
Step 1
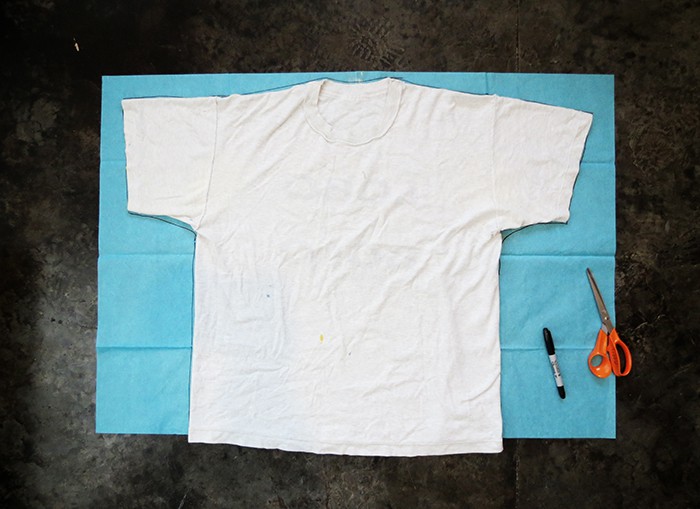
To make the sweater pattern, place a large t-shirt on a sheet of paper.
I wanted the sweater to be loose, so I used a t-shirt bigger than my usual size as a template. To give you an idea I usually wear an L woman size, and this is an XL men’s t-shirt.
You can try the t-shirt to have an idea of how the sweater will fit.
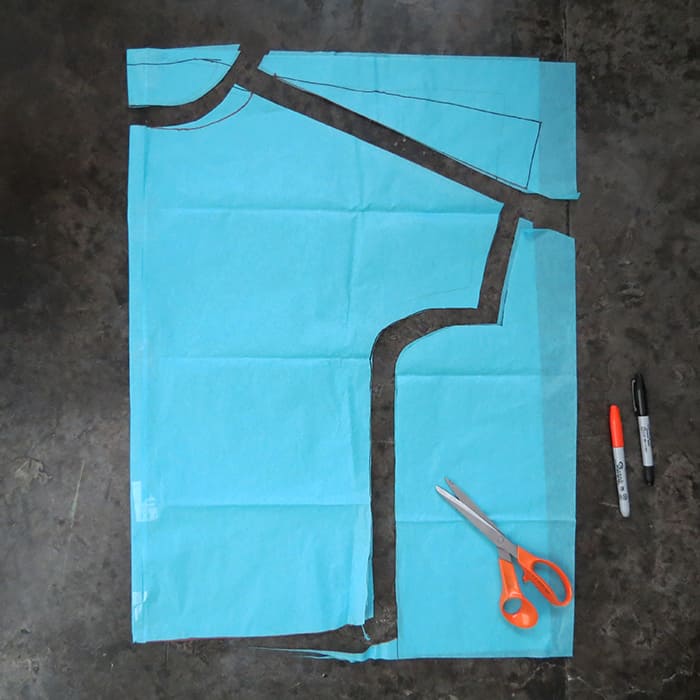
Once you have your t-shirt to use as a template, report the t-shirt shape on the paper.
Just lay the t-shirt flat on the paper sheet and outline it.
Step 2
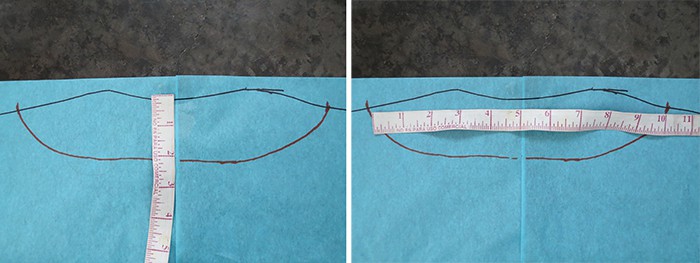
Draw a more open neckline than the t-shirt one.
It has to be 2 inches lower and 5 inches larger than the t-shirt neckline( 2 1/2 inches longer on each side).
Step 3
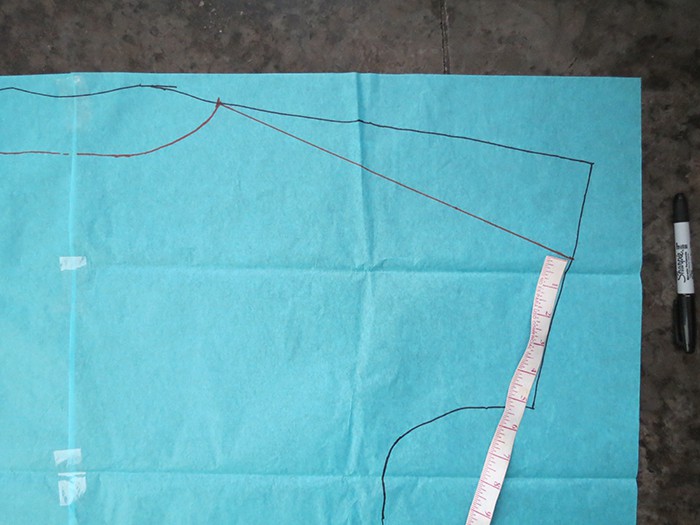
You need to adapt the width of the sleeve, measuring 5 inches from the bottom sleeve edge. Trace a line to join it with the extremity of the neckline.
Remember that the measurements I give are to make an L-size sweater, so you may have to adapt the dimensions if you wear smaller or larger sizes.
Step 4
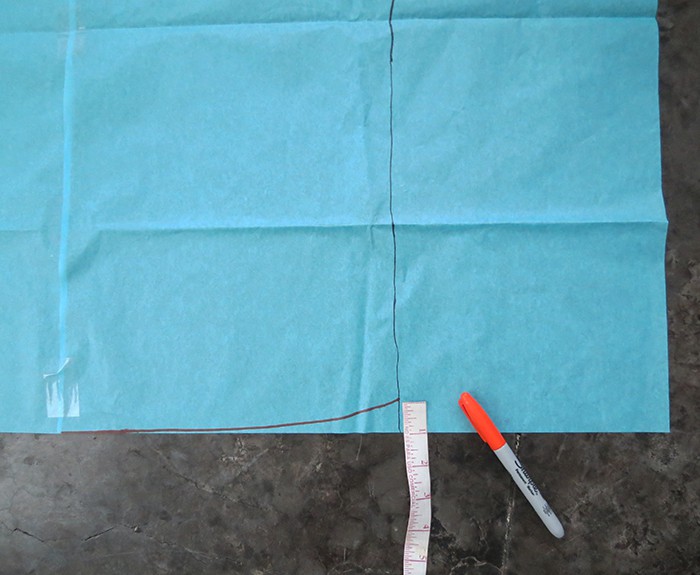
The high of my sweater (aka the measure between the neckline and the bottom) is 24 inches. You can choose to make the sweater longer or shorter.
Just take the measure, starting from your shoulder to your belly/hips/thigh. Modify a little the bottom line, and draw a slight curve instead of a straight line.
Step 5
Fold your drawing in the middle and cut it, it’s the best way to have a perfectly symmetrical pattern.
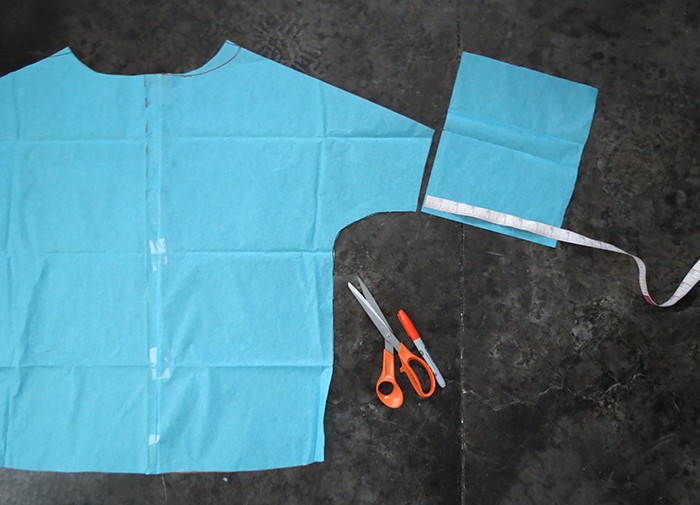
Step 6
Cut a rectangle of 10 inches by 8 1/2 inches to make the second part of the sleeves.
RELATED: DIY cactus pillow
RELATED: How to sew a skirt
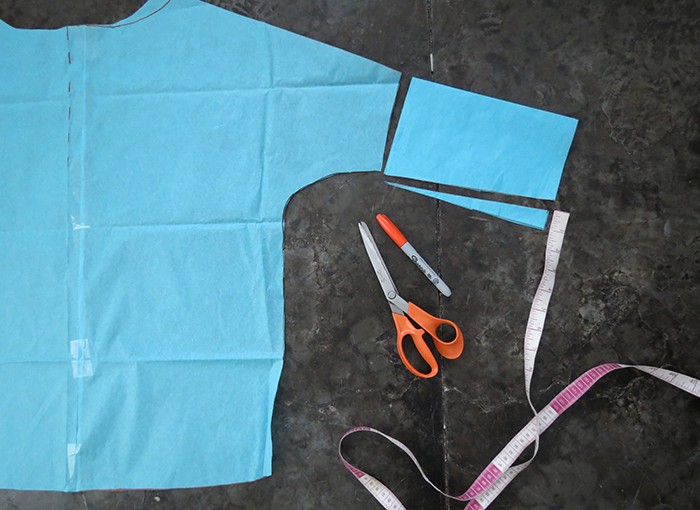
Step 7
Ford the rectangle in the middle and draw a triangle of 1 in. high on one side (not on the fold). And cut, this will make the end of the sleeve smaller.
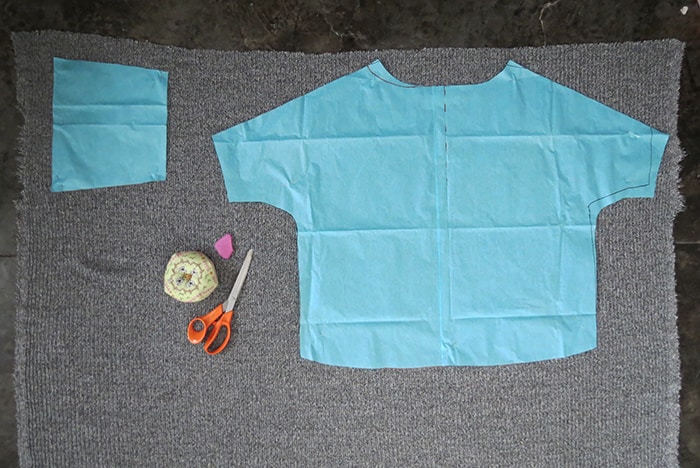
Step 8
Let’s start sewing the sweater. Report each shape twice on the fabric. I couldn’t draw on the knit, so I pin the pattern and cut it out.
Don’t forget to leave a 1/2 in. allowance for the seams.
Once the 4 pieces are cut, serger all the edges.
If, like me, you don’t have a serger machine, just make zigzag stitches. This will prevent the fabric to fray.
Step 9
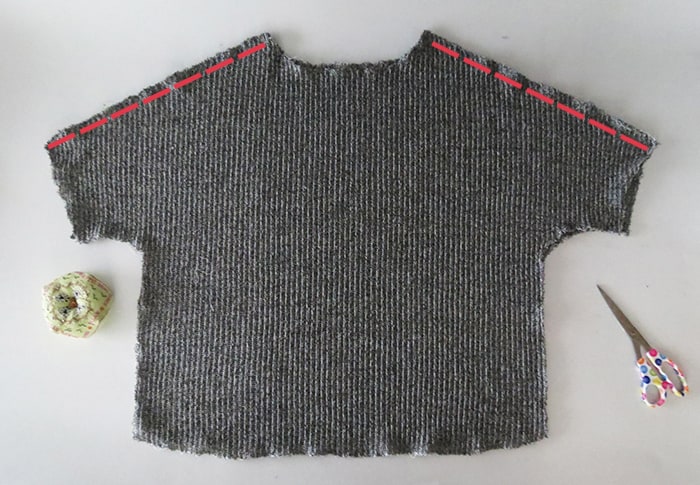
Place the 2 sweater pieces on top of each other, wrong sides out.
Pin and sew the shoulder part of the sleeves using zigzag stitches.
Step 10
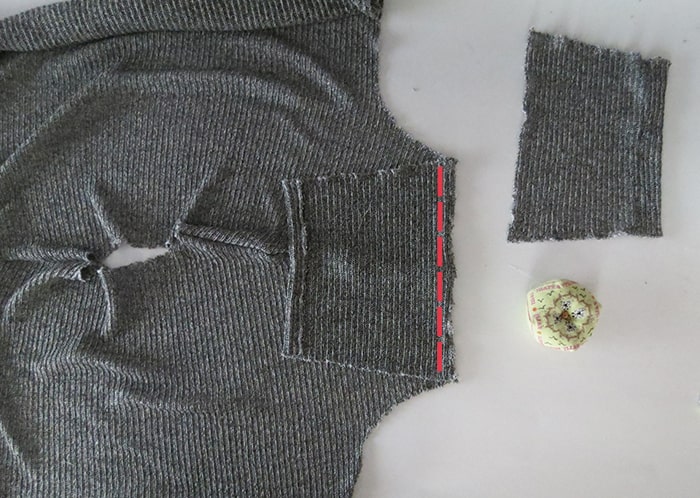
Take the sleeves pieces, make a fold on the smaller side and sew it.
Open the sweater, right side up, and put a sleeve piece on it, wrong side up.
Align the edges, pin, and sew the sleeve with the sweater. Repeat the same on the other side for the second sleeve.
Step 11
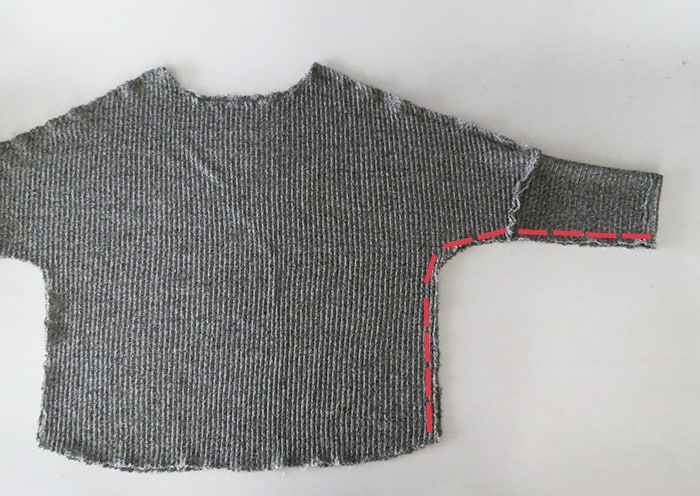
Lay the sweater to have the front and back on top of each other, the wrong side out.
Pin the edges and sew (zigzag point) the low part of the sleeves and the sides together.
Step 12
Once both sides are sewn, make a fold all along the bottom, pin, and sew.

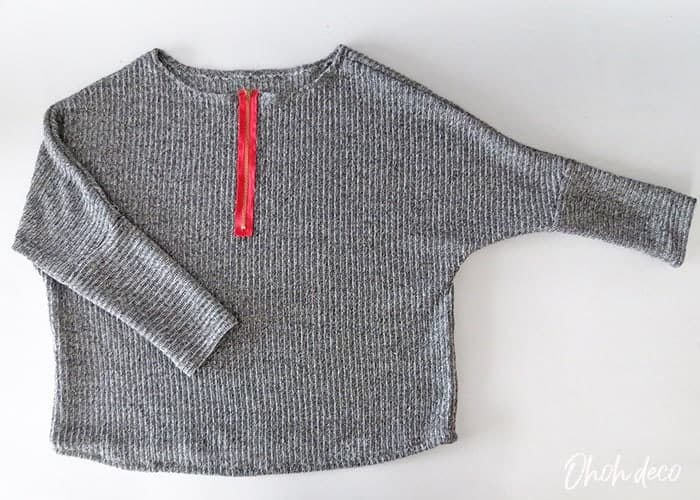
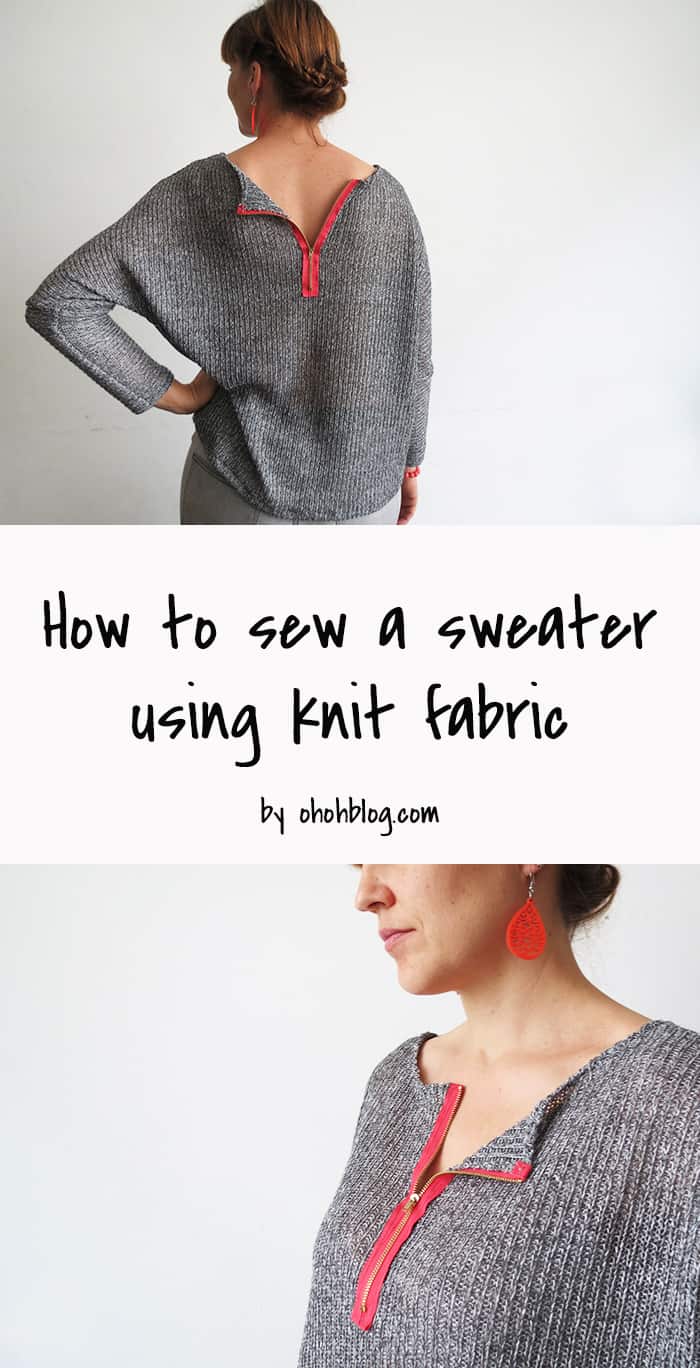
I wanted to add a pop of color to my sweater so I added a pink zipper. The following steps are optional.
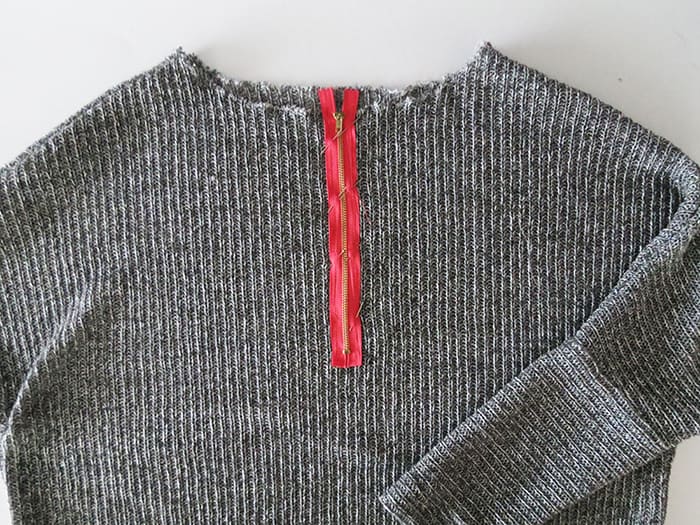
If you want to add a zipper, turn your sweater right side out and place the zipper in the center of one side.
Pin it (fold the zipper end under it) and sew it on the sweater with a matching colored thread.
You need to sew the zipper on only one side of the sweater, so be careful not to sew both layers.
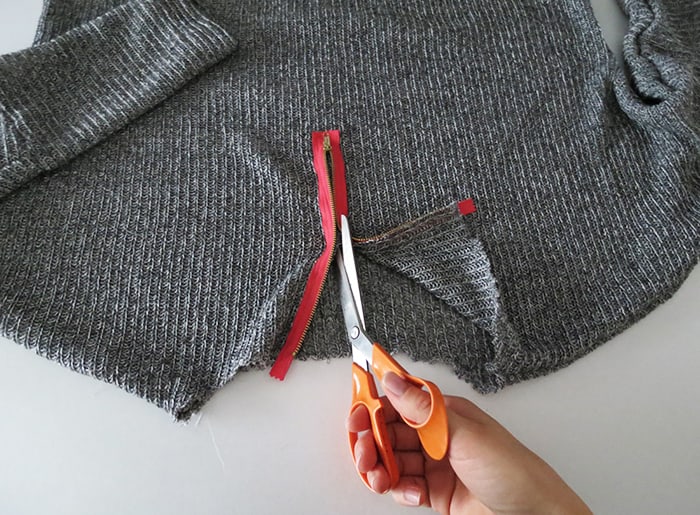
Once sewn, open the zipper and cut the knit fabric. Use some pins to make a fold, through the inside, all along the neckline, and sew.

The last finishing touch all along the zipper, roll the fabric on itself, and make small hand stitches to hold it.
And done! Wear and enjoy your new sweater!
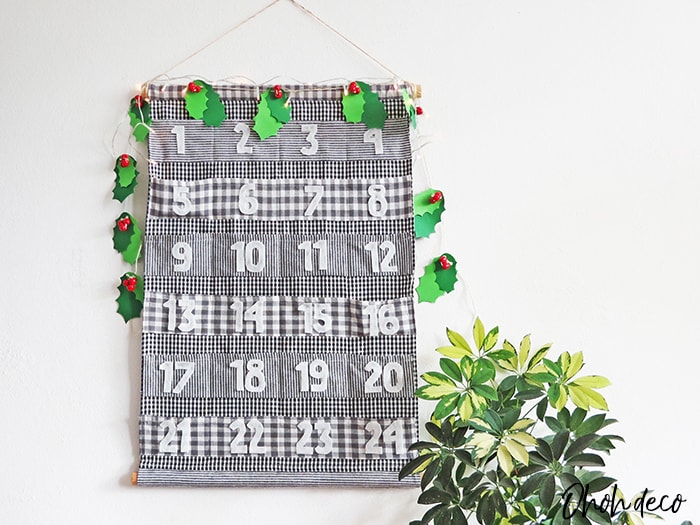
RELATED: How to make a fabric garland
RELATED: The easy dress sewing tutorial
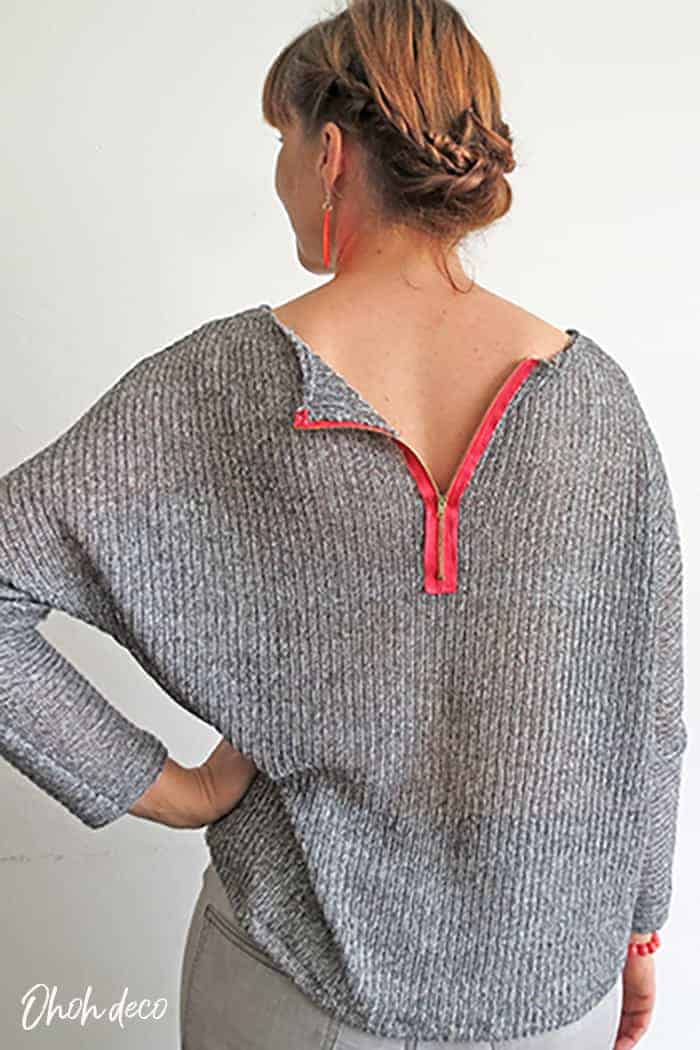
What I love the most is the zipper!
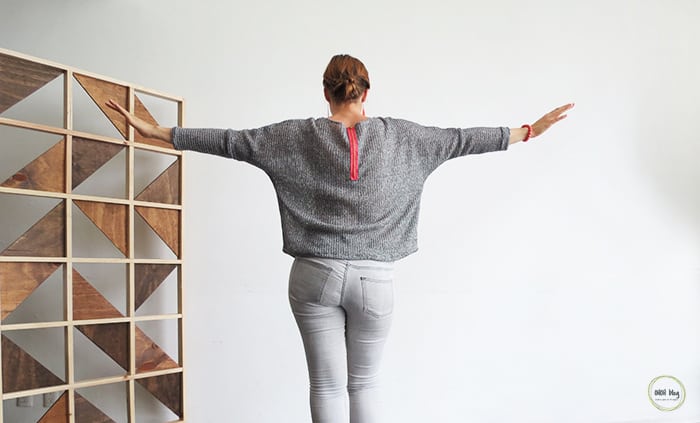
As the sweater is symmetric, you can wear it with the zipper in front or on the back, with the zipper close or open! It’s kind of fun.
While I was writing the tutorial I realize that drawing the pattern wasn’t as easy to explain as I thought.
So, would you be interested if I make a printable pattern? Any suggestions about that?
I hope you will enjoy sewing the sweater as much as I did.
I love to see your creations, don´t hesitate to share them in the comments.


Want to remember it? Save this tutorial How to sew a sweater on your favorite Pinterest board.
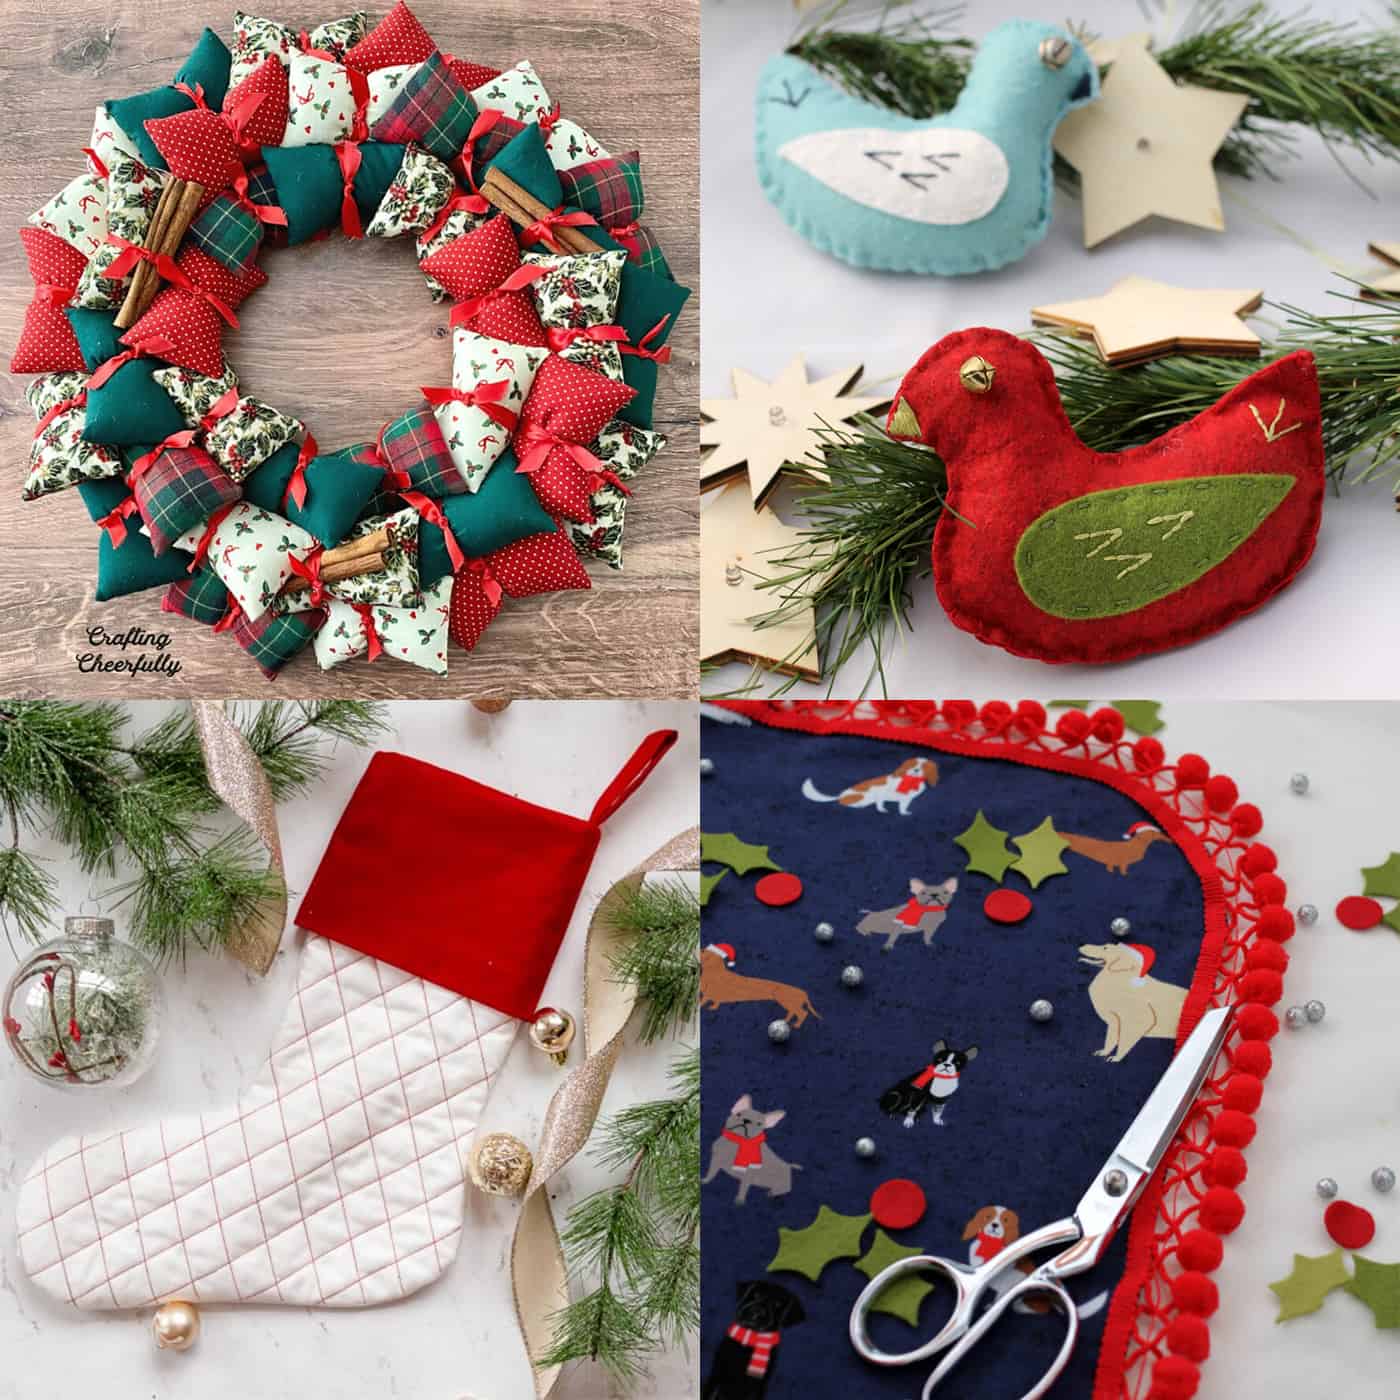
You will find all the tutorials featured in the video on my “Best DIY” page.
Amaryllis

Great idea. It looks comfy and also very trendy. Thanks for sharing the idea.
Thanks Sonja, I'm glad you like it!
I really love knitting. Thank you for sharing. I’m eager to make the first one for my mom.
I have no clue how to knit, but this sweater was very easy to sew. I hope your mom will like it! Have fun sewing!