Embroidering a sweatshirt is a fun and creative way to personalize your clothing.
Try this simple craft to customize a sweater or a t-shirt. You only need a few supplies and with a little time and patience, you can create a beautiful and unique piece of garment. Here’s a step-by-step guide to help you through the process.
[ This post probably contains affiliate links, our full disclosure policy is really boring, but you can read it HERE ]
Embroidery is a complex art with many different techniques. This project is very simple to carry out because it is made only with backstitches, the easiest ones.
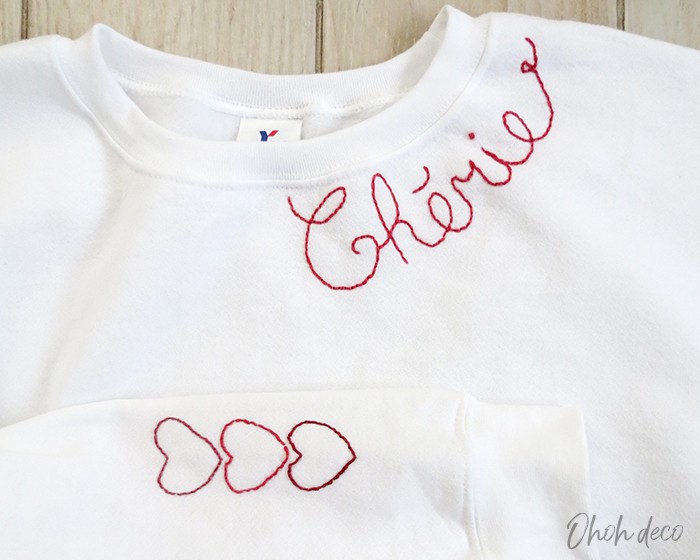
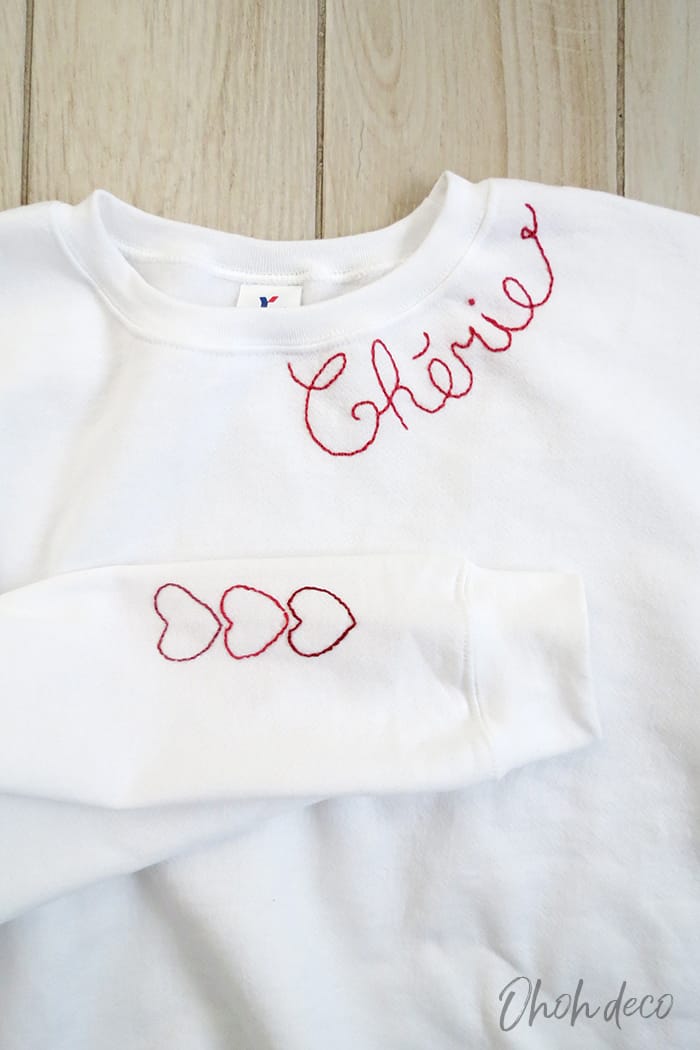
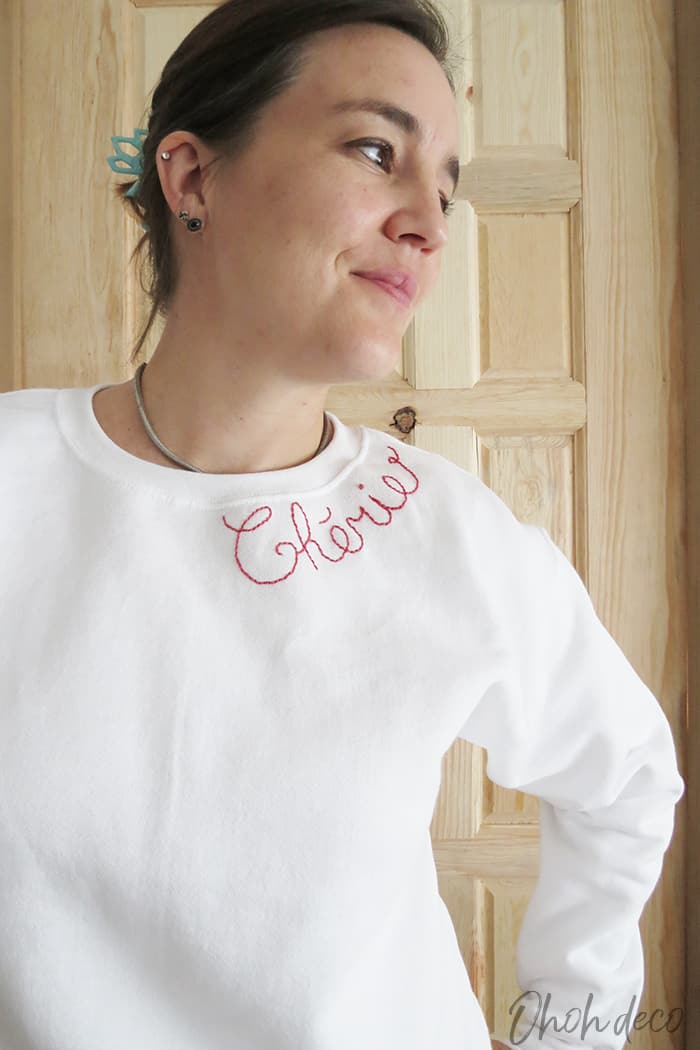
I choose to write “Chérie” along the neckline and to add some embroidered hearts on the sleeve.
The whole point of this project is to customize your sweatshirt the way you like, with a word or a quote that has a special meaning for you.
Embroidered garments make a lovely and unique gift…If you are looking for a handmade gift idea, this is a great one.
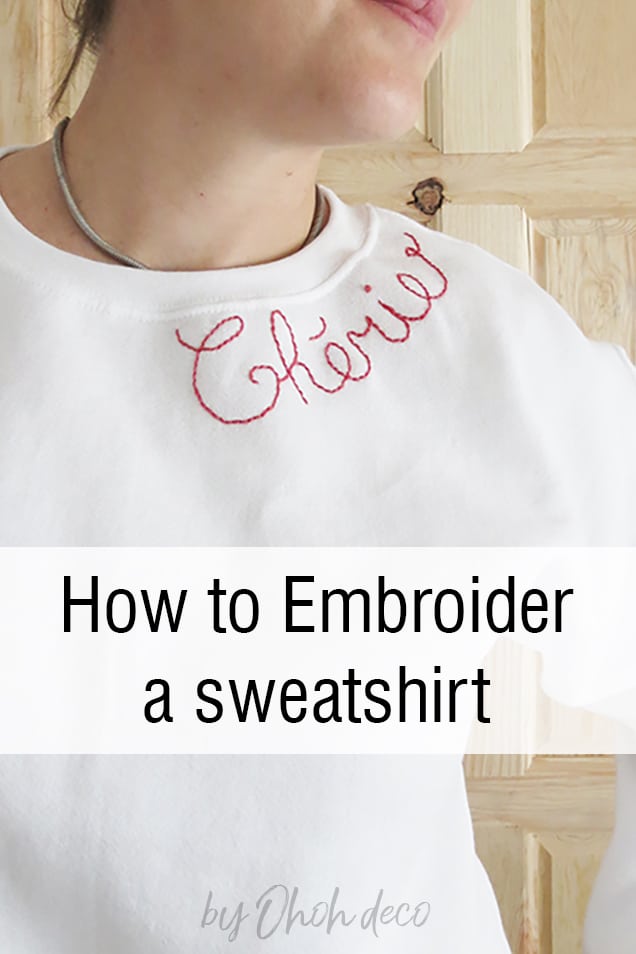
DIY embroidered sweatshirt
Supplies you will need to embroider a sweatshirt:
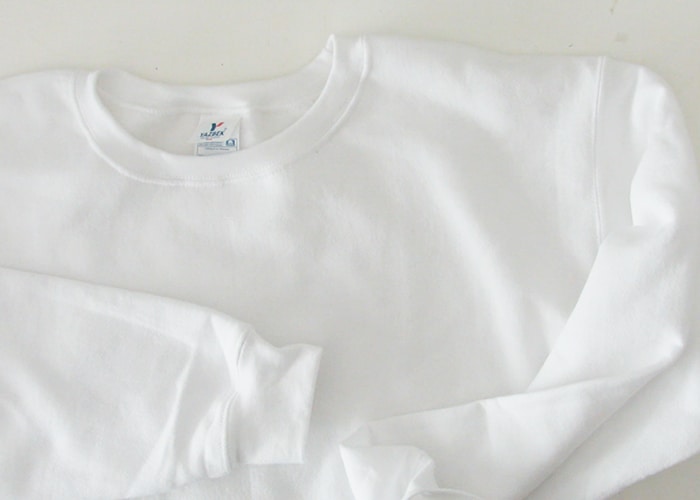
You first need to pick the sweater you want to customize. You can use one you already own or buy a new one if it´s for a gift. You can find nice sweatshirts online (I love this color).
You will also need embroidery floss, I prefer 100% cotton and to start this kit is just perfect.
Remember that for a nice finish embroidered sweater you will need to use contrasting colors. If your sweatshirt is light color, use dark floss. If your seater is dark, prefer light floss colors.
Another fun floss to use to embroider a word of a quote is variegated floss.
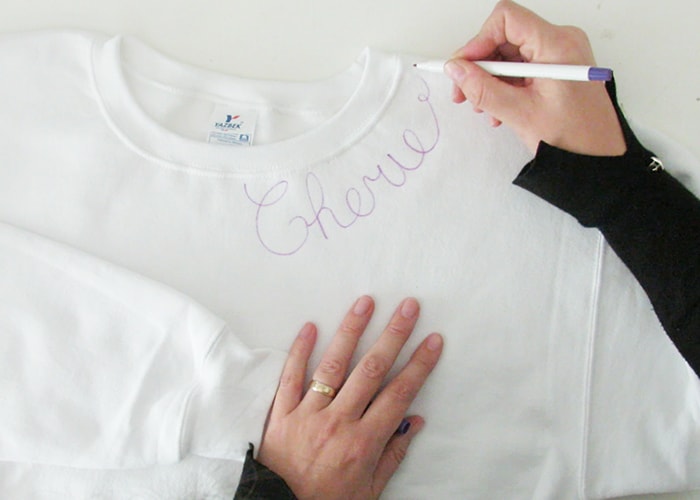
With the Fabric marking pen trace the word along the neckline. Don´t worry these marker are erasable with water.
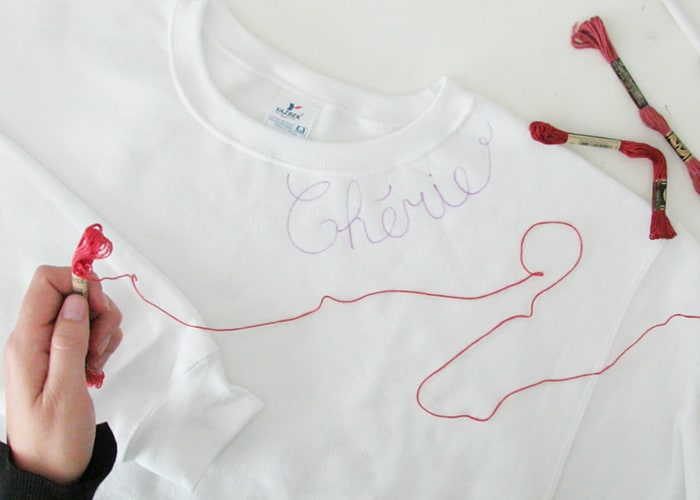
Choose the floss color you want to use. You can also alternate colors for each letter if you like.
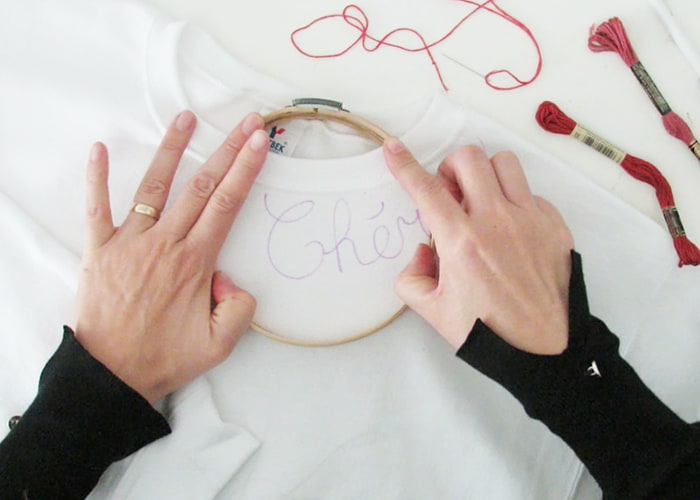
Place the embroidery hoop around the letters. I used a 6 inches hoop, as you can see the hoop is smaller than the text, so I will move the hoop to finish the end of the word.
Sweatshirt fabric is a stretch fabric, so be careful when you place the hoop, the fabric needs to be flat but not stretched.
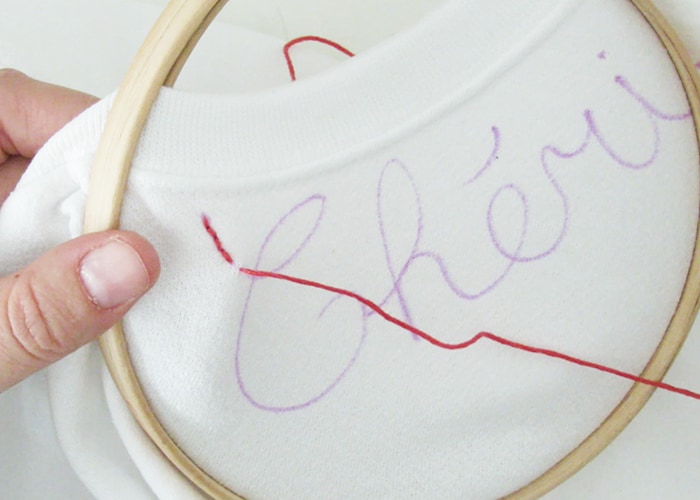
Cut a piece of floss and make a knot at one end. Pass the needle with the floss through the fabric and start stitching.
Start with the first letter and embroider making backstitches. You can watch the video below if you have any doubt how to make the stitches.
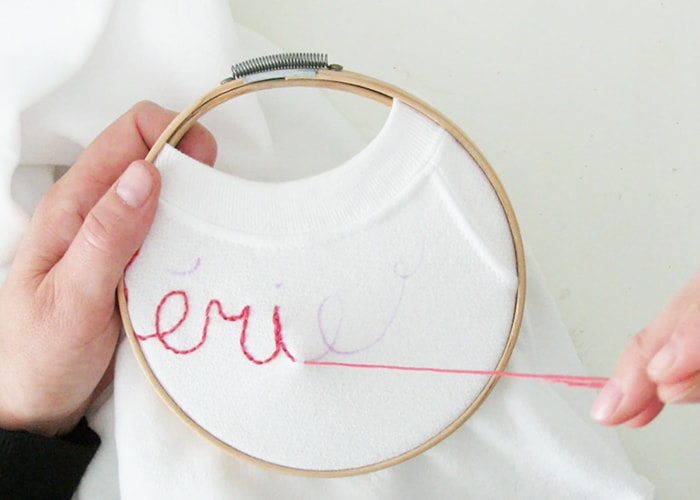
Keep sewing until you complete the word. You can move the hoop is needed.
When you finished the last stitch, let the floss end inside the sweatshirt make a knot, and cut the extra length.
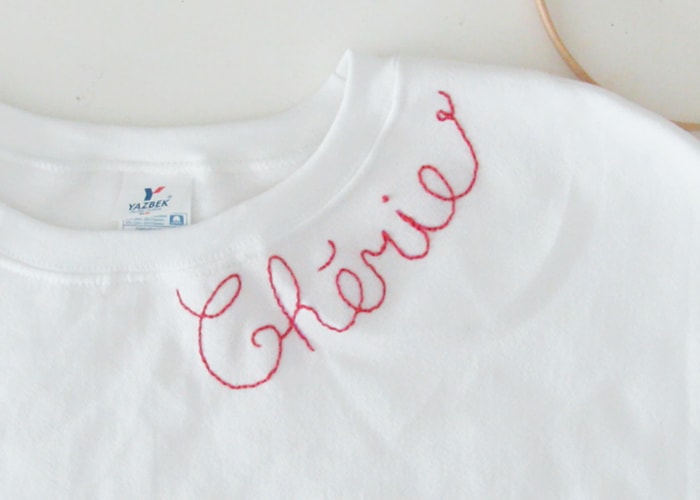
And done! The cute embroidery detail is finished.
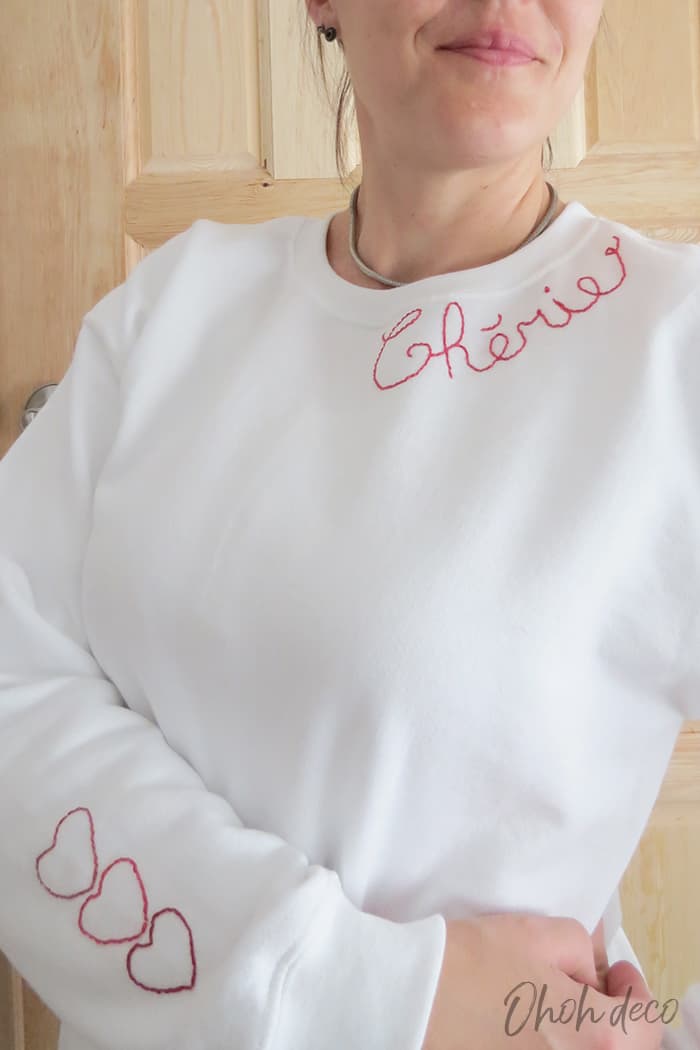
You can complete your custom design with a few extra embroidered. I wanted to add some details on the sleeve.
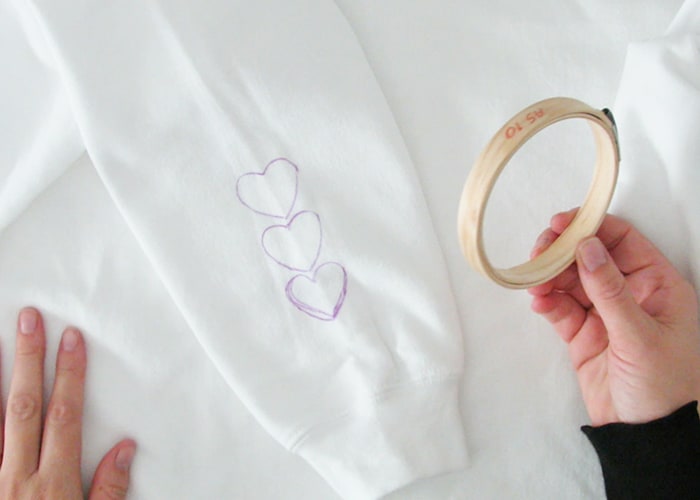
To embroider sweatshirt sleeve you will need a small hoop of 4 inches, so you can slide it inside the sleeve.
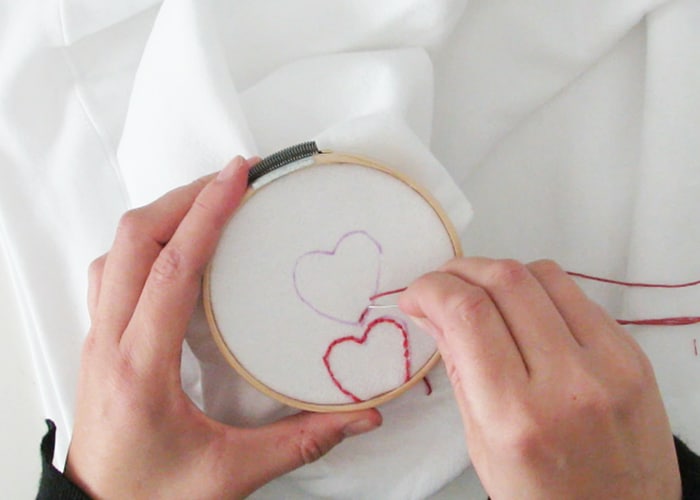
With the fabric marker draw your design on the sleeve. Place the hoop around your drawing and embroider it with backstitches as you did previously.
I made a few hearts but any line drawing will work. If you want a canvas I suggest you have a look at this Etsy shop, they have cute designs.
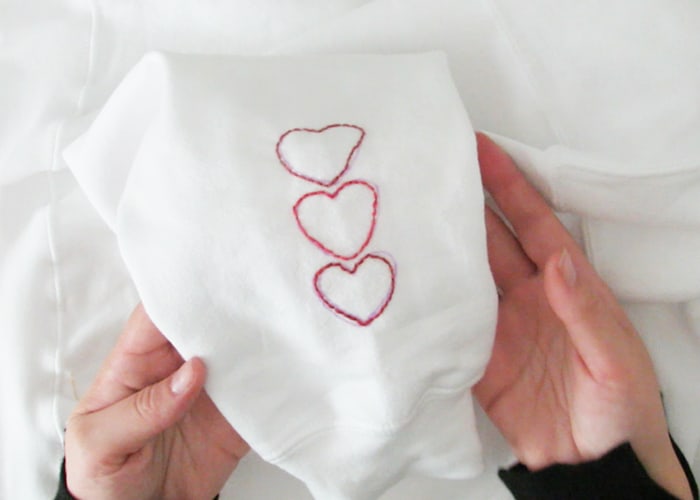
When you finish to embroider, you can remove the fabric marker with water.
If you don’t want to wash your sweater, take a clean cloth a dip it into water and gently rub the marks. The marker will erase, let dry, and done.
With these steps, you can transform a plain sweatshirt into a unique piece of wearable art. Happy embroidering!
Ready to wear and enjoy!
I´m really please how it turns out and embroidering is way faster than I thought.
I like how the red stitches jazz up my white sweatshirt. What do you think?

Tell me, what would you like to embroider? Do you prefer to stitch a few words or a cute design?
Let me know in the comments.
And please don´t hesitate to tag me on Instagram (@ohoh.deco) if you decide to give this DIY a try, I love to see your creations.
RELATED: Decorative embroidered Cat Pillow
RELATED: How to sew a Sweater with knit fabric

Want to remember it? Save How to embroider a sweatshirt on your favorite Pinterest board.
I used your instructions to make Roman shades for my living room. They turned out great and I would make them again. I live in an area with cold, snowy winters and they keep the room warmer when they are closed.
Thanks!!
I´m glad you like this shades tutorial! Great idea to use curtains and shades to keep the house warm!
Ohhh I love your sweatshirt!!!! It really looks very cute 😀
Have a very good 2023!!!!
Kisses!!!!
Thanks Ayla! Best wishes for 2023 <3