
Who’s up for crafting a cute and easy fall decoration with wheat stalks? I love dry flowers and plants. They are pretty and bring a touch of nature inside the house.
[ This post probably contains affiliates links, our full disclosure policy is really boring, but you can read it HERE ]
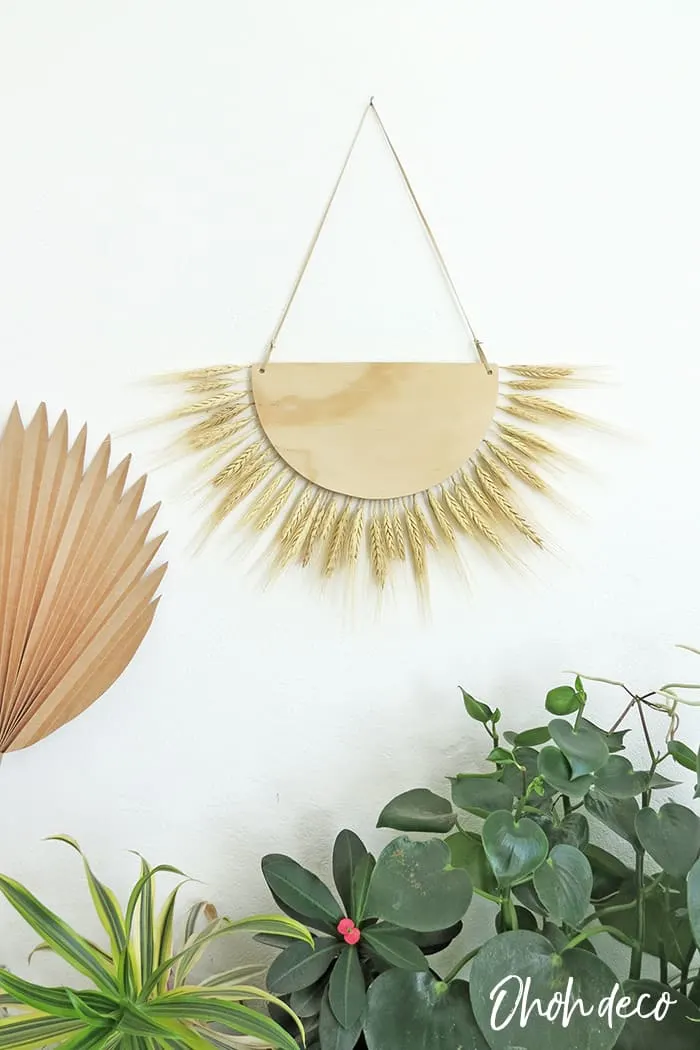
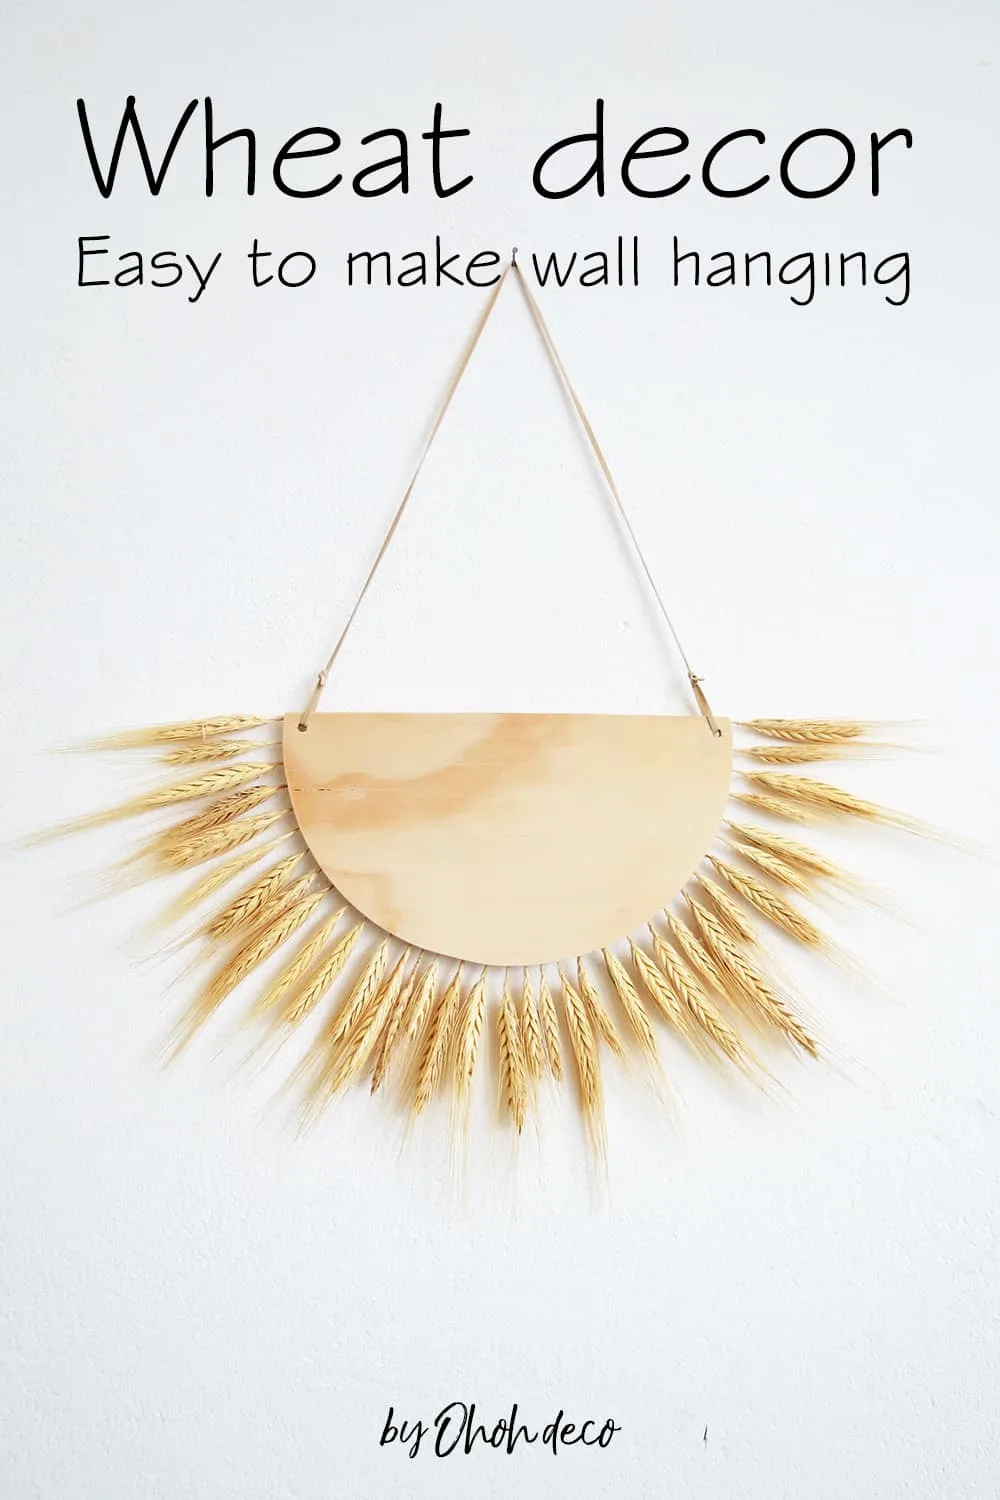
This wall hanging decoration is very simple to make: a piece of the plywood, some wheat stalks, a little glue, and voila! You can make a wheat wall hanging decor in no-time. This wall decor was inspired by this party wall decoration.
Before starting the DIY, I share some tips to dry and preserve wheat stalks properly.
If you want to start crafting right away, scroll down to discover the tutorial in video or in photos. I also give you simple alternatives to realize this wall decoration without power tools.
RELATED: DIY easy yarn wall hanging
RELATED: How to create cut-paper wall art
How to dry wheat for decoration?
Start by cutting off a good number of wheat stems. Before drying them, the wheat stalks must be cleaned. Remove the lower leaves and make sure there are no bugs. If the stems you collected are wet (rain or dew), scatter them on a paper towel and let them dry for 24 hours.
When wheats are dry, tie them in small bundles by tying a string or elastic around the stems. Hang the wheat bouquets from a hook or a nail upside down.
Let dry the wheat stalks for one to three weeks in a dry in a temperate room (around 70 Fahrenheit – 20 Celcius).
Where to buy decorative wheat?
If you live in a town or if you don’t have enough time to dry wheat stalks, no worries. You can easily find some in creative hobbies stores or online. You can find some options below:
How to preserve wheat for decoration?
Both wheat and dried flowers are very fragile. If you want to protect them and keep your decoration even longer, here are some preservation ideas for dried plants that can help you.
Hairspray
The easiest and most economical solution is to spray your wheat decoration with hairspray. Apply the hairspray once you have finished your assembly, let dry for a few minutes, and done.
I really like the smell of dry wheat … as you can imagine, the smell of hairspray will replace it.
Acrylic spray
Artistic’s spray is used by artists to seal their artworks (drawing, paint…). You can also use it to protect your dried decorations.
Apply several thin coats respecting the drying time between each.
Floral sealant
Apply this clear spray on the wheat stalks to preserve and protect them. This spray is intended to be applied to dried flowers and also protects against UV’s, so colors won’t fade from exposure to the sun.
This option is a little more expensive, but if you want to keep your wall hanging decoration for a while it’s probably worth it.
How to make a wheat decor wall hanging
Supplies you will need to make this fall wall hanging:
- Wheat stalks
- A piece of plywood (or this already cut wood piece)
- A glue gun
- Suede leather cord
- Sanding paper 120 grit
- Scissors
- Jigsaw
- Drill
I choose to make the wall decoration with natural wheat, but it can be fun to try with different colors or different dried plants.
Watch the video tutorial to make this easy wheat decor wall hanging
Join me on Youtube and be the first to find out about the new DIY.
RELATED: DIY paper palm leaf
RELATED: How to make a wall art jewelry
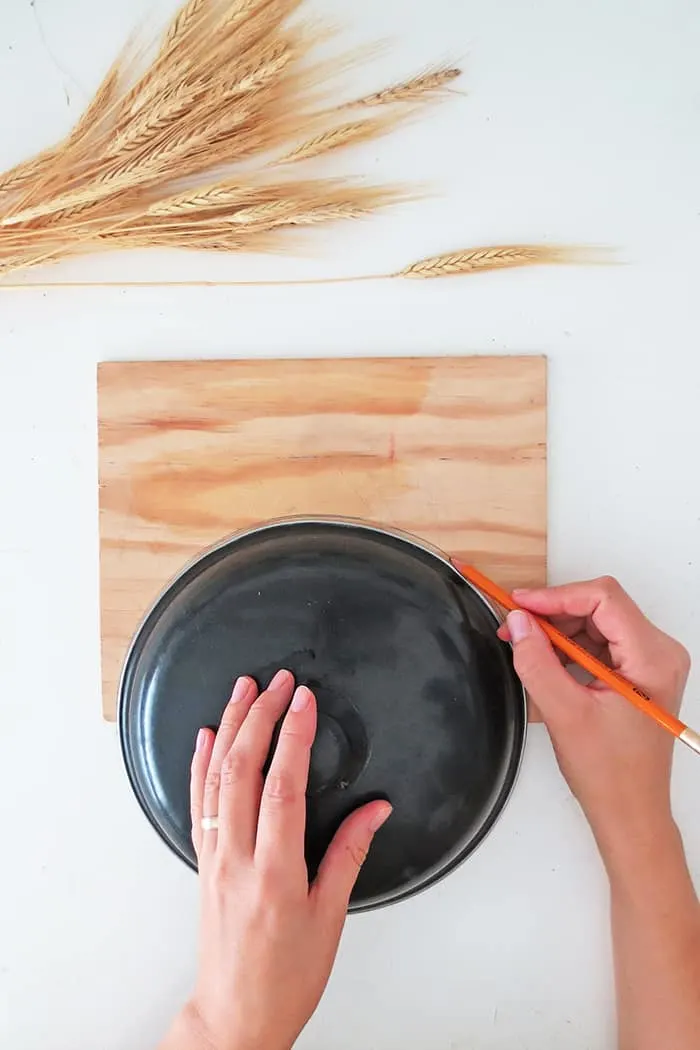
Trace a half circle on the plywood scrap. I used a pan lid of 9 inches in diameter (23cm).
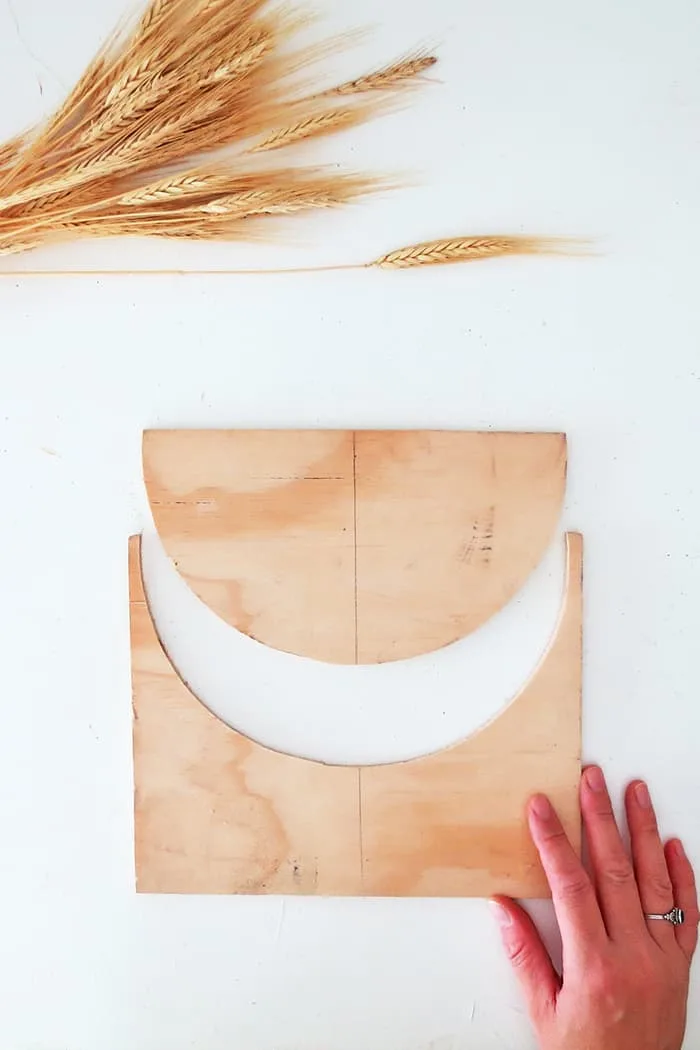
Cut out the half-circle shape using a jigsaw.
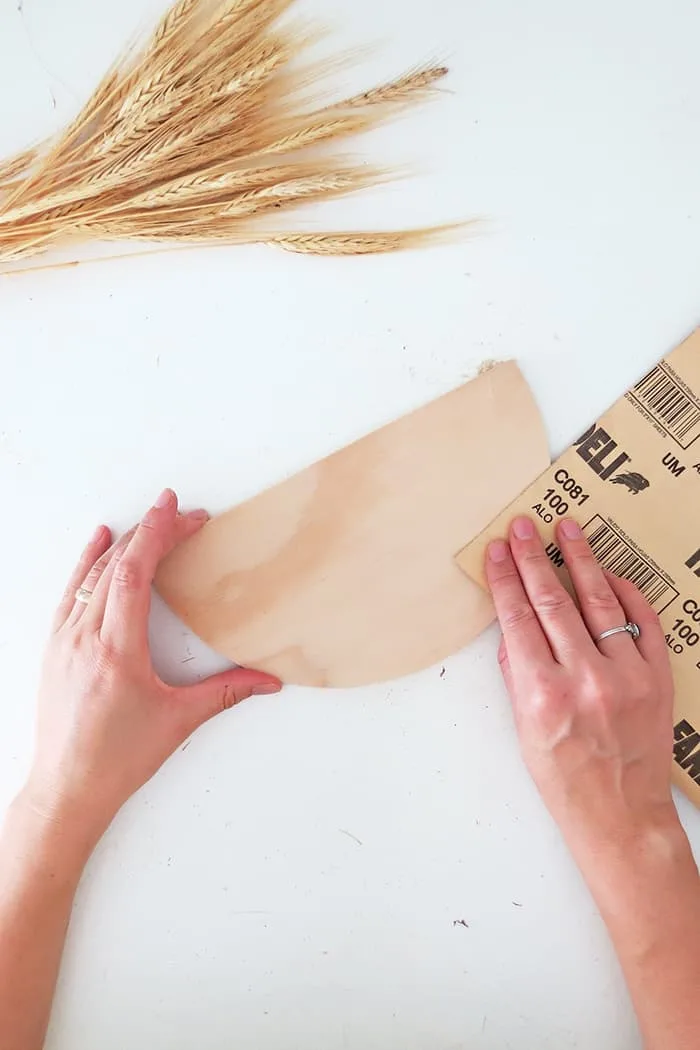
Sand the piece on the front and the edges.
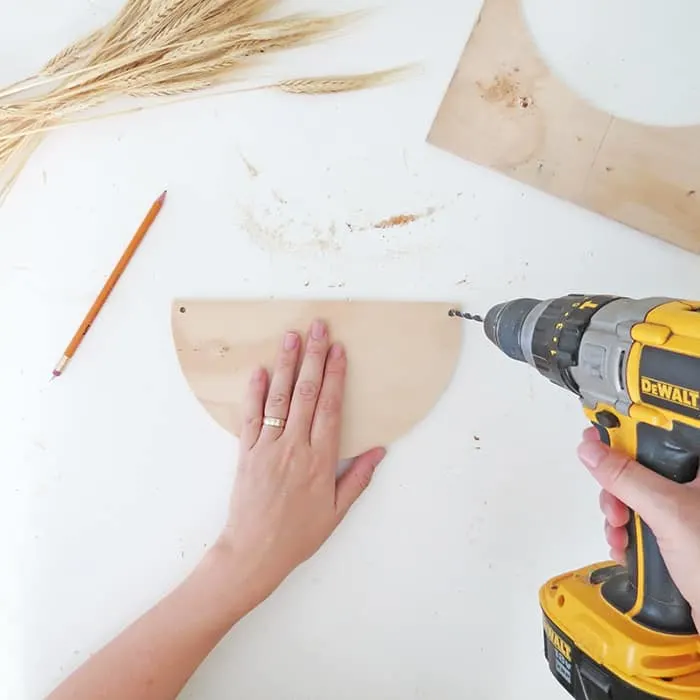
Drill two holes on each side of the straight edge to then be able to pass the cord and hang the decor on the wall.
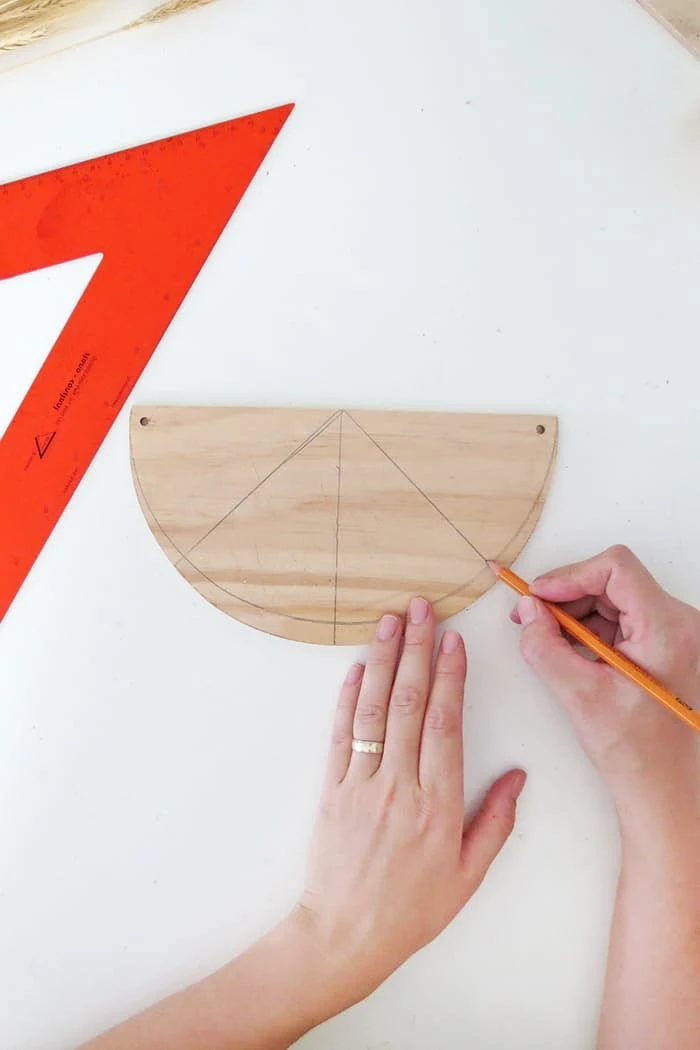
On the back of the wood piece trace several lines that will help you glue the wheat stalks in the right position. Measure the middle of the straight edge and trace a perpendicular line from the edge. Use a square to trace 2 lines at a 45-degree angle on each side of the first line.
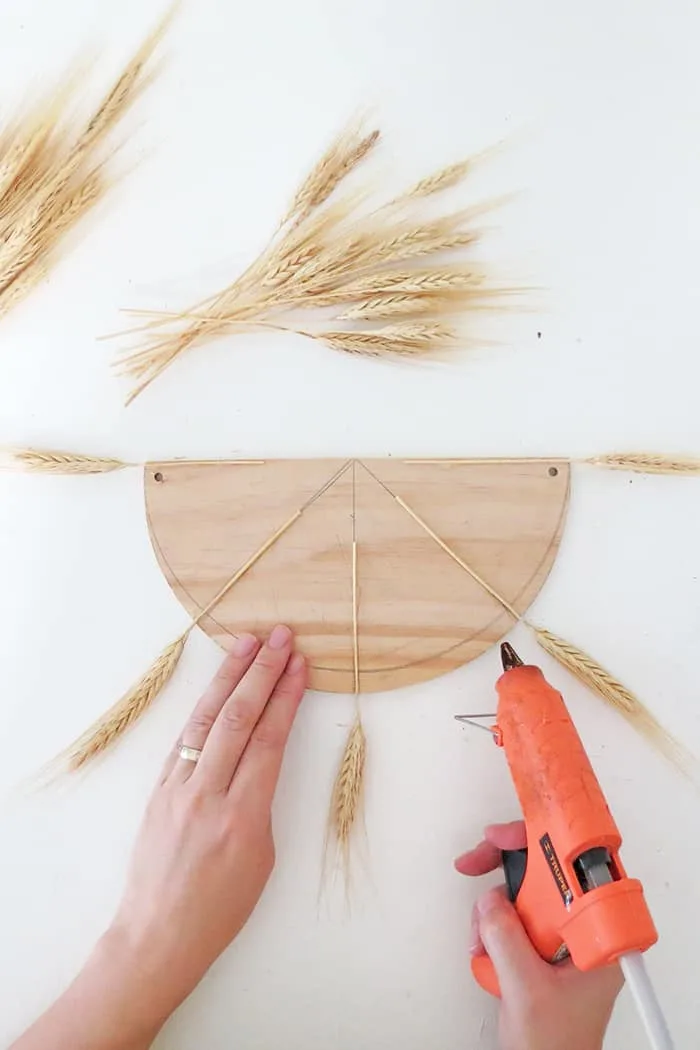
Use a glue gun to fix the wheat stalks on the back of the piece. Start by gluing the stalks on the edge and on the lines.
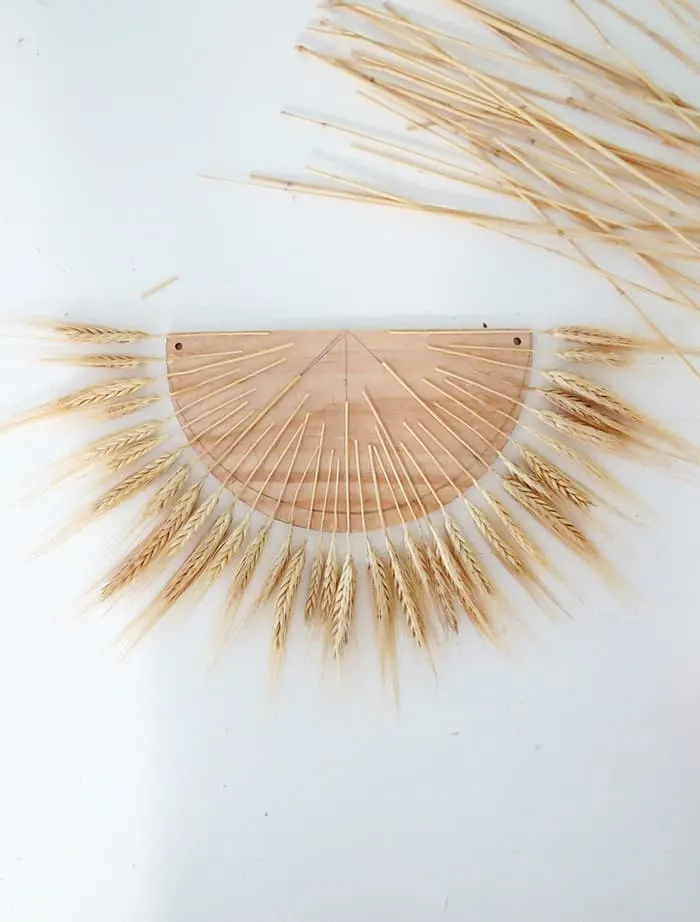
Keep gluing one stalk at the time, distribute wheat evenly around the half-circle.
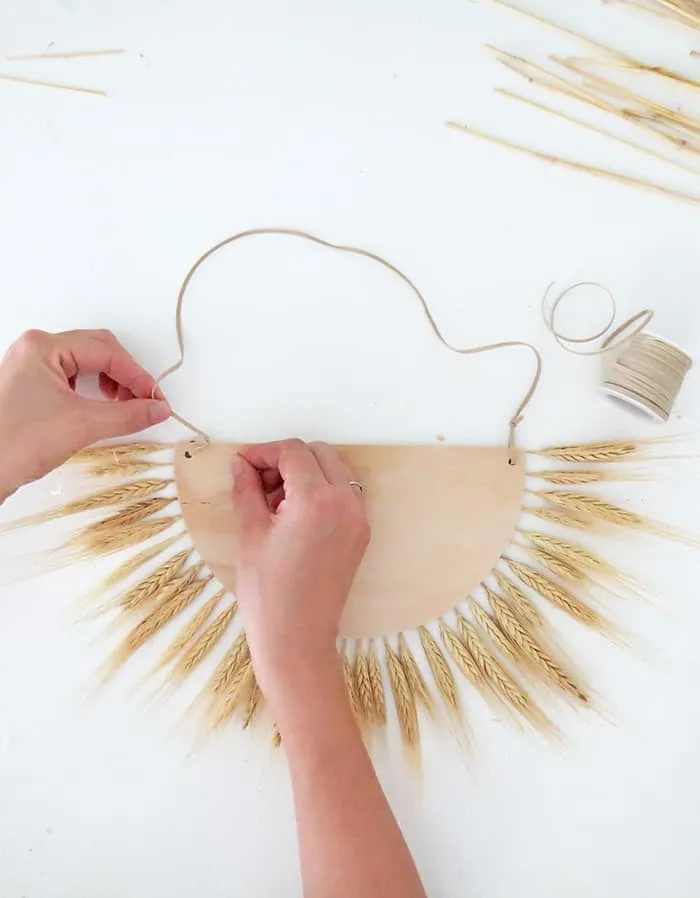
Cut a piece of suede cord, pass it through the holes, and attach with knots.
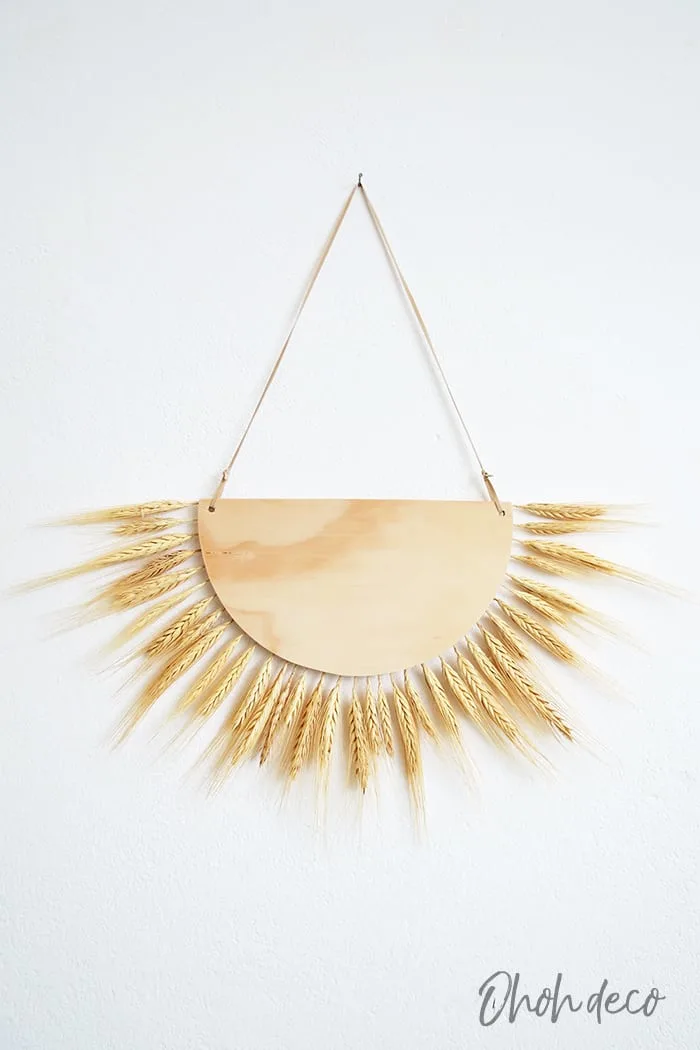
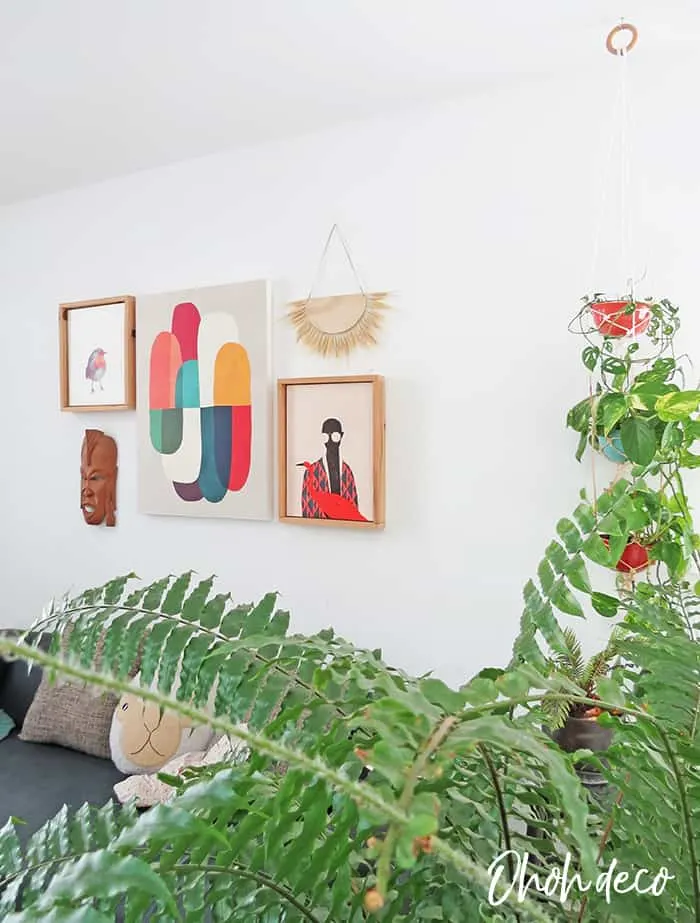
And done! Hang your wheat wall decor where you like. Use it to decorate your front door or to complete a wall gallery.
If you still have some wheat stalks left after making this craft, head over to Amber page and find some extra great ways to decorate with wheat.
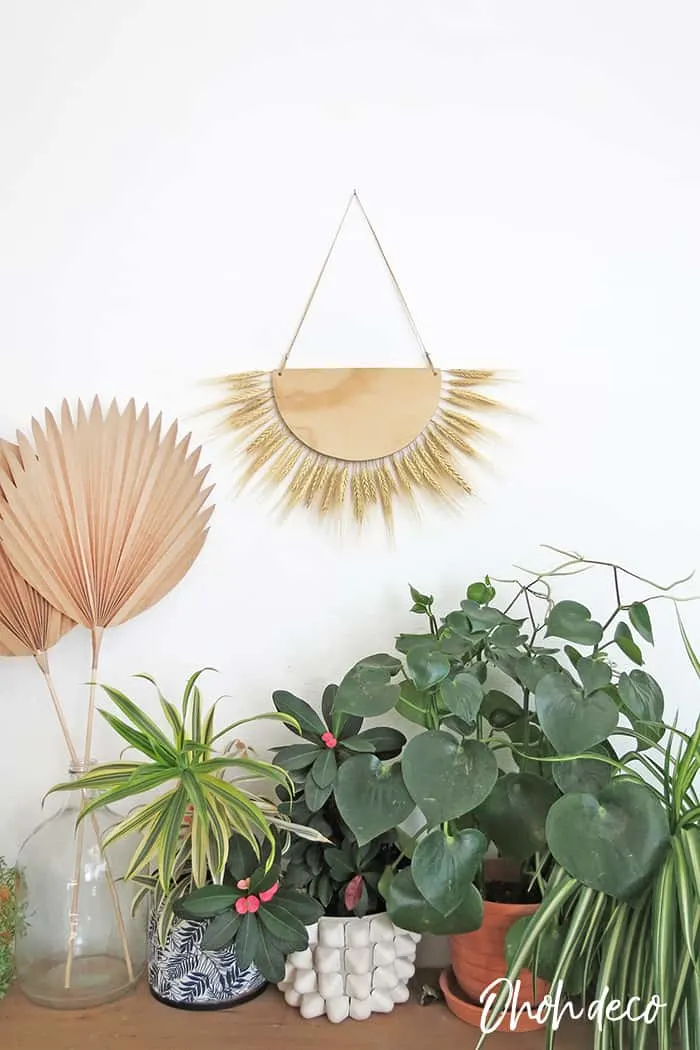
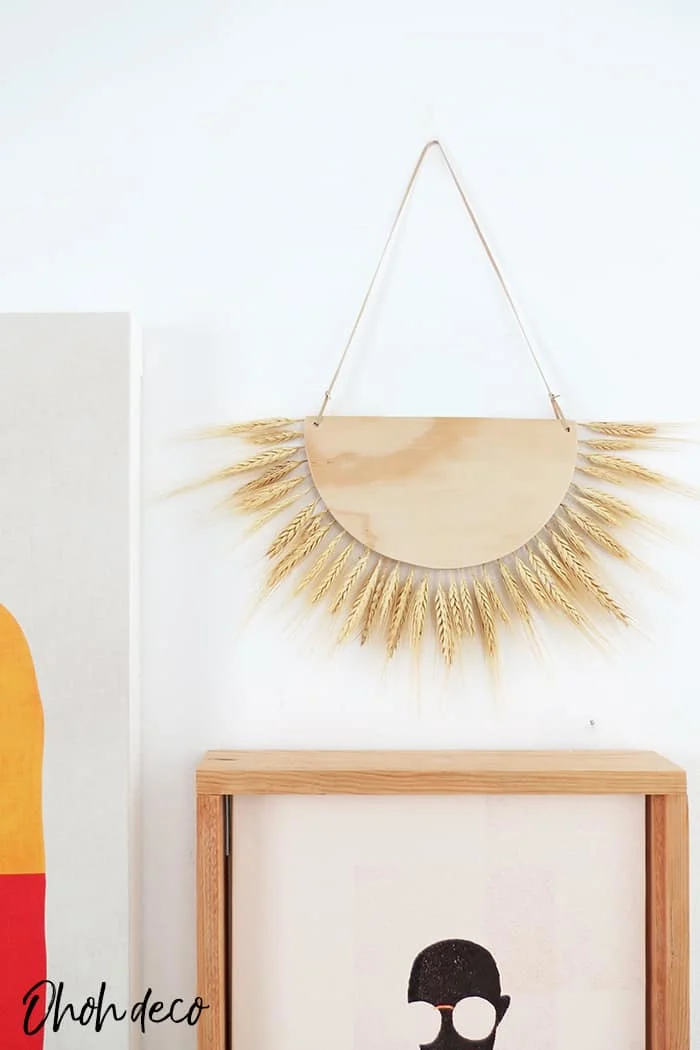
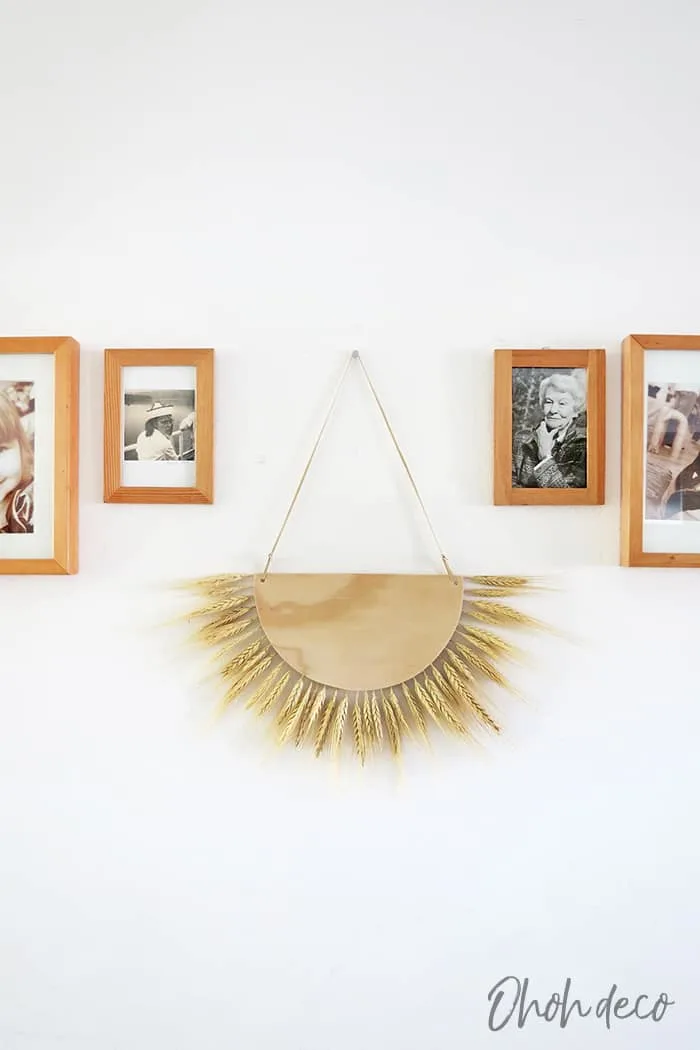
As you will see in the pictures below I tried different spots in the house and didn’t decide yet where I will hang it. I like how the wheat looks next to the black a white photo gallery. What do you think? Where you u like to hang your Wheat wall hanging?
Want to remember it? Save this Easy Wheat decor wall hanging in your favorite Pinterest board.
You will find all the tutorials featured in the video on my “Best DIY” page.
Amaryllis