
Wool wall hangings have been around as decoration trend for a while now. Yarn wall art gives a warm and natural touch to a room, and it’s a lovely decor for fall and winter.
[ This post probably contains affiliates links, our full disclosure policy is really boring, but you can read it HERE ]
I’ve seen tons of great ideas on blogs but never committed making one myself. It always seems too complicated and time-consuming. So I tried to find a way to make a super simple yarn decor. I discarded the macrame and weaving, as it requires specific craft knowledge that I don’t master.
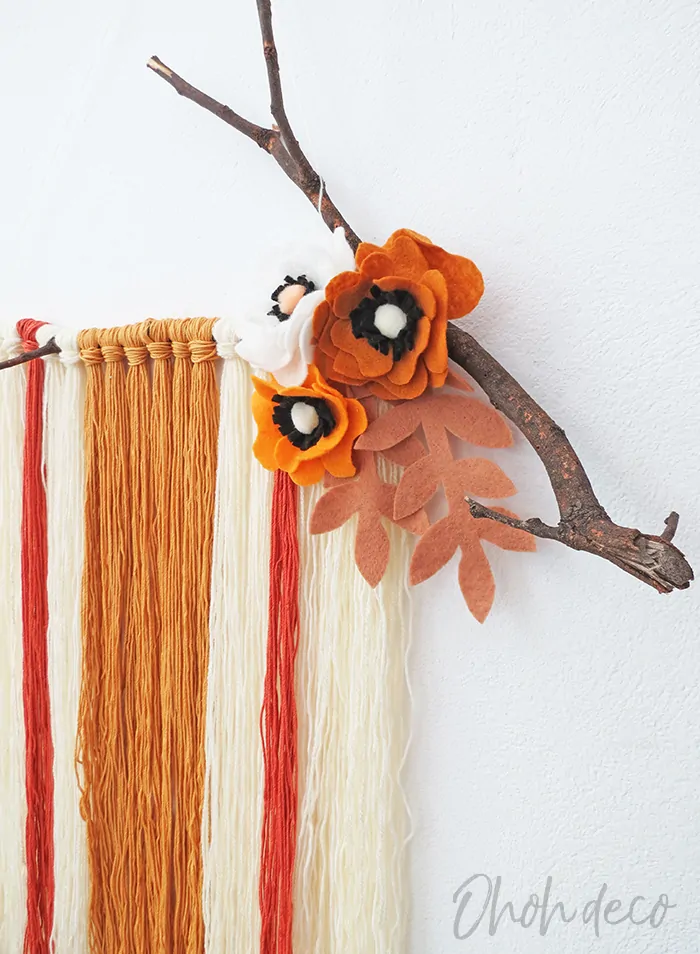
I used a branch I found during a walk with the kids and tied the yarns in batches around it, which make the wool decor super fast to assemble. I added some felt flowers to make it more interesting.
The template I used to make the felt flowers and leaves is available for free in my library.
This hanging craft is so easy to make, you will find the step by step tutorial below along with the video. I hope you will enjoy crafting your yarn wall decor. Let’s make it!
* * *
Los tapices de estambre tienen un rato estando de moda en decoración. dan un toque cálido y natural a una habitación, y es una decoración encantadora para el otoño y el invierno.
He visto un monton de ideas en los blogs, pero nunca me comprometí a hacer uno. Siempre parece complicado y lento. Así que traté de encontrar una manera de hacer una decoración de pared súper simple. Descarté el macramé, ya que requiere un conocimiento que no domino.
Utilicé una rama que encontré durante una caminata con los niños y até los hilos en lotes a su alrededor, lo que hace que estadecoración sea muy rápida de armar. Agregué algunas flores de fieltro para hacerlo más interesante. La plantilla para hacer las flores y las hojas de fieltro está disponible de forma gratuita en mi biblioteca.
Este arte de pared es tan fácil de hacer, encontrarás el paso a paso aquí debajo junto con el video. Espero que disfrutes crear tu decoración de pared de lana. ¡Hagámoslo!
How do you make a simple yarn wall hanging?
It’s much simple than you think and you only need a few supplies:
- Several colors of yarn (look how lovely are the colors of this set of skeins)
- Several shades of felt
- The FREE Felt flowers template (If you already are a member, click HERE for direct access)
- Small pompoms
- Scissors
- Glue gun
- A branch or a wooden dowel
The free printable is available in my FREE resource library along with a bunch of other great prints and patterns. All you need to do is fill out the form and check your inbox for a welcome email with the password in. Click here to get in >>>> FREE LIBRARY ACCESS
RELATED: Easy paper wall hanging
RELATED: Wooden wall hanging
* * *
Materiales que necesitaras pare hace tu decoracion de estambre:
- Varios colores de estambre
- Varios colores de fieltro
- La plantilla descargable gratis (Si ya eras miembro, haz clic AQUÍ para acceder directamente)
- Pequenos pompones
- Tijeras
- Pistola de silicon
- Una rama o un palillo de madera
La plantilla gratuita para hacer las flores está disponible en mi biblioteca de recursos GRATUITOS junto con un montón de otras impresiones y patrones geniales. Todo lo que necesitas hacer es completar el formulario y revisar tu correo donde recibiras un email de bienvenida con la contraseña. Haz clic aquí para ingresar >>>> ACCESO GRATUITO A LA BIBLIOTECA
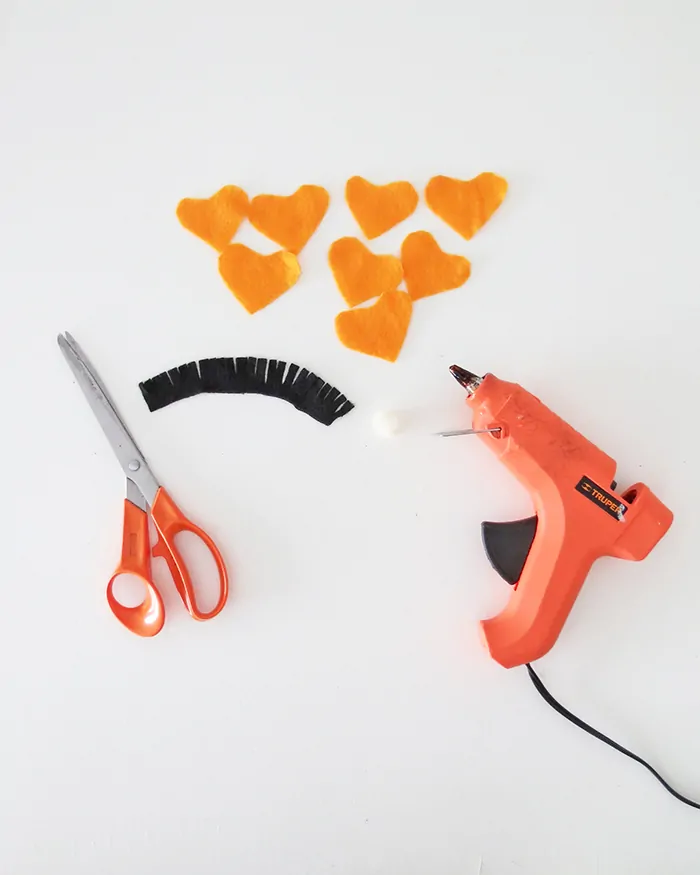
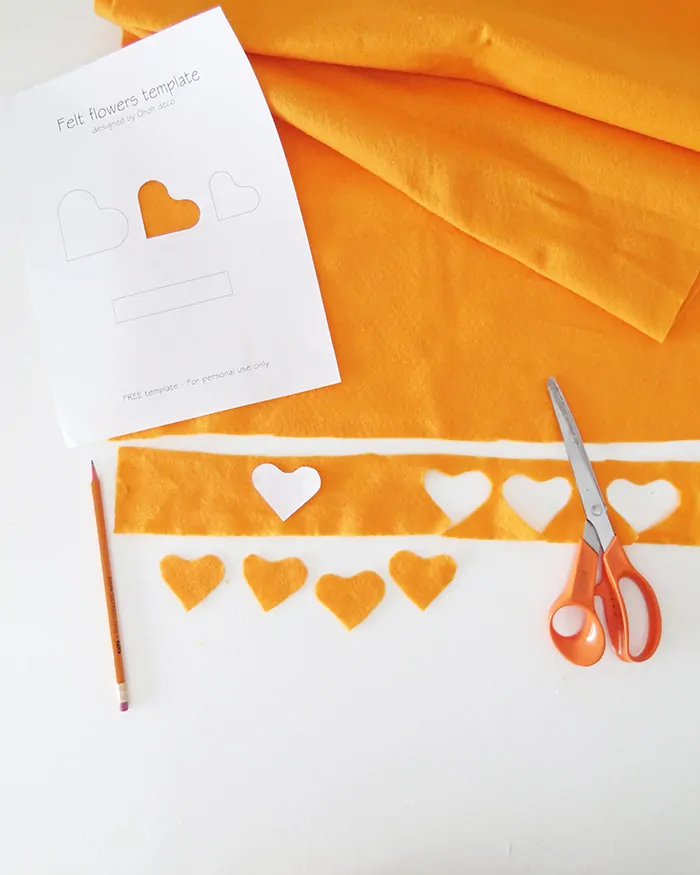
Download and print the template. Cut out the shapes: petals, filaments, and leaf. Report and cut the shapes on different felt colors. Pick contrasting shades to make petals and filaments.
You will find three different petal size on the template, you can choose to use all three sizes to make a big flower with three petals rows, or only the two smallest size if you like a tinnier flower. You will need a small pompom to make the flower center.
* * *
Descargues e imprimas la plantilla. Recortas las formas: pétalos, filamentos y hojas. Dibujas y cortes las formas en diferentes colores de fieltro. Elijes tonos contrastados para hacer los pétalos y los filamentos.
Encontrarás tres tamaños de pétalos diferentes en la plantilla, puedes elegir usar los tres para hacer una flor grande con tres filas de pétalos, o solo los dos de tamaños más pequeños si le gusta una flor mas chiquita. Necesitarás unos pequeños pompones para hacer el centro de la flor.
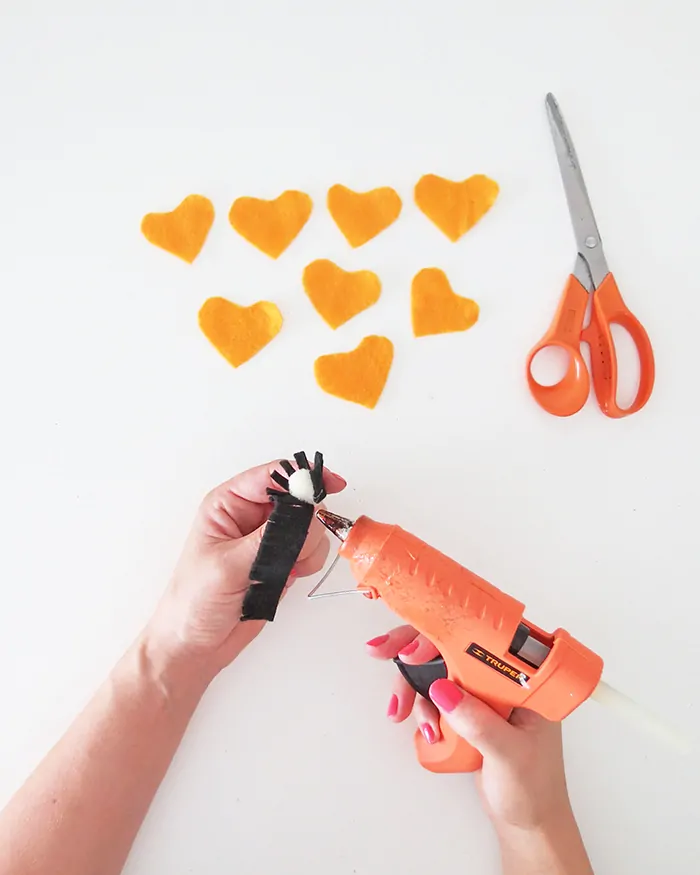
To make the flower center, glue the bottom of the filament around a pompom, keep adding glue while you wrap the felt around.
* * *
Para hacer el centro de la flor, pegues la parte inferior del filamento alrededor de un pompón, sigas agregando pegamento mientras envuelves el fieltro.
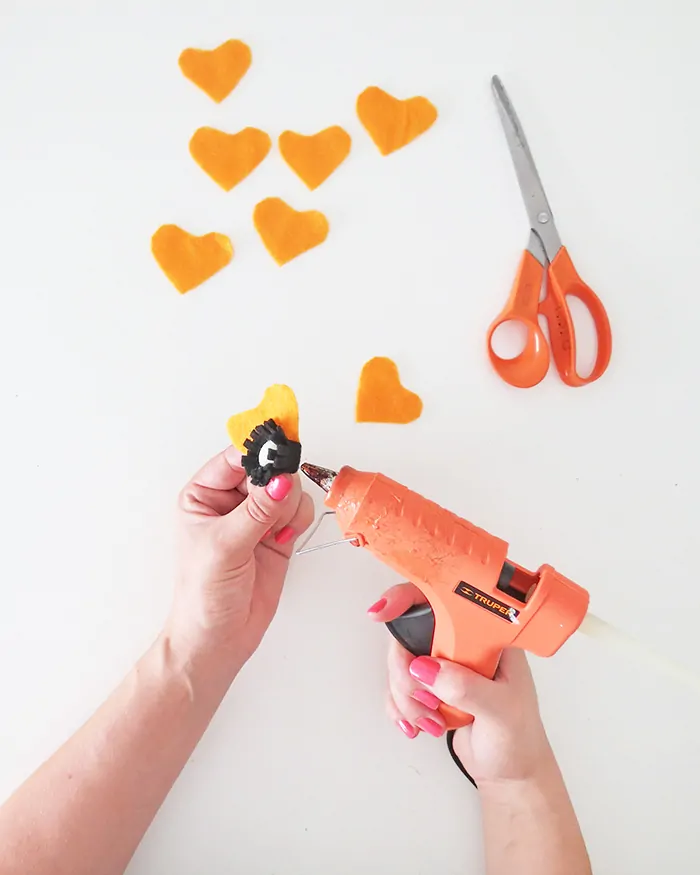
Glue 4 small petals on the bottom of the flower center. Always start by the smallest petals and finish by the biggest ones. Try to spread them nicely around the flower, it’s perfectly fine if the petals overlap each other a little.
* * *
Pegues 4 pétalos pequeños en la parte inferior del centro de la flor. Siempre comienza por los petalos más pequeño y terminas por los más grandes. Intenta repartir los alrededor de la flor, está perfectamente bien si los pétalos se sobreponen un poco.
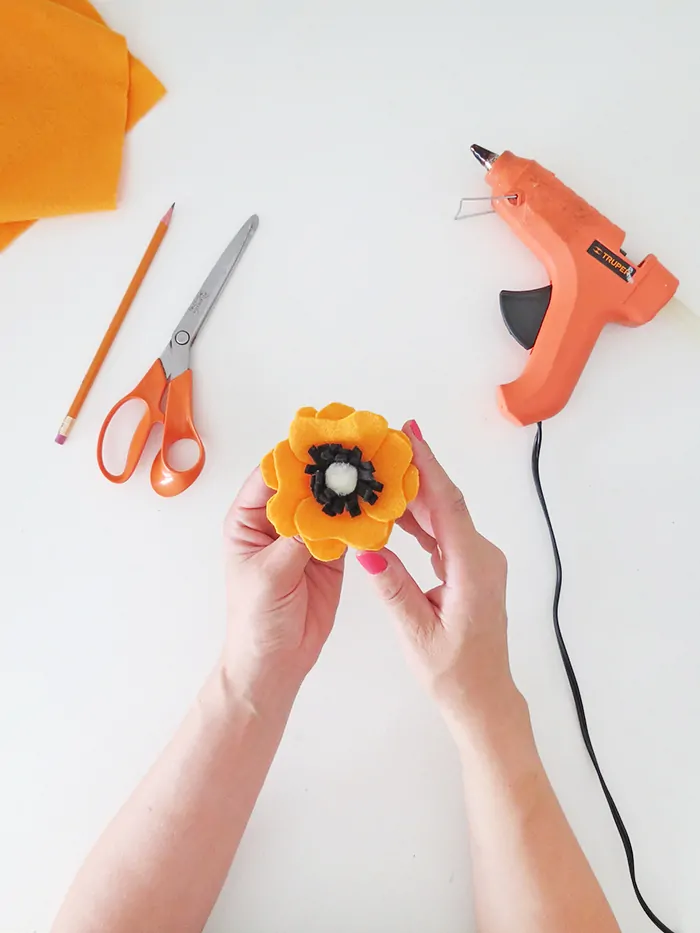
Tadam! You just made a cute felt flower, so easy don’t you think so? Ready to start the yarn part of the tutorial?
* * *
Tadam! Acabas de hacer una linda flor de fieltro, super fácil, ¿No te parece? ¿Lista para comenzar la parte con estambre del tutorial?
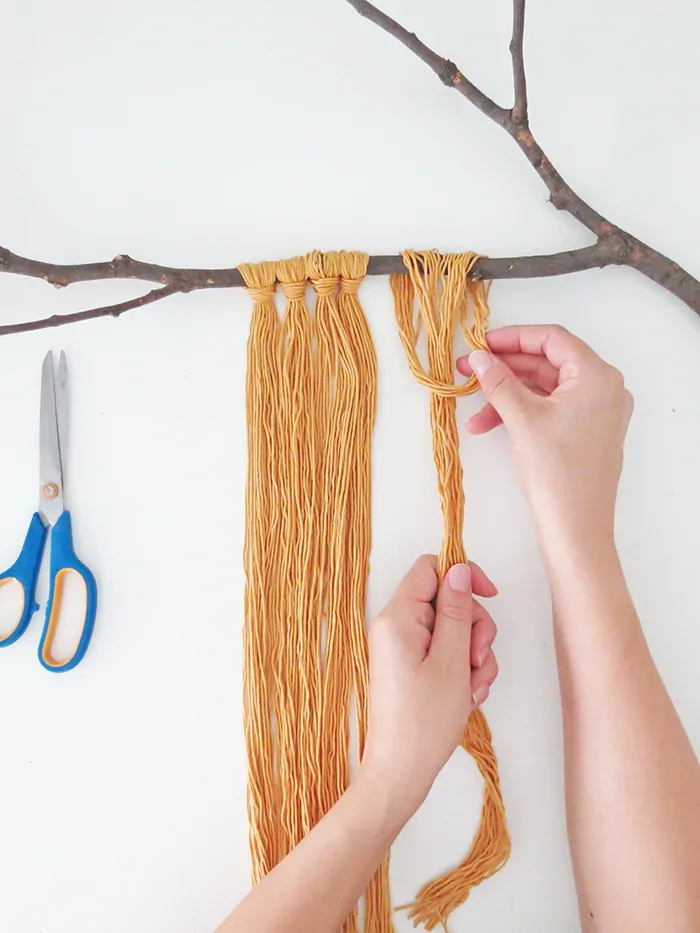
Cut pieces of 1.5 yards of yarn and attach them around the wood with a loop. To make the process faster, I cut a piece of cardboard of 3/4 yards long and wrapped the yarn around several times.
Then cut all the yarns together, fold them in the middle and attach the batch around the branch. Superfast. Mix different yarn colors to create an interesting pattern.
* * *
Cortas trozos de 1,2 m de lana y átalos alrededor de la madera con un bucle. Para acelerar el proceso, corté un trozo de cartón de 60 cm de largo y enrede el estambre varias veces. Luego corte todos los hilos, los dóble en el medio y coloque todos alrededor de la rama. Súper rápido. Mezcle diferentes colores de hilo para crear un patrón interesante.
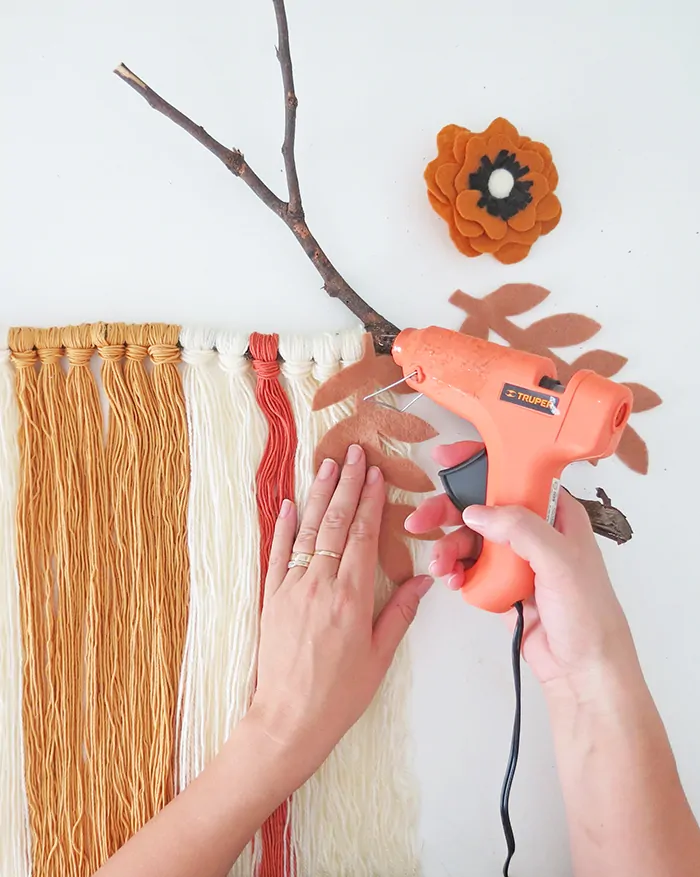
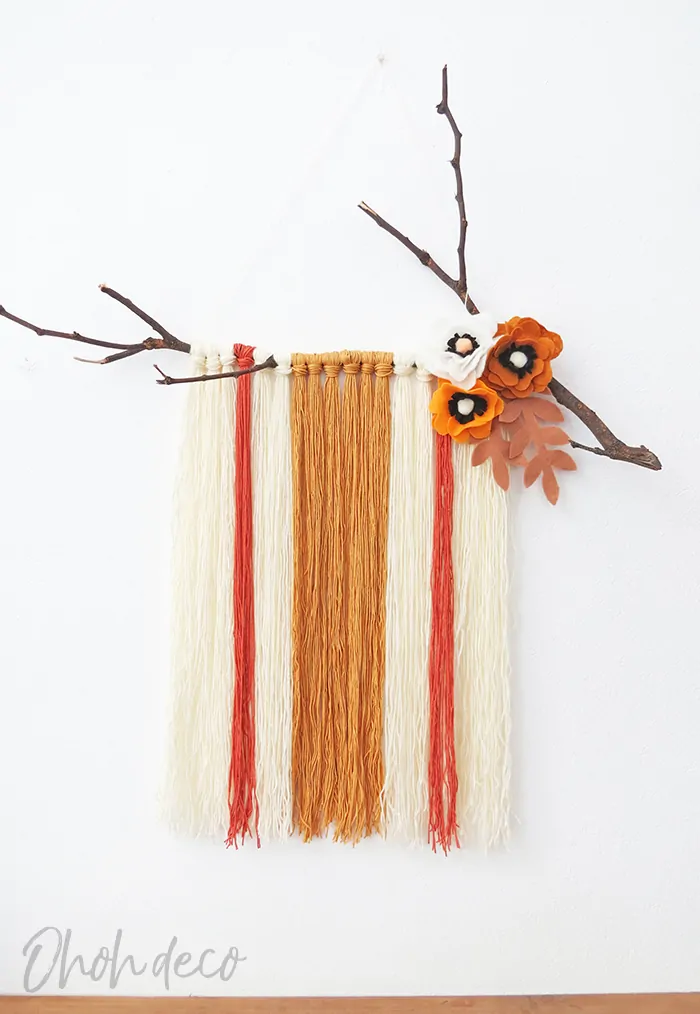
Take the felt flowers and leaves and glue them on one side of the branch. And done! You just finished your boho wall decor! I love how simple it’s to make.
Watch the video tutorial to make a DIY yarn wall hanging
If you feel ready to try some yarn weaving, I suggest you have a look at this very good weaving tutorial from Honestly WTF.
* * *
Tomas las flores y las hojas de fieltro y péguelas de un lado de la rama. ¡Y listo! ¡Acabas de terminar tu decoración de pared con estambre! Puedes ver el video arriba para mas detailles del paso a paso.
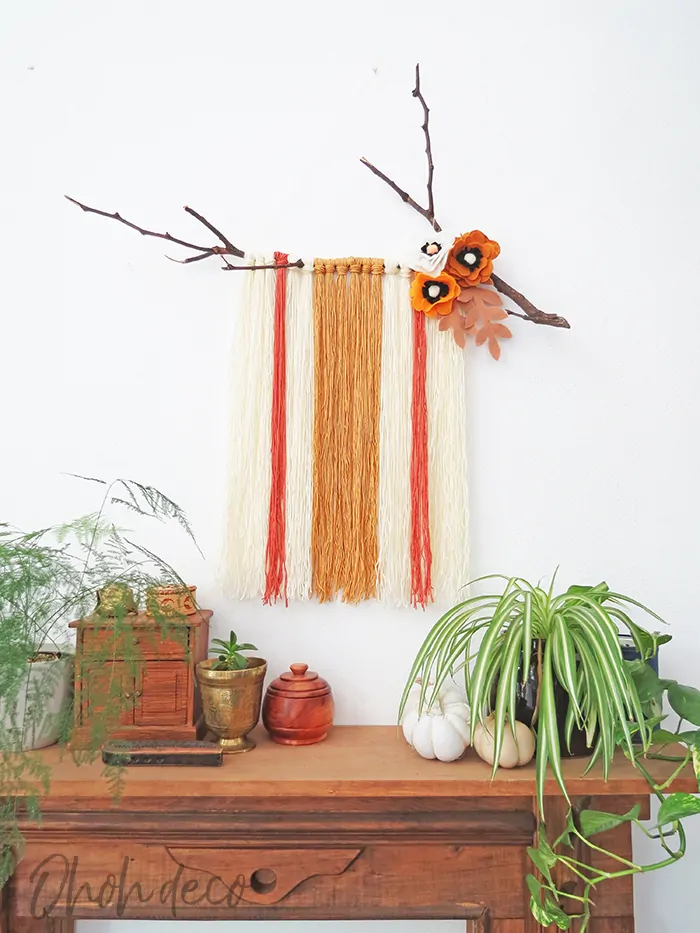
What do you think? It looks pretty nice hanging on the wall, right? It’s a nice addition to a fall decoration, I hope you didn’t mist my post about FALL DIY Decor ideas
I choose seasonal colors but you can make your wall hanging is any shade you like; pastels colors for a summer look or maybe some grey and white for winter. Have fun mixing colors and adding as many flowers as you like.
Tell me, would you give a try? Where would you like to hang your yarn wall art?
RELATED: 15 DIY you will love to do this fall
RELATED: 20 easy pumpkin crafts ideas
* * *
¿Qué opinas? Se ve muy bien colgado en la pared, ¿Verdad? Elije los colores de otoño, pero funcionará igual con unos tonos pastel para un look veraniego o tal vez con gris y blanco para el invierno. Puedes crear lo que deseas mezclando colores y agregando tantas flores como te gusta.
Dime, ¿Quieres intentarlo? ¿Dónde te gustaría colgar tu arte de estambre?
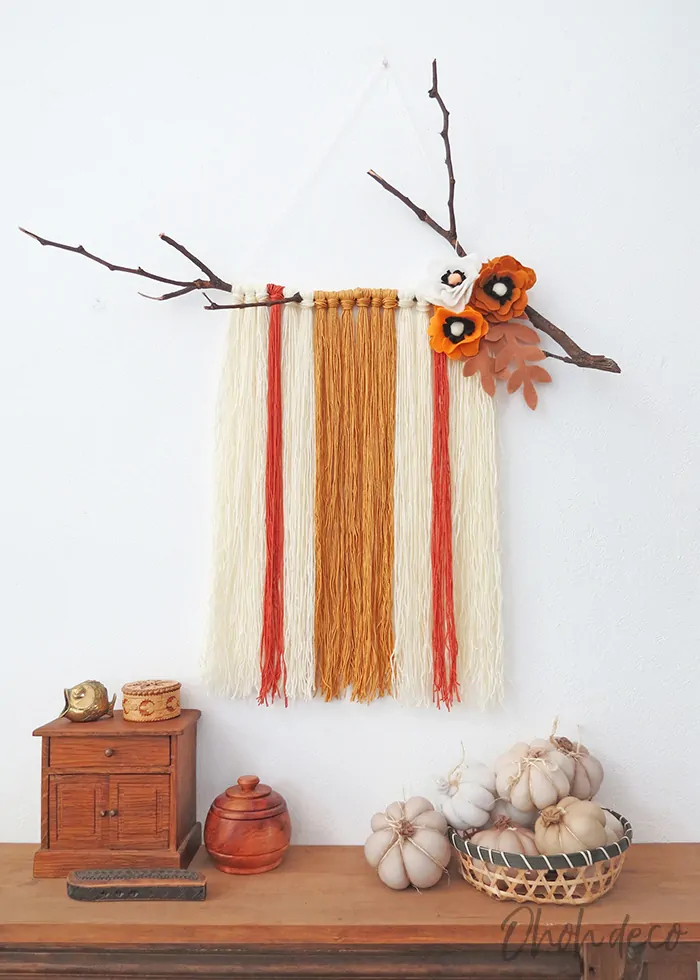
The mini pumpkins in the baskets are a DIY I made last year. They are so easy to craft, I’m sure you will love to make some to complete your fall decor.
Want to remember this? Save this DIY yarn wall hanging with felt flowers in your favorite Pinterest board.
You will find the template to make your DIY felt flowers and leaves into my library. It’s FREE and open to anyone. All you need is the password to get in. Just fill out the form below and check your inbox for a welcome email with the password in.
You will find all the tutorials featured in the video on my “Best DIY” page.
Amaryllis
Weekend Maids
Friday 28th of February 2020
This awesome! The mini pumpkins in the baskets are really so cute. It will look really amazing in my home. Thanks for sharing!
amaryllis
Friday 28th of February 2020
Thanks. The mini pumpkins are a DIY too and are super easy to make!
Dinah Rogers
Sunday 29th of September 2019
Amary, this is so pretty! Can you tell me what type of hot glue rods you prefer? There are so many varieties!
amaryllis
Sunday 29th of September 2019
Hello Dinah, Thanks!!! I used the same glue rods as my glue gun brand: truper. I bought them in a hardware store and it works much better than the one I had from the craft store. The glue stick very well and the glue gun doesn't melt if I forget to unplug it.