
If you are looking to make a unique wall hanging craft or are on the look for a fun activity to keep your kids busy you are in the right place. Yep, you read well you can do both using this easy wall hanging idea.
I will start the post with the growing-up version of this geometric paper wall hanging craft. It’s a simple DIY you can make to create a beautiful decoration.
You have to download the free printable in my library and print in on colored sheets. You can choose the color you want and that matches your room decor.
Combining the shapes with different colored paper allows you to create a vast variety of wall hanging design. I hope you will enjoy making one or more.
If you are interested in the kid’s version of this simple paper wall hanging, scroll down, you will find a list of material, the free printable, and the easy step-by-step tutorial to follow. It’s a nice wall hanging idea for school project too.
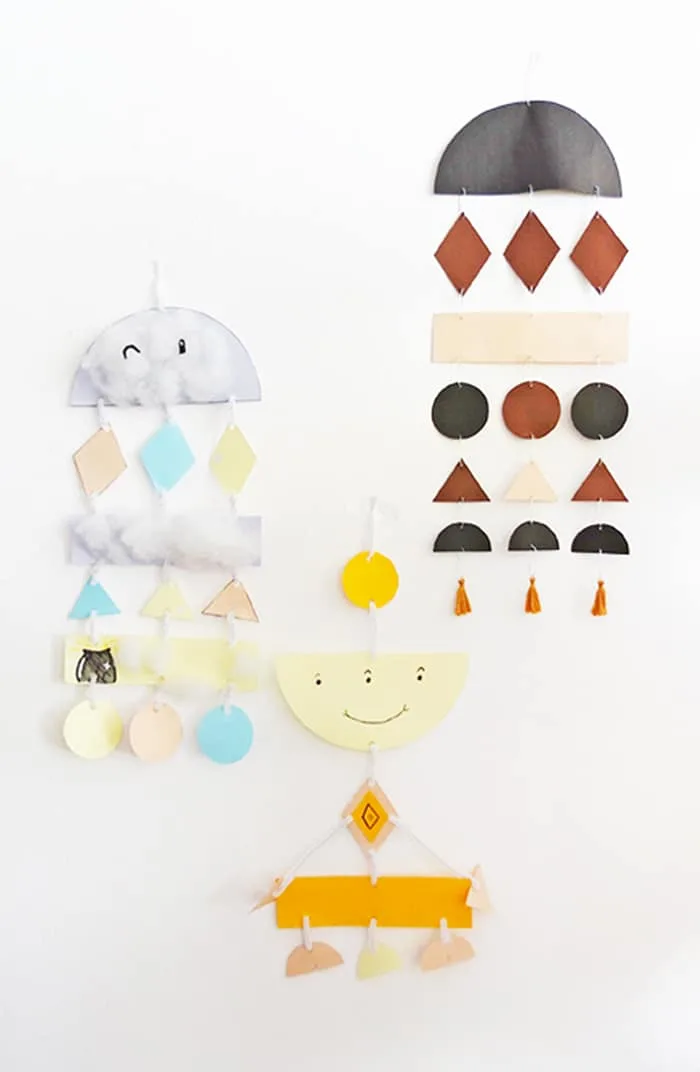
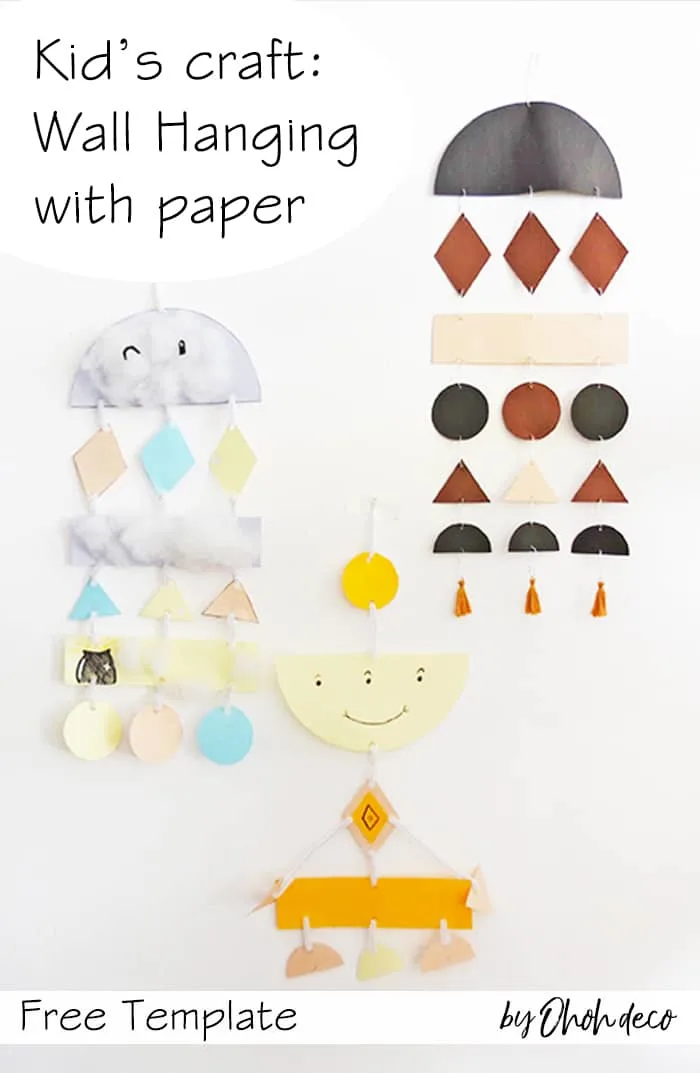
My kids had fun giving it a try. They created two wall decors, completely different from what I had in mind…it’s the awesome part of crafting, everyone can express their creativity.
[ This post probably contains affiliates links, our full disclosure policy is really boring, but you can read it HERE ]
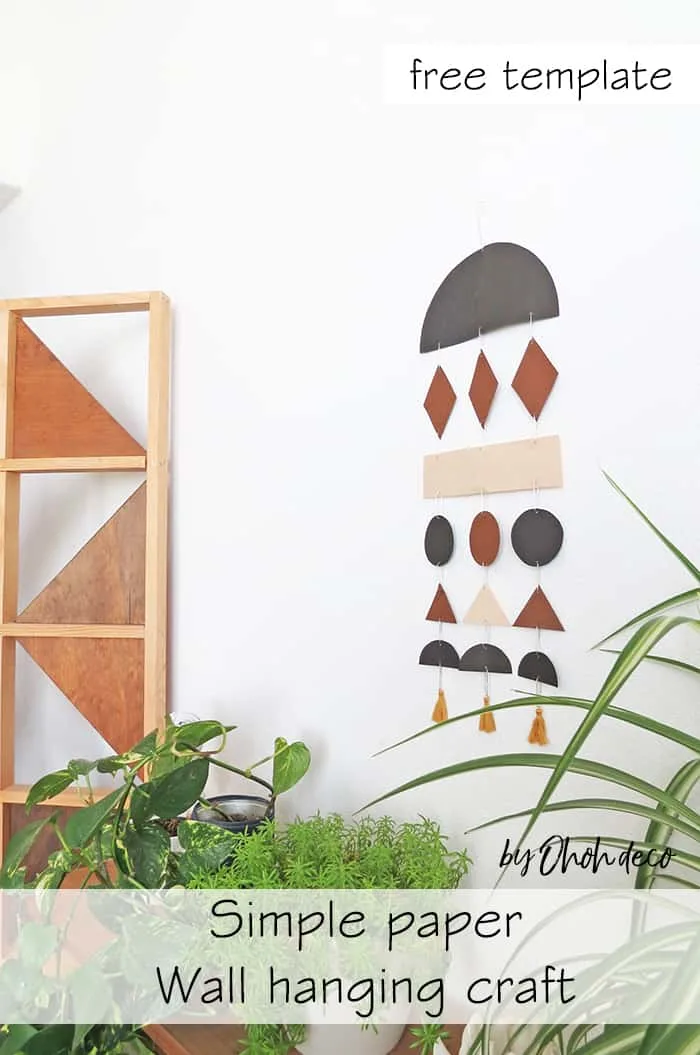
Easy handmade wall hanging with paper
Supplies you will need to make this papercraft:
- Cardstock paper sheets
- Scissors
- paper clips (rose gold or black will look cute and fancy)
- Compass (or an embroidery needle)
- Cutting pliers
- Sponge
- The free printable template (If you already are a member, click HERE for direct access to download your template)
I like to strongly suggest you use cardstock paper, it’s thicker and therefore your wall hanging will last longer. If you use a to thin paper the top shape will likely bend and it won’t look nice.
I found some nice colored cardstock paper assortment that you may like to use to make your easy wall hanging:
My suggestion, and the best option if you want to craft for yourself and with the kids, is this cardstock block with 20 different colors. It contains brights and muted colors that will make everyone happy.
The FREE template printable is available in my resource library along with a bunch of other great prints and patterns. All you need to do is fill out the form and check your inbox for a welcome email with the password in. Click here to get in >>>> FREE LIBRARY ACCESS
RELATED: How to Make Paper Hummingbirds
RELATED: DIY paper house craft
Make a beautiful wall hanging with paper
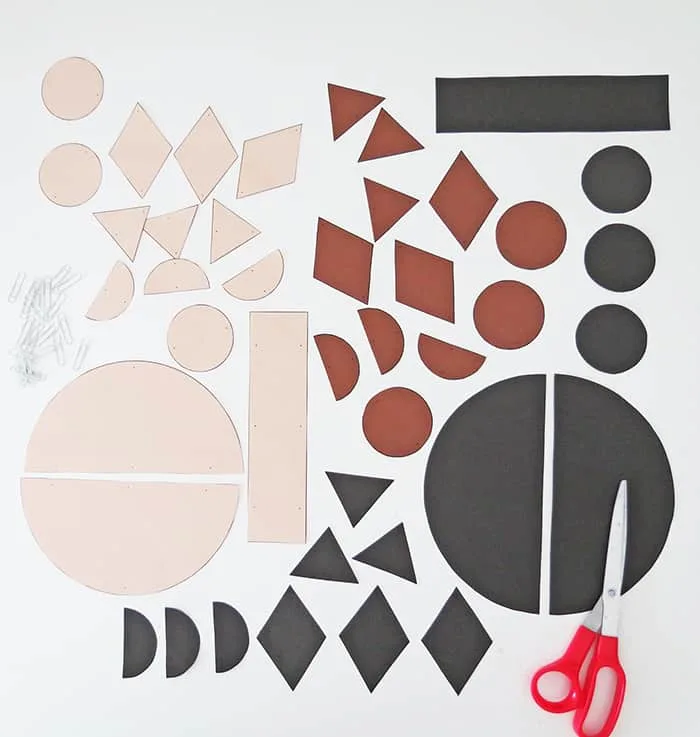
Print the template on cardboard sheets and cut out the shapes following the lines.
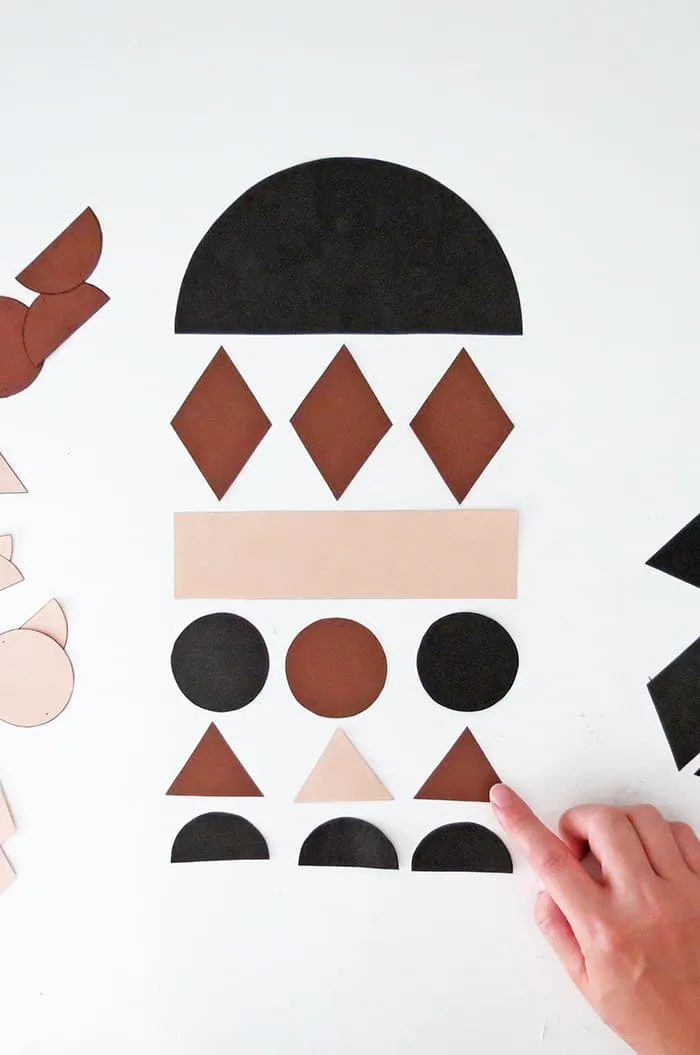
Have fun creating your wall hanging moving the shapes around. You can alternate shapes and colors to create an interesting design.
It’s best to start with one of the big shapes (half-circle or rectangle) on top. If you like to experiment, you can also use a craft dowel on top to hang your shapes.
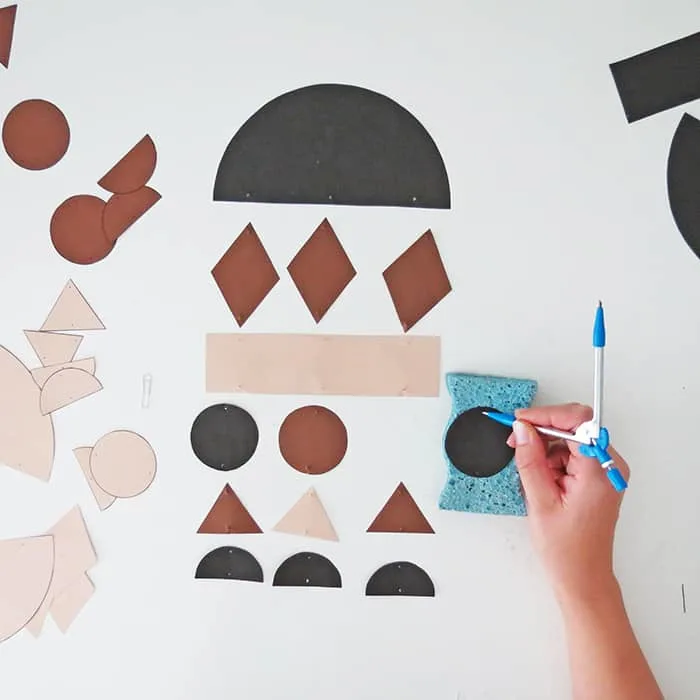
Once you are satisfied with your design, punch holes in each shape. There are dots in each shape that mark where you have to punch. To make small holes, use the tip of a compass (or an embroidery needle…or anything else sharp and thin).
I found it was easier to place a dry kitchen sponge under the shape and then punch the holes. It’s a simple trick that may be useful as you will have to make a bunch.
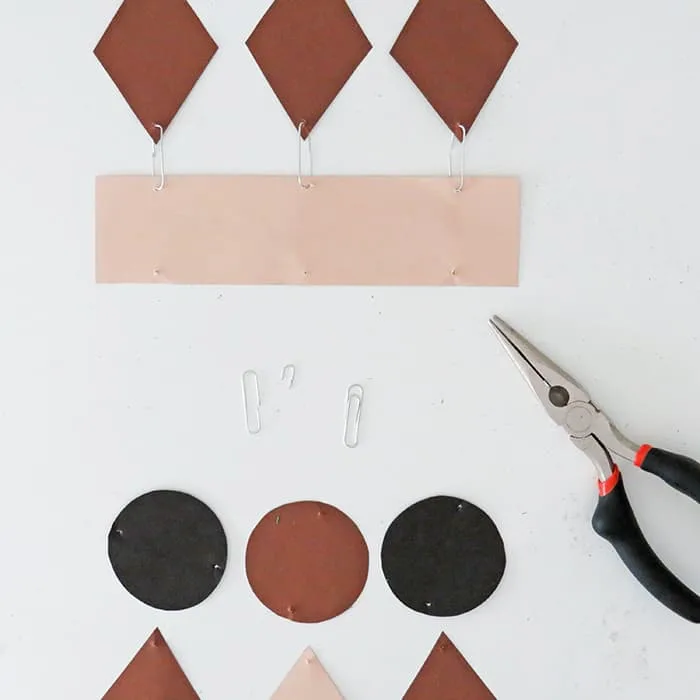
You will use paper clips to attach the wall decor shapes together. To be able to pass the paper clip to the holes you need to cut the inner part of the clips. It’s easy and you can do it using pliers. You will need a lot of cut clips, so prepare several.
I used plain silver clips, as I have them around. If you want to make your paper wall hanging DIY look a little fancier, you can use colored clips, just pick the color that matches best with your paper.
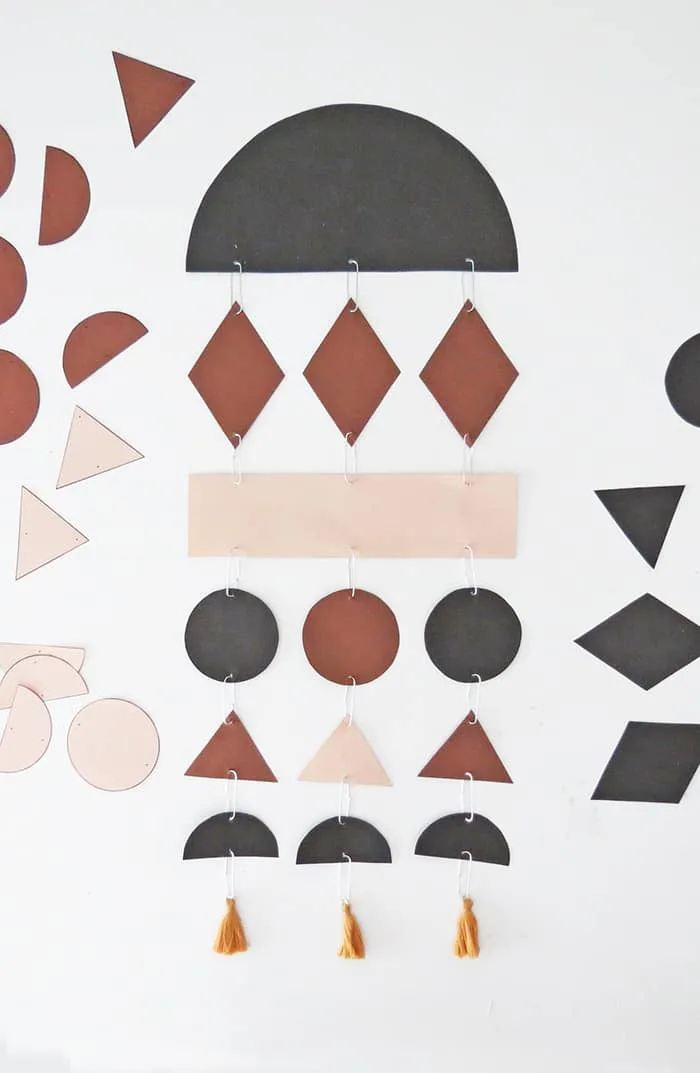
Attach all the shapes together with paper clips. You can also add some tassels and beads if you like. To hang it on your wall, punch a last hole on top, pass a clip or a thread through it, and done. Your paper wall hanging is ready to hang.
Watch the video tutorial of this Easy DIY Wall Hanging
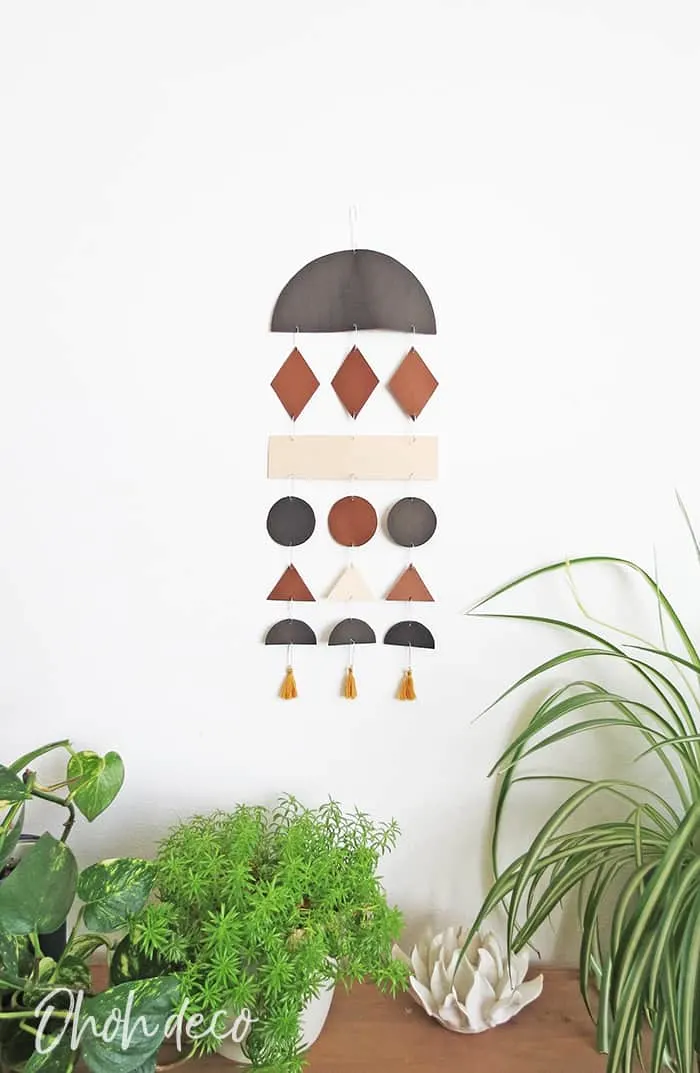
What do you think? In which colors would you like to make your paper wall decor?
RELATED: Geometric wooden wall hanging
RELATED: Easy yarn wall hanging
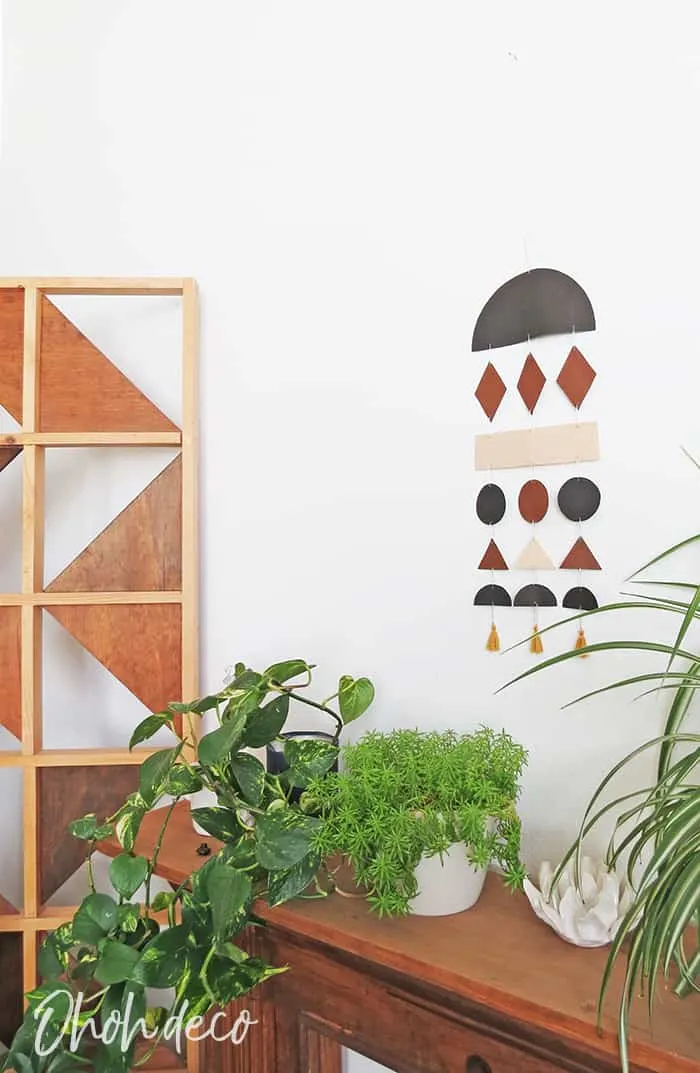
Wall hanging idea for school project
Let’s continue with the kid’s version of this wall hanging with color paper. You will use the same template as the adult wall hanging version but the shapes will be attached with an easier method so the kids can do it by themselves.
Materials you will need to make a kid’s paper wall hanging craft
- Cardstock paper sheets
- Scissors
- Pipe cleaners
- Hole punch
- The free printable template (If you already are a member, click HERE for direct access to download your template)
The FREE template printable is available in my resource library along with a bunch of other great prints and patterns. All you need to do is fill out the form and check your inbox for a welcome email with the password in. Click here to get in >>>> FREE LIBRARY ACCESS
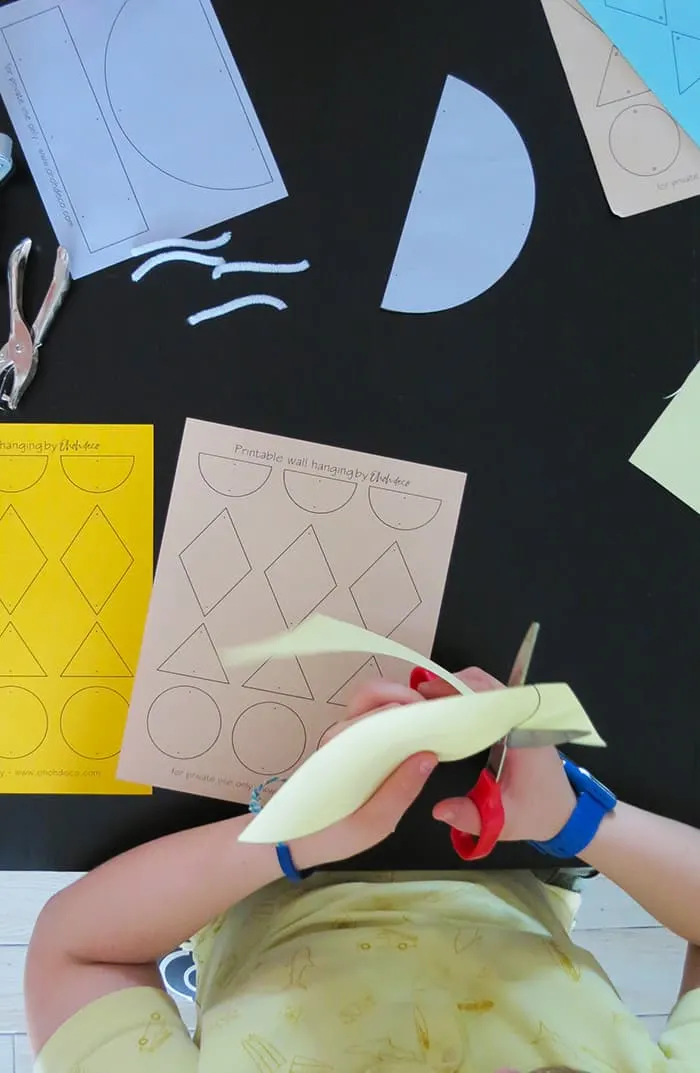
Print the shape template on differents cardstock colored sheets and let the kids cut them out.
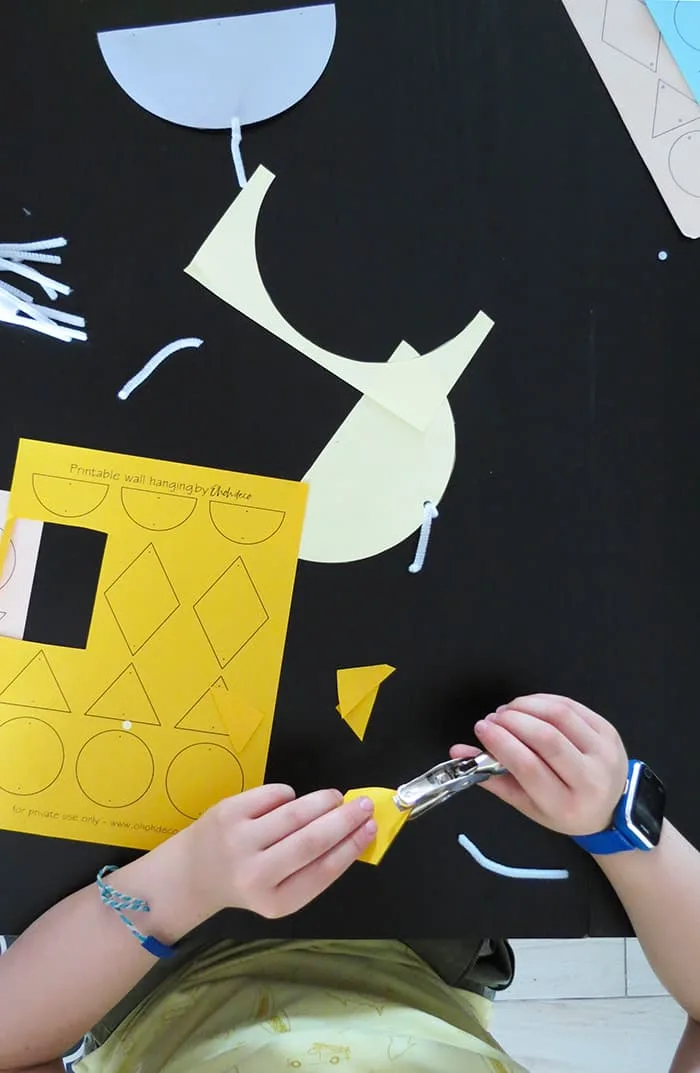
Use a hole punch to make holes in the shapes. Every shape has little dots on it that shows the kid where to punch.
Depending on the kid’s age, they can do it by themselves or will need a little help.
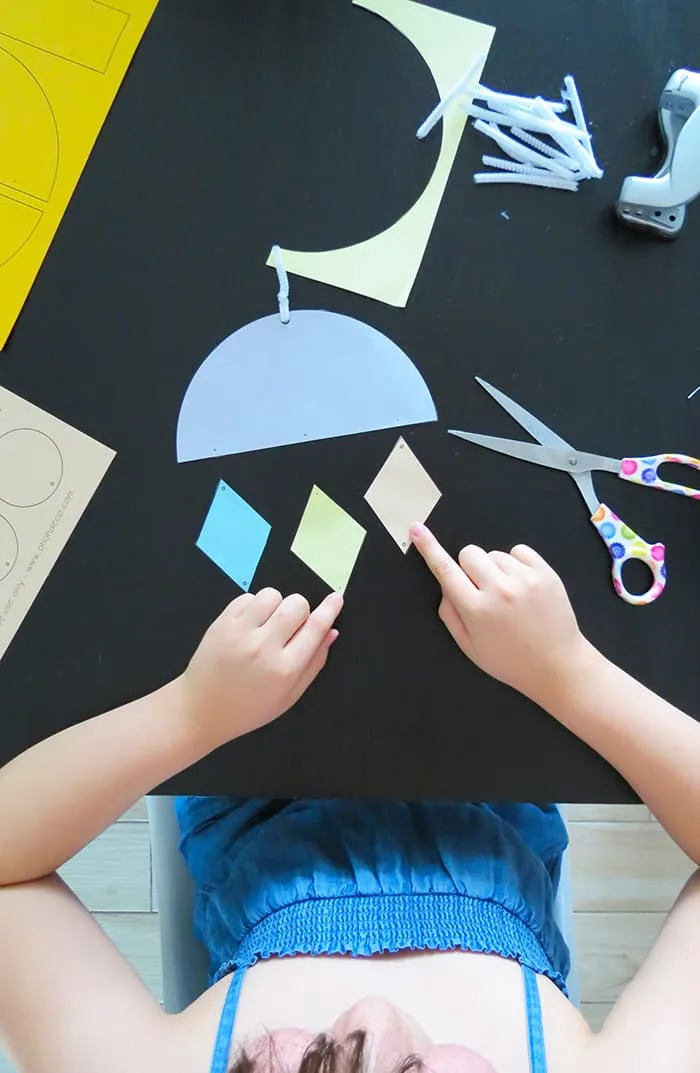
Let the kids arrange the shapes the way they like and create them wall decor.
I ended up very surprised with the creation my kids came with. It’s was fun to see them make the craft and imagine something completely different from what I had thought.
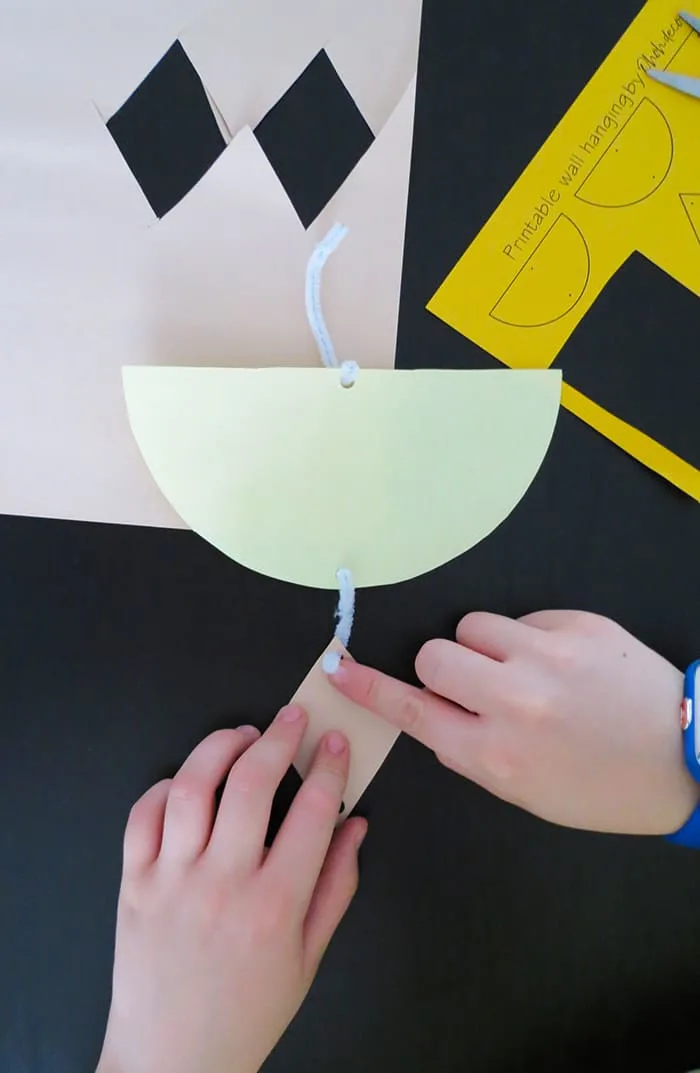
Cut pieces of pipe cleaners to attach the shapes together. I found that cutting a pipe cleaner in fourth equal pieces was a length that works great.
The kids have to pass the pipe cleaner in the holes and fold the ends to hold the paper shape together.
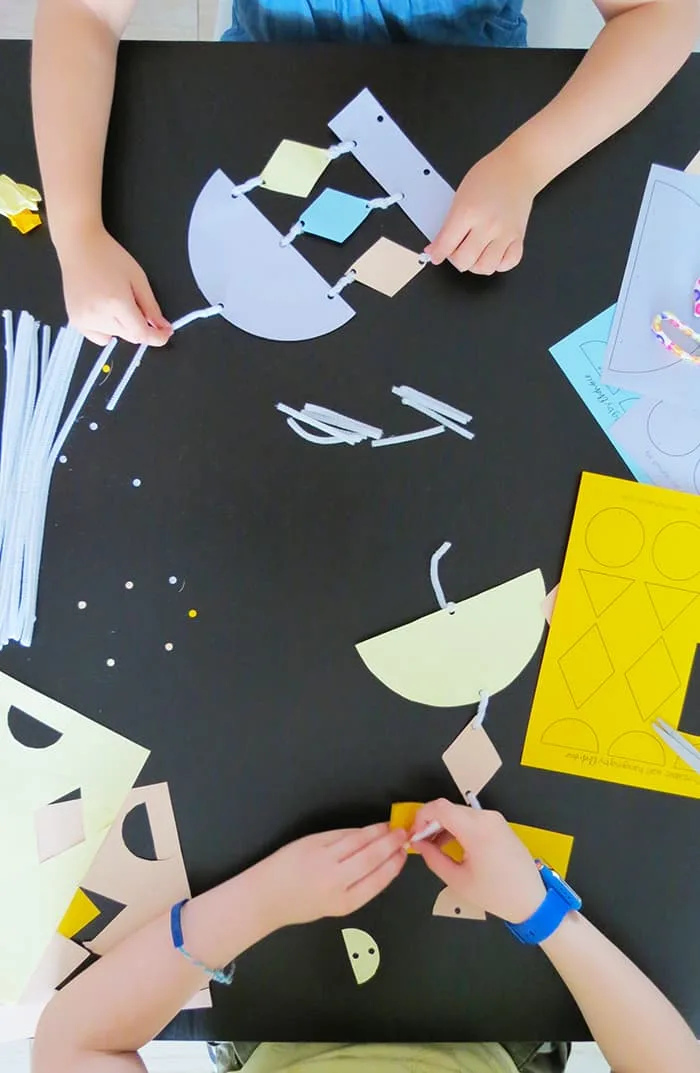
Let them assemble the wall decoration. They can also decorate the shapes with sharpies, Crayolas, stickers or glitters…
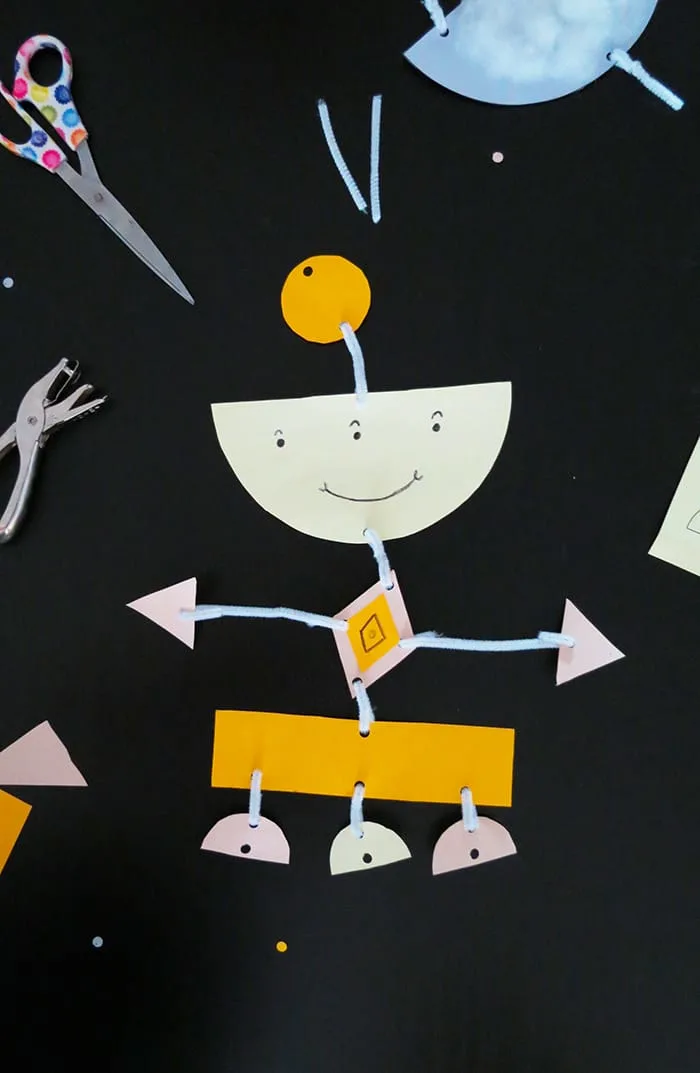
My son made a fun alien and my daughter a rainbow-cloud.
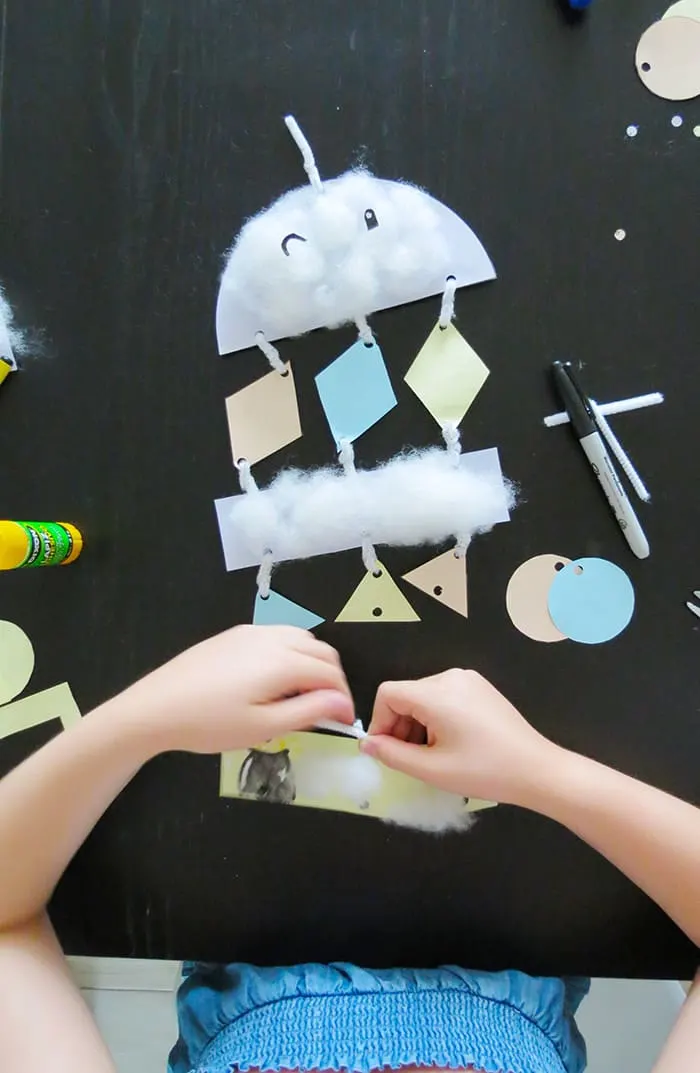
This easy wall hanging with paper is a very fun craft to make. It keeps my kids busy for at least a half-hour (pretty good, don’t you agree?) They can create so many different versions that we may do more in the next weeks.
As a mom, what I like the most is that is very little mess to tidy up after they finish, just some paper scraps that you can clean up in minutes with a broom.
I hope you and your kids will enjoy making this DIY wall hanging craft idea. Don’t hesitate to share your creation at amaryllis(at)ohohdeco(dot)com or leave me a comment below.
Have fun crafting!
RELATED: How my kids made upcycled planters
RELATED: 15 crafts ideas for kids and teens
Want to remember it? Save this Easy handmade wall hanging with paper on your favorite Pinterest board.
You will find all the tutorials featured in the video on my “Best DIY” page.
Amaryllis