
As the kids are on spring holidays and I don’t have much time to craft. Using power tools with kiddos around is a bit risky, so instead, we make cakes and eat them 🙂
[ This post probably contains affiliates links, our full disclosure policy is really boring, but you can read it HERE ]
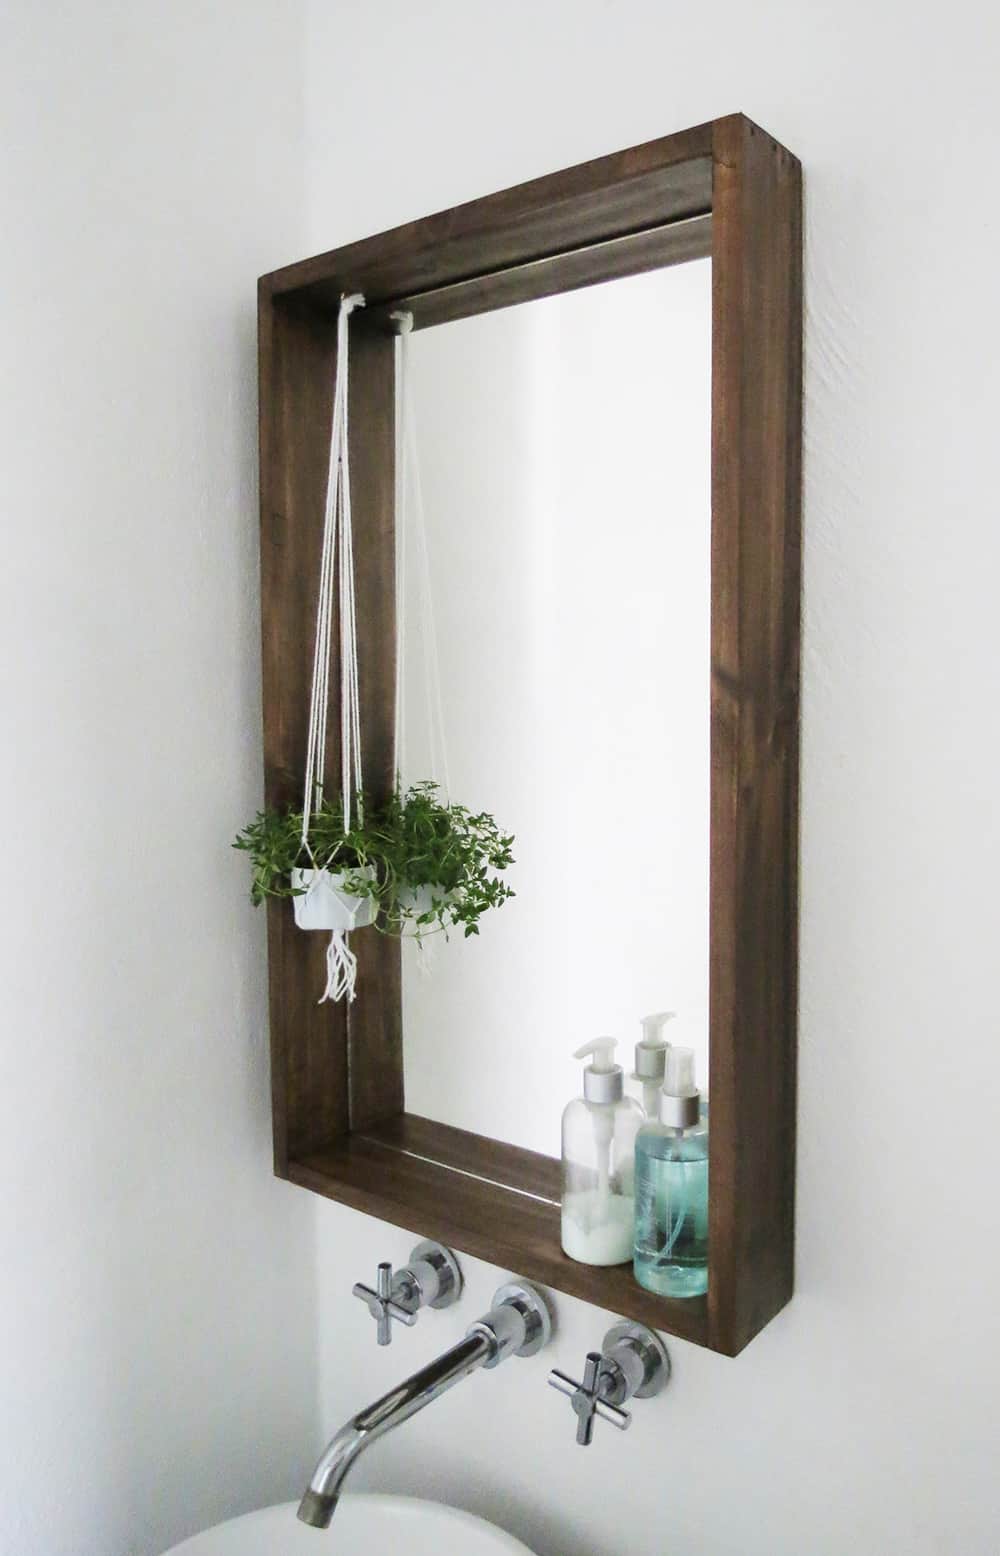
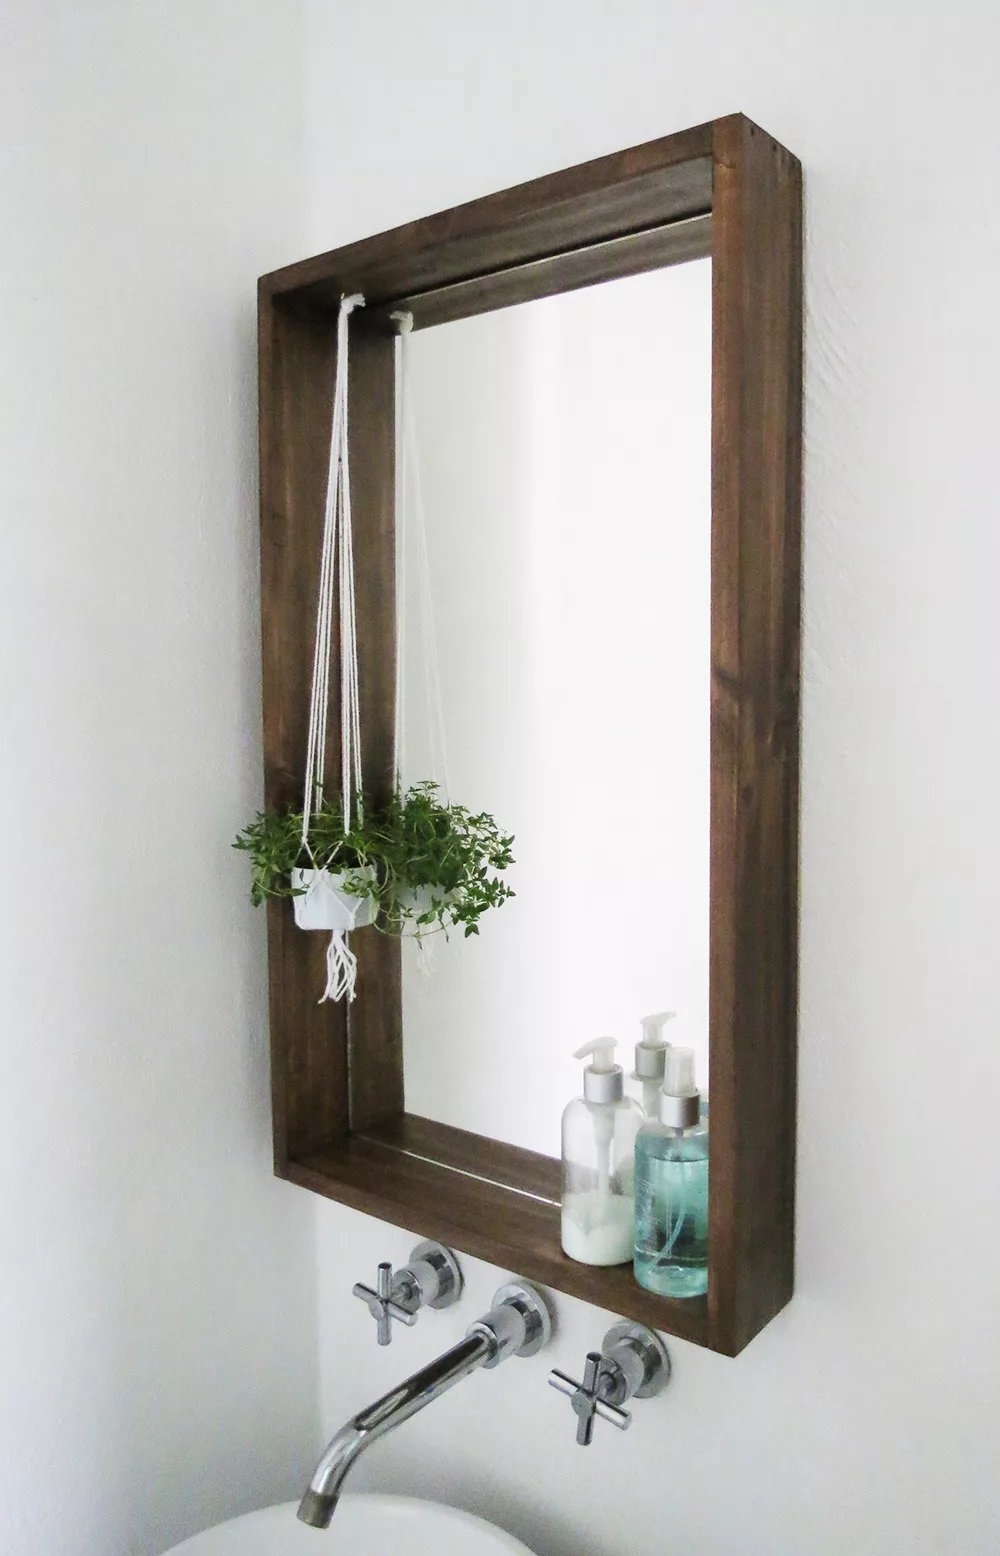
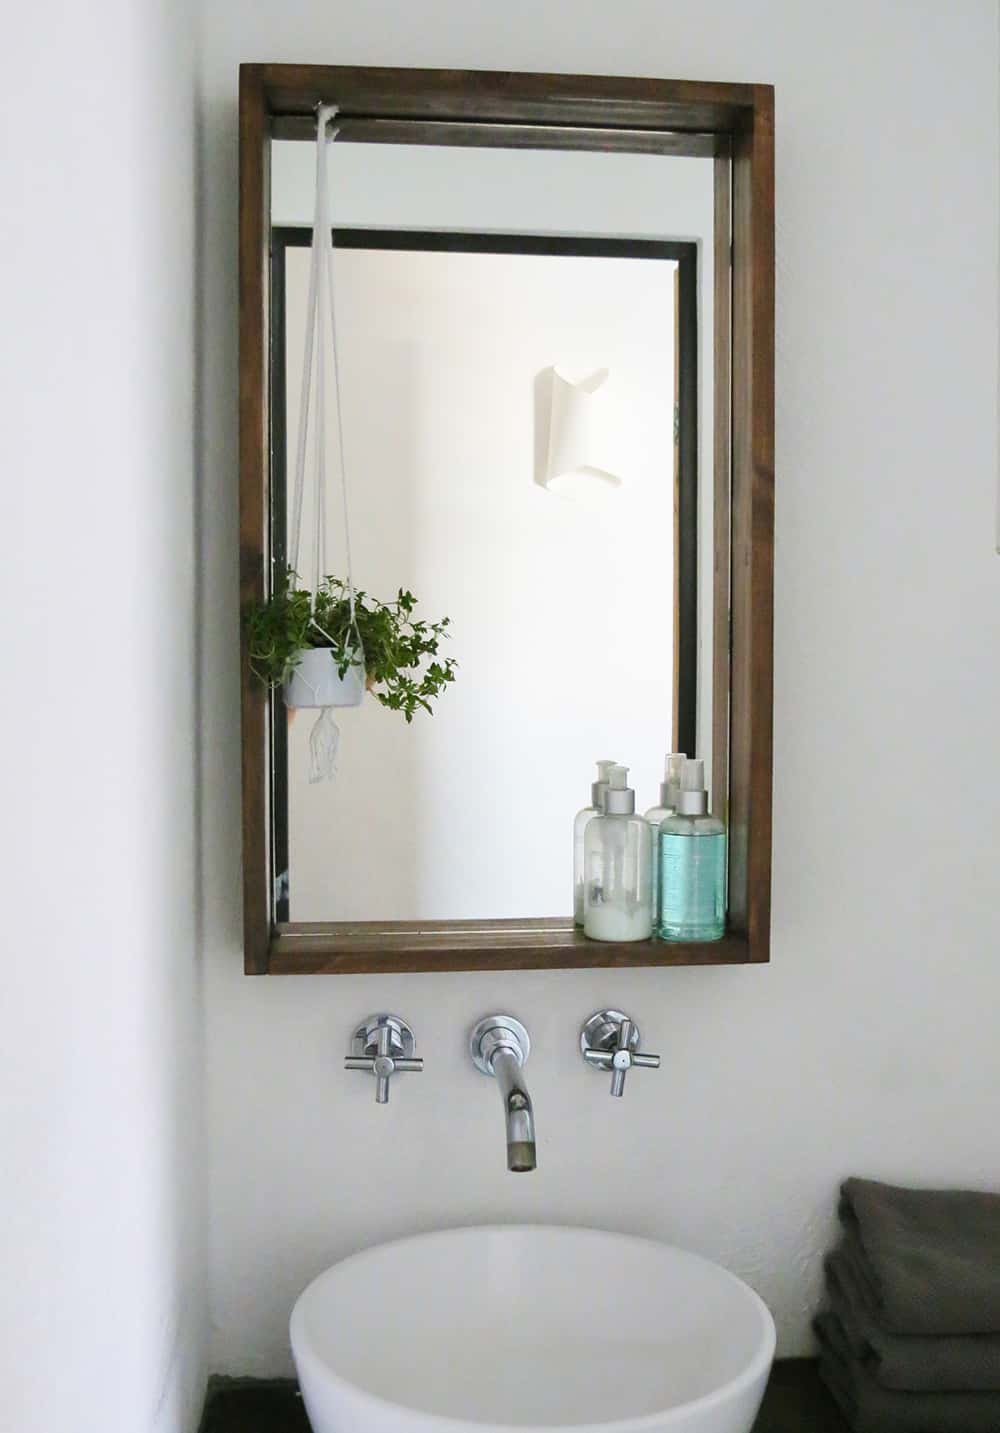
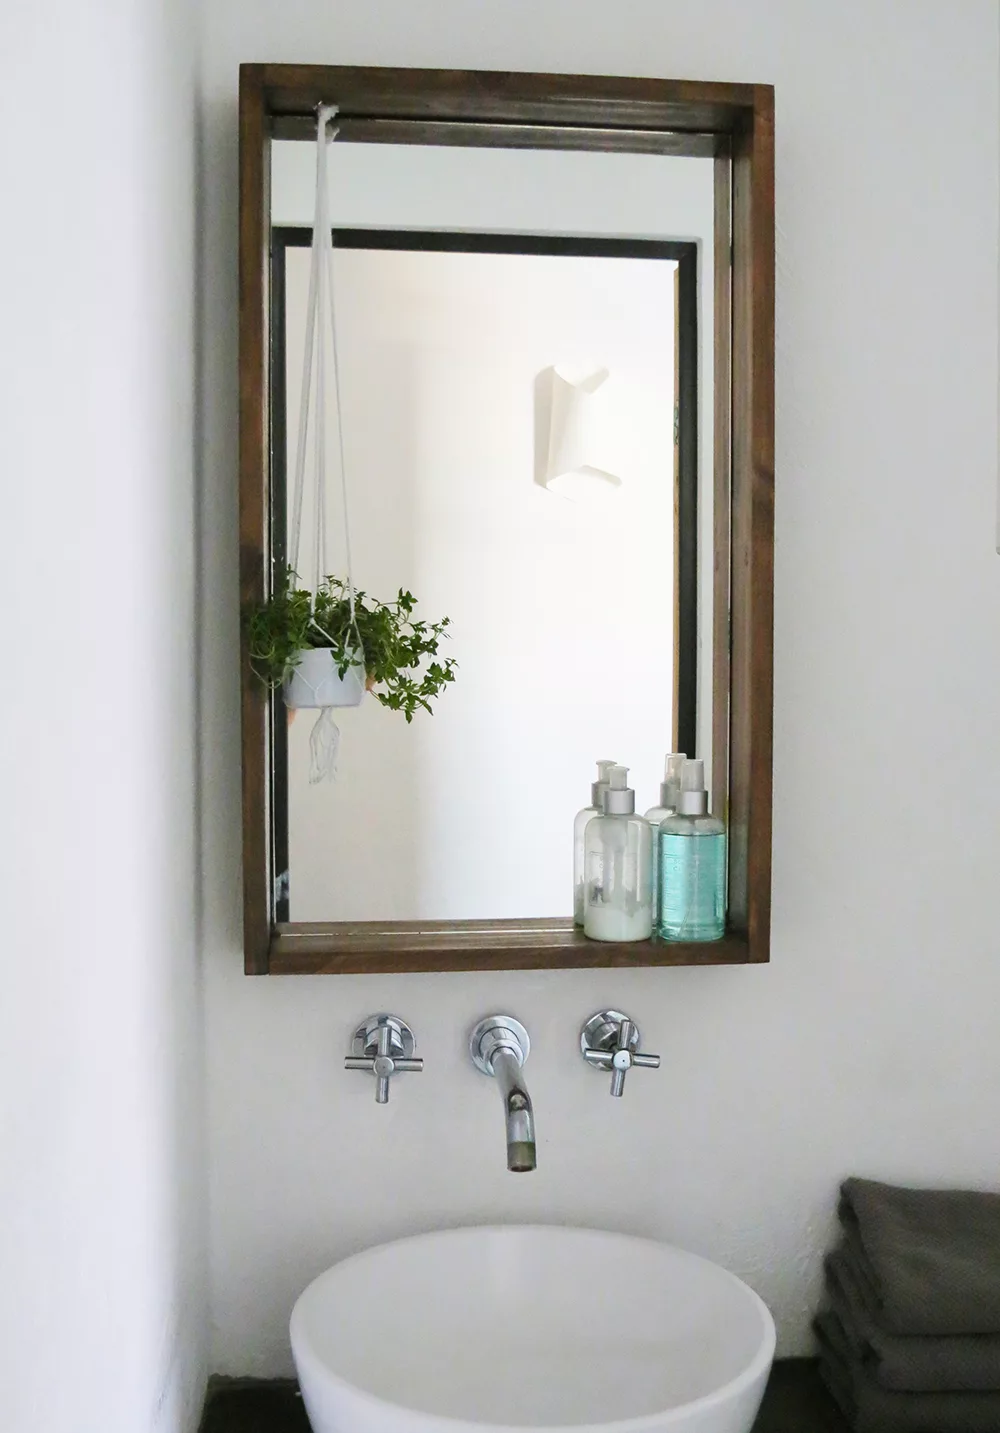
A few weeks ago I build this framed mirror. I’m so happy how it turns out and the big difference it makes in the downstairs bathroom. It’s quite simple to make, you can read my full tutorial on Bob Vila.
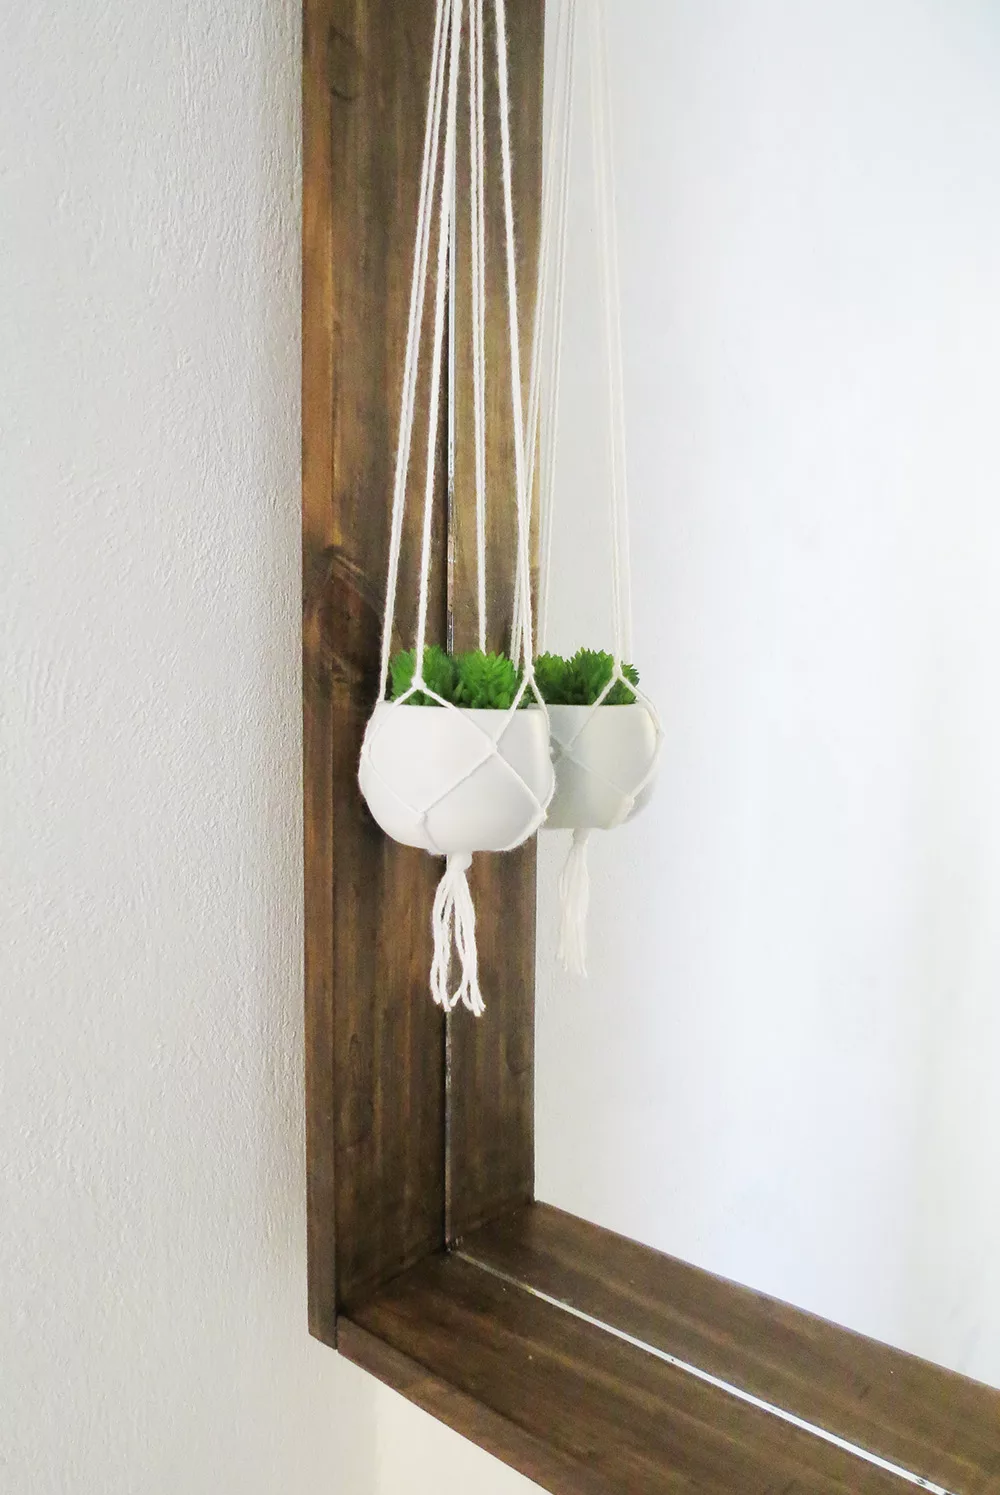
The lower part of the frame makes a nice little shelf to store products and I also like the little plant I hanged into the frame!
RELATED: How to place backsplash tiles (Aka the bathroom upgrade)
RELATED: Easy to build storage box shelves
How to build a framed box mirror
Supplies and tools you will need to make this DIY mirror:
- 12 mm Plywood
- Mirror
- 1×4 lumber (8 ft.)
- 2 in. nails
- 4 mending plates with screws(3in.)
- 2 sawtooth frame hangers
- wood glue
- All-purpose glue
- sandpaper
- Wood stain
- Varnish
- Jigsaw
- Drill
- Hammer

1.Place the mirror on the plywood and report the shape. Cut the plywood using the jigsaw (or ask your hardware store to make the cut). Cut as straight as possible, then sand the edges. You will use the plywood as the back of your frame.
2. Using the lumber, build a frame around the plywood. Cut the top and bottom part at the same length as the plywood edge. Cut the two vertical parts of the frame lengthier. So the thickness of your top and bottom boards fit perfectly into the frame. Sand the lumber edges.
3. Glue and nail the boards together to build the frame.
4. Slide the plywood piece into the frame. On the back, attach the plywood with the frame placing mending plates across each corner. Fasten with screws. Union plates have 3 holes, place two screws into the frame, and the middle one into the plywood.
5. Sand the frame and remove dust with a wet cloth. Apply stain and varnish. Let dry.
6. To hang your mirror on the wall, nail two sawtooth hooks on the back. Be sure to use hooks that will hold the weight.
7. Finally, apply a good chunk of all-purpose glue on inside the box on the plywood and place the mirror. Place a few heavy books on top while the glue dries to ensure good adherence.
8. And done! Once the glue is dry you can hang your framed mirror on the wall.
You can find my step by step tutorial with pictures on Bob Vila page.
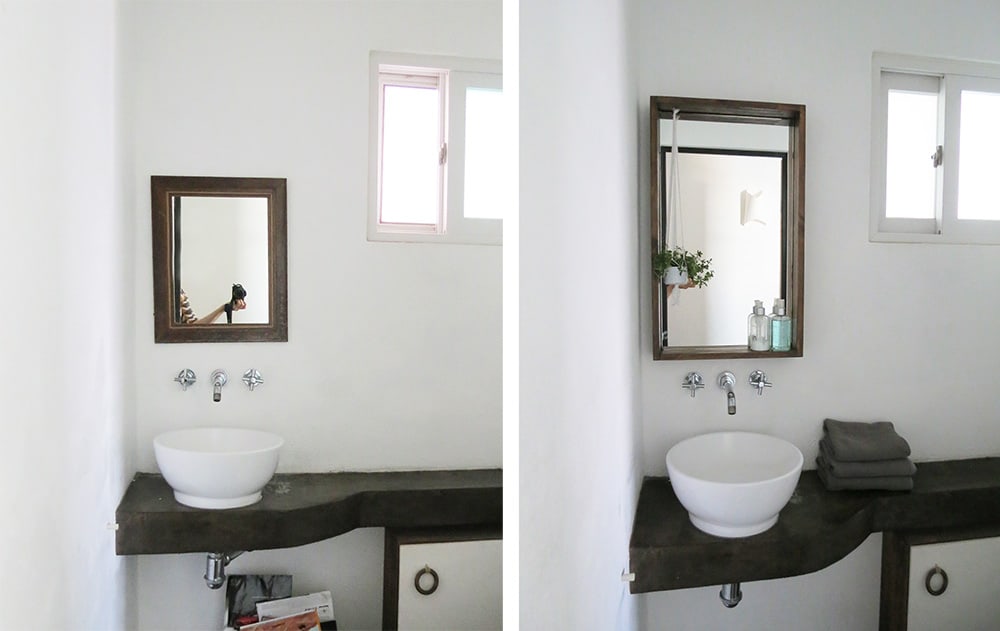
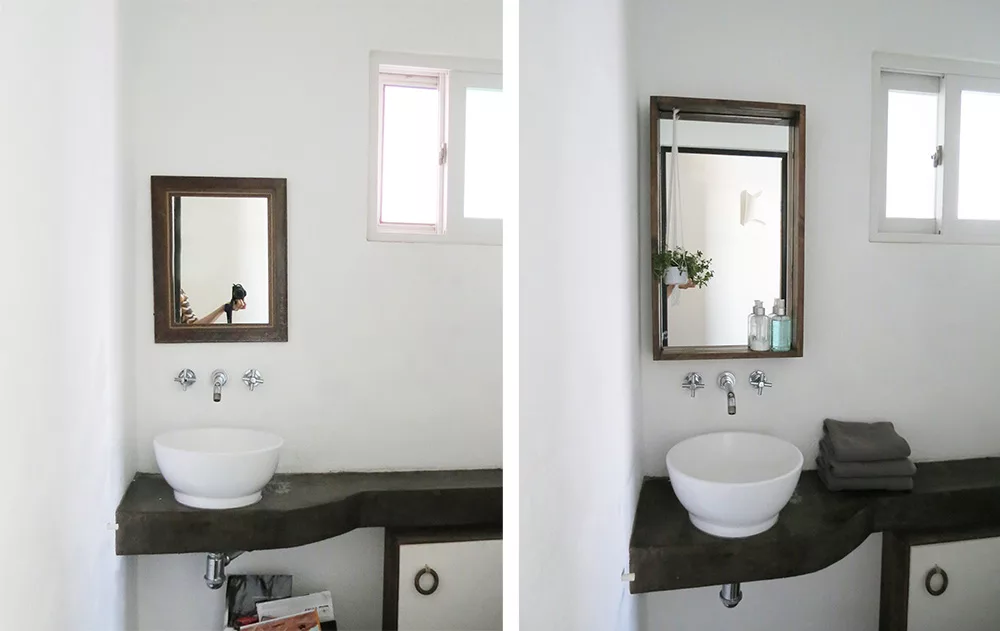
On the left picture, you can see our previous mirror, it was too small and didn’t really fit…but I had it on hands when we move in so I just hang it. It looks so much better with the new boxed mirror.
Here is another good thing about building the frame yourself, you can make it at the dimension you want. I first cut the mirror to the size I wanted to fit in my bathroom and then built the box.
I think a framed mirror can also be a great addition to an entry hall, you can leave your keys and sunglasses on the bottom board. Or you can also hang it in the bedroom, you can add a few hooks on the top board to hang necklaces and display some small containers on the lower board to store rings and earrings.
Tell me, where would you like to hang your framed mirror?
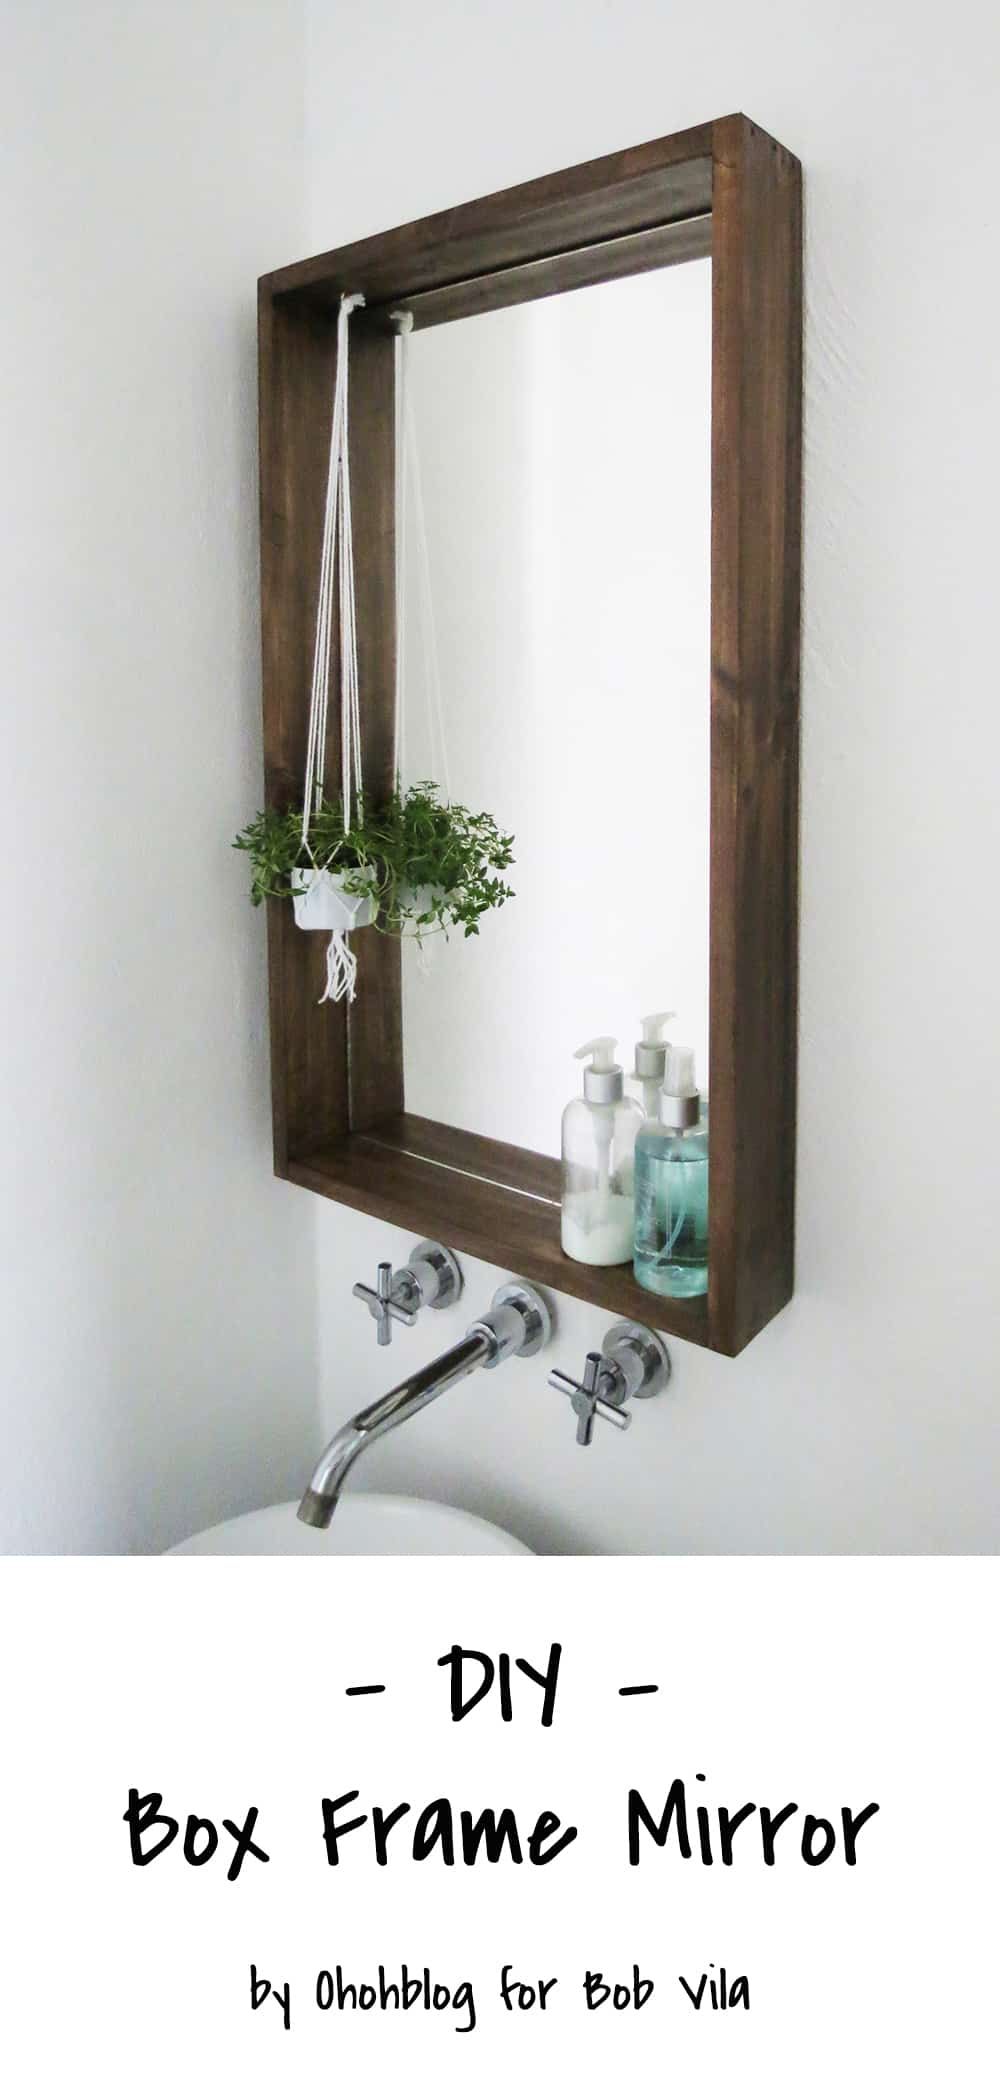
Want to remember it? Save this DIY box frame mirror in your favorite Pinterest board

You will find all the tutorials featured in the video on my “Best DIY” page.
Amaryllis
scott
Saturday 8th of August 2020
Hi - Can I ask what kind of stain you used?
amaryllis
Sunday 9th of August 2020
Hi Scott, I used Sayer Lack oil stain and the shade is called "Early American"
christopher kates
Wednesday 23rd of May 2018
wow!! I really loved this frame mirror.WOW!! That was really a very brilliant idea. I loved it and I'm going to make it soon. I love to add natural effect everywhere around my house. Even inside I have grown many plants and that really gives pleasure to me. I love to keep everything nature friendly. Being a writer custom essay writing service that makes me more creative.
JaneEllen
Sunday 15th of April 2018
Sure do love your boxed mirror, want one so can put little goodies on bottom of mirror (among other things).How you hung plant looks really nice. Is that a real plant or faux? Noticing some other posts I need to take a look at, look interesting. Want to see how you hung a printable, always good idea to have other ways for something different on the walls. Have great week
amaryllis
Monday 16th of April 2018
Hello Jane Ellen, I first put a real plant but I was to afraid to forget to water it so I switched it for a faux succulent ;) less worries, I just have to take the dust off once in a while! If you want an idea of how to hang printables you can check my office makeover post you will also find a link to download a bunch of vintage prints for free.