A small project at the time I keep improving the house.
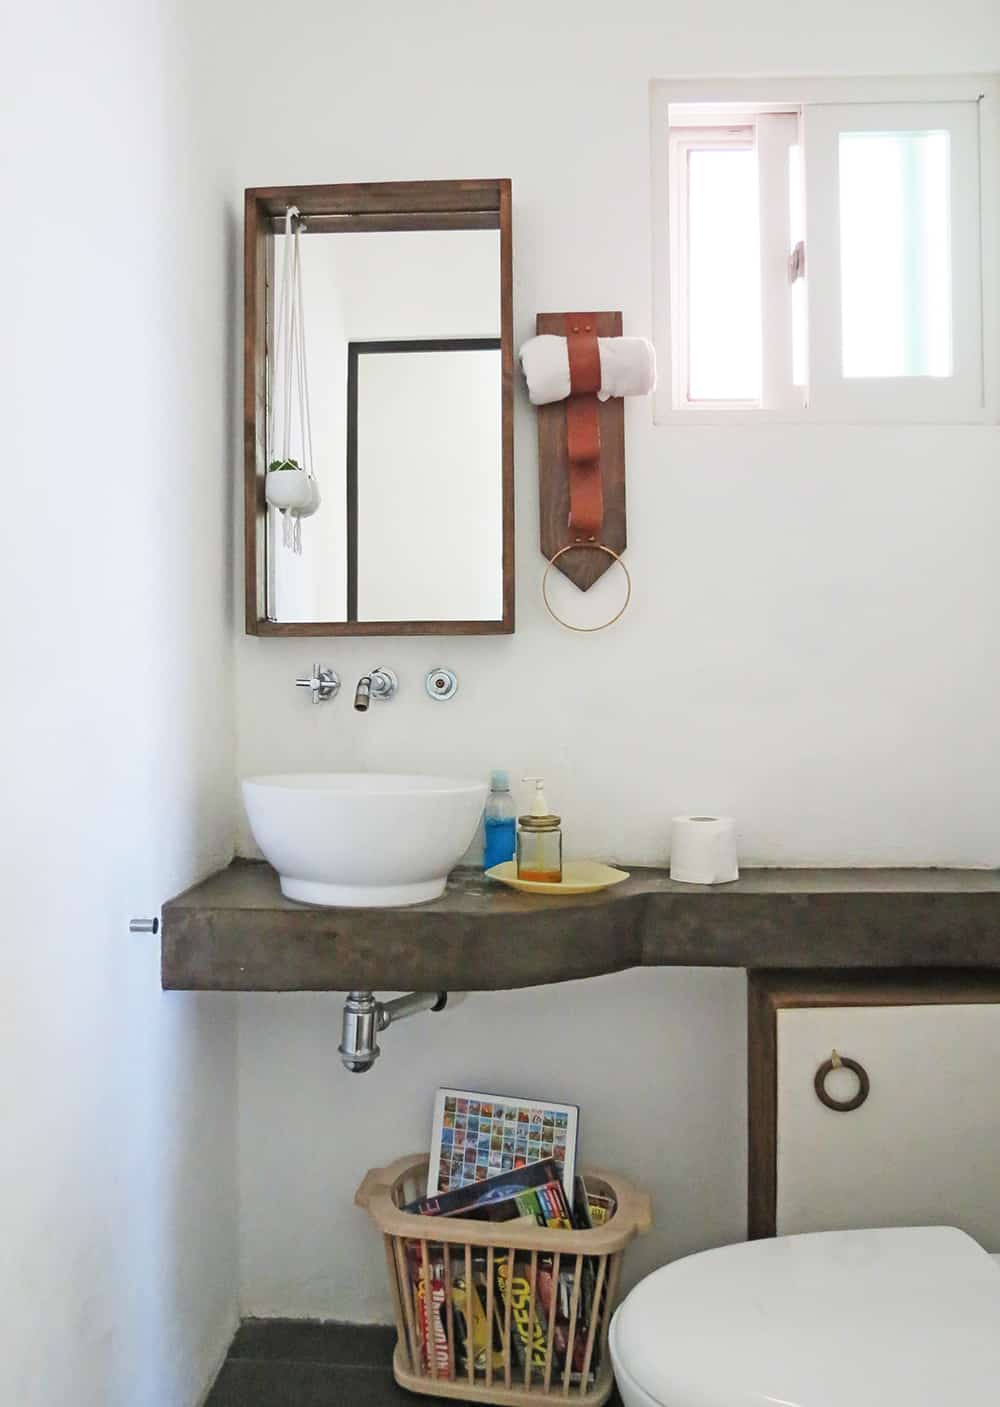
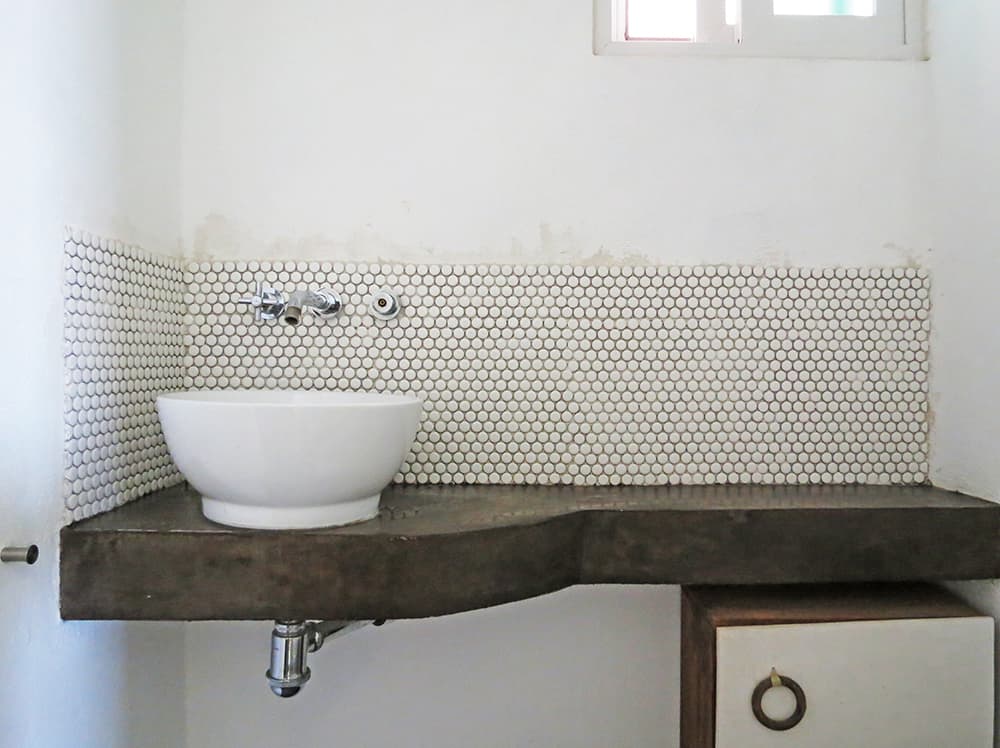
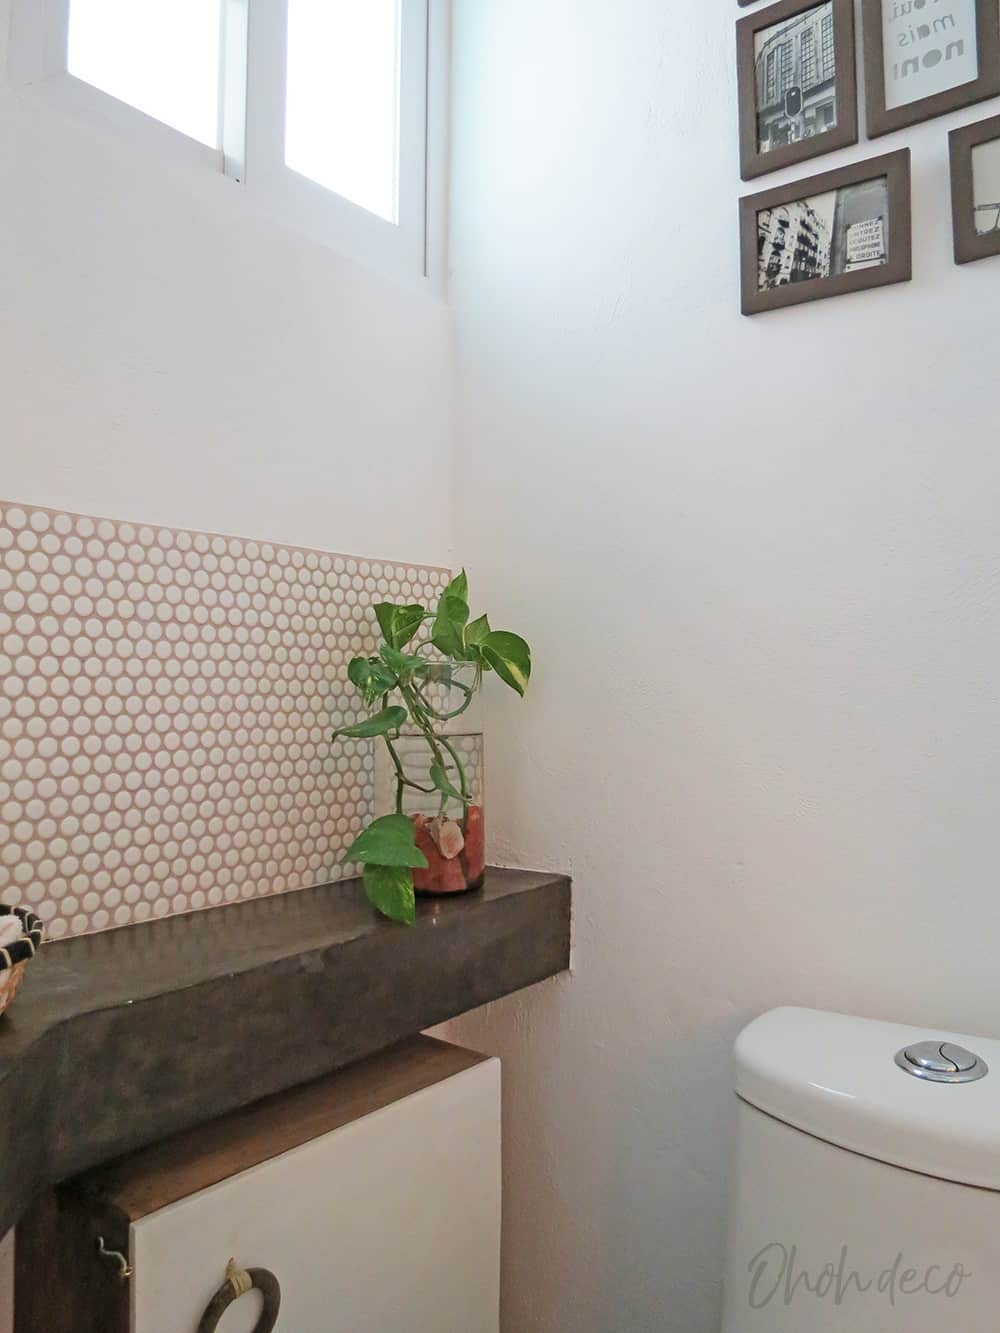
I always planned on putting a backsplash in the downstairs bathroom, as you can imagine with three kids the wall around the sink has a lot of stains and having tiles on the wall just makes sense.
I knew I wanted some small tiles, first because they will look nice in this tiny space, and second because, even if I never had placed tiles in my life, I thought it will be easier to put in place than large tiles.
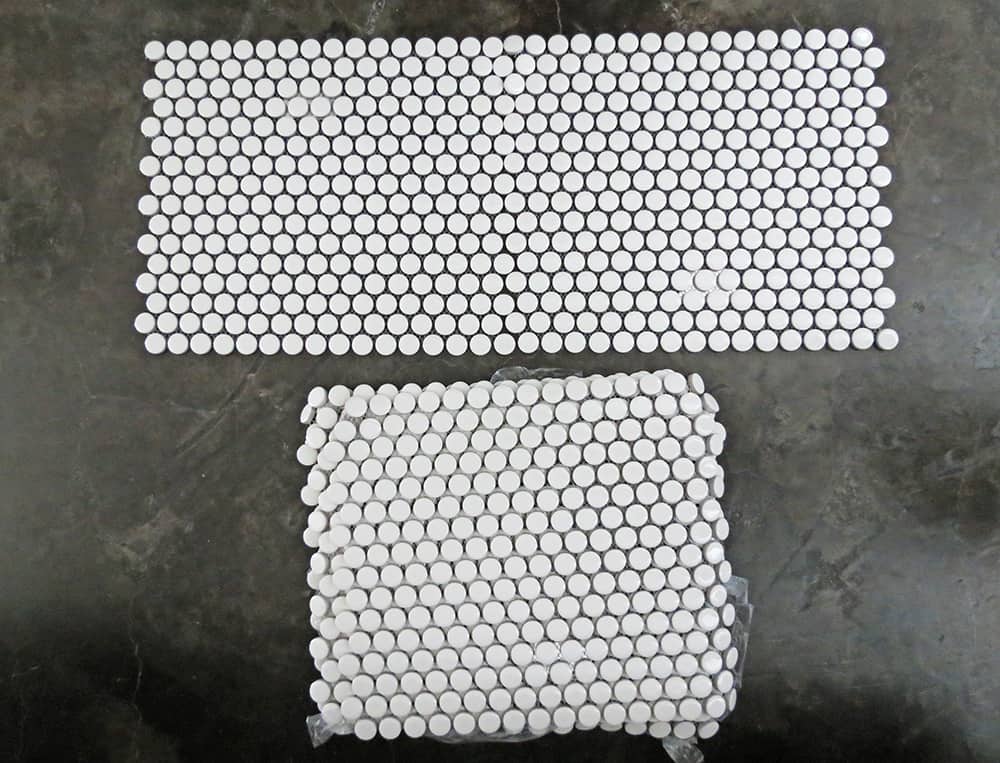
I finally set my choice on white penny tiles with sand color grouts. Penny tiles, and the majority of mosaic tiles, are mesh- mounted, it means that several tiles are glue on a small red that facilitates the installation.
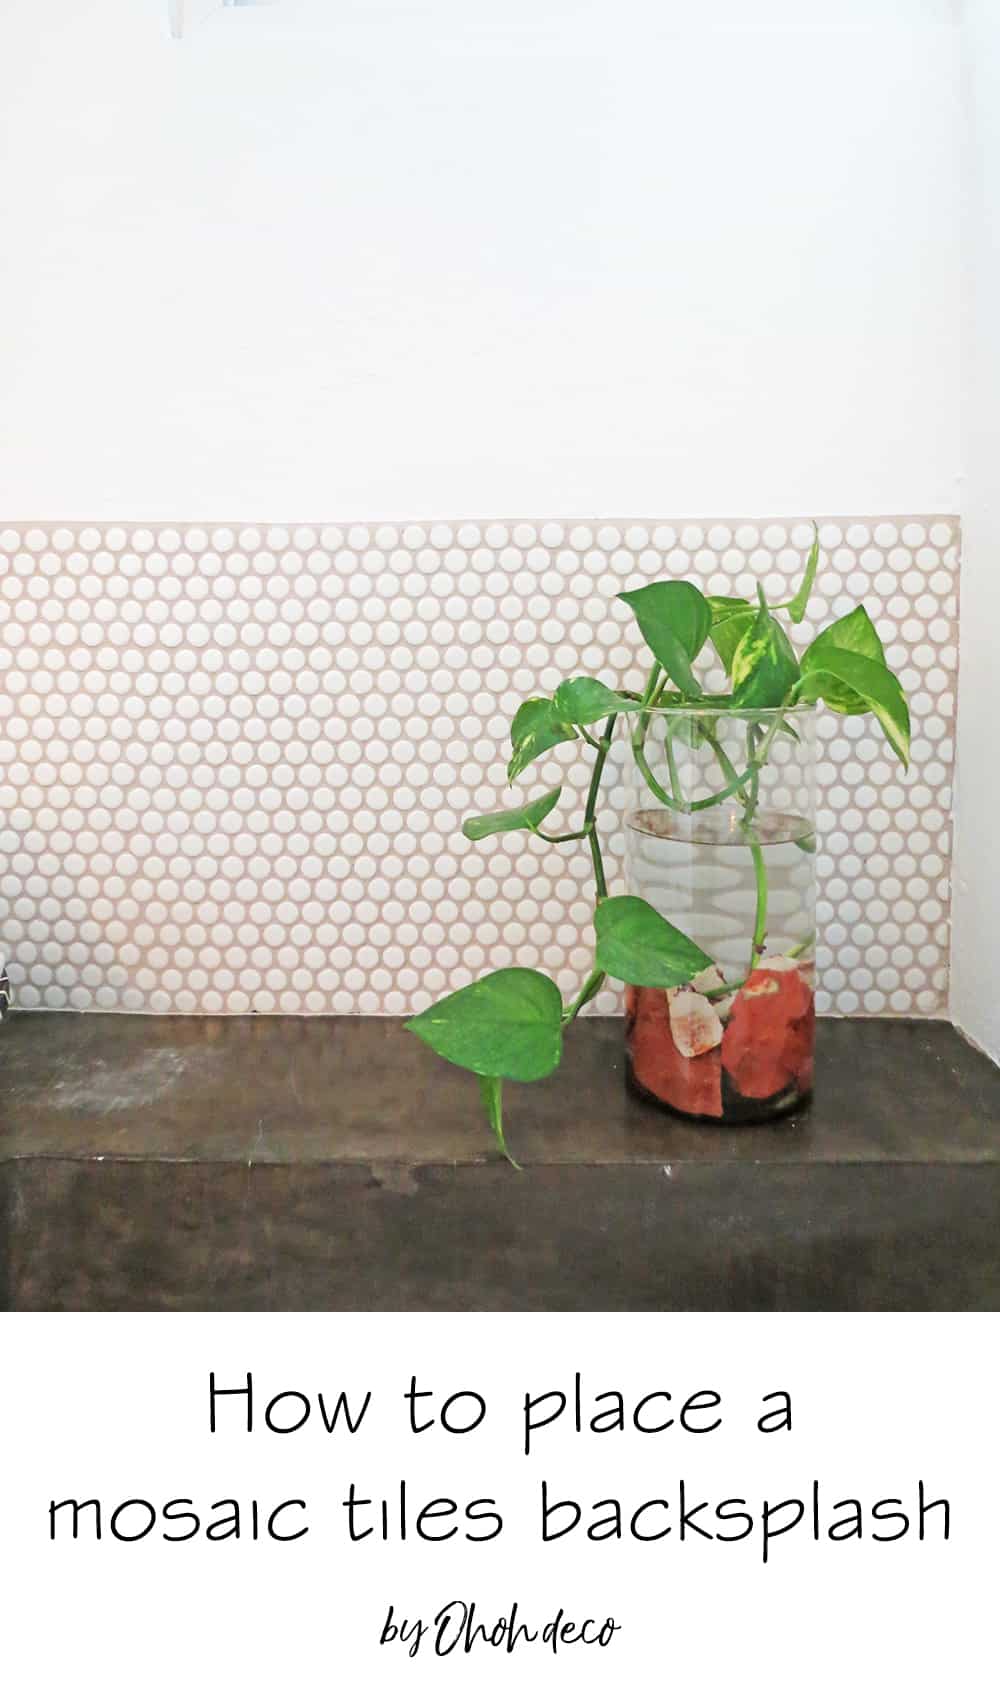
I love how it turns out and how much cleaner the backsplash is now. If you want to give a try to place a backsplash by yourself, I share all the steps to install mosaic tile backsplash below (even the trick I use to cut the tiles).
[ This post probably contains affiliate links, our full disclosure policy is really boring, but you can read it HERE ]
How to install mosaic tile backsplash
Supplies you will need to to tile a bathroom backsplash:
- Mesh-mounted mosaic tiles (I used these ones)
- Tile adhesives for walls (hardware stores sell small containers, it may be more convenient if you only plan to cover a small surface)
- Tile grout filler (different colors are available)
- Adhesive spreader
- A level
- A pair of scissors
- Cutting pliers
- A sponge
- Disposable gloves
First calculate the wall surface you want to cover to buy the accurate quantity of tiles, adhesive and grouting.
RELATED: Our bathroom reveal
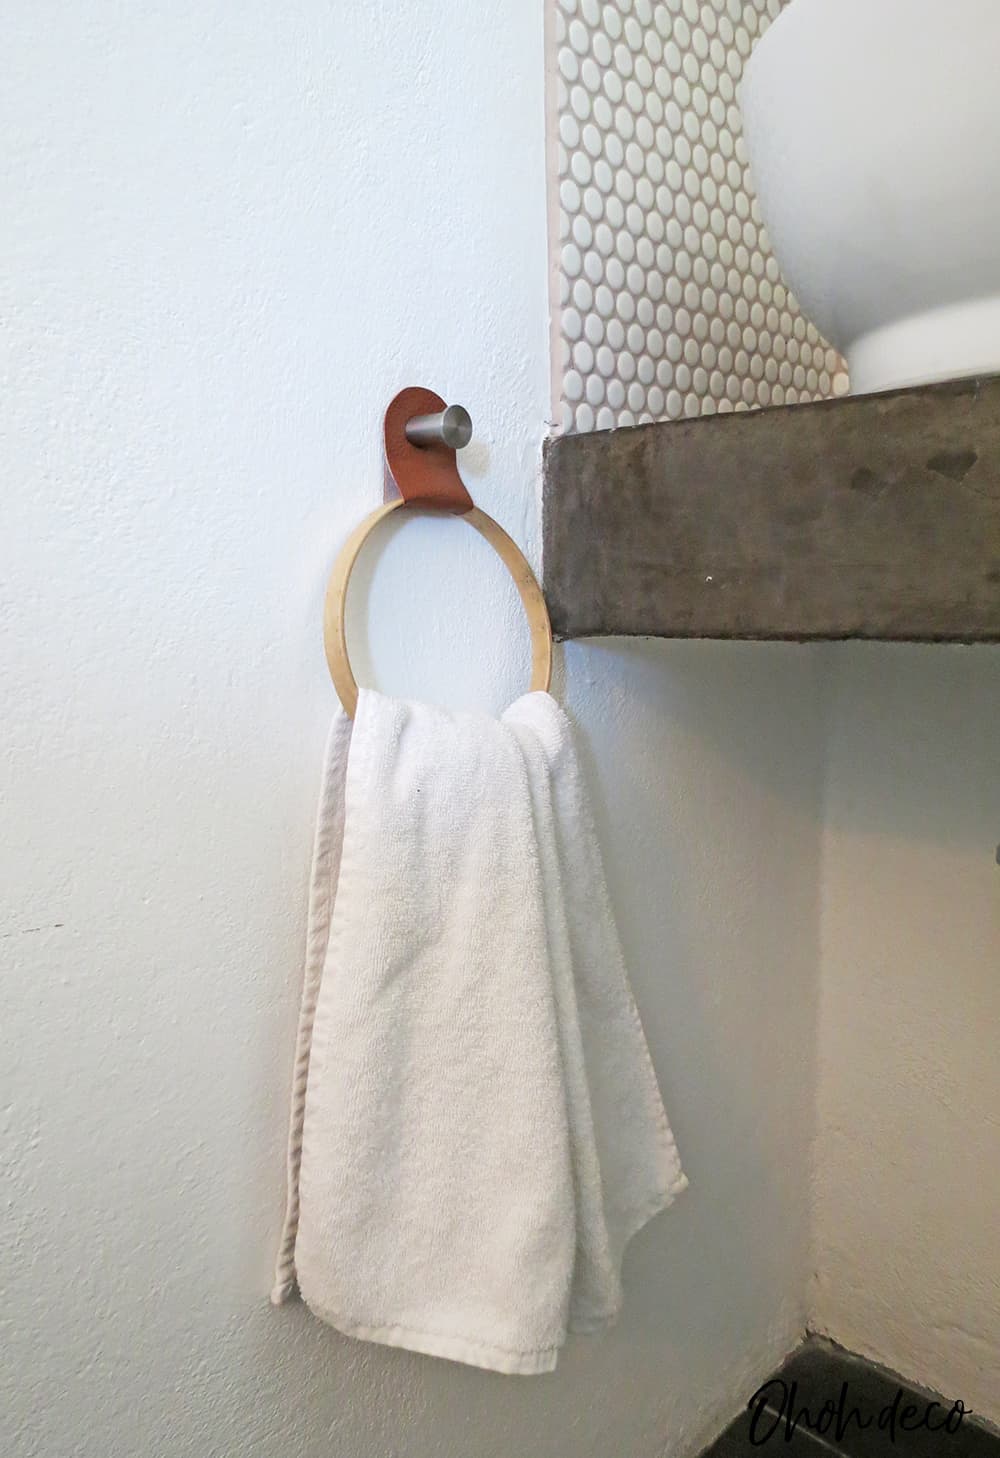
RELATED: DIY bathroom rope shelf
You must first start preparing the space, move everything away, and place some plastic protection on the counter and on the floor.
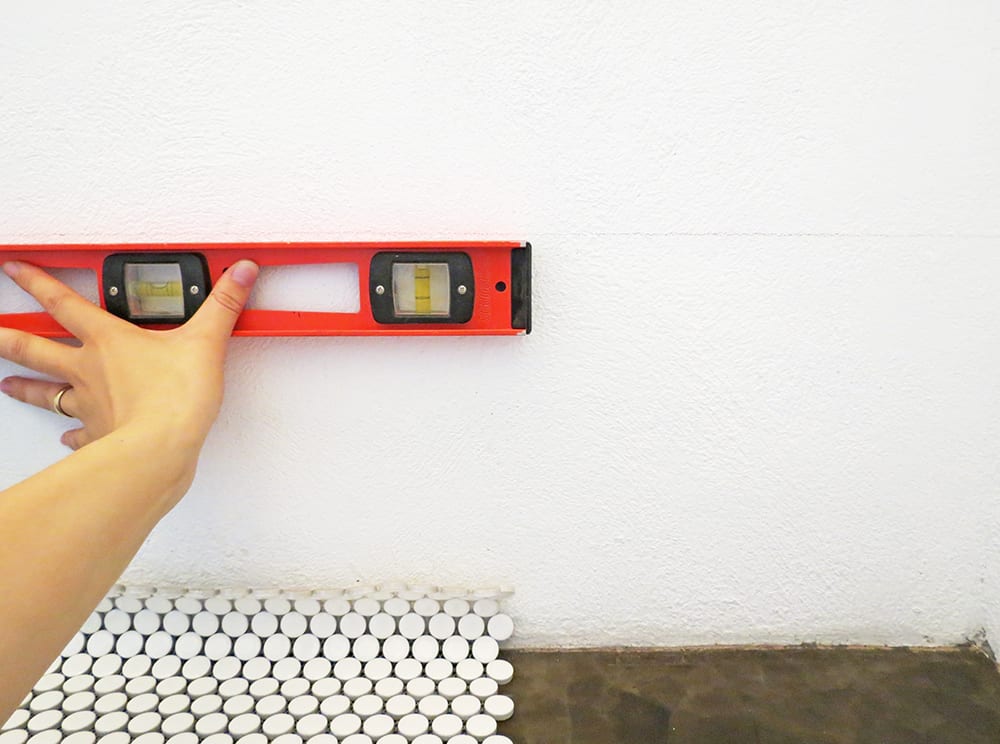
Using a level trace a horizontal line where you will be placing the top edge of the tiles.
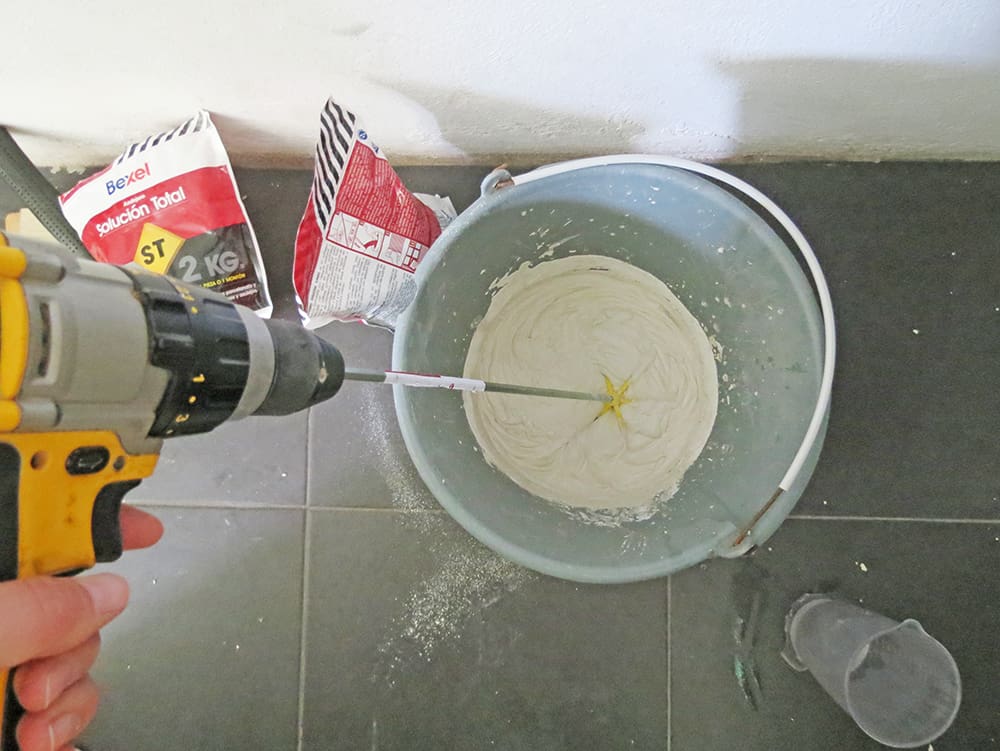
Prepare the adhesive mix, refer to the package instruction for proper use. I used a drill mixer (because I had one and it’s fun) but you can totally do it with an old wooden spoon or a dowel and some elbow grease. Or you can buy ready to use mix, it´s more expensive but quite convenient for small surfaces.
My adhesive says that the mix has to sit for 10 minutes, so I waited.
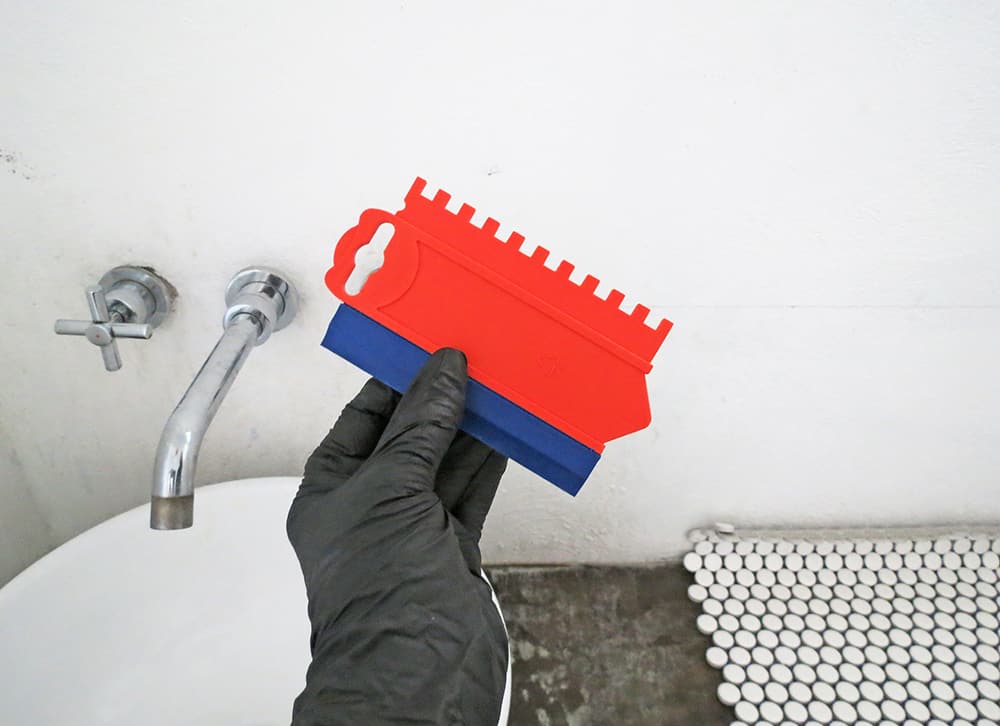
You will need a tile spatula to apply the glue on the wall. I found this one in my hardware store. I like it because it’s small and I can use it to spread the adhesive on the wall behind the sink.
It’s also handy, as you can see you have a notched side to apply the adhesive and on the opposite a mini squeegee to use for the grouts. It’s a 2 in 1 and it works perfectly for what I had to do because the surface I want to cover is quite small.
Where do you start when tiling a backsplash?
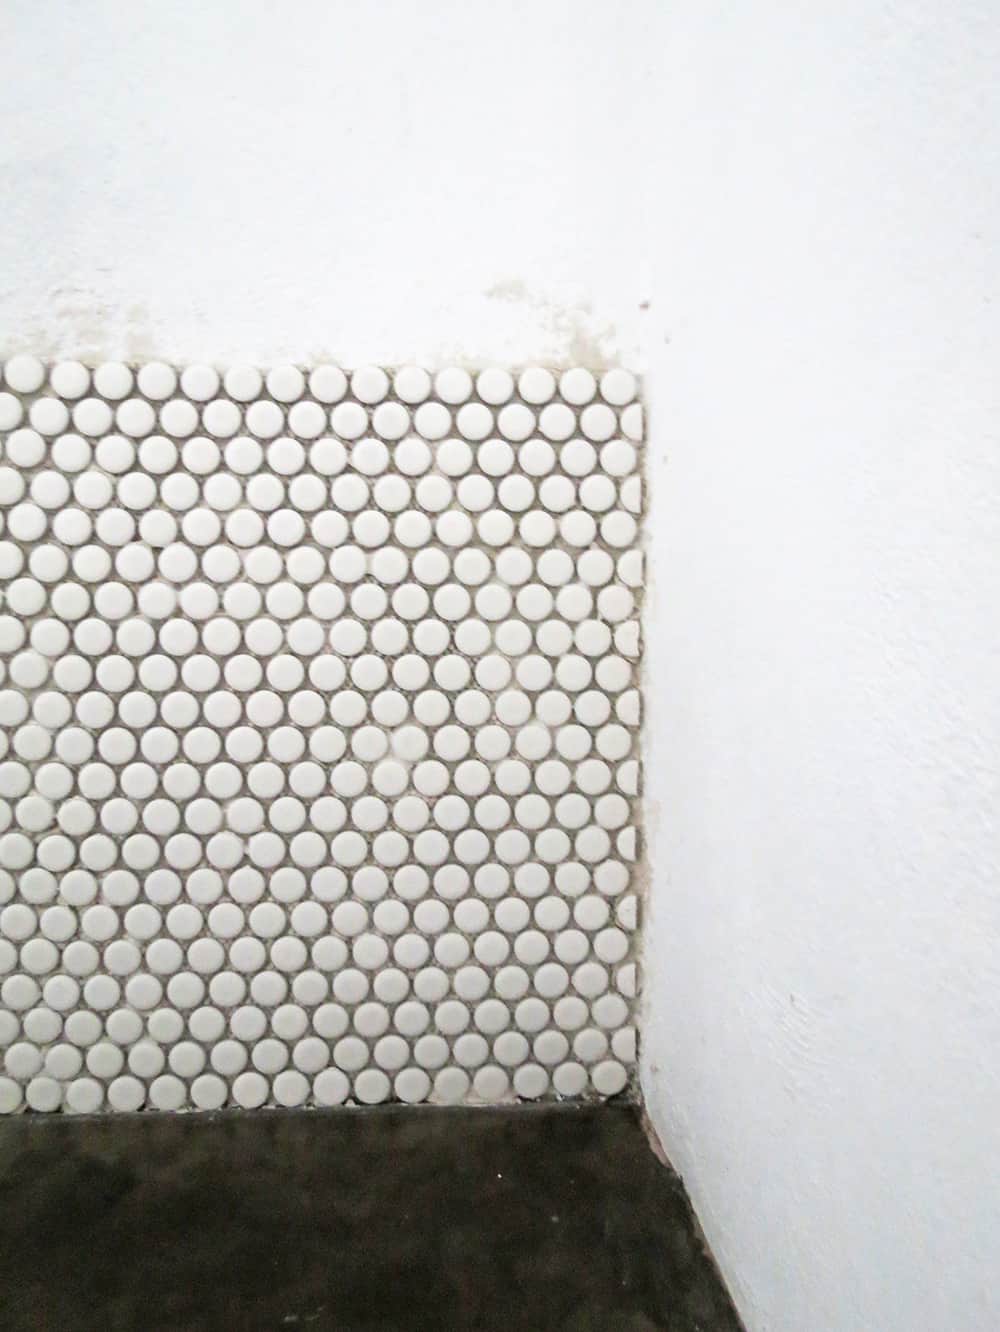
Apply the adhesive on the wall, starting in one corner. Use the notched spatula to spread uniformly the mix on the wall. Once you have covered a small portion of the wall with adhesive, place the first piece of mosaic tile on the wall, align the top of the mosaic piece with the line you previously traced on the wall.
You must press the mosaic on the wall to have good adherence. You can use a tile hammer, or as I didn’t have one, place a piece of lumber on the tiles and give small hammer notch on the board. So you still press the tiles on the wall but you won’t risk breaking them as the hammer won’t hit them directly.
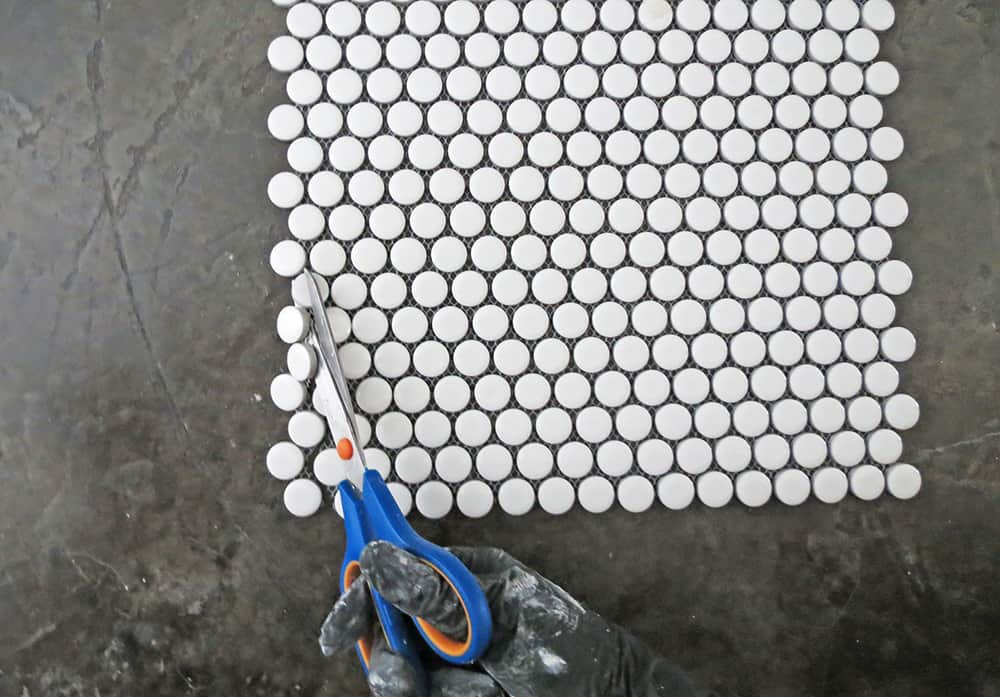
The great thing about mesh-mounted mosaic is that it’s easy to cut them to fit your space. Just use a pair of scissors and cut the mesh at the dimension you need and done!
No need to have a tile cutter.
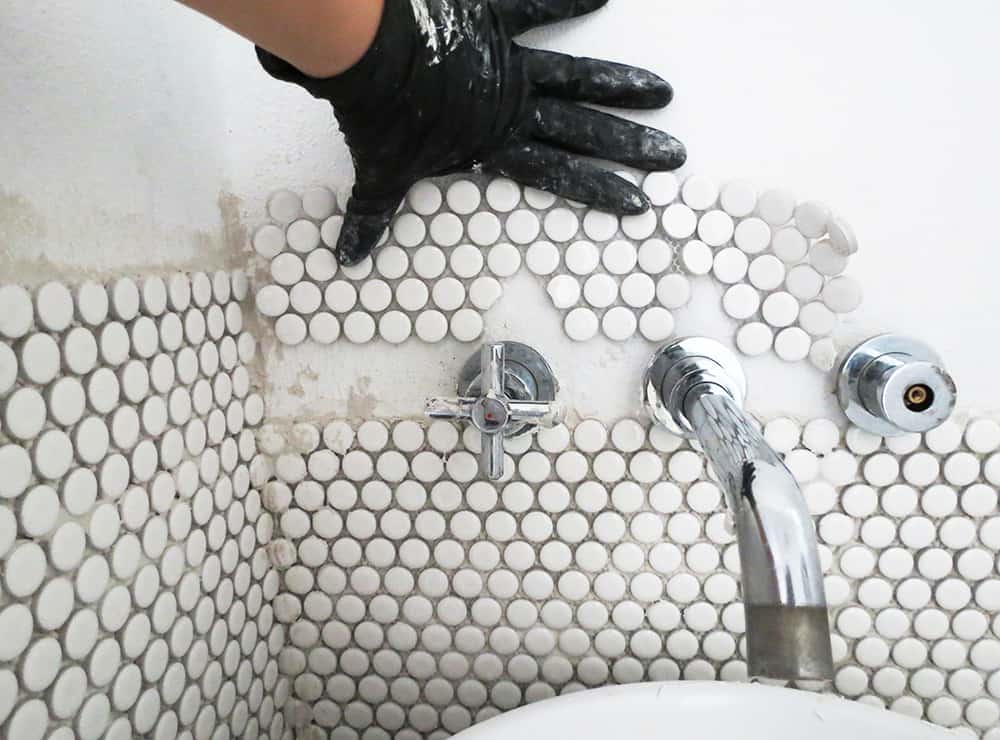
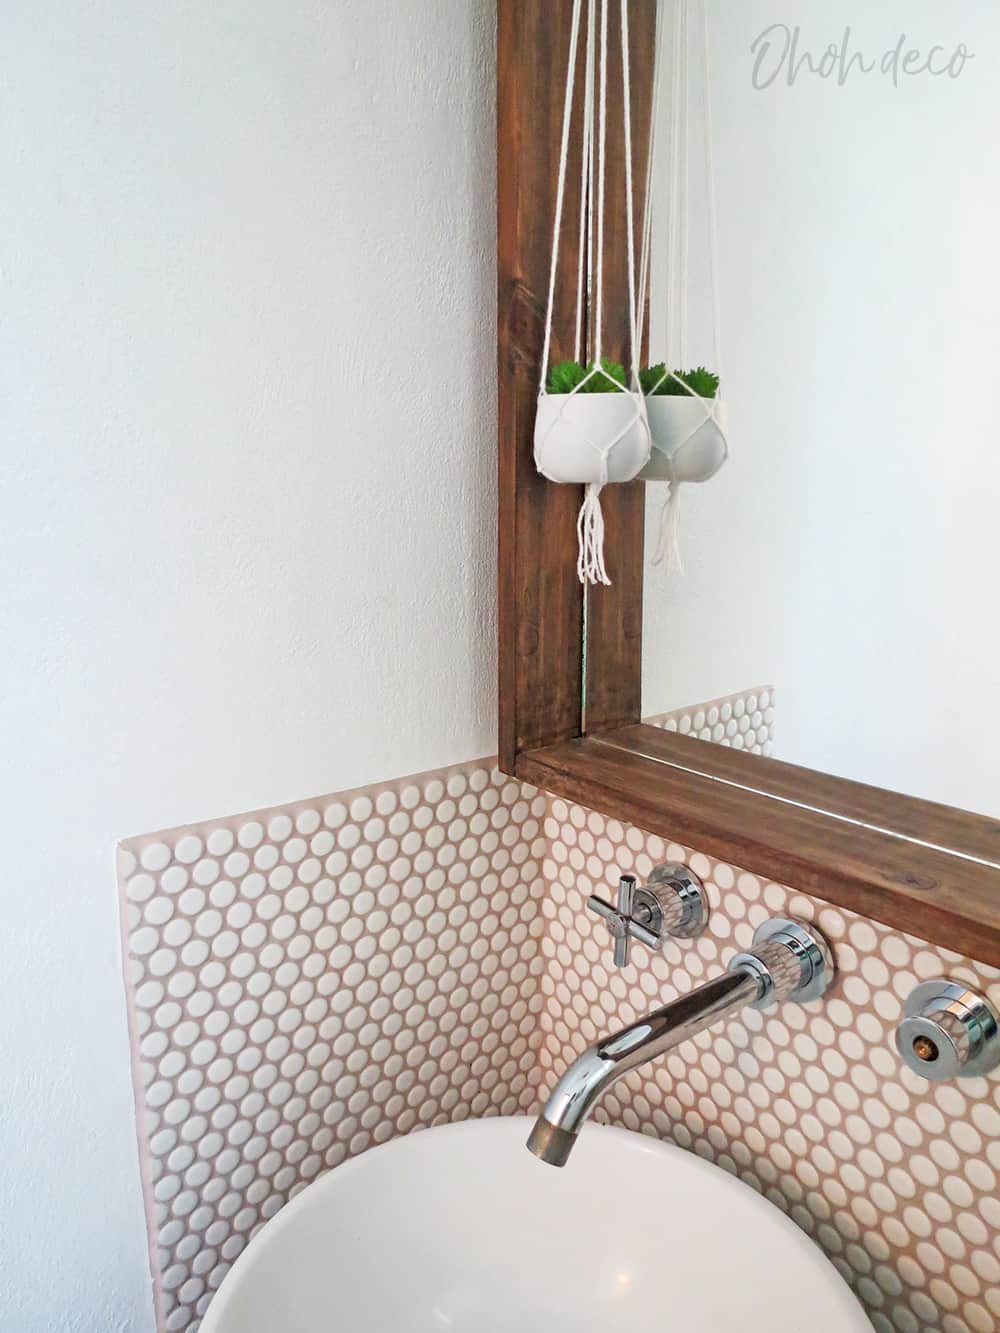
If you have some tricky shape to get around (like the faucet in my case) just remove some tile pieces where needed.
Check by placing the mosaic along the wall to be sure the shape fits well, remove some more pieces if needed, and when you are happy with the result apply the glue on the wall and put the tiles in place.
Even if I didn’t want to, I had to cut some penny tiles in half to finish the edges of the backsplash. As I don’t have a tile cutter, I used cutting pliers.
I just put the center of the tile in the pliers and cut it. It’s not very precise, and the penny tiles were not all cut perfectly in the center but it still works for what I have to do.
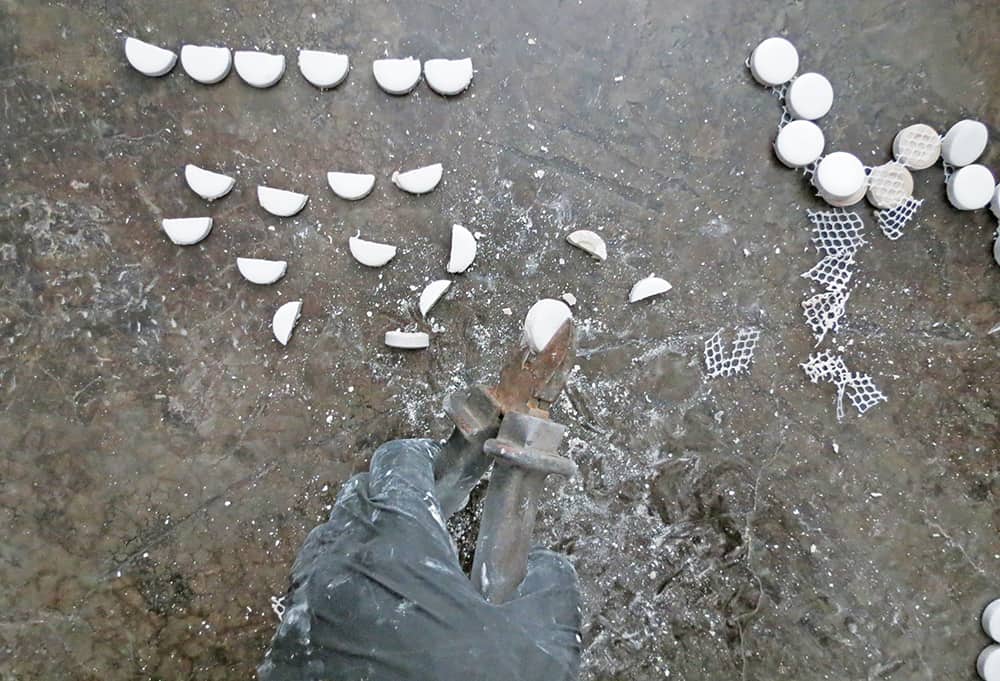
I placed the halves tiles to fill the interval along the edges and have a straight finish.
It took me two hours to glue the tiles on the walls, then I wait until the next day to apply grouts.
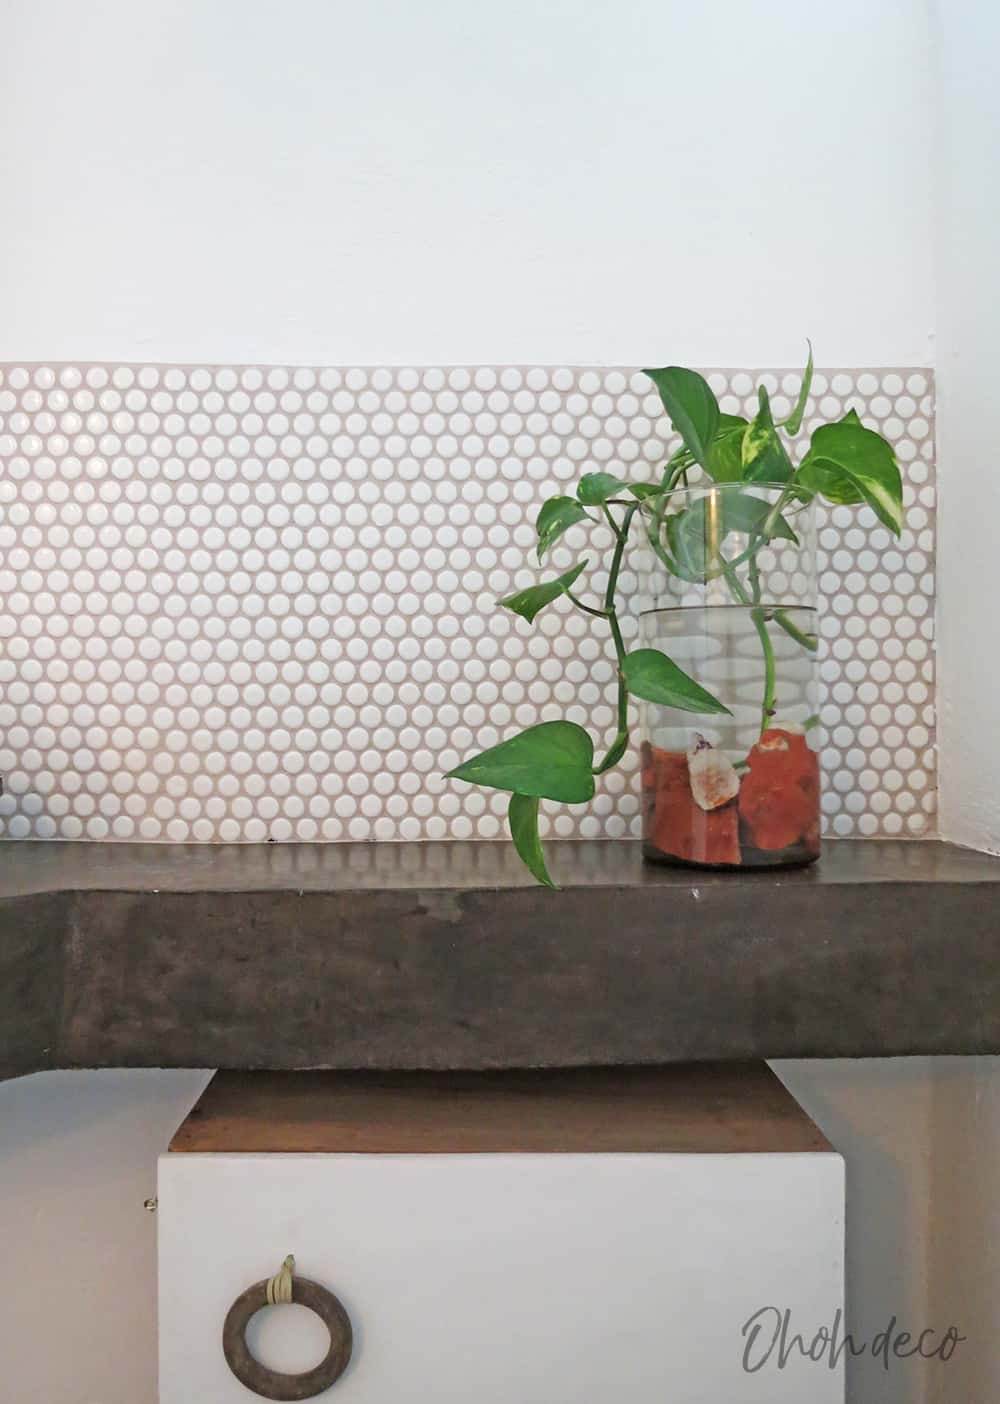
I choose sand color grout to add a little contrast between the penny tiles.
Prepare the grout mix following the package instruction. I only make a small quantity at the beginning but I realized that I needed much more than I thought to fill the gaps. So I had to redo the mix 3 times…
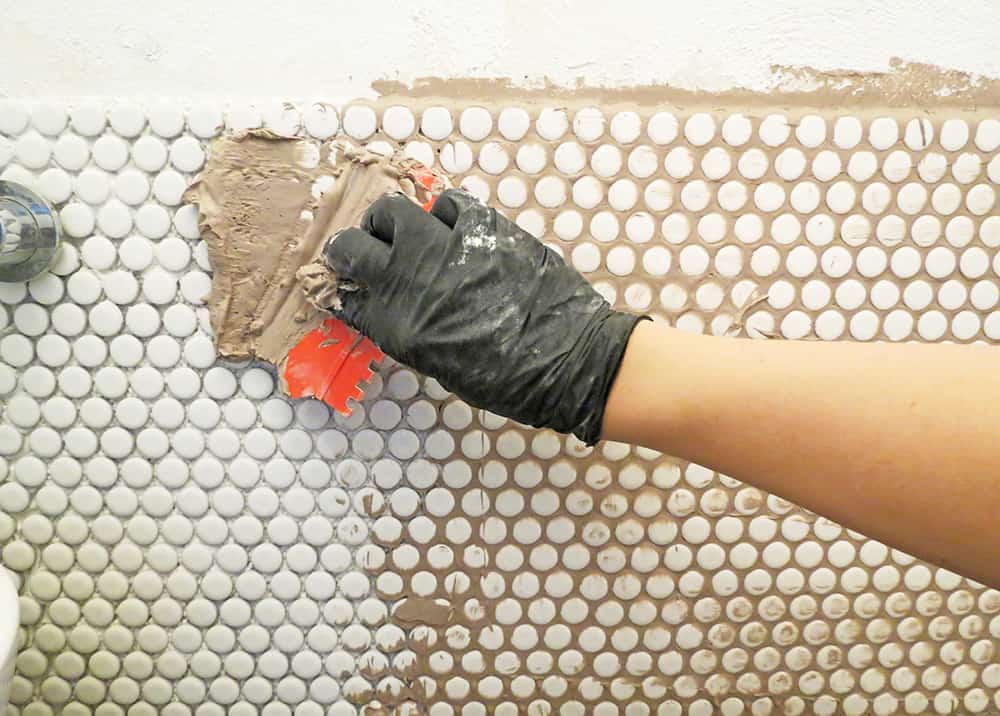
Apply the grout mix with the squeegee side of the spatula. You have to hold it at a 45-degree angle to push the mix in between the tiles, pass several times and don’t hesitate to add more mix. When the gap between tiles is filled, hold the spatula vertical and take off the extra grouts. Start in one corner, and work one small area at the time.
When you finish applying the grout pass smoothly over the tile with a wheat sponge. Grouts are not dry yet, so don’t start scrubbing the backsplash just remove the excess on grout you may have on the tiles. You don’t have to clean it perfectly, it’s normal if you still have some grouts on the tiles.
Wait for grouts to dry (24 hours in my case) then you can clean the tiles with a sponge and water.
To finish your work nicely, you can scratch the wall around the backsplash with a spatula to remove the eventual exceed of grout or adhesive. Protect the backsplash with a plastic cover and some masking tape and apply a coat of paint on the wall. And done!
I’m quite pleased how it turns out for my first time applying tiles. The work took some time to compete, but more because I had to wait for kid’s nap-time to work and because I had to respect the drying time of the different materials.
To give you an idea, I work 6 hours (cleaning included) spread over three days. The cost of the material was around 60 US$ (tiles, adhesive, grouts and spatula).
I hope this tutorial will encourage you to how to tile a backsplash with tile sheets.
If tilling if not an option for your home, you can have a look at these DIY backsplash ideas to find more inspiration.
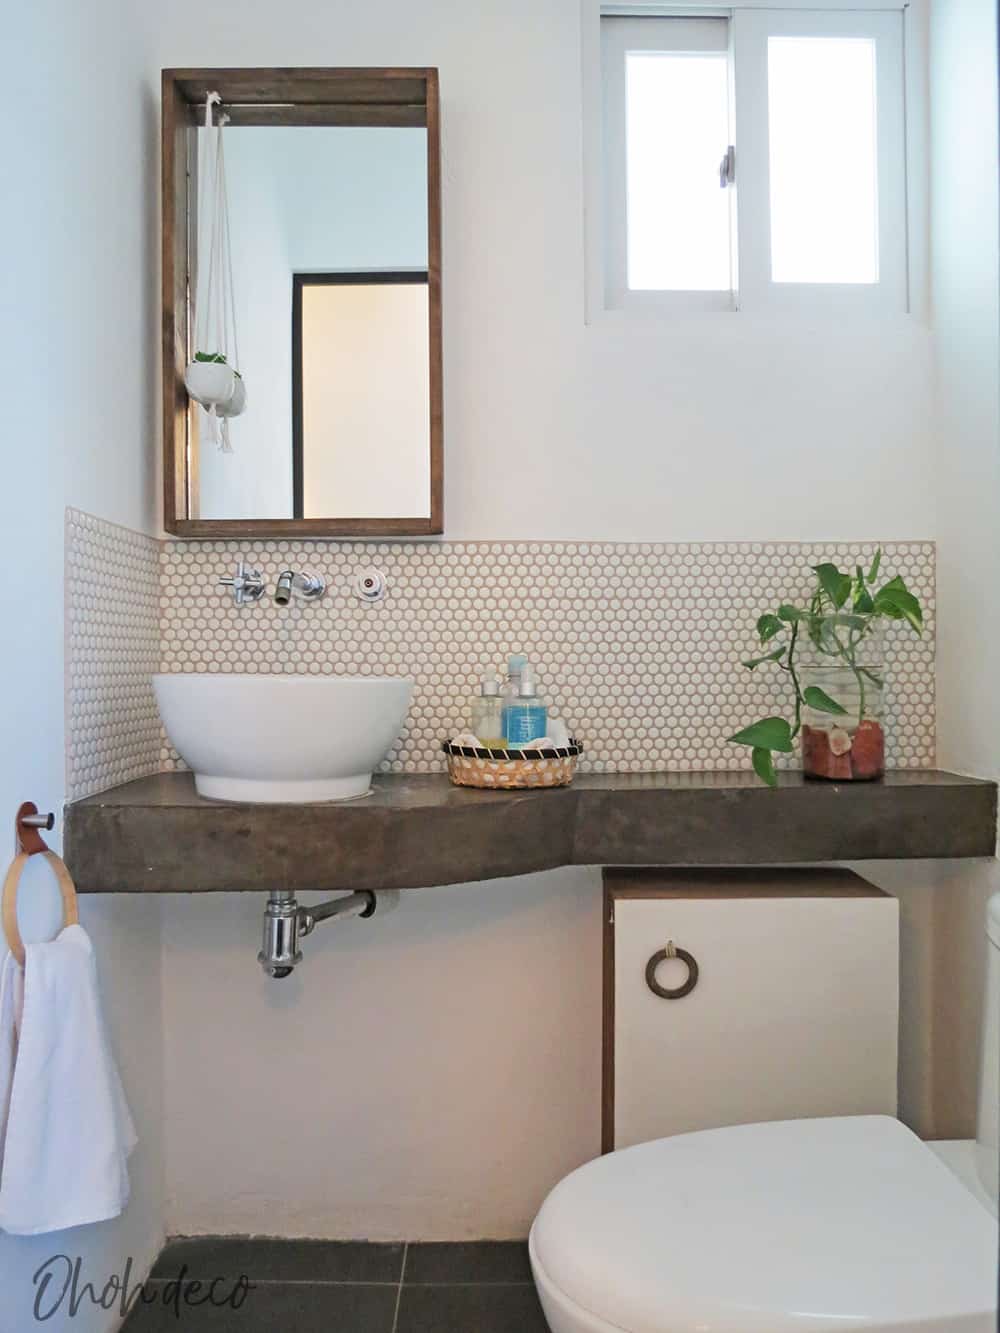
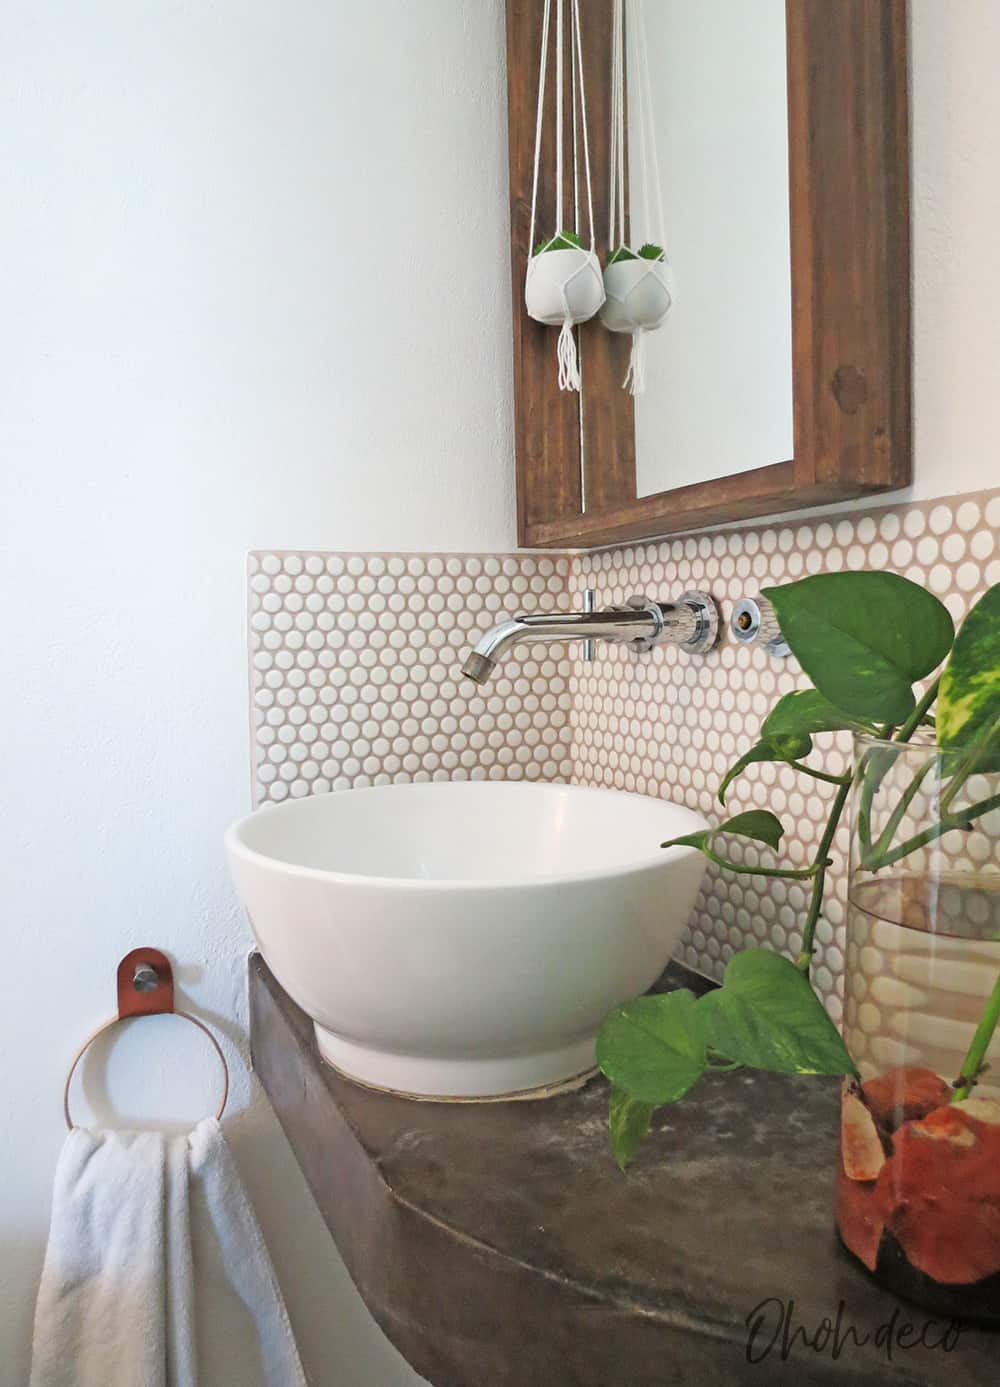
Having a backsplash give the bathroom the finish touch that was missing. I like the contrast between the white penny tiles and the sand grout. No need to say that it will make things much easier to keep the space clean.
Tell me, is there any space in your house where you would like to add or change the backsplash? Would you try to do it yourself?
I love to see what you make following my tutorials, so don’t hesitate to let me a comment or share them on social media (FB: @ohohdeco IG: ohoh.deco)
RELATED: DIY tile side table
RELATED: How to DIY terrazo
You can find the DIY to make the frame boxed mirror HERE
+ + + This post may contain sponsored links, you can read more about our privacy policy HERE + + +
You will find all the tutorials featured in the video on my “Best DIY” page.
Amaryllis
It looks so professional – well done, Ama!
I’m quite please with the result, knowing that was my first time appying tiles! Thank you so much Ann!
Hola Ana,
Te ha quedado estupendo, parece que llevases toda la vida colocando piececitas de esas, jajaja, muy bonito.
Me queda una duda que me corroe, jajaja, en las fotos que lo estas colocando donde los grifos se ve como un triángulo recortado en los baldosines, se me puso carita de susto lo reconozco, pensé ese corte triangular va a quedar rarito :P, pero luego el acabado es perfecto sin ventanitas triangulares, jajajajaja.¿Lo rellenaste con trocitos? :D. Es que me parece supercomplicado poner eso alrededor de cosas pero tu resultado final me ha cautivado.
Besote!!!!
Hola Ayla, corte una parte de las baldosas para que quedaran bien alrededor de del grifo. Como desde siempre tenia pensado poner mosaico en la pared la base de del grifo estaba un poco despejada de la pared y pude pegar los baldosines atras. Ademas la base del grifo se desatornilla un poco, asi que pude tener un poco mas de espacio para colocar los mosaicos y la lechera. Cuando termine volví a atornillar la base y listo…que bueno por que la plomería no es lo mio y no quería tener que desarmar todo.
I make tiles (encaustic cement tiles) which are great for backsplash mosaics too. I’m recently renovating a home, and while we’re placing encaustic tiles on the kitchen floor (and bathroom) i think making a backsplash also with the cement mosaics is going to be too much. I love this tiles youve placed, also love the grout colour. I’ve been thinking of using smaller tiles but didn’t want to get that 90s of pool effect, these little round guys look great! Thanks!
Hello Natasha, you sell some really cute tiles! Now I’m wondering where else can I add some, hahaha!