
Creating DIY paper lanterns can be a fun and creative project. Lanterns can be use as decorations for parties, festivals, or Christmas.
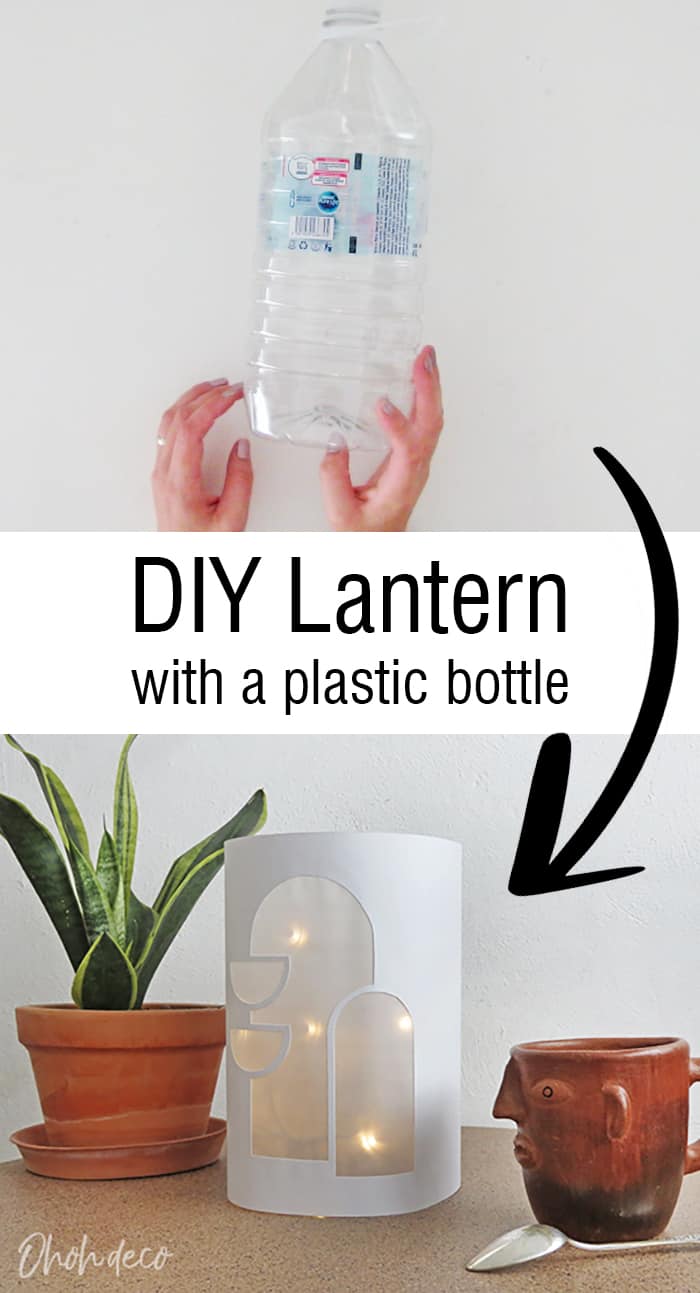
Don’t throw away empty plastic bottles, save them to turn them into modern lanterns.
The idea of recycling bottles to make lanterns is not new, I already did it a few years ago. If you like you can read my first post here.
The DIY remains unchanged, but I upgraded the design, and this time I made 4 free templates to download.
You can obviously create the design you like for your lantern, but if you like the ones I made, you just have to download and print them to make your lantern. I hope it makes things easier for you.
[ This post probably contains affiliate links, our full disclosure policy is really boring, but you can read it HERE ]
How to make a paper lantern DIY
You will need a few simple supplies to make this DIY:
- Paper
- Tracing paper
- The free template (click here for direct access if you are already a member)
- Clean plastic bottle
- String lights
- Glue
- Masking tape
- Cutter
- Scissors
- Sharpies (optional)
The 4 lantern templates are available for free in my resource library along with a load of other great prints and patterns. All you need to do is fill out the form and check your inbox for a welcome email with the password in.
Click here to get in >>>> FREE LIBRARY ACCESS

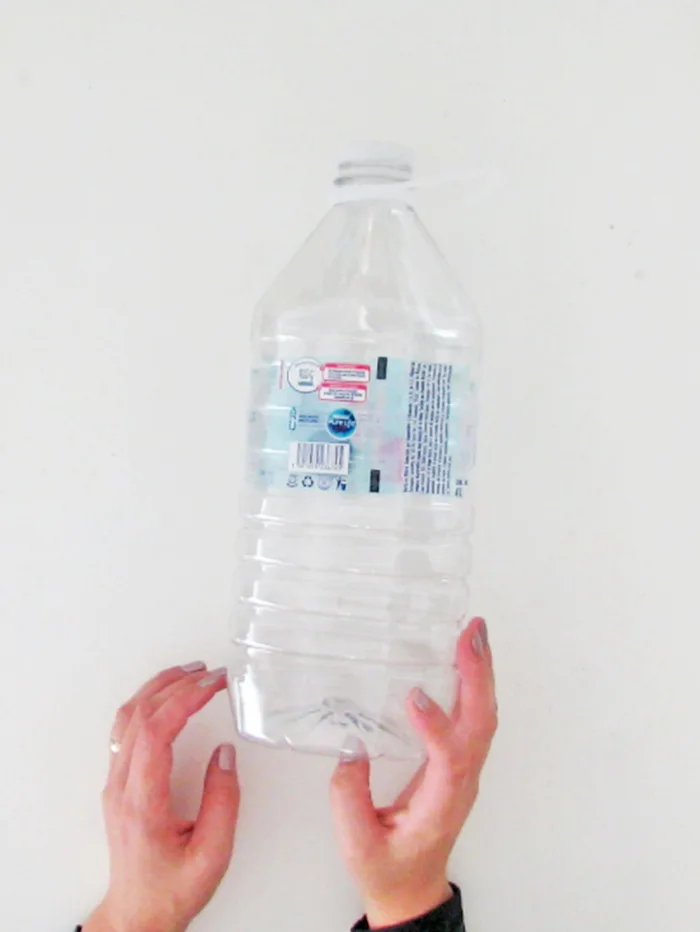
Take a clean plastic bottle to make the lantern. I used a water gallon one. It will work with different bottle sizes, as long as you can put a cord light inside.
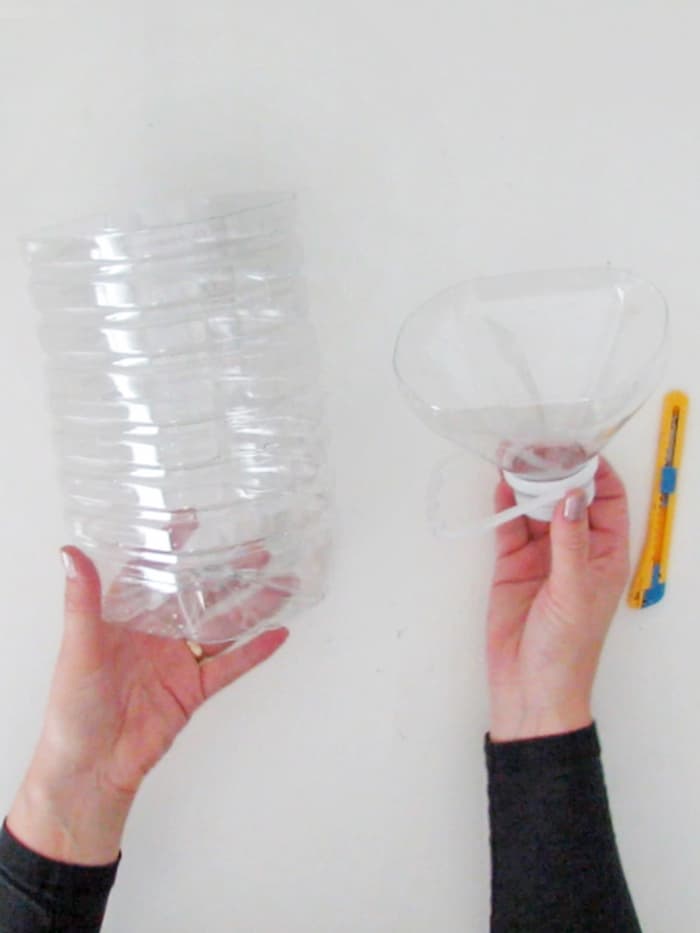

Using a cutter, cut out the bottleneck.

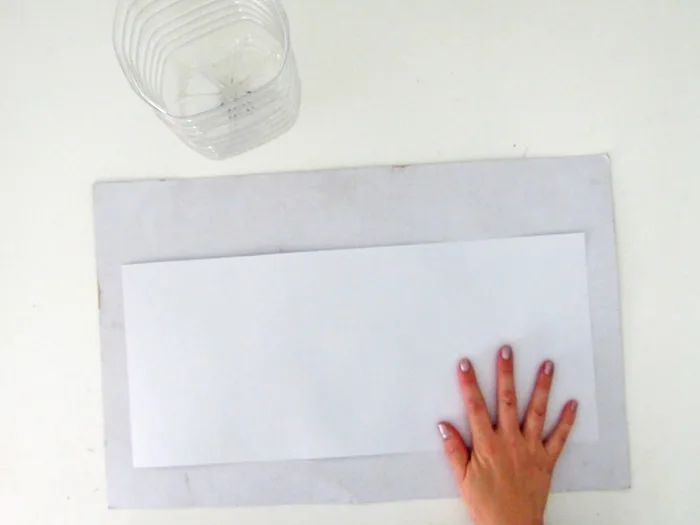
Take a large piece of paper and cut a rectangle. The paper must be at the same height as the bottle and long enough to be wrapped around the bottle.
My favorite paper to use when making lighting is this one. It has a nice texture and there are different shades of whites to choose from.
RELATED: Easy to make 3D Paper house
RELATED: DIY picture frames with paper
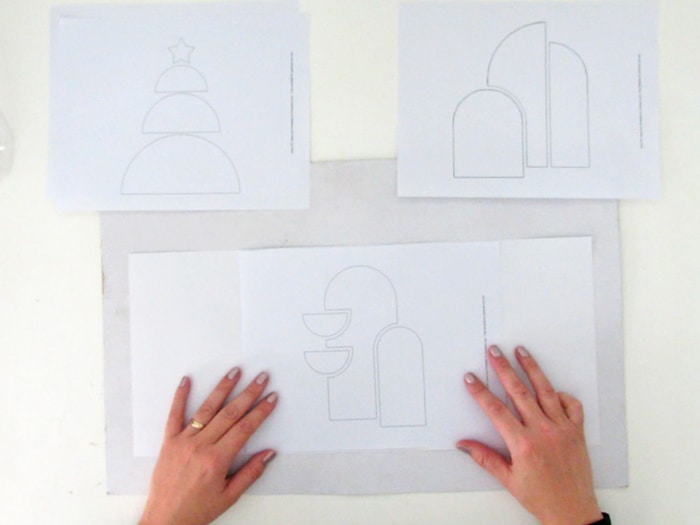
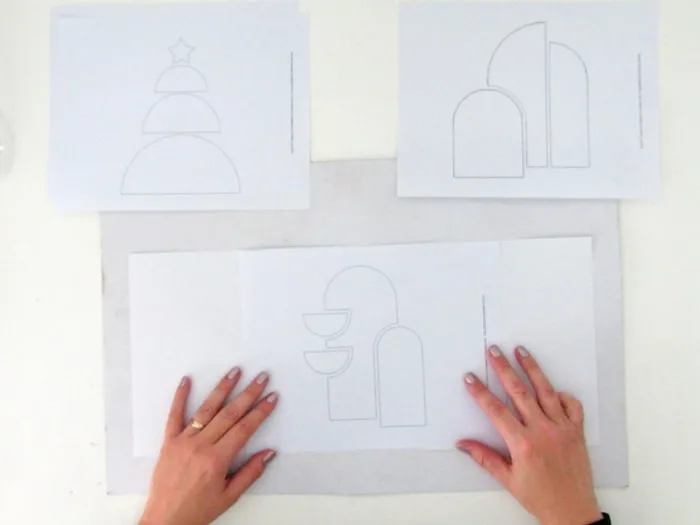
Choose which of the design you want to put on your lantern, or design one yourself.
If you like the templates I made you can download them in the Library. (If you are new, click here to get the password)

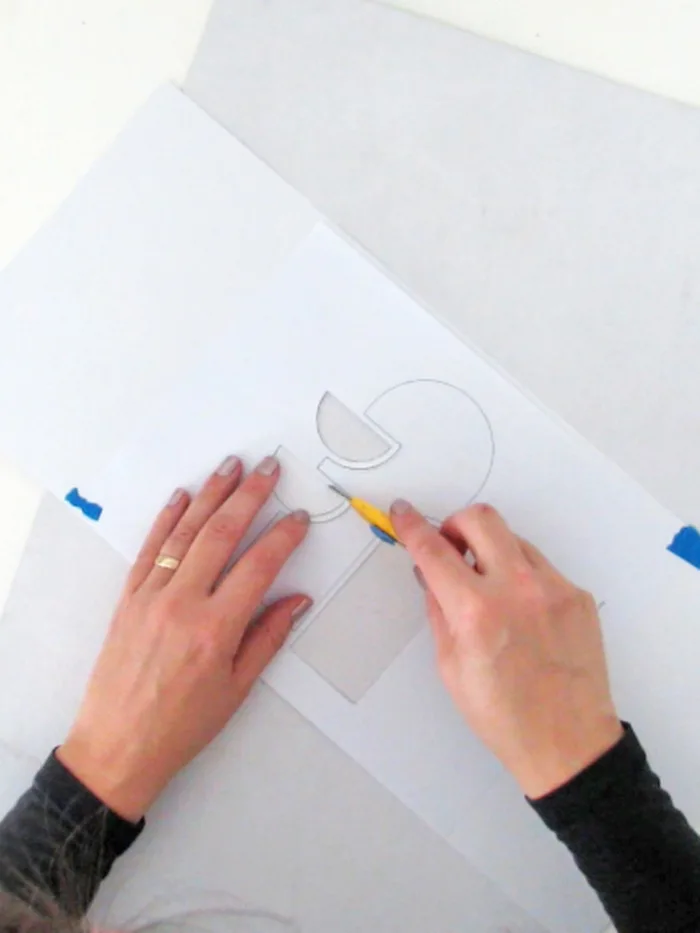
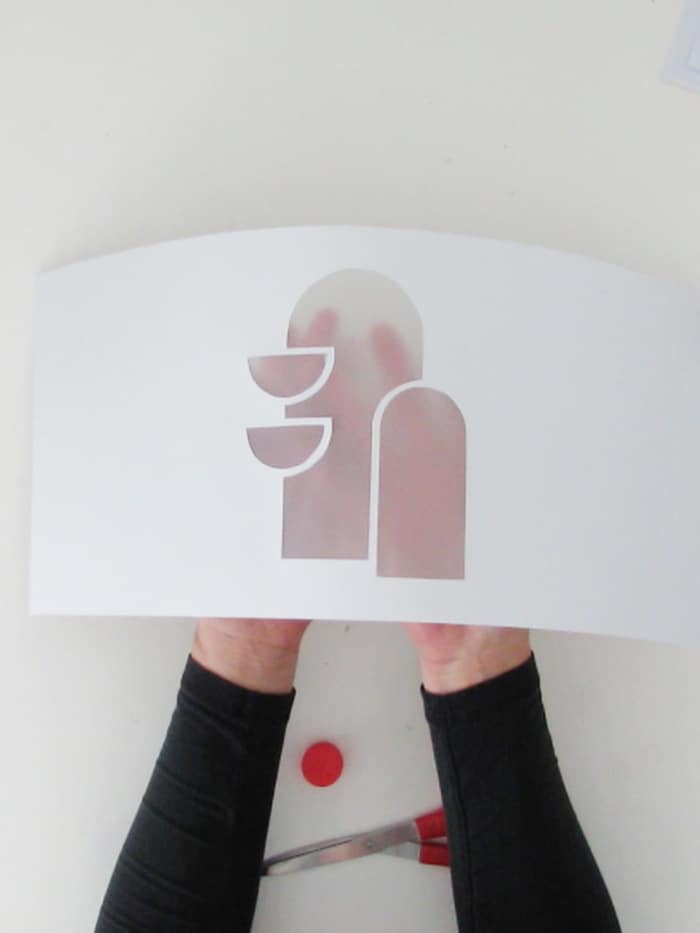
Center the template on the paper. Fix both sheets together with small pieces of masking tape. Using your utility knife, cut out the shape.
Be sure you cut through both layers of paper.
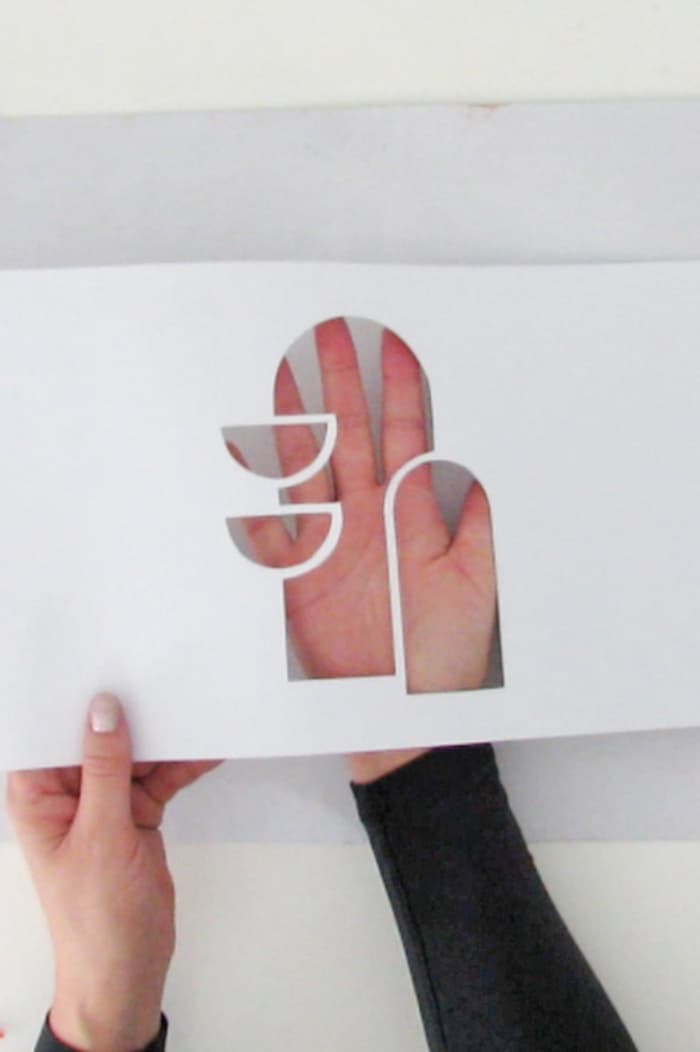
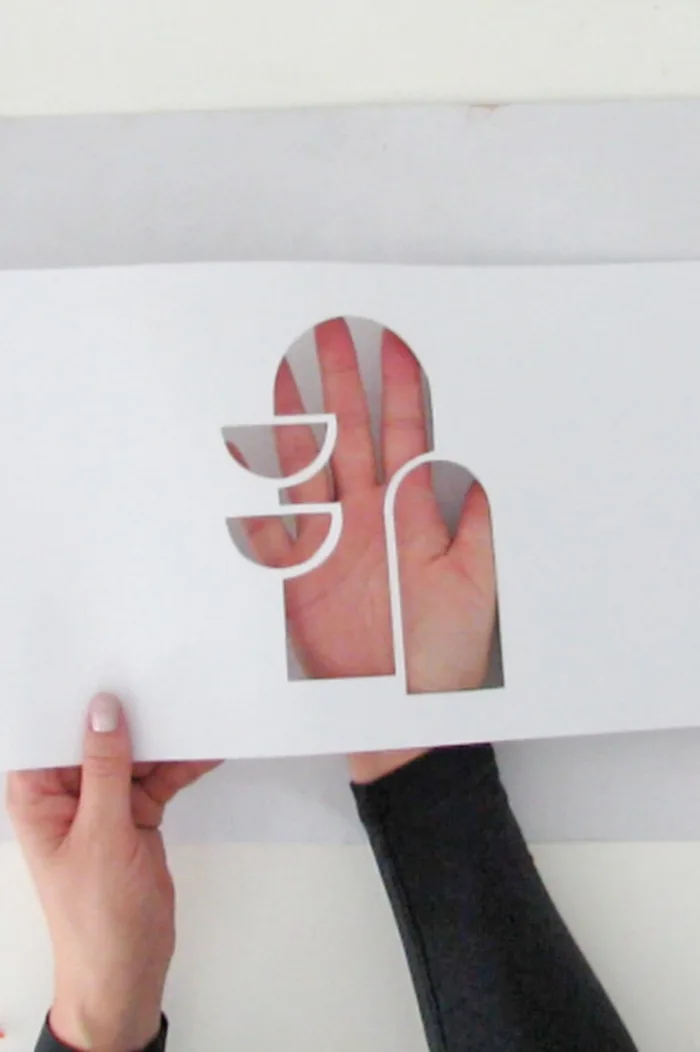
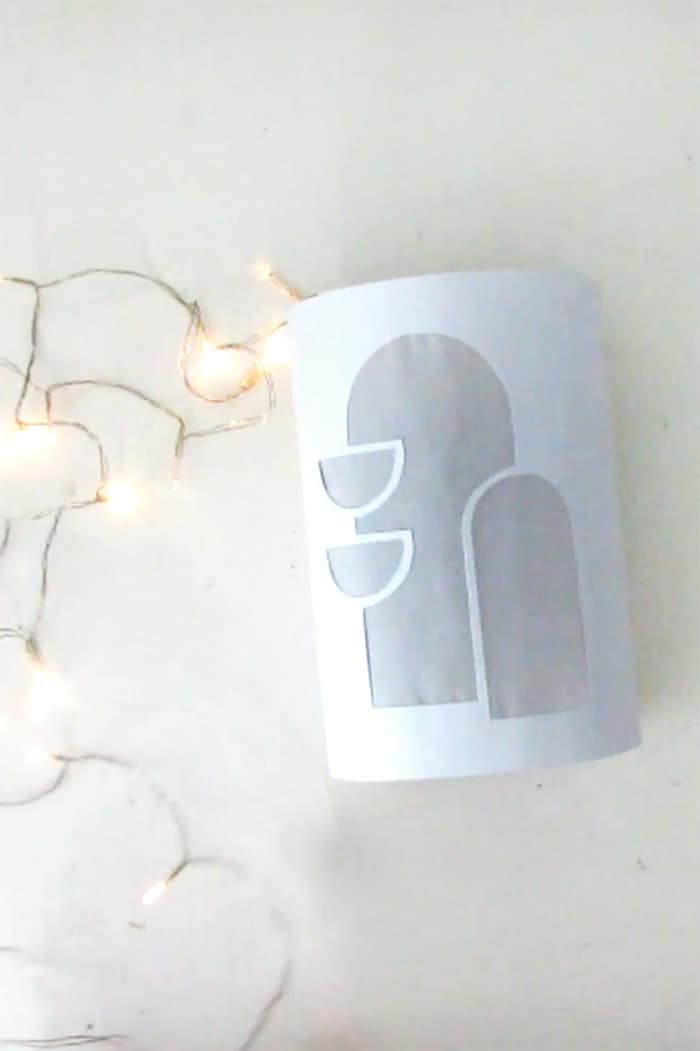
This is how the cut-out shape must look like. As we don’t want to see the plastic bottle we will place tracing paper on the back.
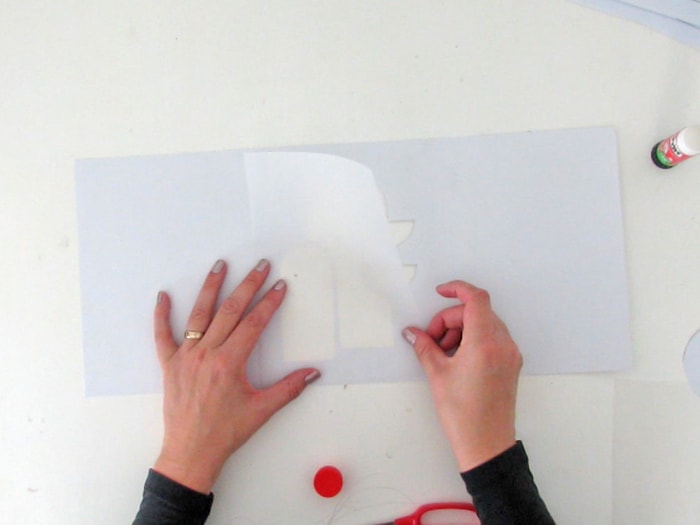
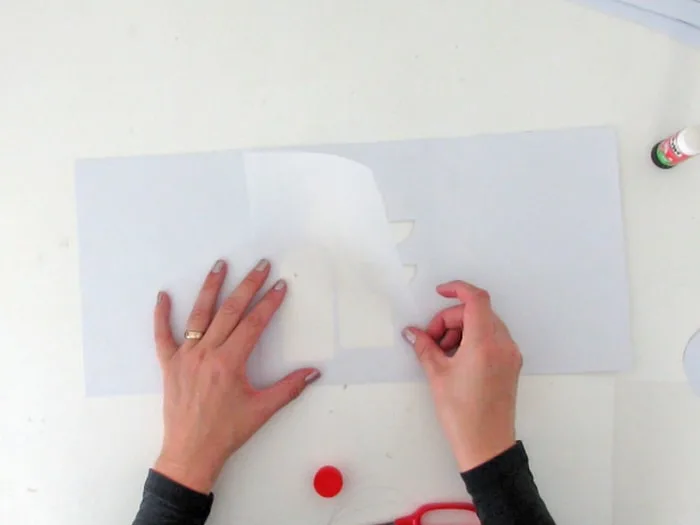
Cut a piece of tracing paper large enough to cover the shapes and glue it on the back of the paper.
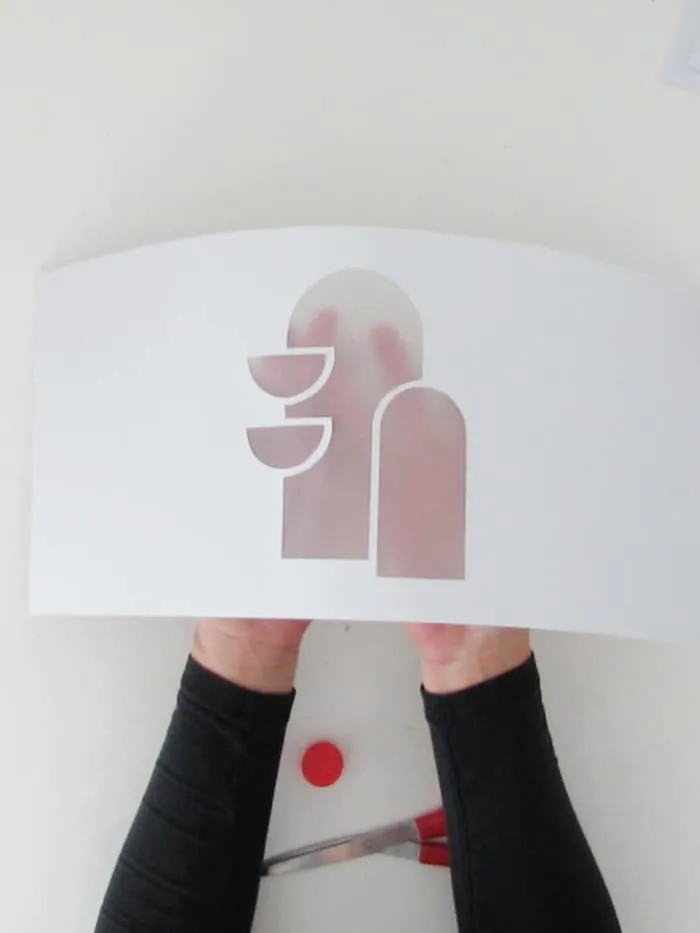
This is how the shapes must look like at this step.
Some tracing papers are thinner than others, so in some cases, you can glue a double layer of the tracing paper.
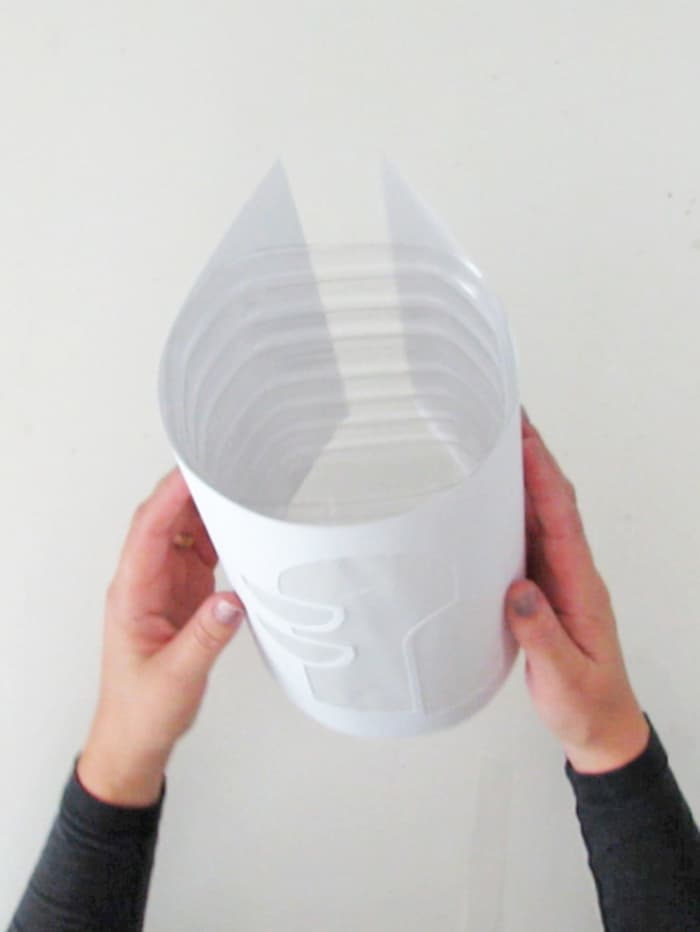
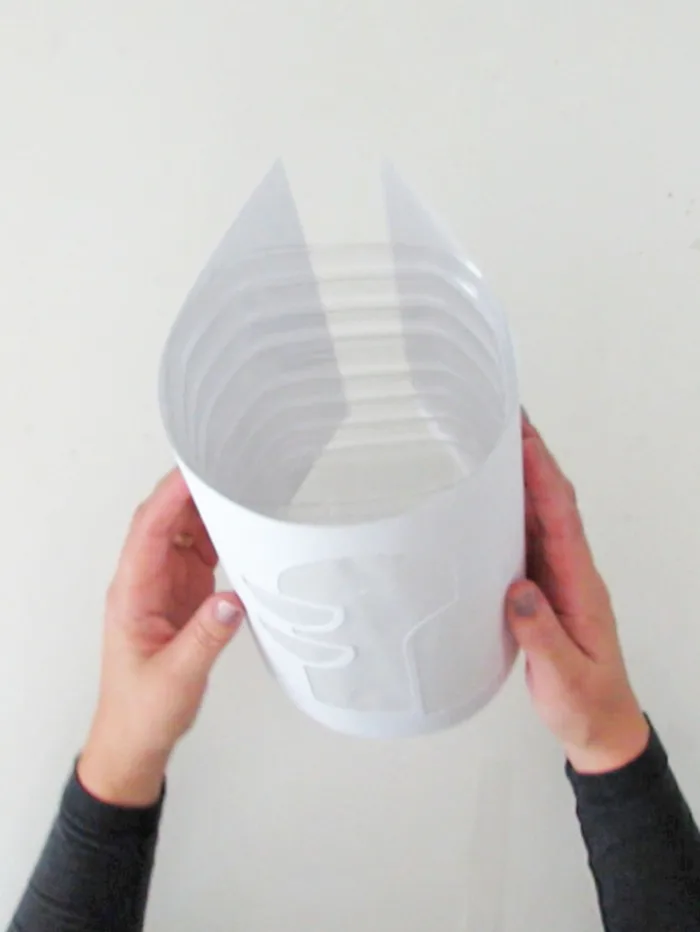
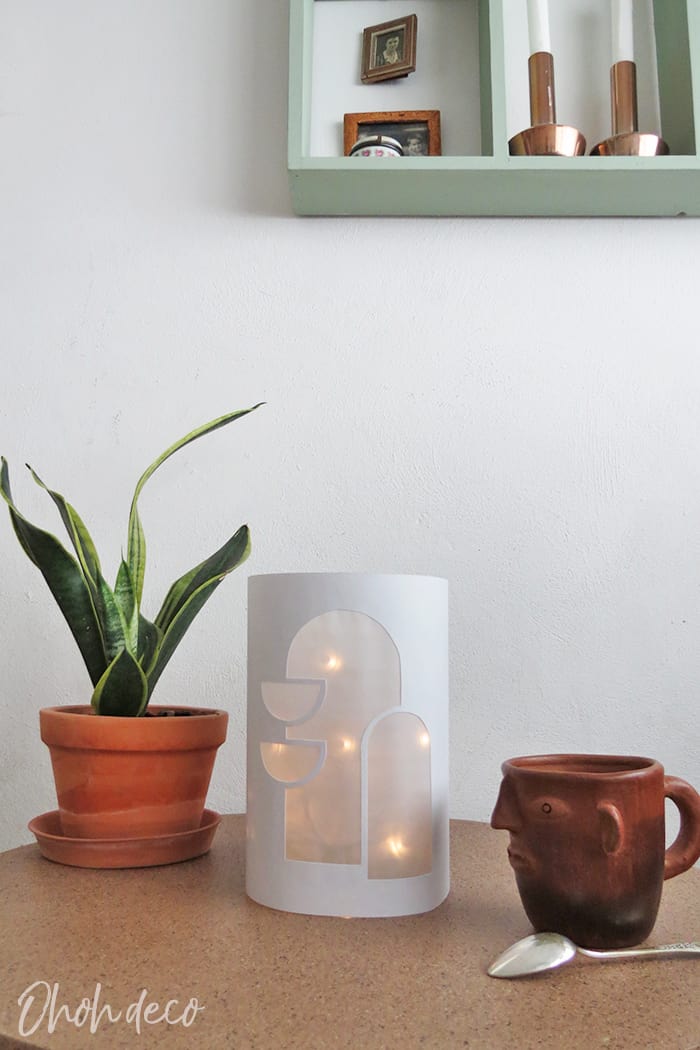
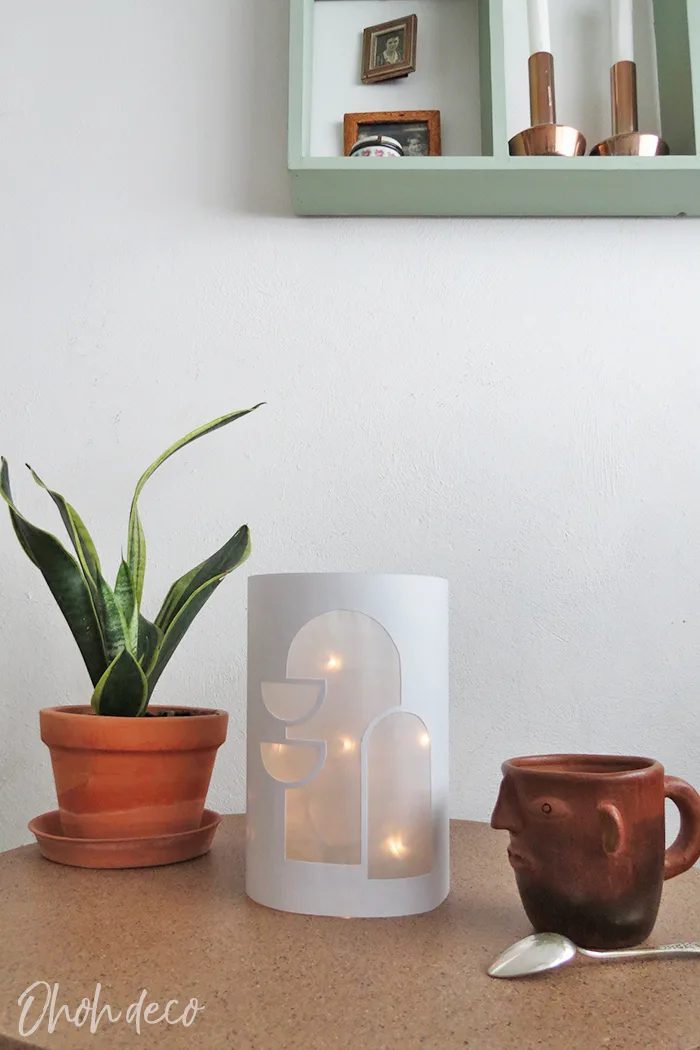
Wrap the paper around the bottle and glue both ends together. You can also add some tape if you want to fix the paper on the bottle.

Slide the cord light in and done! Place the lantern where you like and enjoy it.
How to add color on your paper lantern
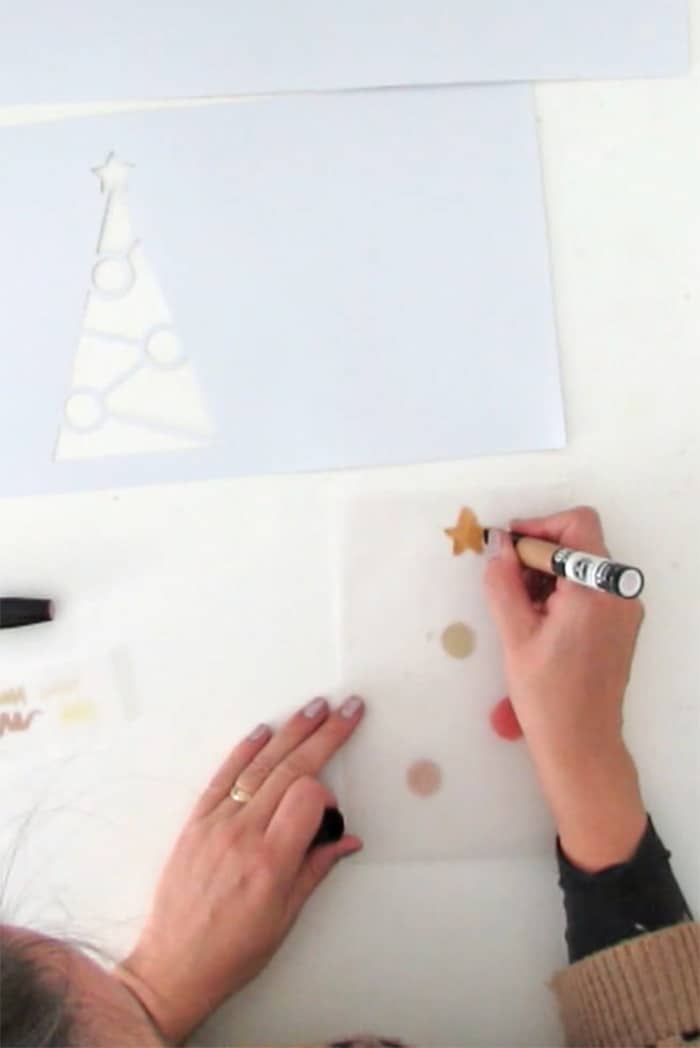

If you like you can also add some colors to your lantern using sharpies.
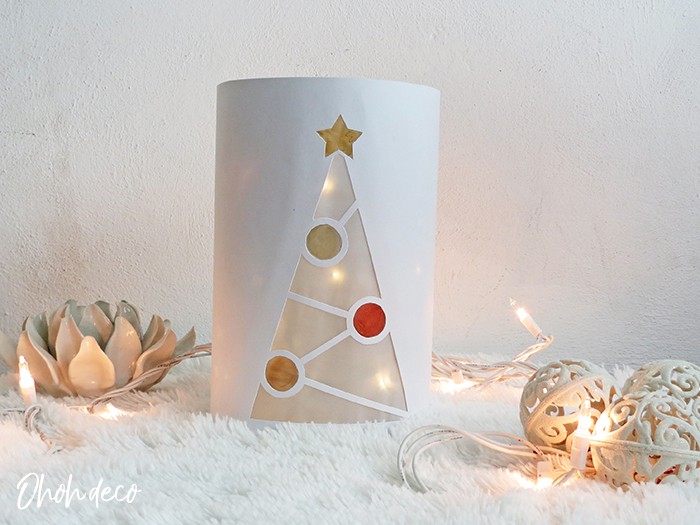
I show you with the Christmas tree template. Once you have cut the tree out of the paper, report the shape on the tracing paper using a pencil.
Color some of the shapes staying in the lines (yep, exactly like in kindergarten). I used these sharpies, that works perfectly. I’m pretty sure brush pens markers will work too.
Once you are done coloring the tracing paper glue it on the back of the paper, and follow the previous steps to finish your lantern.

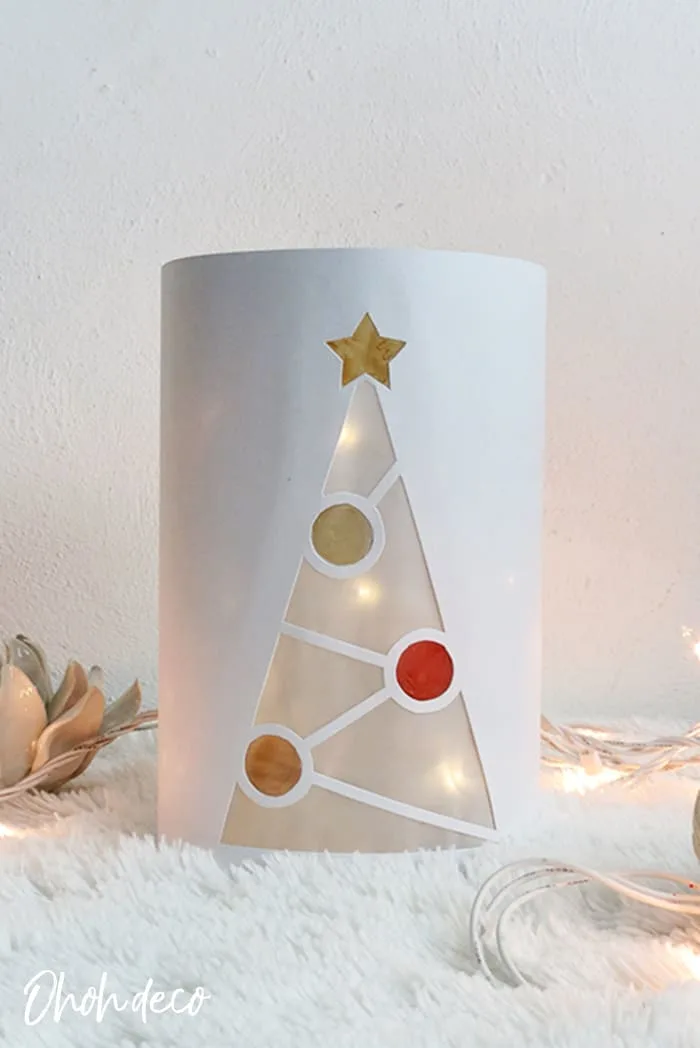
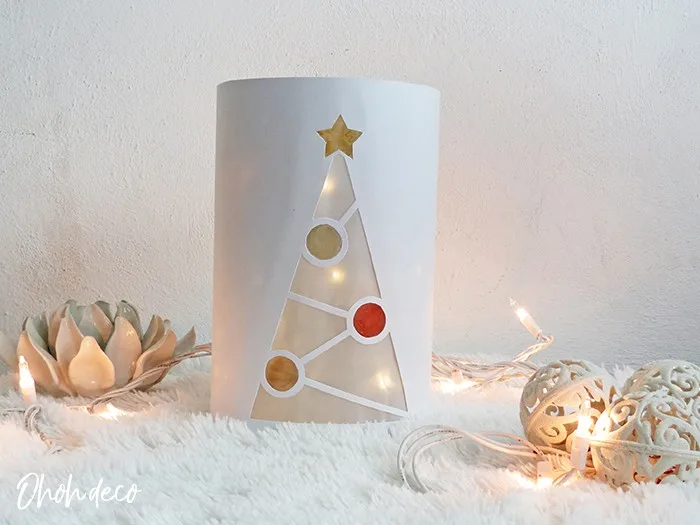
I like how this Christmas lantern turns out.
Watch the video tutorial to make DIY paper lanterns
I hope you will have fun trying the different designs. It’s such an easy way to create extra lighting.
Plus it’s a great idea to use your Christmas string lights all year long. No need to keep them away after the holidays season…just use them as light lanterns.
Tell me which template would you like to use for your lantern?
Have fun crafting with paper and please share your creations with me. Leave a comment or tag me on Instagram @ohoh.deco
RELATED: How to make a Christmas gingerbread village with cardboard
RELATED: How to make Christmas ornaments with toilet paper roll
Want to remember it? Save these DIY paper lanterns on your favorite Christmas board.

Amelia Jones
Wednesday 12th of January 2022
Hi Ohohdeco, Nice paper lantern. Thanks for sharing this tutorial.
Regards, Amelia Jones
amaryllis
Thursday 10th of March 2022
Hello Amelia, I´m glad you like it!