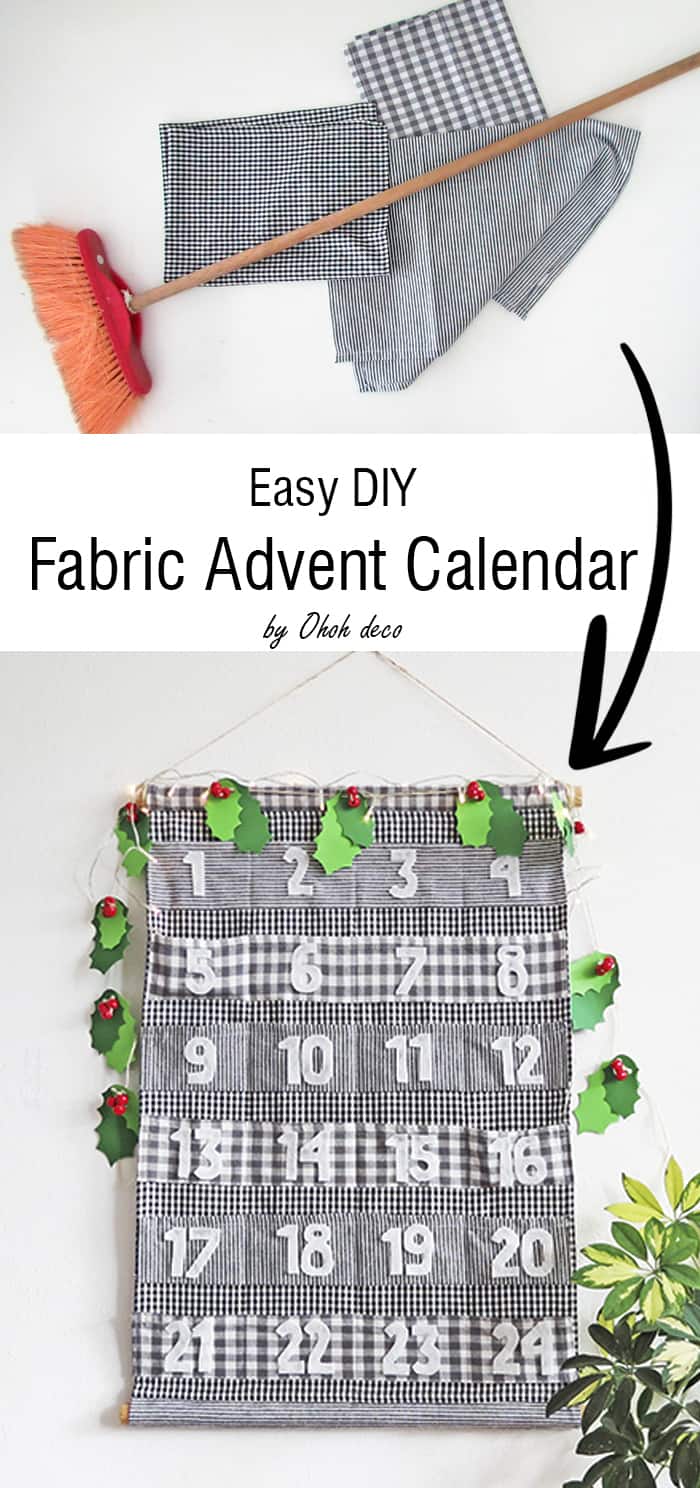
This is the easiest tutorial to make a fabric advent calendar with pockets. You will need three dishtowels to make the calendar.
To make it quick to sew, we will use the sewn edges of the towels to make the pockets.
You can use towels you already have or buy some. Most of the stores have tea towels with Christmas designs during the holidays. They are perfect for this project.
It will take around an hour to sew your advent calendar and you can reuse it year after year. Ready to start this holiday sewing project?
[ This post probably contains affiliate links, our full disclosure policy is really boring, but you can read it HERE ]
RELATED: Christmas tree skirt sewing pattern
RELATED: DIY Elves advent calendar
Gather your Supplies
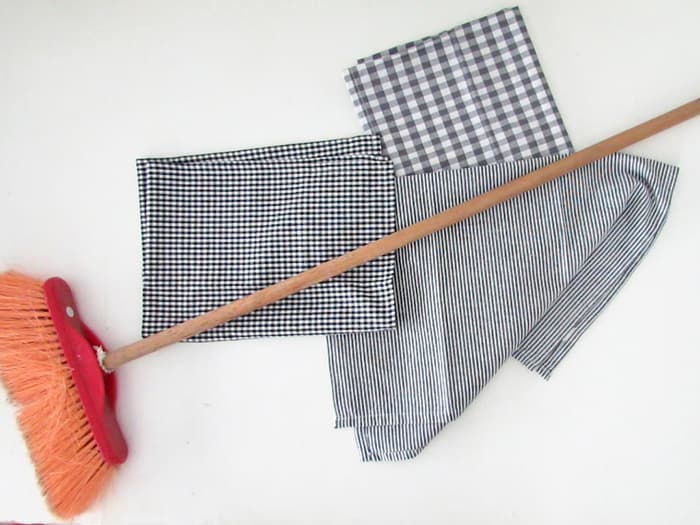
Supplies you will need to sew your calendar:
- 3 dish towels
- a piece of wood dowel (or a wooden broomstick)
- Felt numbers
- A sewing machine
- Matching thread
- Pins
- Fabric glue (this works too)
- twine
It’s important that the 3 tea towels have the same size. It will make the sewing of the calendar very quick and easy as you won’t have to make extra cuts or make double-fold hem.
You can find some cute towels online, like these ones or these others.
However, you can still make the advent calendar with different size towels, in which case I suggest you use the smallest one to make the back of the calendar, and you will have to adapt a little this tutorial.

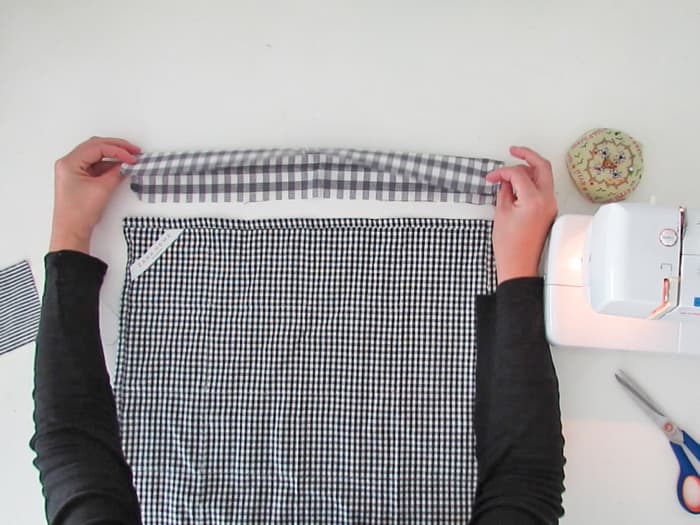
First, decide which of your towel you will use to make the back of the fabric advent calendar, and lay it flat.
Take a second towel, in which you like to make the pockets, and place it under the back towel.
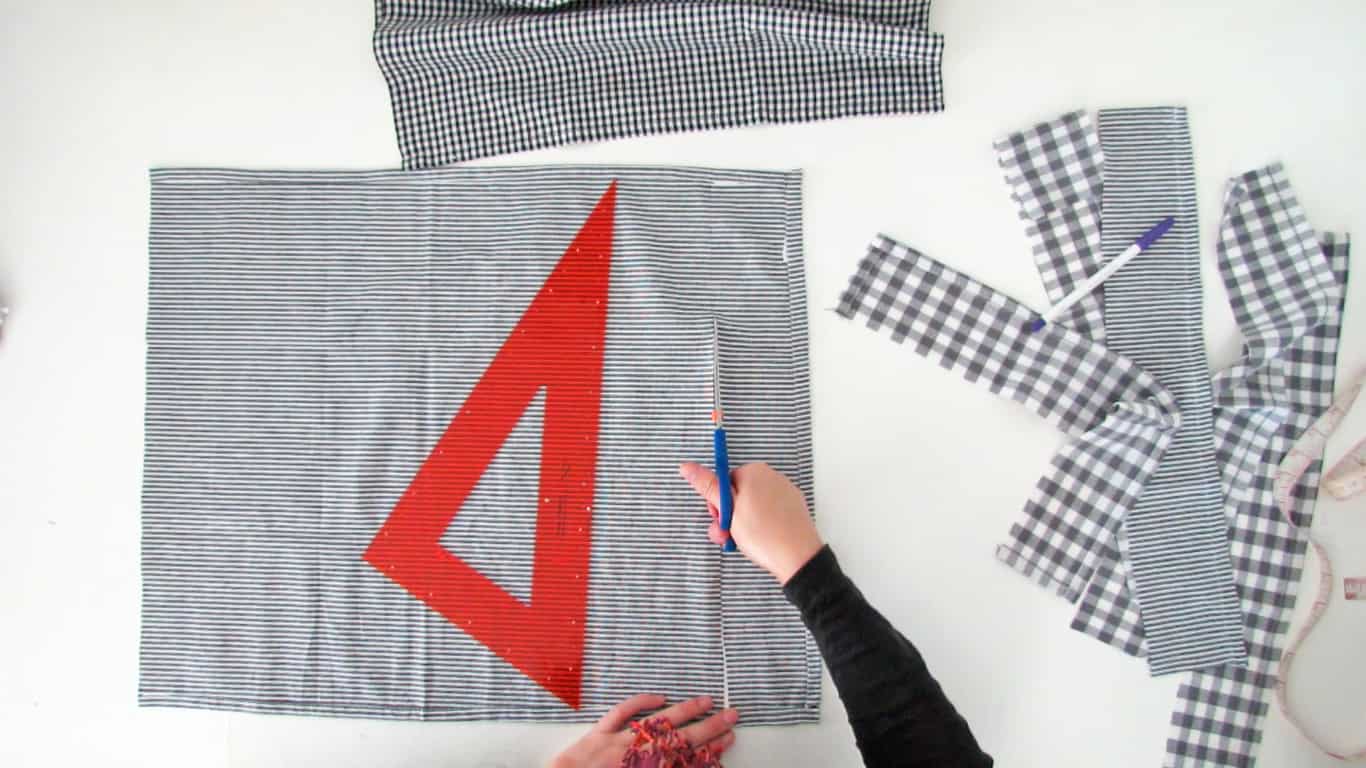
The pocket towel is placed “horizontal” and the back towel is “vertical” (small gingham). Help yourself with a ruler to center the back towel.
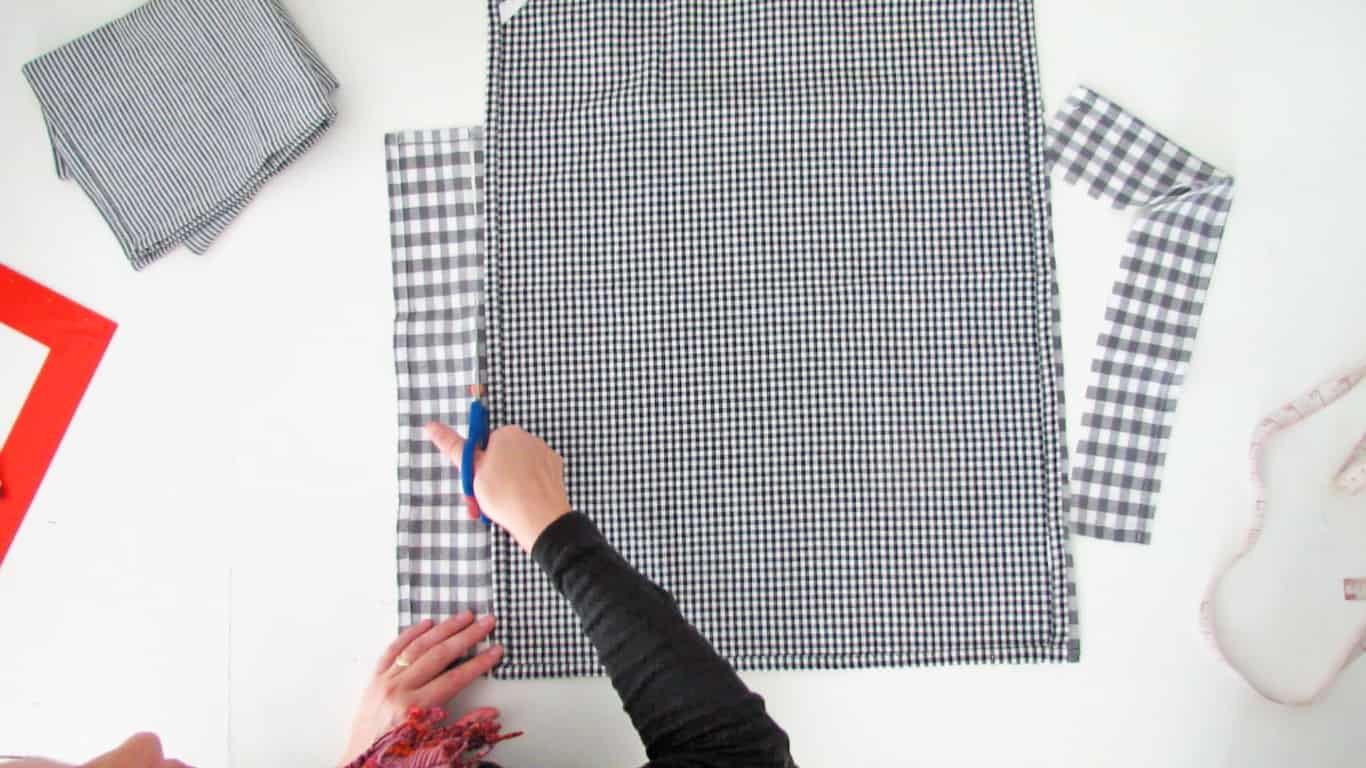
The fabric that exceeds on the sides will be used to make two of the pockets rows.
Trim that fabric. Cut at 1 cm (1/3 in.) from the back towel edges. To give you an idea the fabric strips I cut are around 3 1/2 in. width.
It’s normal not to have the same dimension as long as you have enough fabric to make small pockets.
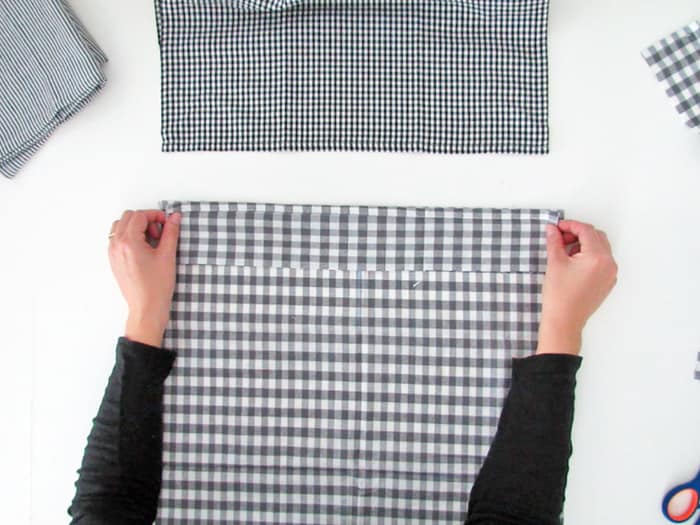
Take one of the pocket strips you just cut and place it on the leftover central piece of the pocket towel.
Align the hem edges, and cut another strip at the same dimension. If everything works well the length is already the same dimension.
Turn the remain of the pocket towel, and again, align the pocket strip hem edge with the last hem edge of the towel. And cut a fourth pocket strip.
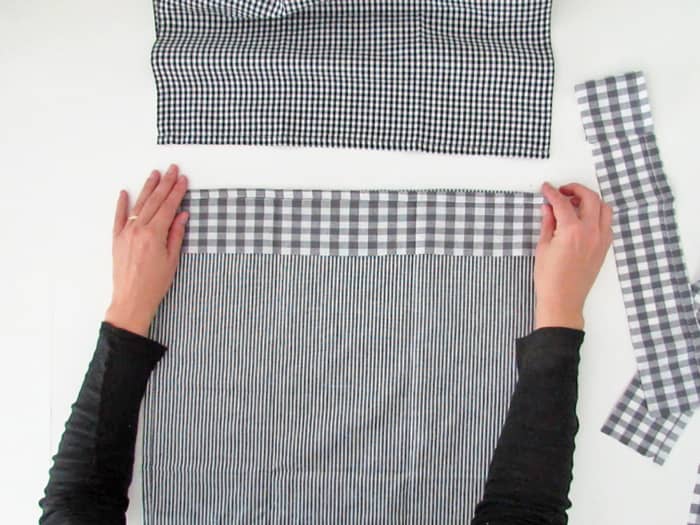
At this point, you have 4 pocket strips and you will need 6.
So repeat the previous step to cut two more strips in another towel.
I had several fabric designs, so I cut 3 strips in each towel. Do whatever works best with the towels you have.
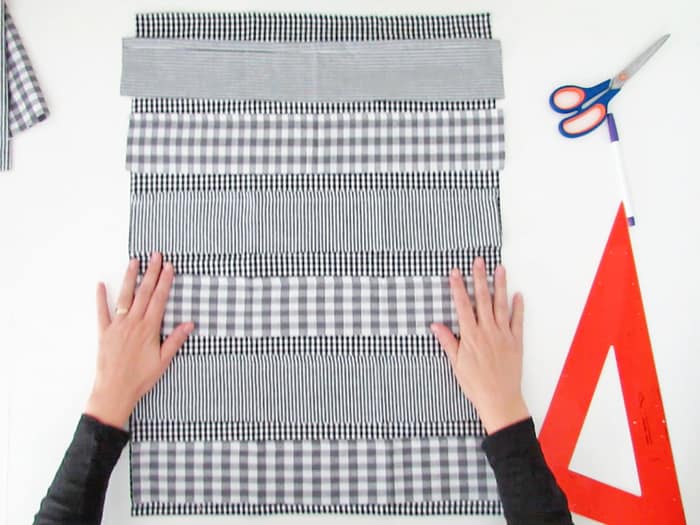
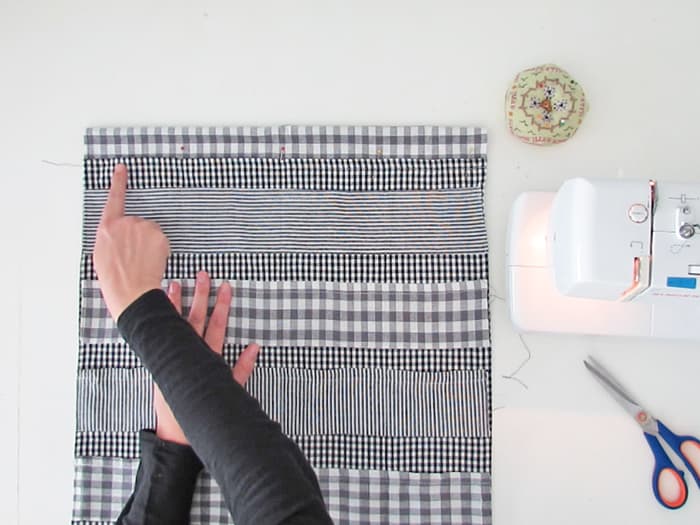
Lay flat the back towel, right side up.
Place the pocket strips over it, also right side up. Align them with the bottom of the towel and use a ruler to check that they are all at the same distance from each other.
All the hem edges of the strips are up.
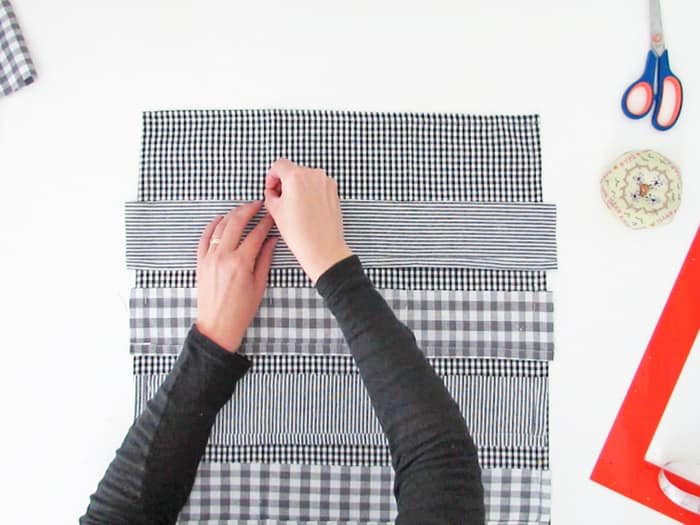
Make marks where the bottom of the strips are and flip each strip over.
So now the pocket strips are fabric wrong side up, and the hem edge facing down.
Pin them with the back fabric, try to place the pins next to the unfinished edge of the pocket (that will be the pocket bottom, even if at this step it’s placed up)
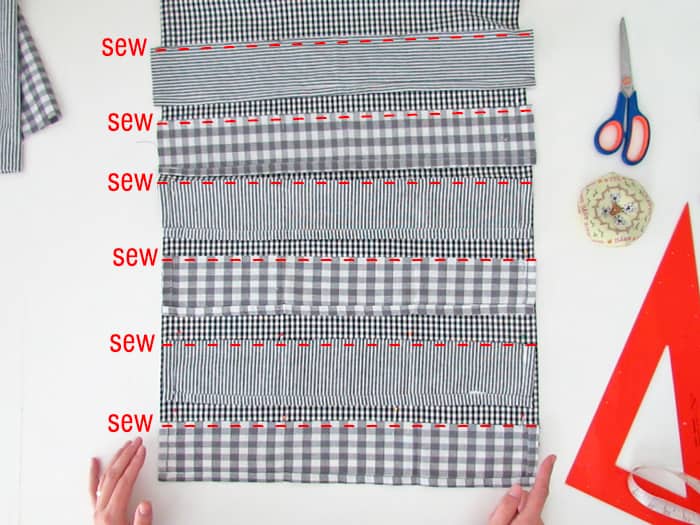
Make a seam following each pocket edge. Once you are done, remove the pins.
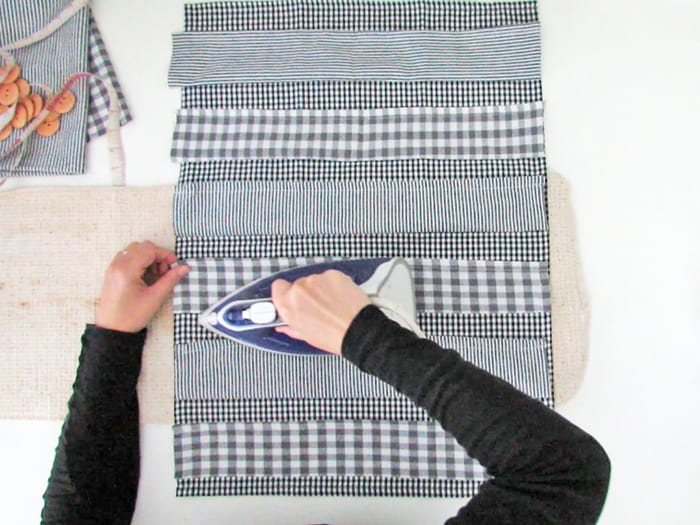
Flip the pocket over, so now they are right side out, and press to flatten the bottom seam.
Keep your iron on hand for the following steps. Time to mark some folds to locate the pocket seams.
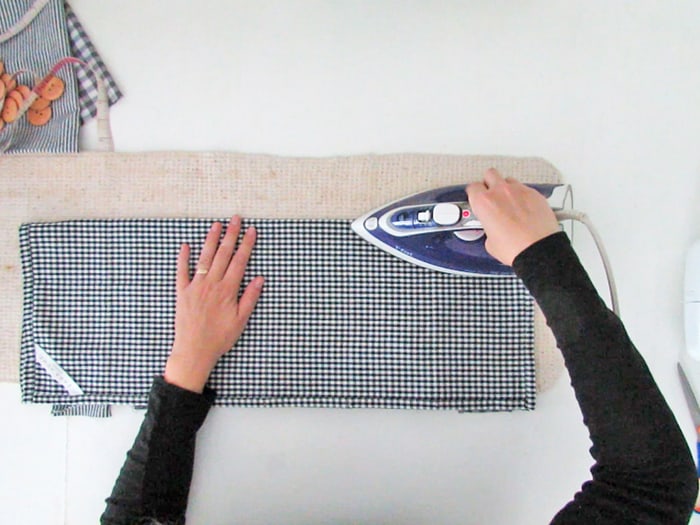
Fold the calendar in the middle lenghwise and press. Open the calendar flat again.
Take one edge and fold it by aligning it with the central crease. And press again.
Open the calendar.
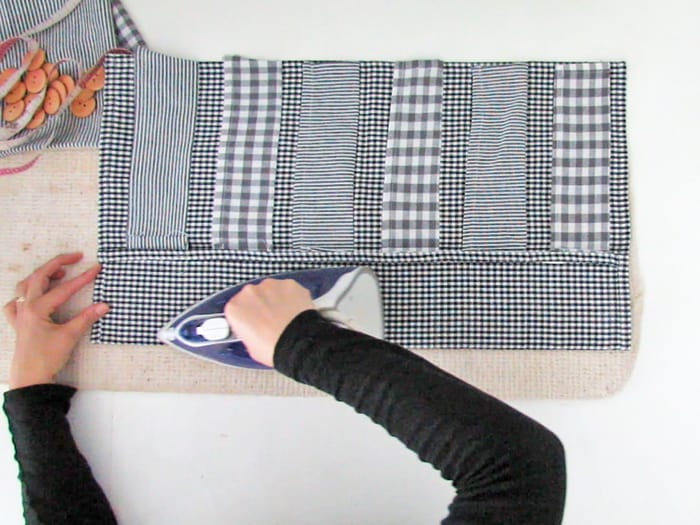
Take the other edge and fold it the same way, by aligning it with the central crease.
Press and open the calendar flat again. You must have 3 creases, dividing the calendar into 4 parts.
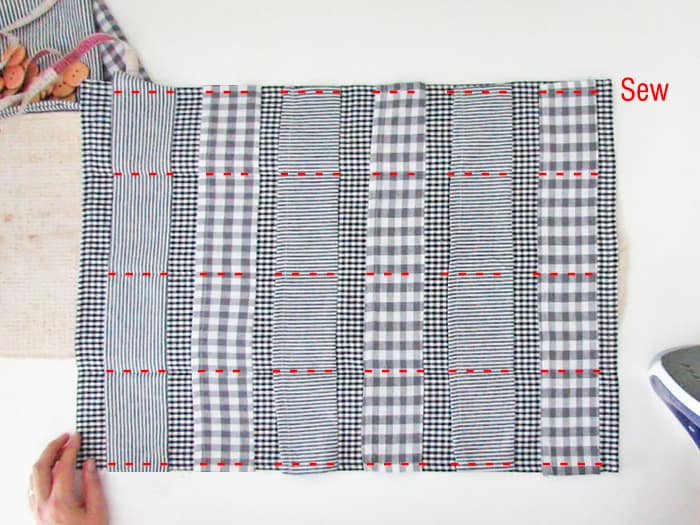
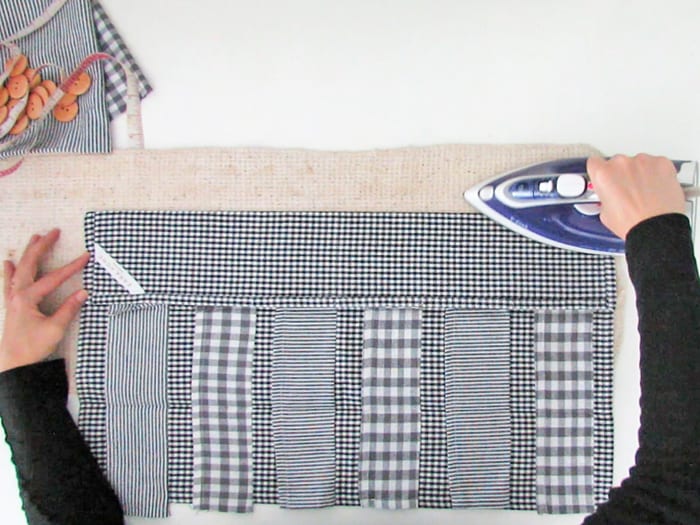
Follow the creases to sew the pockets. For each strip, you must sew 4 pockets.
Make 5 seams on each strip: 2 next to the edges, 1 following the central crease, and 2 following the side creases.
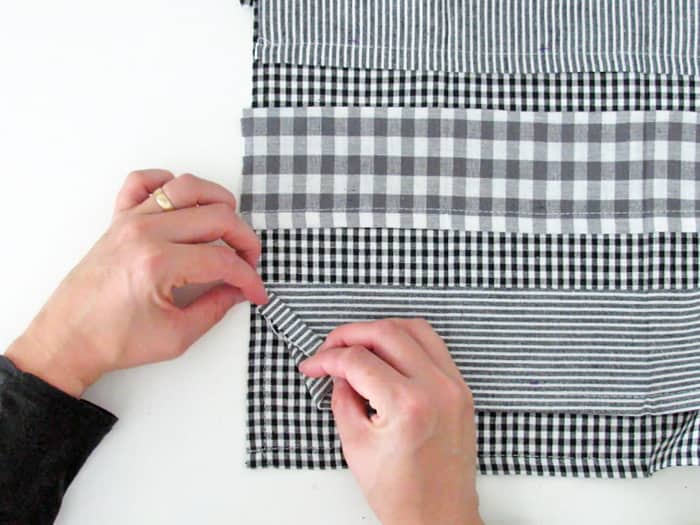
Note that you will probably have 2 strips with unfinished edges. Just make a fold inward, pin in place, and sew.
Once all the 24 pockets are sewn, the last thing to do is to hang the calendar on the wall.
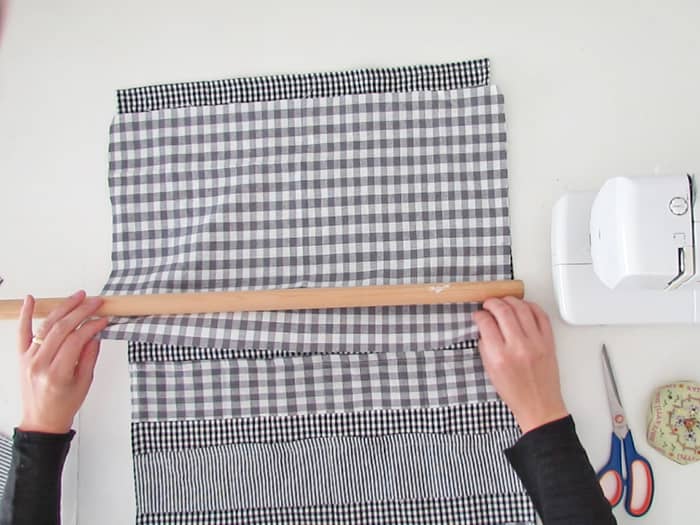
Take the leftover of one of the towels and wrap it around the dowel. Add to inches and cut the rectangle.
Fold the small edges of the rectangle to make a hem. Check that the finished piece will be the same width as the calendar.
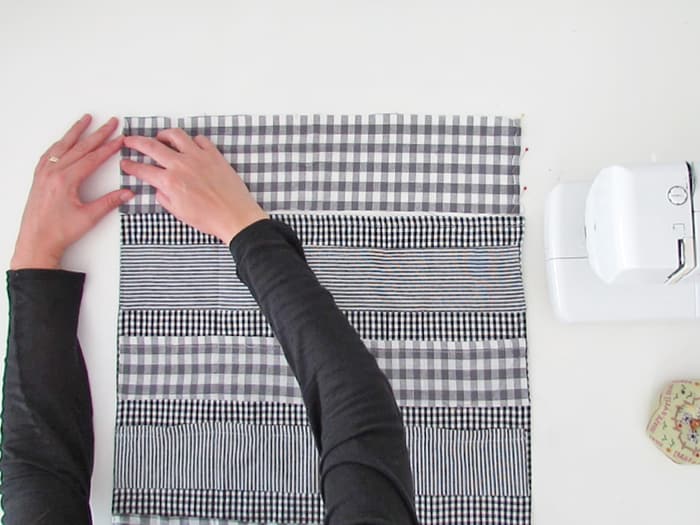
Turn the calendar wrong side up. Fold the rectangle lengthwise and pin it on the back of the calendar, next to the top edge.
Sew with the calendar making a seam next to the calendar top edge. Remove the pin.
I wanted to have a second dowel at the bottom of the calendar, so I repeated the previous steps.
The second dowel at the bottom is optional, but I like that it adds some weight to the calendar and helps keep it flat and hanging nicely on the wall.
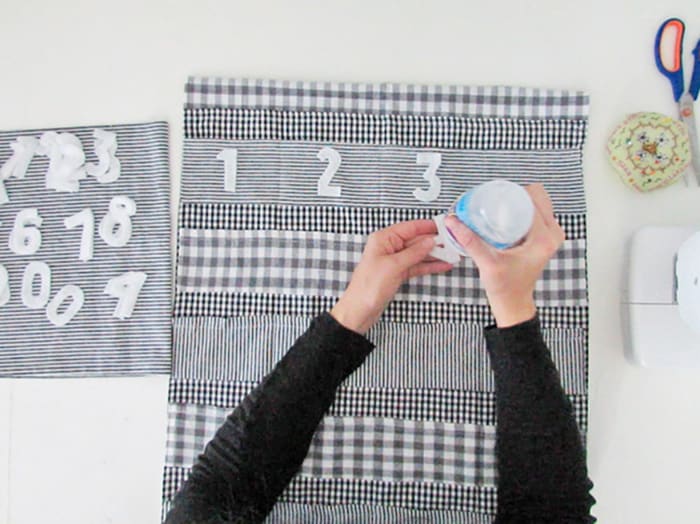
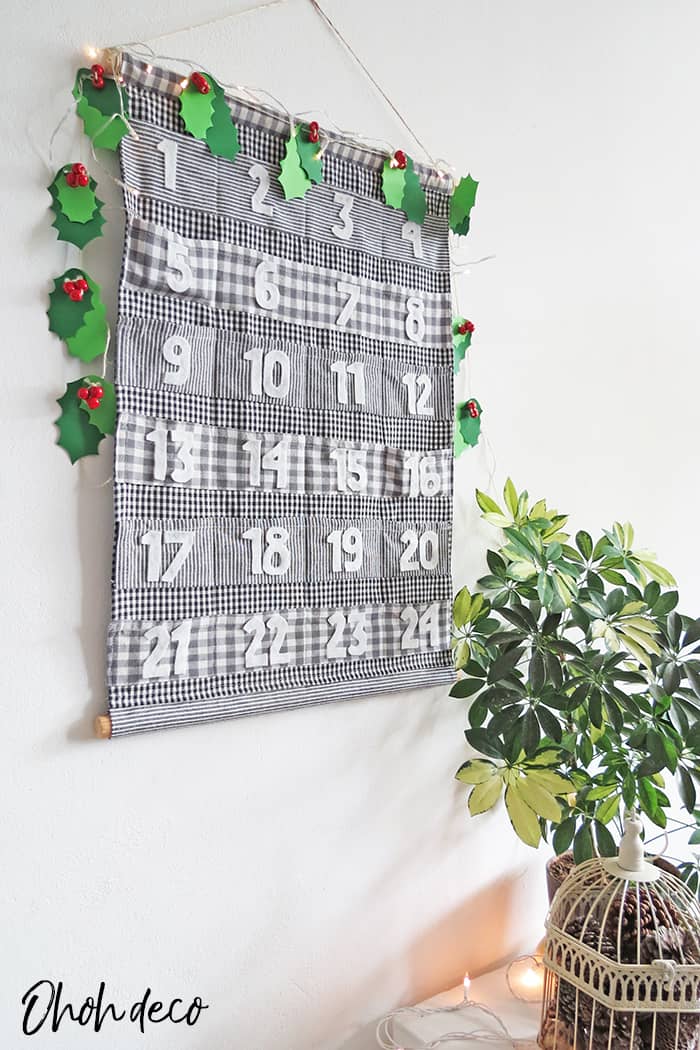
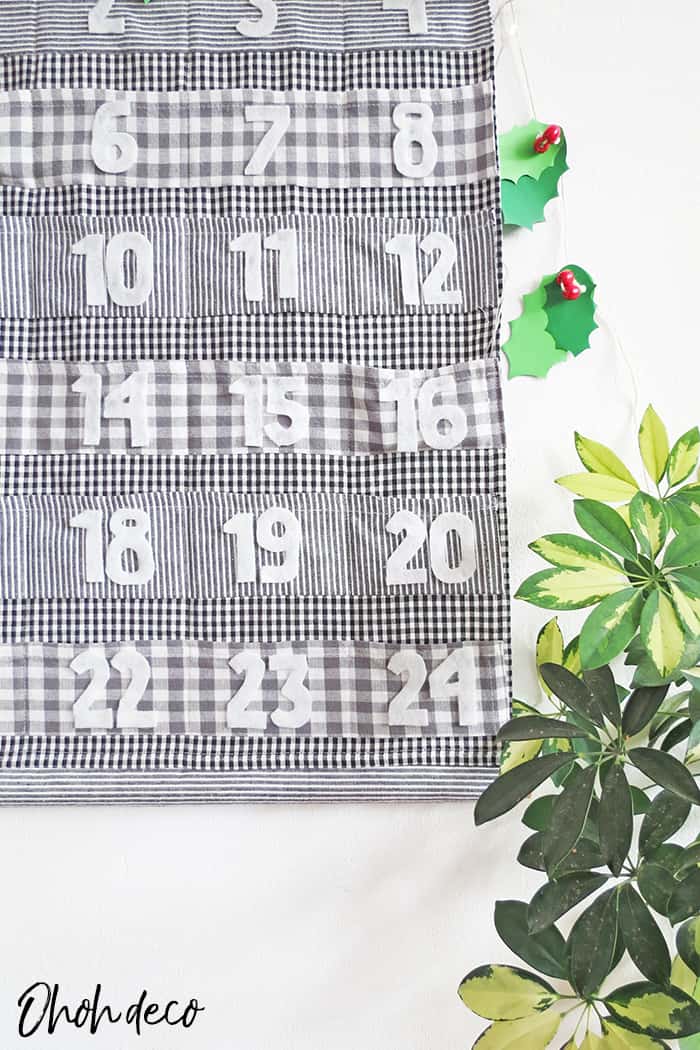
Time to glue a number on each pocket to be able to count down the days until Christmas.
As I came up with this idea at the last minute, I did have felt numbers on hand and I just decide to cut them myself on a piece of felt I found in my fabric stash.
It took quite some time as you can imagine, so the best option is definitely to order some online. You can find felt numbers here, and here. But you can also be creative and use decorative items like wood numbers or star numbers to add numbers on your calendar.
To fix the felt numbers on the pockets I use silicone glue, you can also work with fabric glue of course.
RELATED: Easy to make Felt Christmas Ornaments patterns
RELATED: DIY advent calendar with toilet paper rolls
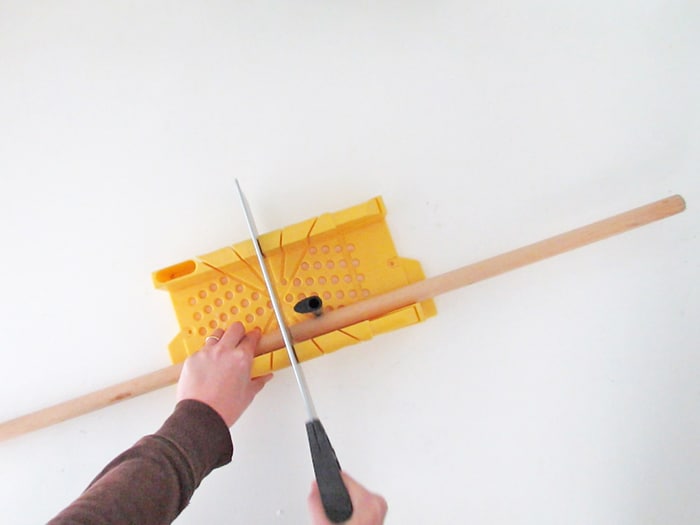
Cut the dowels slightly longer (like 1 inch – 2 cm) than the calendar width. Sand the dowels to remove splinters and slide the dowels through the top and the bottom of the calendar.
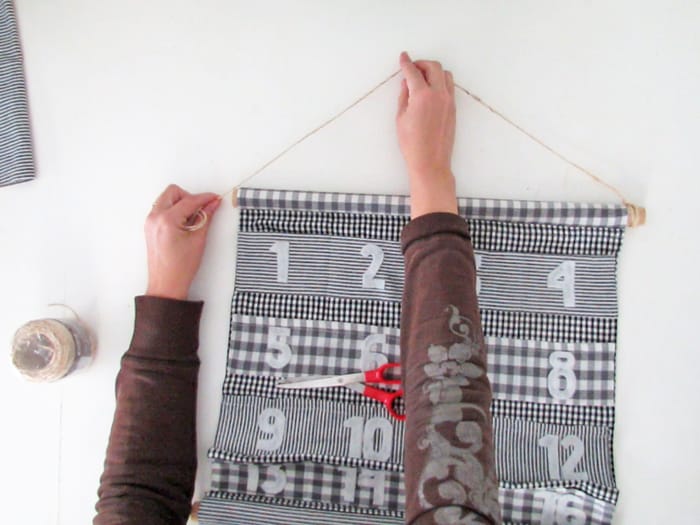
Cut a piece of twine and attach it with knots on the top dowel.
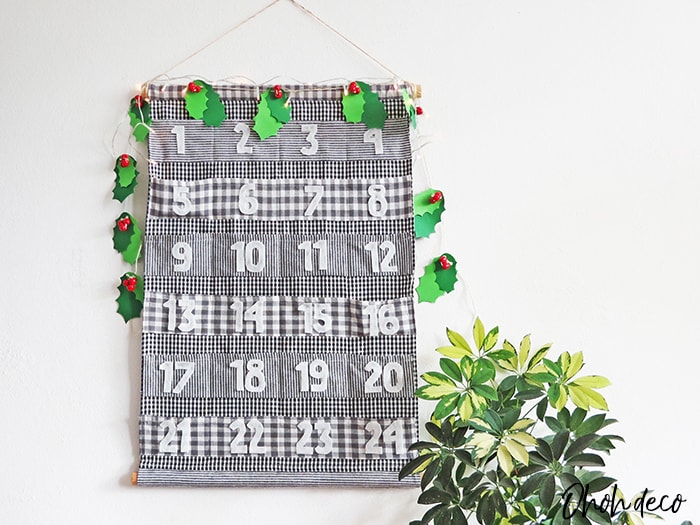
And your calendar is ready to be hung.
You can also watch the video tutorial to make the fabric advent calendar
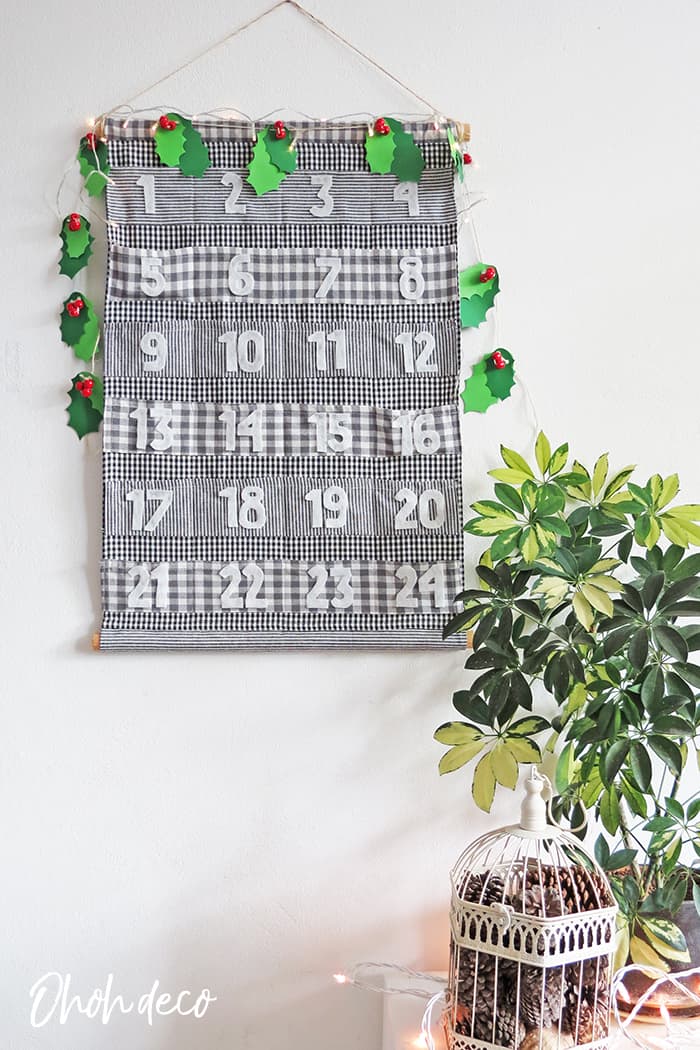
I’m very pleased with how it turned out. I like that we will use it for years.
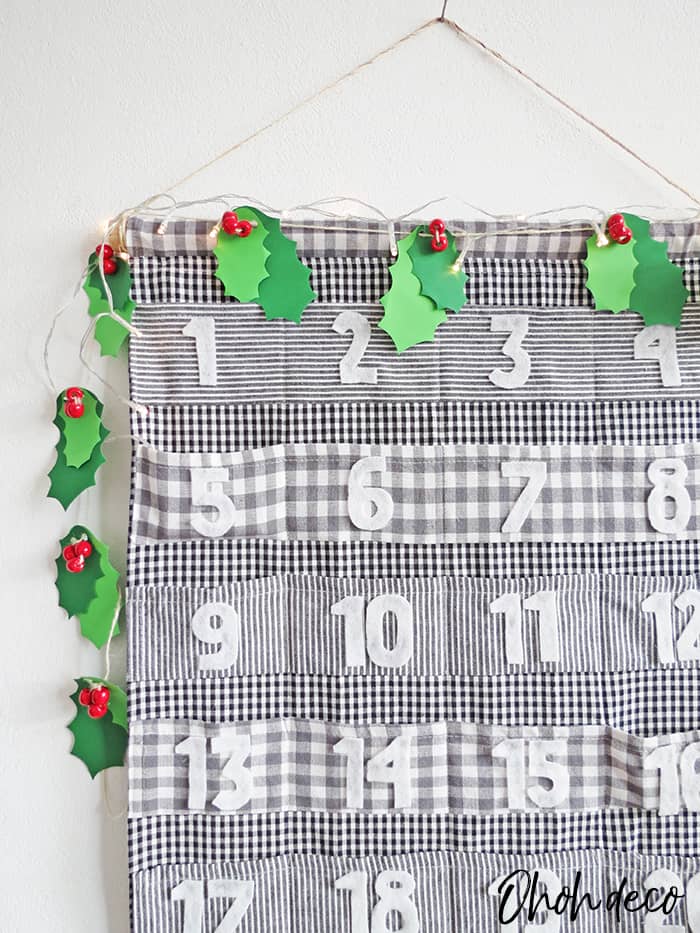
I decorated it with a DIY holly garland and added some string light for a festive touch.
We are big fans of chocolate at home so, I have absolutely no doubt that I will fill it with an assortment of our favorite chocolates.
Some other ideas to fill your advent calendar are tiny toys, family activities, inspirational quotes, tiny toys, small jewelry, hair accessories, crafty bits, lottery tickets and scratch, coupons, beauty bits, movie tickets…
Tell me, what do you fill your advent calendar with?
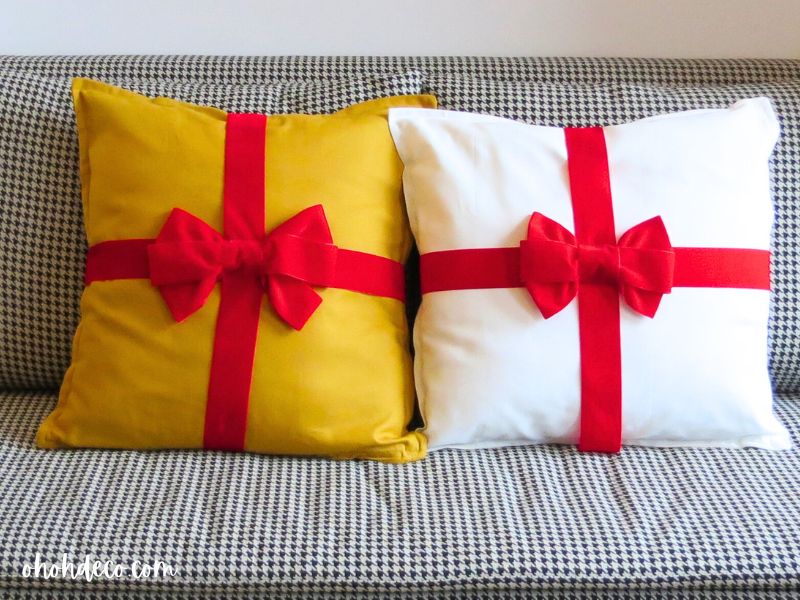
RELATED: Santa pillow pattern
RELATED: DIY Paper Star Advent Calendar

Want to remember it? Save this Fabric advent calendar on your favorite Pinterest board.