Even if we are in a digital world, I like to print some photos and put them in frames.
I admit that it is most often pictures of my children or our holidays. I find it nice to have a few frames and not necessarily have to take the phone or the tablet to view photos.
[ This post probably contains affiliate links, our full disclosure policy is really boring, but you can read it HERE ]
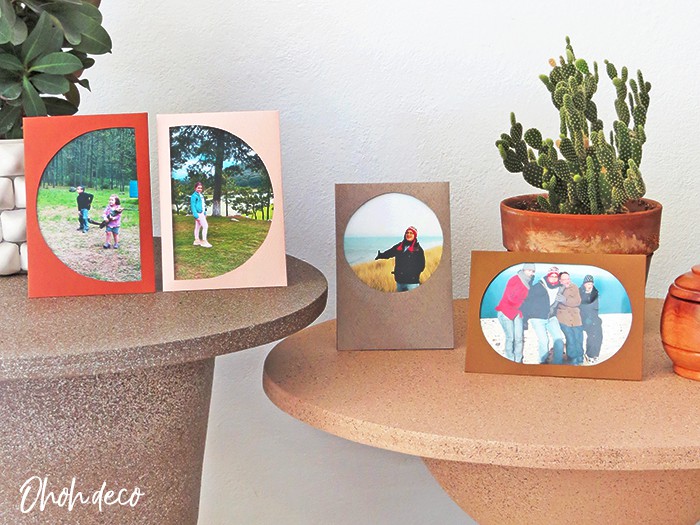
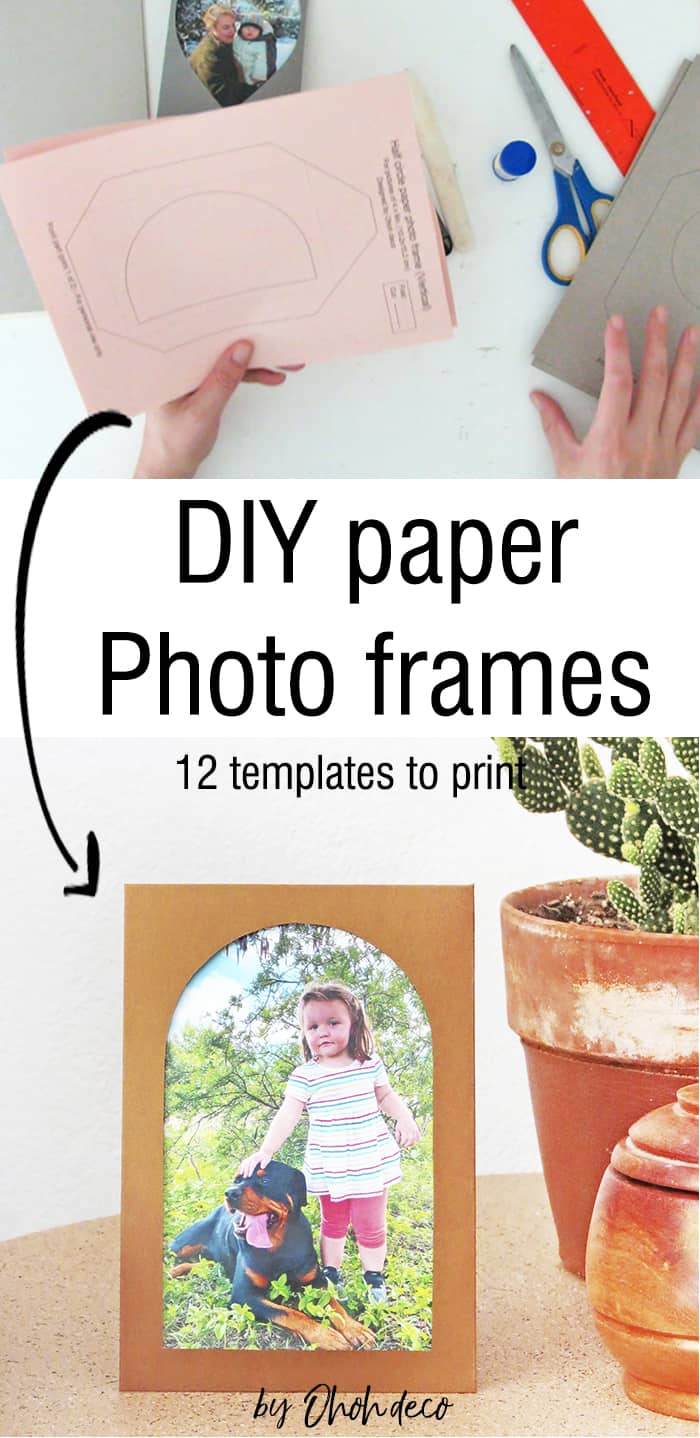
If you also like to put your photos in frames, you will love this easy DIY to make paper frames!
As you can imagine, it’s super simple to do and you can finish a frame in 5 minutes.
You just need paper, glue, and the frame templates printable. I have created 12 different frame models, I am sure you will find what suits you better, whether it’s for a vertical or horizontal photo, a landscape, or a portrait picture.

DIY Photo frame with paper
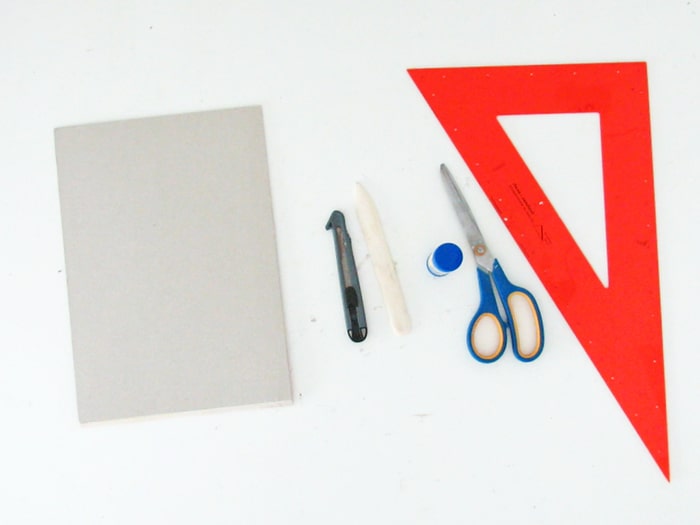
Supplies you will need to make these easy picture frames:
- Cardstock paper (any color you like)
- The frame templates
- Scissors
- Cutter or exo knife
- Cutting mat
- Glue stick
- A bone folder
You can purchase the frame templates in my shop. The printable includes 12 different frame shapes that fit horizontal and vertical 4×6 inches (10x15cm) pictures. You can find below the shape detail of each frame.
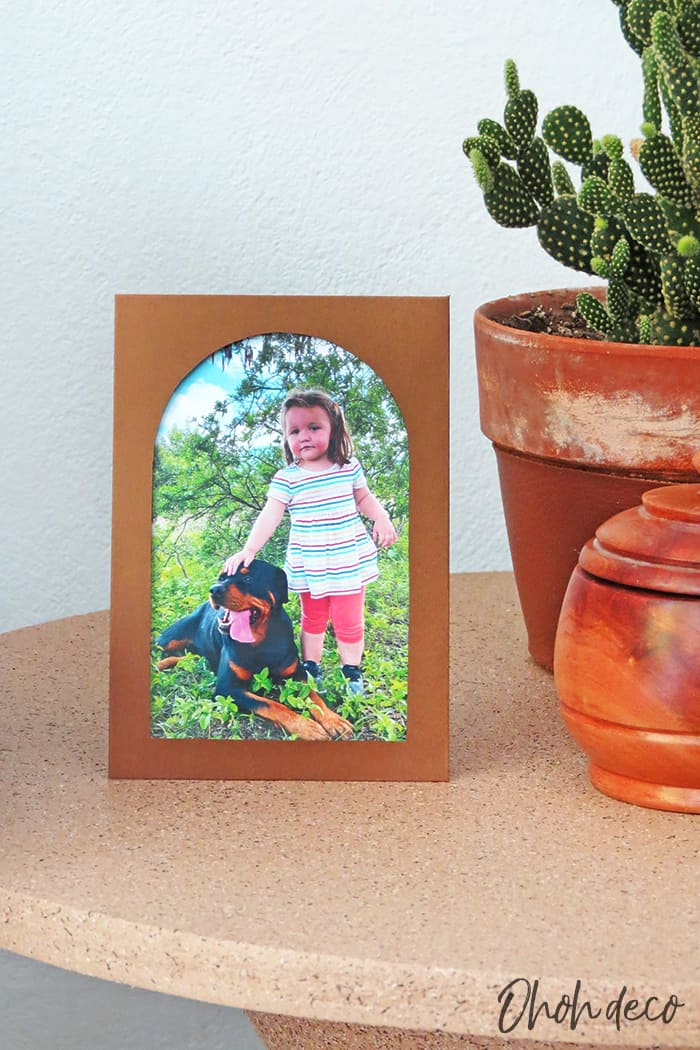
- 1 vertical frame with an arch shape
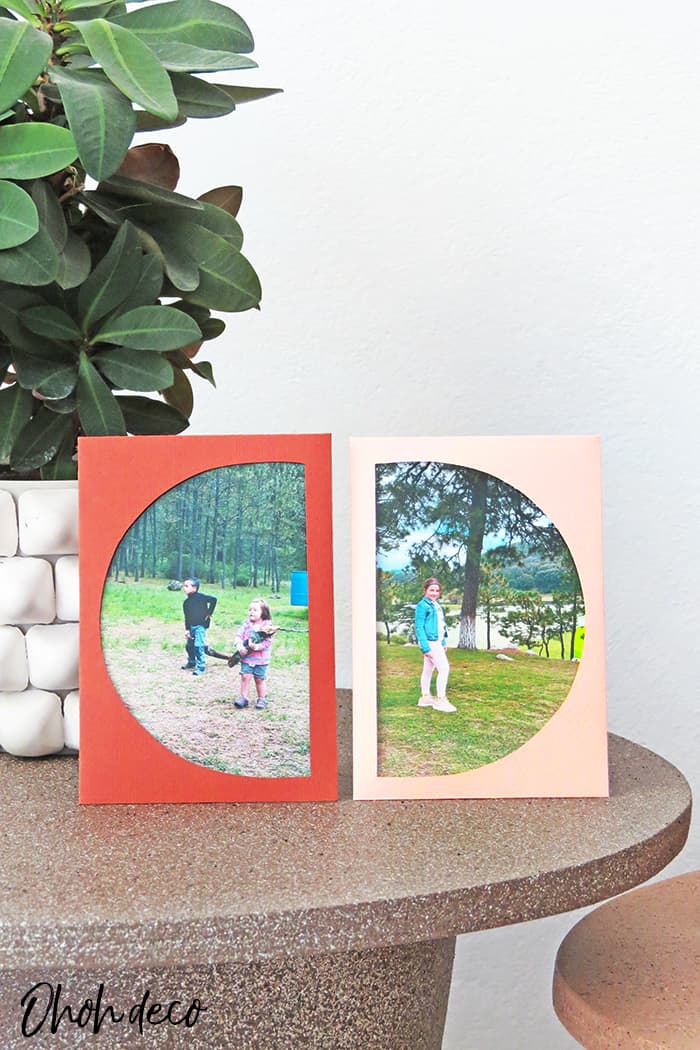
- 2 vertical frames with an half circle shape (left and right)
- 1 vertical frame with a circle
- 1 vertical frame with an ovale shape
- 2 horizontal frame with an arch shape (left and right)
- 1 horizontal shape with an half circle
- 1 horizontal frame with a circle
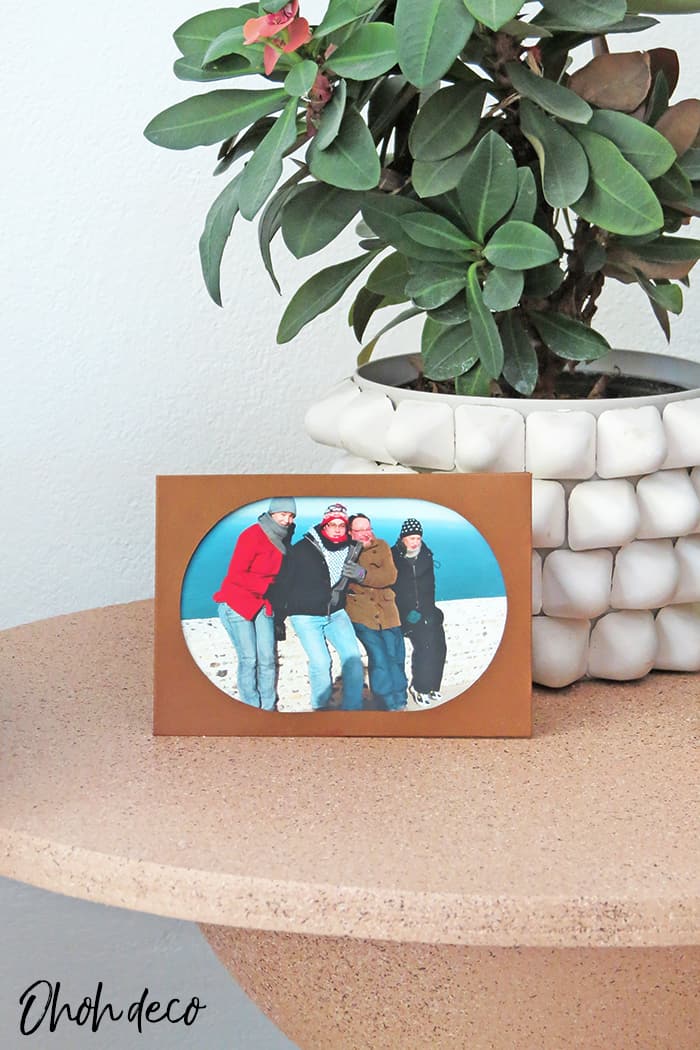
- 1 horizontal frame with an ovale shape
- 2 vertical frames with a heart shape (for 4×6 in. and 2 1/2 x 3 1/2 in. pictures)
You will need two sheets of paper (US letter size or A4) to make one frame.
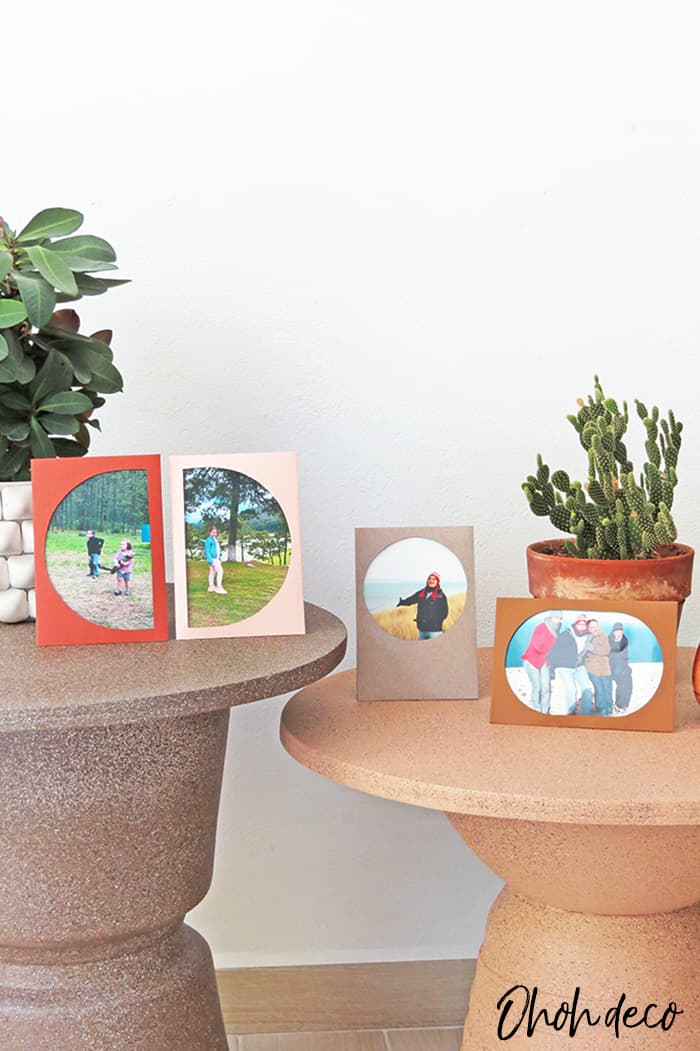
You can use any color of paper you like to make the picture frames. Prefer to work with cardstock as this paper is thicker and the frame will hold better. If you plan to make several matching frames, this paper bundle is great to work with.
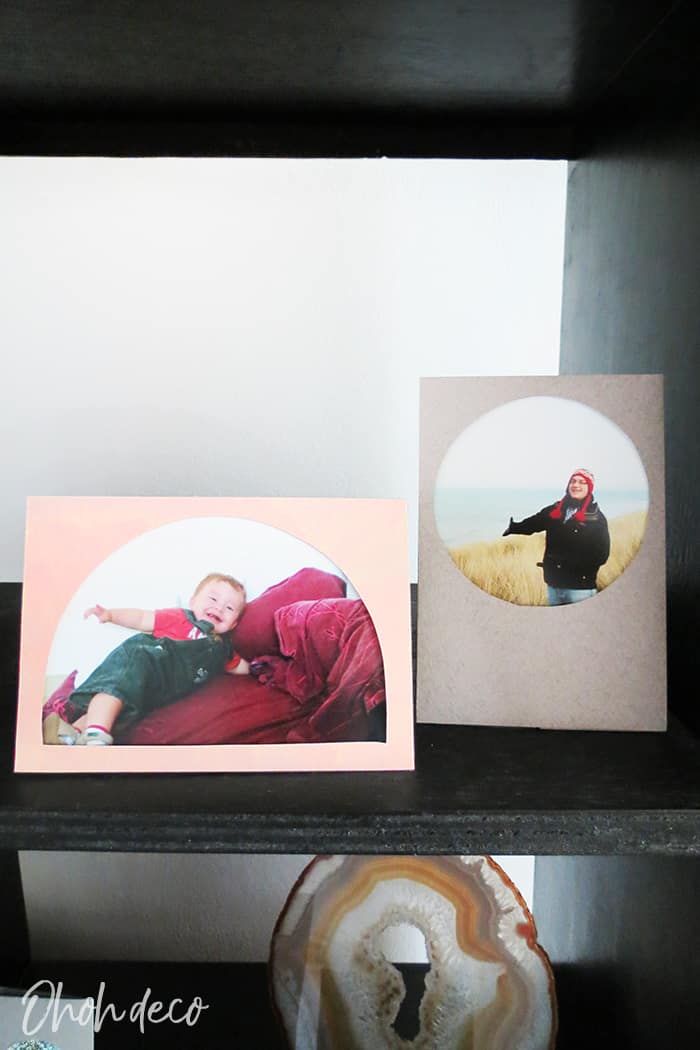
The frames are designed to stand by themself, so you can easily display them where you like: on a shelf, on a console table, or a nightstand.
RELATED: Decorating a Photo Frame: 3 Creatives Ways that Will Blow your Mind
RELATED: How to make Paper photo frame
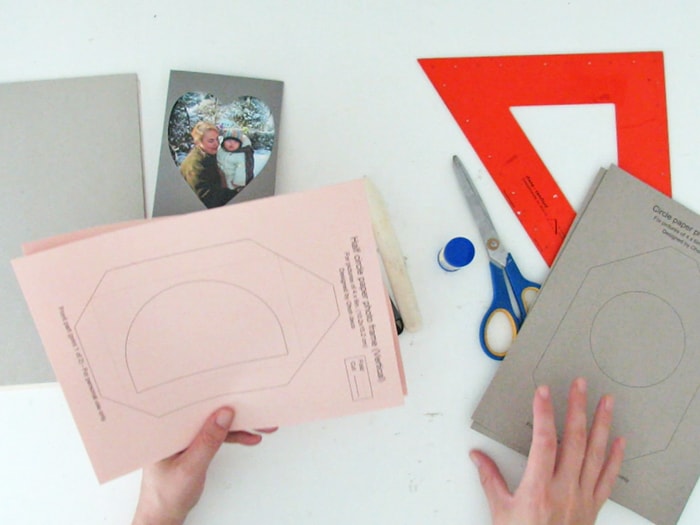
Download and print the frame templates you like to work with. For each frame, you need to print the front and the back.
You can choose between two back frame templates: Horizontal or Vertical, choose the one that fits the front shape of your frame. No worries, it’s clearly mentioned in each print.
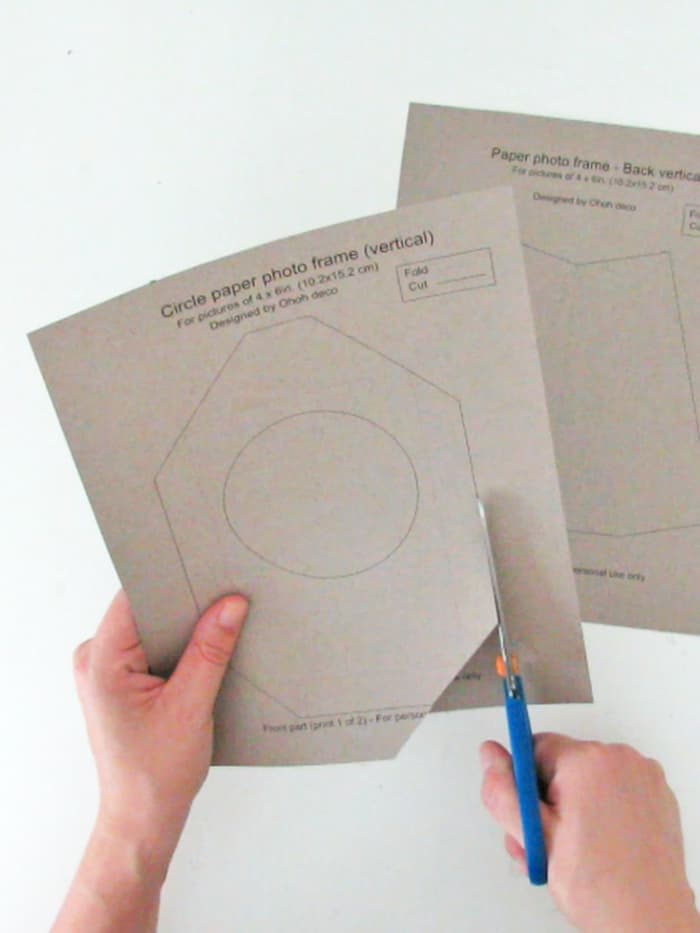
Take the front template and cut following the lines. The straight lines are for cutting, the dotted lines are for folding.
Use scissors to cut the outer shape of the frame.
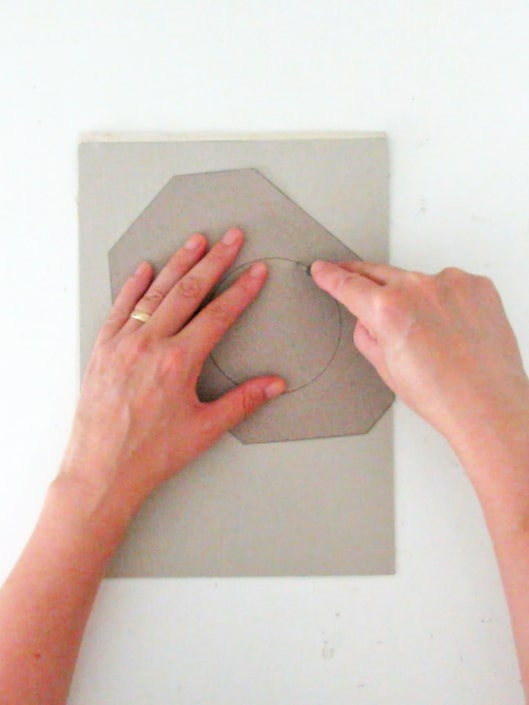
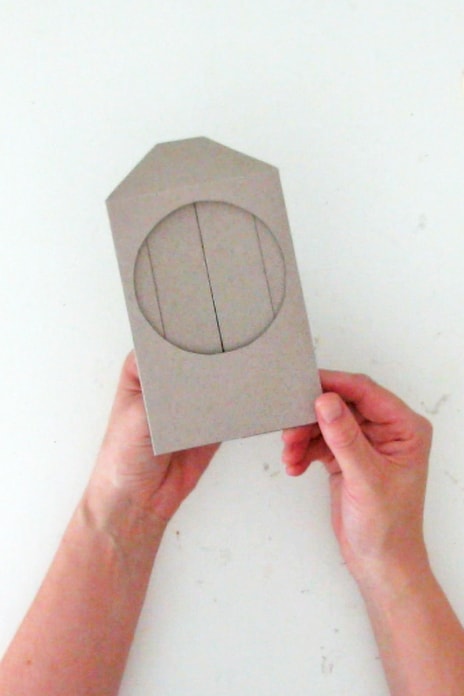
Place the frame shape on a cutting mat and use a cutter or an exo knife to cut the frame opening.
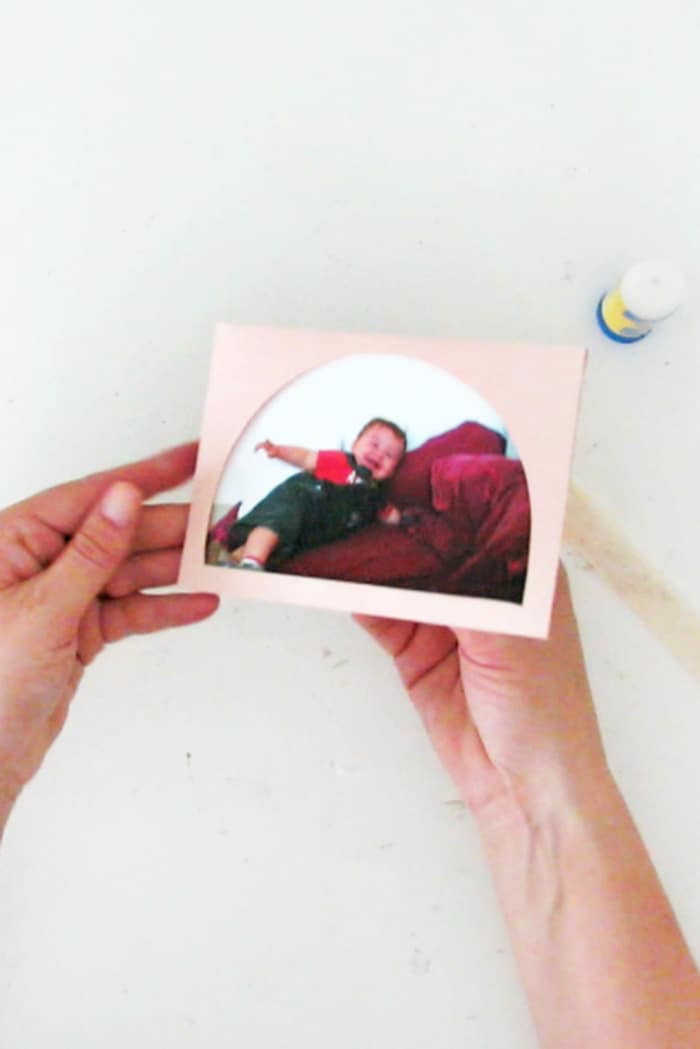
I’m showing you the DIY with the vertical circle frame but it’s the same process for every frame shape. You can read this other post to see how to make the heart-shaped frame.
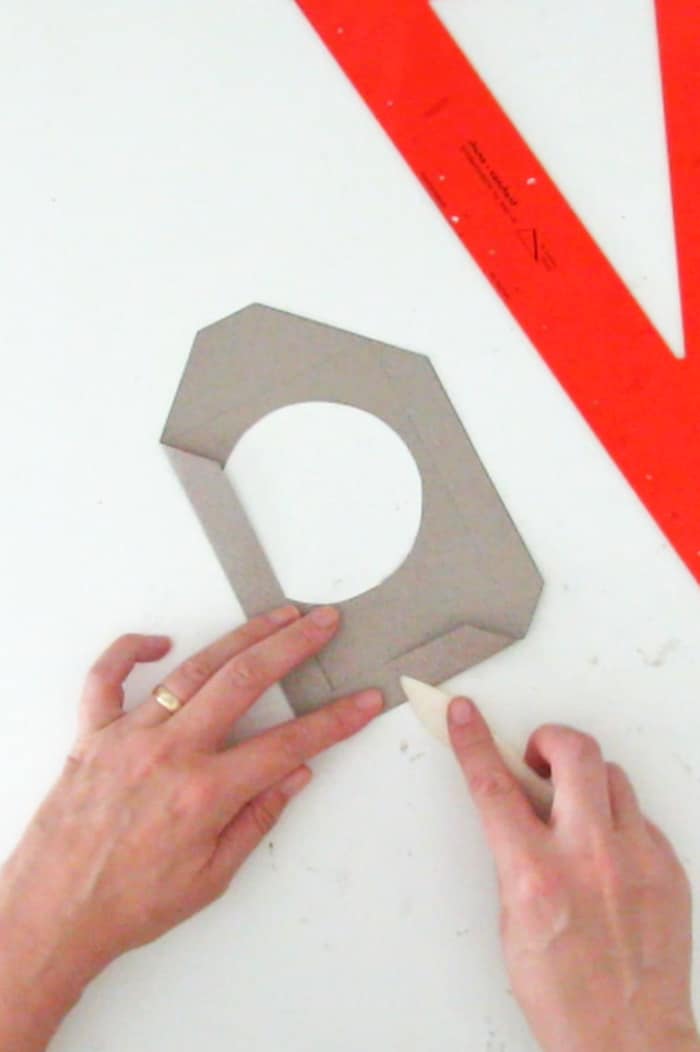
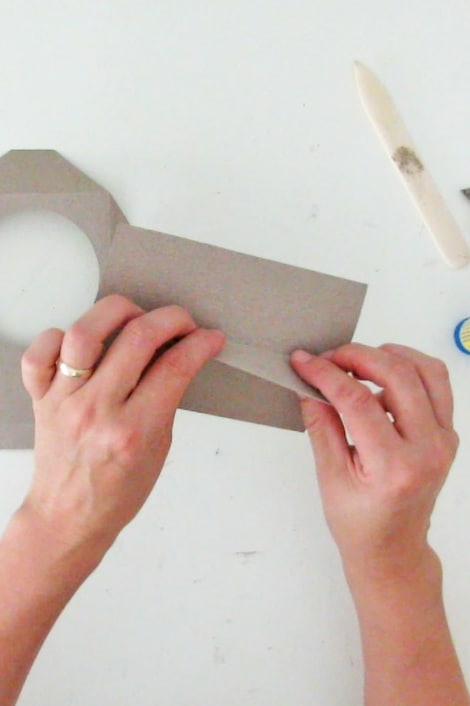
Fold the edges of the paper frame following the dotted lines. Try to have the dotted lines inside the folds so they won’t show up once the frame is finished.
To have neat folds, first mark them with a bone folder, then fold the paper.
The larger flap must be on top of the frame.
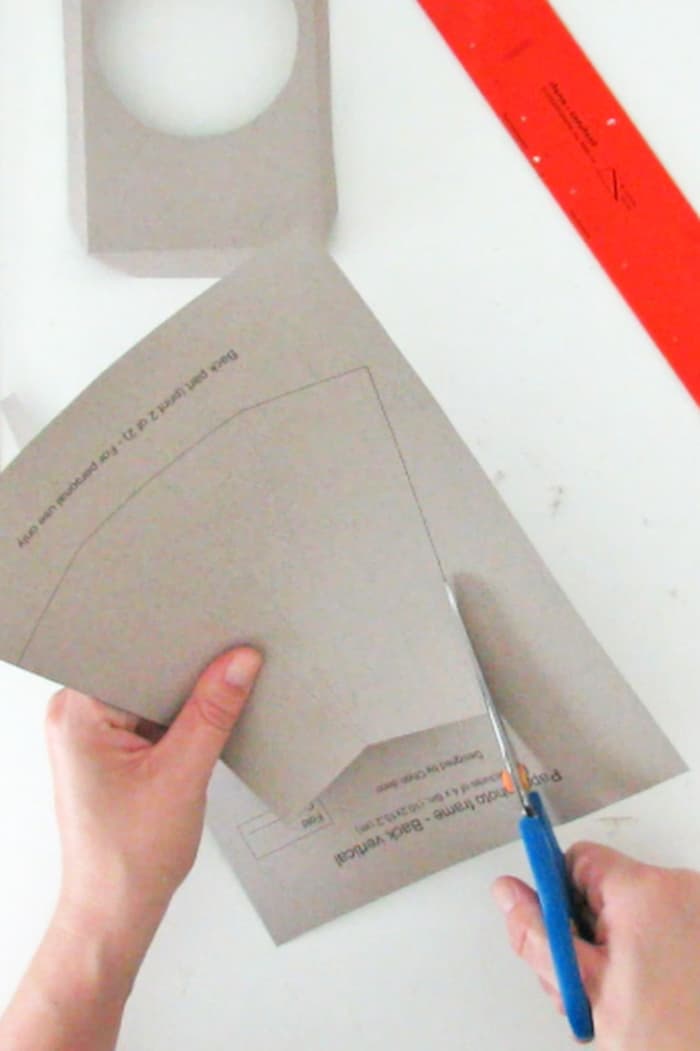
Take the back template and cut it following the straight lines.
As I’m making the vertical circle frame, I printed the vertical back template. If you choose to make a horizontal shaped frame, just print the horizontal back template.
RELATED: Paper Lampshade DIY
RELATED: How to make a frame with cardboard
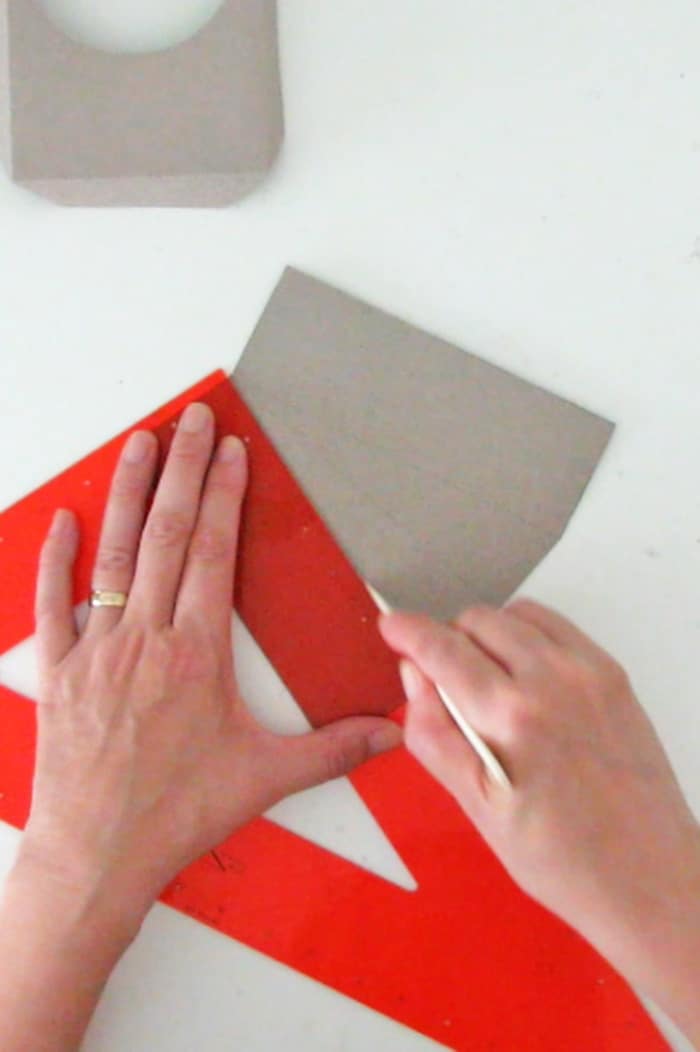
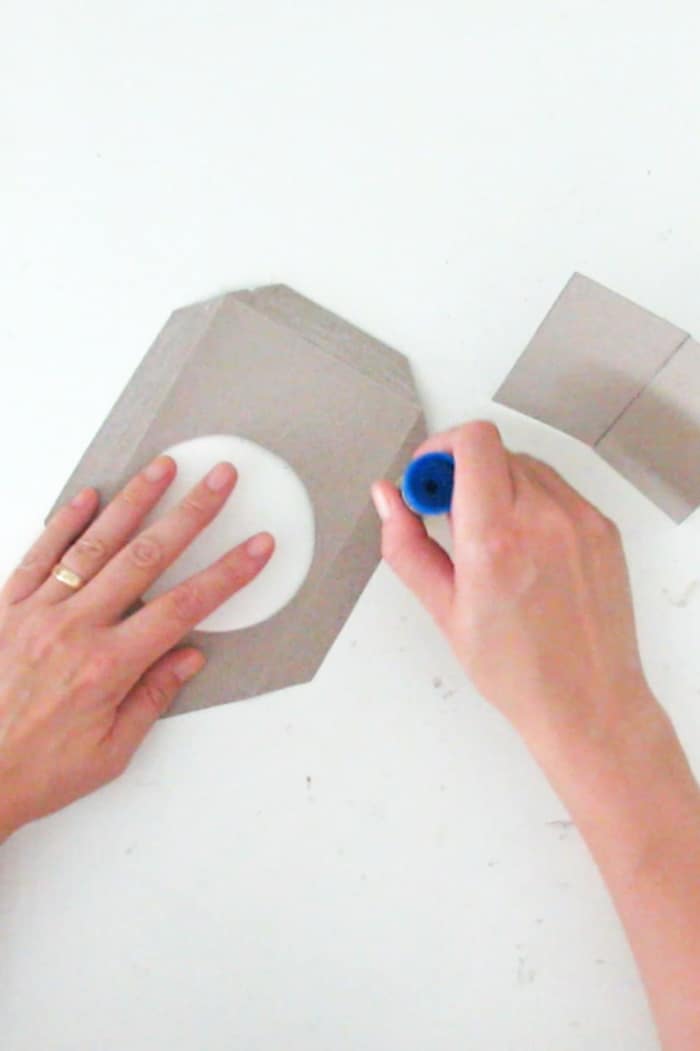
Using the bone folder, mark the 3 dotted lines you have on the back frame template (it’s the same for the horizontal shape).

Fold the central line inward and the sidelines outward. Again try to have the central dotted line inside of the fold so it won’t show up.
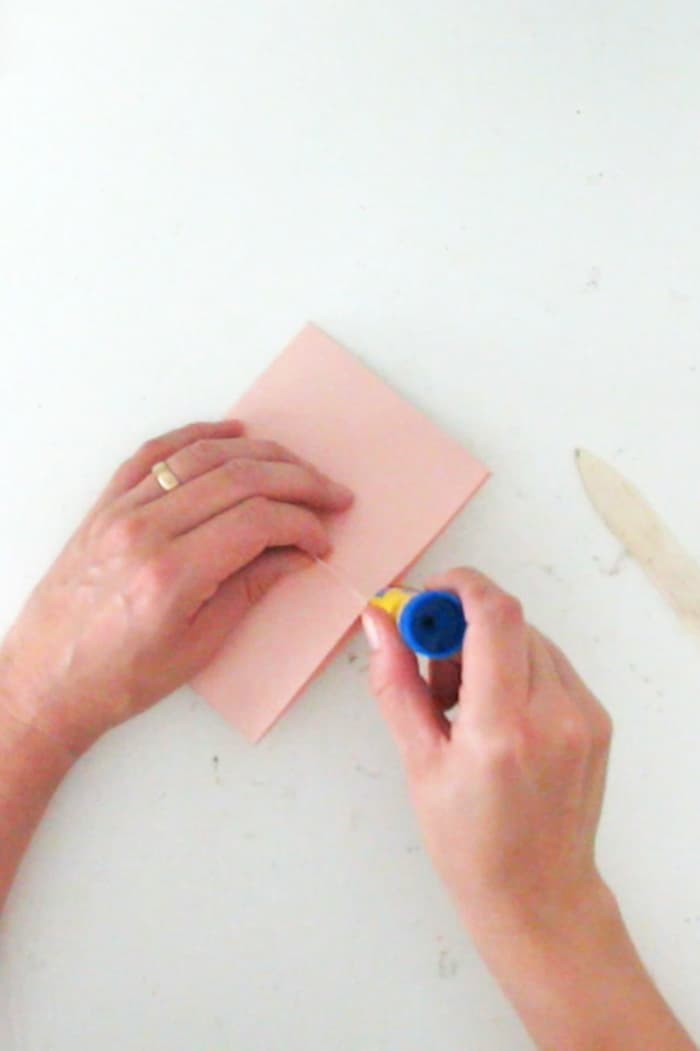
Add glue on the paper between the folds and glue to make the back stand of the frame.
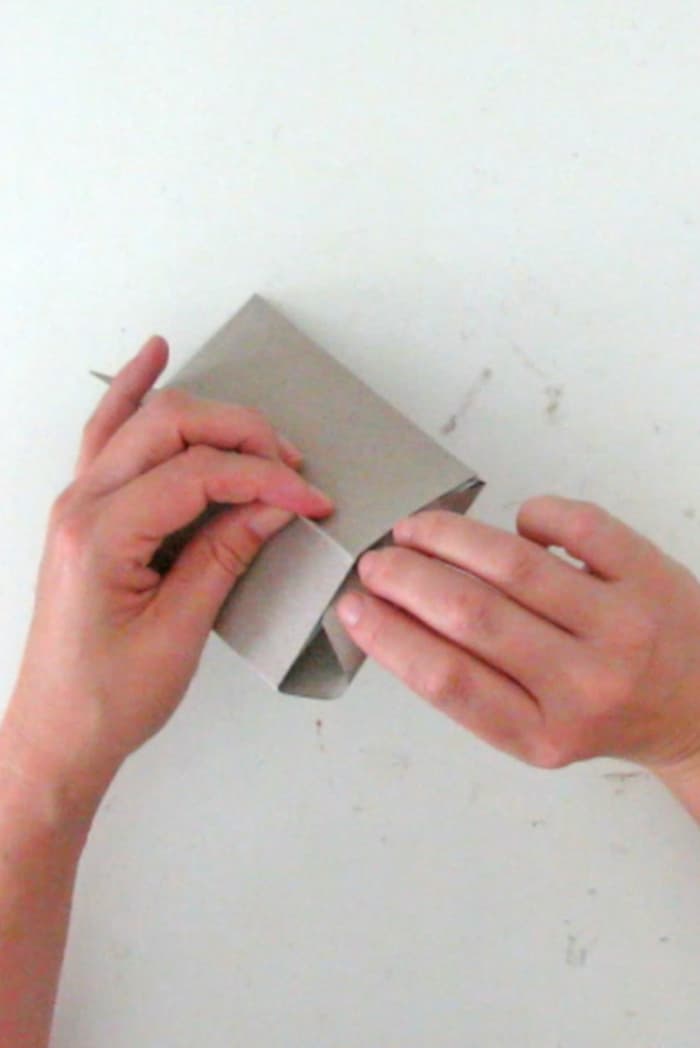
Take the frame front piece and add glue on 3 of the 4 flaps. Don’t glue the top flap (the larger one).
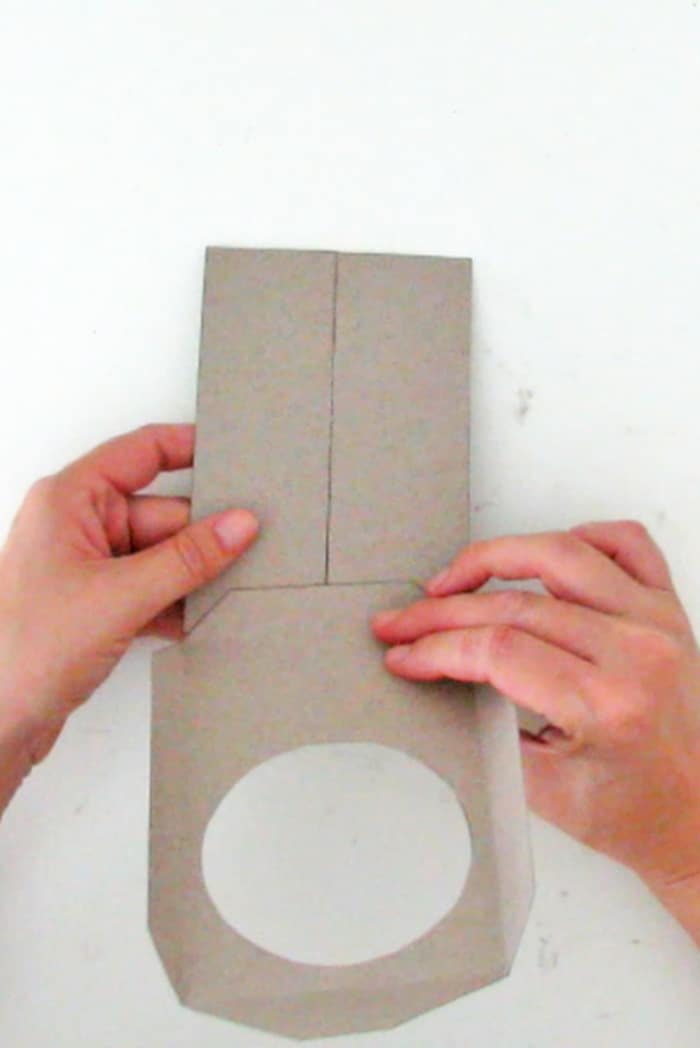
Align the bottom flap with the bottom of the frame back and glue.
Keep the side flaps folded and glue them with the frame back too.
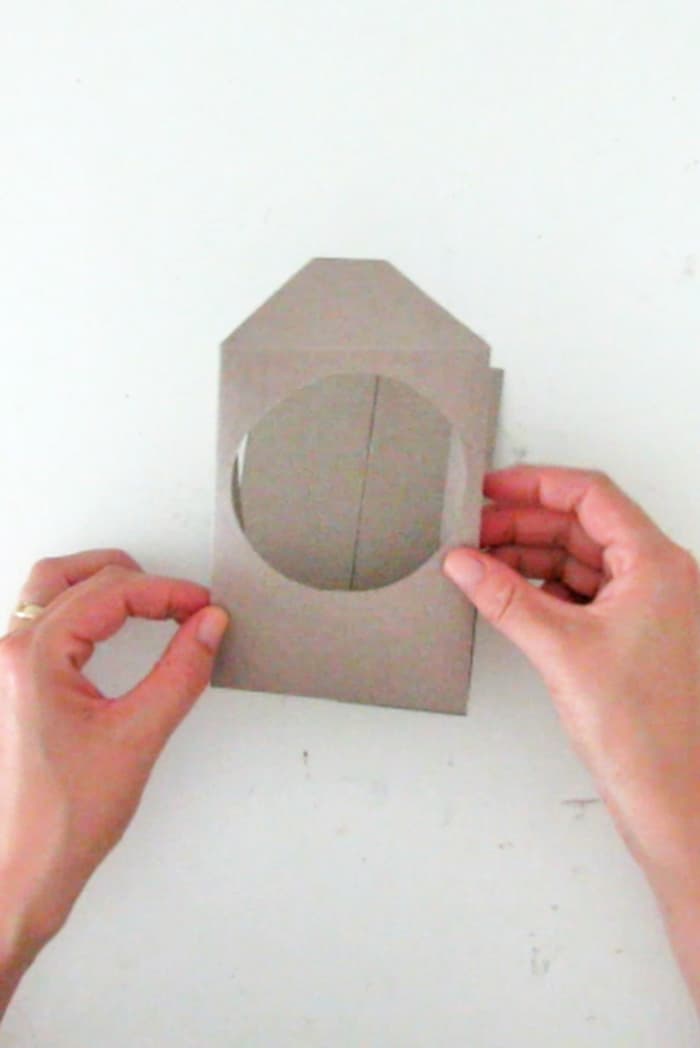
And done! Your DIY paper frame is finished. As you can see the top fold isn’t glued with the back.
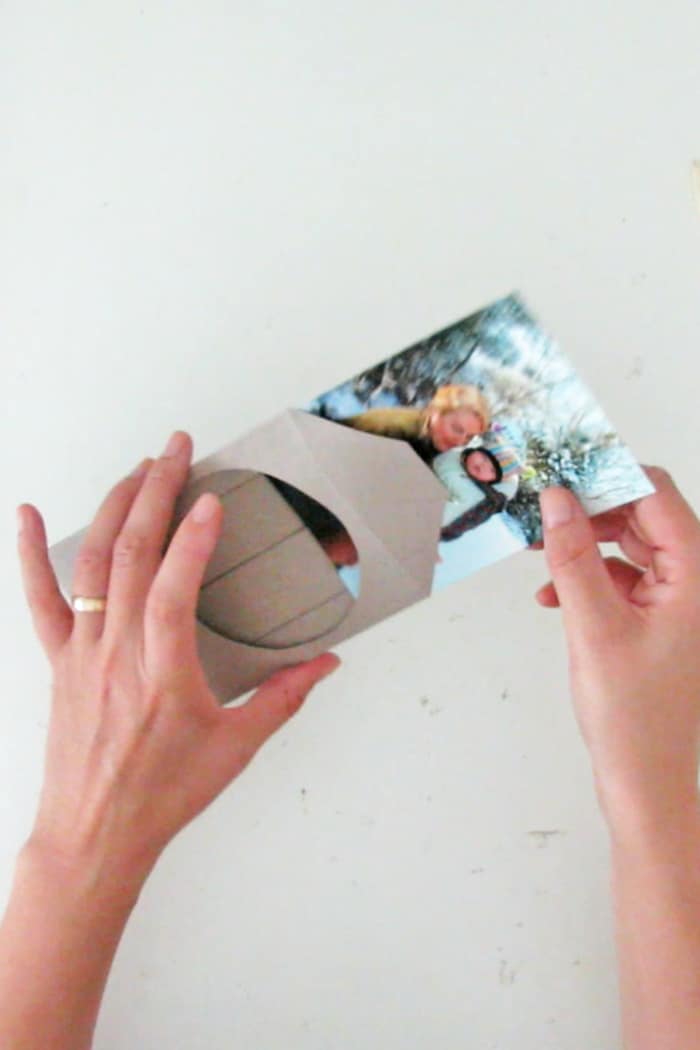
Slide your favorite picture in. All the frames are made for 4×6 in. (10x15cm) pictures, which is a standard dimension for printed photos.
Fold the top flap into the photo frame.
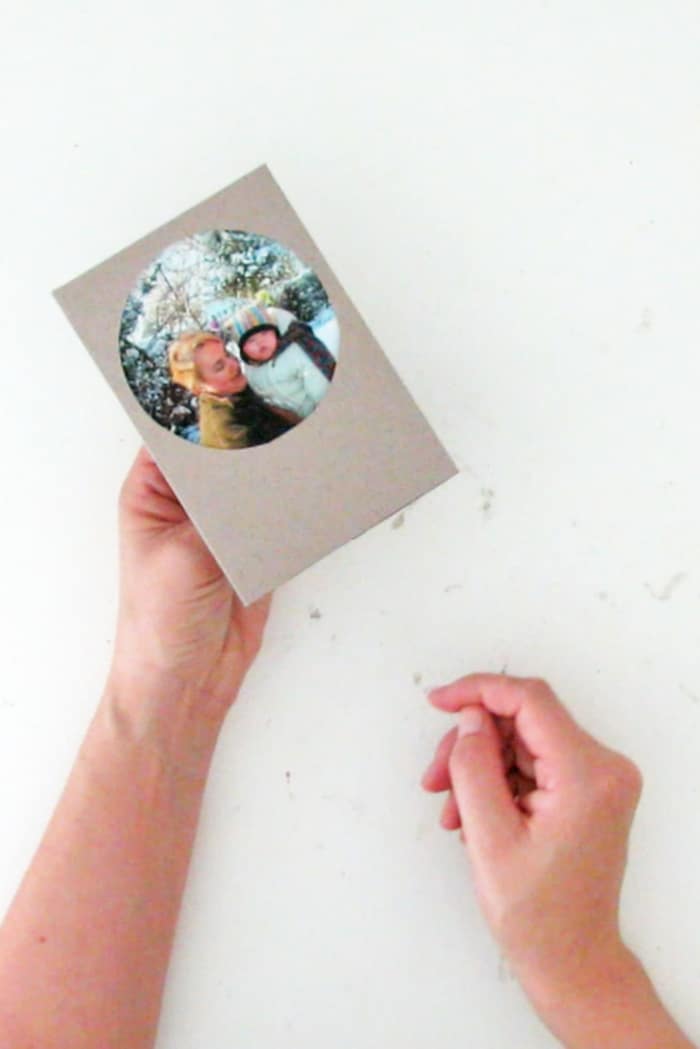
Display the paper picture frame anywhere you like. It’s a super easy paper craft to make, I’m sure you will enjoy making more than one!
RELATED: DIY paper Palm Leaf
RELATED: How to build a floating frame
The frame above is the horizontal half-circle shape. The steps to make a horizontal frame are exactly the same as for a vertical one. Remember to cut following the straight lines and to fold following the dotted lines.
If you want the properly close the frame you can add a little glue to the top flap. First, slide the picture into the frame then and glue on the top flap and slide it into the frame.
The flap will be glue with the back of the frame. This is an optional step. It doesn’t damage your photo as only the flap is glue with the back, but you can’t switch pictures in the frame without ripping it.
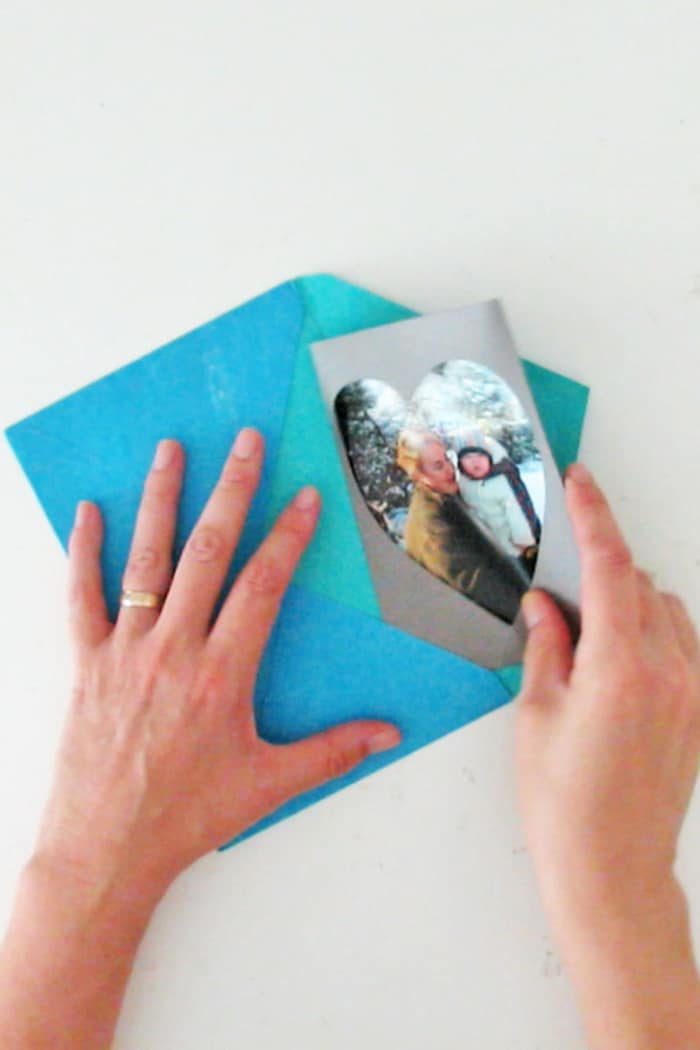
These paper frames make great little gifts too. Just slide one in an envelope and send a cute photo with a nice frame to anyone you like.
Who doesn’t like to get a little surprise in the mail?
Watch the video tutorial to make your DIY paper picture frames
Don’t miss the fun. Follow Ohoh deco on Youtube and be the first to find out about the new DIY and crafts ideas.
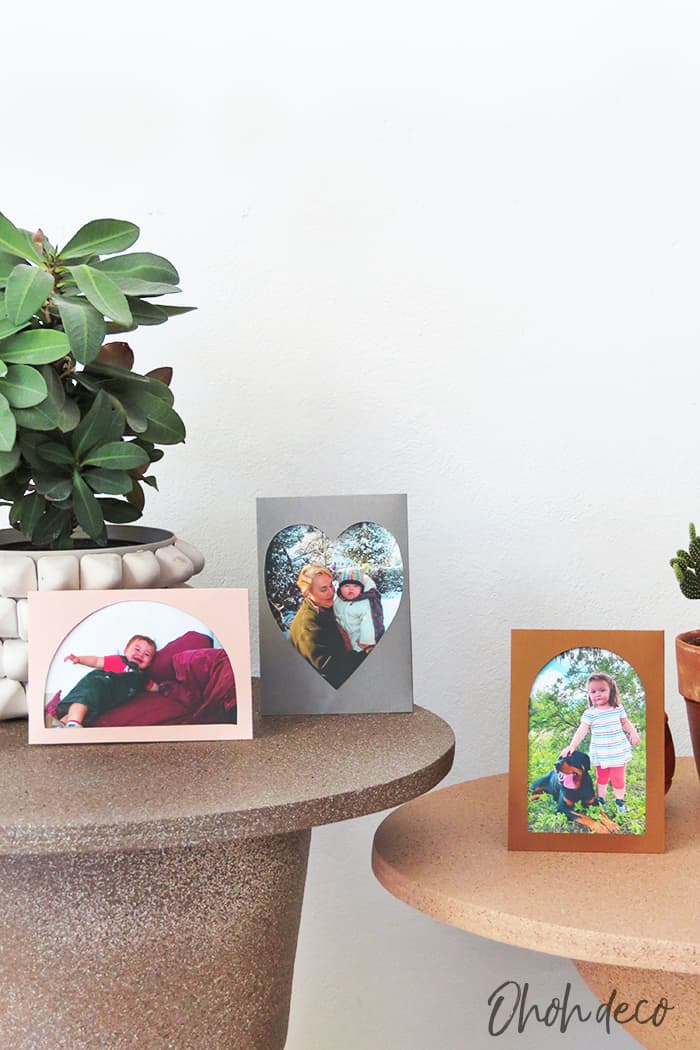
As you can see I make several paper frames to display my kid’s pictures. I choose paper that matches my decor, some are leftovers of my DIY paper lampshades.
Want to remember it? Save these DIY picture frames with paper in your favorite Pinterest board.
This is so cute and creative!!! I’d love to make these with my child. It could be wonderful gift for their Nana. Thank you!
Thanks Megan. It’s a perfect little gift! My mom liked them so much that she made a few more to display pictures of her grandchildren. Have fun crafting!