I like making lamps. This is my first time making a desk lamp and I challenged myself to do it with supplies I already had.
This was quite simple to make and cost almost nothing. I used a can to make the lampshade, and some 1×2 in. wood pieces for the base. The only thing I had to buy was the switch.
So it´s a very cost-effective DIY.
I left the DIY table lamp pretty raw but you can do any finish you want.
You only need a cute paper for the lampshade and a nice paint for the base to give it the look that suits your decoration
[ This post probably contains affiliate links, our full disclosure policy is really boring, but you can read it HERE ]
How to make a DIY study lamp
Supplies you will need to make this table lamp:
- A large Can
- 2 x 1 in. wood plank
- socket, wire and switch kit
- LED bulb
- 2 small 3/4 screws
- 1 1/2 screws
- Wooden glue
- A sharpie
- Cutter
- Drill
- A nice paper
- double sided tape
I strongly suggest you to get a full socket and wire kit if you don’t want to mess up with electric power.
Ensure that the switch is on the wire and not on the socket to easily turn the light on and off. This simple kit will works, and it you want something fancier this one look very nice.
Please use only LED bulbs, as they don’t heat.
Any large can will work to make the DIY table lamp, I used this can if you wonder 😉
RELATED: Easy DIY paper lampshade
RELATED: DIY wall lamp
Step 1
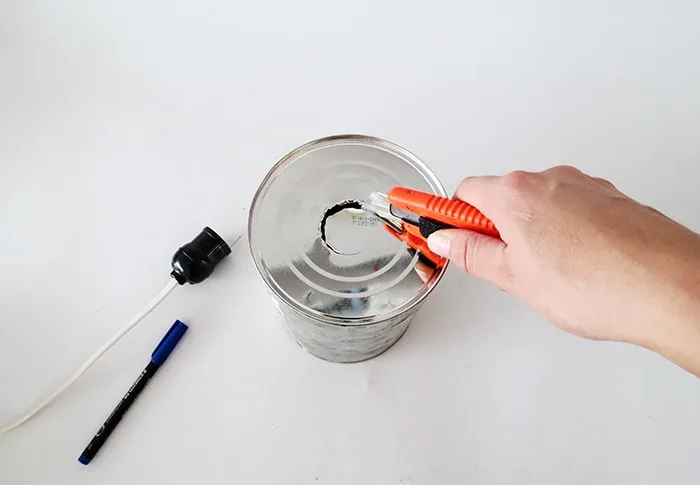
Place the circular base of the socket on the bottom of the can. Center both and, using a sharpie, draw a circle on the can following the socket shape.
Follow the drawn circle to cut an opening on the can bottom. Proceed little by little using a cutter.
Step 2
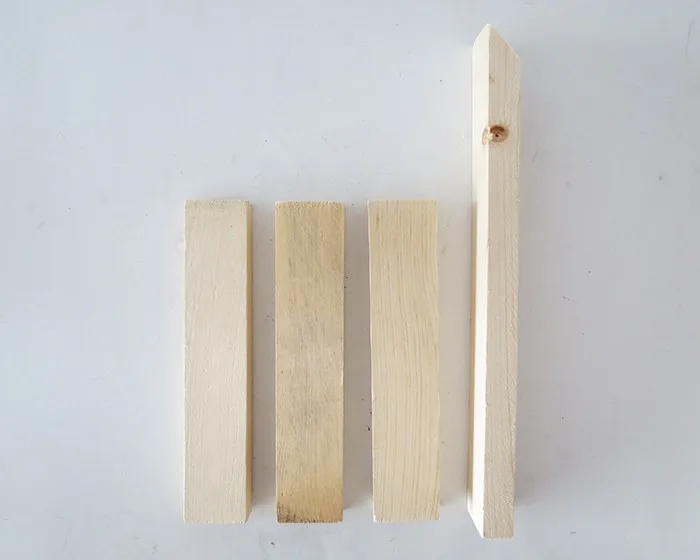
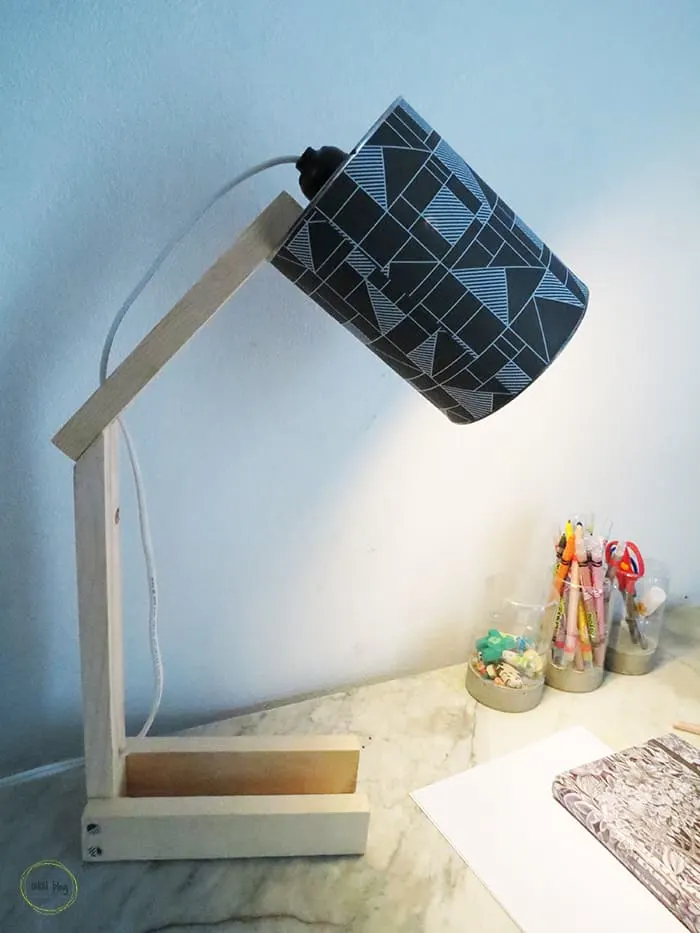
Take the 2 x 1 in. wood plank to make the lamp base.
Cut 3 pieces of 8 inches long and one piece of 12 1/2 inches long.
The longest wood piece must be cutted at a 45 degree angle at one end. You can have a look at the picture below if you have any doubt.
Sand the pieces to remove splinters.
Step 3
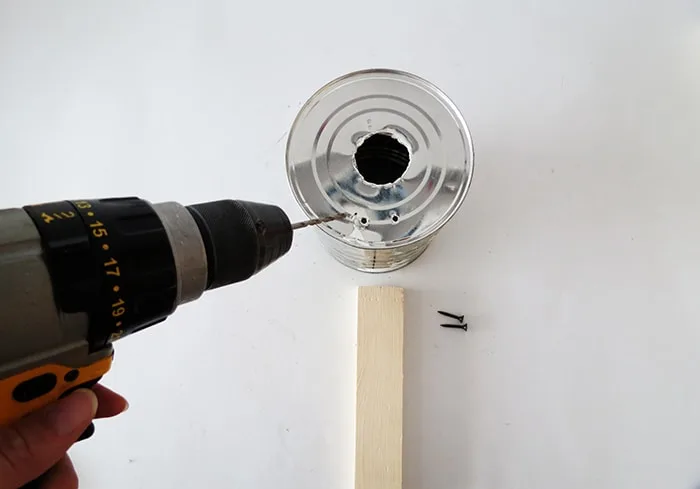
With a drill, make two holes in the back of the can, just under the socket hole. These two holes will help you easily screw the can on the wood.
Step 4
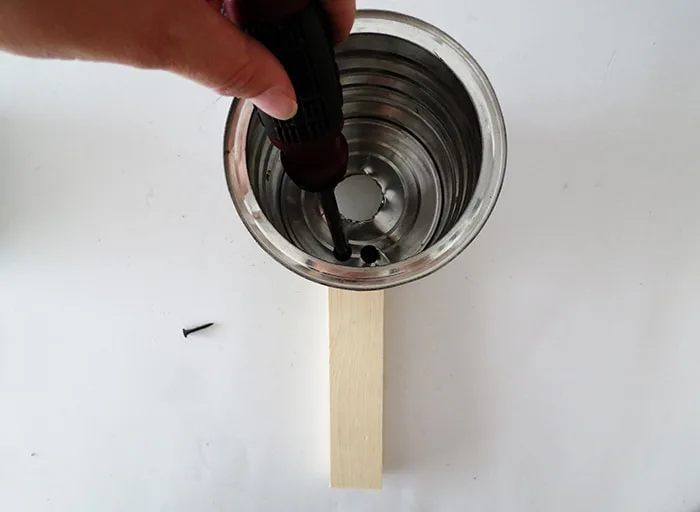
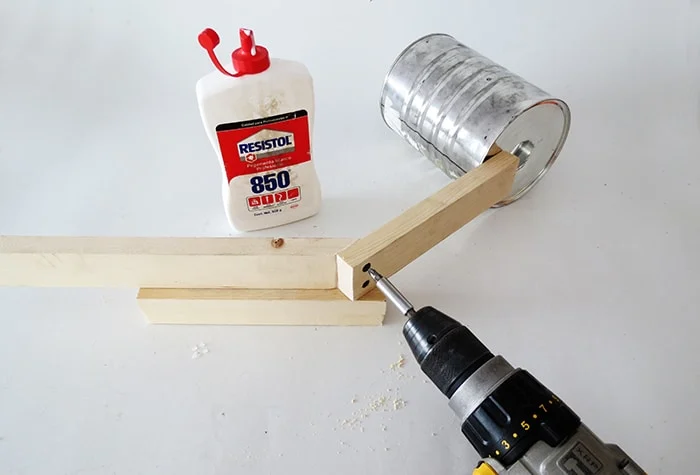
Take one of the 8 in. wood piece and lay it flat. Place the can on top of it, the two little holes above the wood.
Screw them together. Put two small screws from the inside of the can. That way, it doesn’t go through the wood. I used 3/4 in. screw.
Step 5
Keep building the lamp foot, by fixing the 12 1/2 in. wood at the end of the 8 inches one.
The 45 degree angle cut must be next to the end of the first wood piece. Use some glue and two screws to fix both wood pieces together.
Step 6
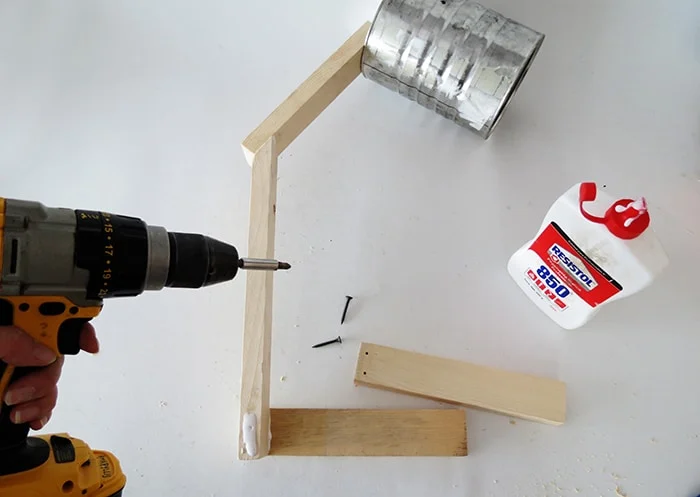
Last step to finish the lamp foot. Take the two last wood pieces of 8 in. and place them to form a 90 degree angle on each side of the 12 in. wood piece.
Add glue and 2 screws on each side to fix the wooden pieces together.
Step 7
Time to drill some holes to pass the cable wire.
For this step you need to remove the socket or the plug of the lamp kit you get. If you don’t feel comfortable doing that, you can just use small hooks (like these) to fix the wire on the wood base.
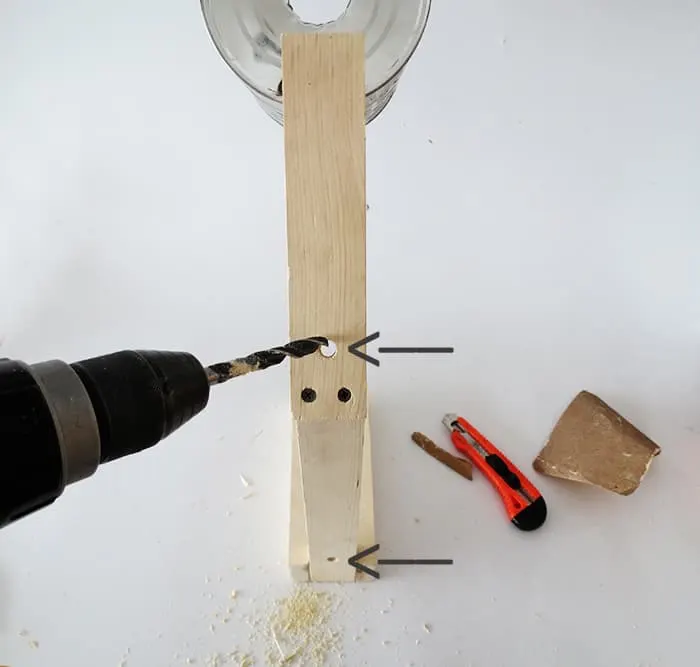
So, to pass the wire though the wooden base, drill one hole at the bottom of the top wood piece and a second hole just above the base.
The drill bit must be the same diameter as your cable wire. Pass the wire through the holes, then mount the plug back.
Step 8
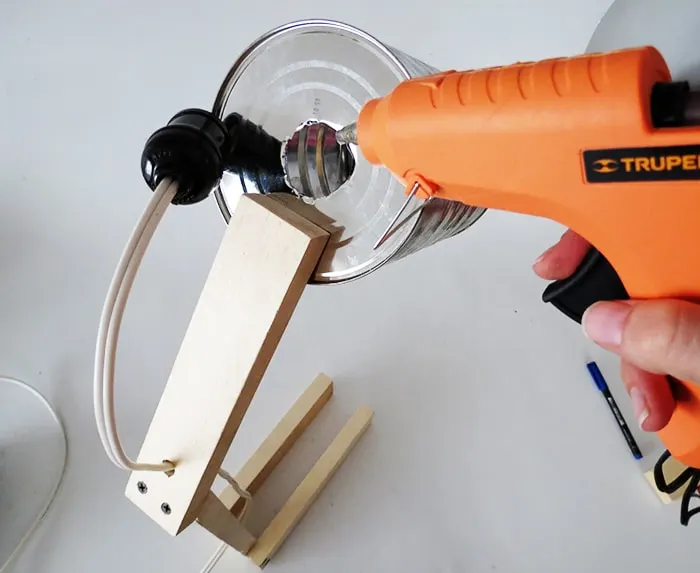
Place the socket on the can. If you bought a lamp socket you will just have to screw it in place with the ring that comes with.
If you decide to make the table lamp with scrap, like I did, fix the soquet into the hole with a glue gun or any silicon glue, to fix the socket into the can hole.
Step 9
Put the bulb in place, please use only energy saving bulb or LED.
Step 10
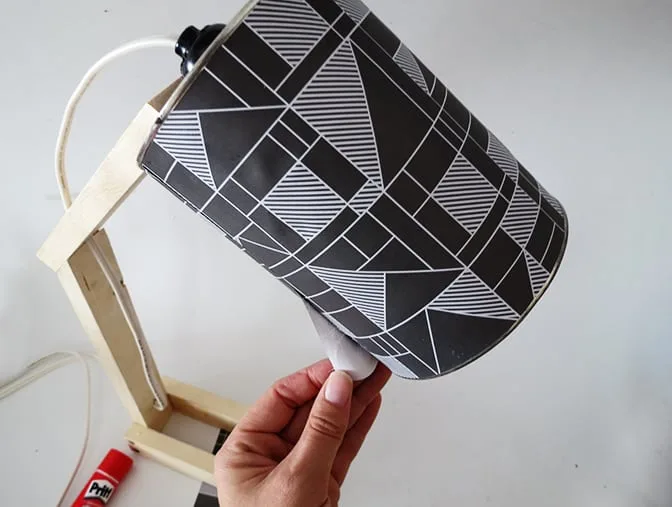
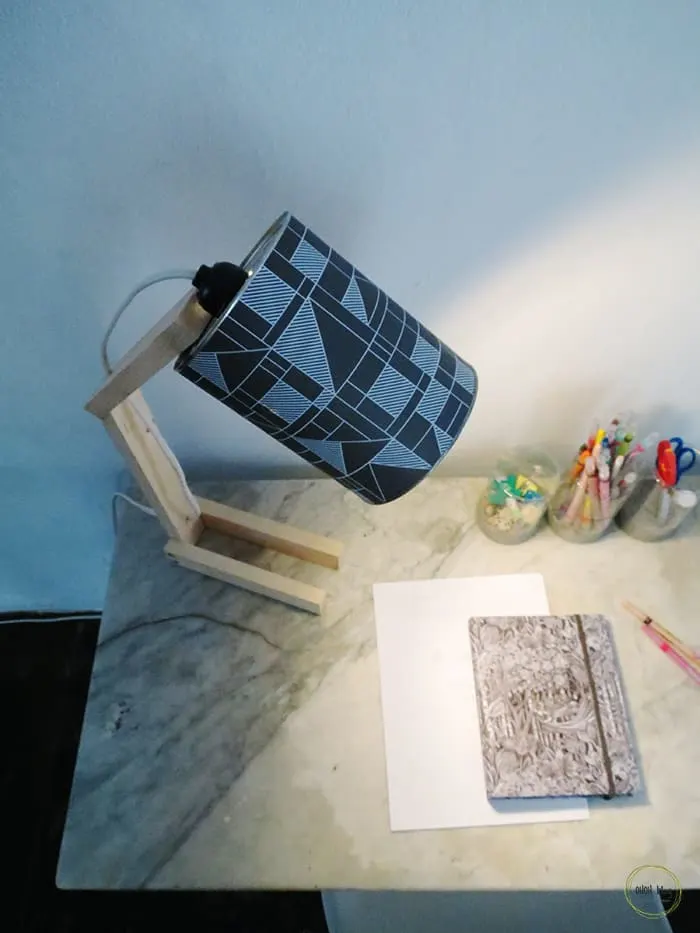
The last thing you can do is to give the lampshade a nice decorative touch.
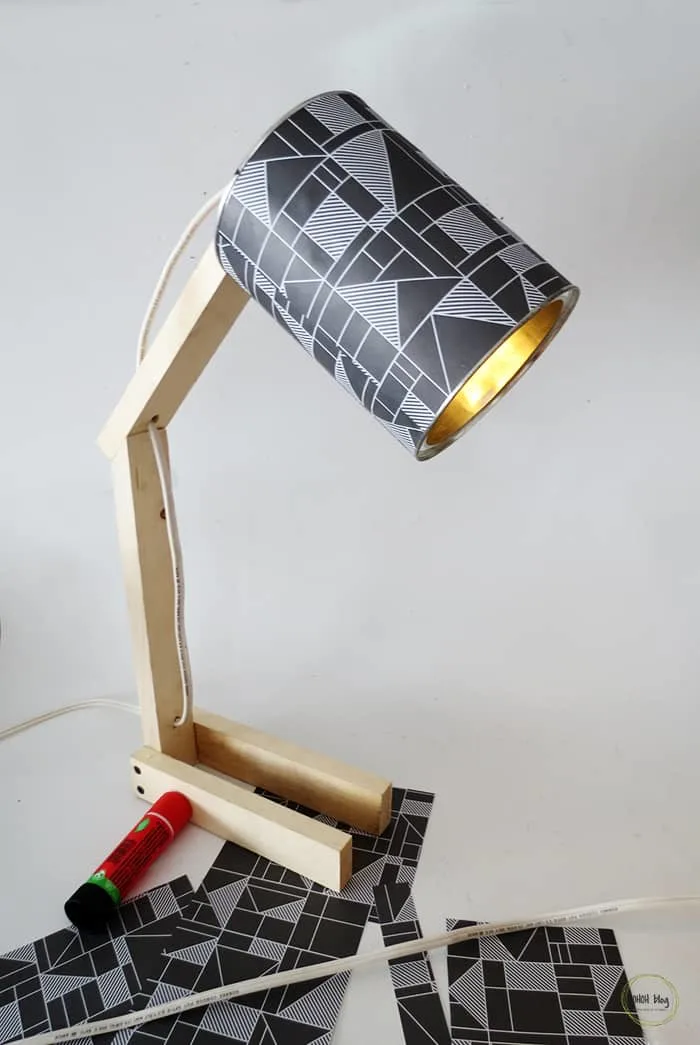
Choose a pretty paper and cut a rectangle of paper, same dimension as the can, and glue it around.
I like to use glue stick or double sided tape, as they avoid the paper from curling.
RELATED: DIY lampshade
RELATED: DIY wood lamp
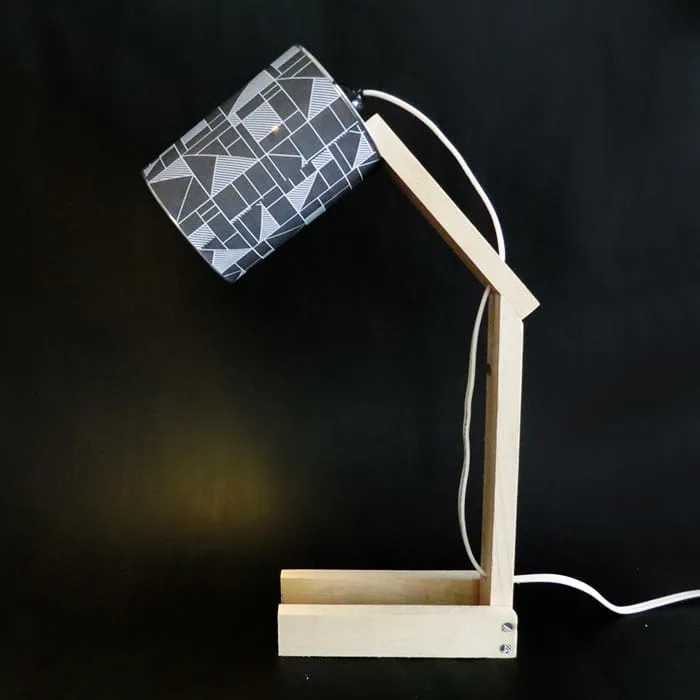
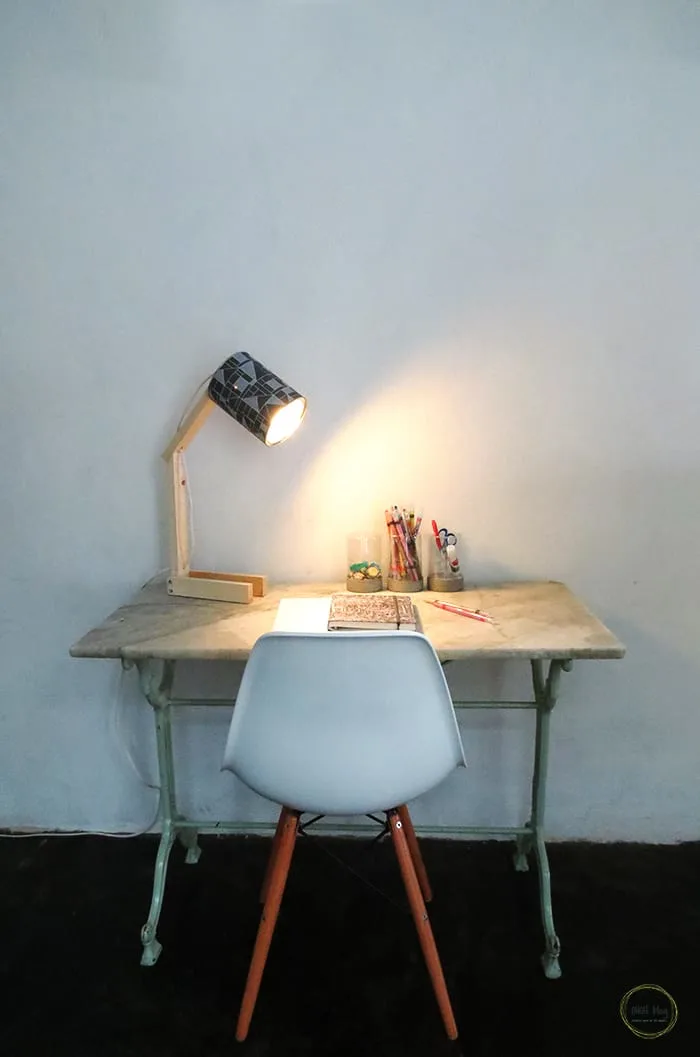
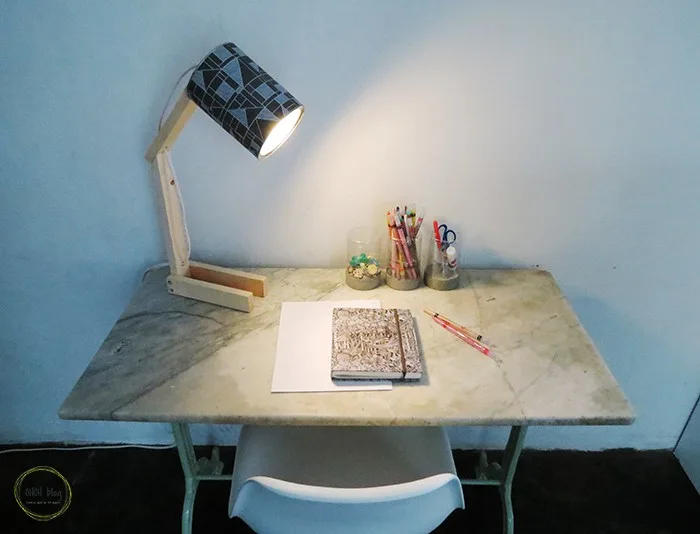
And done!!! A brand new desk lamp made with 4 pieces of wood and a can! What do you think?
Of course you can easily personalize it, you can for example paint the wood, and choose any paper design you like!
I like to see your creation, so if you make a desk lamp following the tutorial don´t hesitate to let me know.
Leave a comment or tag me on instagram @ohoh.deco.
Have fun making lamps!
RELATED: DIY lamp cage
RELATED: 18 ways to make DIY lamps
Want to remember it? Save this easy DIY Desk Lamp in your favorite Pinterest board


ann daniel
Thursday 1st of November 2018
such a great idea. thanks for sharing.
Roger Roy
Monday 12th of March 2018
That is really awesome. You did a great job. It was a beautiful thought! Just wanna say thank you for the tips you have shared. I really appreciate of doing this.
Anonymous
Thursday 3rd of November 2016
Quel beau bureau ! Emmy a les idées et le matériel pour faire ses bricolages... Manque plus que son blog ;-)Chouette lampe en tous cas ! J'espère qu'elle me la prêtera quand on vient !
Ama Ryllis
Wednesday 16th of November 2016
Pas sure ça...faudra que t’amènes du stock de chokotoffs ;)
Traditional Rugs anc carpets online
Wednesday 26th of October 2016
Wow... Masterpiece. Very easy to make and cost effective. The step by step tutorial of making this lamp is very easy and even i can also make it in my home now. Thanks for sharing such a great posts..
Ama Ohoh blog
Wednesday 2nd of November 2016
The only money I spend was for the cord, socket and the bulb...so you are right very economic DIY!