Get ready to spookify your home this Halloween with a touch of DIY magic! In this article, we’ll show you how to create your very own ghost garland DIY to add a playful and eerie vibe to your decorations.
From gathering the supplies to hanging the finished product, we’ll guide you through each step of this fun and budget-friendly craft project. So grab your scissors and let’s get crafting!
[ This post probably contains affiliate links; our full disclosure policy is boring, but you can read it HERE ]
Gather Your Supplies
To create your ghost garland, you’ll need to gather your supplies first.
Once you have all your materials ready, you can move on to creating the ghosts.
Watch the video to make the DIY Ghost Garland
Create the Ghosts
To bring your ghost garland to life, it’s time to create the ghosts themselves.
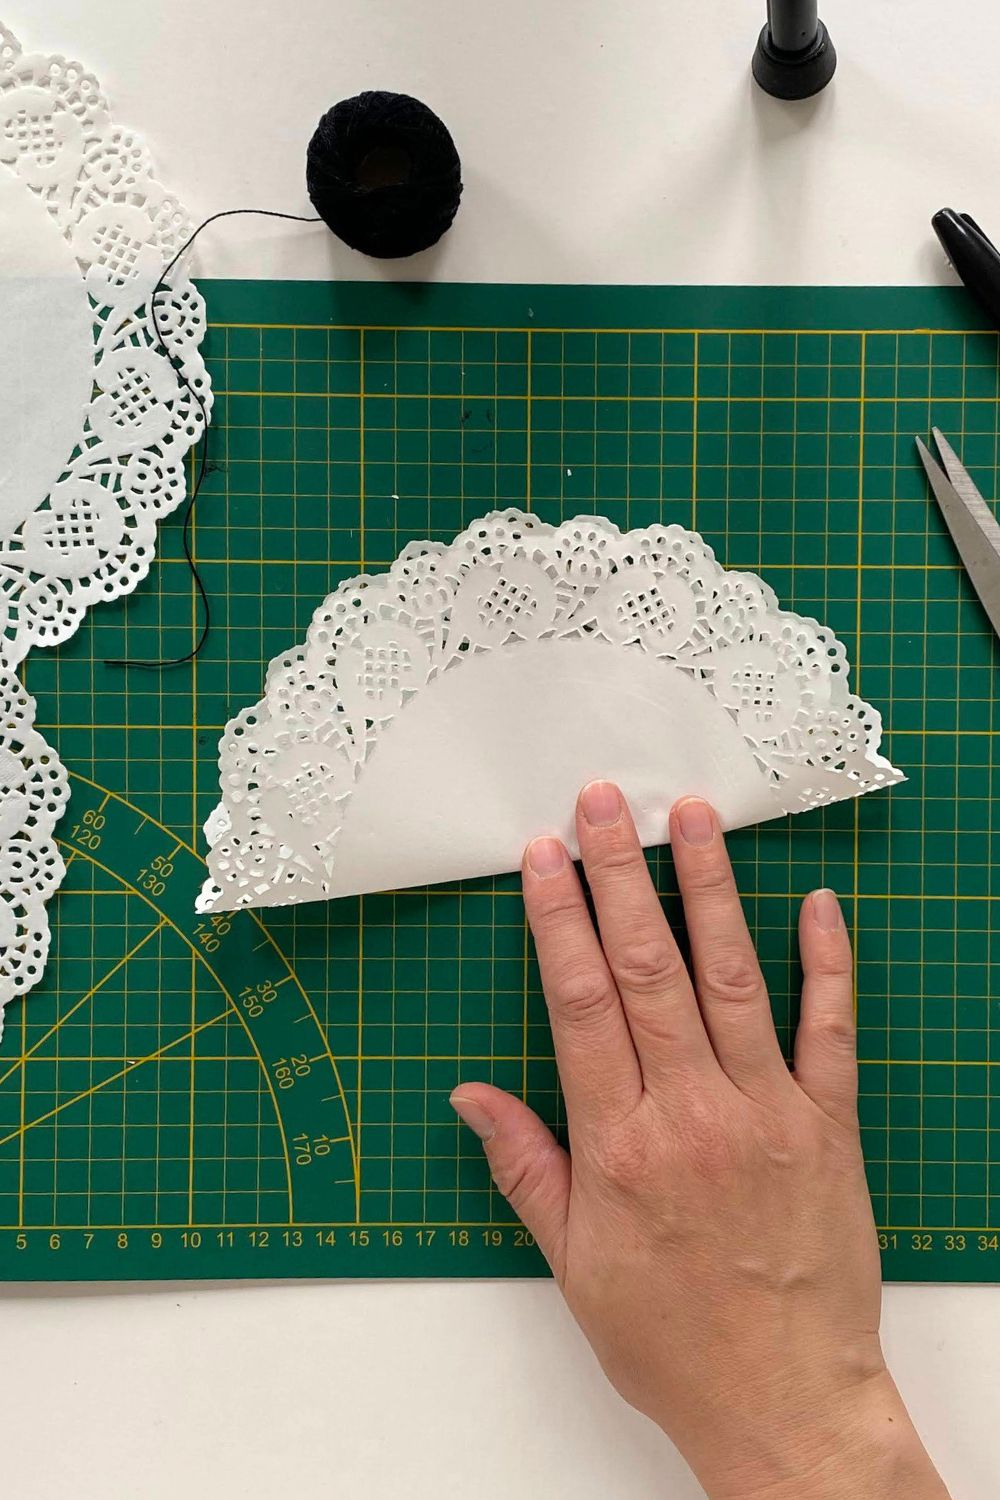
Begin by folding up a paper doily into a triangle shape. Start by folding it in the middle.
Then fold it again into three equal parts. You can help yourself with a ruler, but it doen´t need to be perfect.
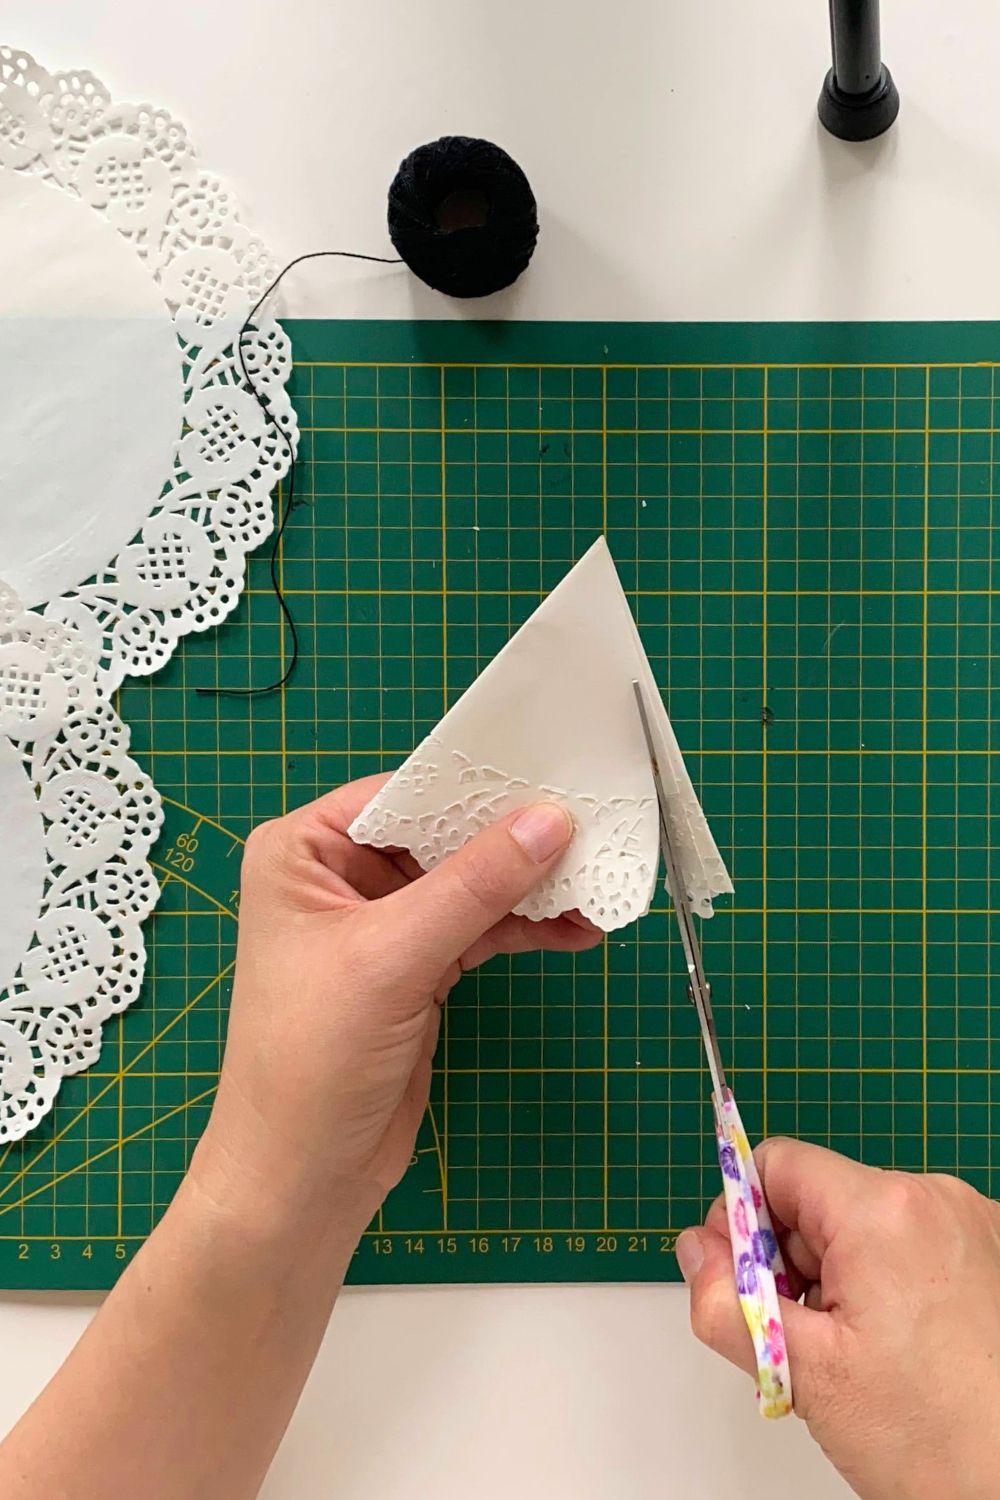
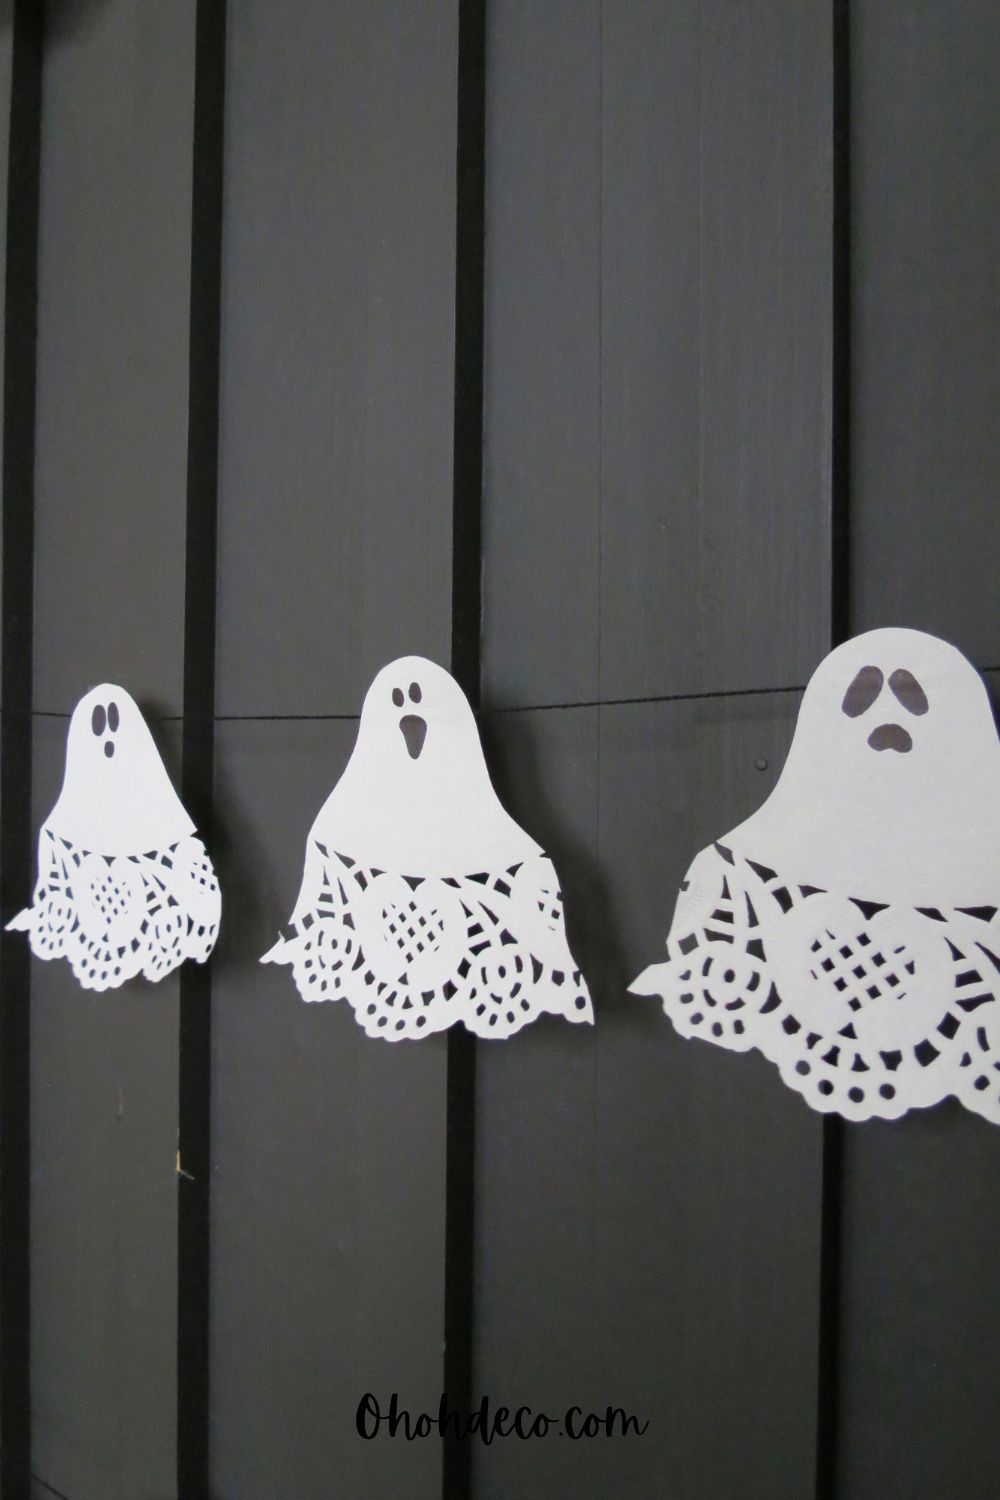
Once the paper doily is folded into a 6-layer triangle shape, you are ready to cut out the ghost shape out of it. Rounded the tip to make the ghost shape and cut the sides following a wave shape. You can use a pencil to draw the ghost shape before cutting it to make it easier.
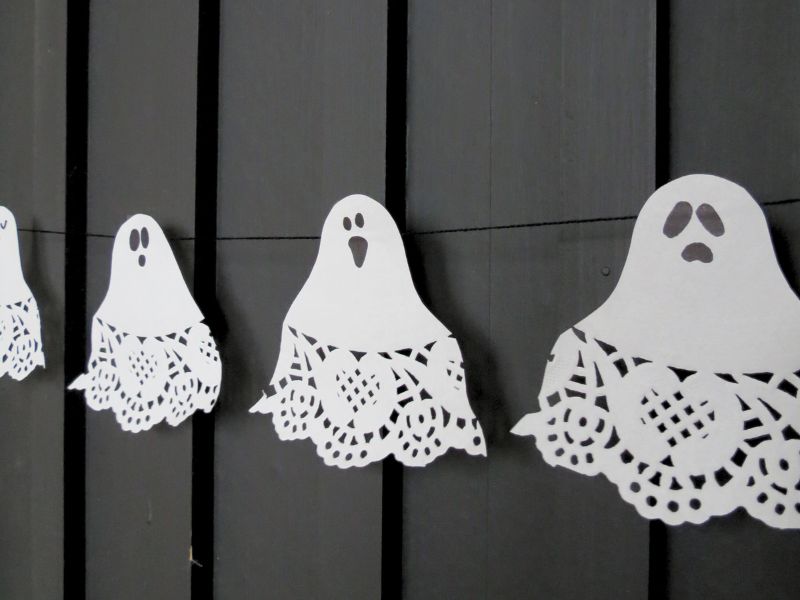
Separate all the paper doily layers, and you will have 6 little ghost shapes.
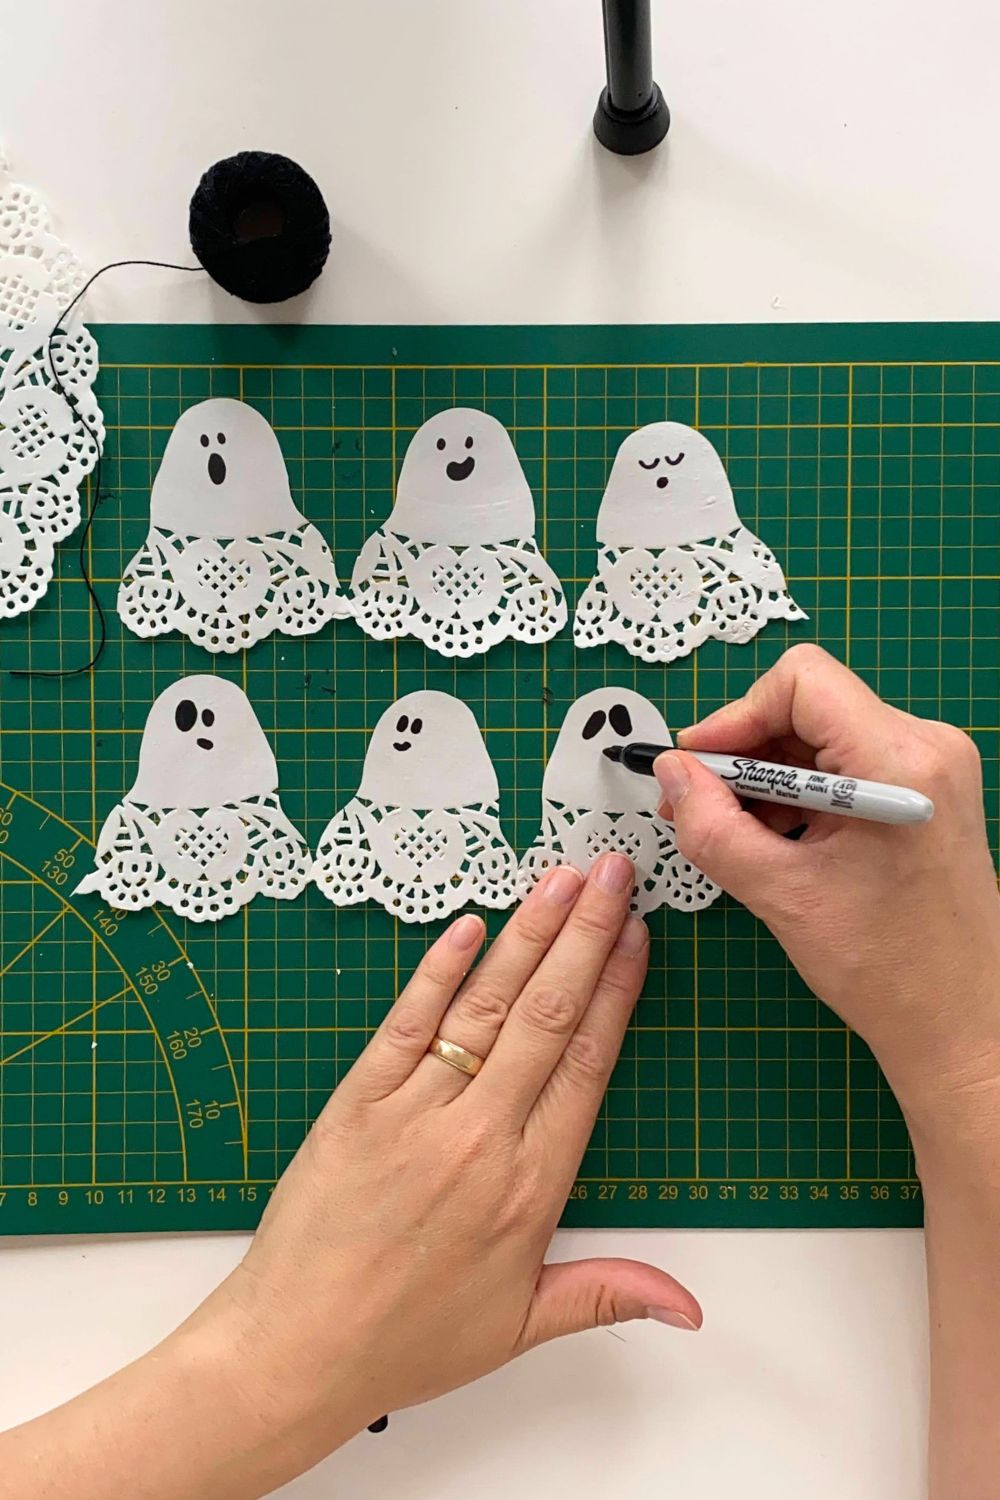
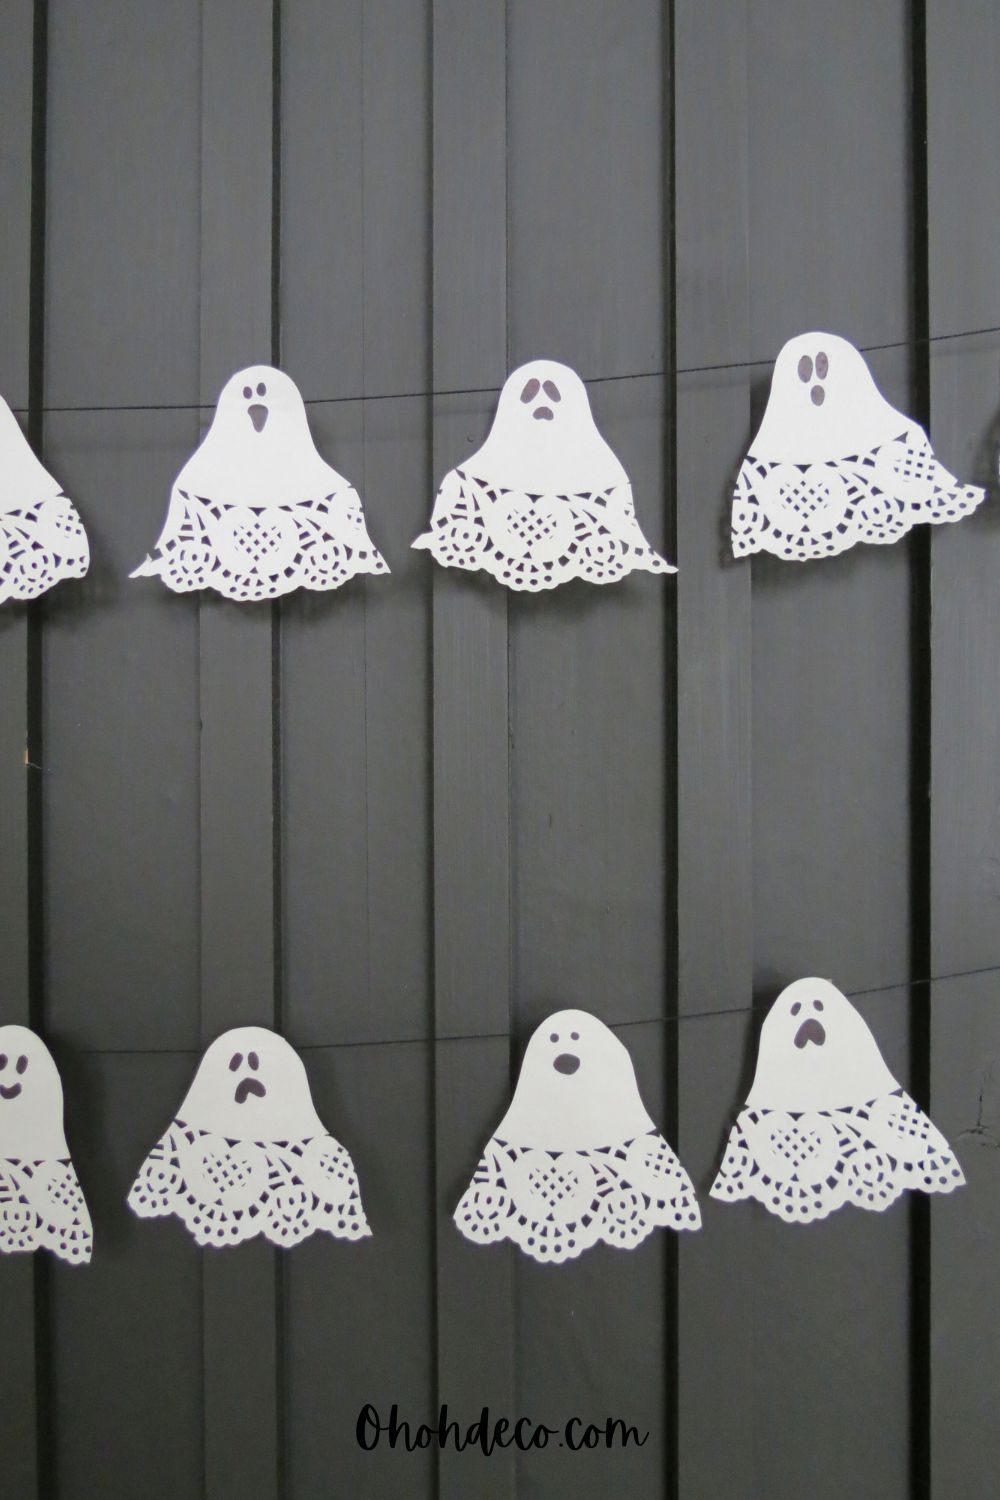
Use your black marker to draw on eyes, a mouth, and any other spooky features you desire. Get creative with different facial expressions to give each ghost its own personality.
Once your ghosts are complete, you’re ready to move on to assembling the garland with these haunting figures.
Assemble the Garland
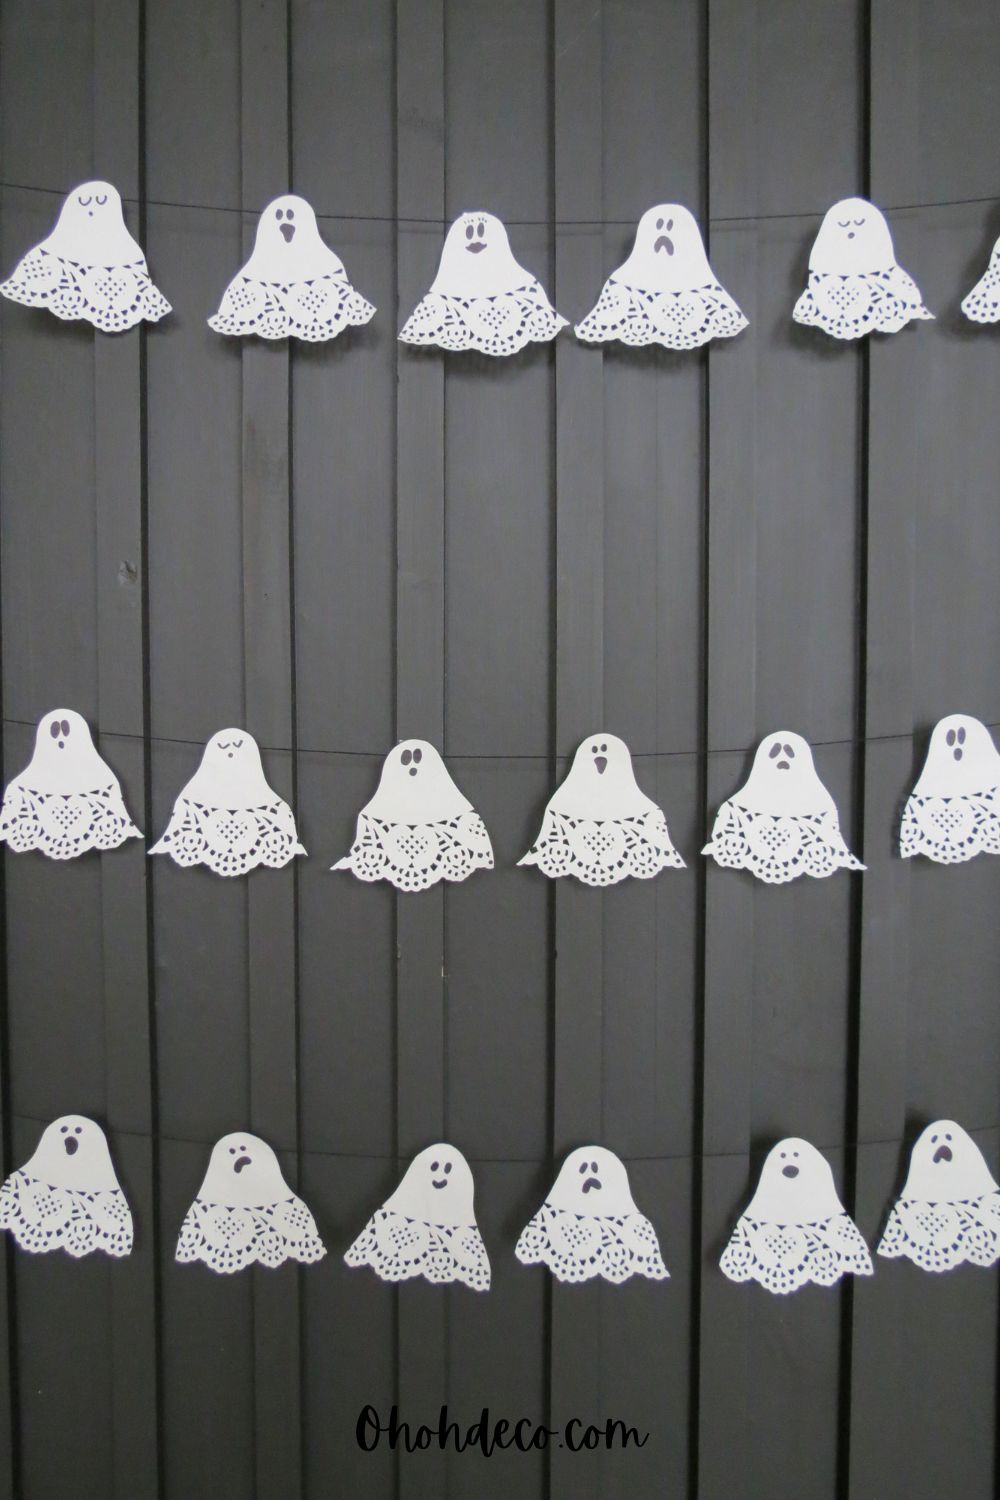
Next, gather a length of string or twine to serve as the base for your ghost garland. Lay out the ghosts you created in a desired pattern along the string, leaving a bit of space between each one.
Secure each ghost to the string with a small piece of tape or glue, ensuring they are evenly spaced.
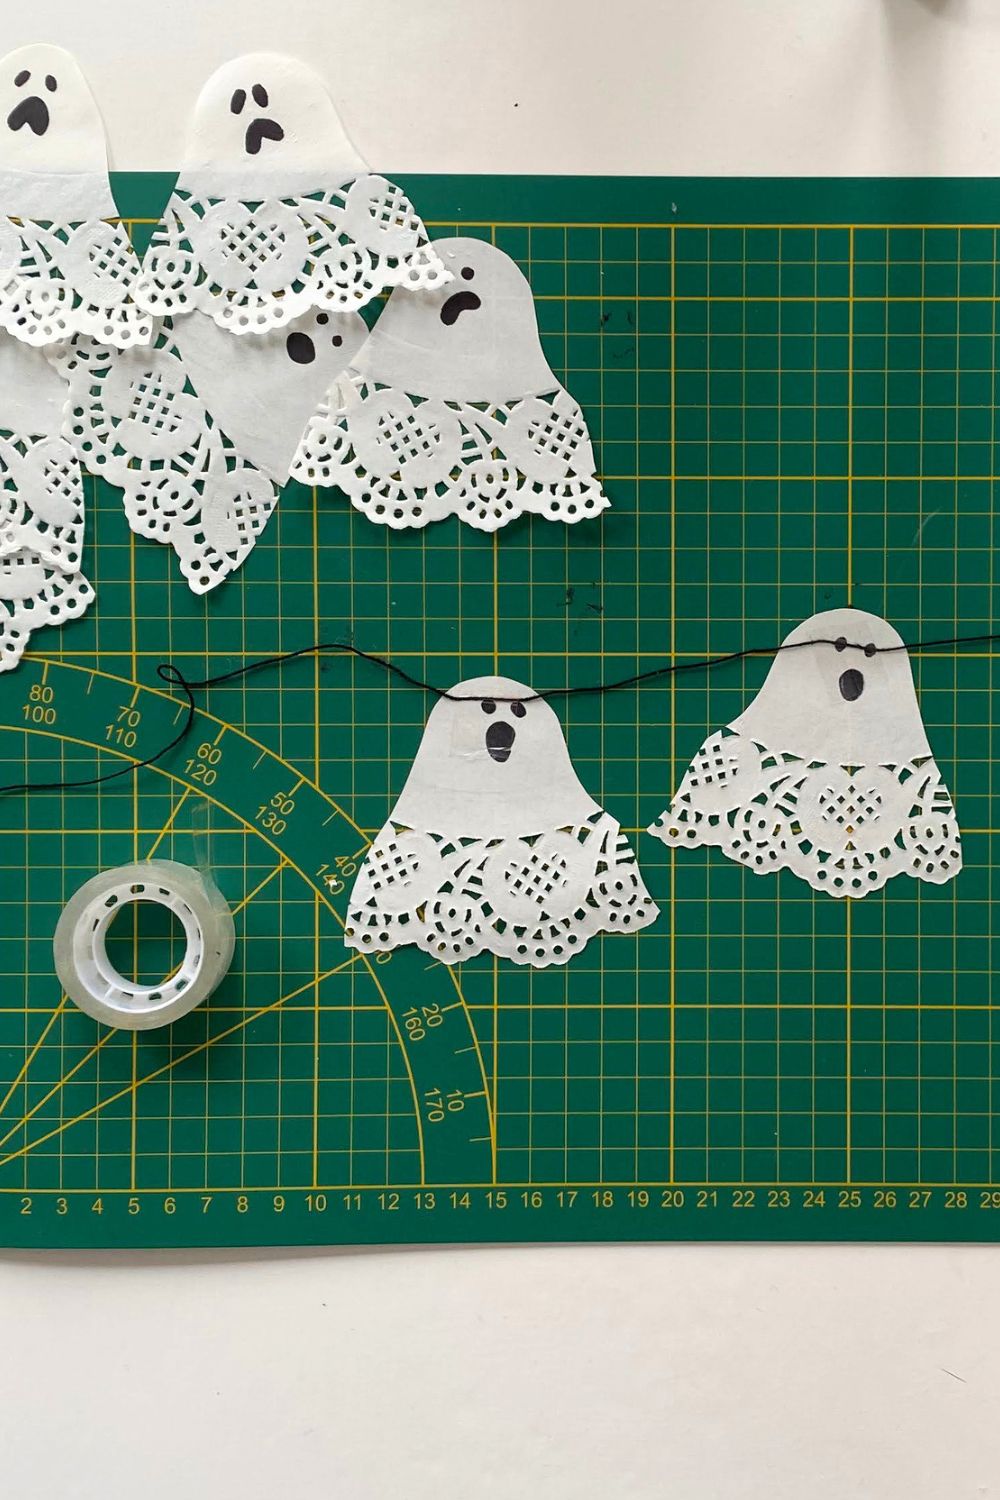
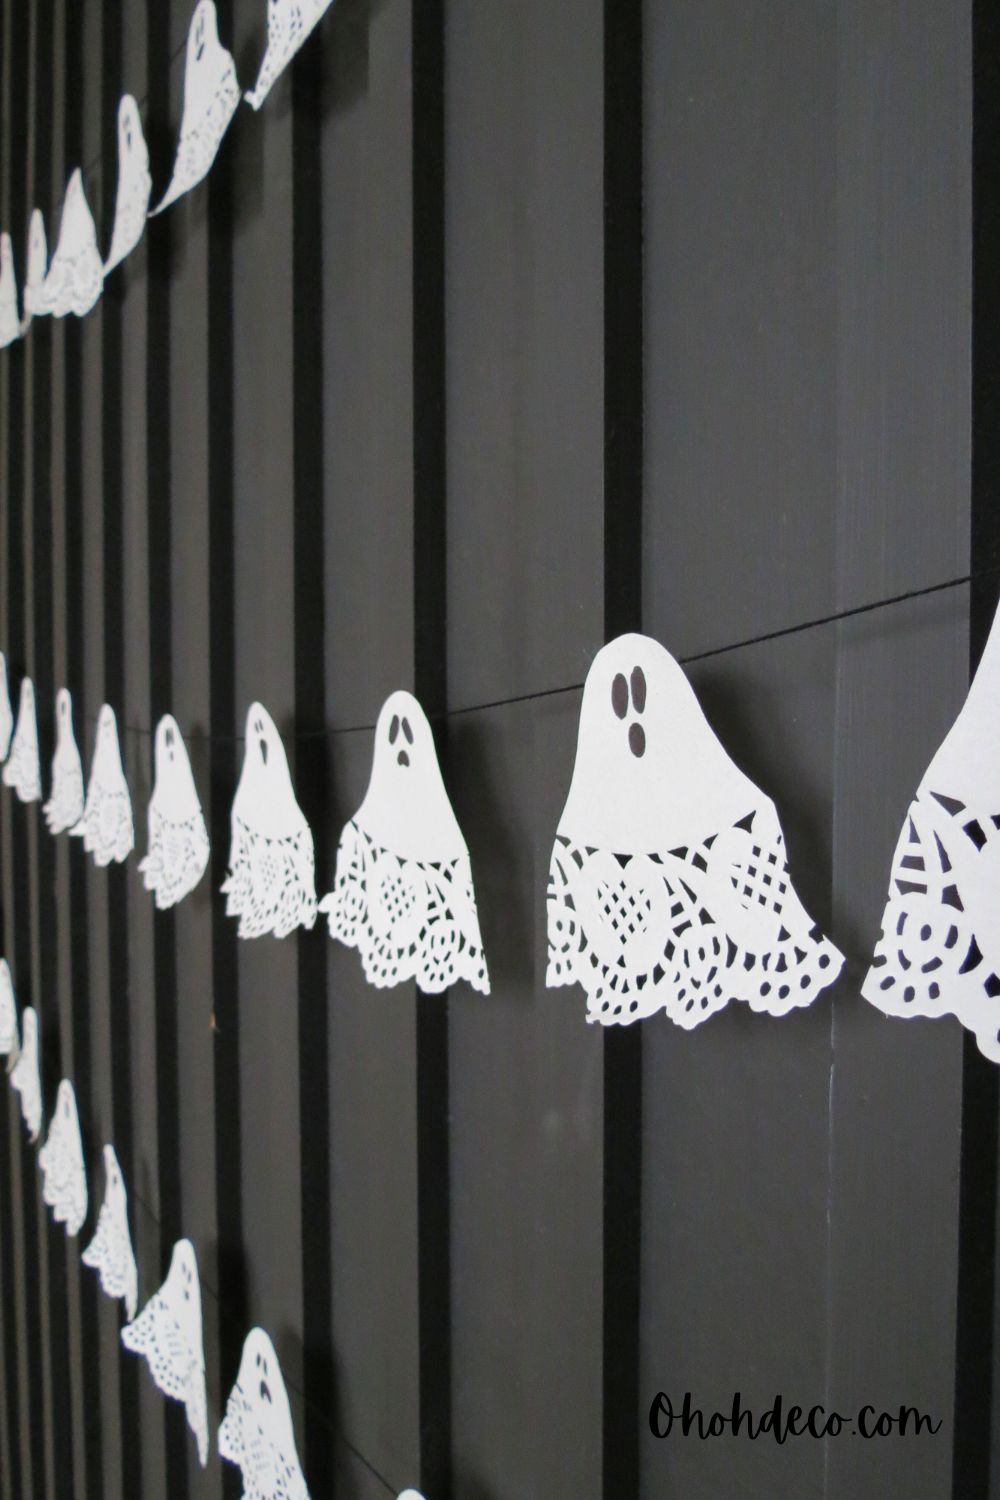
Once all the ghosts are attached, step back and admire your spooky creation. Now, you’re ready to hang your ghost garland and enjoy the eerie ambiance it brings to your space!,
Hang and Enjoy!
Once your ghost garland is all assembled and ready to go, it’s time to hang it up and enjoy the spooky vibes it adds to your home.
Find the perfect spot to showcase your creation – whether it’s along a mantel, draped over a doorway, or even strung up on windows for a haunting touch.
Take a moment to appreciate the creativity and effort you put into making your own ghost garland, and let its ghostly presence bring a touch of Halloween spirit to your surroundings.
.
.
.
In just a few simple steps, you can create a hauntingly charming Halloween atmosphere in your home with your very own ghost garland.
By gathering your supplies, creating the ghosts, assembling the garland, and hanging it up, you’ll have a spooktacular decoration that will impress all your guests.
So grab the family, get crafting, and let your creativity run wild. Happy Halloween!
RELATED: Unconventional Halloween Crafts for Adults, 70 Easy Ideas
RELATED: Transform Toilet Paper Rolls into an Elegant Wreath
Want to remember it? Save this DIY Ghost Garland on your favorite Pinterest board
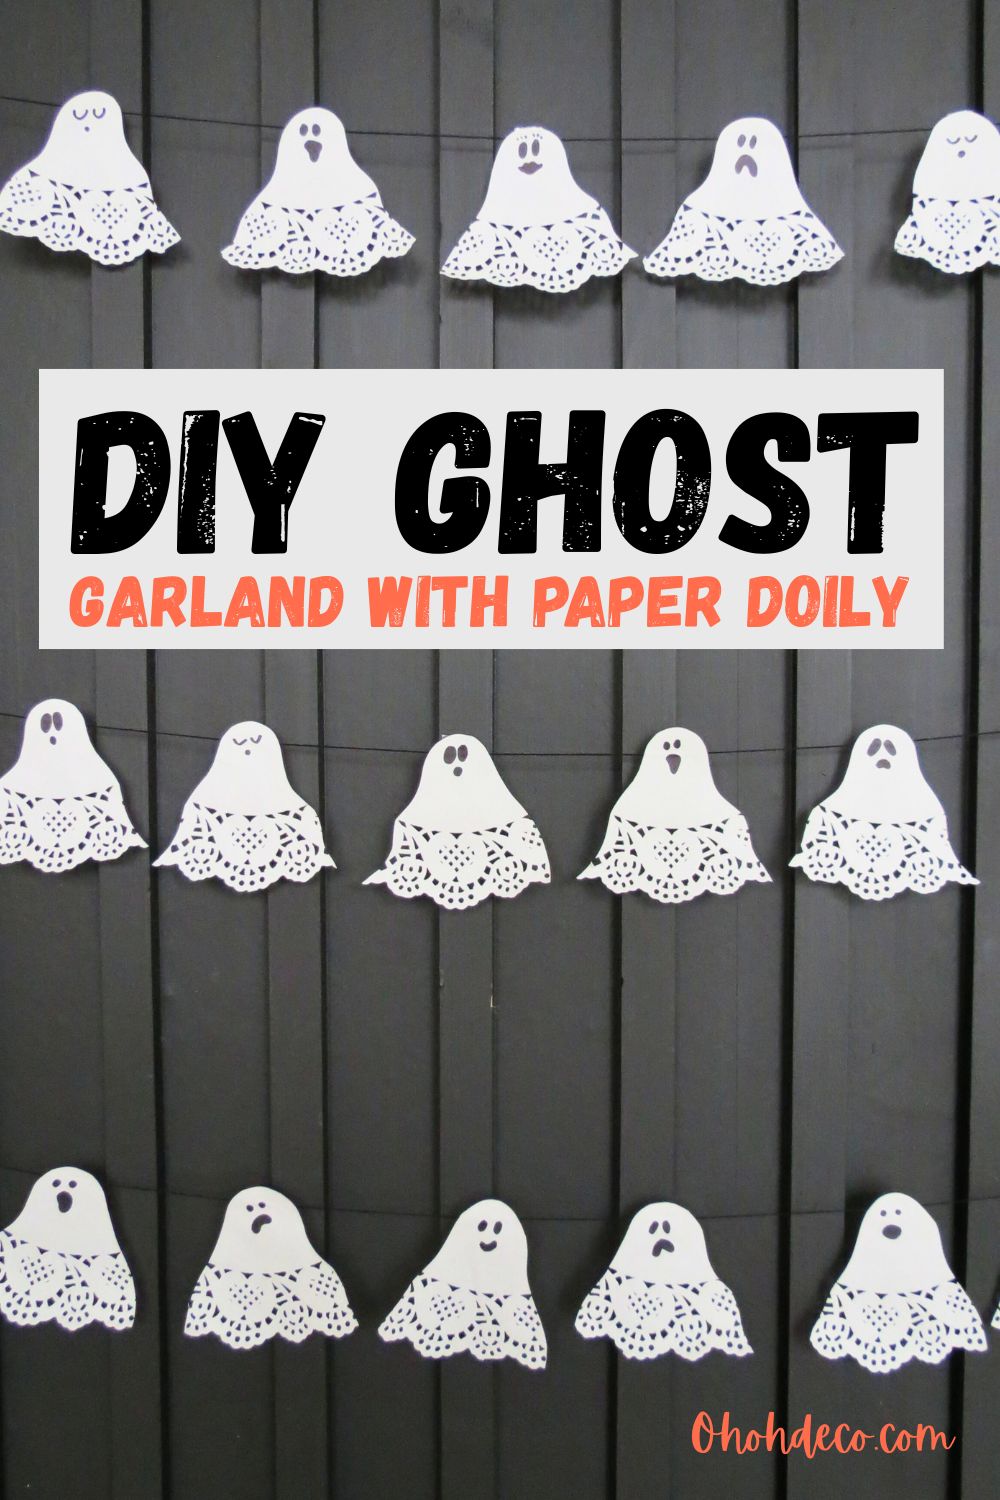
Spooky DIY: Make Your Own Ghost Garland!
Learn how to create a hauntingly beautiful ghost garland for Halloween decorations with this easy step-by-step guide. Add a touch of spookiness to your home decor and impress your guests with this fun and budget-friendly craft project.
Ghostly Glam: DIY Ghost Garland Tutorial
Unleash your creativity and transform your space into a ghostly wonderland with this simple DIY ghost garland tutorial. Get ready to add a touch of eerie elegance to your Halloween decor with this quick and easy craft project.
Boo-tiful Decor: Easy Ghost Garland How-To
Elevate your Halloween decor game with this easy ghost garland how-to guide. Discover the simple steps to create a stunning and spooky garland that will impress all your trick-or-treaters and party guests. Get ready to spookify your space!
Amaryllis