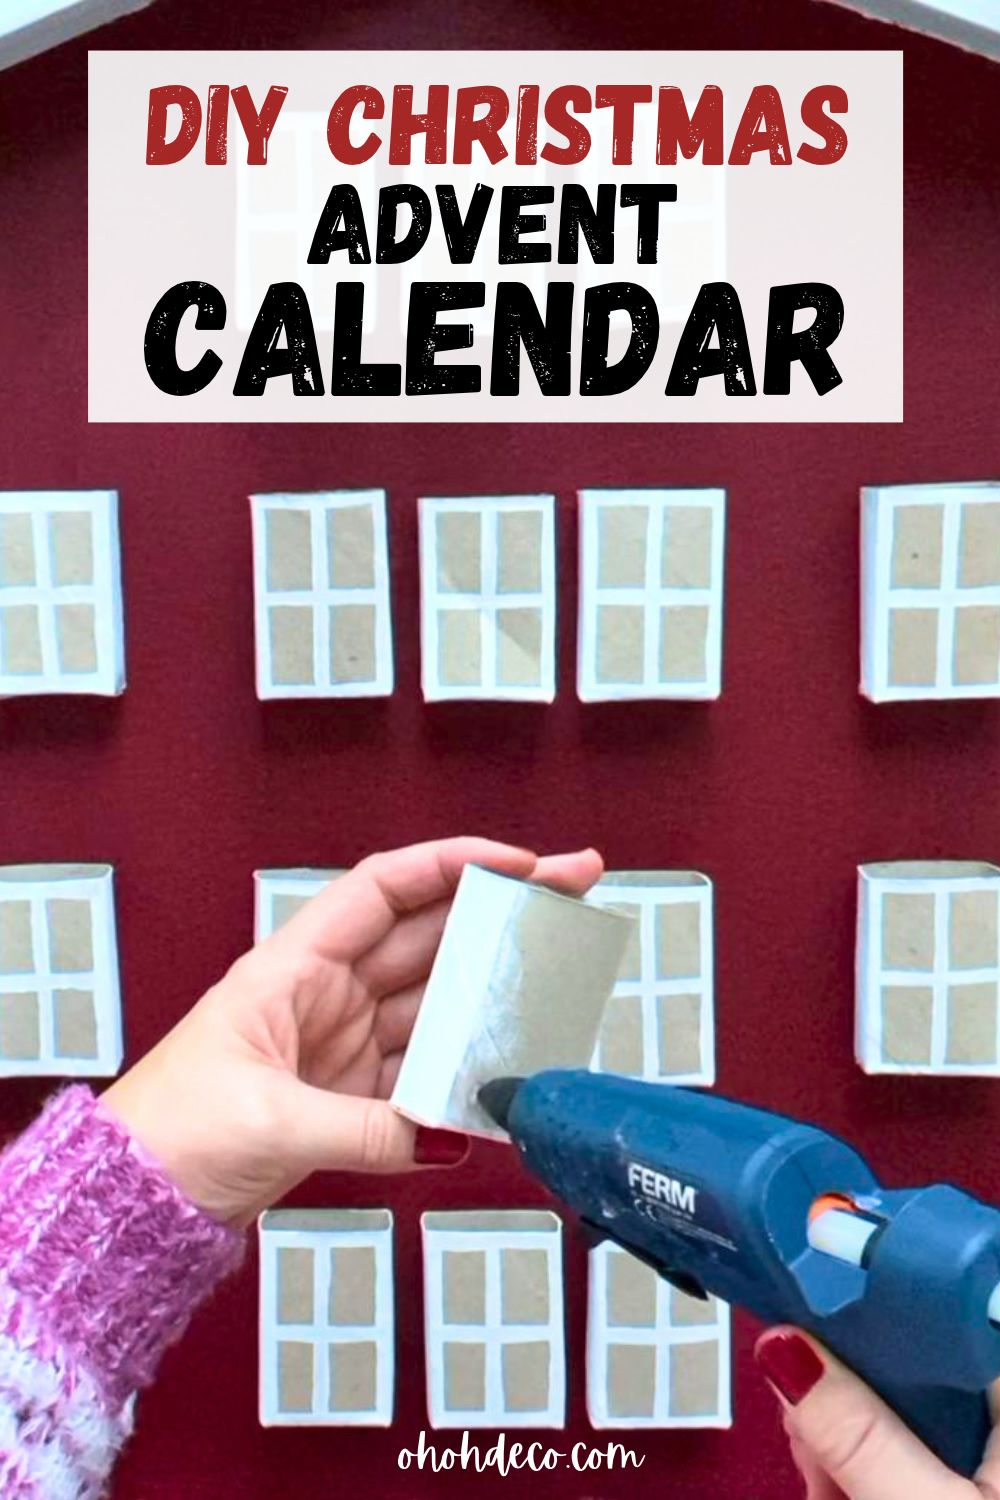
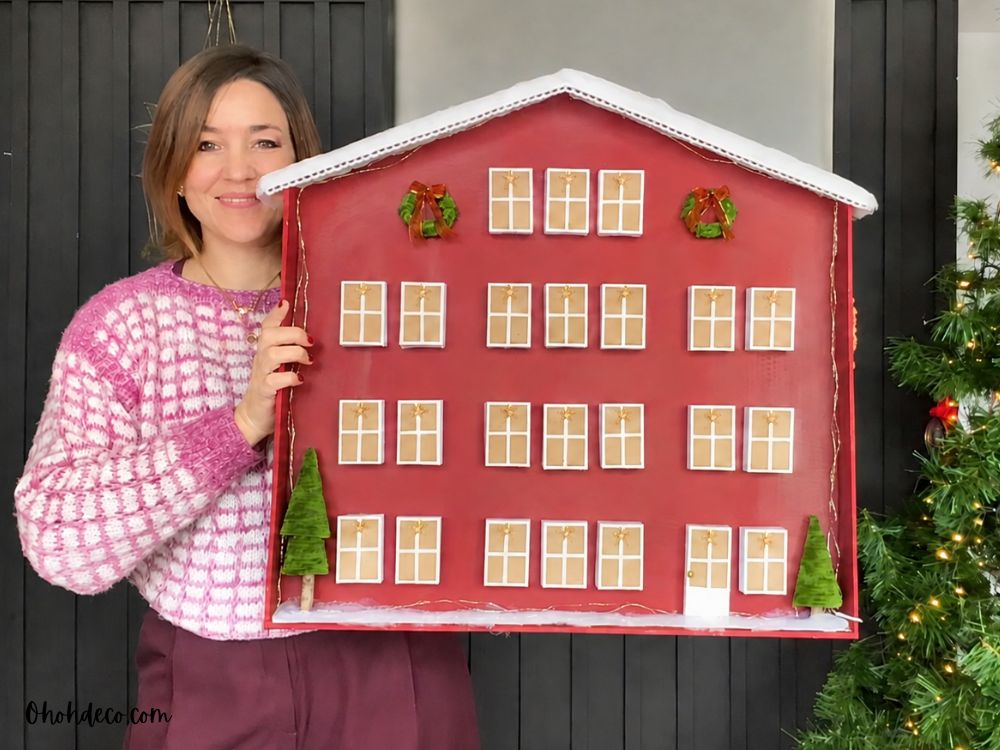
Get ready for the holiday countdown with a charming, eco-friendly craft! In this tutorial, you’ll turn simple cardboard and paper tubes into a DIY advent calendar house.
With 24 little pockets for treats, it’s both a festive holiday decoration and a fun project to make.
[ This post probably contains affiliate links; our full disclosure policy is boring, but you can read it HERE ]
Materials You’ll Need
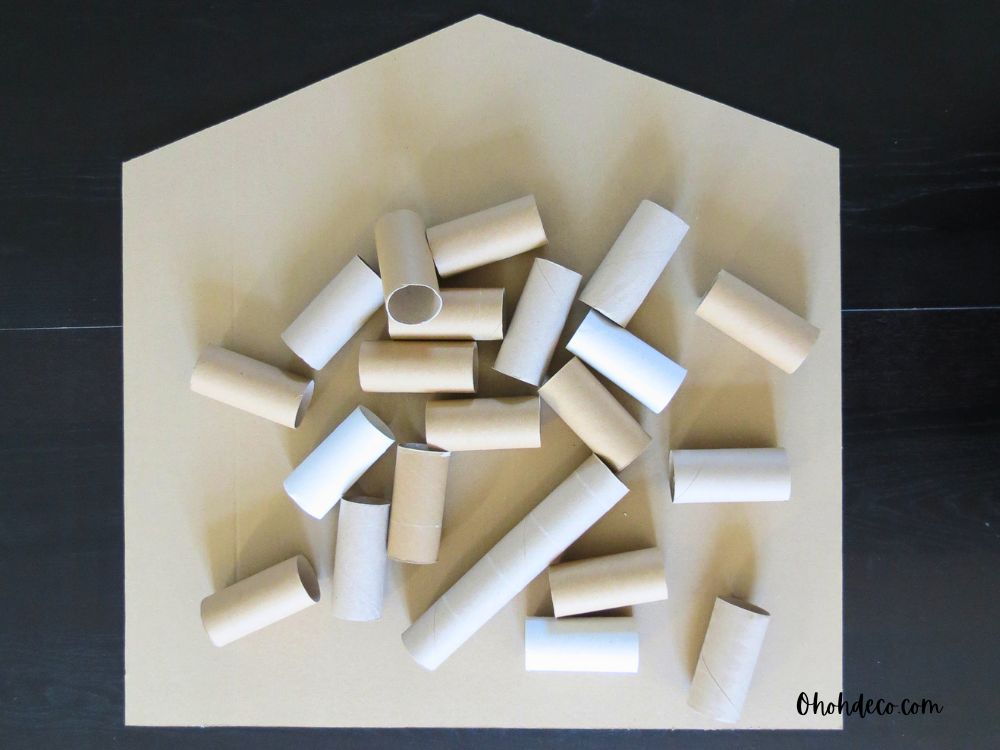
- 23 toilet paper rolls (for the windows)
- 1 paper towel roll (for the front door)
- Cardboard (for the house backing, sides, and roof)
- White acrylic paint or acrylic paint pen (such as Posca)
- Dark red acrylic paint (or any color of your choice)
- Ruler, pencil, and scissors/craft knife
- Hot glue gun and glue sticks
- Kraft paper tape or craft paper (for finishing edges)
- Number tags or stickers (e.g., small numbered paper stars)
- Optional festive extras: faux snow, lace trim, fairy string lights, mini yarn wreaths
Step-by-Step Instructions
Step 1: Make the 23 Window Boxes
- Take a toilet paper roll and flatten it completely.
- Unfold and make a second flat crease parallel to the first (creating a rectangular tube about 2-2.5 cm deep).
- Fold the bottom edge up by about 2 cm to create a base crease.
- Cut along the four vertical corner folds up to the crease line to create four bottom flaps.
- Fold the flaps inward and hot glue them down to seal the bottom, leaving the top open.
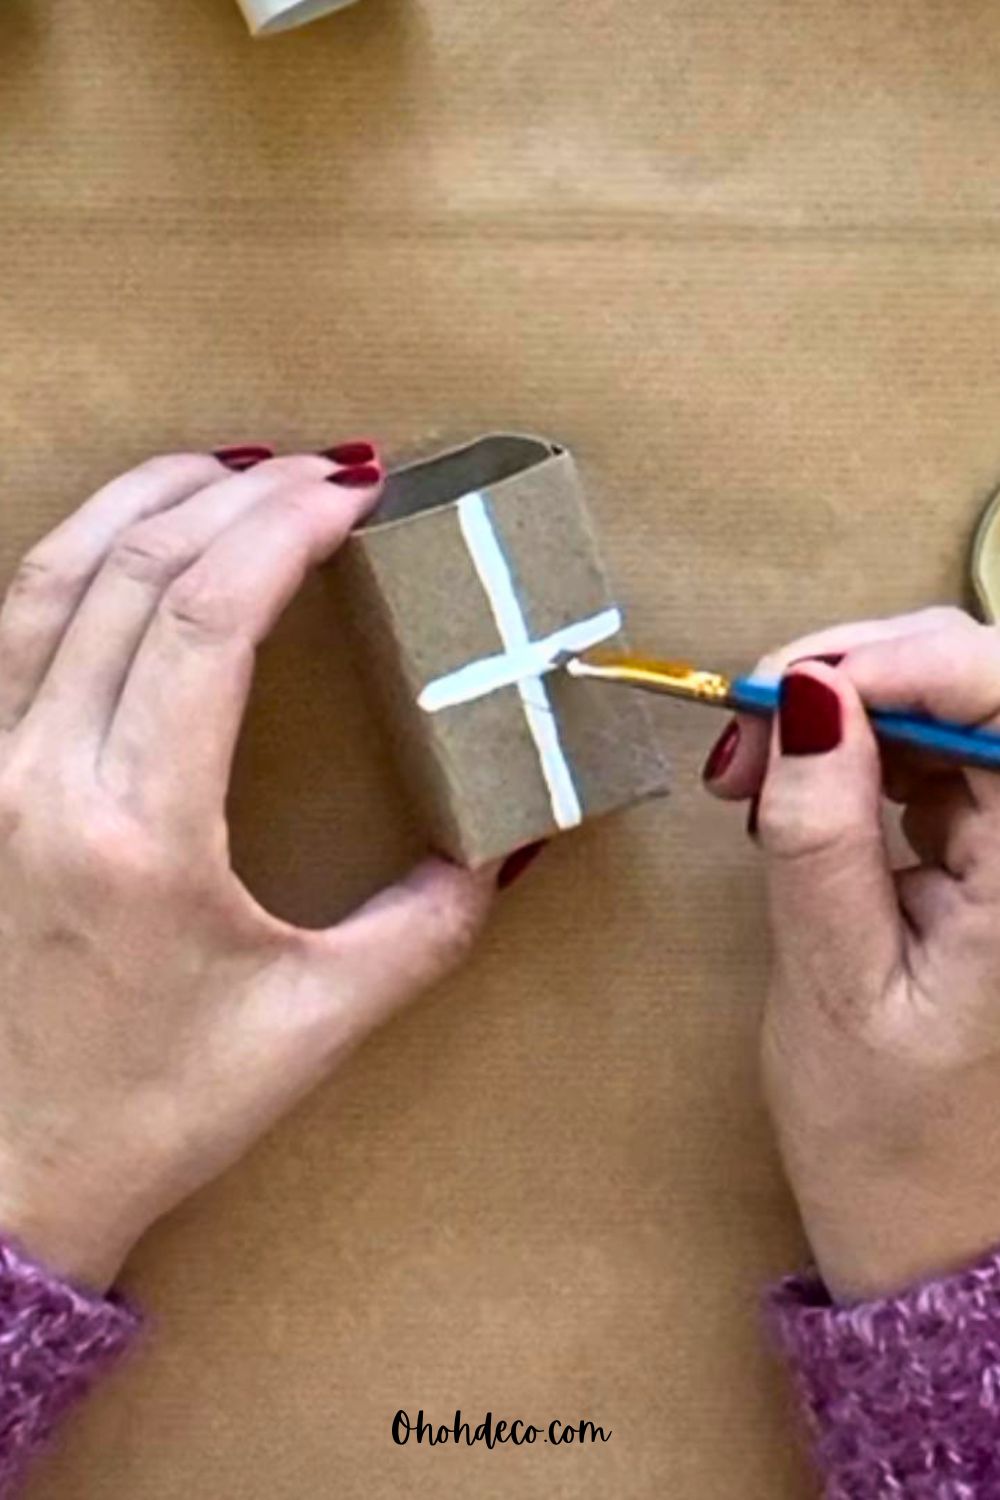
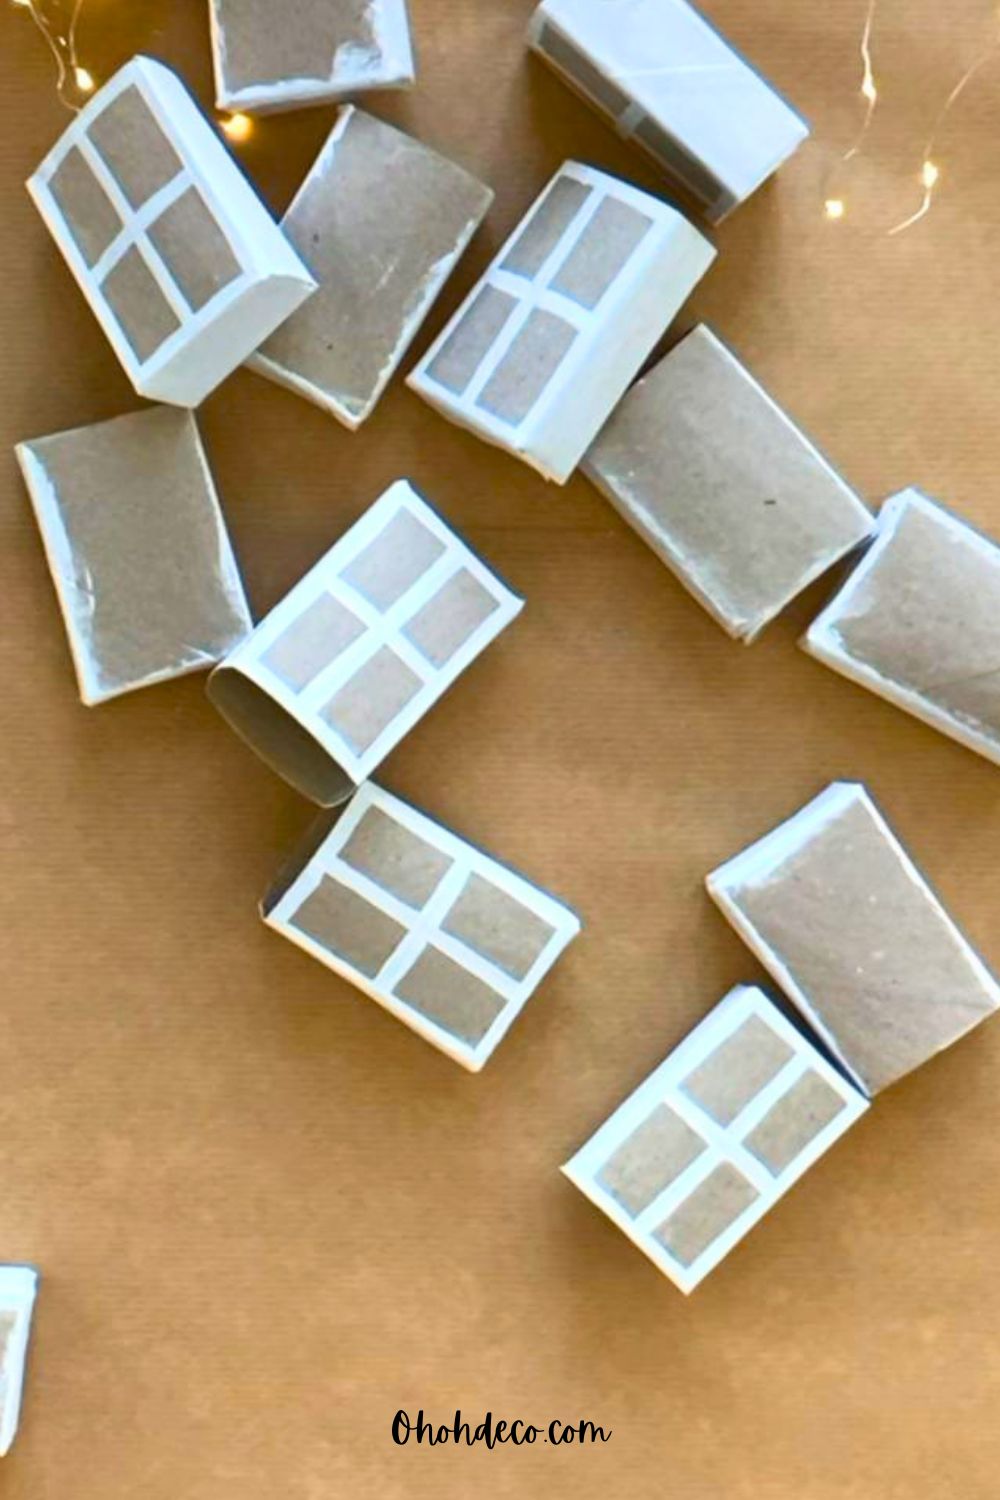
- Using a white acrylic marker or paint, draw a classic multi-pane window frame onto the front of the box. Paint the sides as well for a clean look.
- Repeat this process for all 23 toilet paper rolls and let them dry.
Step 2: Make the Door Box (Day 24)
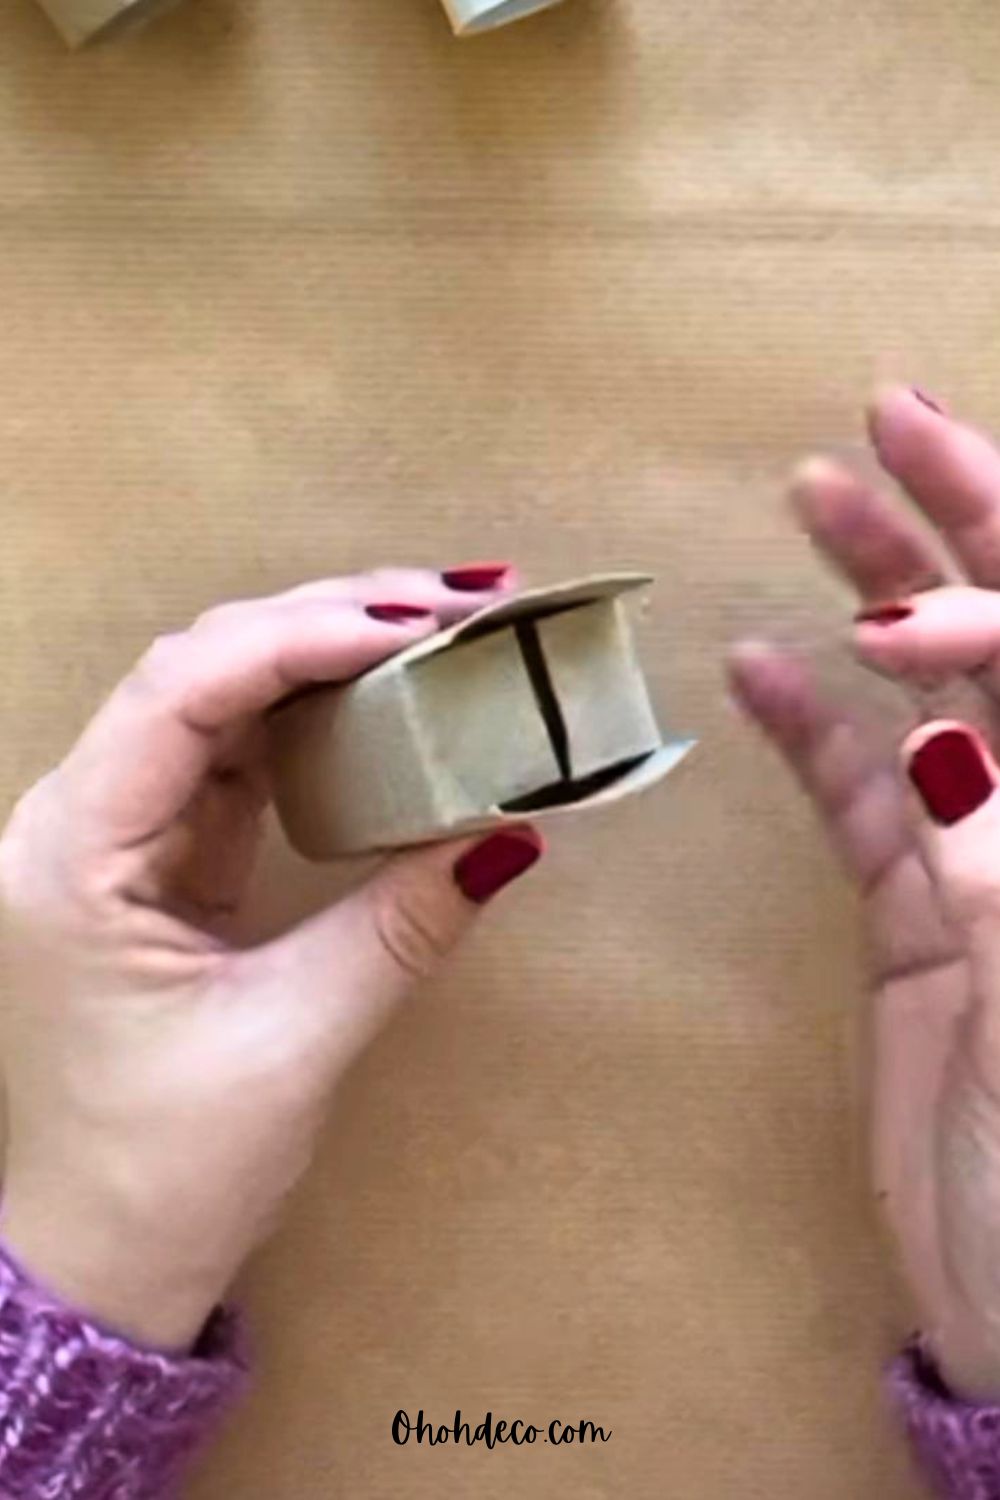
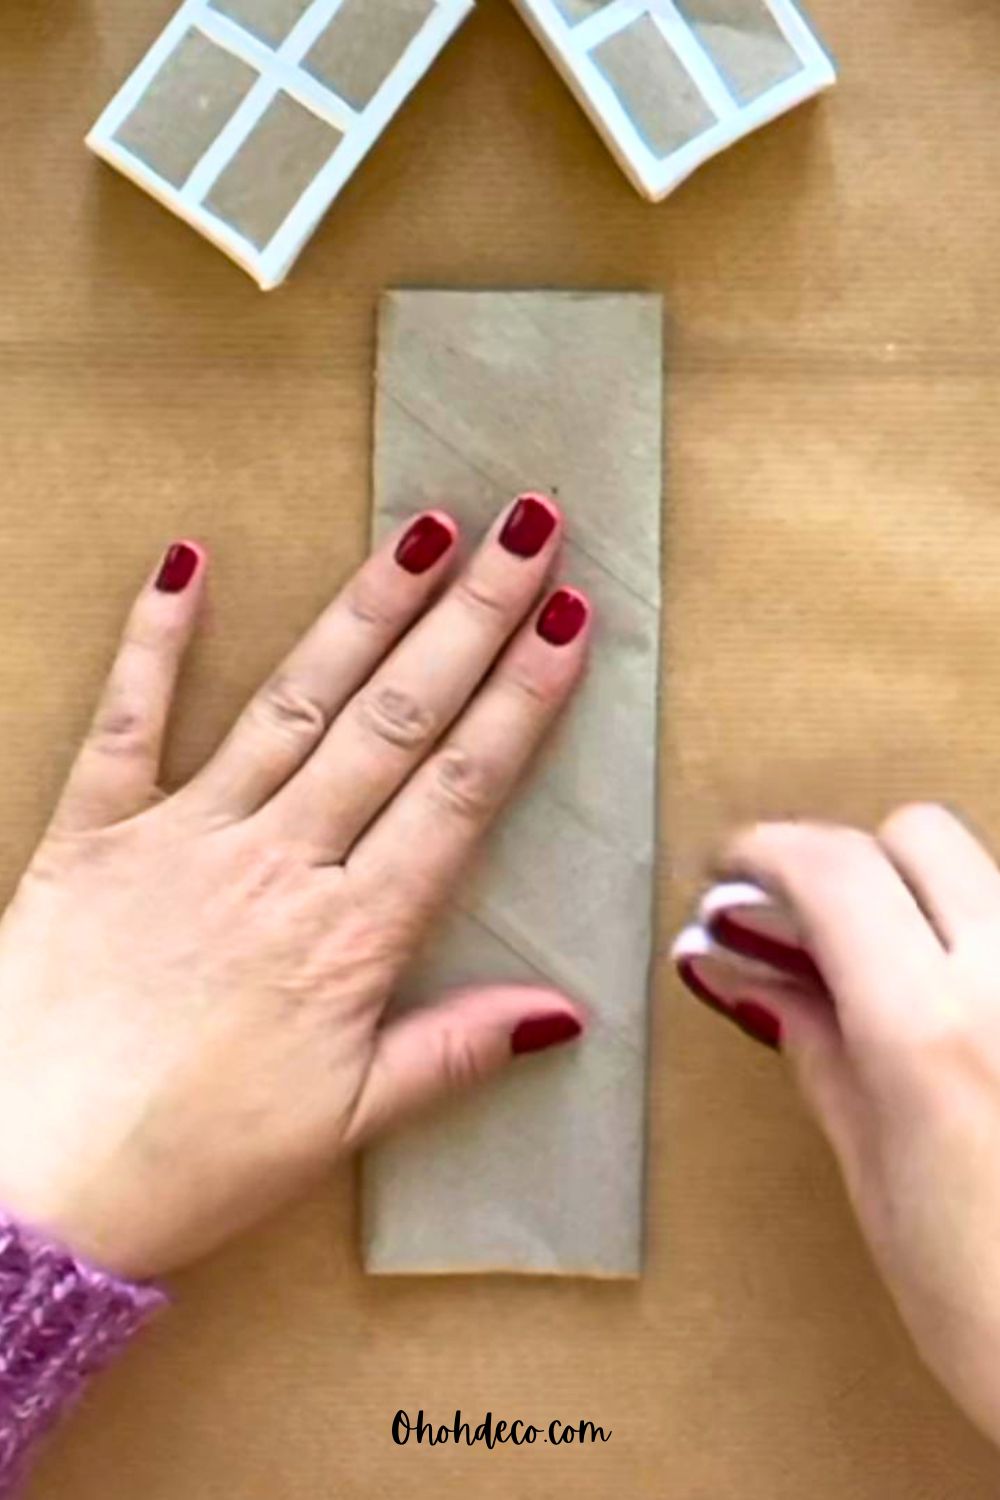
- Using the longer kitchen paper towel tube, repeat the folding and creasing method to create a rectangular pocket.
- Cut it slightly taller than the window boxes to represent the front door.
- Fold, cut, and glue the bottom flaps just like the windows.
- Paint decorative door panels on the front using your white marker and allow it to dry.
Step 3: Build the House Frame
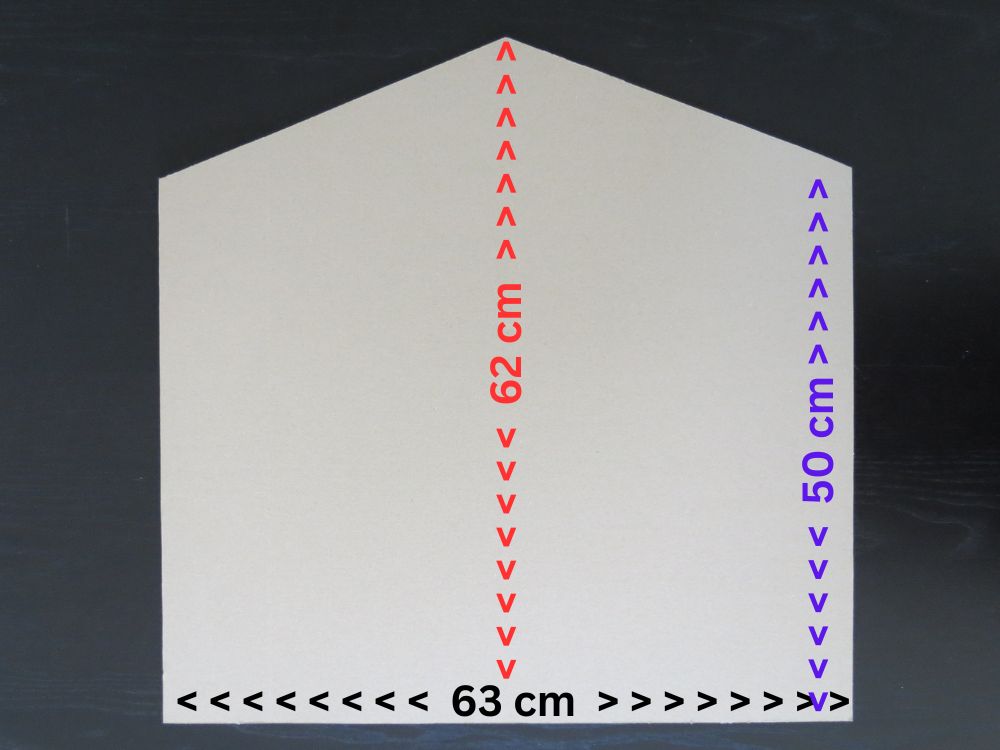
- Cut out a house silhouette from a sturdy piece of cardboard. A great base size:
- Width: ~63 cm
- Side wall height: ~50 cm
- Peak height (bottom to roof tip): ~62 cm
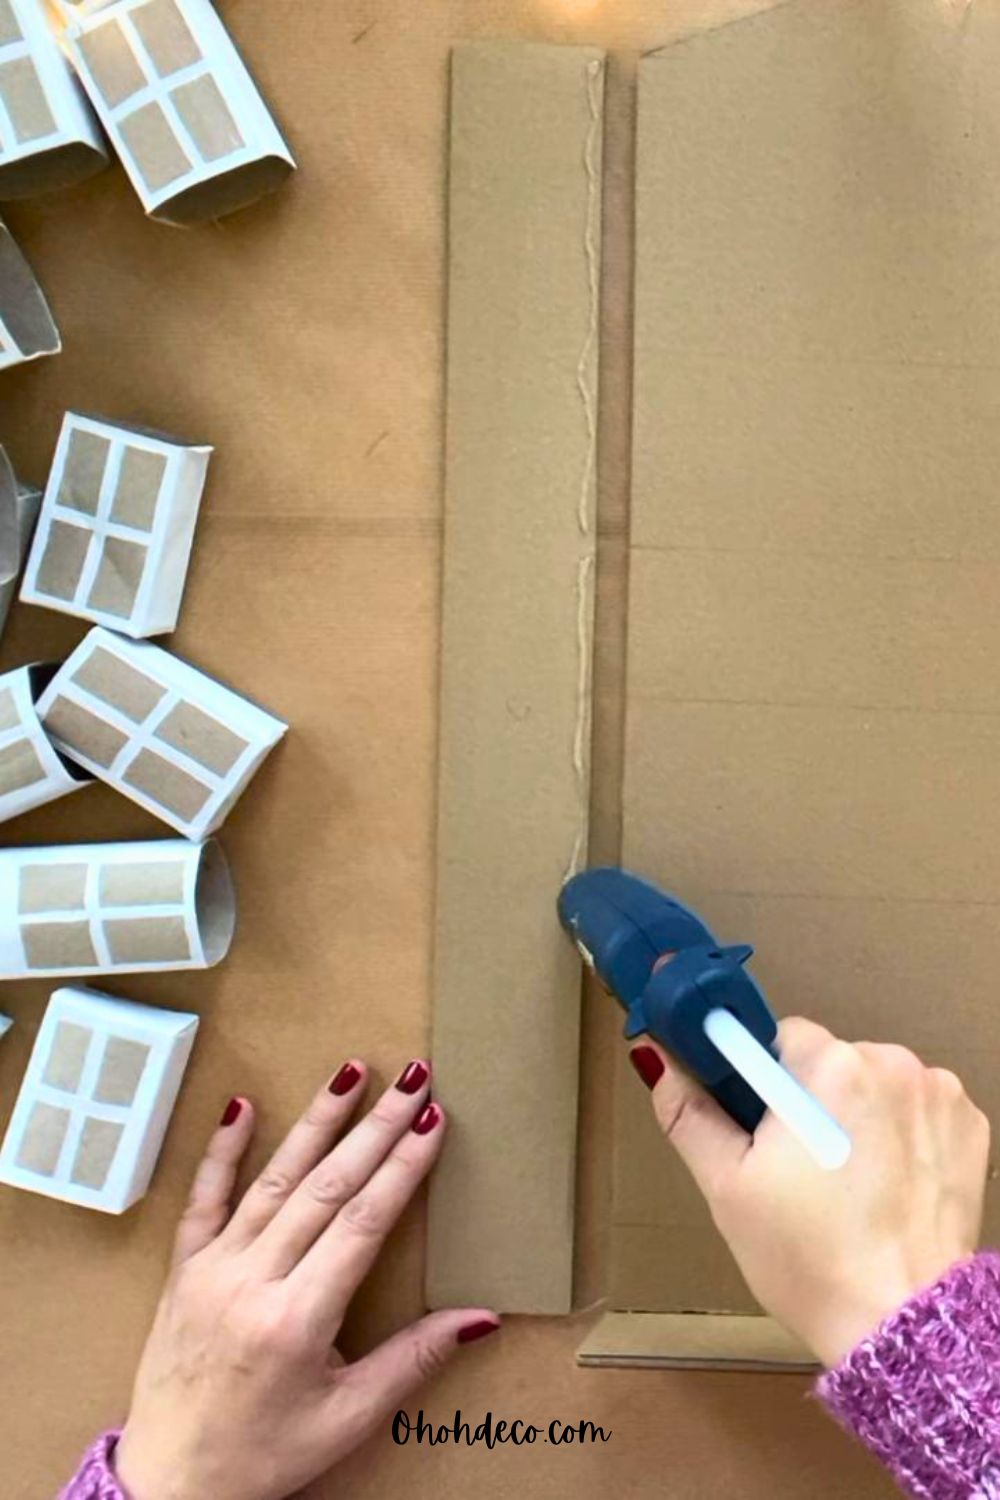
- Cut narrow cardboard strips of 6cm for the bottom base, outer side walls, and roof edges to give the house depth.
- Glue the base and side strips directly along the perimeter of the backing board.
- Fold a strip of cardboard down the center to form the peaked roof and glue it onto the top edges.
- (Optional) Apply Craft tape along the rough cut edges to give everything a smooth, polished finish.
Step 4: Paint the House
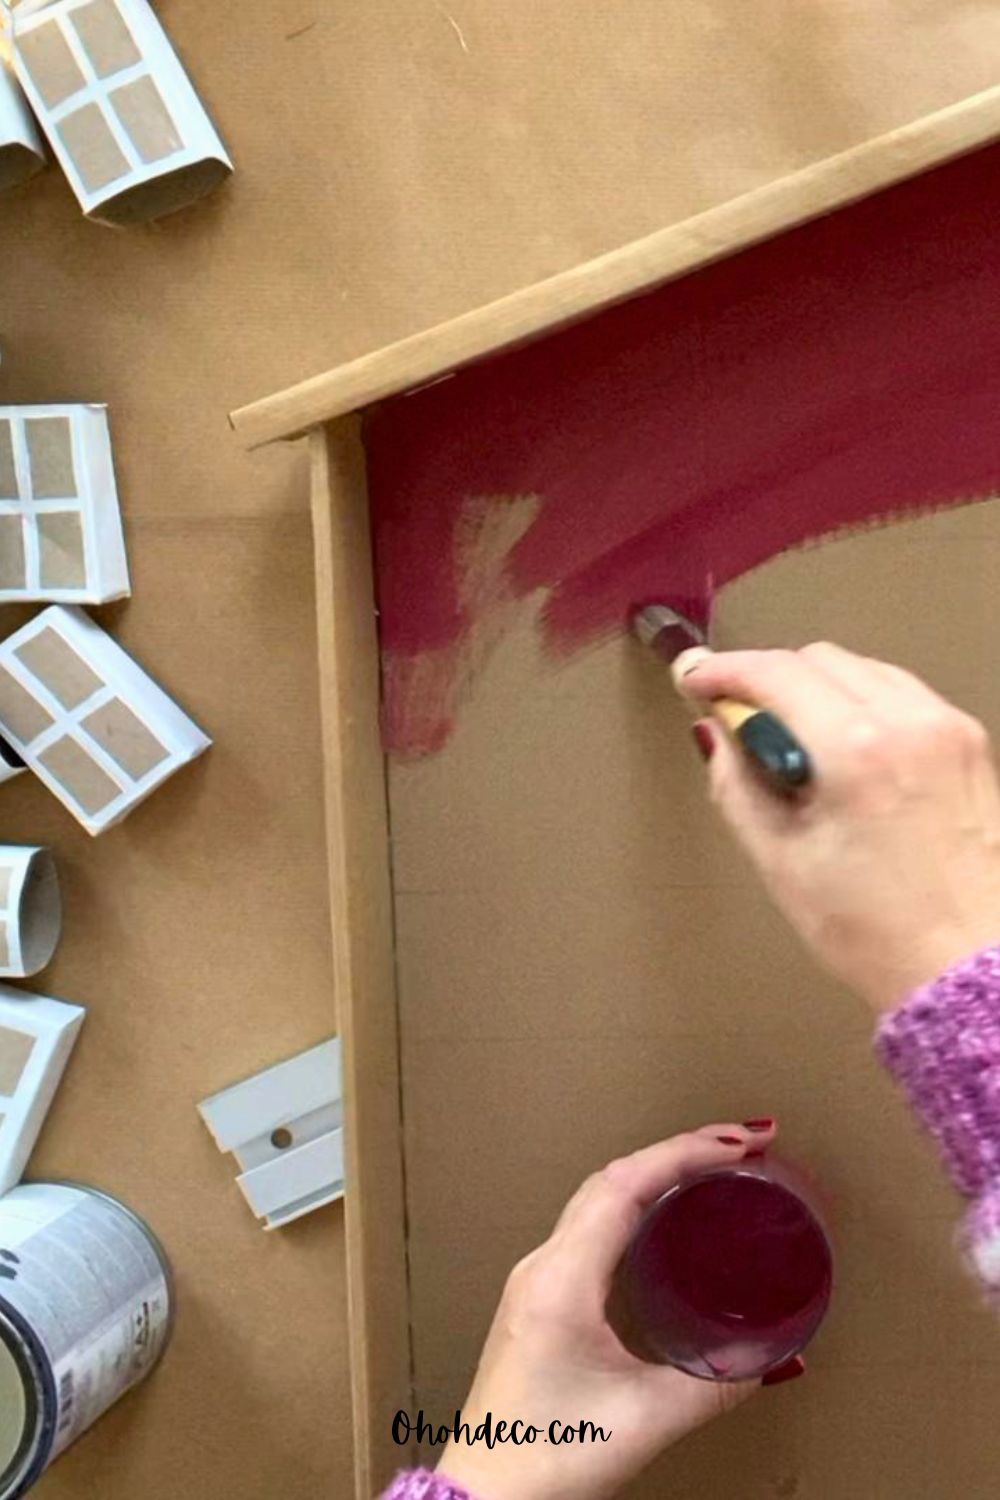
- Paint the entire house structure. A rich, dark red gives it a cozy, Scandinavian winter vibe. Paint the roof white.
- Set it aside until the paint dries completely.
Step 5: Arrange and Glue the Pockets
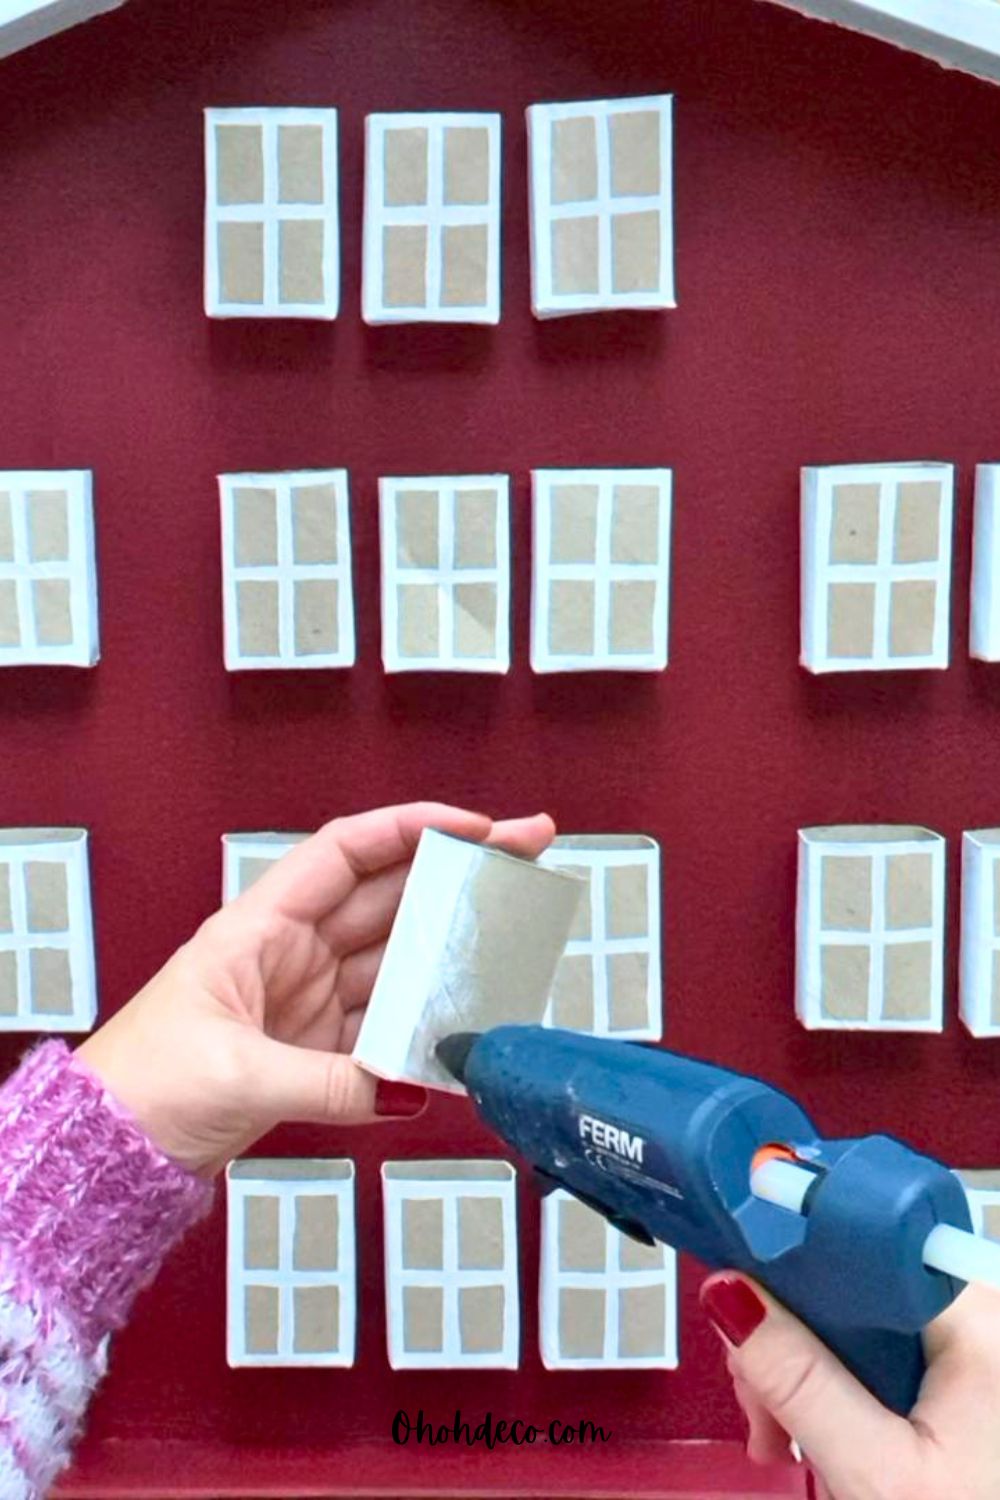
- Lay the house flat and arrange all 23 windows and the door across the facade.
- Use a ruler to evenly space out the window rows and columns.
- Once you’re happy with the layout, secure each tube firmly in place with hot glue.
Step 6: Add Numbers and Final Touches
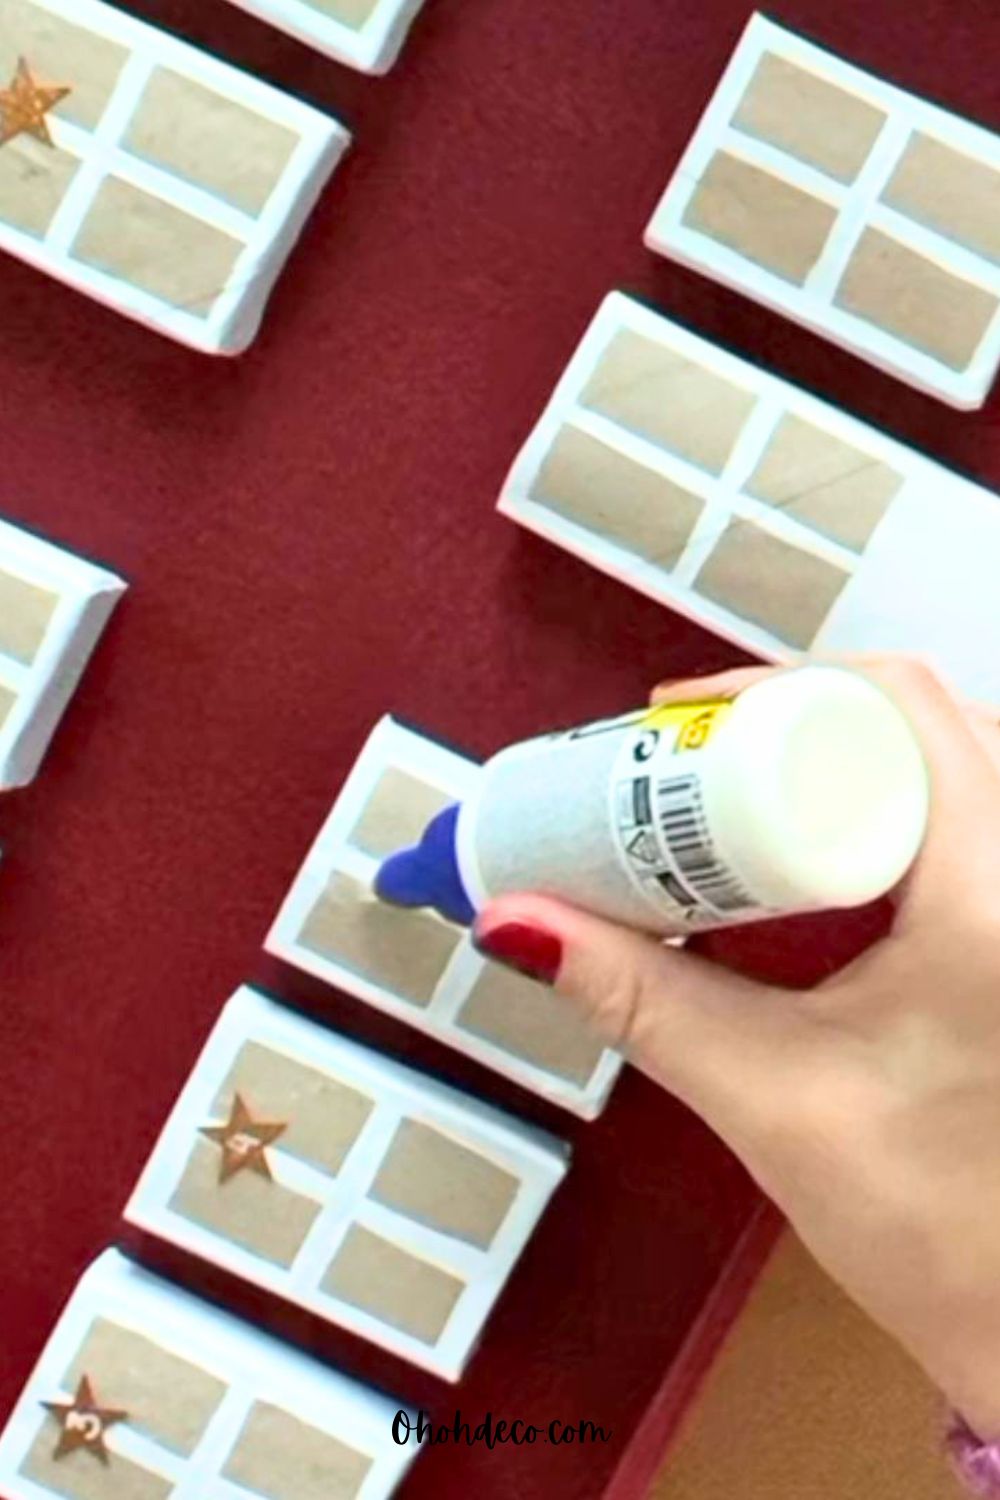
- Number each window from 1 to 24. You can write directly on the boxes or glue down small numbered paper stars.
- Decorate the roofline with lace trim, faux snow, or fairy lights.
- Fill each cubby with wrapped candies, chocolates, or small gifts wrapped in tissue paper!
Tip for Numbering Your Calendar:
Small stickers or lightweight hanging tags work best. Here are a few easy options to match your style:
- Rustic Wooden Tags. Glue on or tie GWHOLE 1–24 Wooden Advent Numbers for a cozy, reusable Nordic touch that pairs nicely with natural cardboard.
- Peel-and-Stick Labels. For the quickest mess-free option, seal each tube opening with HOWAF Kraft Advent Number Stickers or Christmas Felt Countdown Stickers to add a pop of holiday texture.
- Festive Shaped Charms. Add extra detail to the front of your house with HERZWILD 1–24 Wooden Christmas Pendant Numbers, which feature cute cutouts like snowflakes, reindeer, and pine trees.
Step-by-Step Video Guide
Be sure to watch the full video tutorial below to get complete step-by-step instructions and clear explanations for every stage of the build. Seeing the process in action makes it easy to follow along with the measurements, folding techniques, and assembly details so your finished house looks just right.
I chose to create a Nordic-inspired house because its cozy charm feels like the perfect fit for wintertime and the Christmas vibe.
However, don’t hesitate to get creative and craft any architectural style you love!
For example, shaping your calendar like a classic New York brownstone or a narrow, gabled Amsterdam canal house would also make a lovely and unique DIY Advent Calendar.
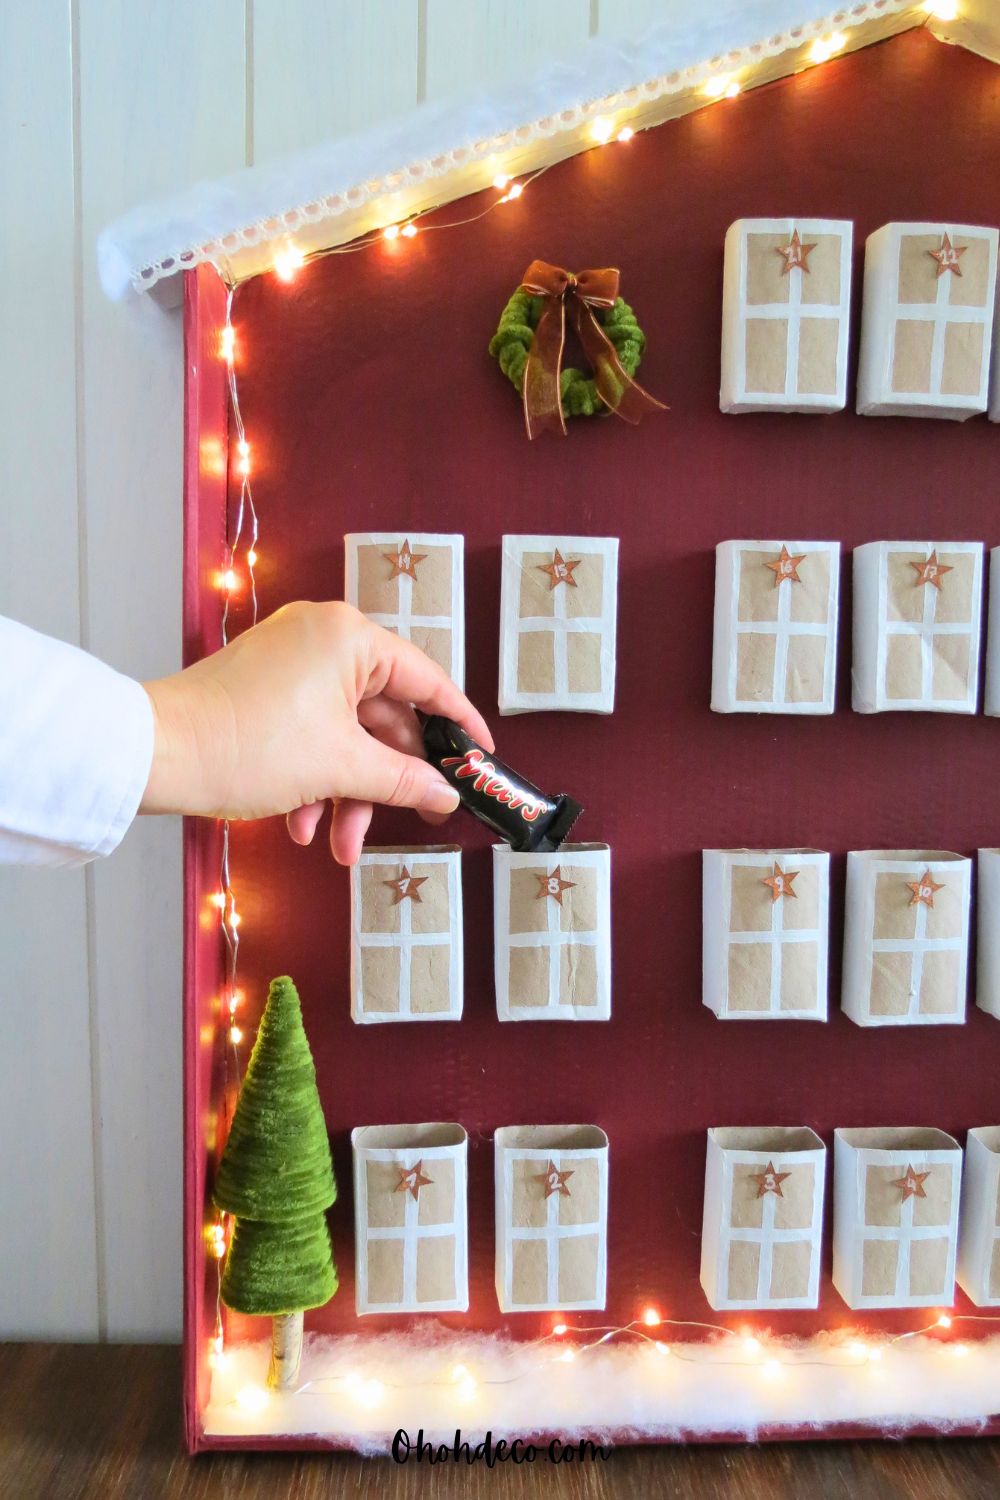
Gift & Surprise Ideas for Your DIY Advent Calendar
Paper rolls are ideal for small treats, rolled-up notes, and tiny trinkets. Here are several creative ways to fill the 24 pockets:
- Sweet Treats. Individually wrapped chocolates, mini candy canes, gourmet truffles, or festive gummies fit neatly inside standard paper tubes.
- Family Activity Prompts. Write fun seasonal activities on slips of paper, such as baking holiday cookies, watching a Christmas movie, or driving around to see neighborhood lights.
- Small Toys and Trinkets. Mini figurines, holiday stickers, temporary tattoos, bouncy balls, or colorful erasers are great non-candy options for kids.
- Cozy Self-Care Items. Lip balm, travel-sized hand creams, mini bath bombs, or individually wrapped specialty tea bags work wonderfully for adults.
- Acts of Kindness. Tuck in daily prompts that encourage spreading holiday cheer, like writing a thank-you note, donating a toy, or complimenting a friend.
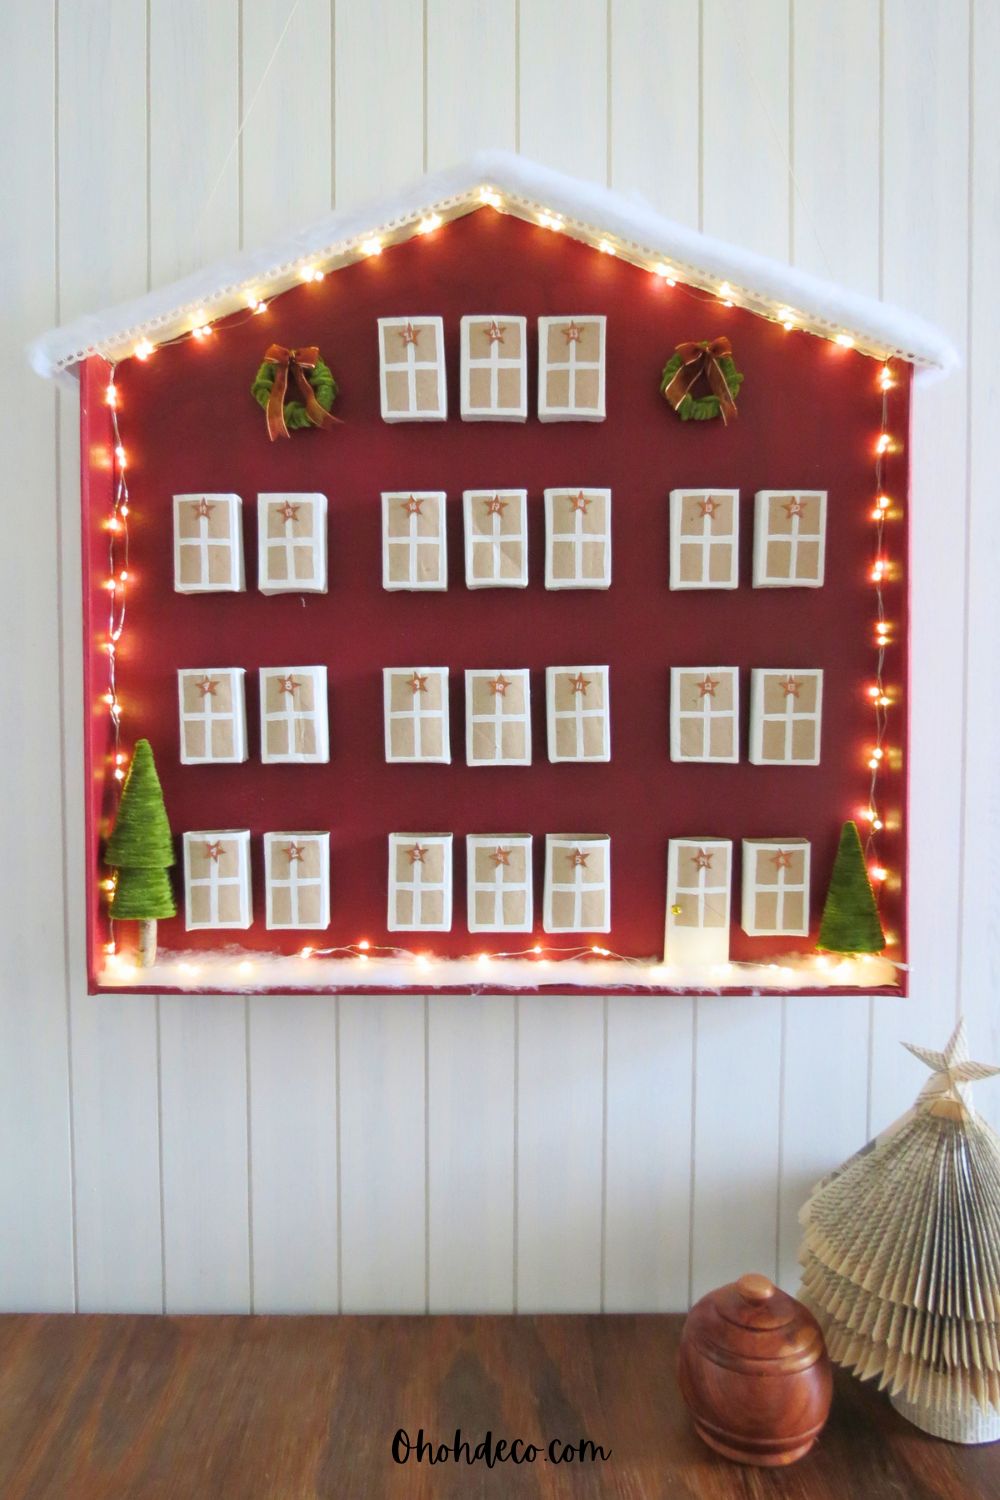
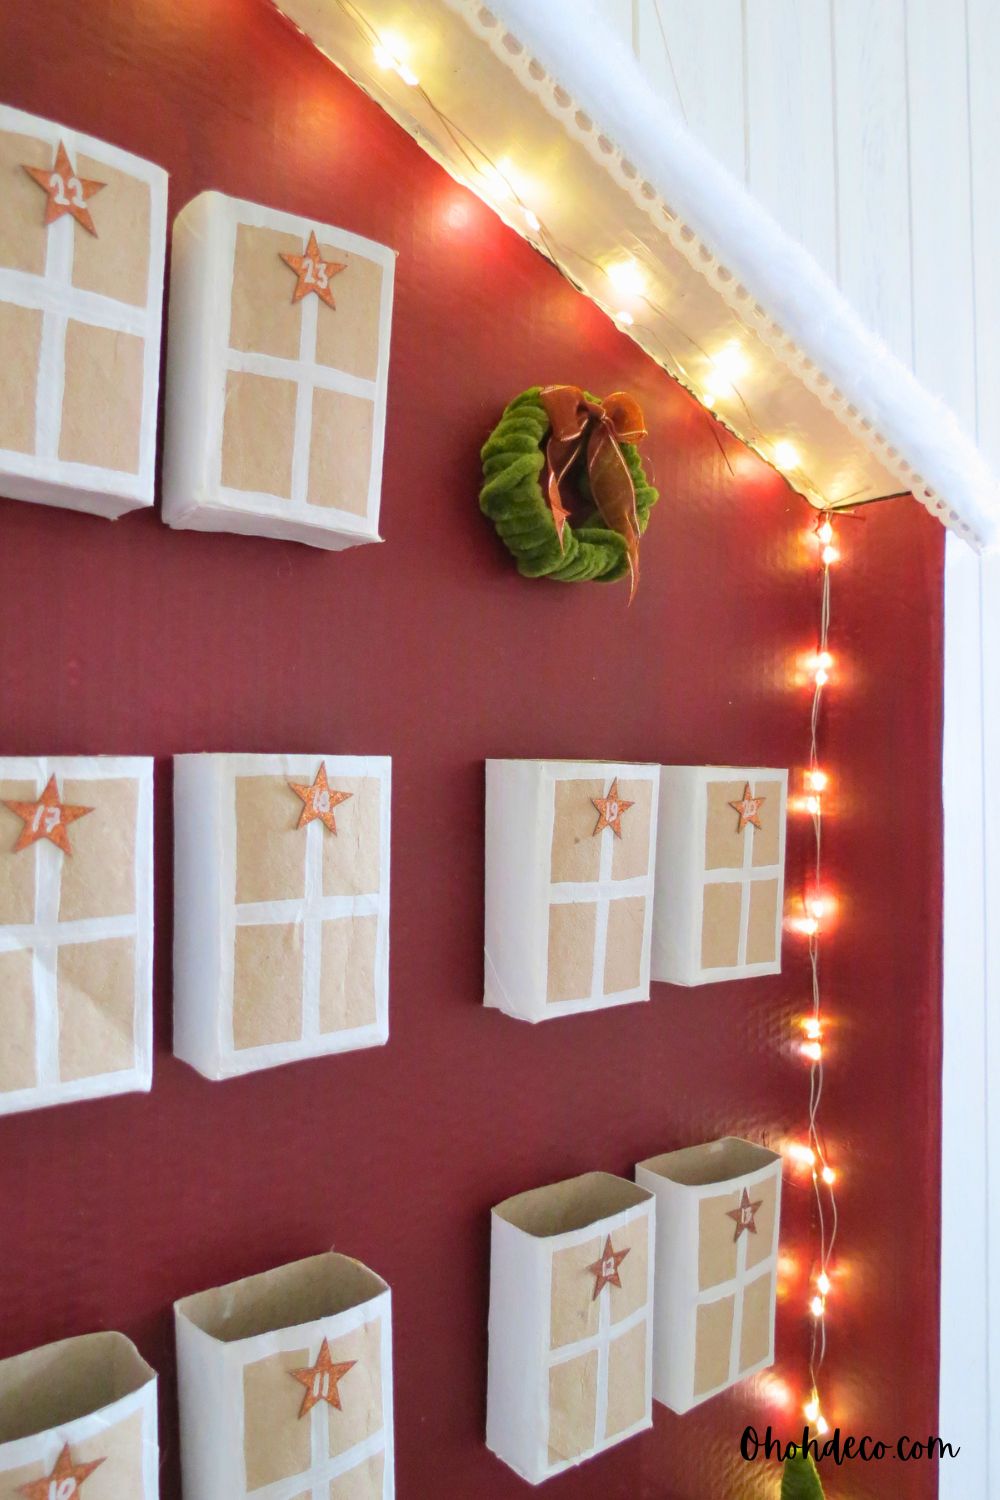
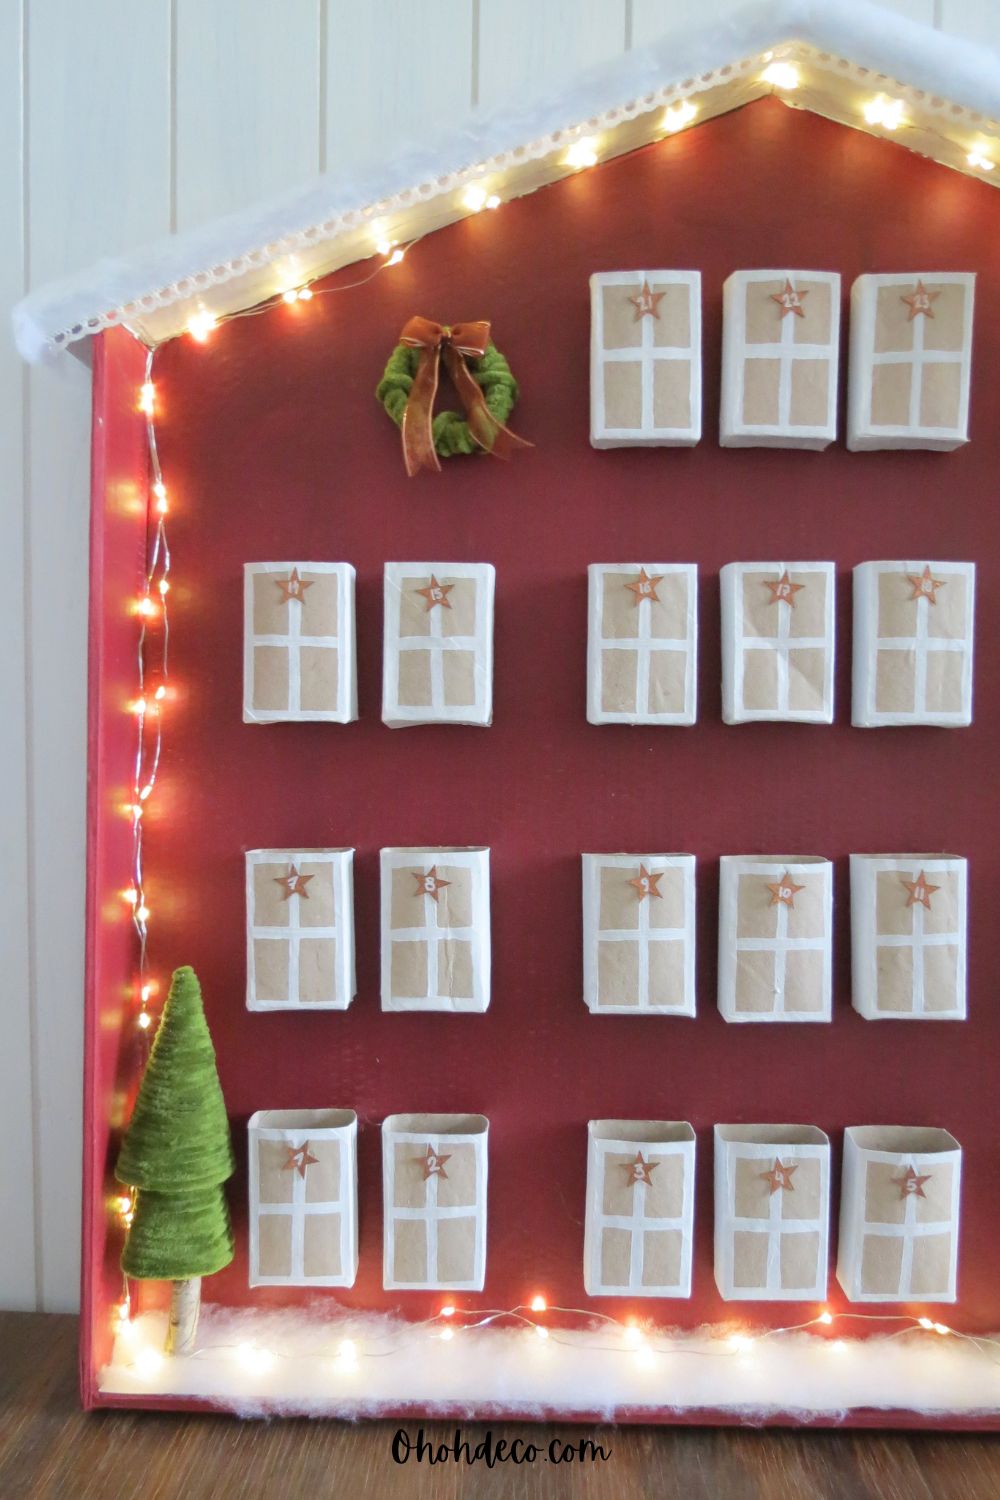
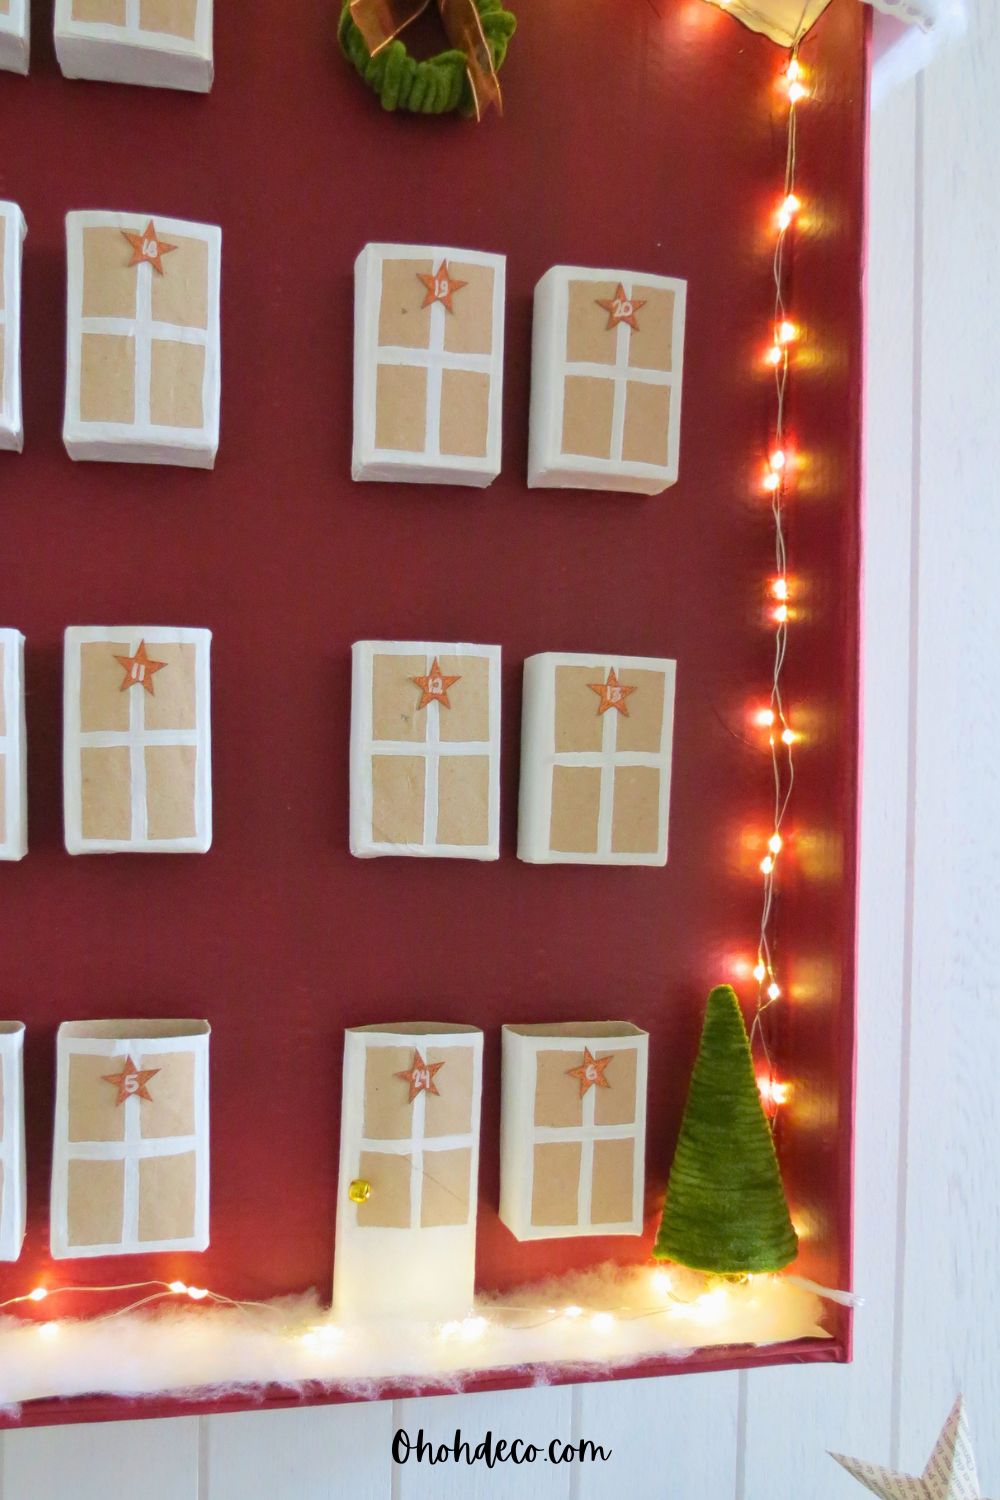
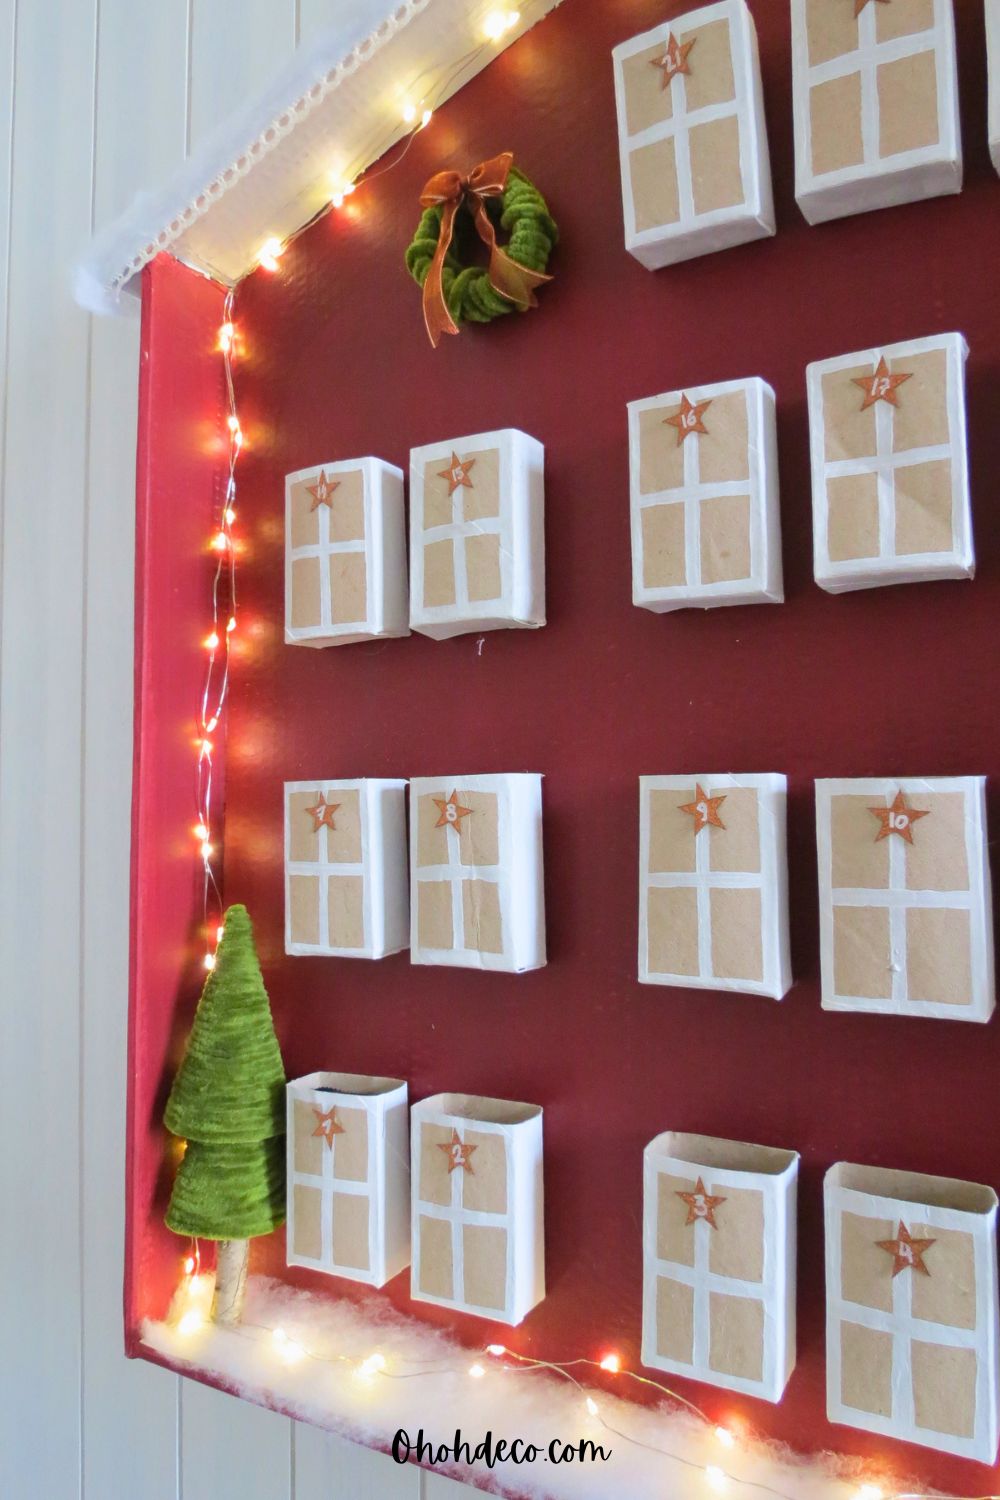
Your DIY advent calendar house is now ready to bring warmth and excitement to your holiday season!
By repurposing everyday cardboard and paper rolls, you have created a sustainable, budget-friendly centerpiece that doubles as charming festive decor.
Simply tuck your favorite surprises into each of the 24 pockets, display your creation on a mantel or shelf, and enjoy counting down the days until Christmas morning.
I hope this cozy craft becomes a cherished holiday tradition for years to come—happy crafting and enjoy your handcrafted holiday countdown!
RELATED: How to craft DIY Mini Christmas Tree
RELATED: 25 Cardboard Christmas Decorations and Crafts to Make This Holiday Season
Want to remember it? Save this DIY Advent Calendar House in your favorite Pinterest board.