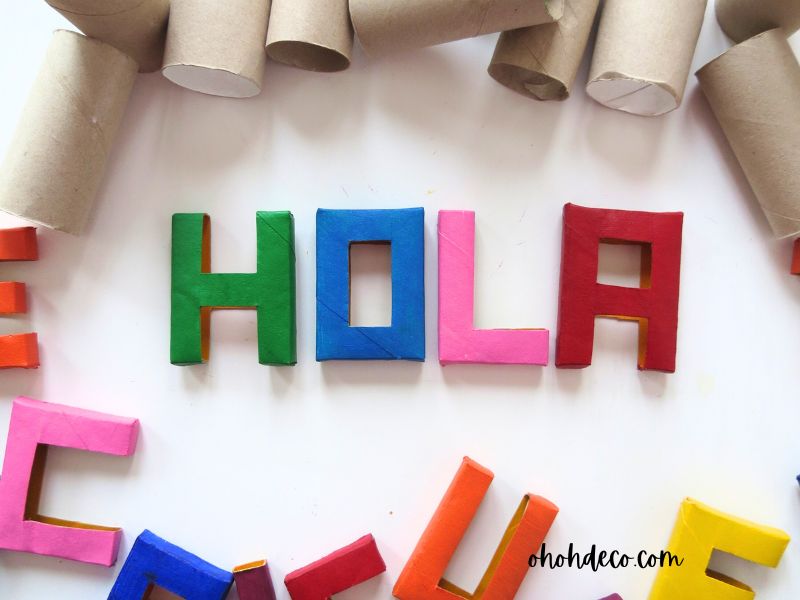
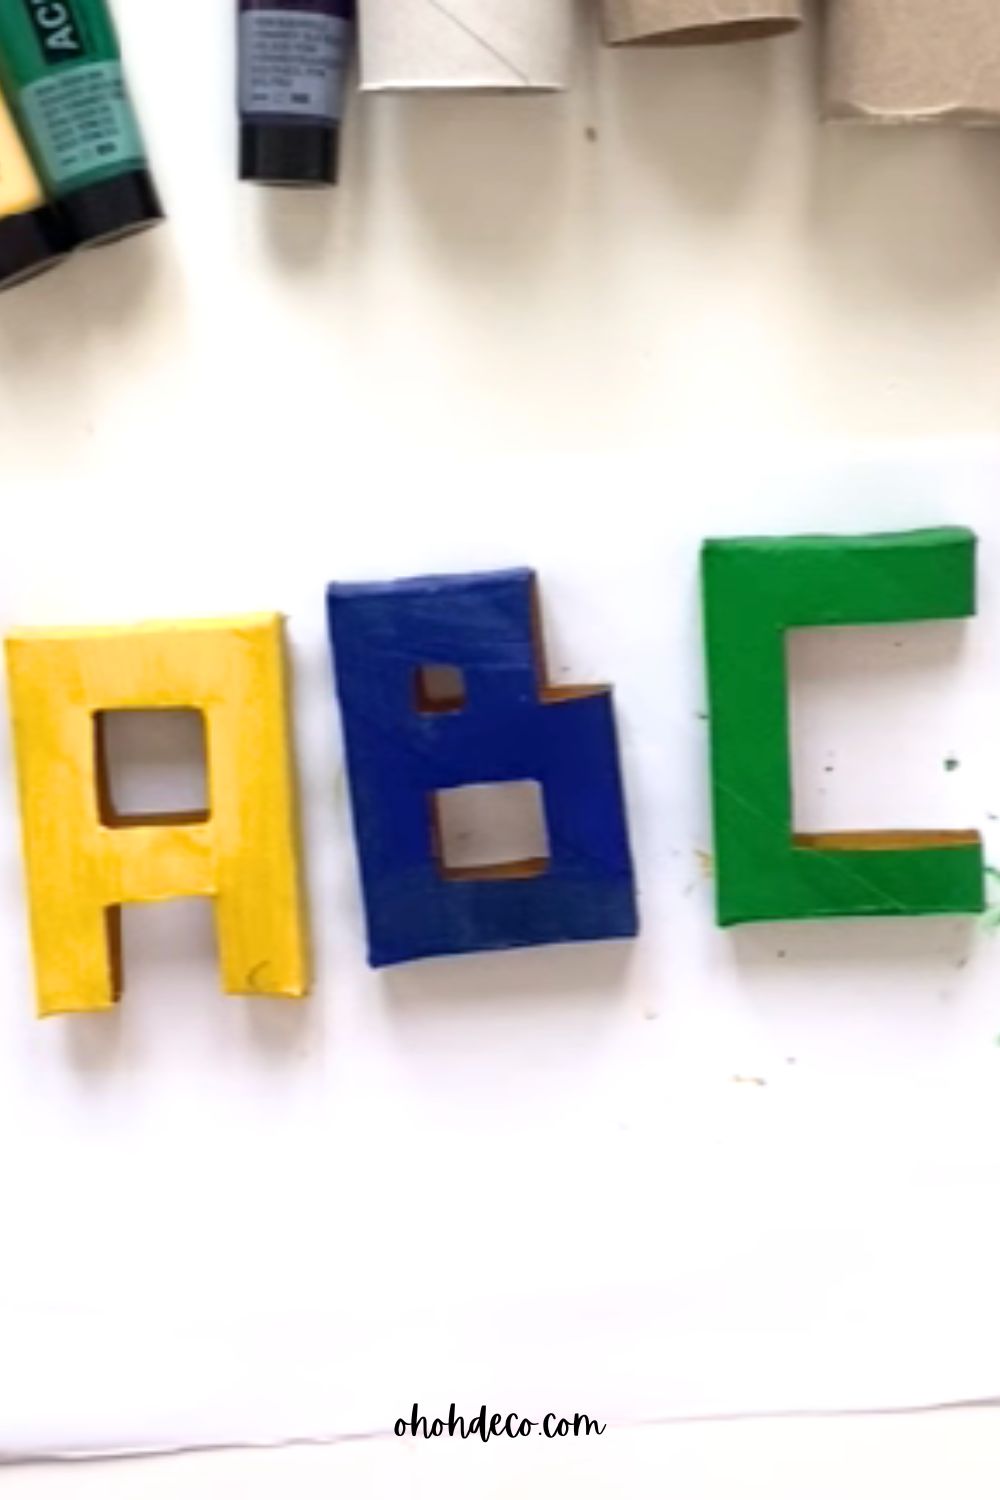
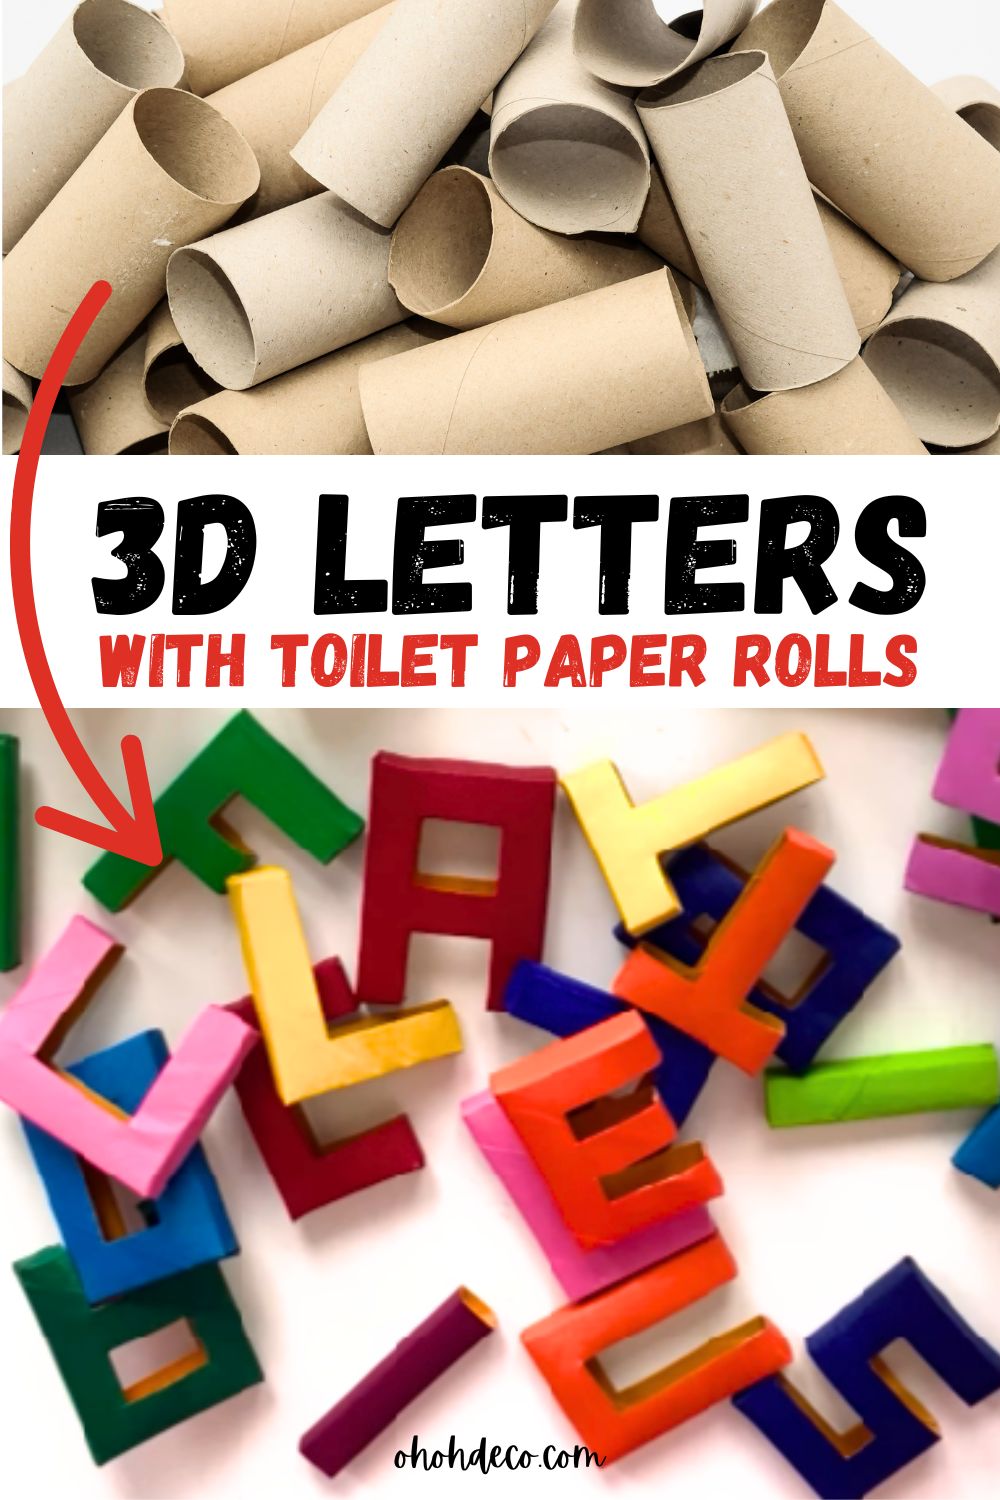
Creating 3D letters from toilet paper rolls is a fun and eco-friendly craft project that transforms simple materials into eye-catching decor.
Perfect for home displays, parties, or personalized gifts, this DIY activity is both creative and sustainable.
[ This post probably contains affiliate links; our full disclosure policy is boring, but you can read it HERE ]
Supplies Needed
- Empty toilet paper rolls (one for each letter)
- Pencil
- Ruler (this one is perfect for this craft)
- Scissors or craft knife
- Hot glue gun and glue sticks
- Paint
- Paintbrushes
- Decorative materials (optional: glitter, stickers, fabric, etc.)
Step-by-Step Instructions for Making 3D Letters with Toilet Paper Rolls
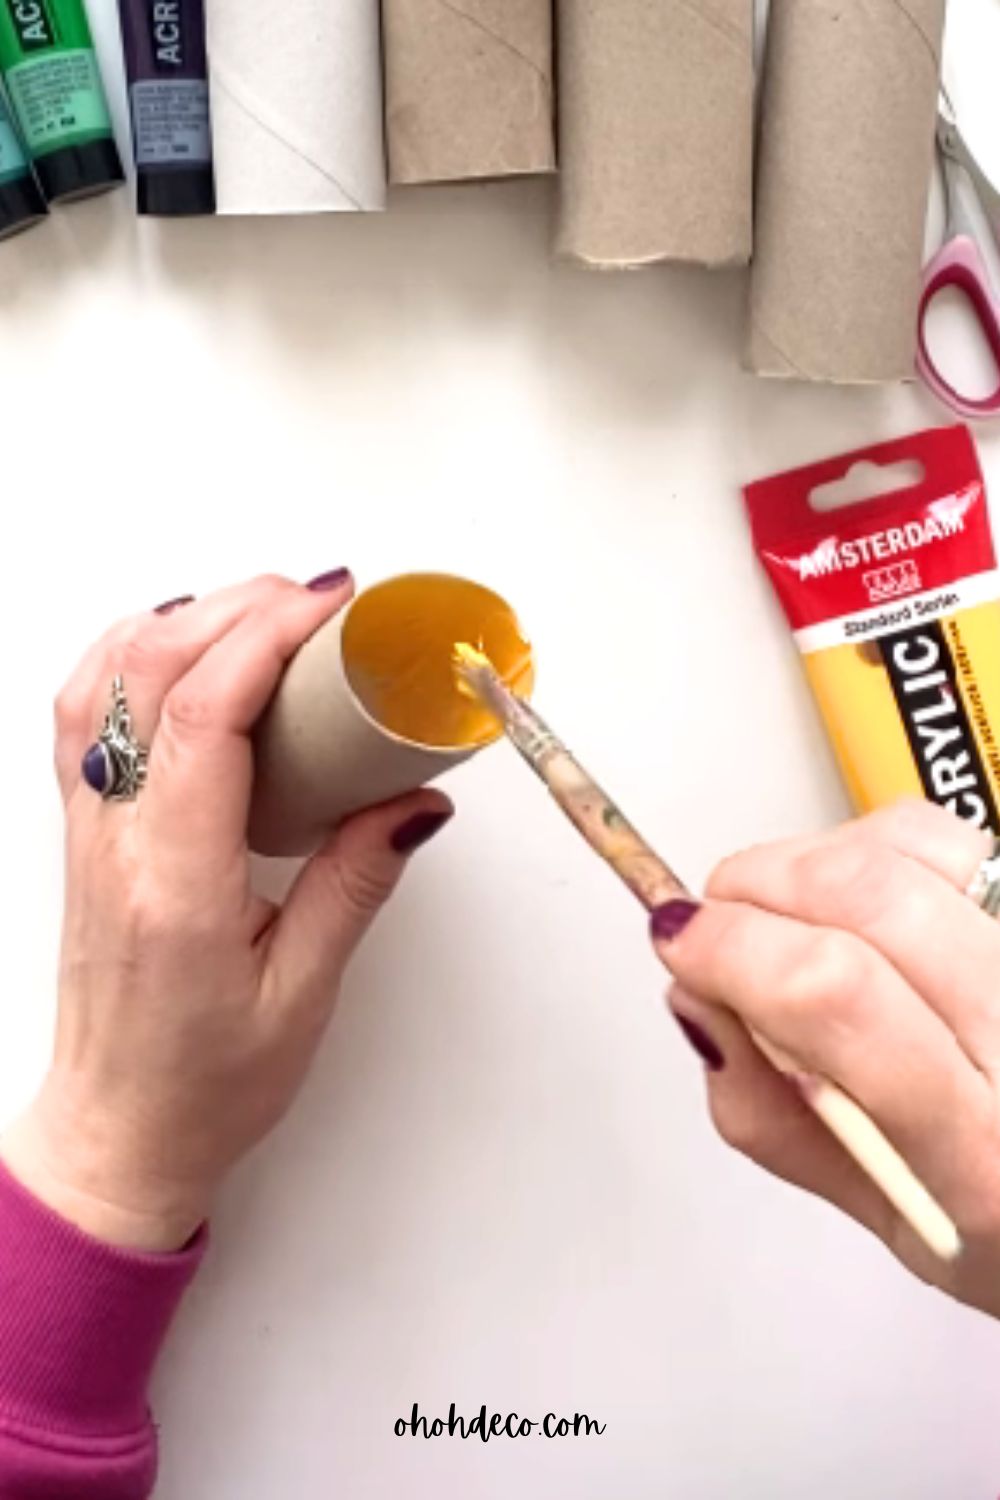
Step 1: Paint the inside of the toilet paper roll in your chosen color. Let it dry completely before moving to the next step.
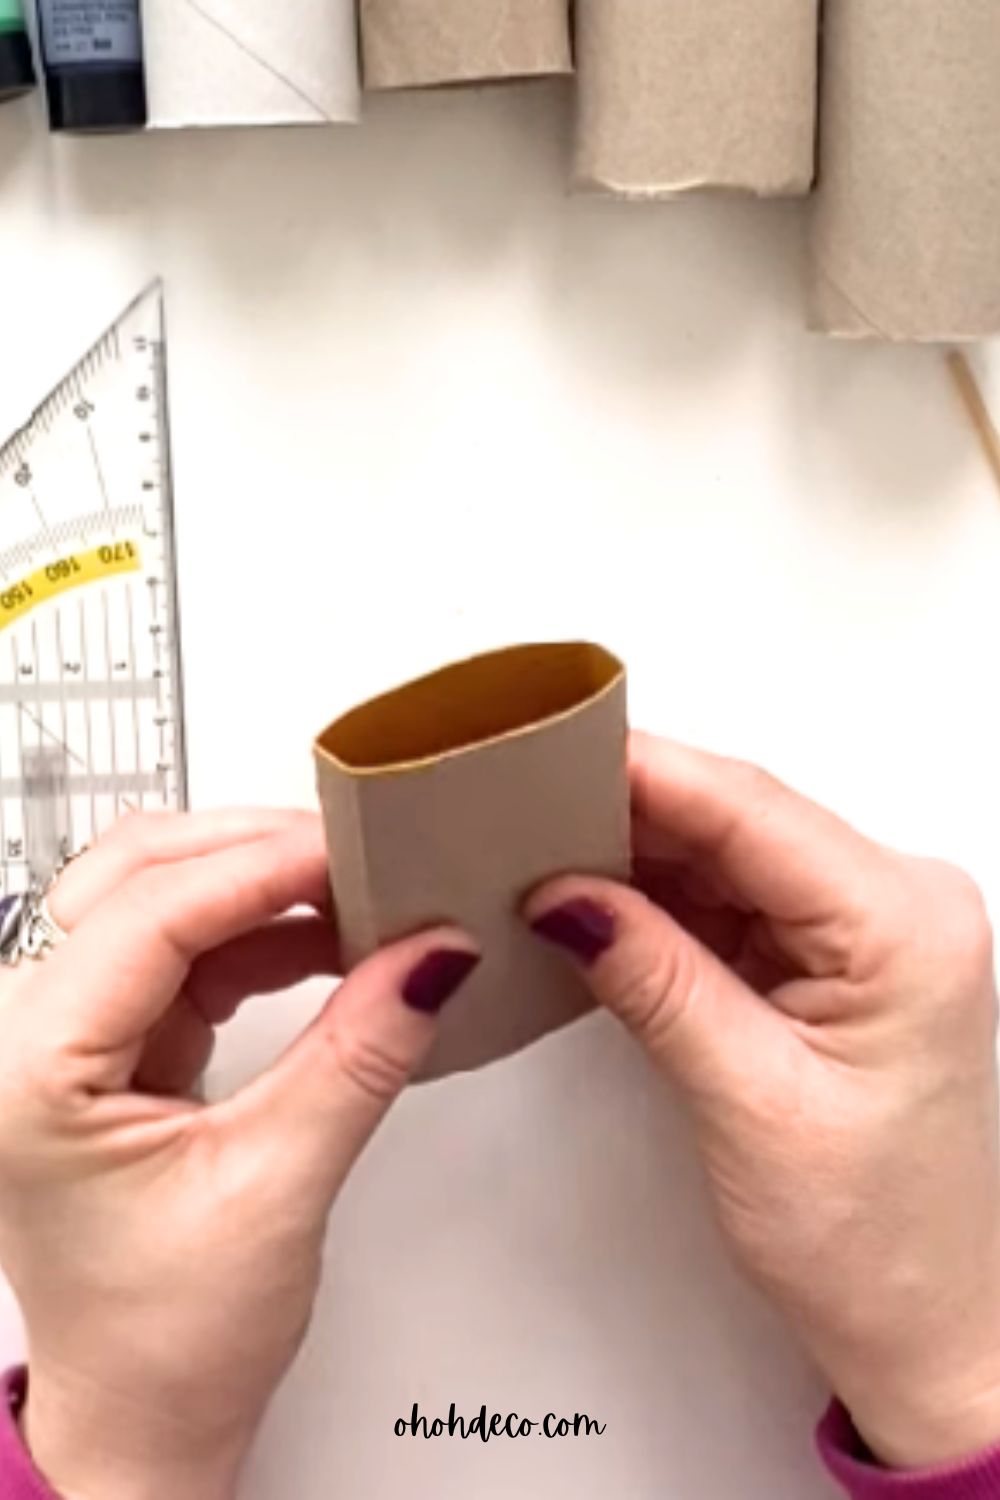
Step 2: Flatten the roll gently with your hands to create two creases along its length.
Step 3: Make folds about 1 cm from each crease on both sides to form a rectangular shape.
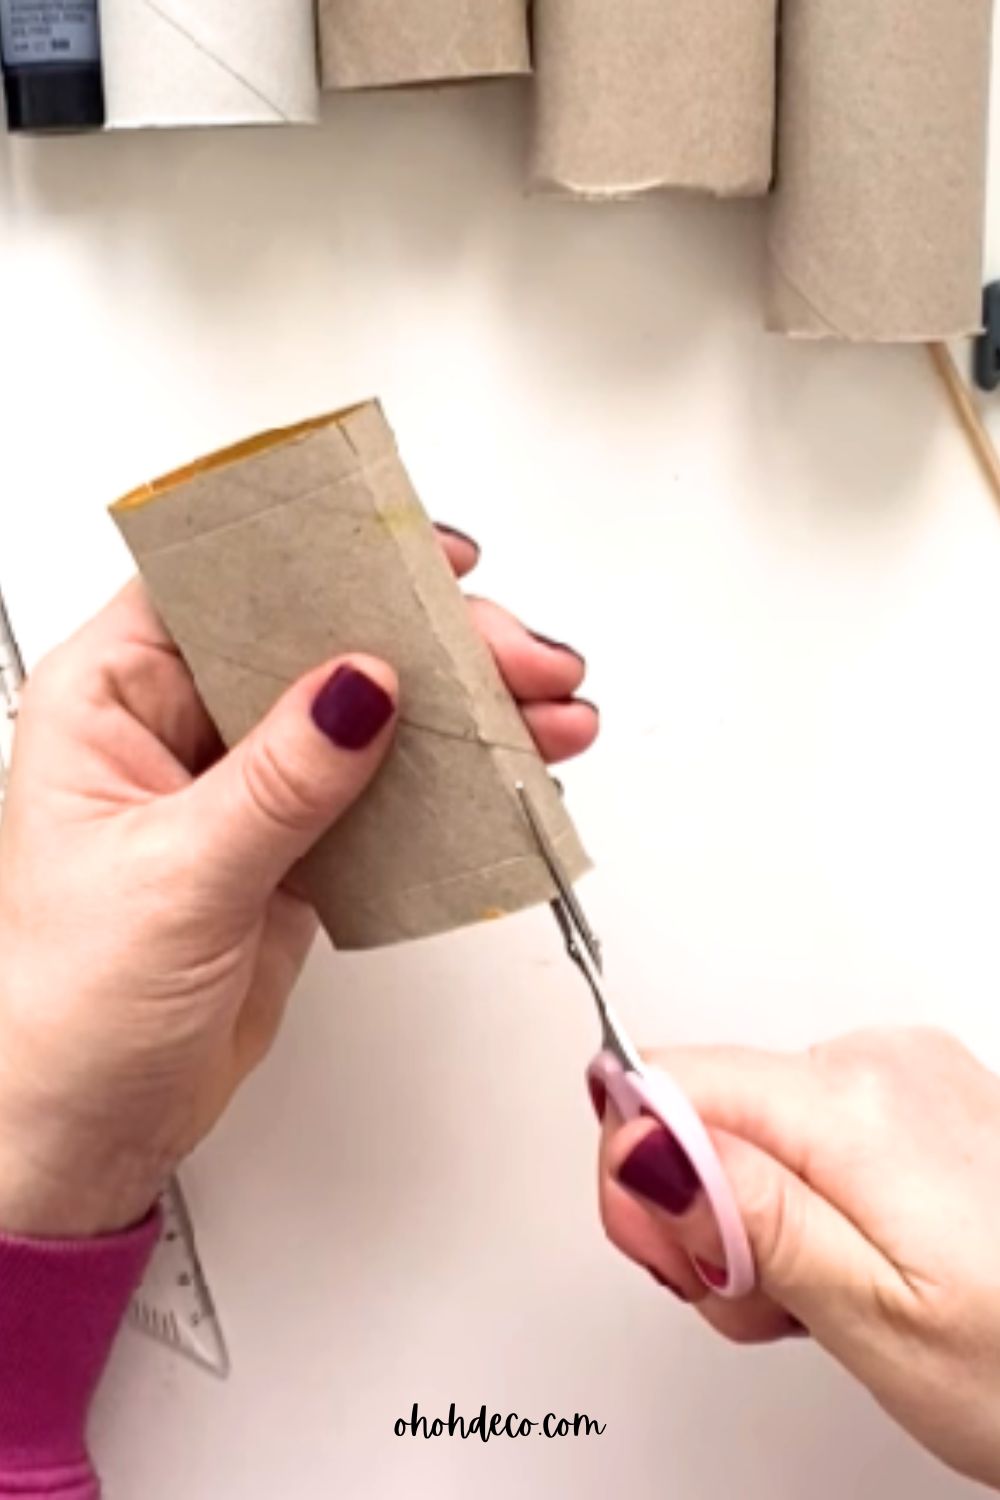
Step 4: Cut small notches, about 1 cm long, at the top and bottom edges of the roll, following the folds you just made.
Step 5: Fold the flaps inward along the notches to help shape the roll.
Step 6: Lay the roll flat. Using a ruler, trace the outline of your letter on the front face. As a guide, the thickness of the letter can be around 1.5 cm, but you can adjust it depending on the roll size or the look you want for your 3D letters.
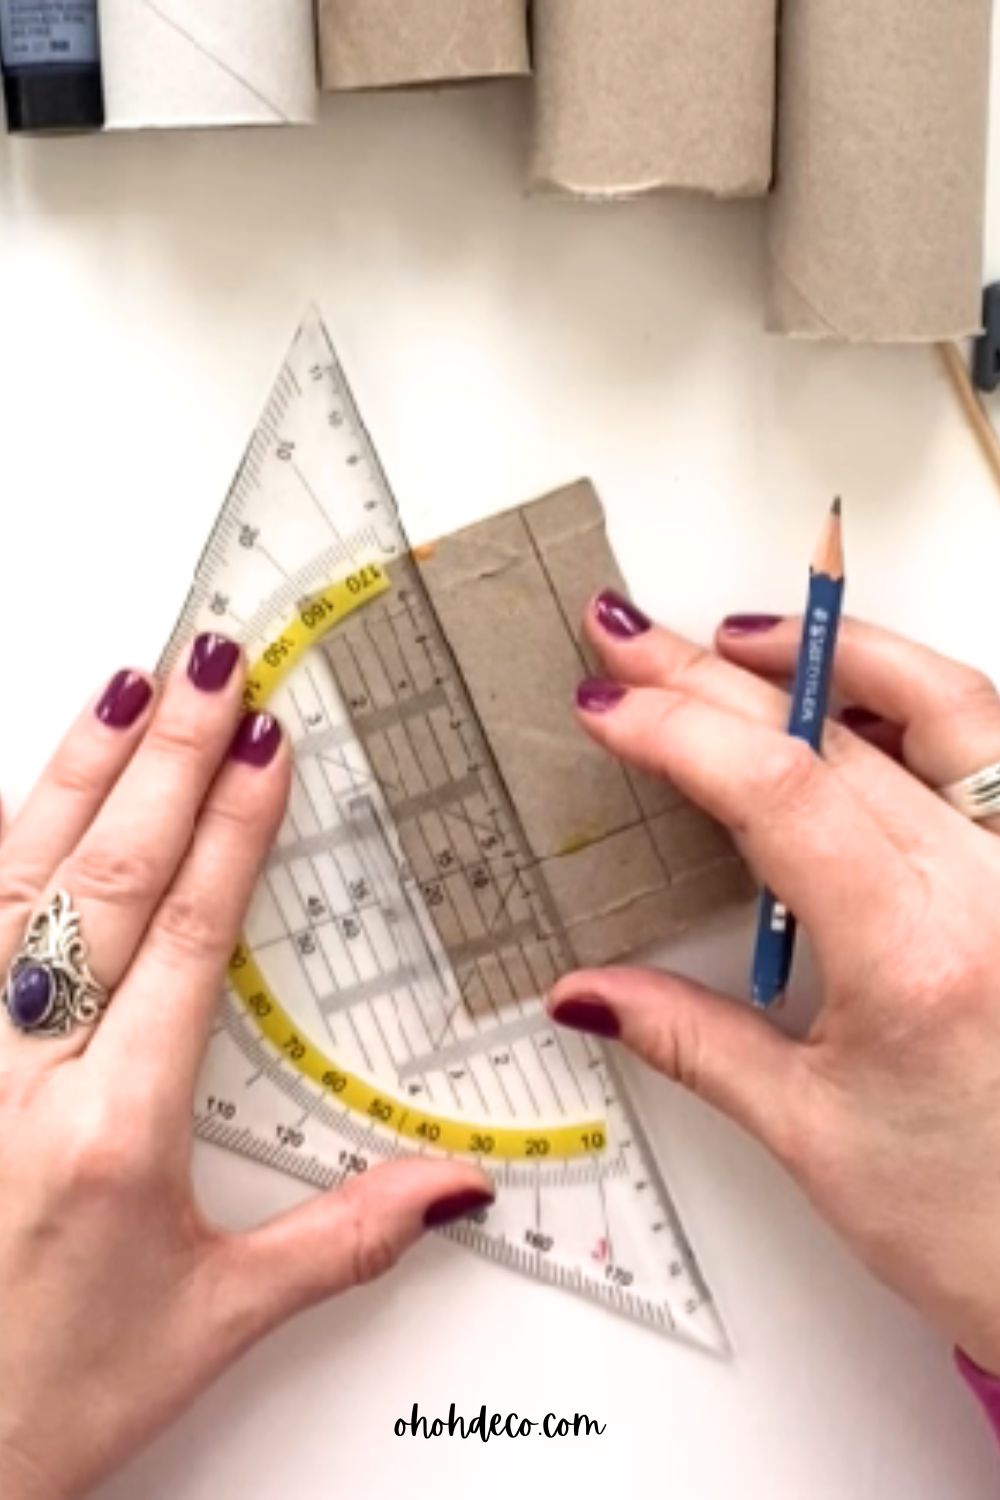
Tip: Using this Aristo triangle ruler makes tracing the letters much easier and more precise. The parallels lines on the ruler help keep your lines clean and even. It also ensures that each side of your letter maintains consistent proportions, giving your 3D letters a more professional and polished look.
Step 7: Carefully cut out the letter shape on the front face of the roll. Be sure not to cut through both layers.
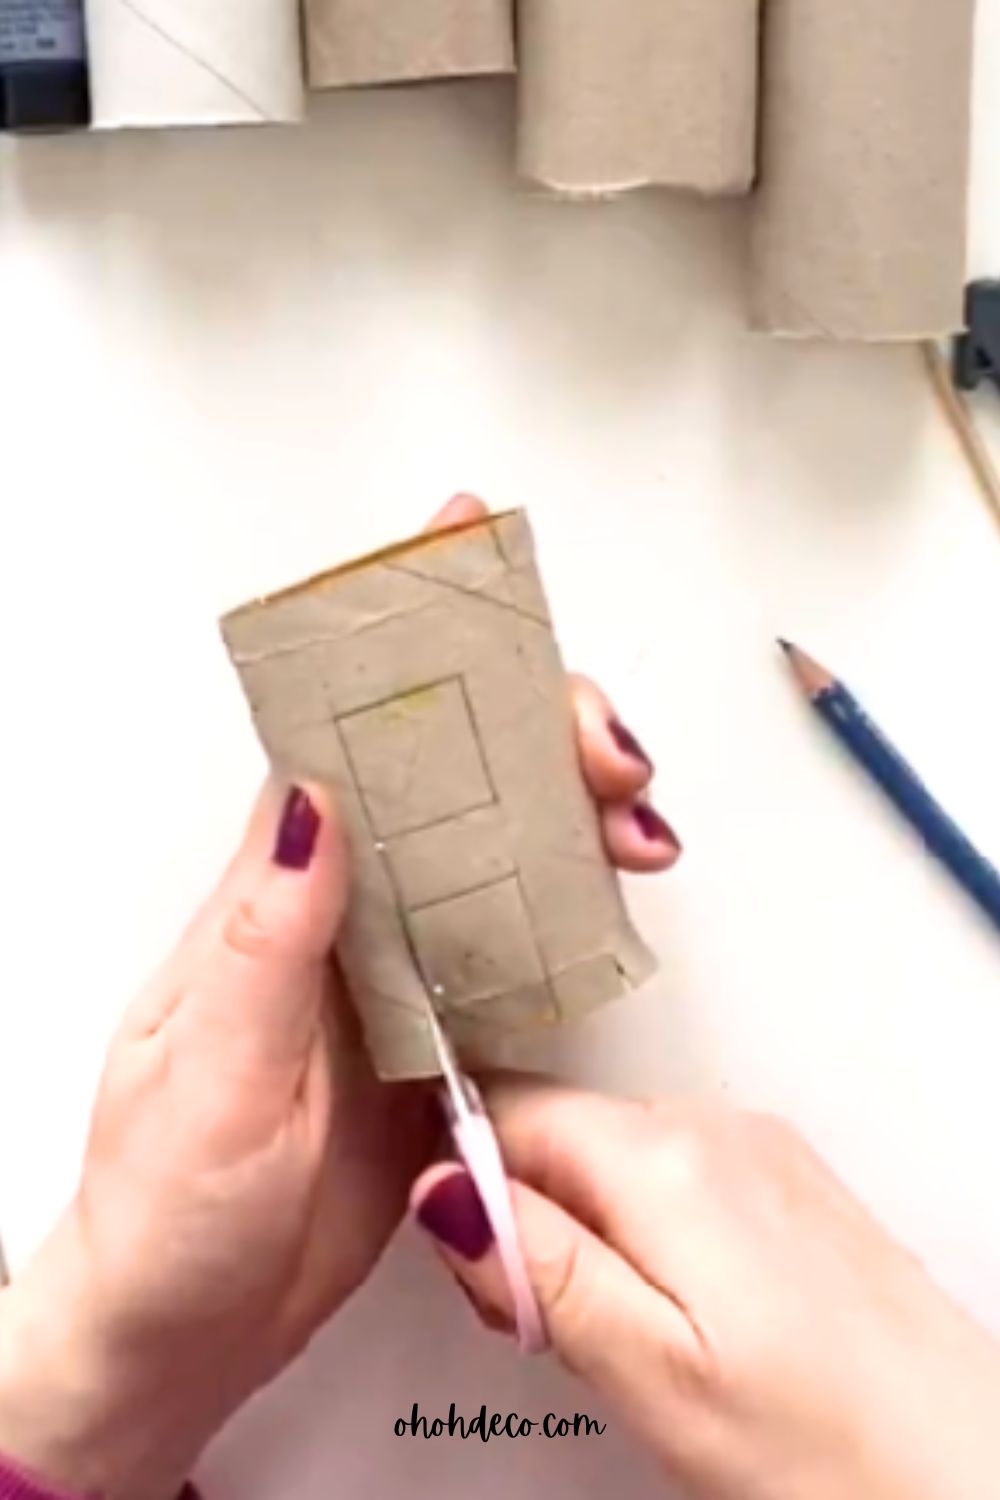
Step 8: Draw the same letter on the back of the roll. Remember that some letters (like “B,” “E,” or “R”) need to be drawn in mirror image.
Step 9: Cut out the letter shape on the back, again cutting only one layer. You can slide a piece of cardboard inside the roll to protect the other side if you’re using a utility knife.
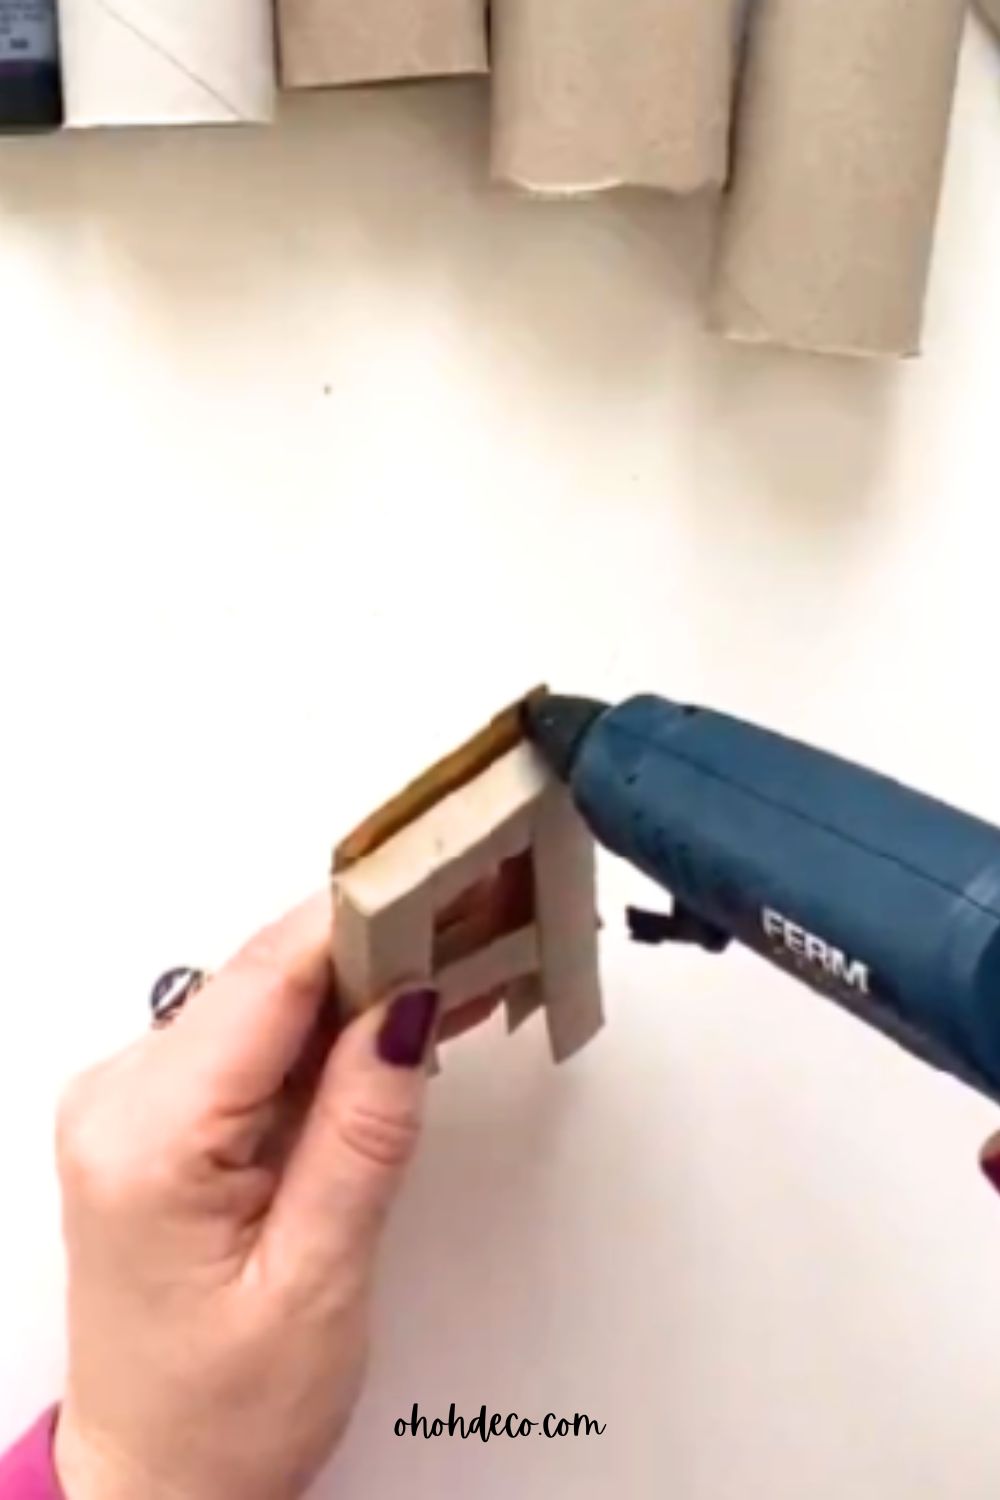
Step 10: Fold and glue the top and bottom flaps to give your letter its 3D volume. Hold until the glue sets.
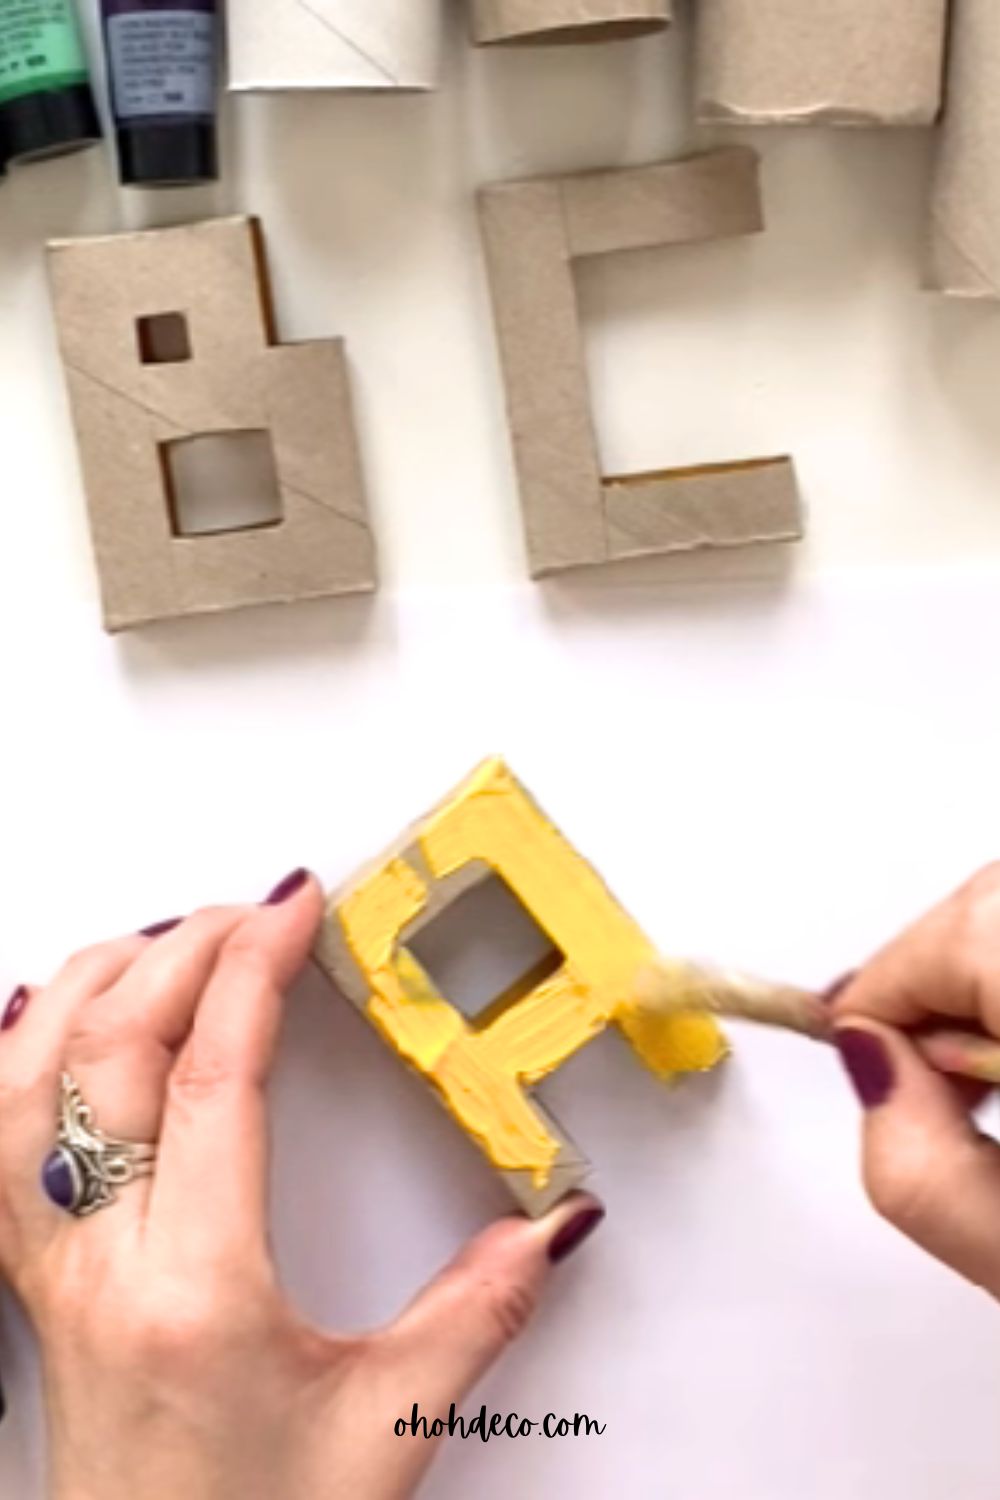
Step 11: Paint the outside of the letter in any color you like. Add decorations such as stickers, gems, glitter, or dried flowers to match your style.
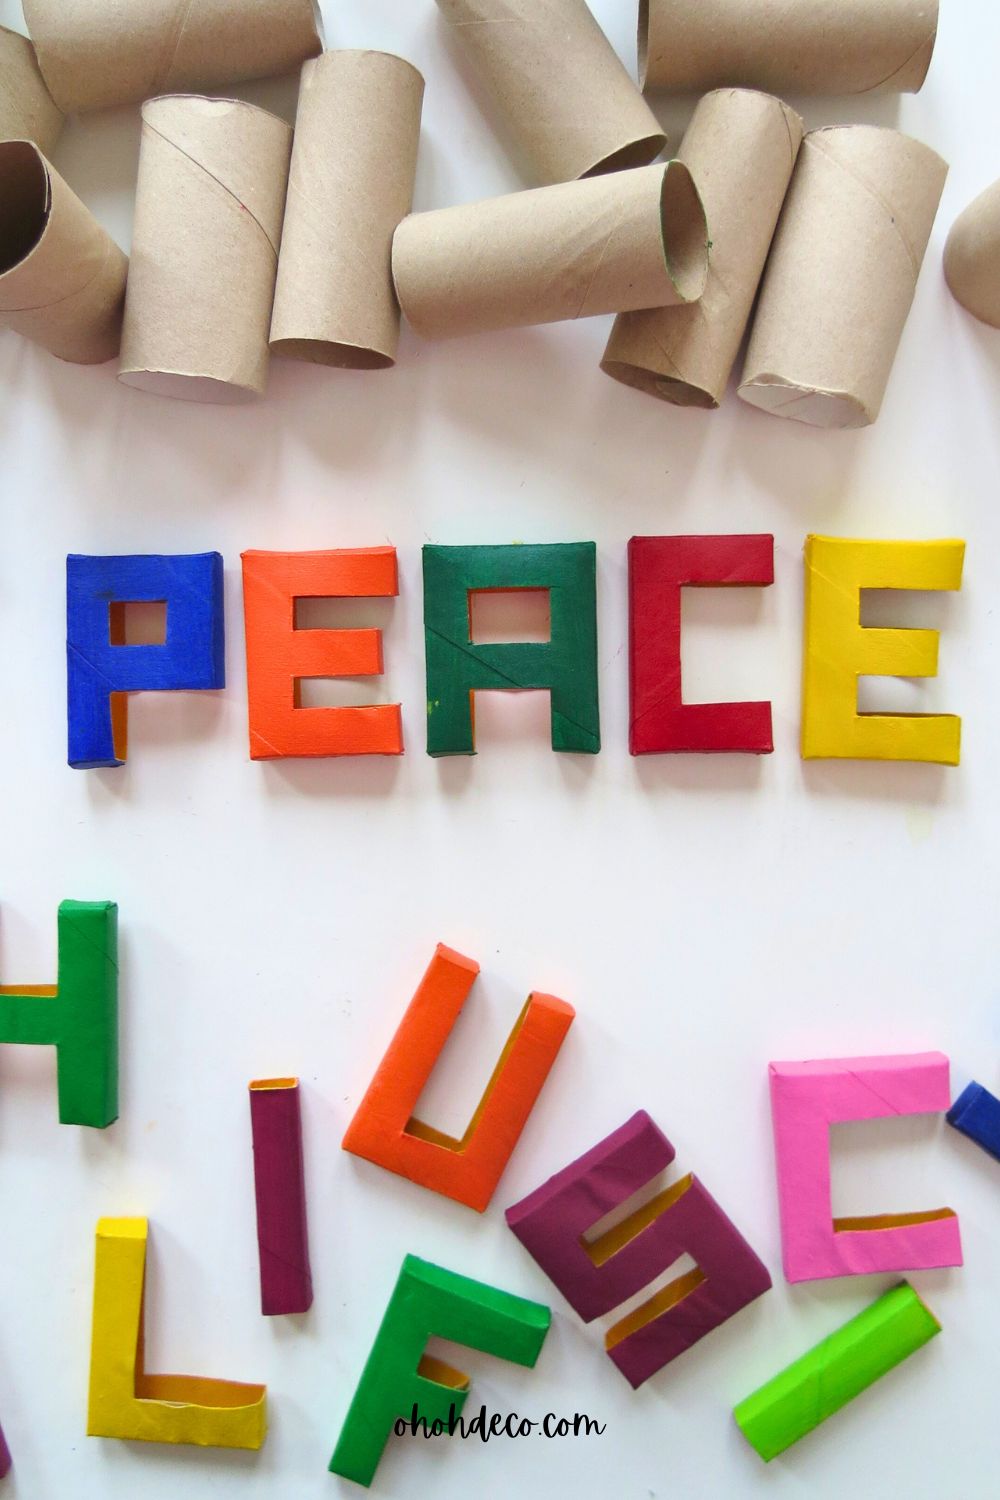
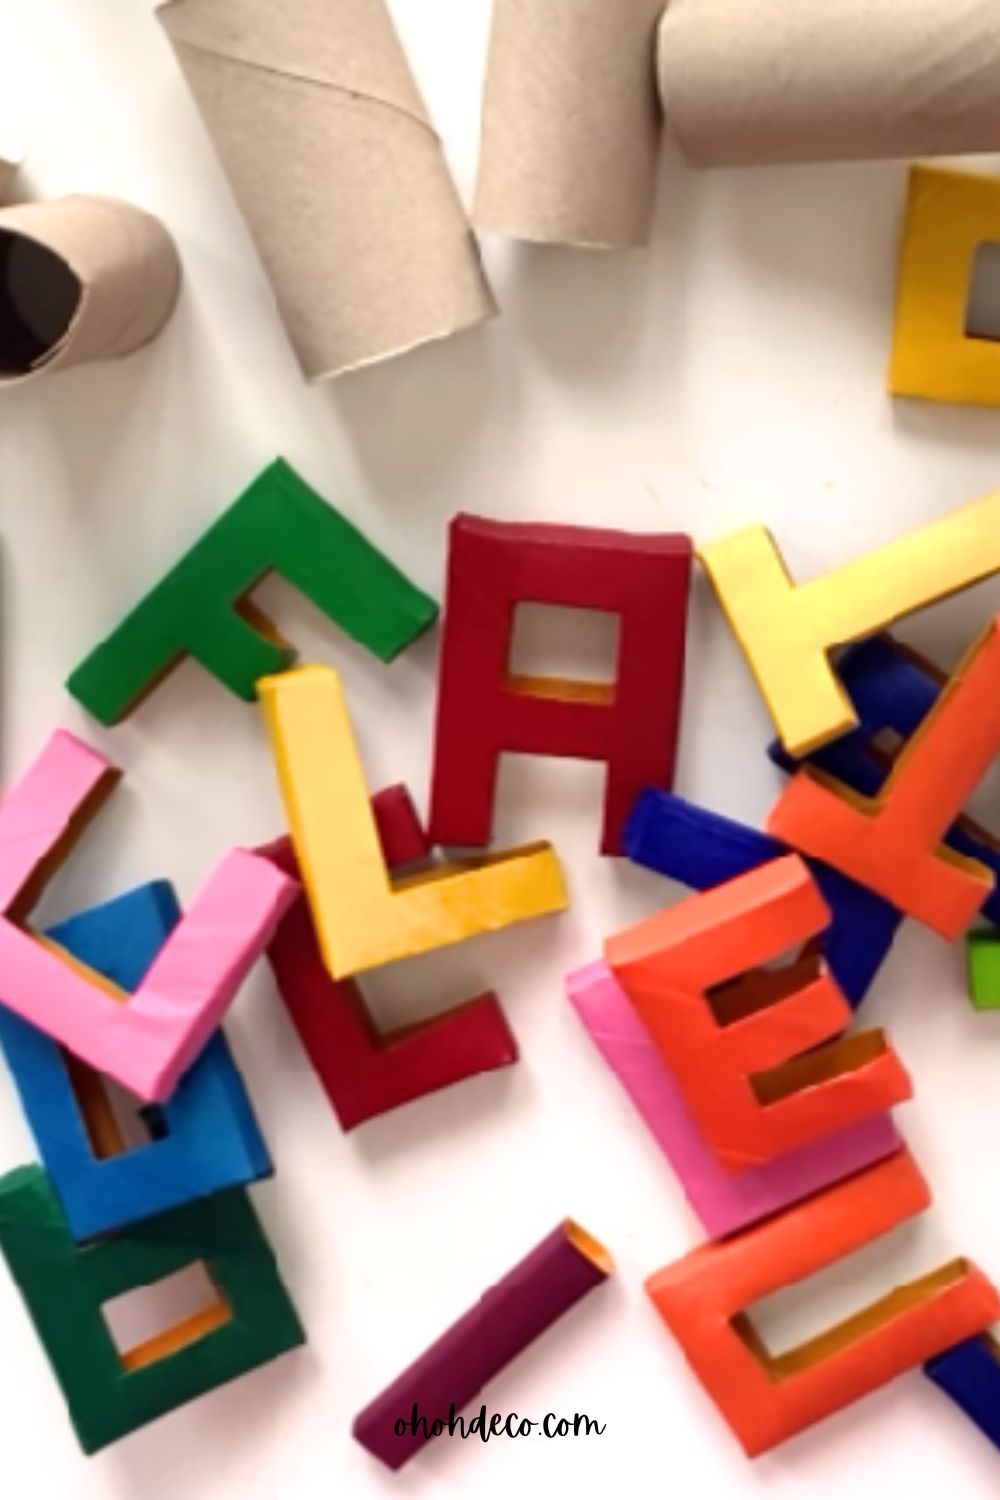
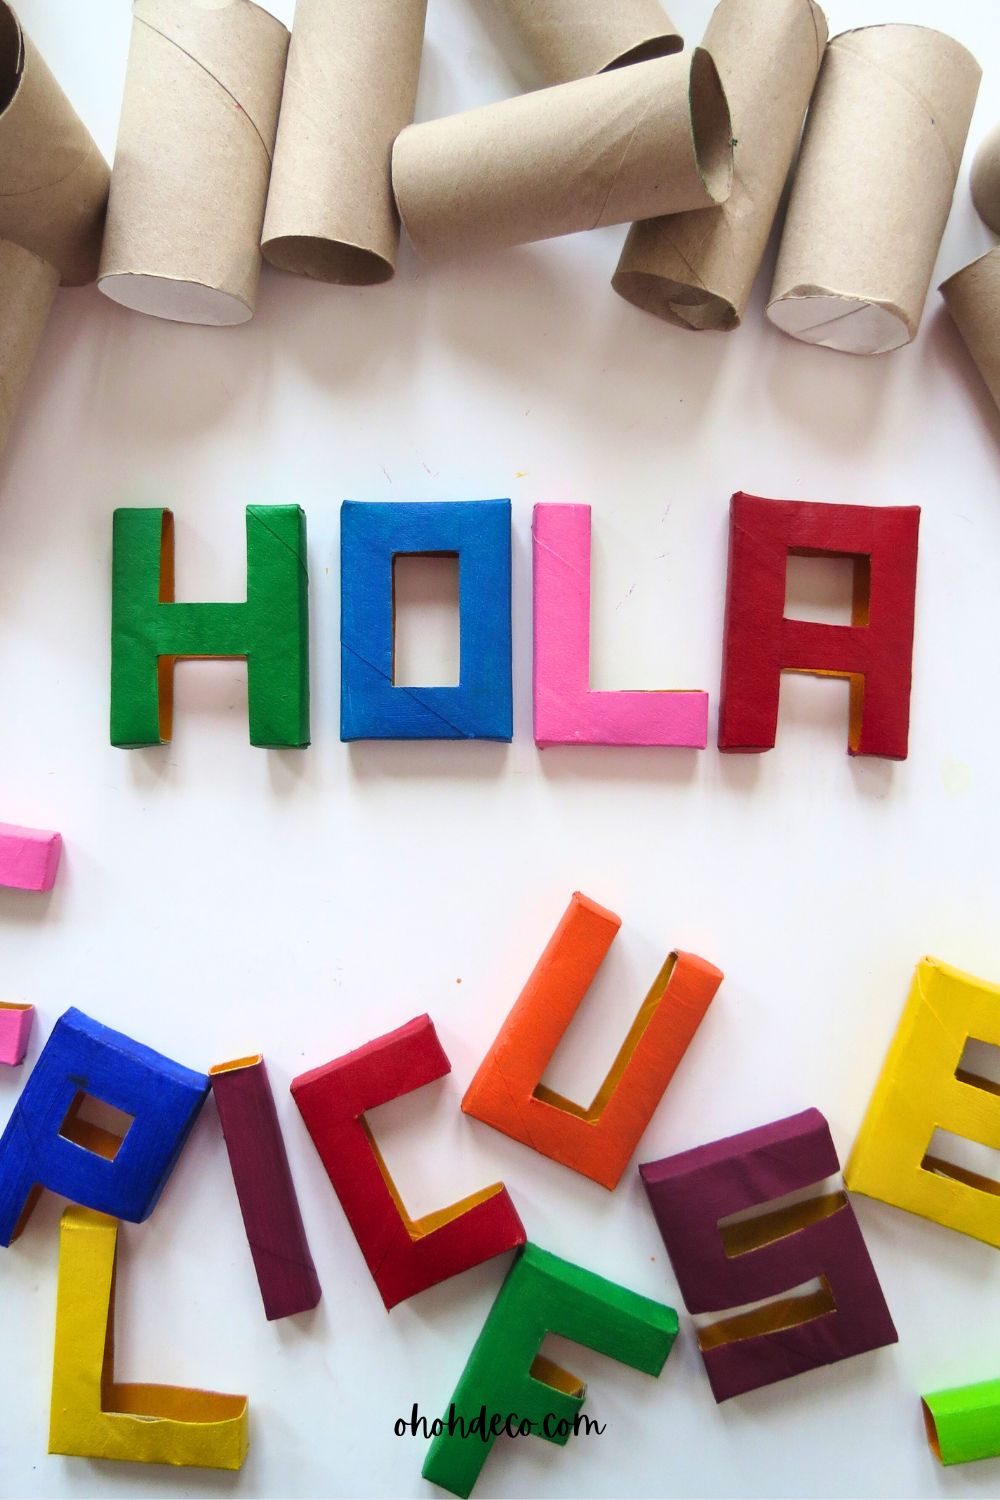
Step 12: Repeat the process to create as many letters as you need. Arrange them to form words, names, or messages. There are endless ways to decorate and display your DIY 3D letters—let your creativity shine!
Watch the Video Tutorial
For a visual guide on how to make 3D letters using toilet paper rolls, watch the step-by-step video tutorial. Seeing the process in action helps clarify each step and provides creative inspiration for decorating the letters.
Conclusion
Making 3D letters from toilet paper rolls is an enjoyable and sustainable craft that turns everyday materials into artistic creations.
With a few simple supplies and a bit of creativity, it’s easy to design personalized decor that adds a unique touch to any space. This project not only encourages recycling but also offers a fun way to express creativity through handmade 3D letters.
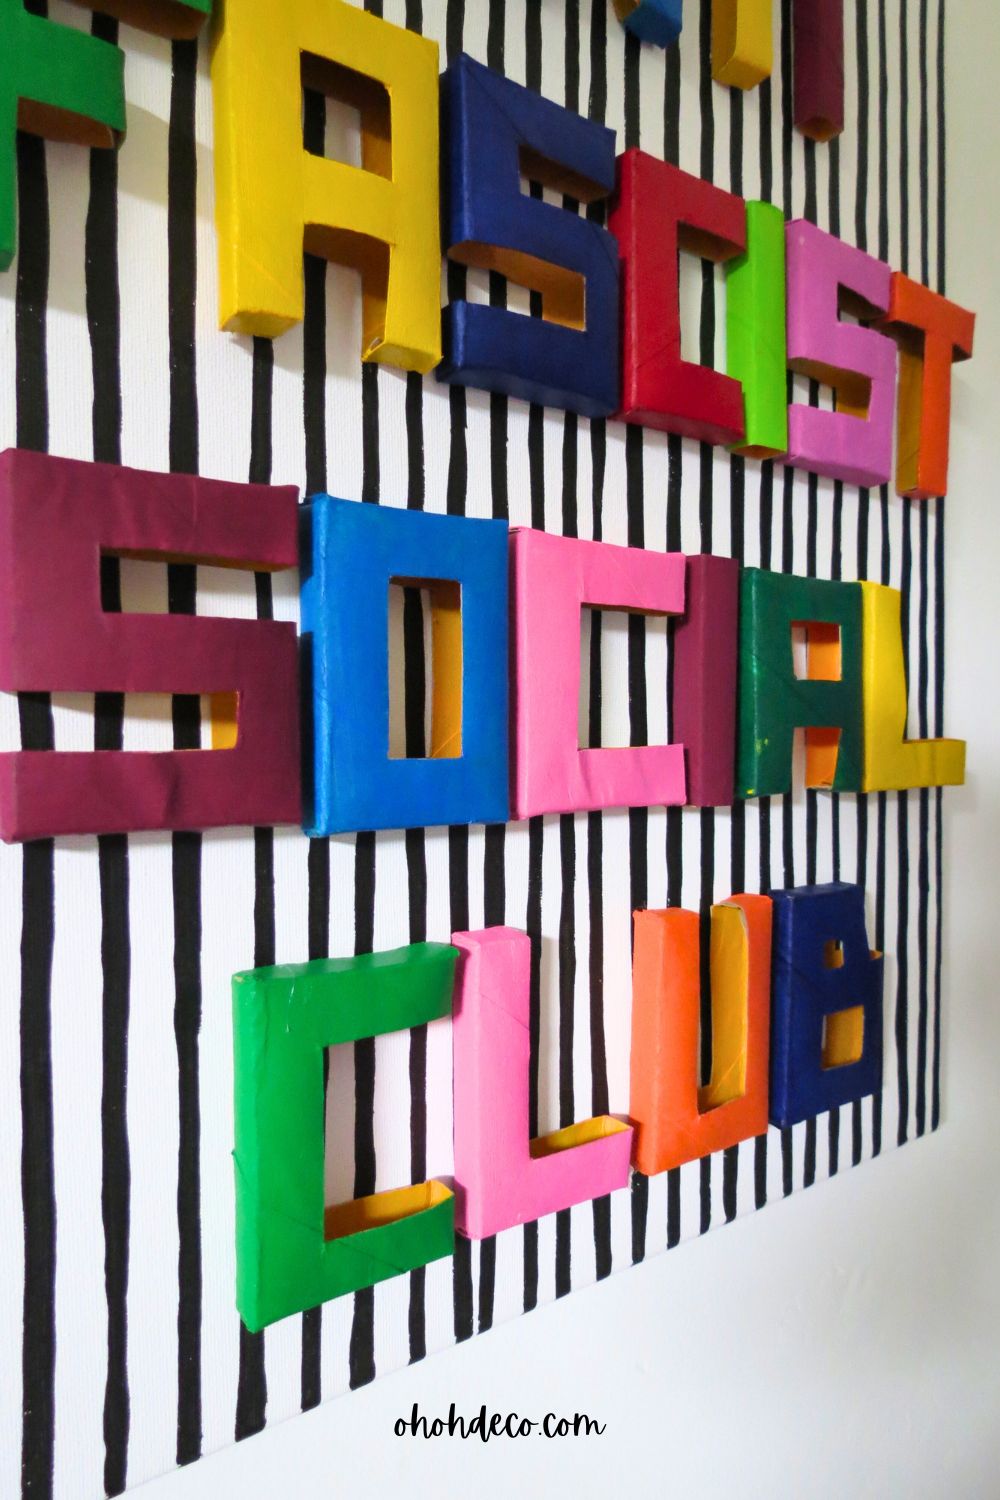
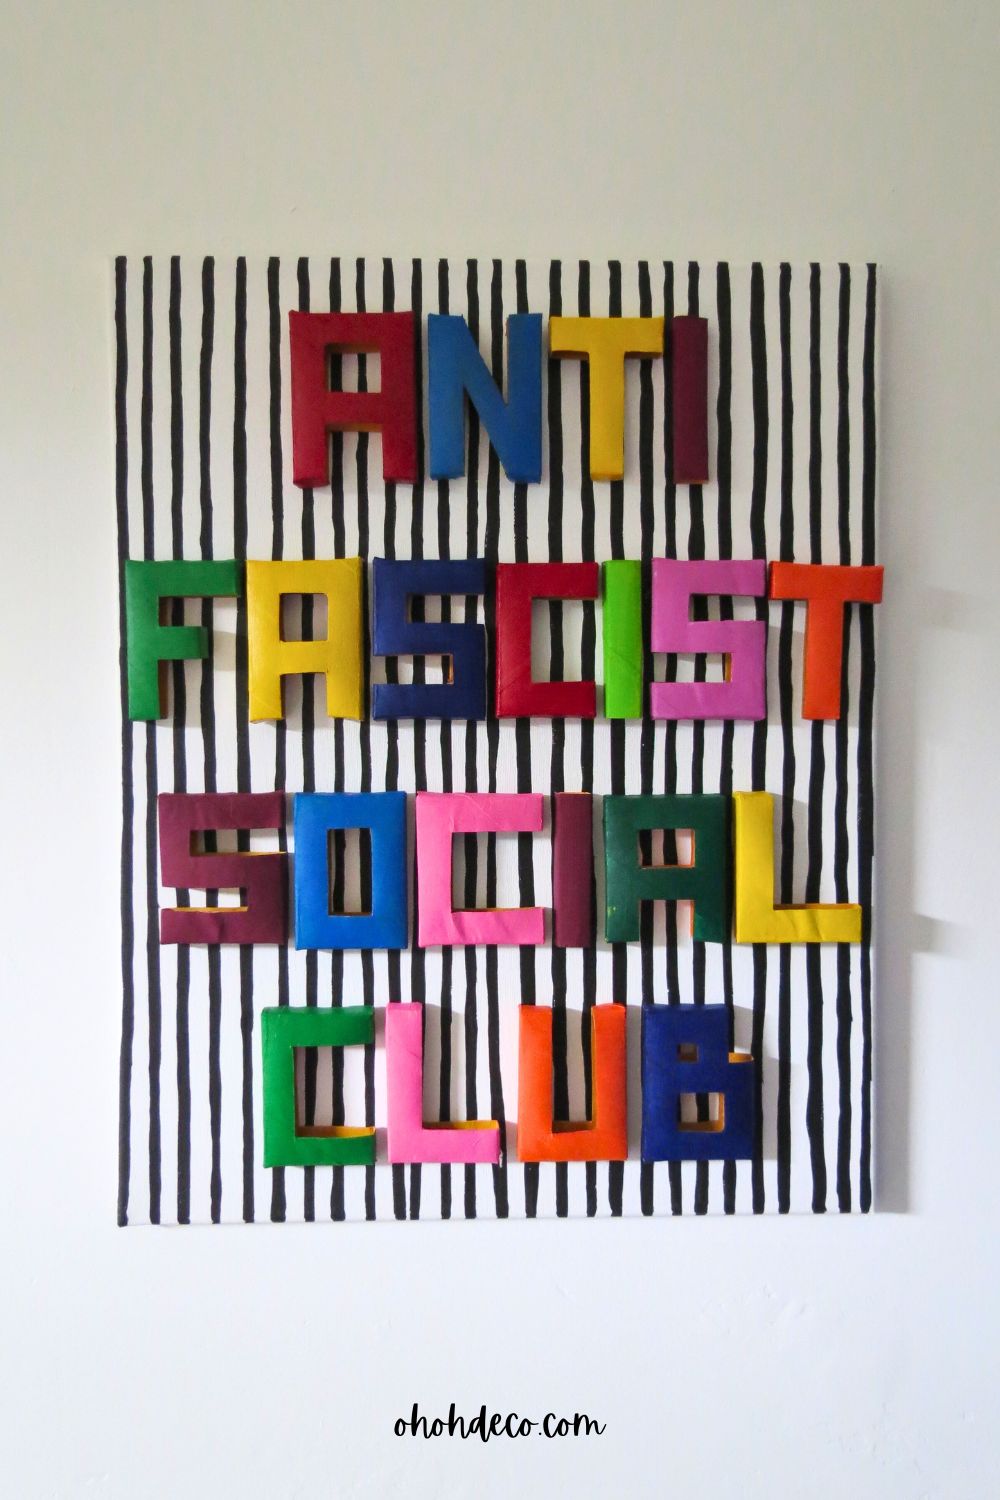
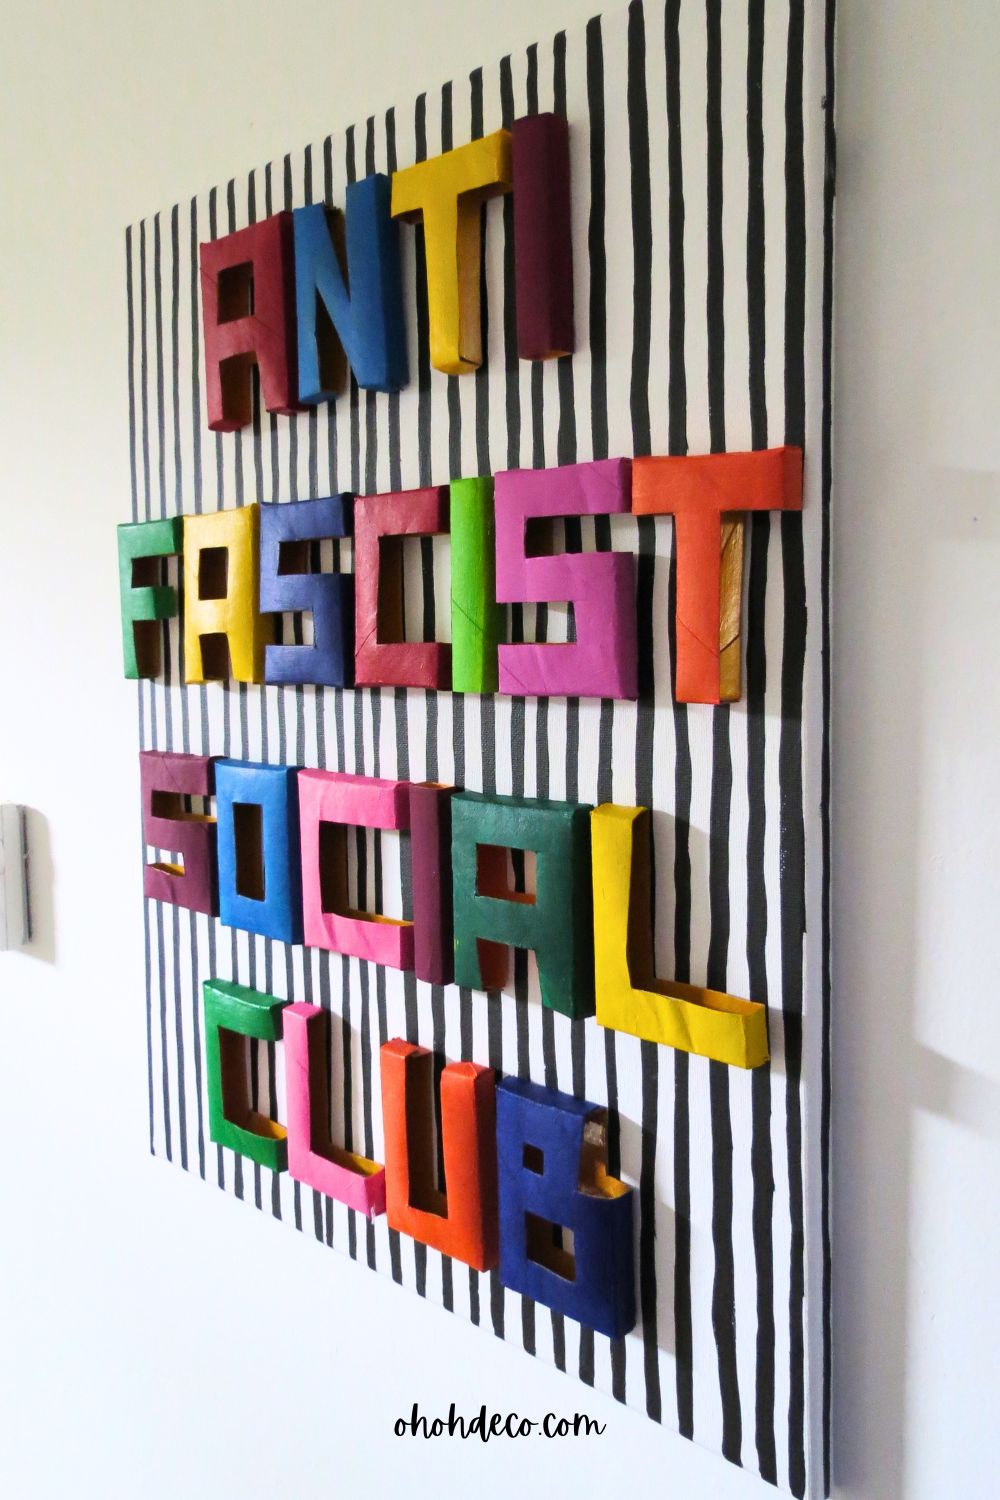
I decided to create an art message using my 3D letters. I painted a canvas and glued the letters onto it to form a colorful and textured piece of wall art. There are so many ways to use these 3D letters—write names, inspiring quotes, or personalized messages.
Have fun being creative with your DIY 3D letters, and share in the comments how you plan to use them so everyone can find a little extra inspiration.
RELATED: 30 Toilet Paper Rolls crafts ideas for adults
RELATED: Easy to make Toilet Paper Roll Flowers
.
.
.
.
.
Want to remember it? Save these 3D letters on your favorite Pinterest Board
LOVE THE SIGN!
We need more of them! 😉