Autumn is the perfect time to get creative with seasonal crafts, and what better way to do so than by repurposing those lonely socks that have lost their partners?
Transforming them into adorable mini pumpkins is not only a delightful fall project but also an eco-friendly way to give new life to old items.
You can follow these simple steps to create your own cozy pumpkin patch at home.
[ This post probably contains affiliate links; our full disclosure policy is boring, but you can read it HERE ]
Materials Needed
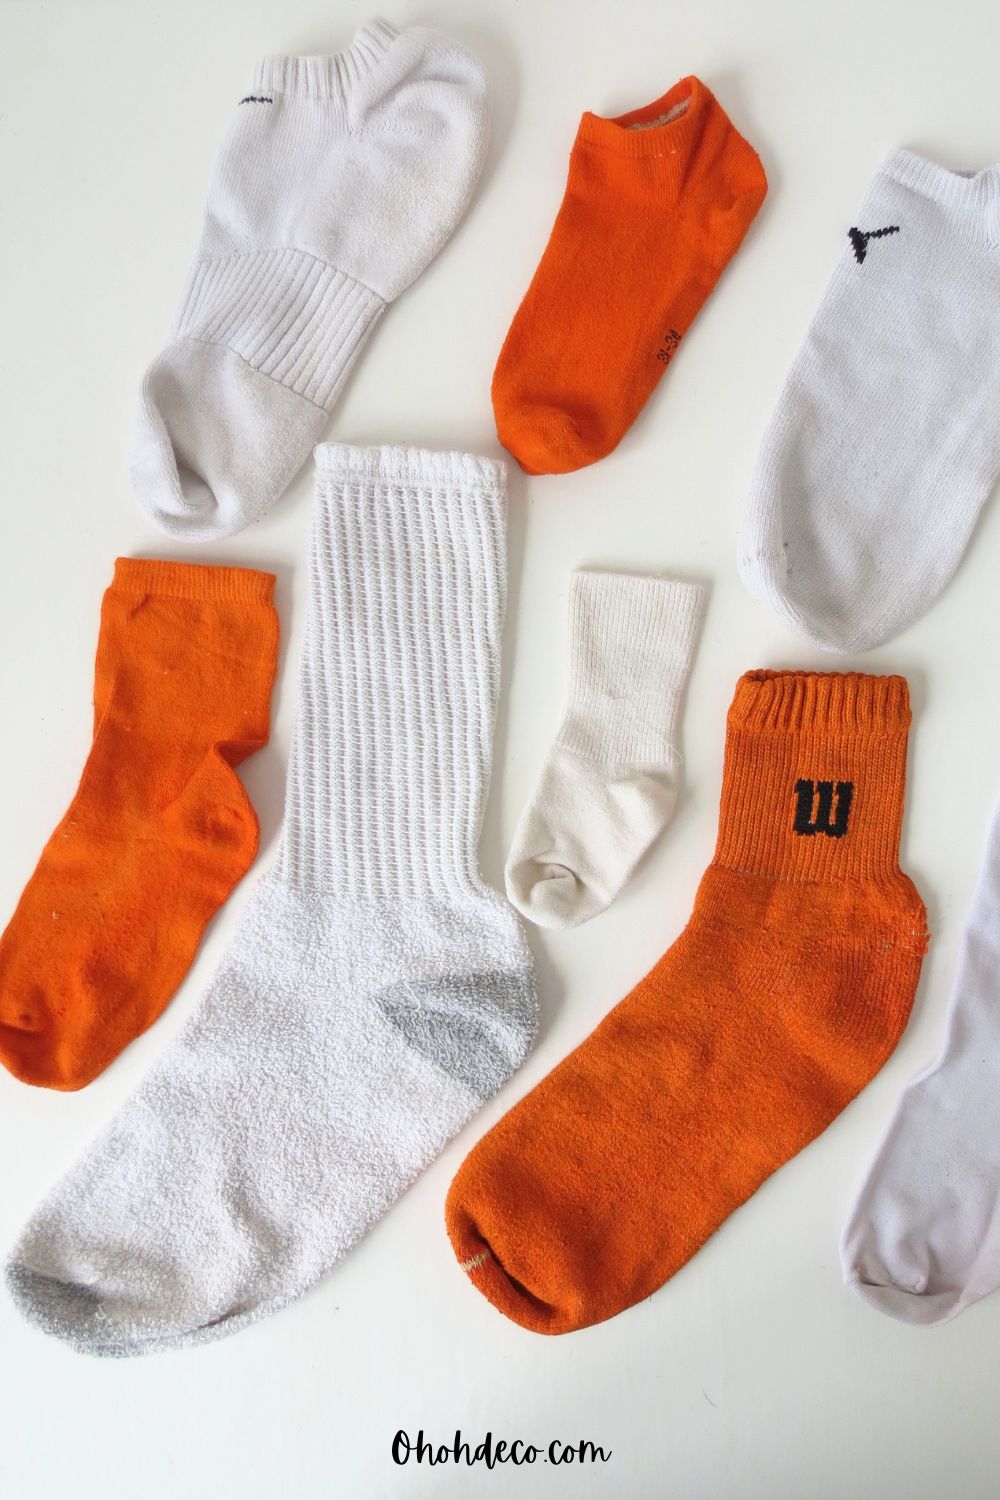
- Lonely socks: Any color or pattern will work, though orange, brown, or autumn-themed colors fit the pumpkin theme best.
- Orange Fabric Dye: Choose a vibrant color to capture the essence of fall.
- Scissors: Sharp enough to cut through fabric.
- Yarn or thread: For creating the pumpkin’s segments
- Stuffing: Use polyester fiberfill, cotton, or even old fabric scraps.
- Twine or rope: For creating the stem.
- Fabric glue or hot glue gun: To secure any loose ends.
- Optional embellishments: Buttons, faux leaves, or fabric paint for extra decoration.
Watch the Video to make the Mini Pumpkins with lonely socks
Step-by-Step Instructions
Step 1: Dye the Socks
- Prepare the Dye: Follow the instructions on your fabric dye package to prepare the dye bath. Typically, this involves mixing the dye with hot water in a bowl or bucket.
- Dye the Socks: Submerge your lonely socks in the dye bath, ensuring they are fully saturated. Let them soak for the recommended time on the dye package.
- Rinse and Dry: Once dyed, rinse the socks thoroughly under cold water until the water runs clear. Allow them to dry completely.

Step 2: Create the Pumpkin Shape
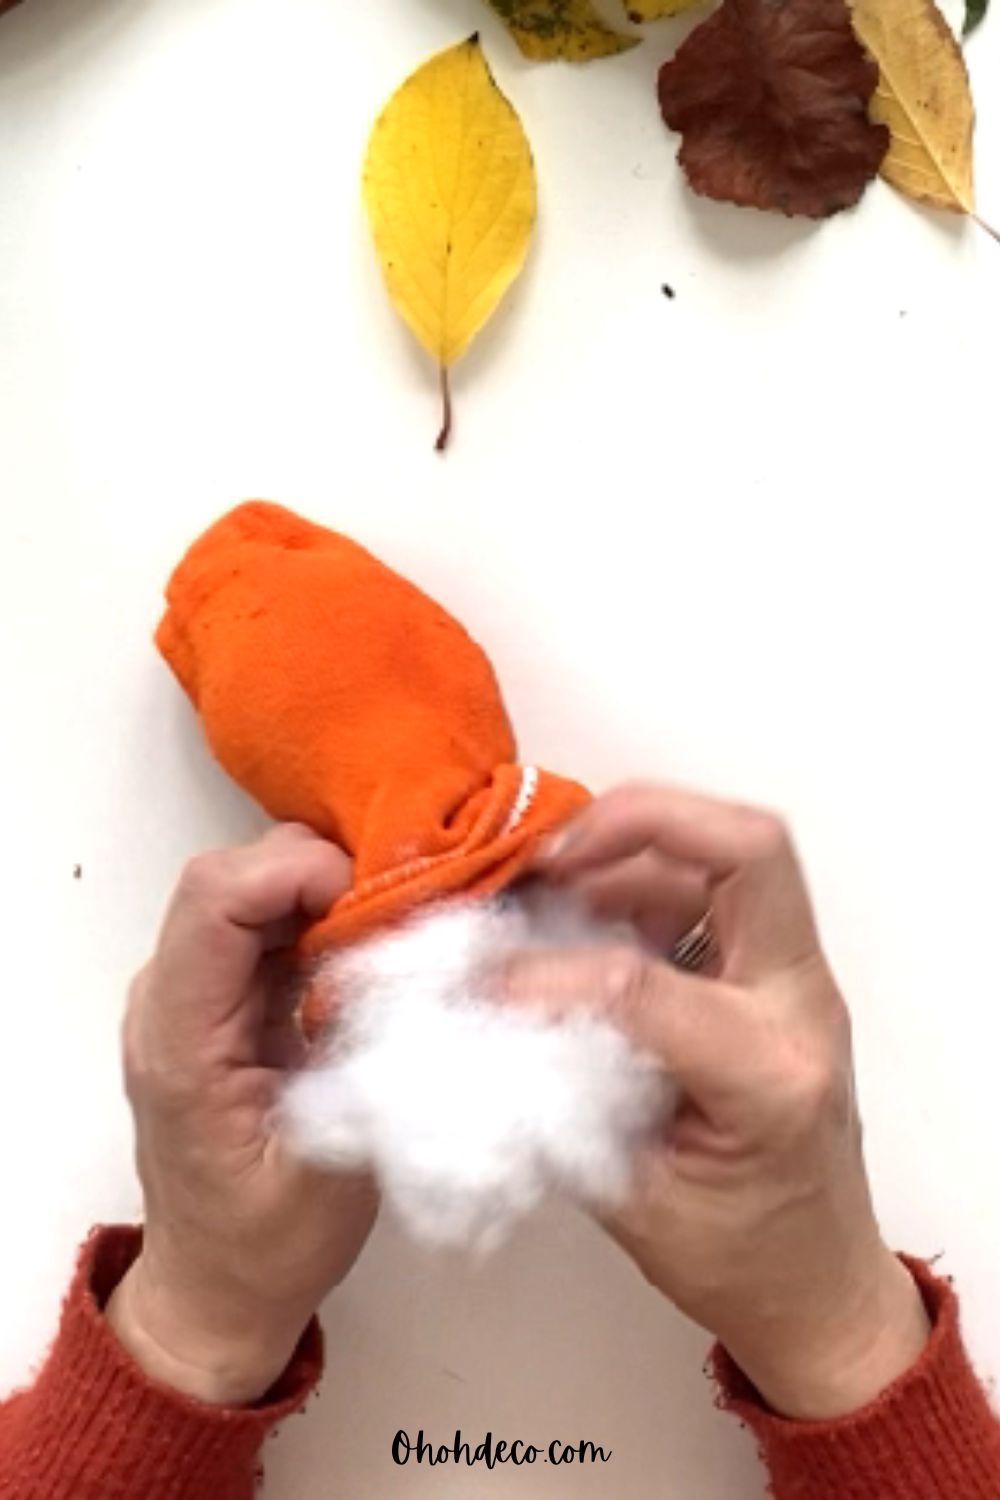
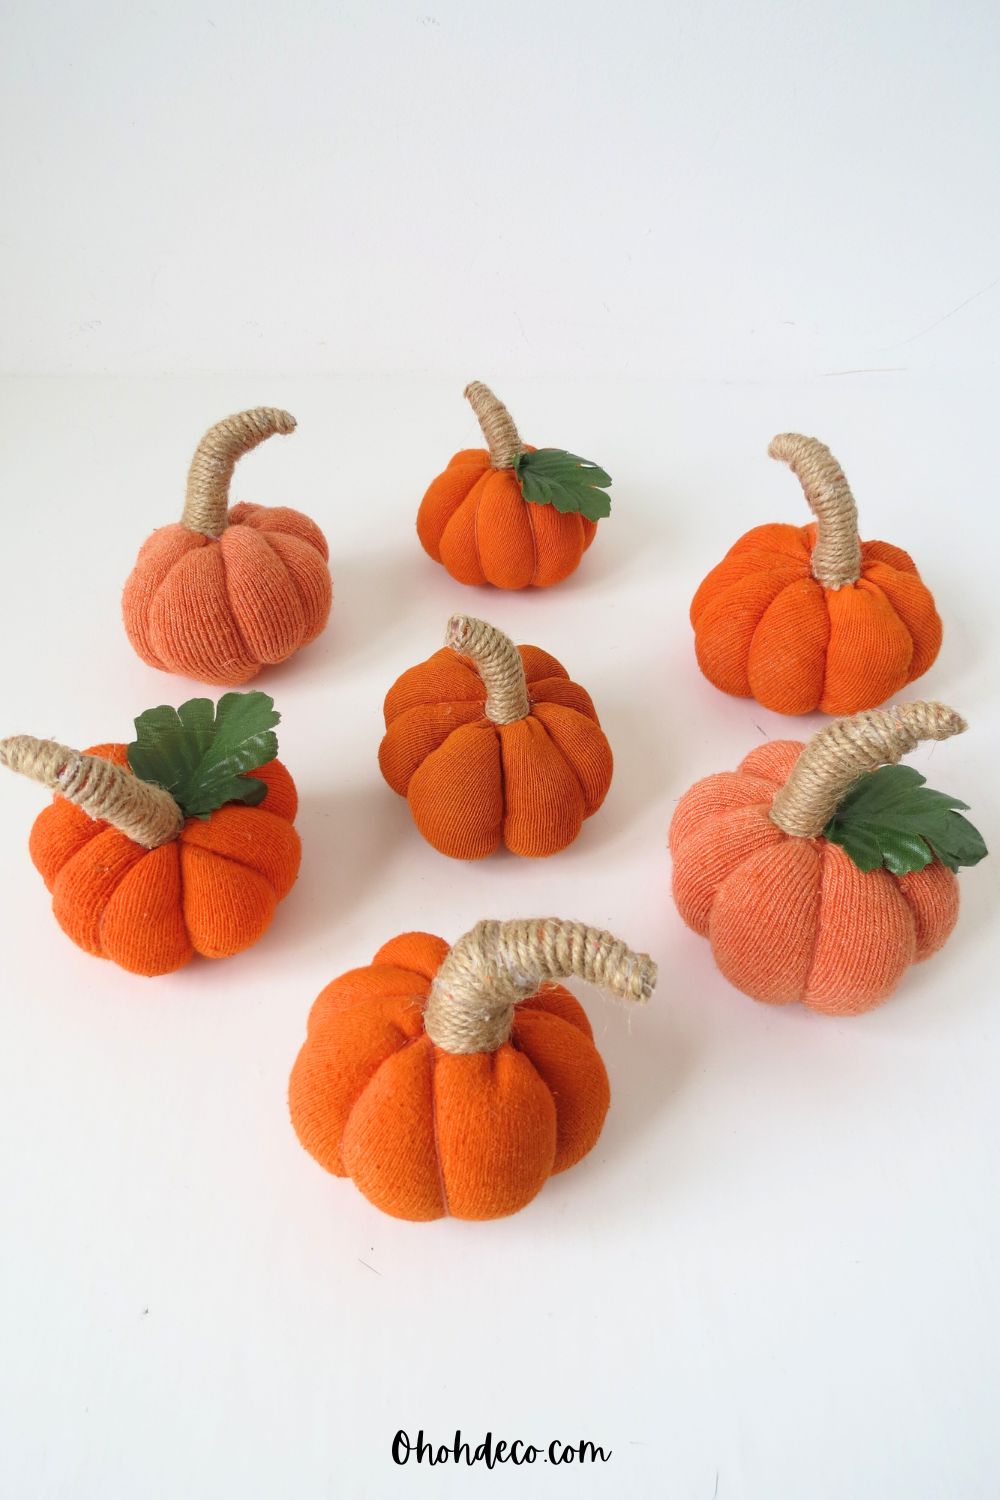
- Fill the Socks: Stuff the socks with cotton stuffing until they reach your desired pumpkin size.
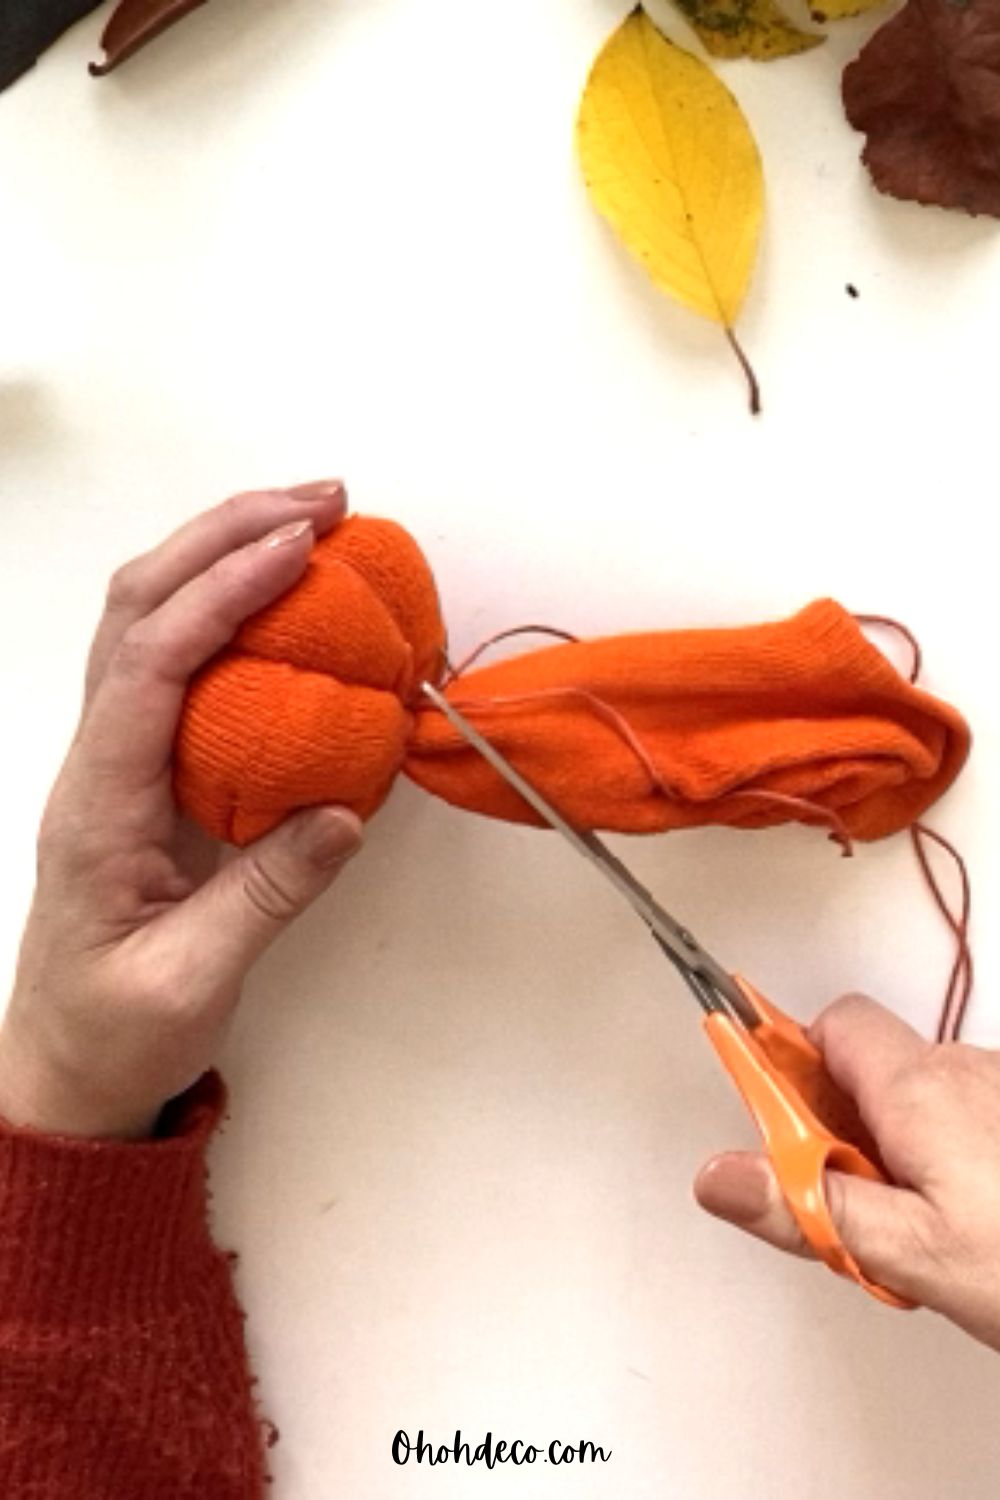
- Shape the Pumpkin: Use twine or string to tie around the sock at intervals to create sections, giving it a classic pumpkin shape.
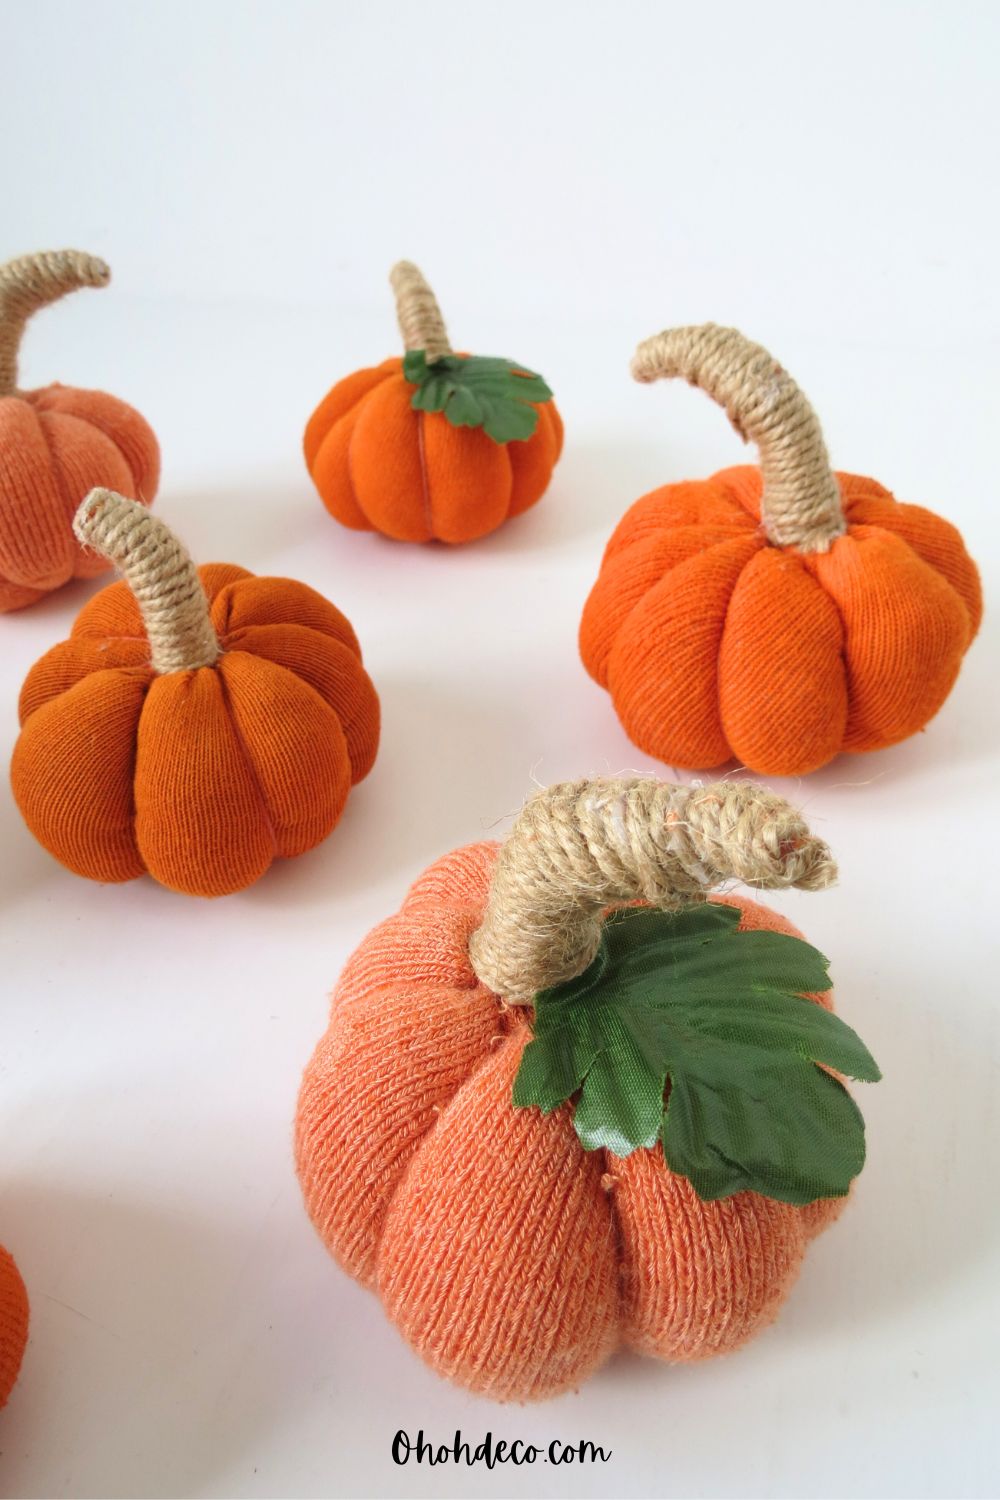
Step 3: Make Stem and Leaf
- Make the Stem: Cut a small piece of twine or rope and roll it around the end of the sock. Use the hot glue gun to secure it.
- Attach Leaves: Cut leaf shapes from green felt or fabric and attach them to the stem using the hot glue gun. You can also use artificial leaves.
Step 4: Add Finishing Touches
- Decorate: Use fabric glue or a hot glue gun to attach optional embellishments, such as buttons, o sequins, for a whimsical touch.
- Personalize: Add personality with fabric paint, drawing on faces or patterns to make each pumpkin unique. Cut out black felt shapes and glue them onto the pumpkin to create mini jack-o’-lanterns.
Display and Enjoy
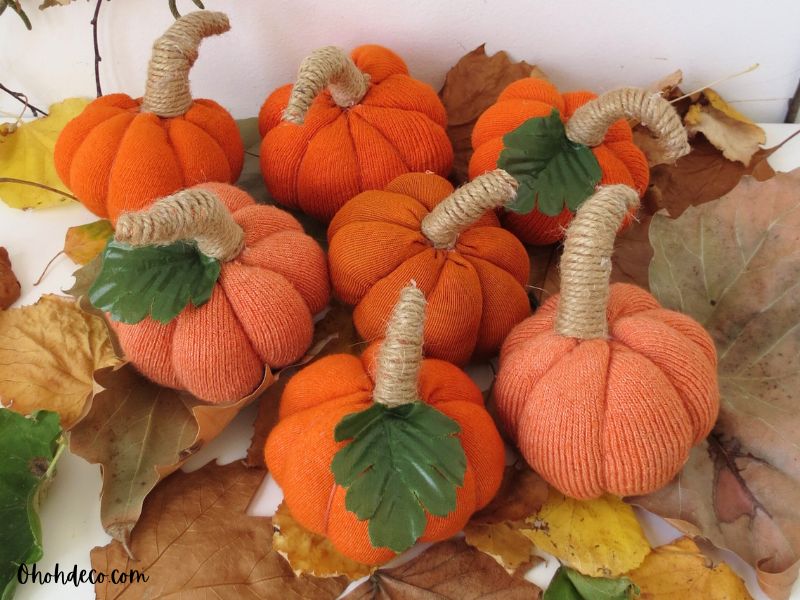
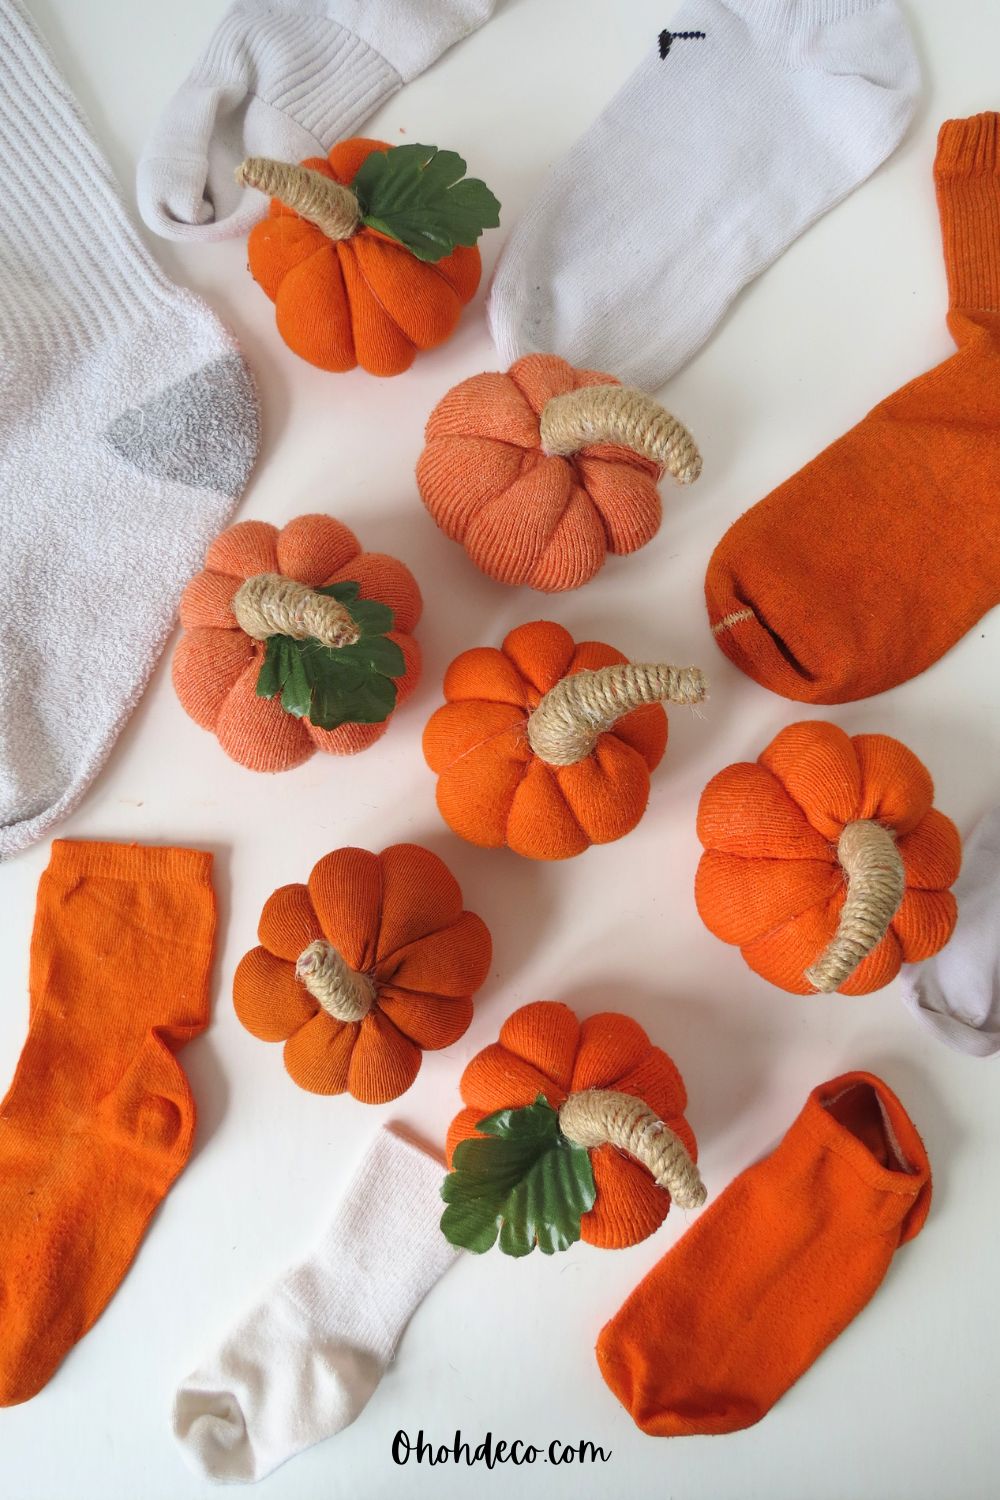
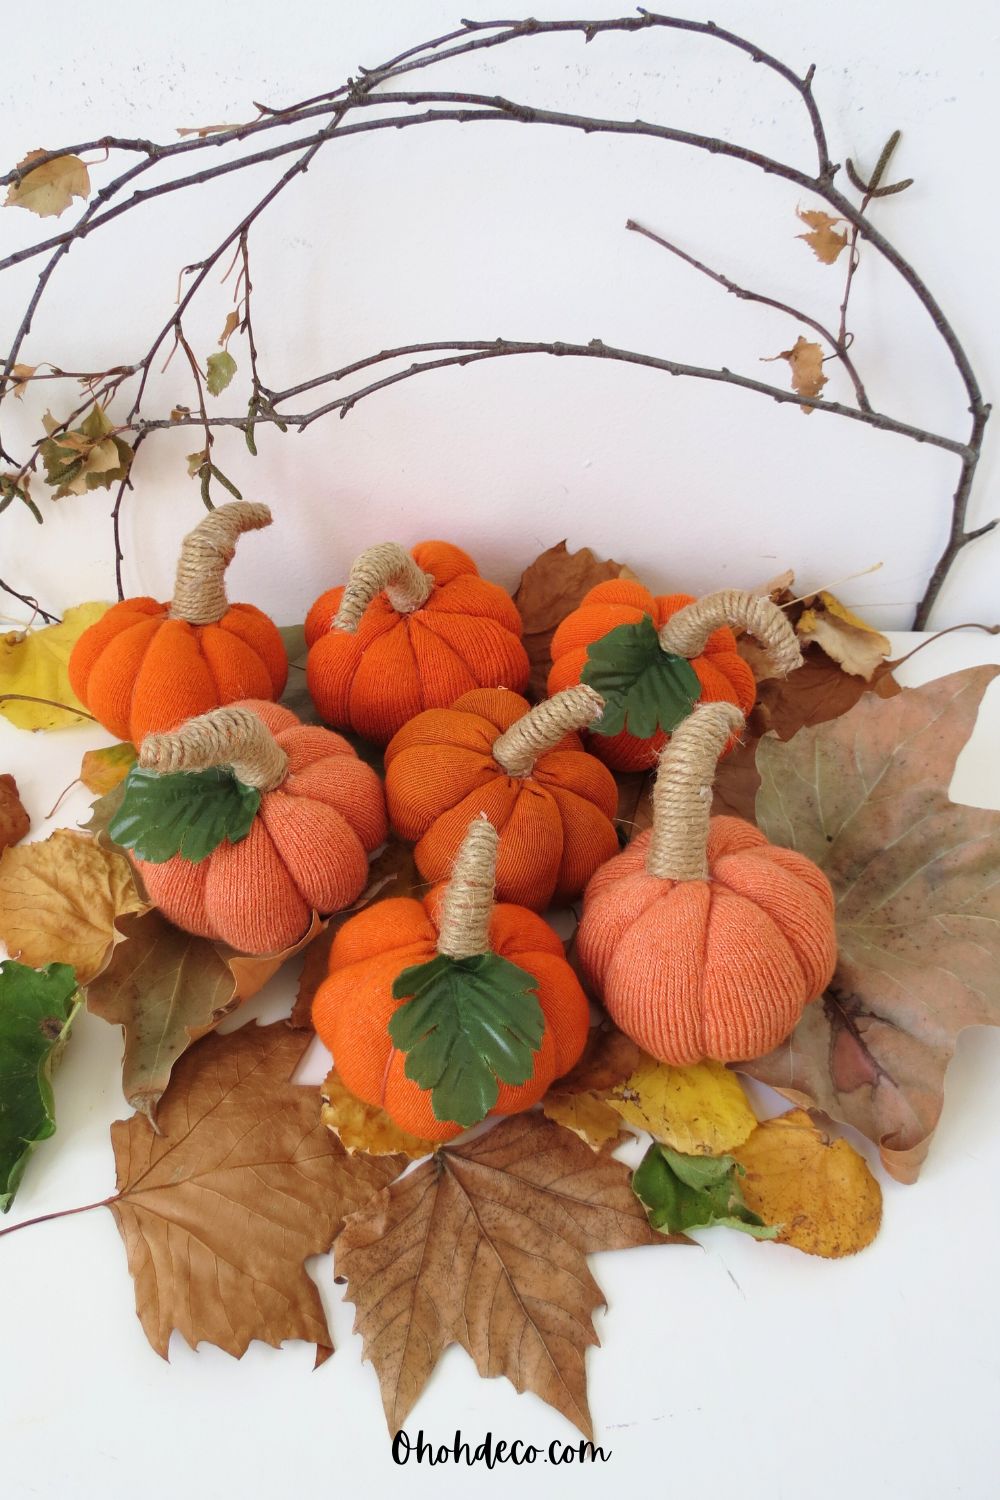
Congratulations! You’ve transformed ordinary socks into charming pumpkin decor perfect for the fall season. These sock pumpkins can be used to decorate your home or enjoyed as a unique craft project with friends and family.
Arrange your mini pumpkins in a basket, along a mantel, or as part of a festive table centerpiece. These charming creations add a cozy touch to your fall décor and serve as a conversation starter for guests.
Plus, they’re a fun and simple way to make use of those single socks lingering in the laundry room!
Happy crafting, and enjoy the warm, inviting atmosphere these mini pumpkins bring to your home this fall!
RELATED: Easy Pumpkin Craft Ideas
RELATED: How to Transform Your Toilet Paper Rolls into Festive Pumpkins
.
.

.
Want to remember it? Save these Mini Pumpkin crafts on your favorite Pinterest board