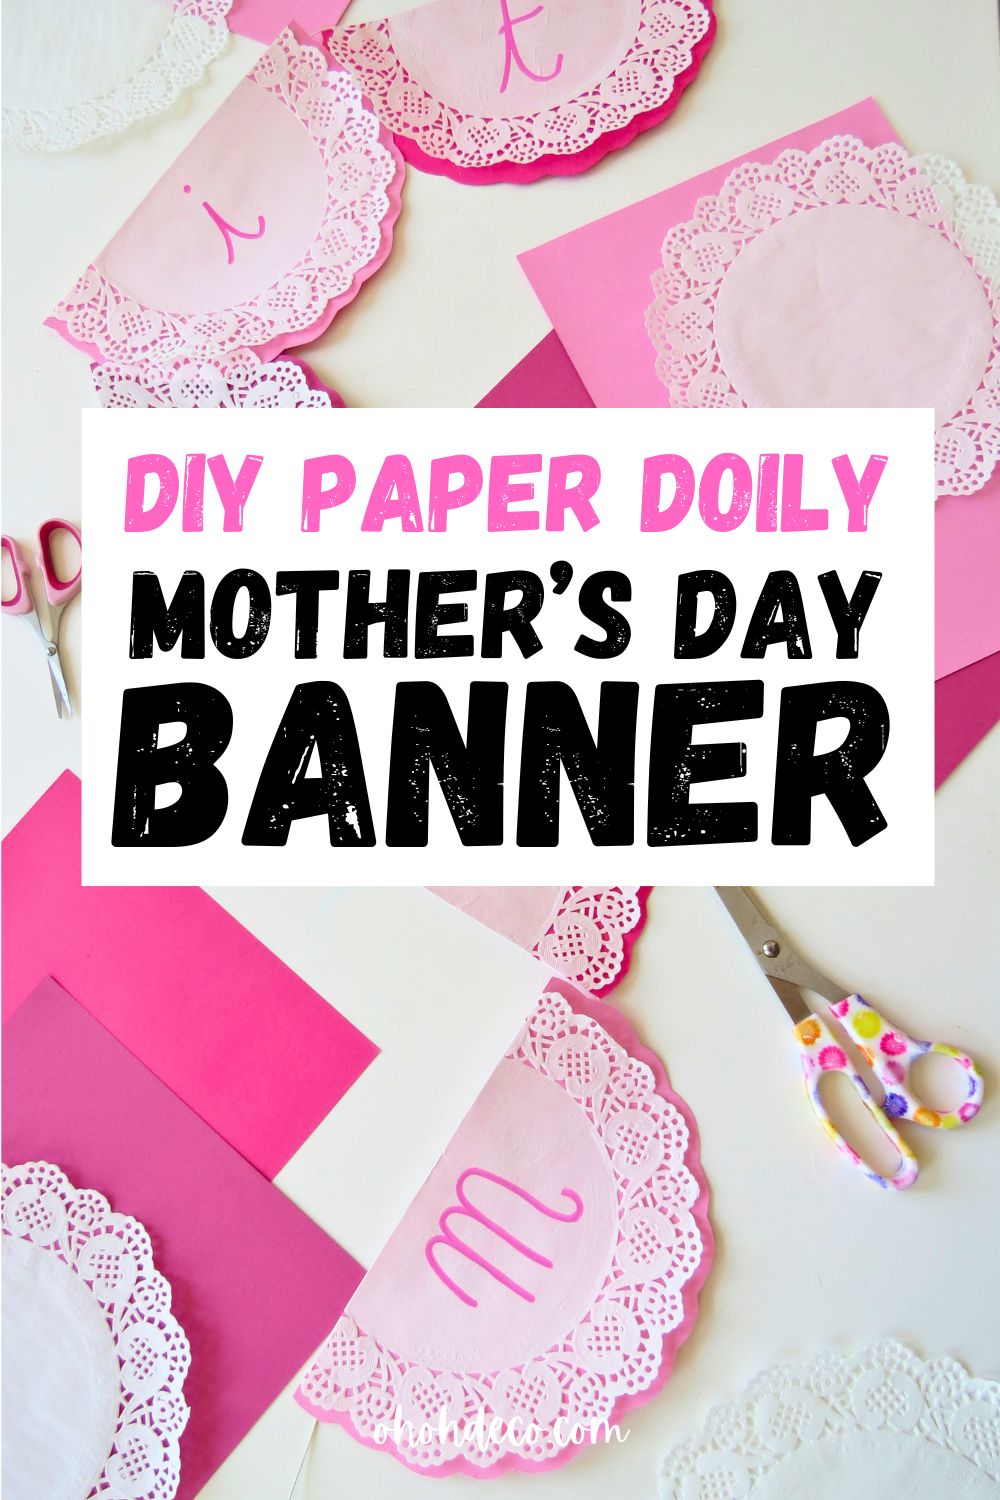
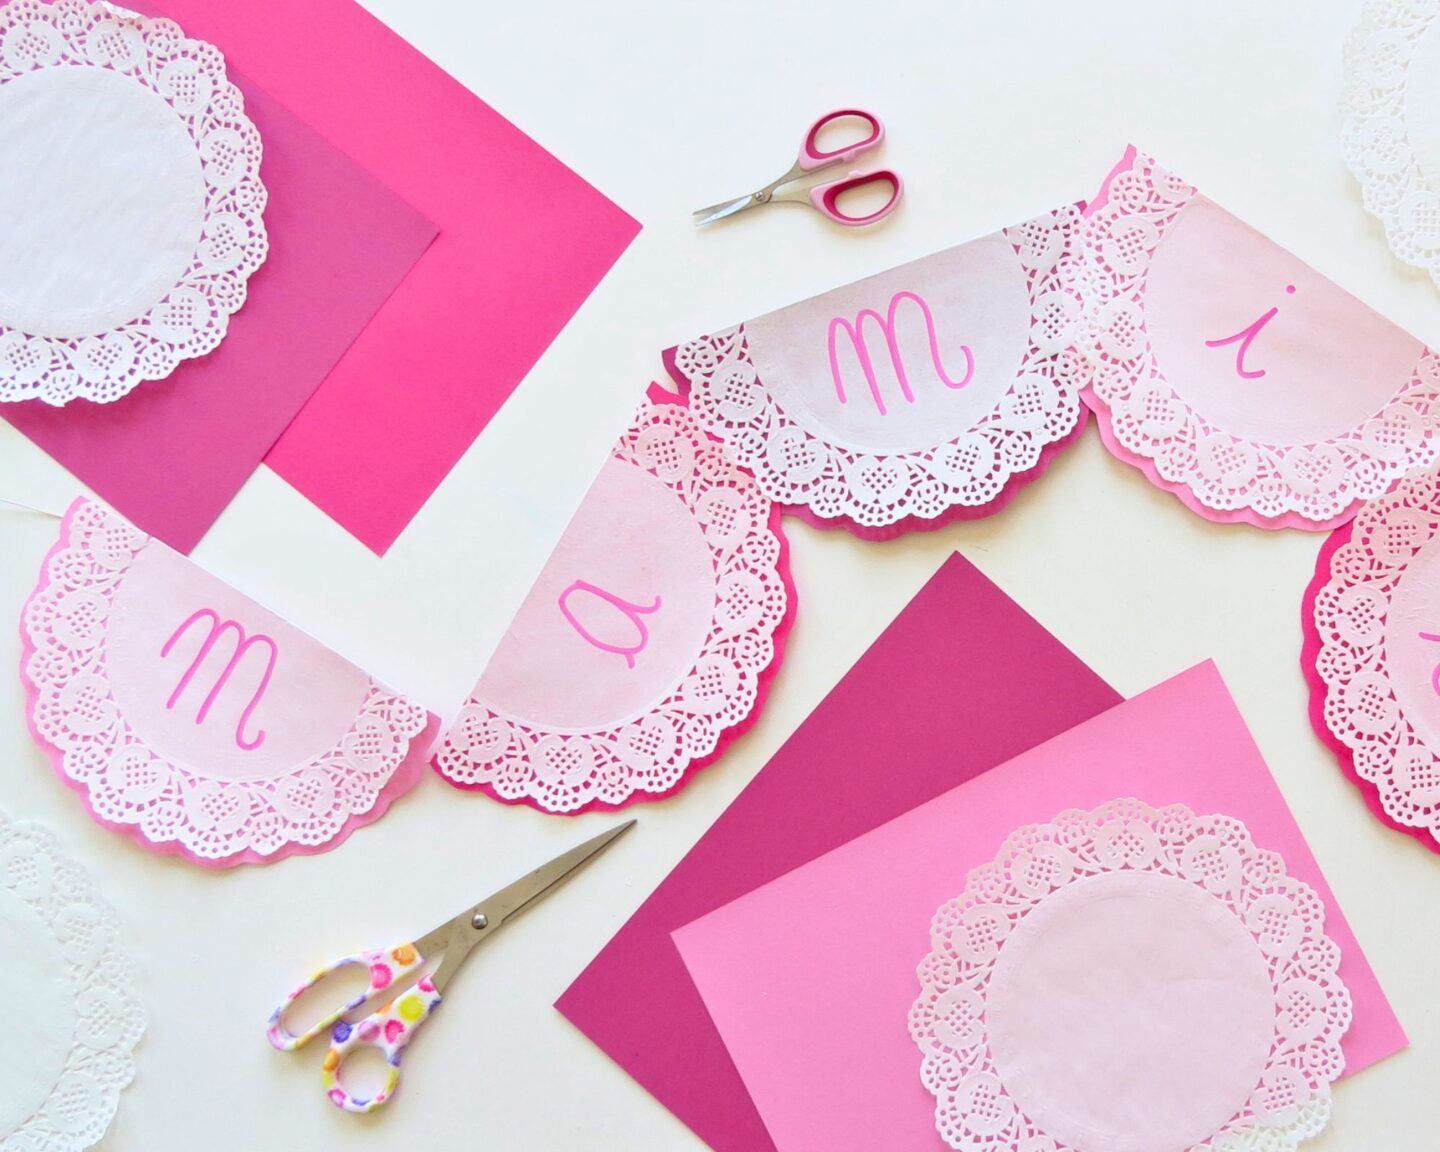
Creating a Mother’s Day banner is a simple and charming way to decorate for a celebration. Using paper doilies and colored paper, this craft combines elegance and creativity.
The following guide provides step-by-step instructions and ideas for creating and customizing the banner for any occasion.
[ This post probably contains affiliate links; our full disclosure policy is boring, but you can read it HERE ]
Supplies List
Before starting the project, gather all the materials needed to make the process smooth and enjoyable. The supplies for this Mother’s Day banner are simple and affordable.
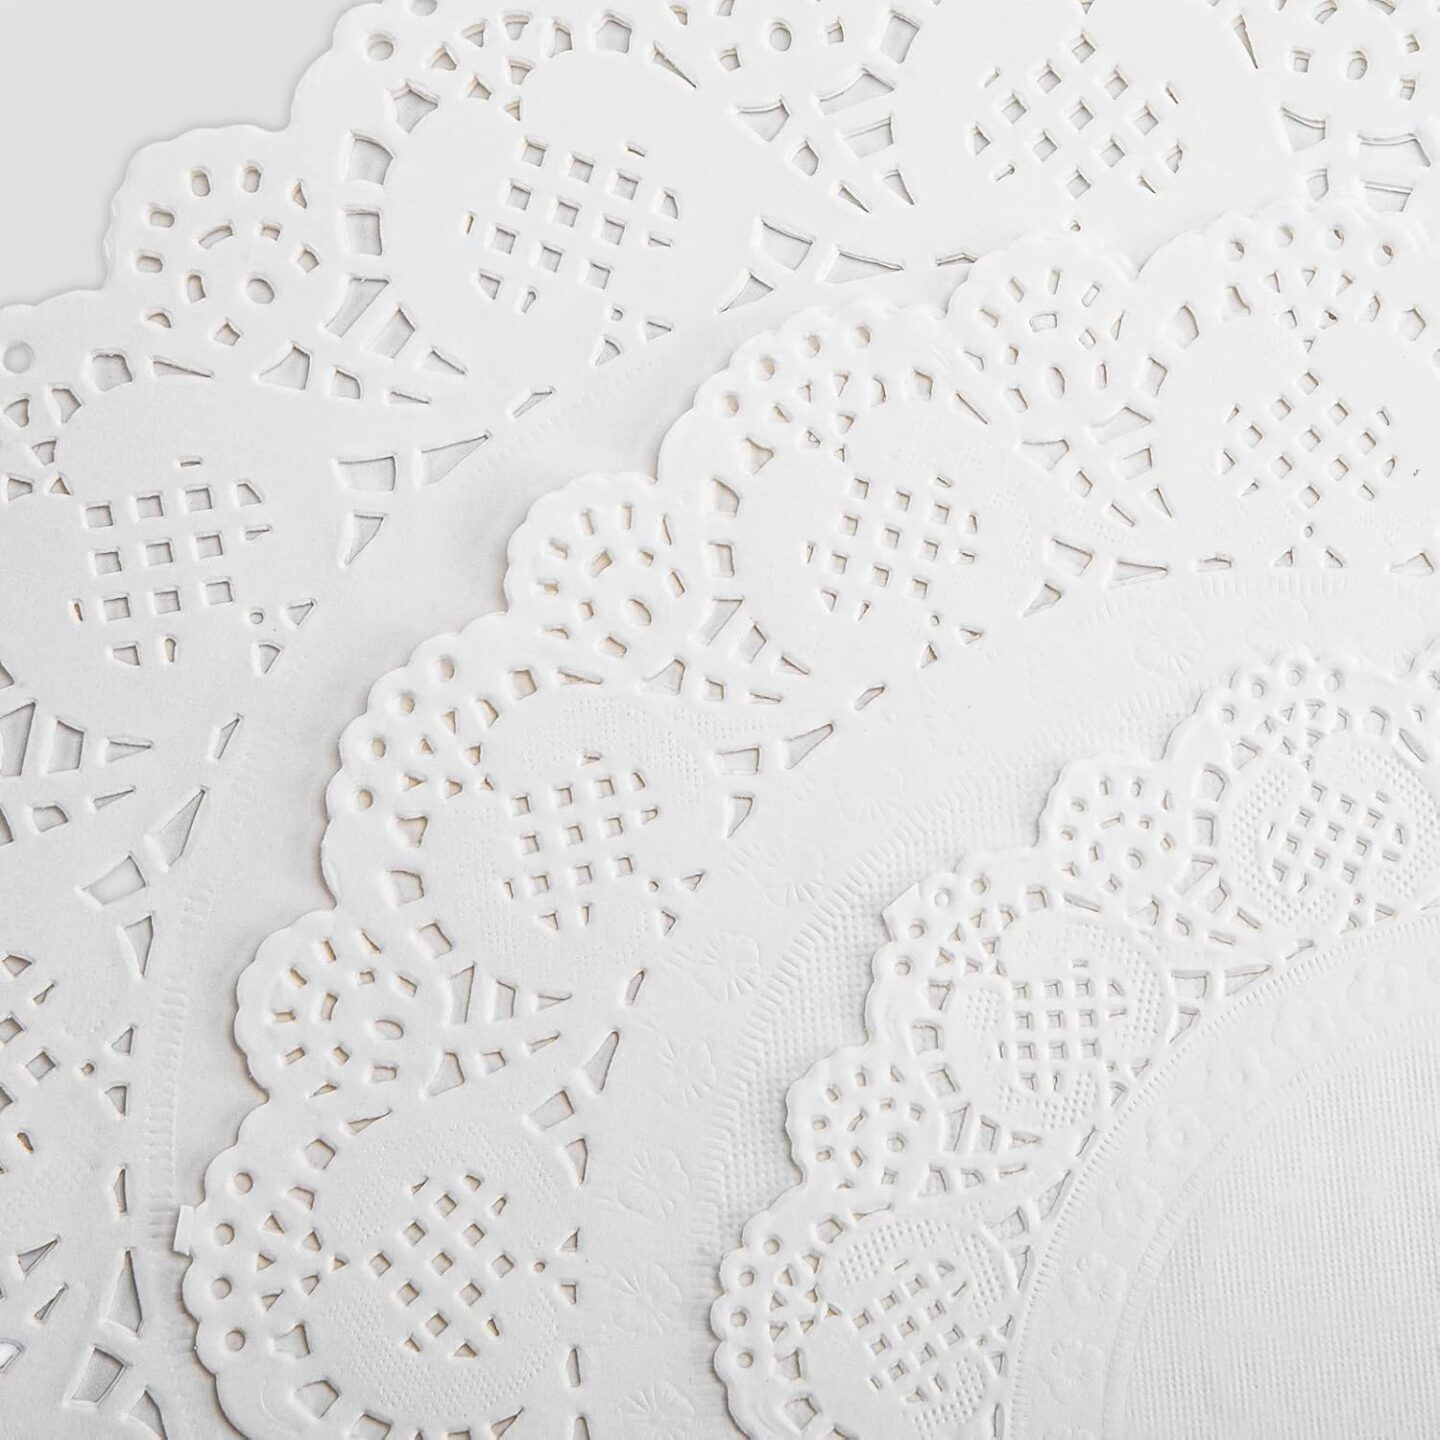
- Paper doilies (medium size)
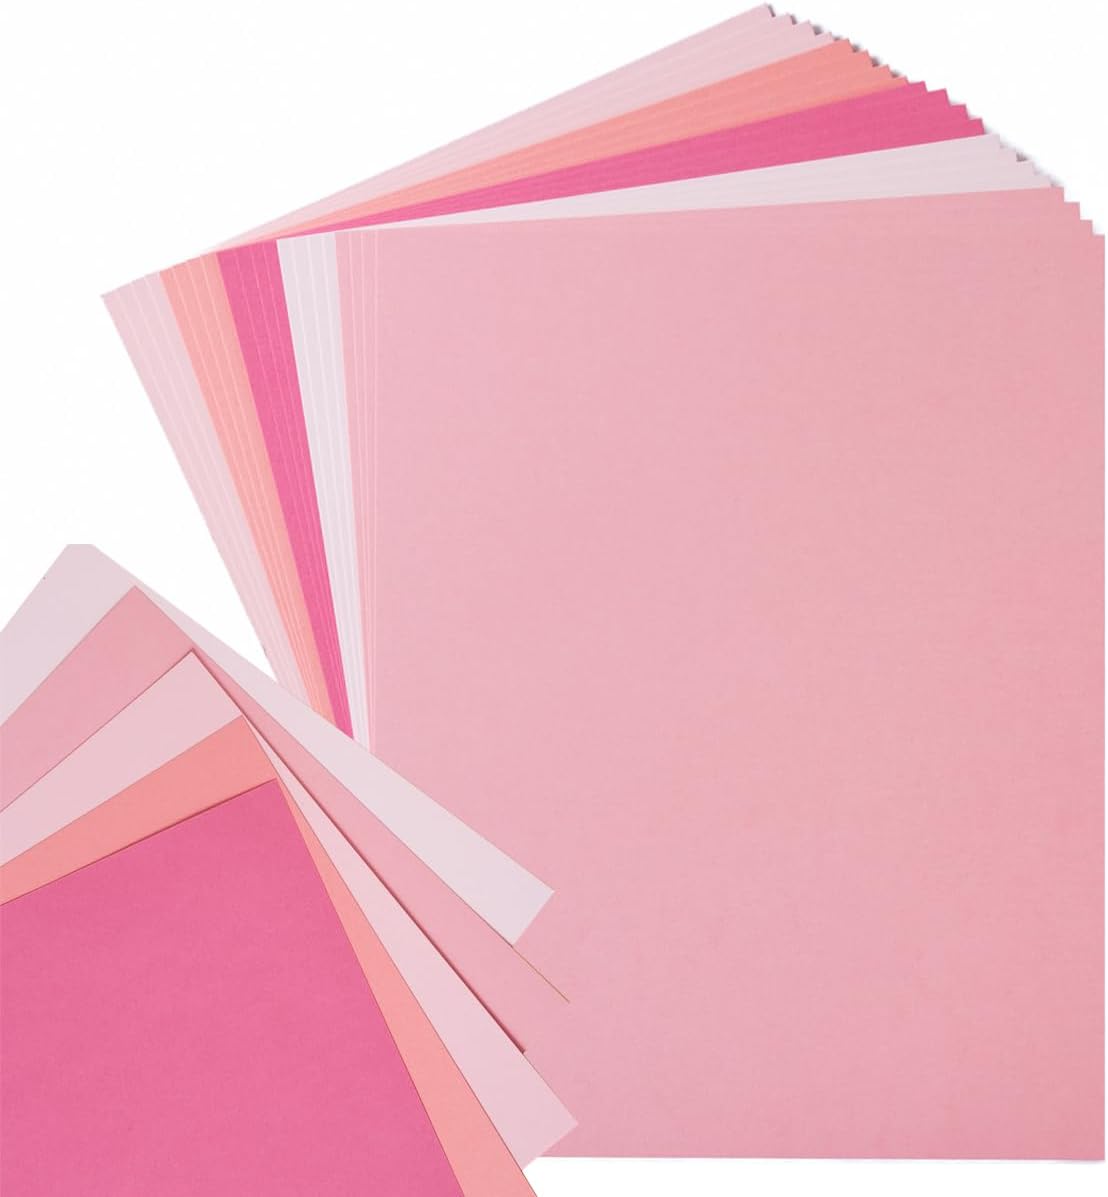
- Colored paper sheets (pink for Mother’s Day or any color of choice)
- Glue stick
- Scissors
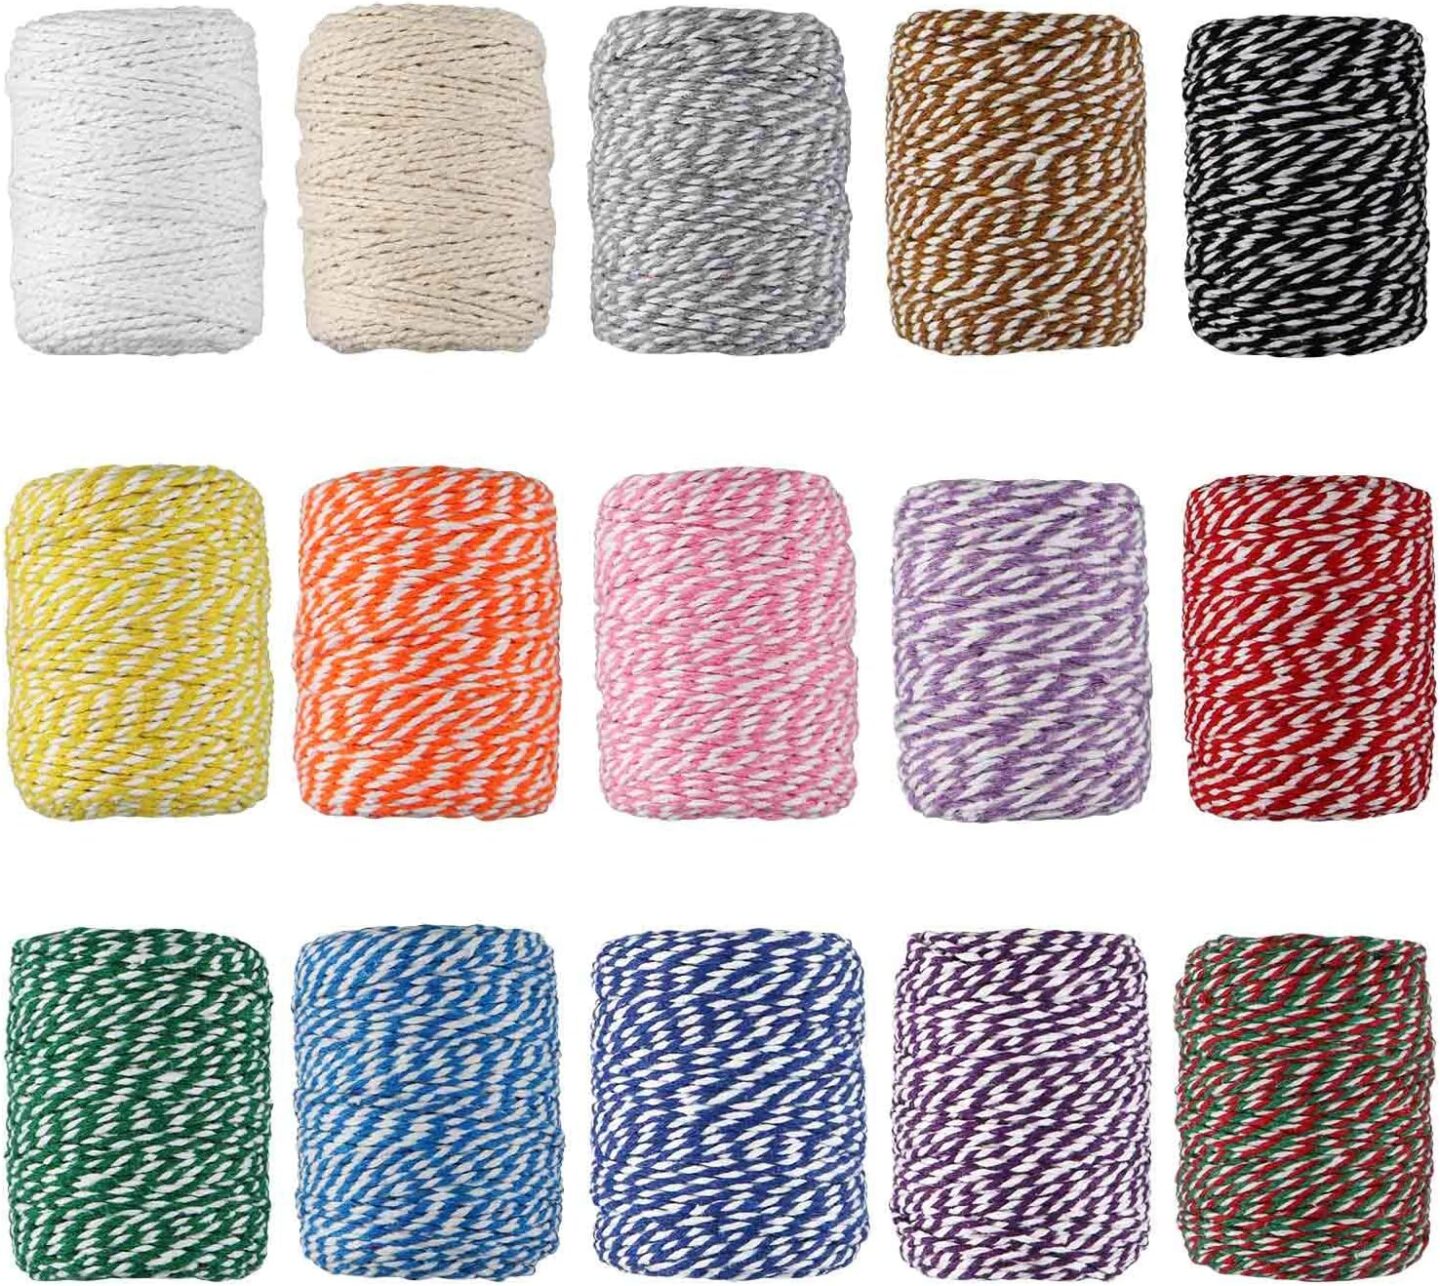
- Twine or ribbon
- Marker or Acrylic Paint marker
- Tape or push pins (optional, for hanging)
Step-by-Step Instructions
Let’s start crafting! With all the supplies ready, it’s time to bring the Mother’s Day banner to life. Each step is simple and fun, to follow along more easily and see each detail in action, watch the full video tutorial.
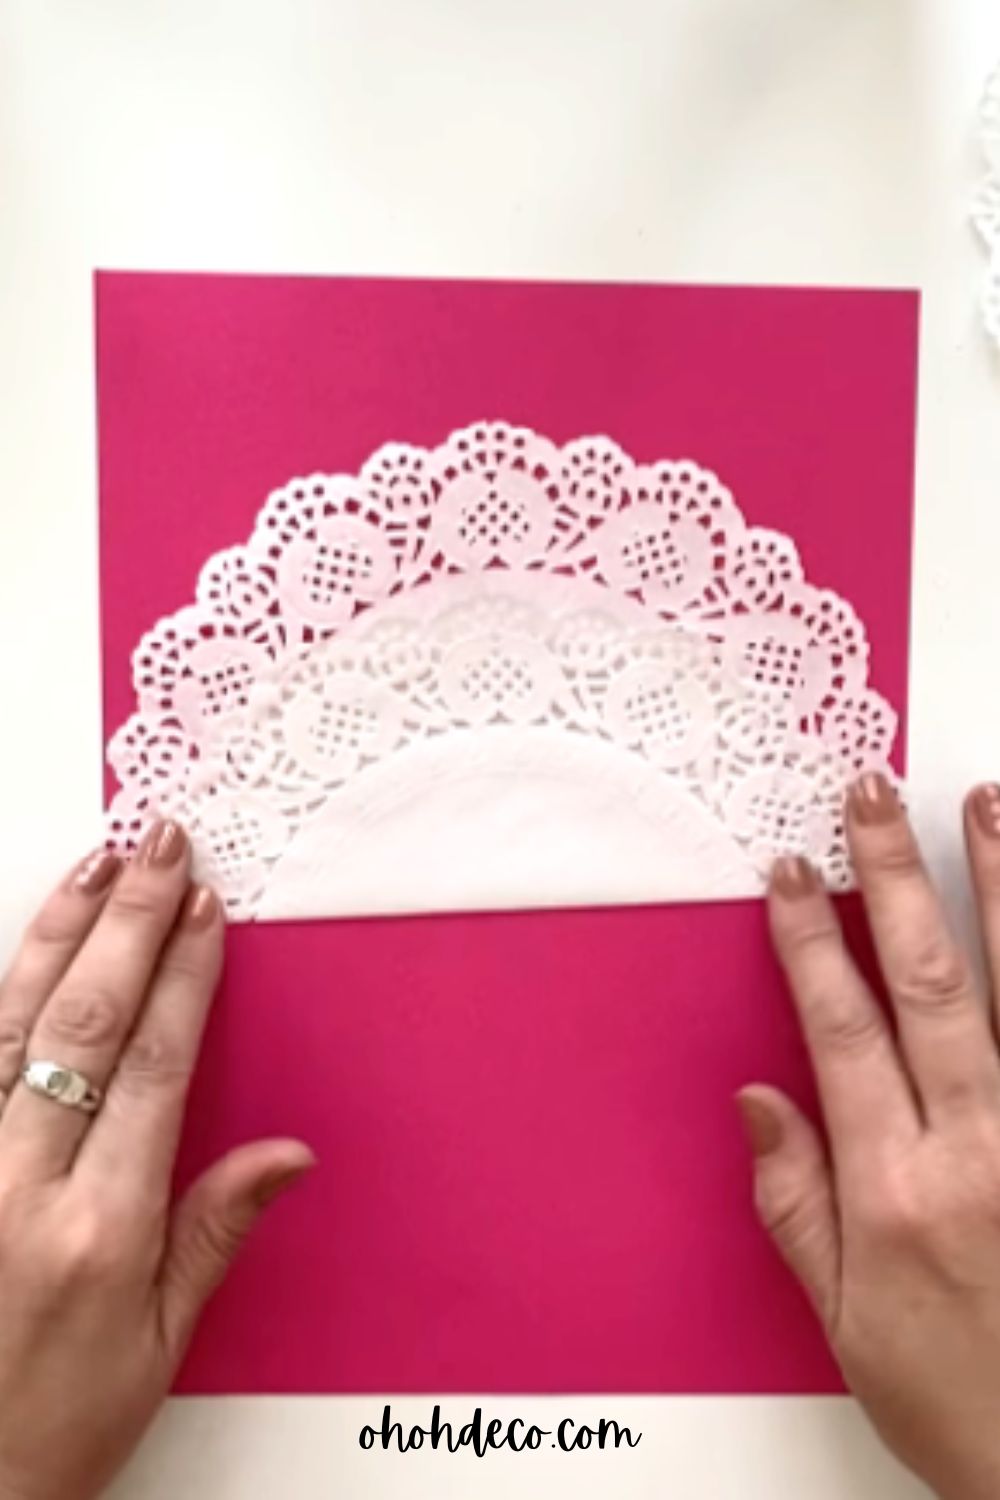
Step 1: Fold the Doily
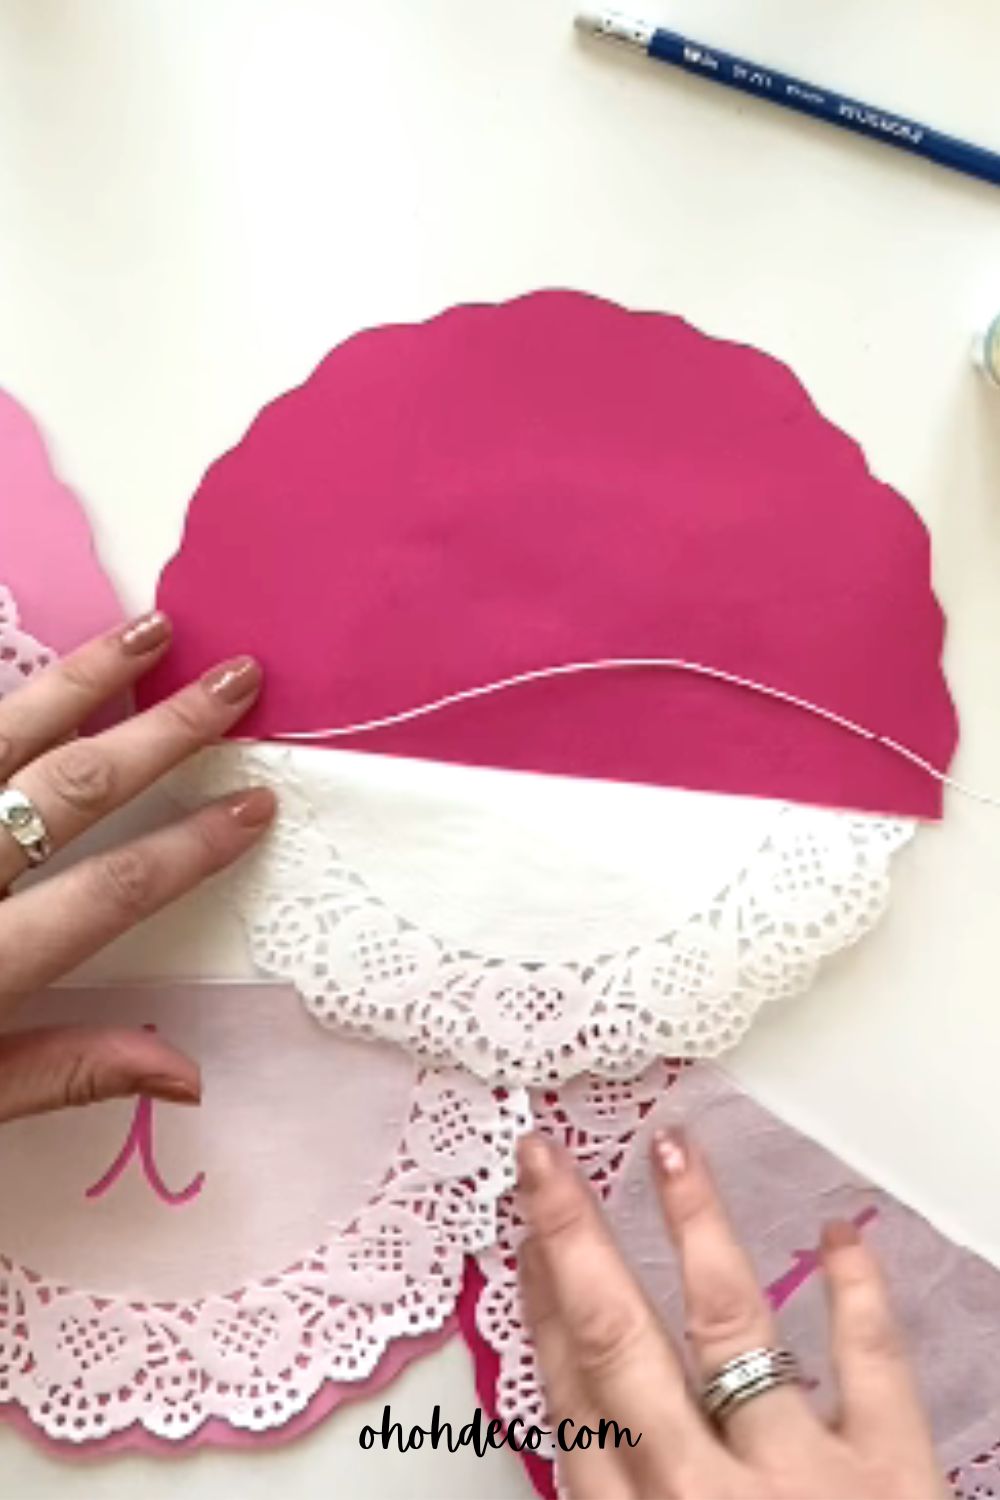
Take one paper doily and fold it about two-thirds of the way down. This fold will create a flap that can later hold the twine or ribbon.
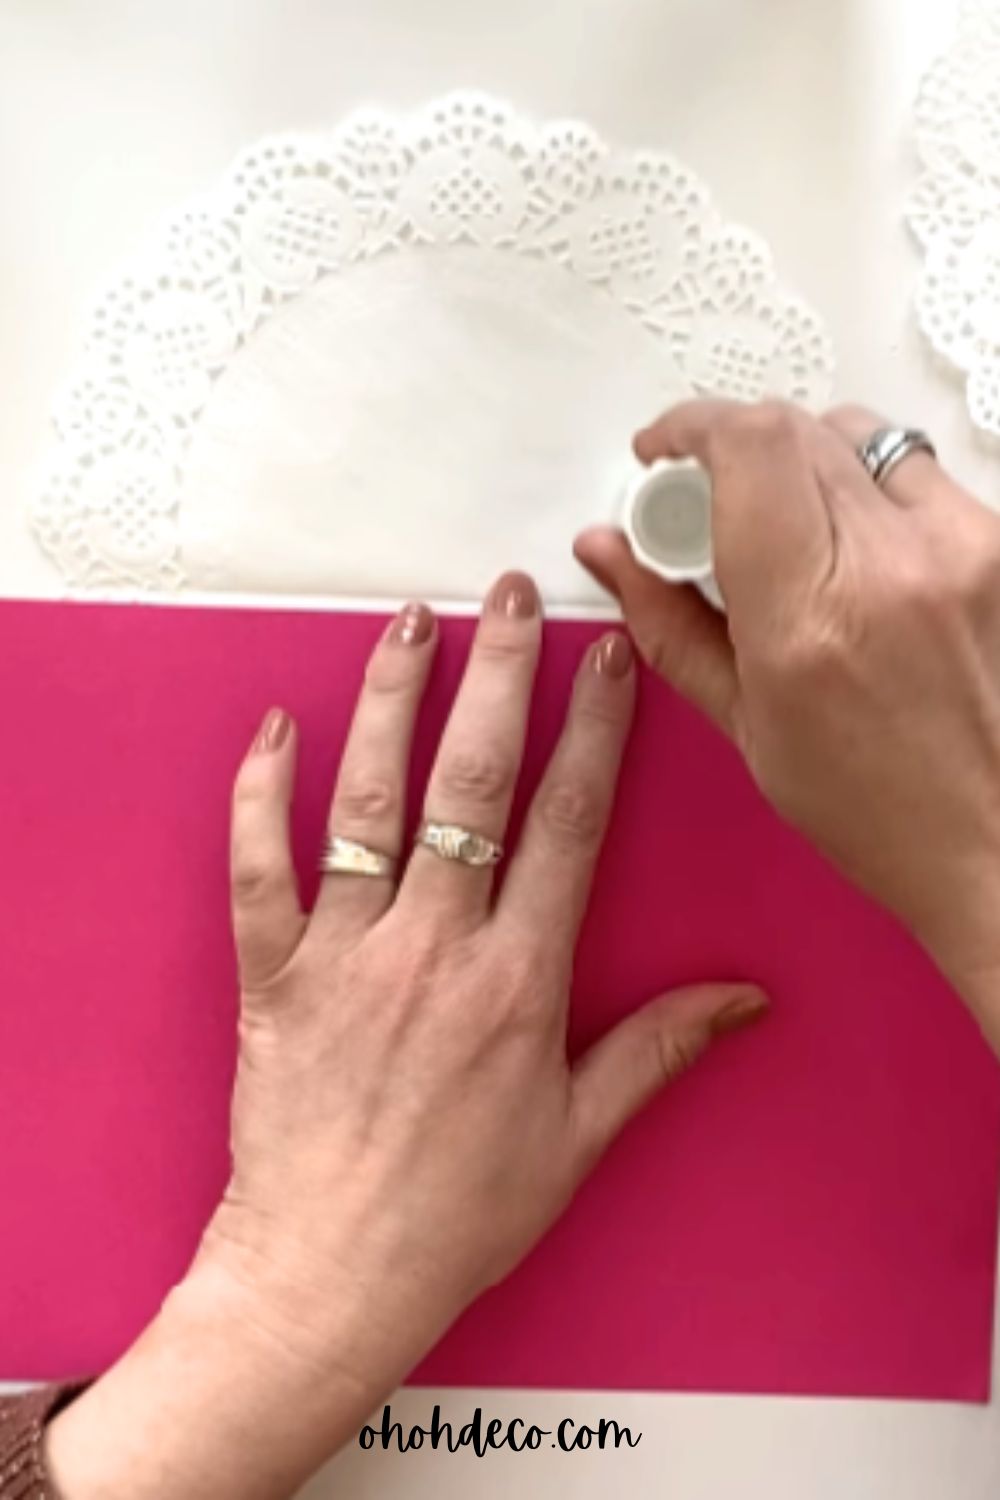
Step 2: Glue the Doily
Apply glue to the larger folded section of the doily and press it onto a sheet of colored paper. For a Mother’s Day theme, pink or pastel shades work beautifully.
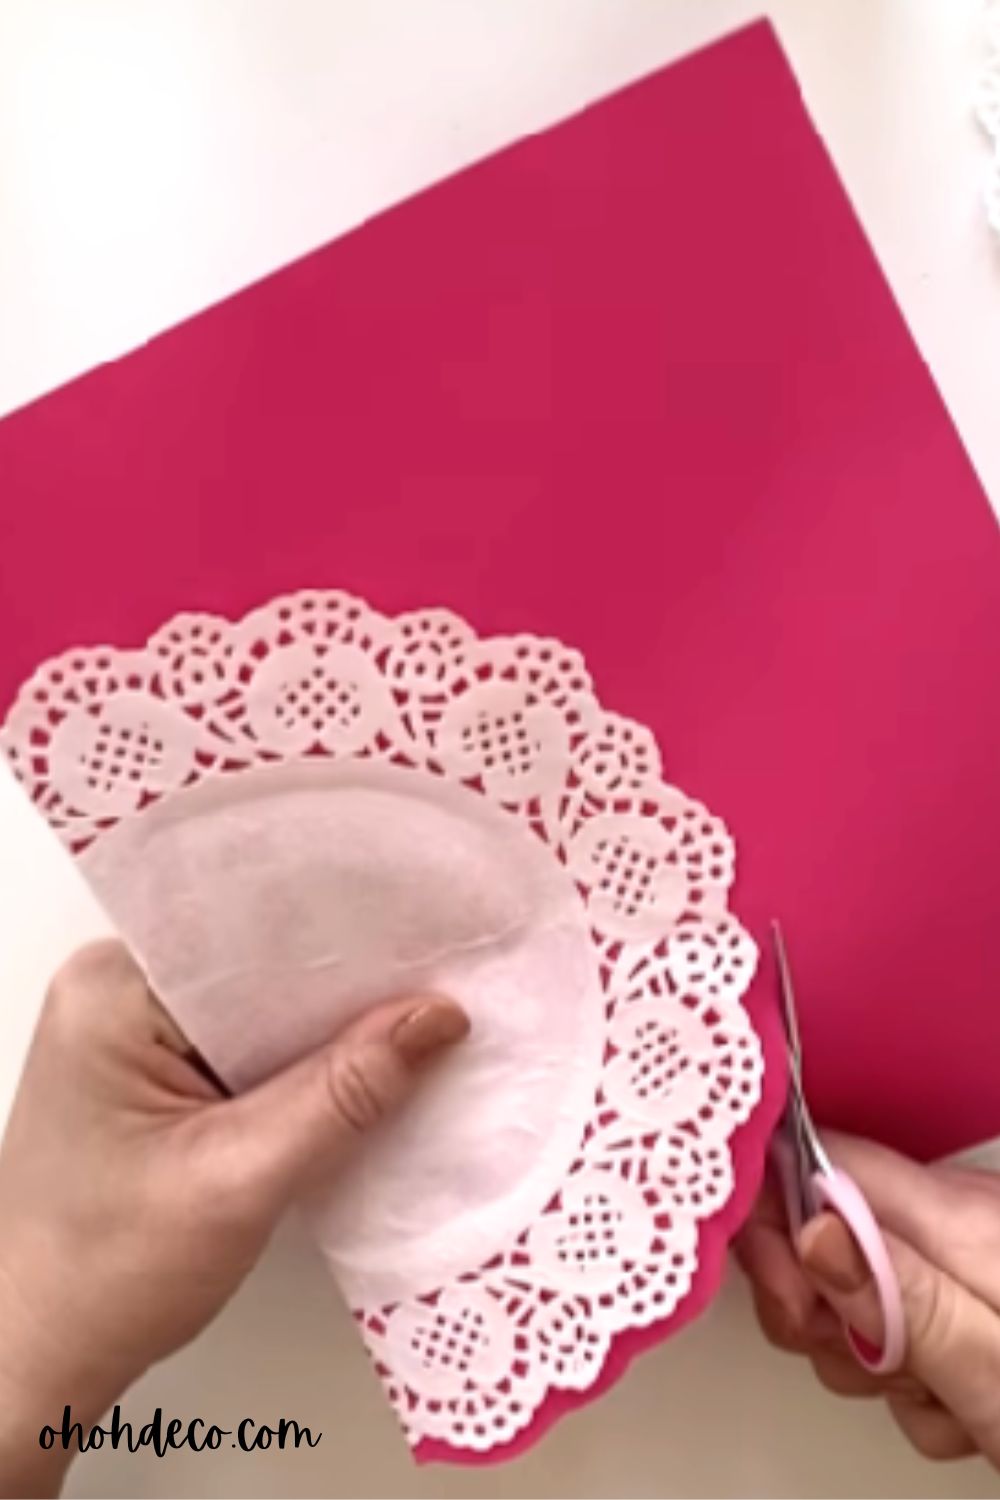
Step 3: Cut the Shape
Once the glue is dry, cut around the doily, following its decorative edge roughly. This creates a layered, lacy effect with the colored paper peeking through.
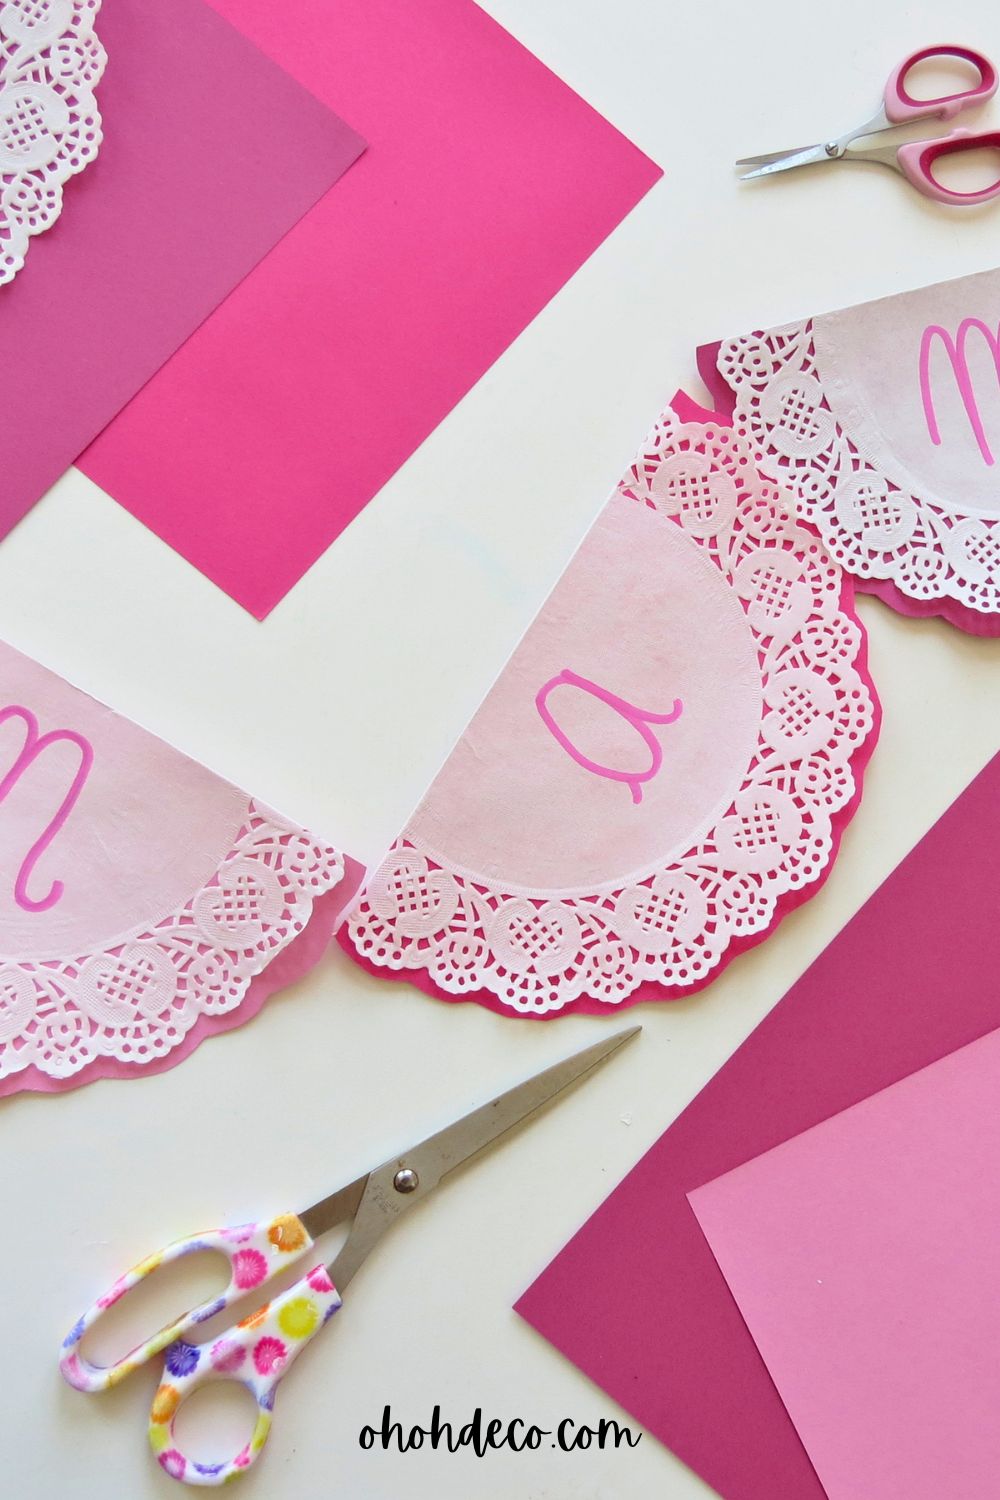
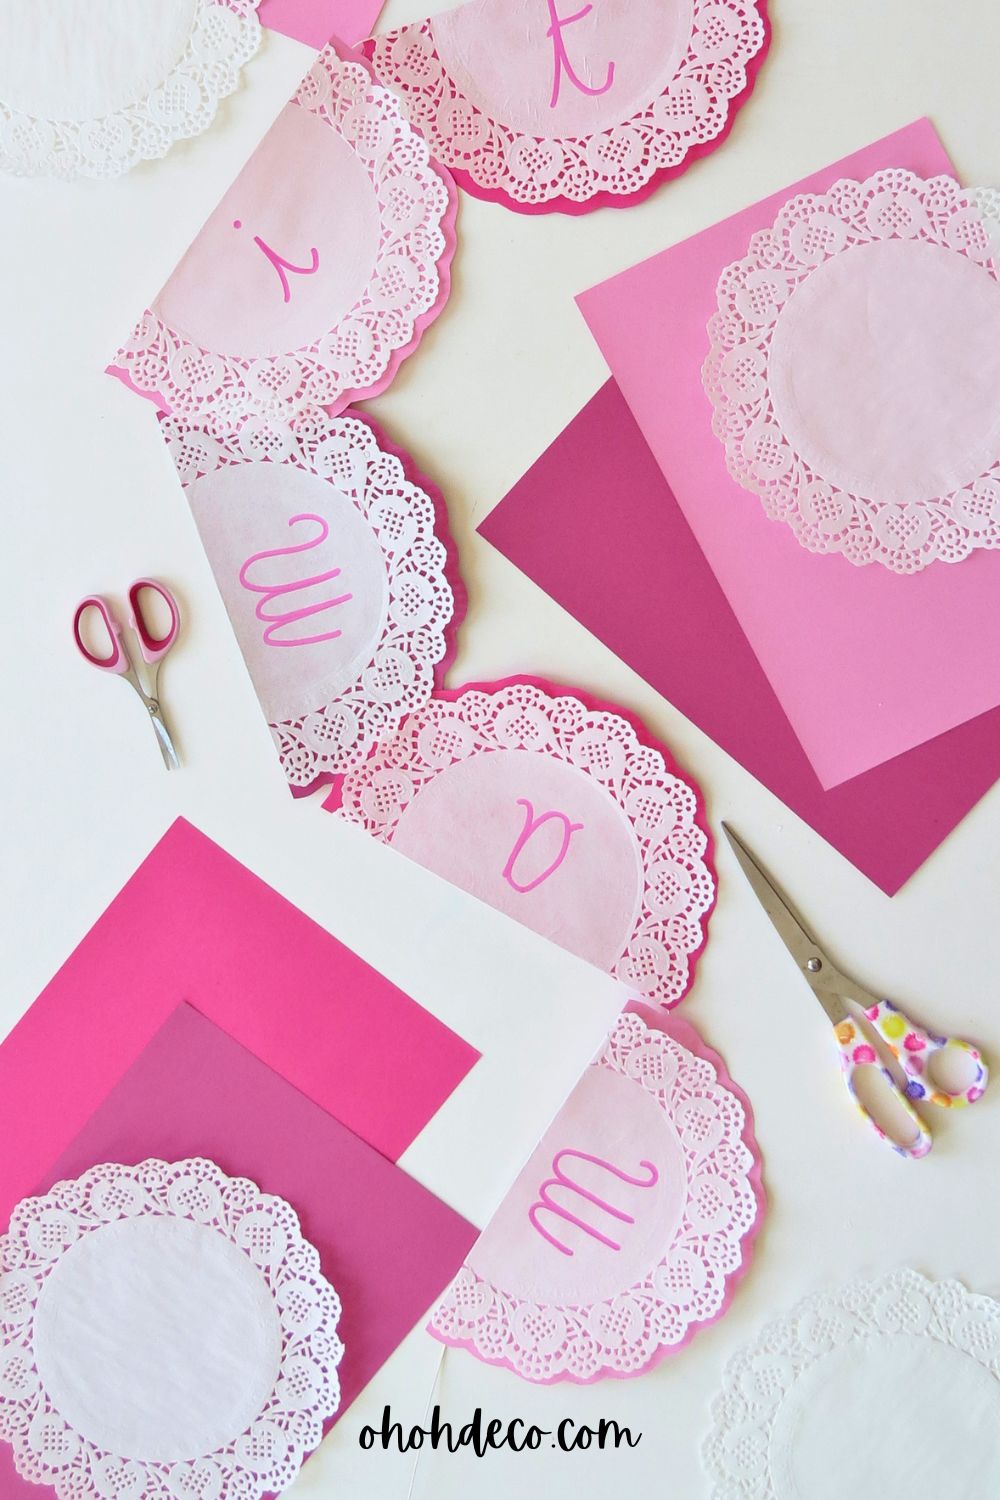
Step 4: Make Multiple Pieces
Repeat the process to create as many banner pieces as needed, depending on the desired length of the banner.
Step 5: Add the Twine or Ribbon
Cut a piece of twine or ribbon long enough for the banner. Slide it under the folded flap of each doily piece.
Glue the back of the doily and colored paper together to secure the twine in place. Repeat for each piece until the banner is complete.
Step 6: Personalize the Banner
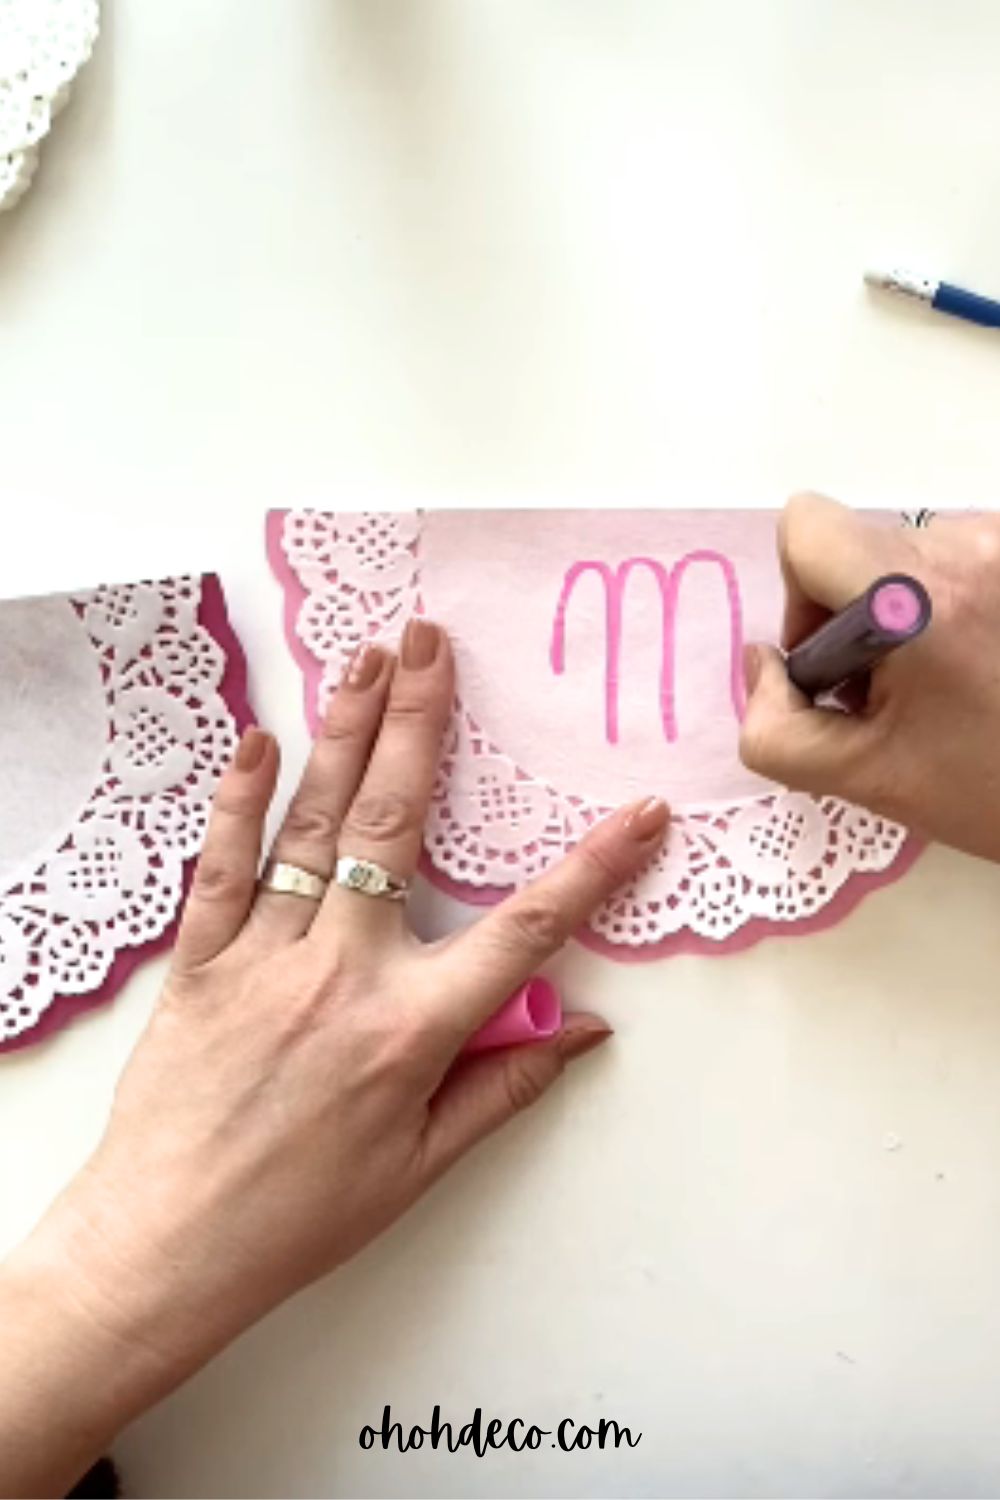
Use a marker or acrylic paint marker to write a message on each banner piece. For Mother’s Day, messages like “Love You Mom,” “Happy Mother’s Day,” or “Best Mom Ever” add a heartfelt touch.
For a lighthearted twist, try funny or playful phrases that bring smiles and laughter.
Funny Mother’s Day Banner Ideas:
- “Mom Fuel: Coffee & Chaos”
- “Queen of Everything”
- “Thanks for the Genes, Mom!”
- “World’s Okayest Mom”
- “Mommin’ Ain’t Easy”
- “You’re the Real MVP”
- “Home is Where Mom Is (and Snacks Are)”
- “Mom: Powered by Love and Caffeine”
- “#1 Boss Lady”
- “Mom, You Deserve a Nap”
For other occasions, try humorous phrases like “Aged to Perfection” for birthdays, “Party Like a Legend” for celebrations, or “Welcome to the Chaos” for family gatherings.
Step 7: Hang the Banner
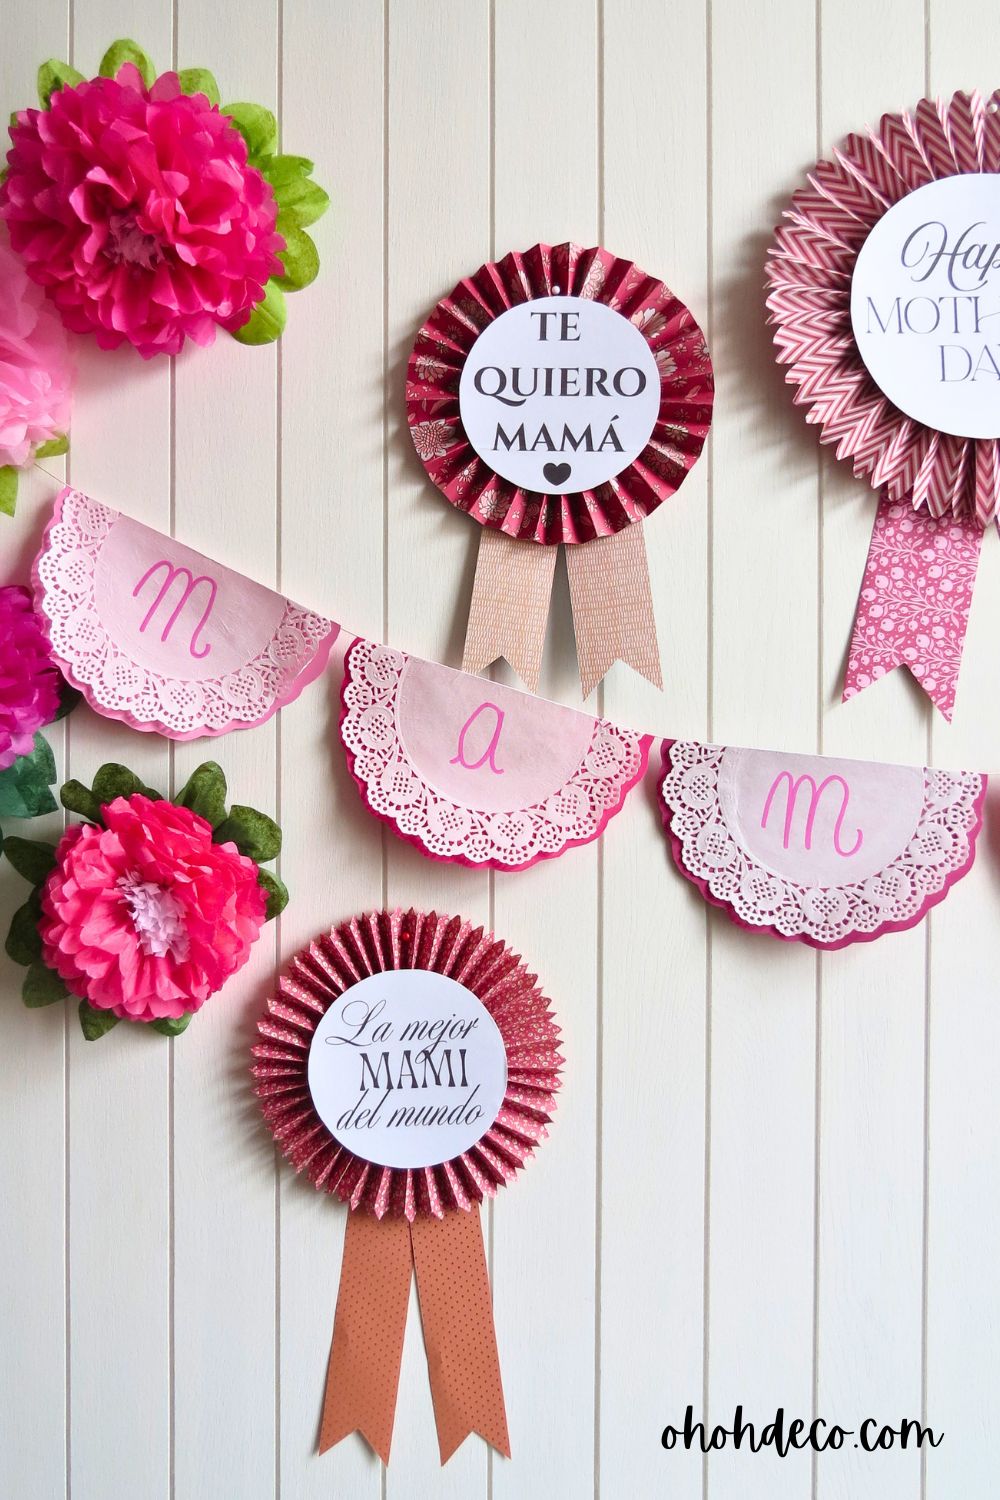
Once all pieces are ready, hang the banner on a wall, mantel, or across a doorway using tape or hooks.
Watch the Video Tutorial
To see each step in action and discover two more creative decorating ideas for Mother’s Day, watch the full video tutorial.
It provides detailed visuals and extra inspiration for making the celebration even more special.
Color and Theme Ideas
For Mother’s Day, pink, lavender, and cream create a soft, elegant look.
For birthdays, try bright colors like yellow, turquoise, and coral.
For weddings or baby showers, white doilies paired with gold, silver, or pastel backgrounds add a delicate touch.
This DIY banner idea works with any color combination, making it perfect for all kinds of celebrations.
Conclusion
A handmade Mother’s Day banner made with paper doilies adds a personal and heartfelt touch to any celebration.
This easy craft transforms simple materials into a beautiful decoration that expresses love and creativity.
Whether made in soft pinks for Mother’s Day or in bold colors for another event, this banner brings warmth and joy to any occasion.
RELATED: Mother’s Day Decorations: Beautiful Ideas to Celebrate Mom
RELATED: Mother’s Day Crafts for Kindergarteners
Want to remember it? Save this Happy Mother’s Day Banner on your favorite Pinterest board.