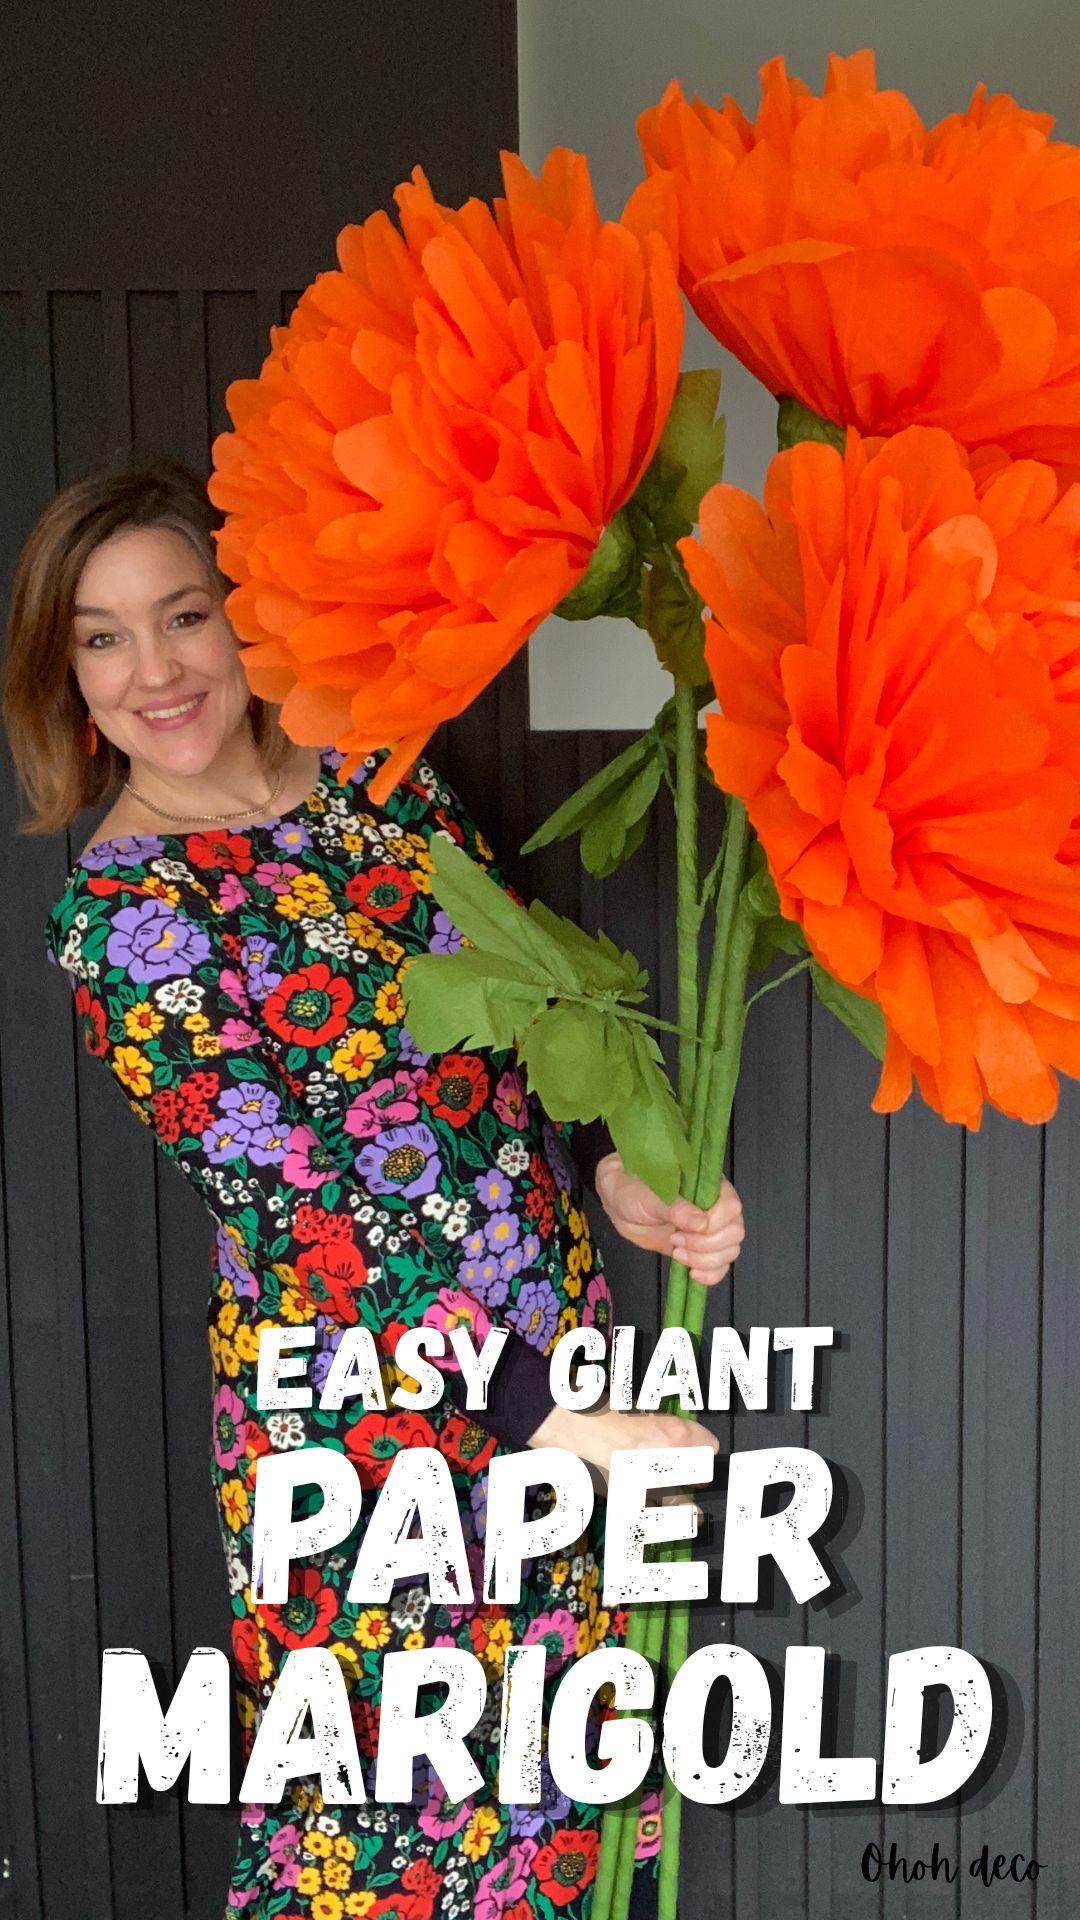
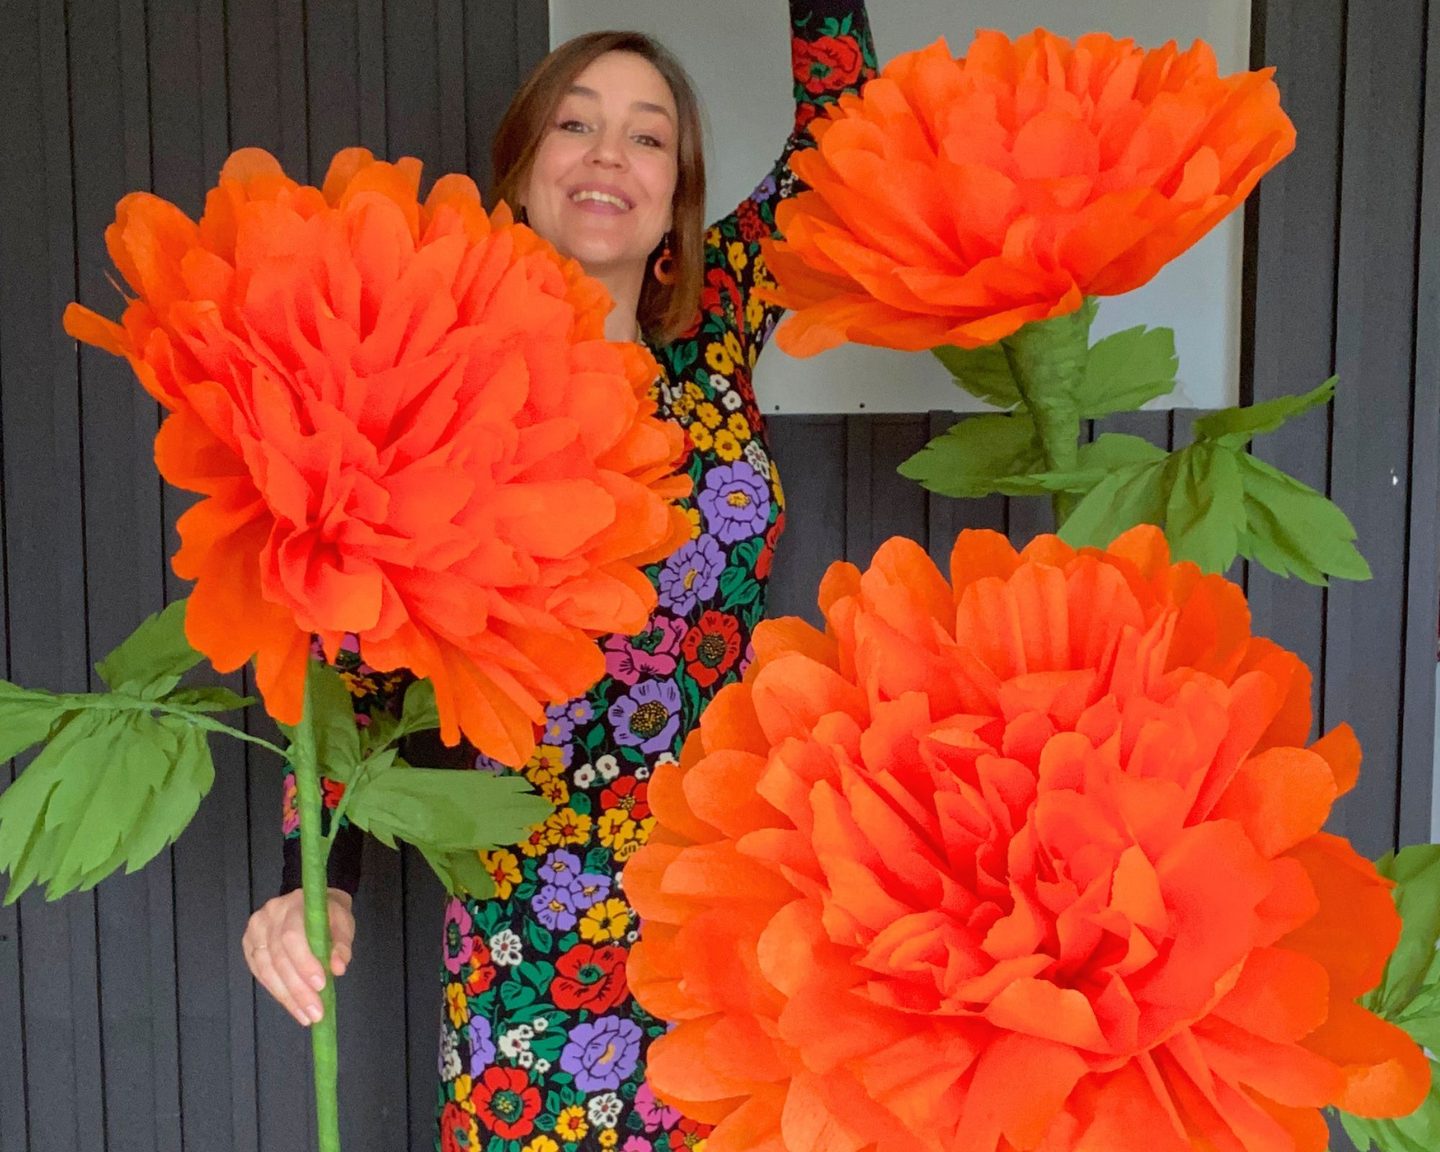
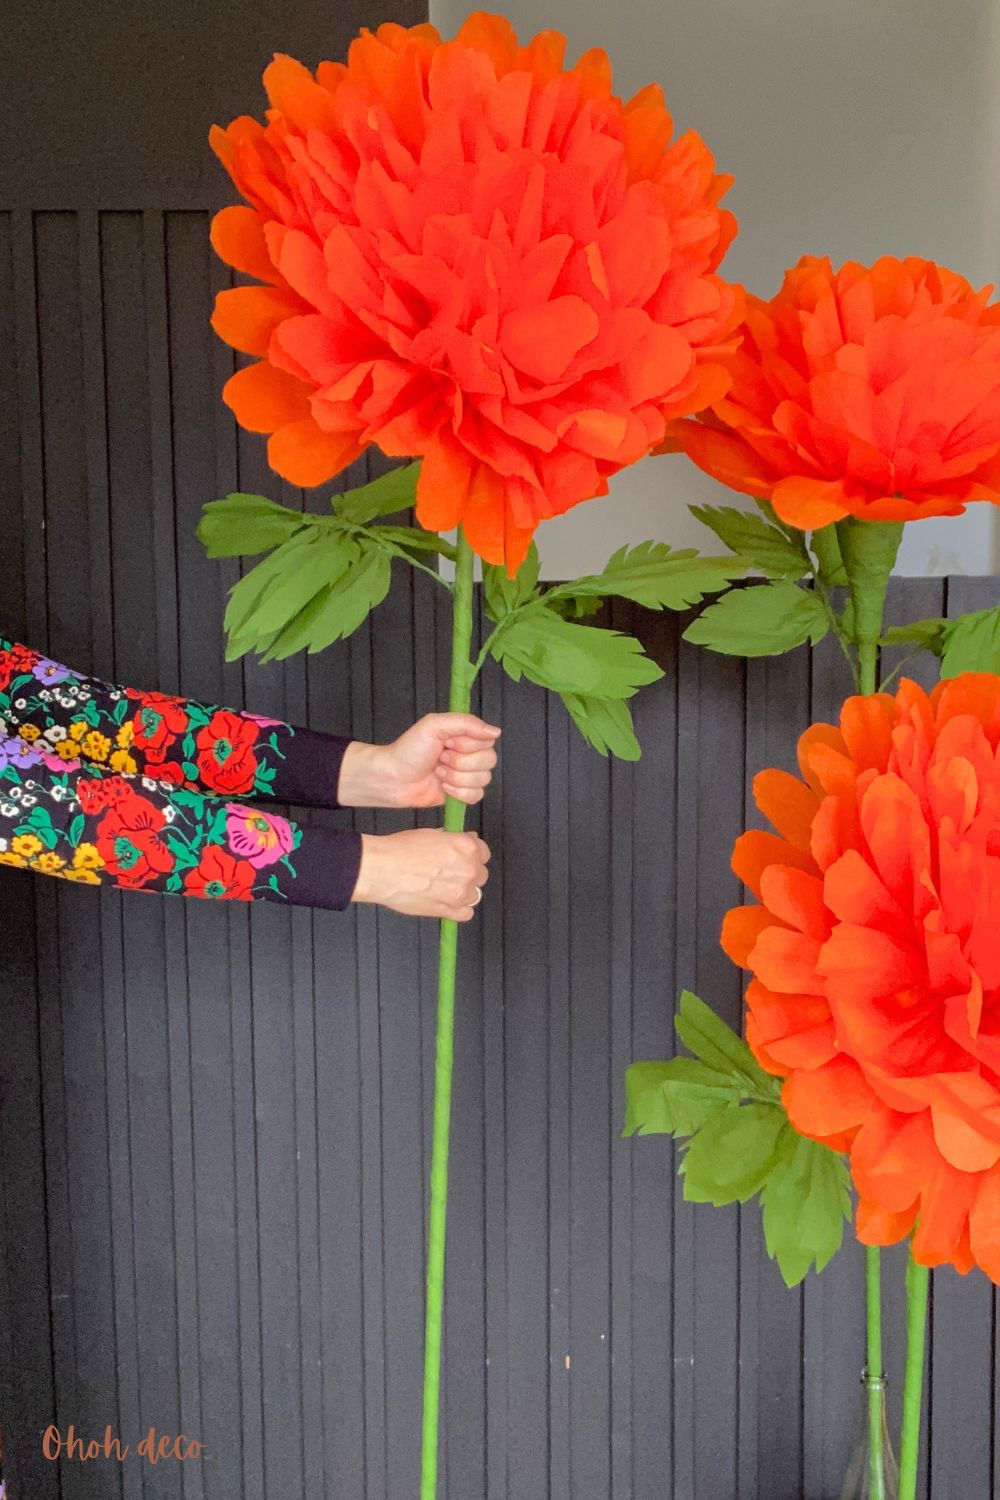
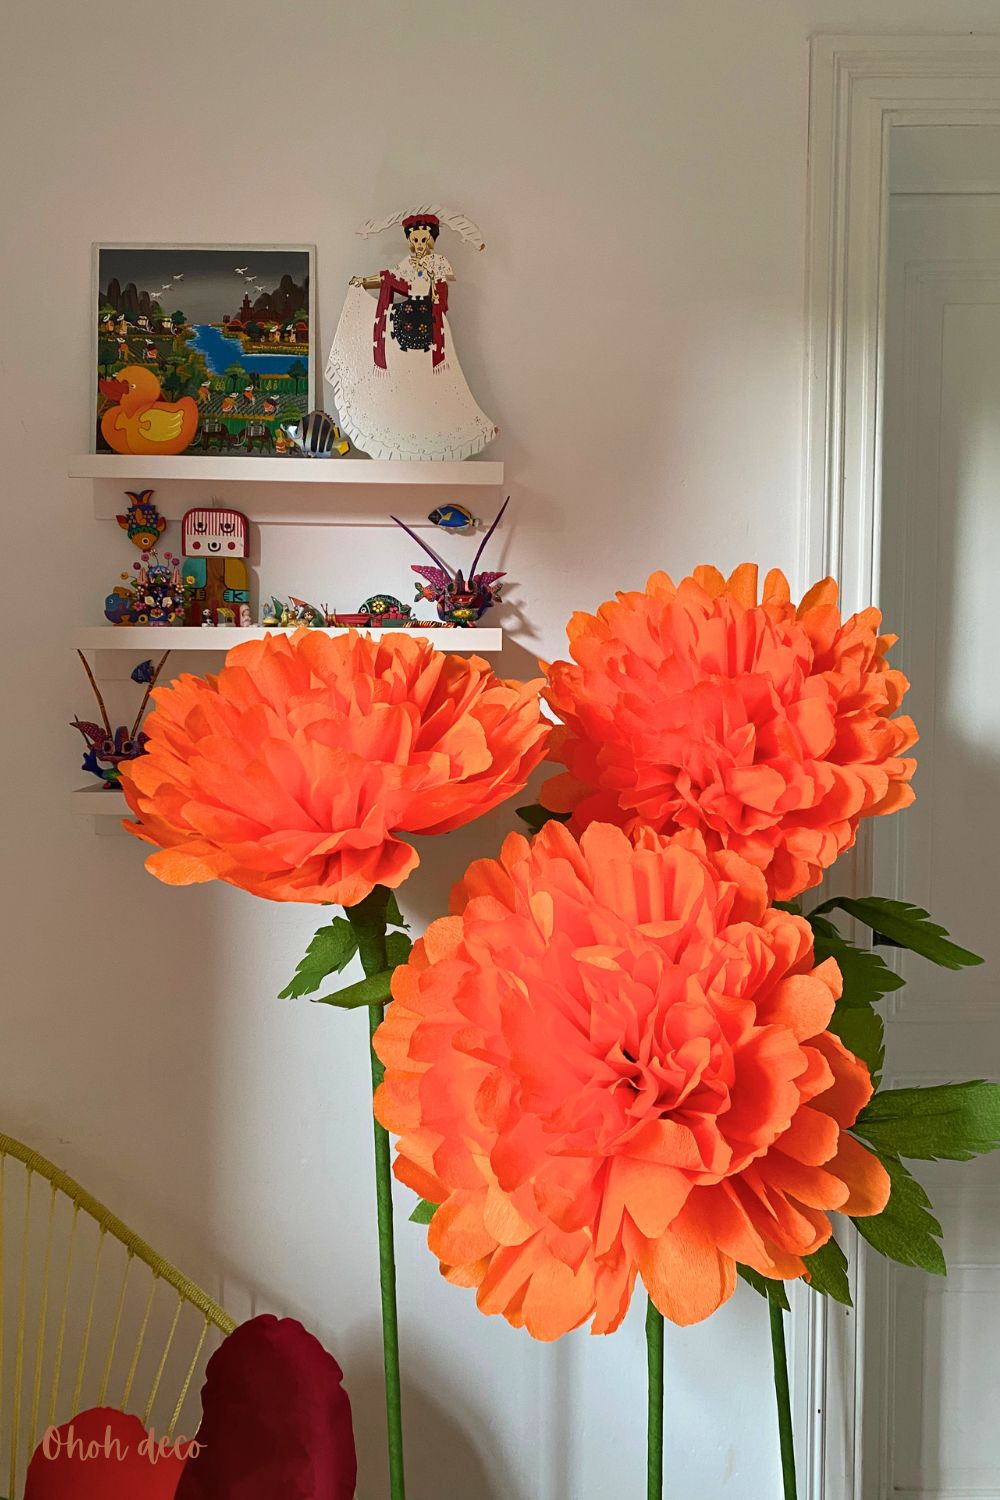
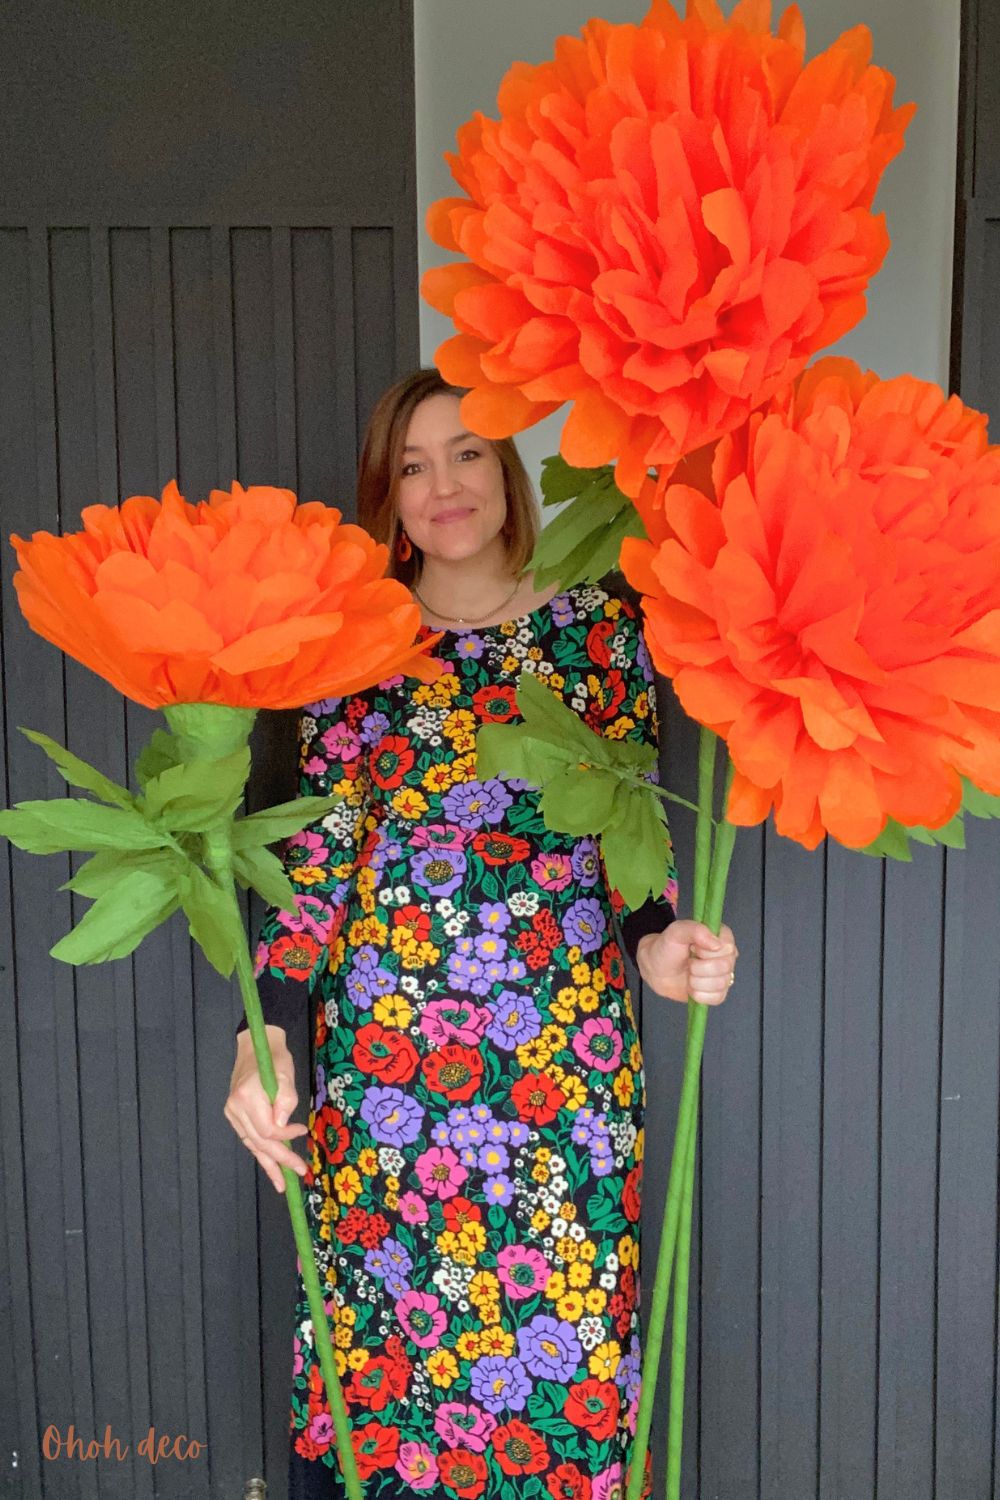
Looking for a stunning, budget-friendly statement piece for your home decor or party celebrations? These large paper marigolds make a huge impact, and the best part is they are made using simple upcycled materials!
With just crepe paper, masking tape, and an empty plastic bottle, you can create show-stopping paper marigolds in no time. Follow this step-by-step guide to bring these cheerful blooms to life.
[ This post probably contains affiliate links; our full disclosure policy is boring, but you can read it HERE ]
Materials You’ll Need:
- Crepe Paper: 2 rolls in orange/yellow (for the petals) and 1 roll in green (for the stem & leaves)
- Plastic Bottle: A 1-liter bottle (clean and dry)
- Floral Wire (or regular wire)
- Stem Support: Plastic electrical conduit tube, wooden dowel, or stick
- Masking Tape (wide roll works best)
- Glue: Craft glue or hot glue gun
- Scissors (Smalls and sharps scissorss are a must)
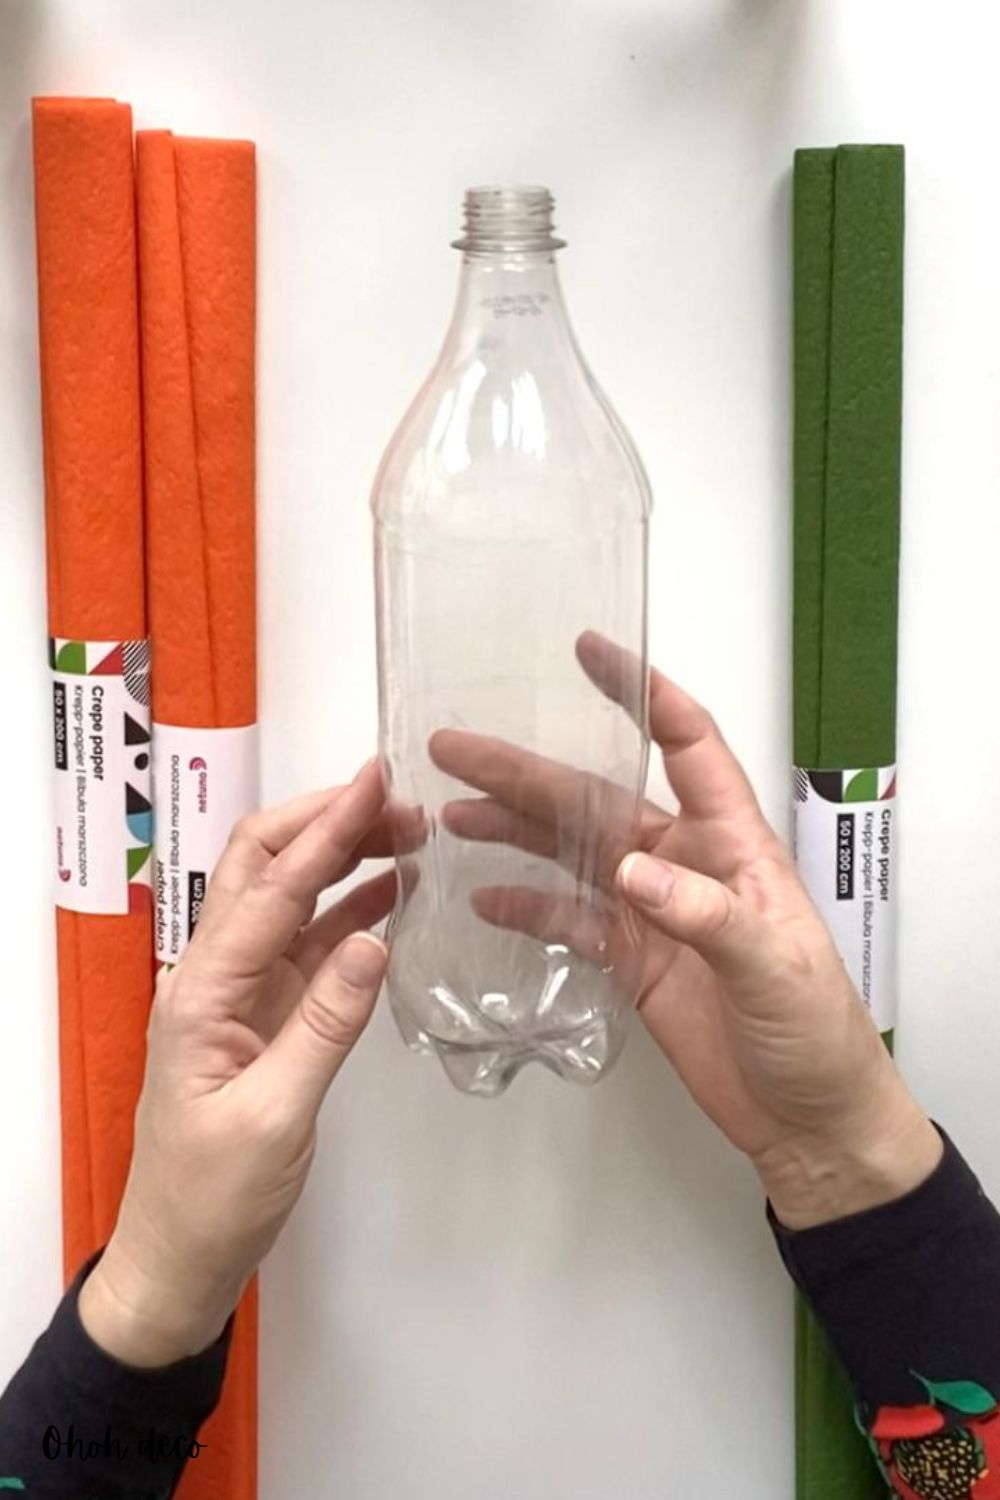
Step 1: Prep the Flower Base
- Cut the neck off your plastic bottle (about 5-6 inches down from the rim).
- The neck section will serve as the core base for your paper marigolds, holding all the petals securely in place.
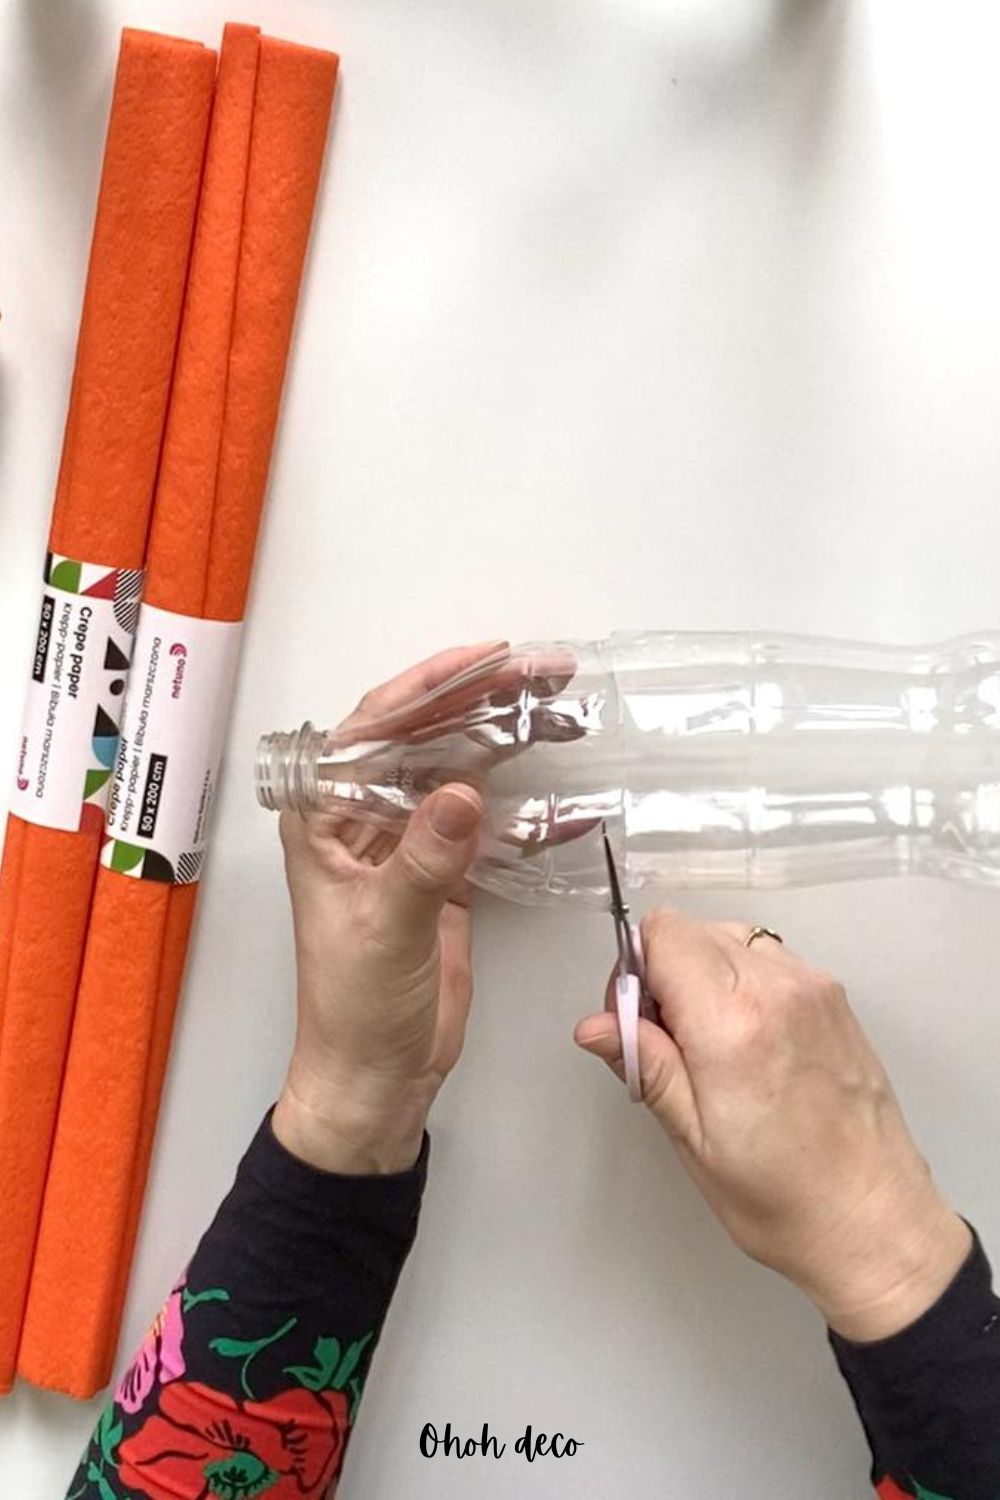
Step 2: Shape & Cut the Petals
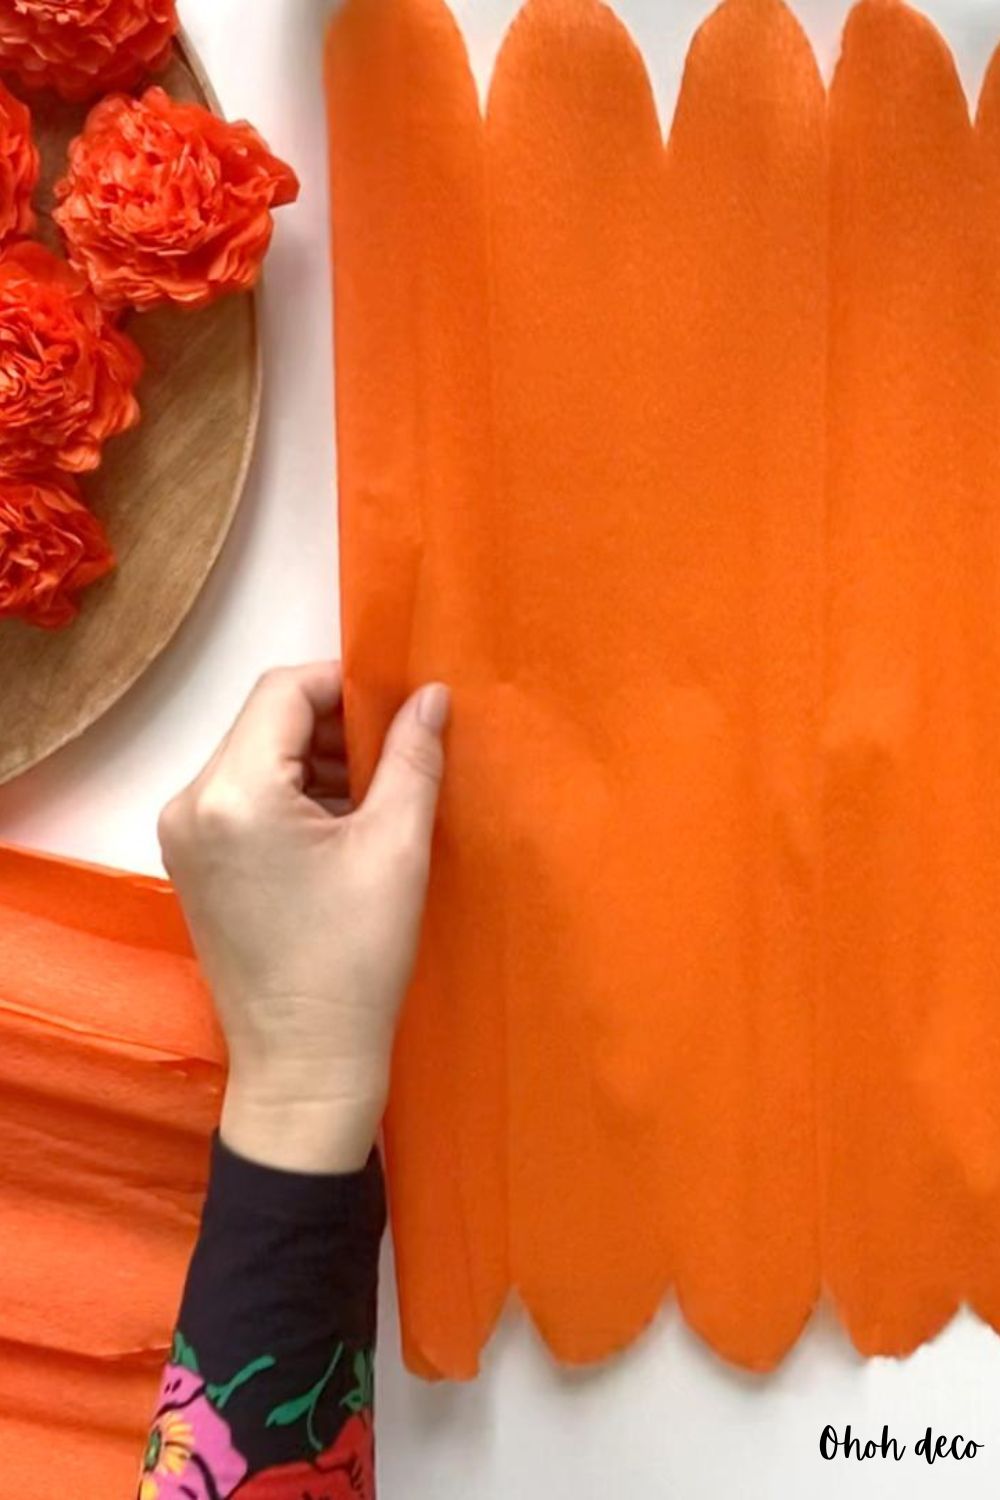
- Take your first roll of orange crepe paper. Unroll a section and fold it accordion-style (about 4–5 cm wide).
- Cut rounded, scalloped edges along both ends of the folded strip.
- Unroll the paper completely and cut it into 4 equal lengths.
- Fold each strip in half lengthwise so the scalloped edges align.
- Scrunch and wrinkle the straight bottom edge together to create ruffled petal pleats.
Step 3: Assemble the Inner Petals
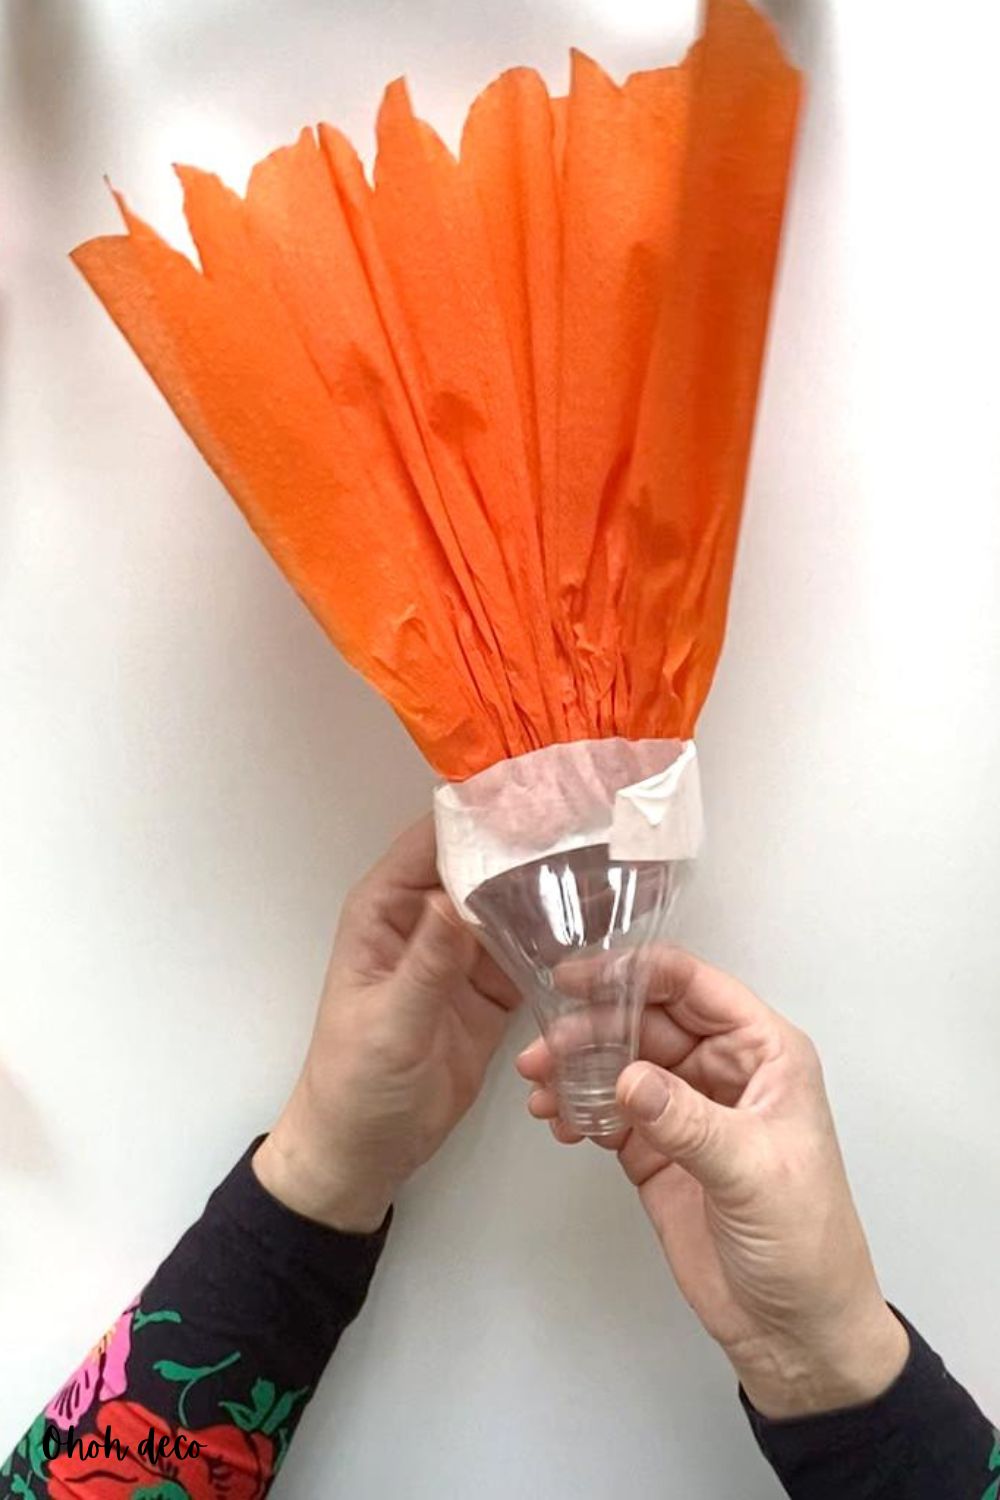
- Secure the pleated base of your petal section with a long strip of masking tape, leaving adhesive exposed on the sides and bottom.
- Tape this piece firmly along the inside of the cut plastic bottle neck.
- Repeat with the remaining 3 pieces of paper, overlapping them slightly until the interior of the bottle neck is full.
- Gently fluff and separate the paper layers with your fingers to add volume.
Step 4: Add the Outer Layer
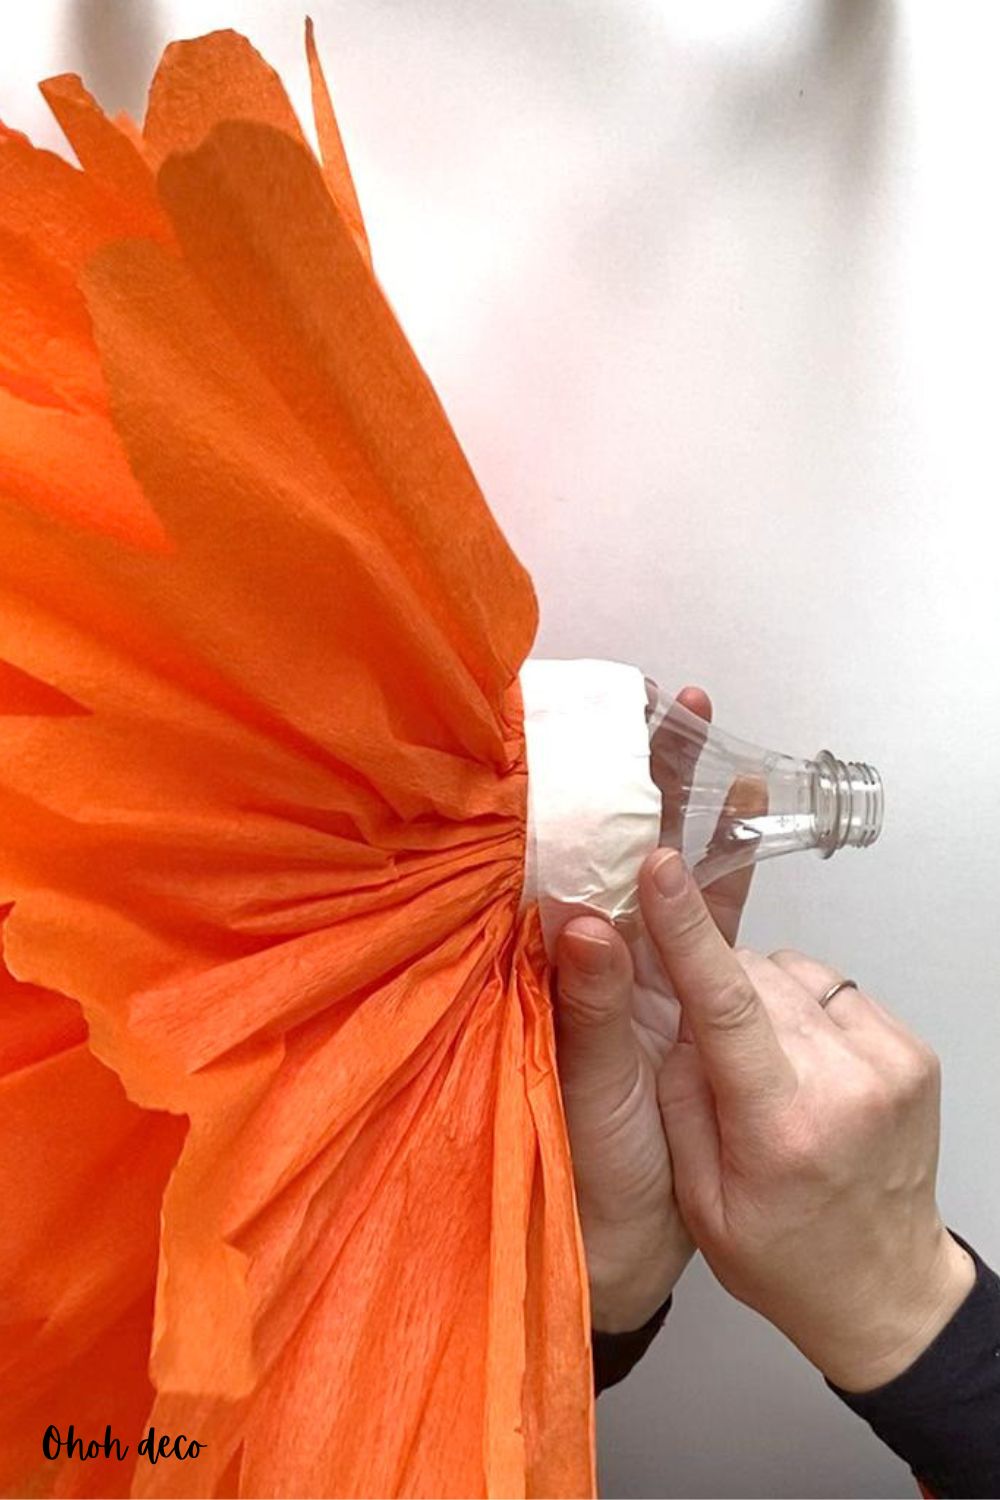
- Repeat the petal-cutting process with your second roll of crepe paper to get 4 more scalloped sections.
- Tape these pieces along the outside rim of the bottle neck, positioning them over any gaps to create a full, fluffy bloom.
- Fluff all the layers together until your flower head looks full and rounded.
Step 5: Craft the Realistic Leaves
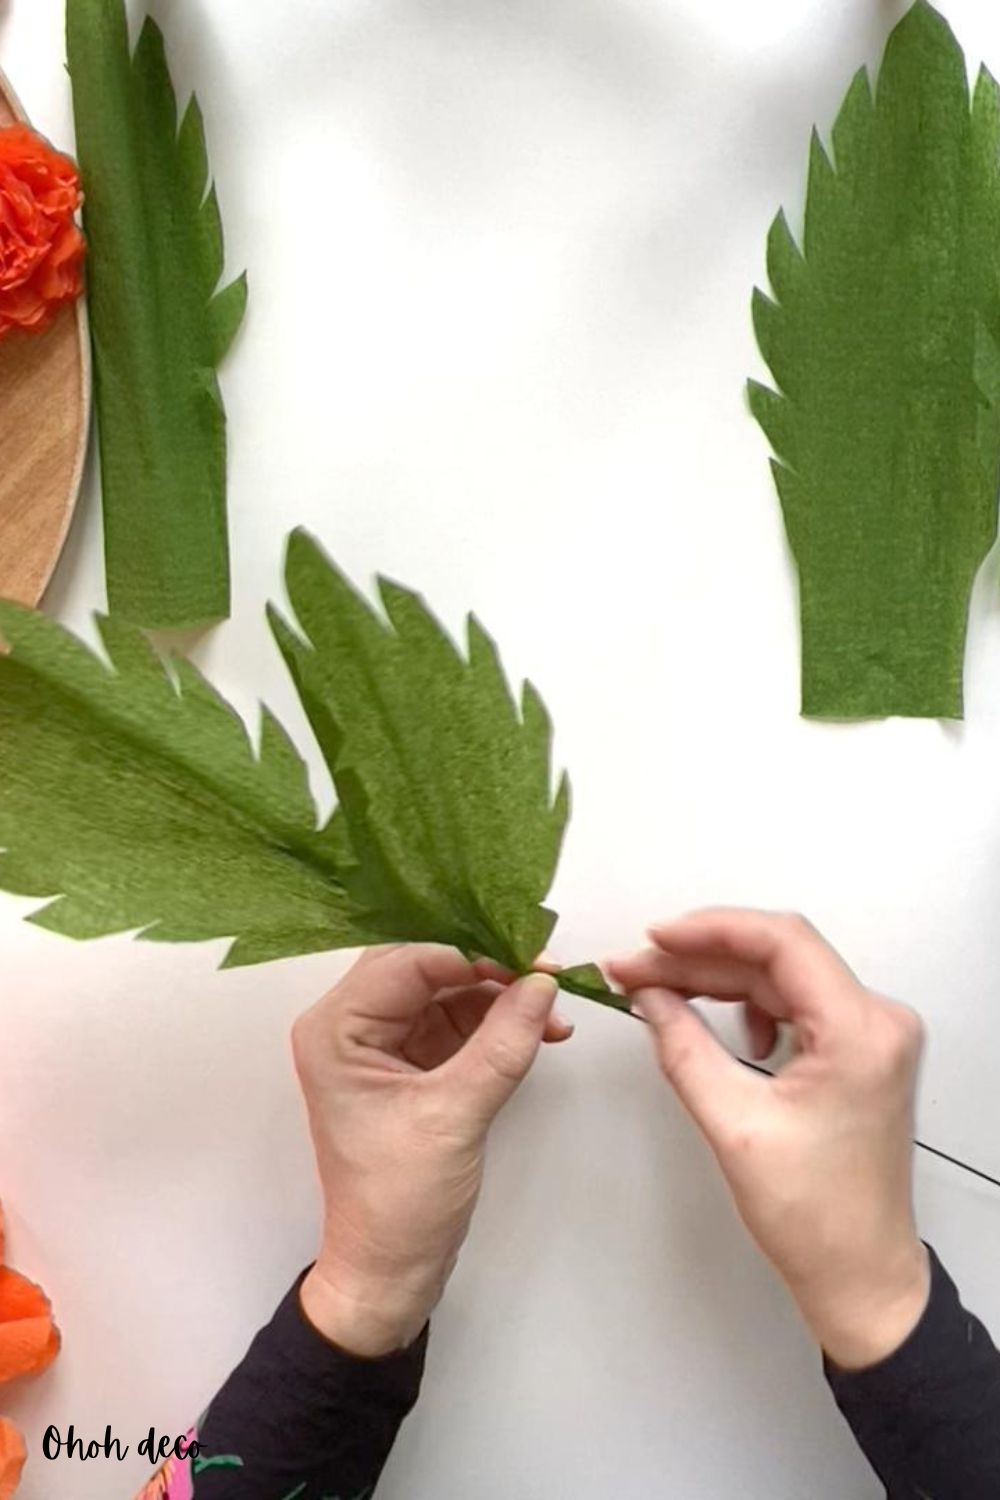
- Cut out elongated leaf shapes with small notches along the edges for that classic marigold look.
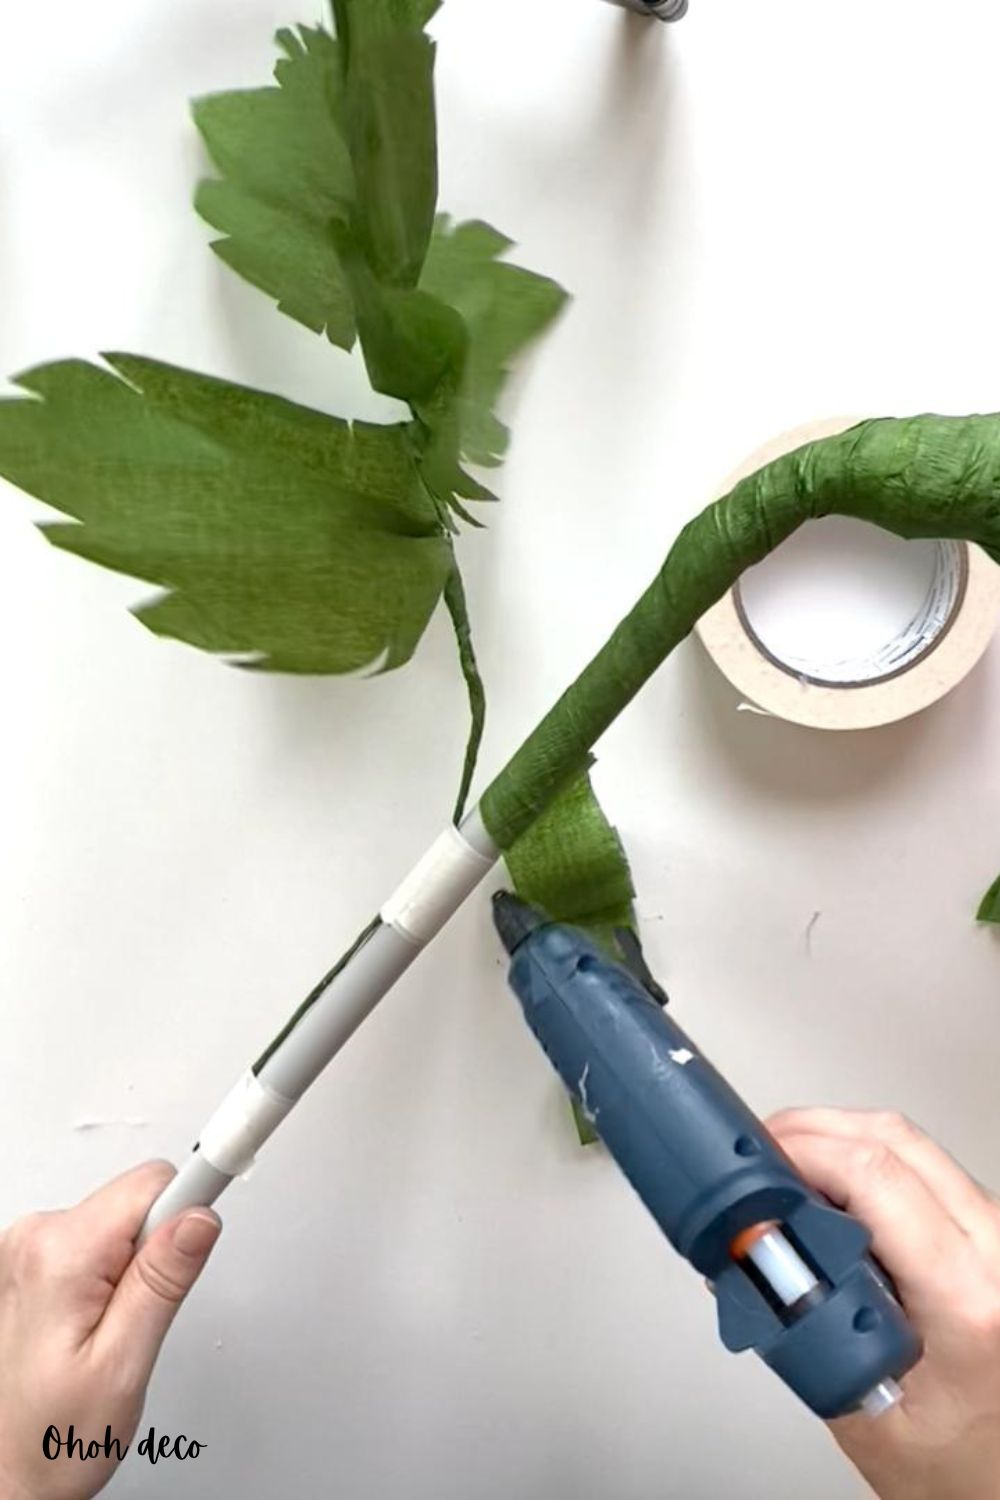
- Glue the leaves onto a length of floral wire, alternating sides down the wire.
- Wrap a thin strip of green crepe paper around the exposed wire stem to finish it neatly.
Step 6: Attach the Stem & Finish
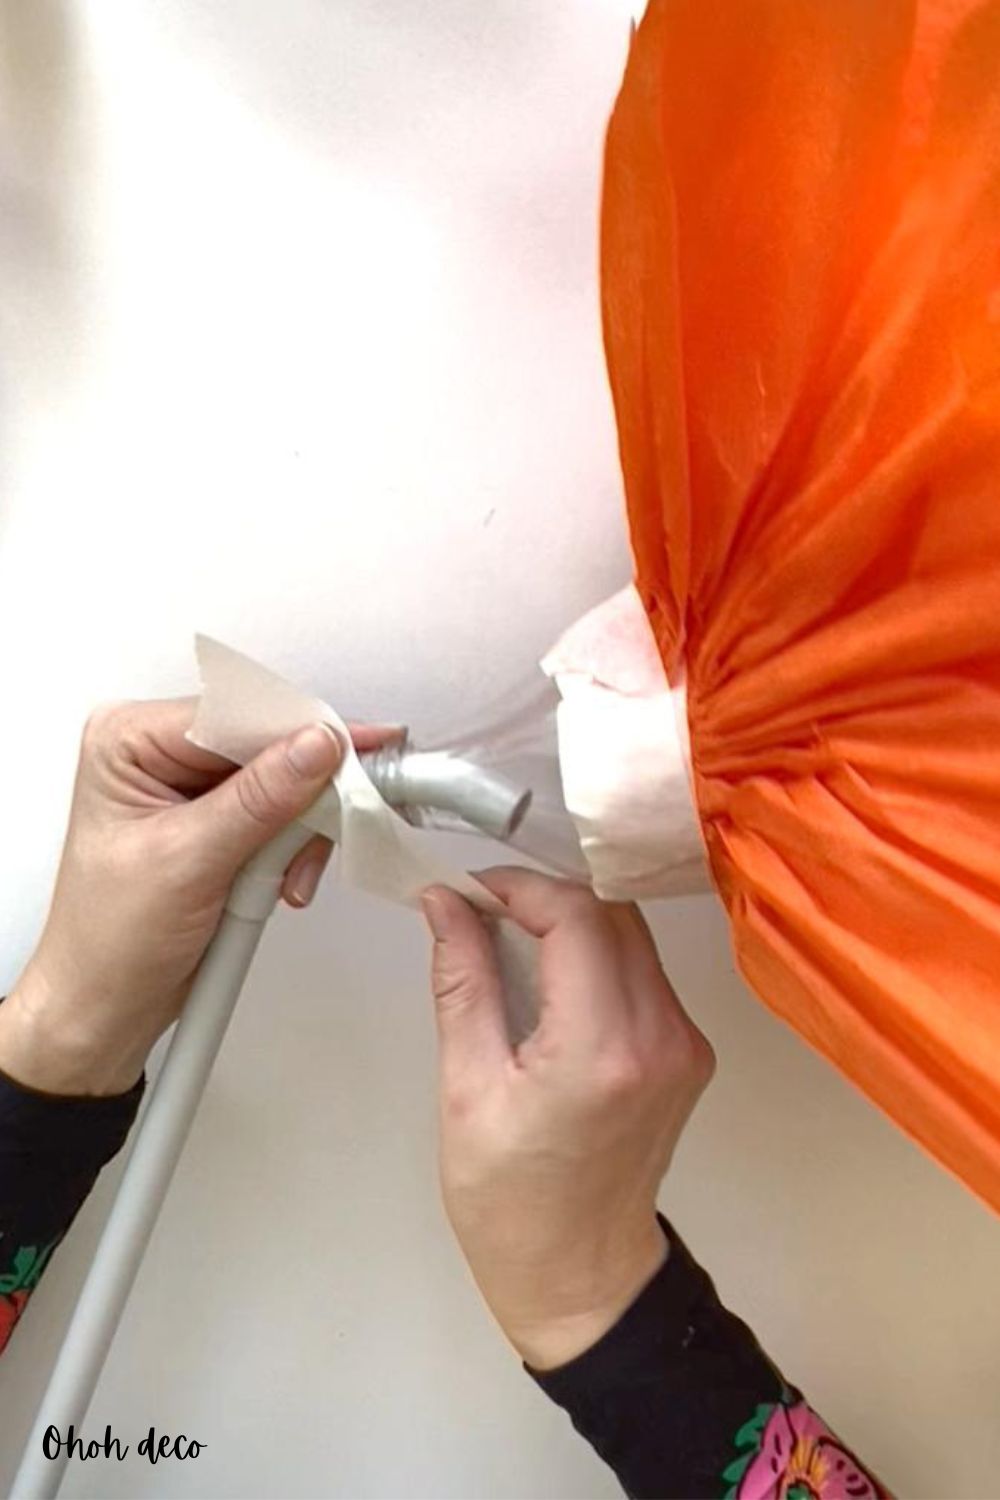
- Insert your plastic tube or dowel into the opening of the bottle neck and secure it firmly with large masking tape.
- Starting right under the petals, wrap a ribbon of green crepe paper around the bottle base and down the stem, securing with glue as you go.
- Tape your wired leaf branch onto the stem at your desired height, then continue wrapping green paper over the connection until you reach the bottom.
- Tuck any excess paper into the tube bottom for a clean finish.
Watch the Step-by-Step Video to make Paper Marigolds
Prefer to follow along visually? Check out the full video walkthrough in How to Make GIANT Paper Marigolds in 30 Minutes! Easy Upcycled DIY to see every fold, tape, and fluff in action!
Watching each step up close makes shaping the petals and wrapping the stem a total breeze.
How to Display Your Paper Marigolds
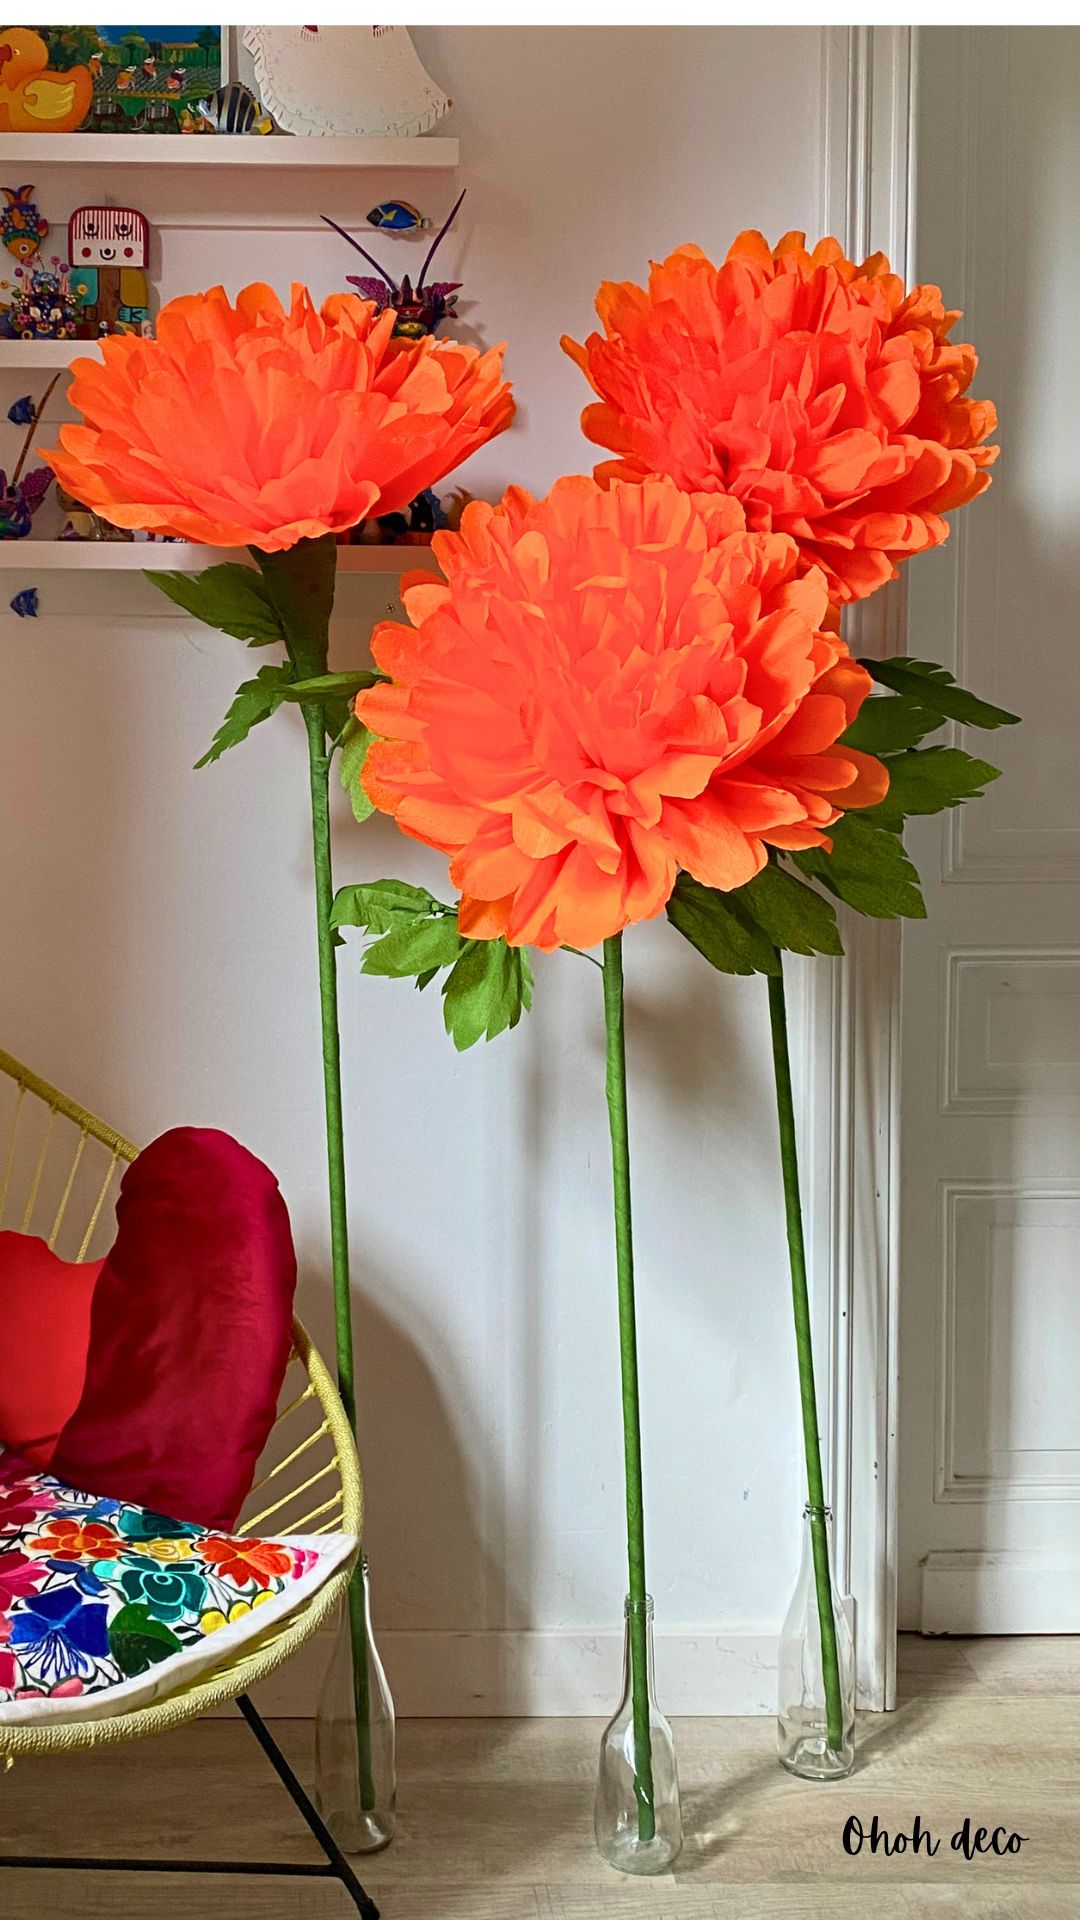
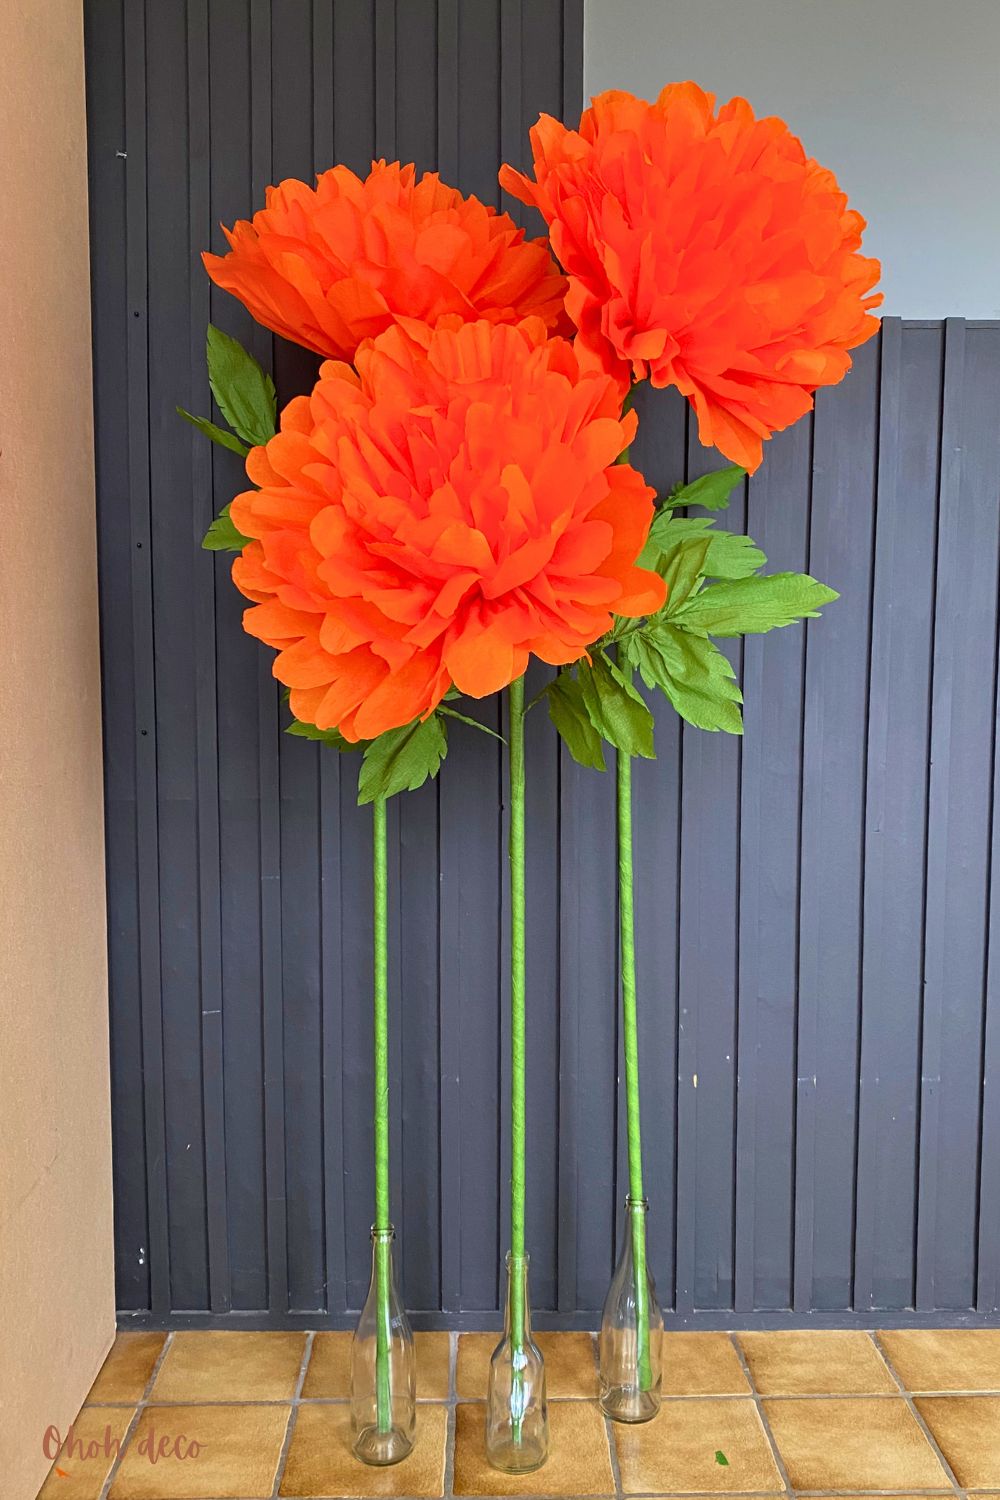
Display your giant bloom in a tall glass vase or bottle. If your vase feels light, simply pour sand or small pebbles into the bottom for added stability.
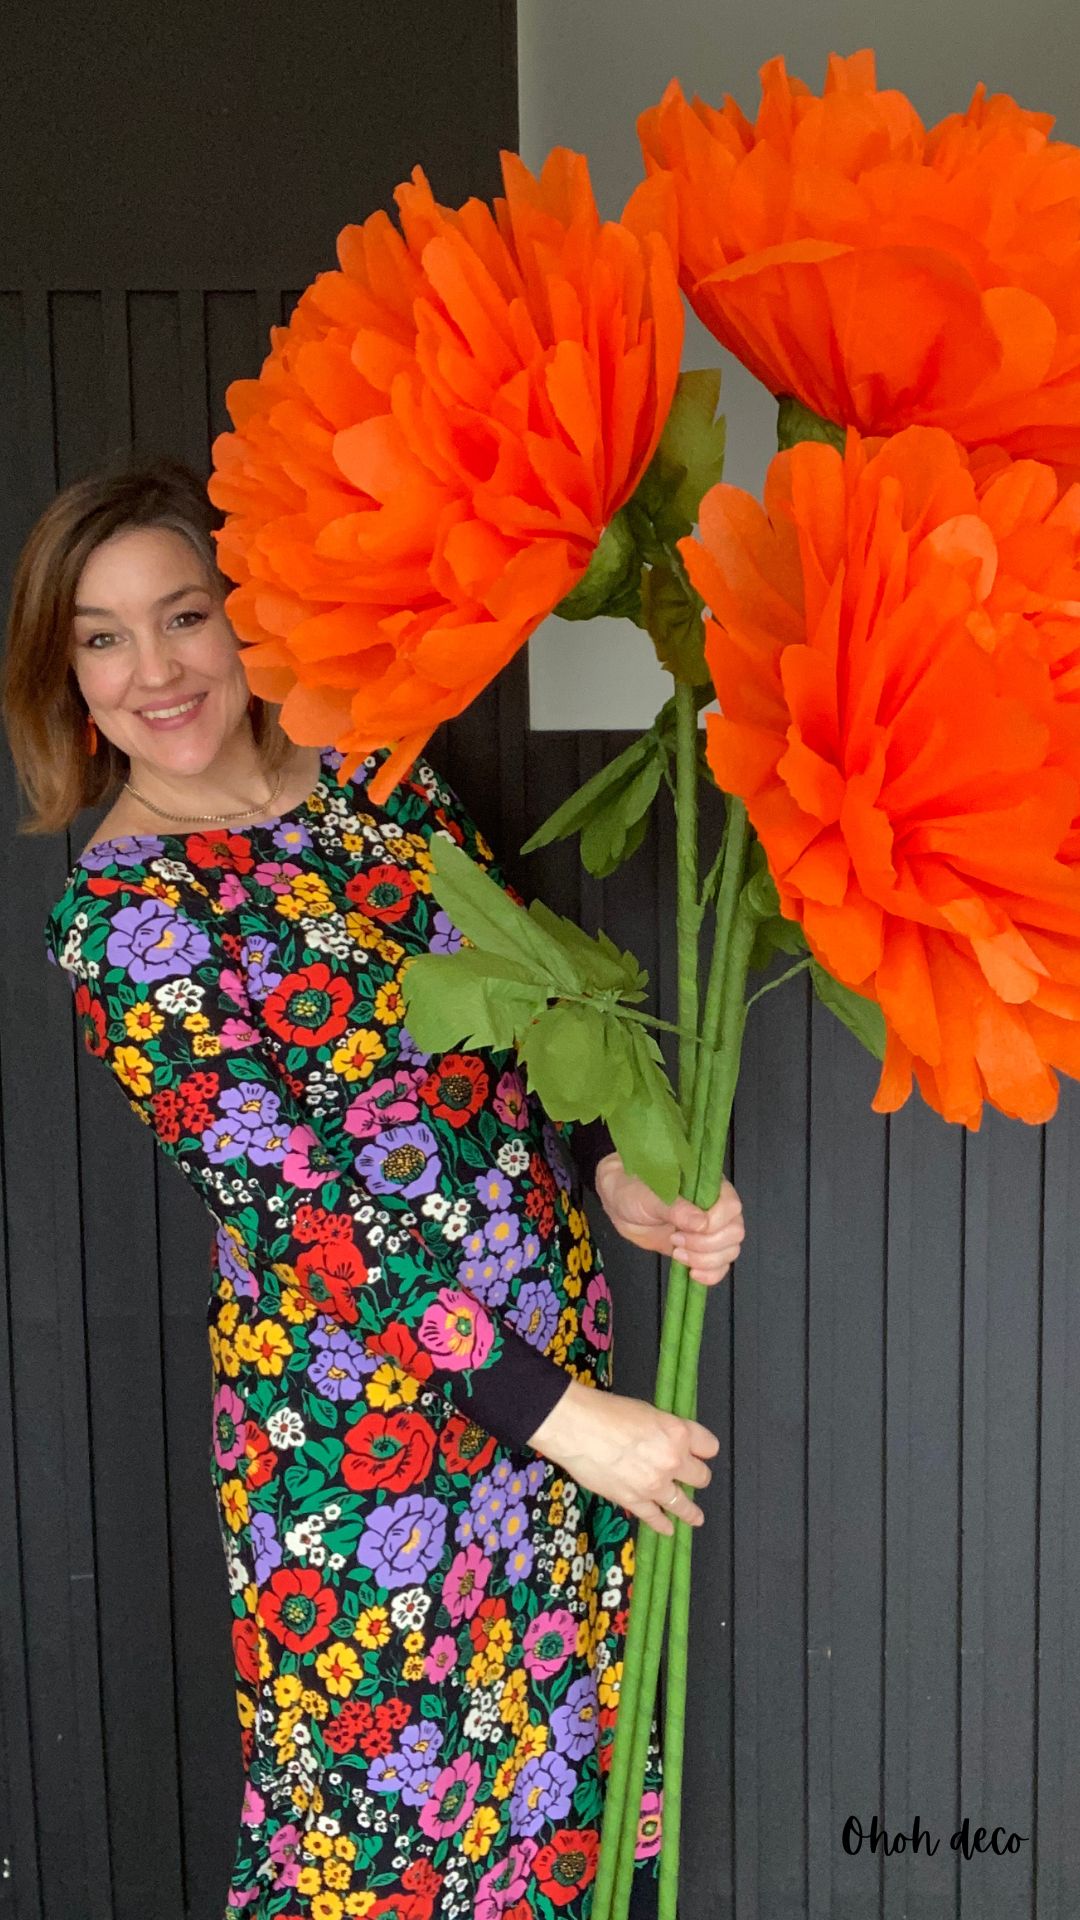
These bold paper marigolds are perfect for Day of the Dead (Día de los Muertos) altars, fall decor, or festive photo backdrops!
Conclusion
Crafting these vibrant paper marigolds is such an enjoyable, budget-friendly way to bring bold color and cheerful energy into any room.
By combining simple craft crepe paper with recycled materials, you get an eye-catching decorative piece that lasts far longer than fresh blooms.
Set them up for seasonal celebrations, festival backdrops, or everyday home styling—and have fun customizing them with your favorite shades of gold, orange, and yellow!
RELATED: How to Create Realistic Tissue Paper Marigolds
RELATED: Free Papel Picado Templates for Día de los Muertos
Want to remember it? Save these Giant Paper Marigolds on your favorite Pinterest board