
Last year I worked on my patio update and didn’t take the time to share what I made with you. As summertime is just around the corner again, it sounds like a nice inspiration for today’s post.
I wanted to create a nice atmosphere to chill out during the summer evening. I have a quite small backyard (around 1000 sqft) The only plants I have are the bamboos…not that I’m not dying to have a wonderful flowered yard but the bamboos are the only vegetation that our dogs couldn’t destroy.
[ This post probably contains affiliate links, our full disclosure policy is really boring, but you can read it HERE ]
The patio is just next to our living room, it’s a nice space to enjoy in the evening when the weather refreshes a little.
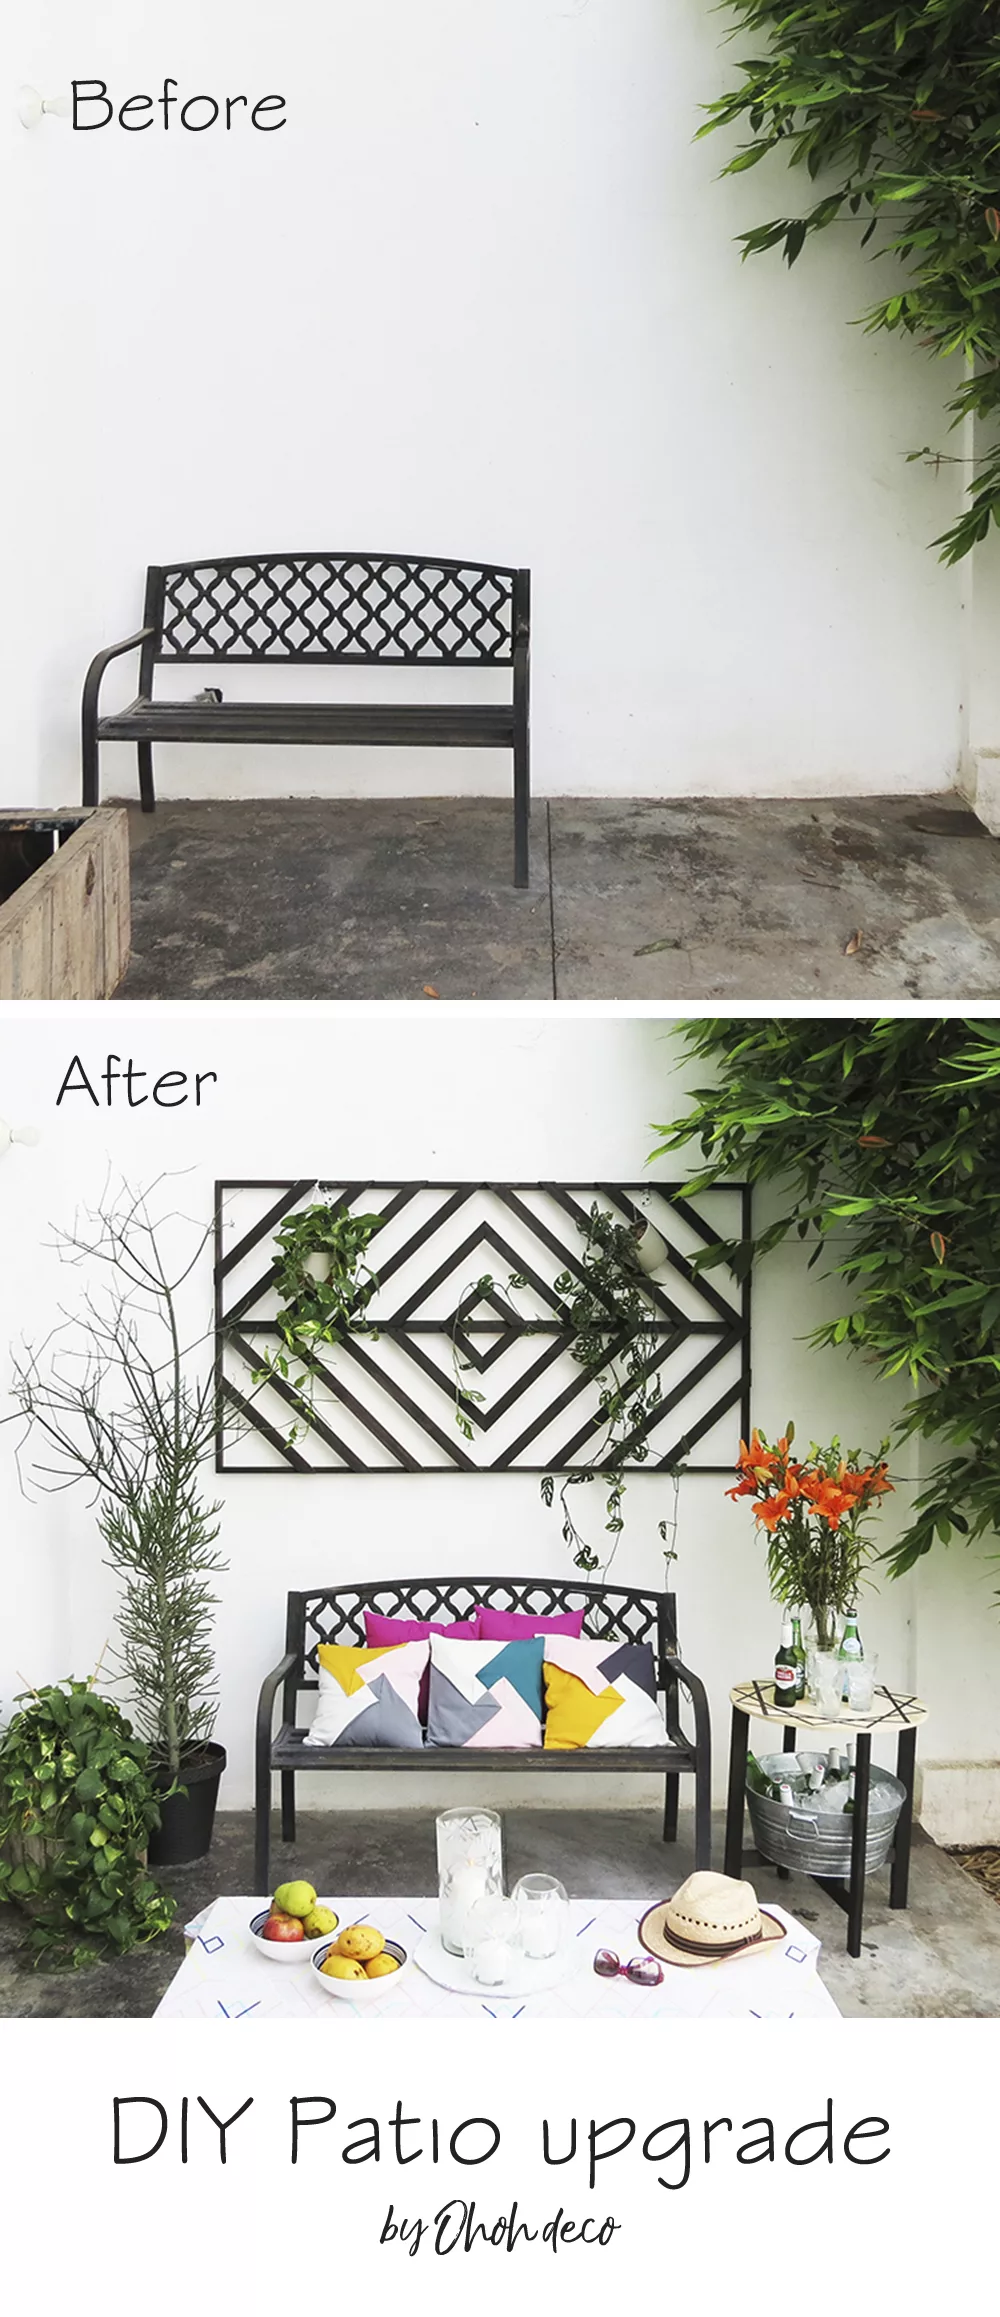
As you can see in the before picture our outdoor space needed some love and a good cleaning. I borrow my hubby’s pressure cleaner, which is the quickest way to tie up and clean outdoor.
The patio was ready for the makeover.
I made these 3 DIY in collaboration with Bob Vila, so you will find the step by step on his page. I give you all the details and the links below. I also added a few plants, I won’t let them outside because our dogs will end up destroying them.
Thanks to my DIY rolling planters, it’s easy to move the plants in and out.
RELATED: DIY scandinavian patio ideas
RELATED: 41 Easy sewing projects for summer time
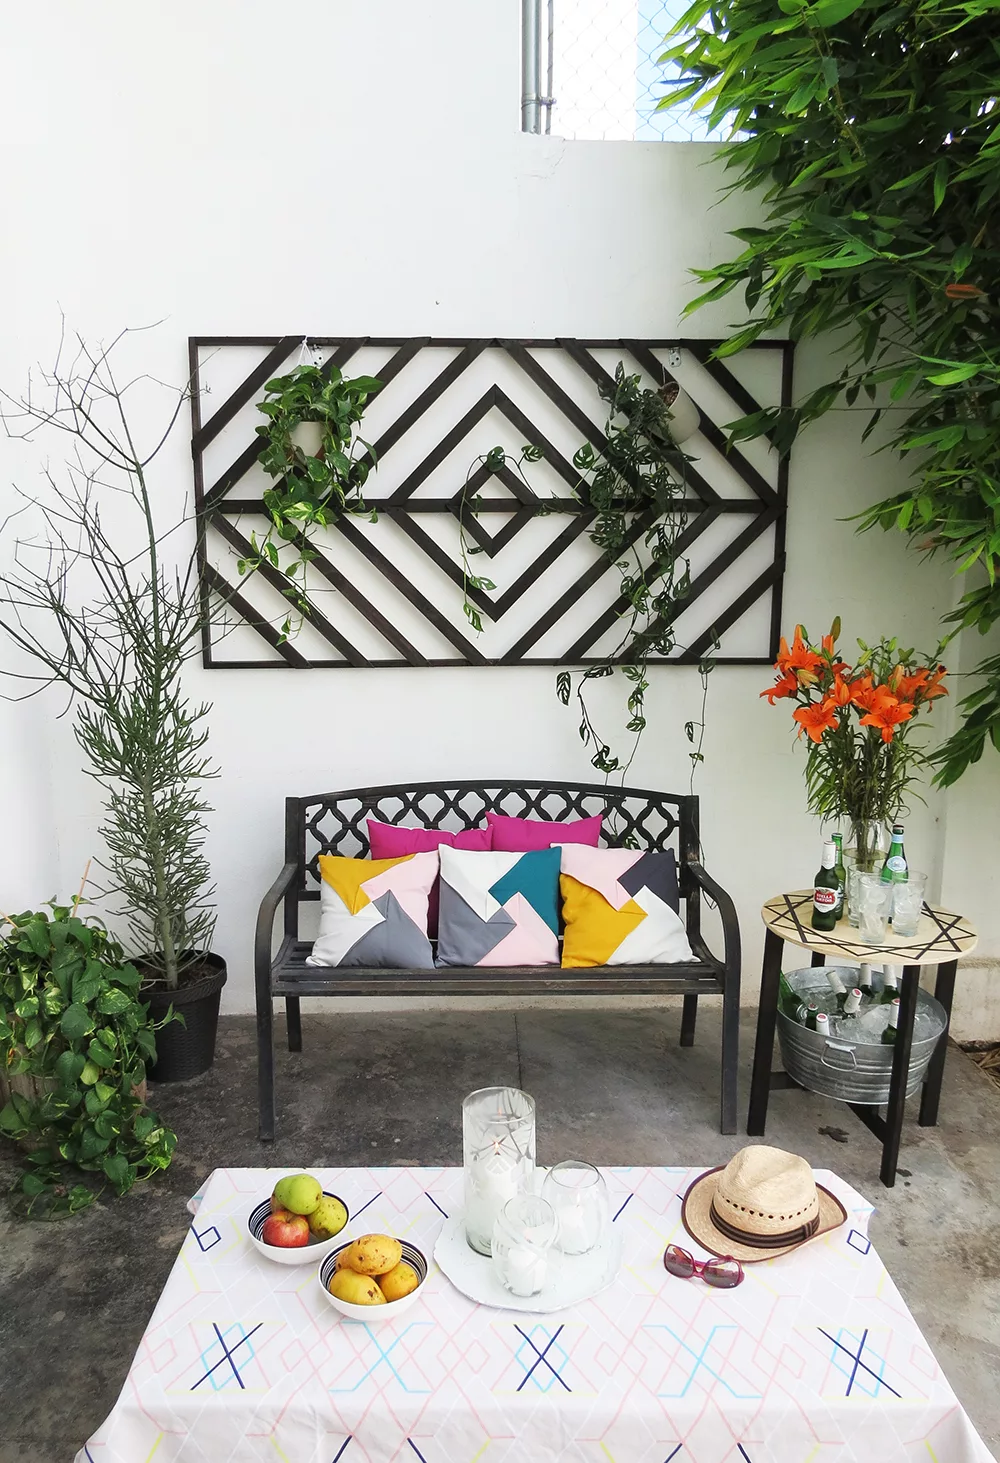
Patio upgrade ideas
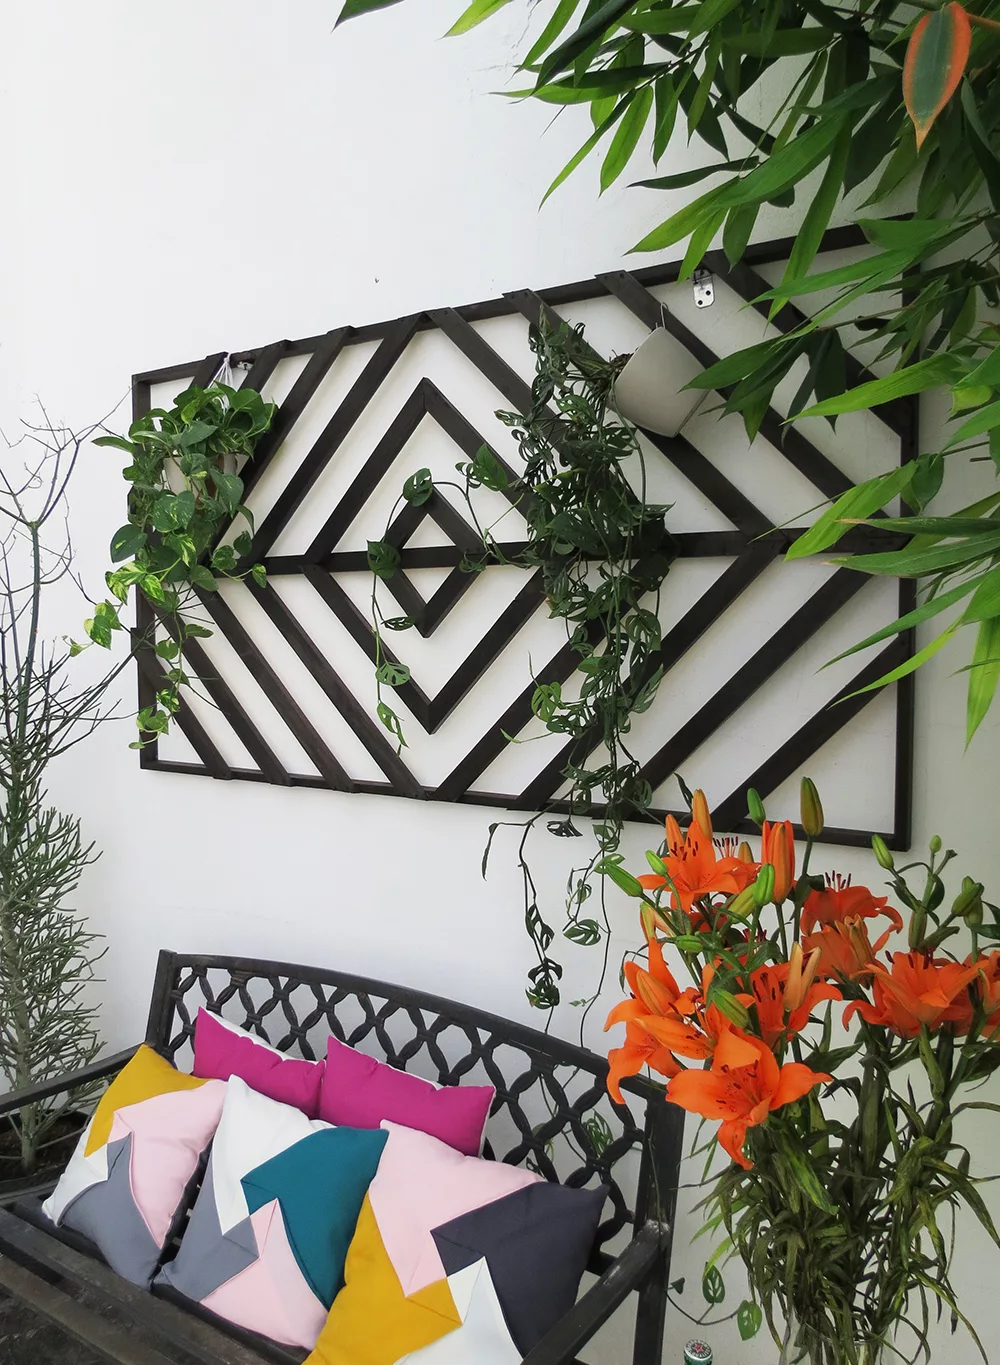
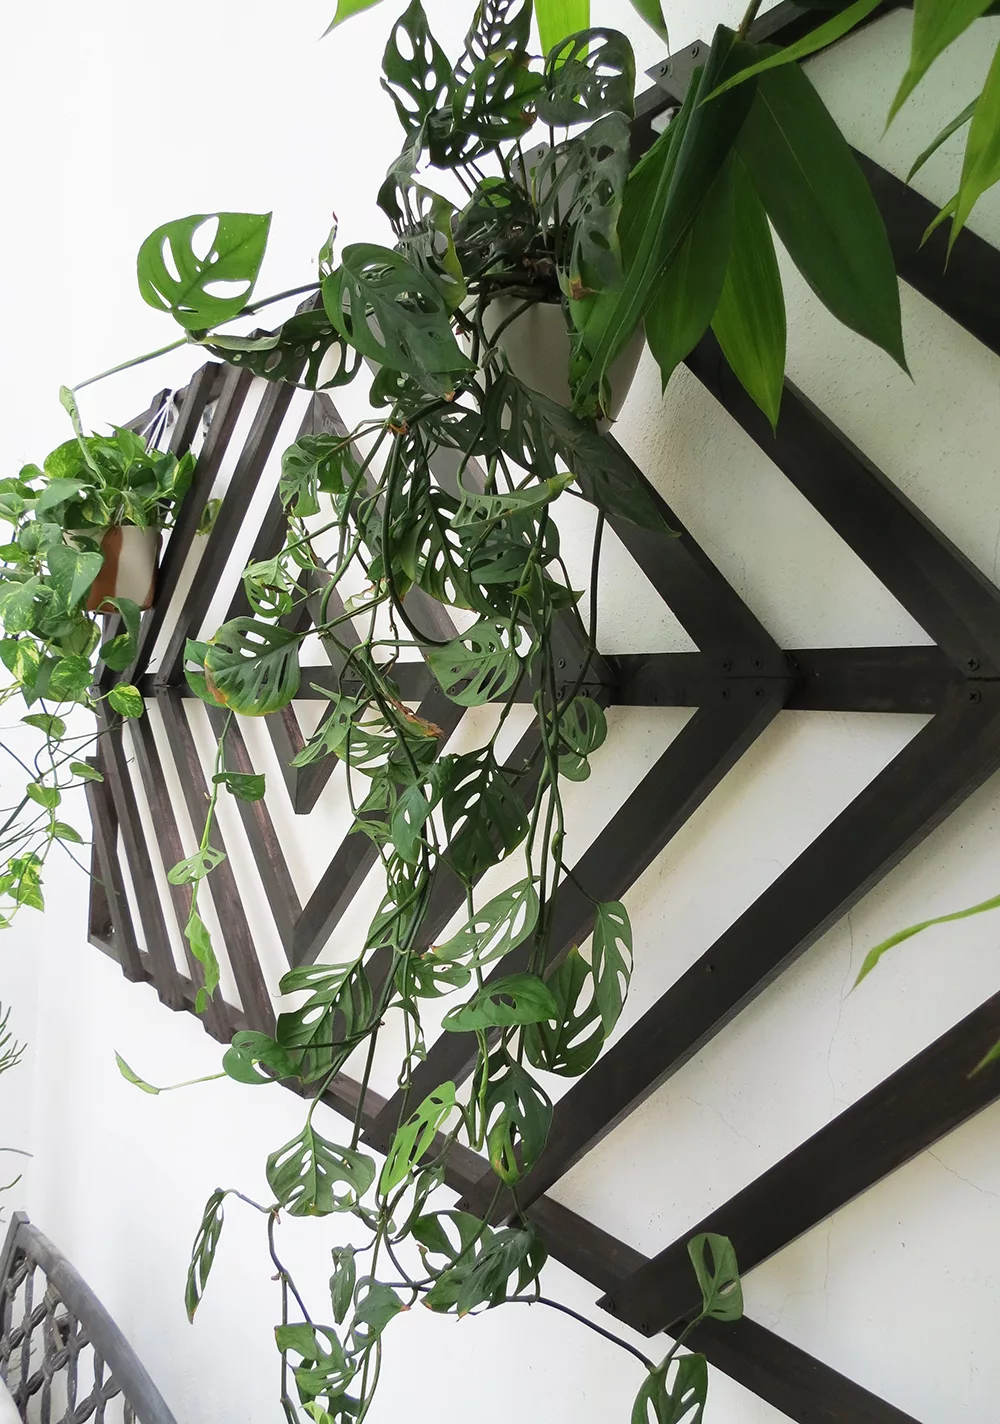
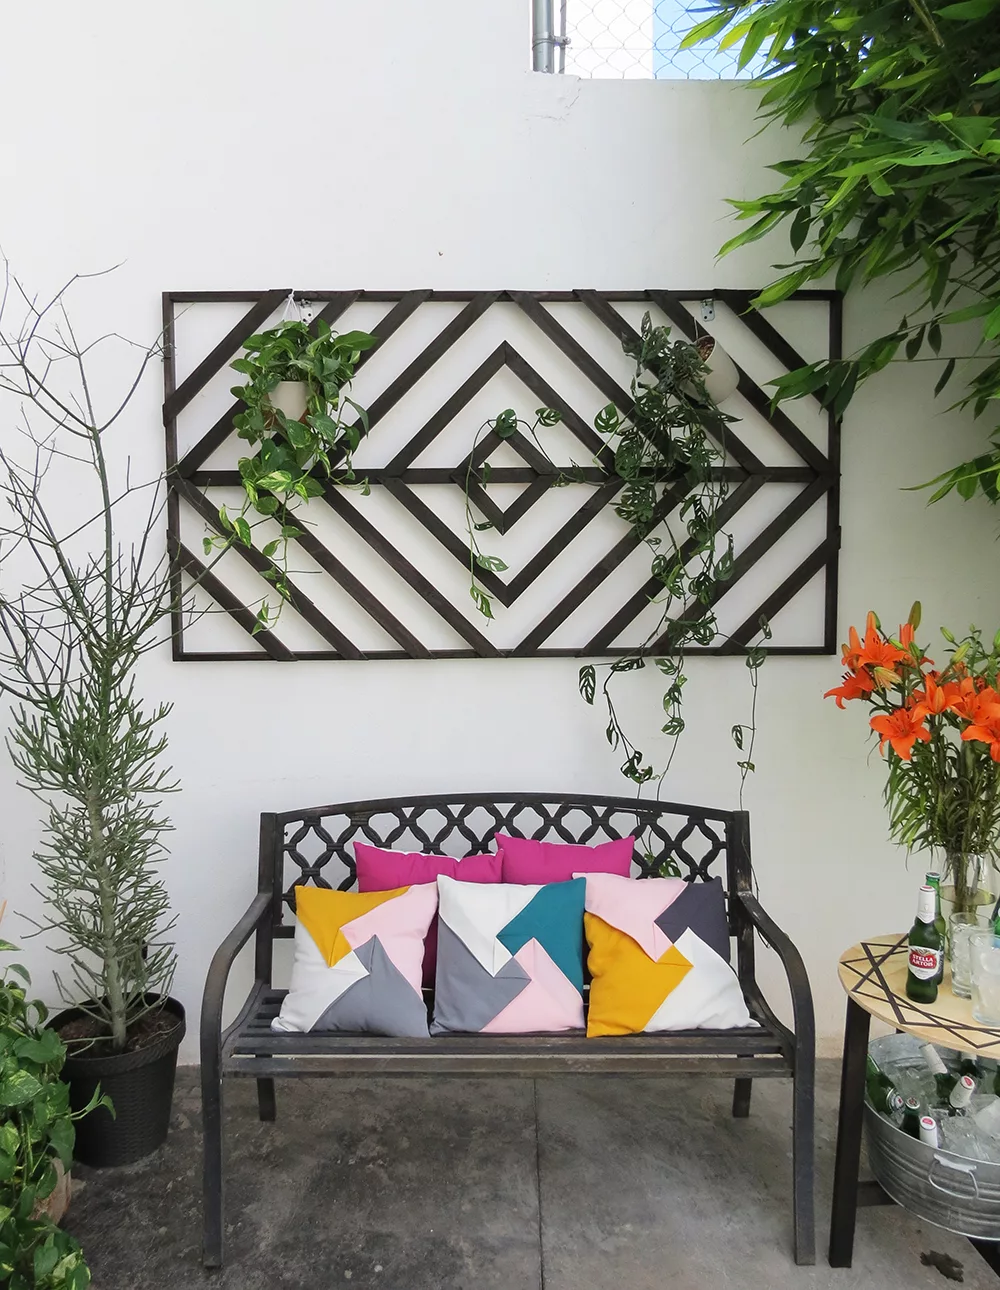
The first DIY I made was a wall trellis.
It’s a nice and graphic decor to hang on the empty wall. Plus I can use it to hang planters (and it’s to high for my dogs to reach the plants so I may have some flowers in the yard this year).
I sketch the design on a piece of paper, then I build it using 1×2 wood lumbers.
The wall trellis has been hanged on the wall since last summer and is still in perfect condition. The wood was stained and varnished, so it helps to preserve it from the weather.
Click to find the full tutorial and the dimensions to build the wall trellis.
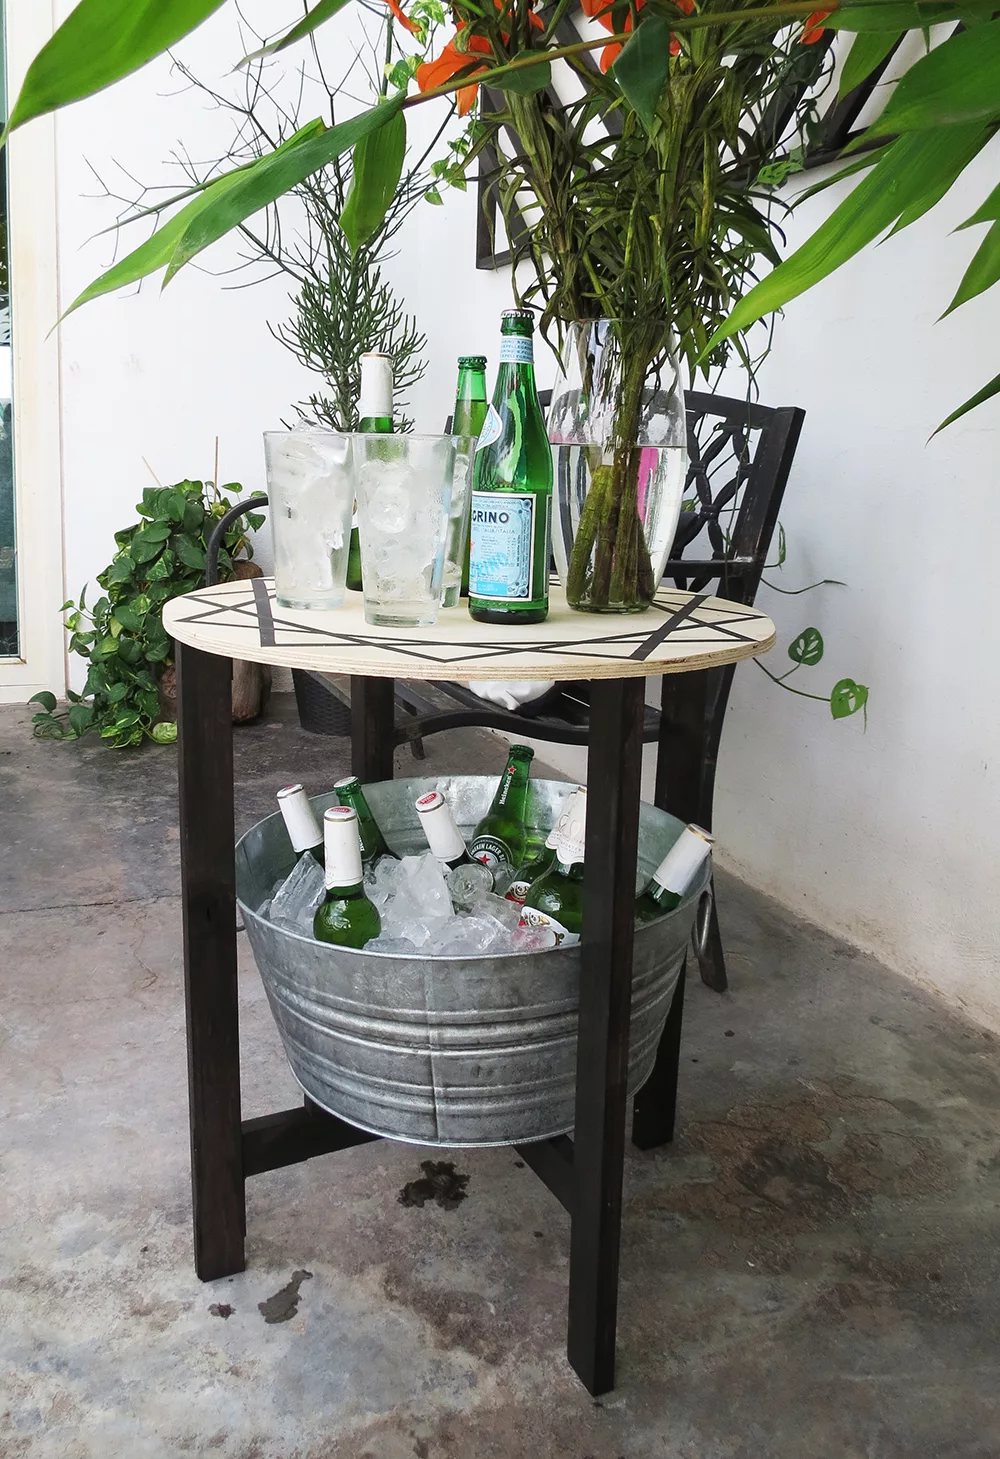
I don’t know what your favorite summer activity is, but I love barbecues and spending time chatting with friends.
That means that our outdoor space needs a cooler, nobody wants to have to run inside to get a fresh drink.
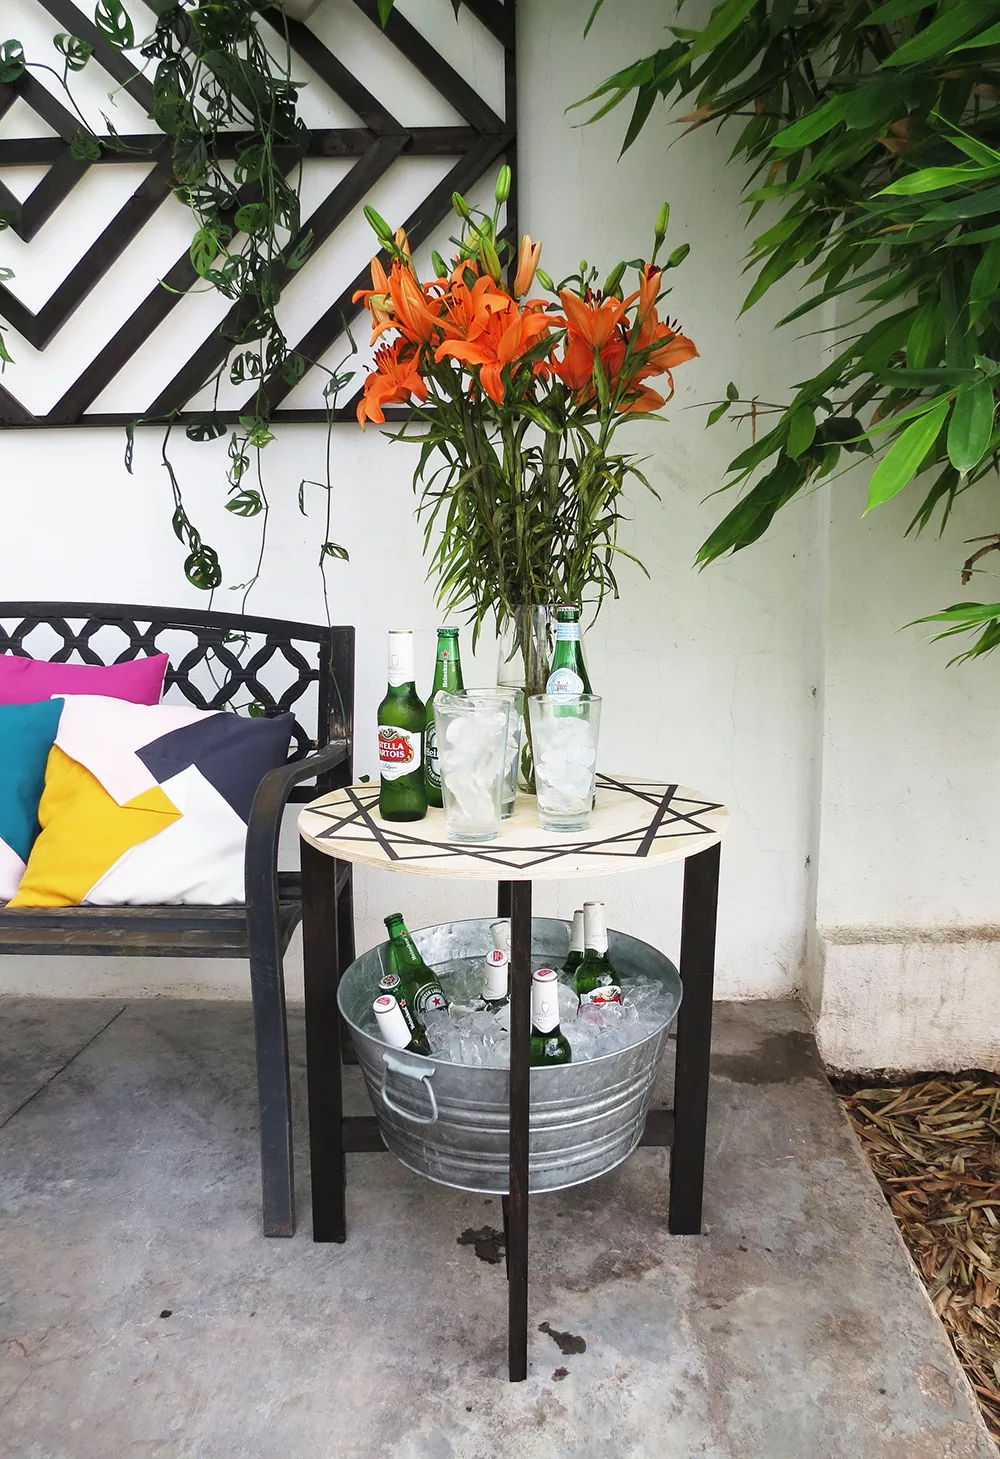
I build a handy two in one side table/cooler. You have a nice side table to put your drink and snacks, and under it a bucket to pour ice in and keep the drinks cold.
It’s an awesome idea for small outdoor spaces! If you feel it’s something you need in your patio, you can read my article on Bob vila: how to build your side table cooler.
RELATED: DIY round coffee table
RELATED: How to make an outdoor planter
Nothing better to complete an outdoor space than adding some decorative items. I have sewn a few colorful pillows that are perfect on the bench.
You can also add a cord light,a straw rug, some lanterns and candles.
I don’t have candles inside because with my three kids I’m always worried about an accident but I like to have some in the patio.
Candles give a nice light and remind me a bit of a campfire (waaaay smaller but still).
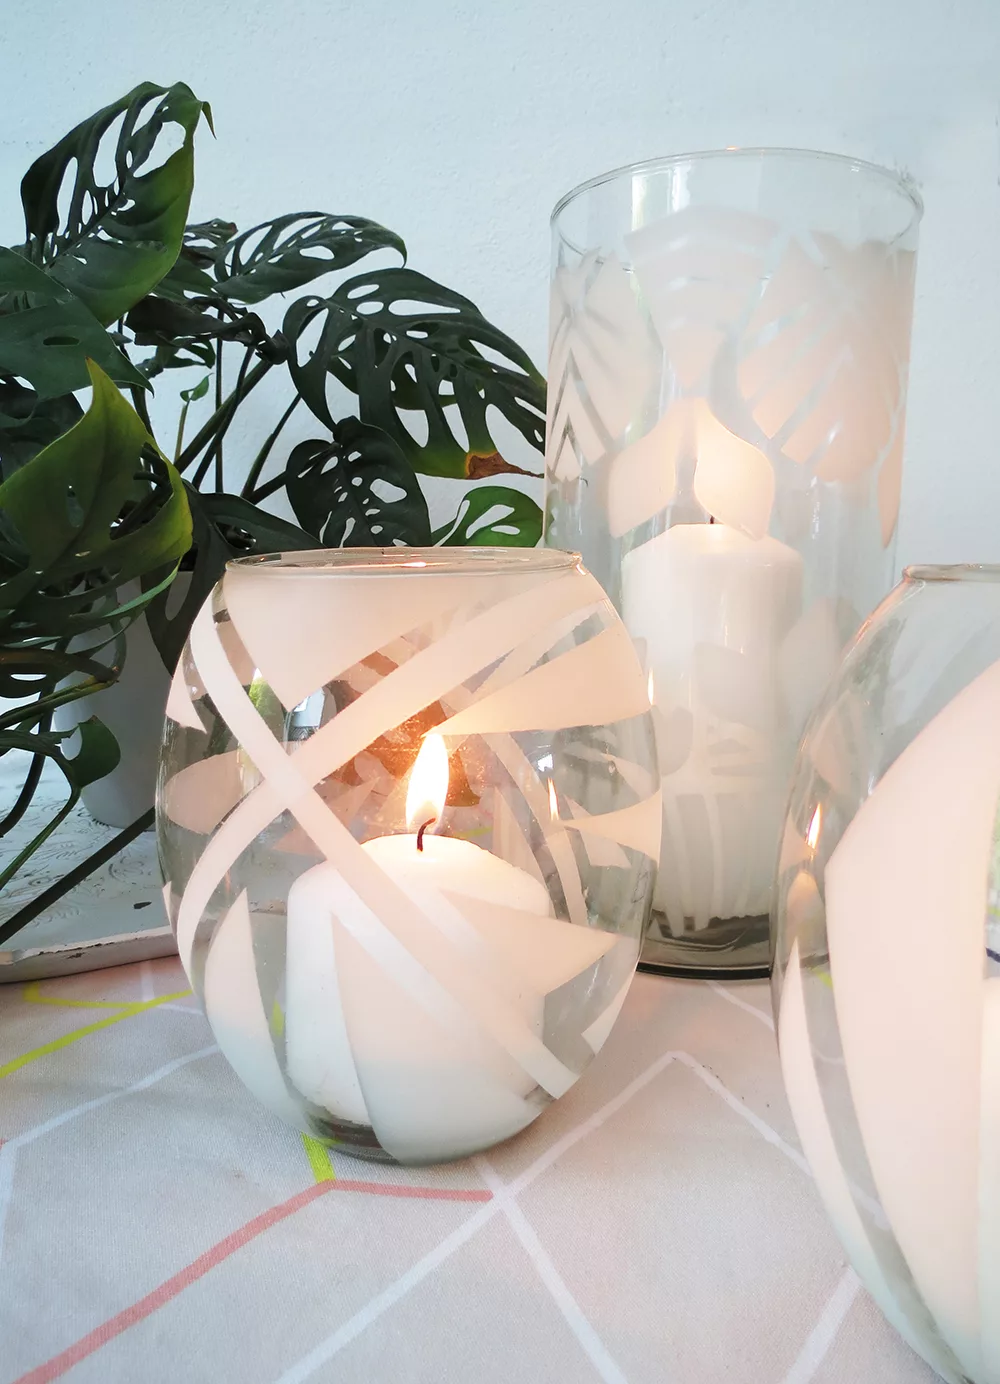
We also have a lot of mosquitoes around, so citronella candles help to get them away. I customized glass vase to make some pretty candle holders.
You won’t believe how simple is to make etch glass.
RELATED: Colorful pillow pattern
RELATED: 21 Herbs garden ideas
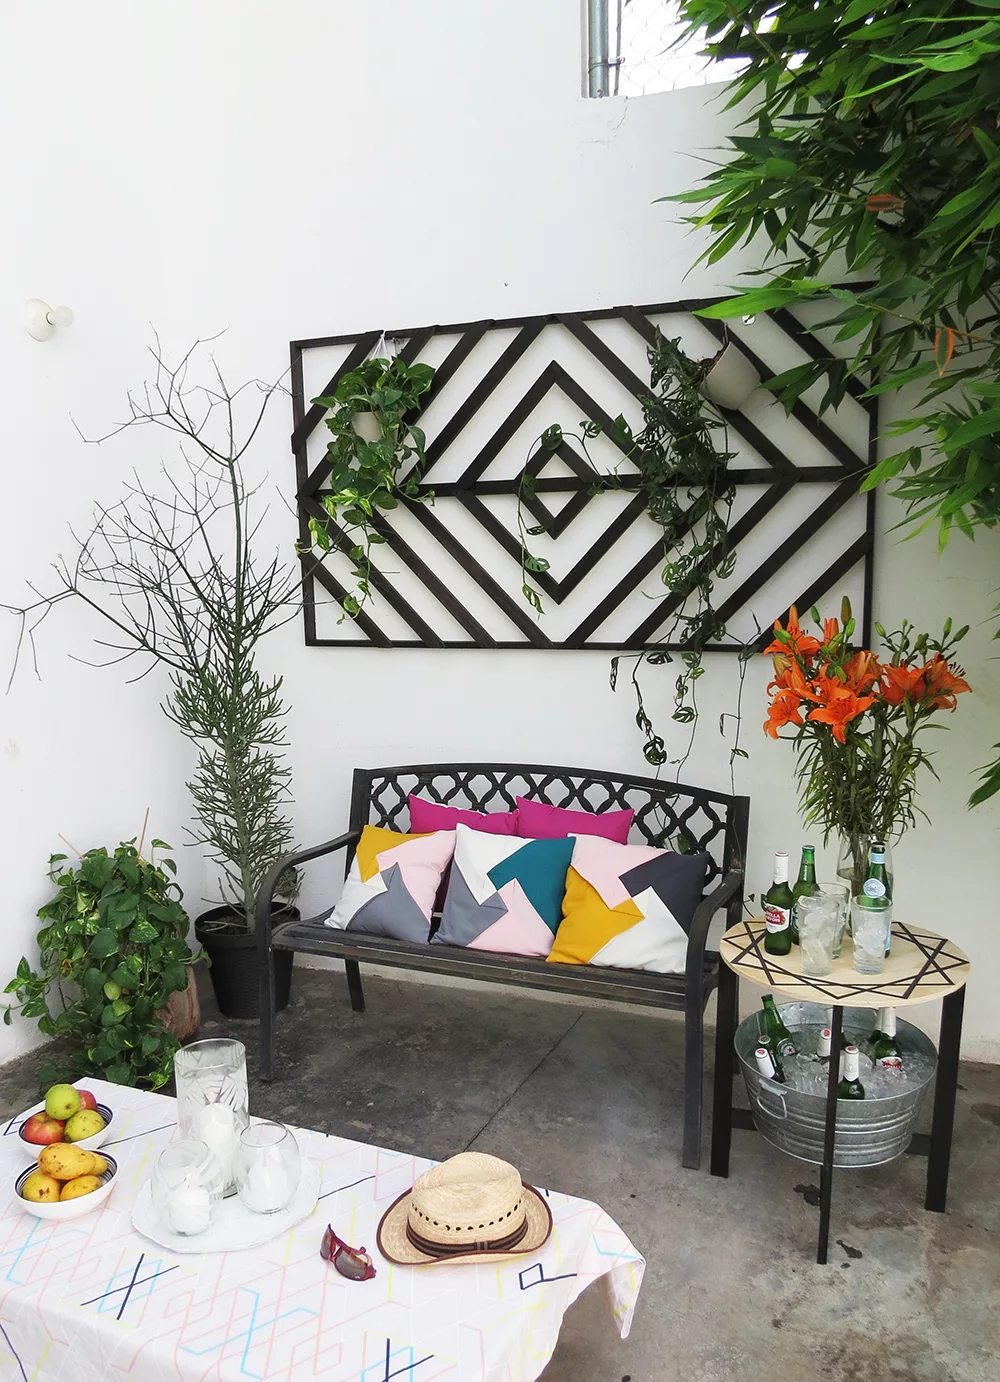
Tell me, what do think of my patio upgrade? Do you have any work planned for your backyard?
Making DIY projects is the best way to give your backyard a facelift on a dime. I hope it gives you some inspiration to upgrade your outdoor space. Remember you don´t need to spend a lot to make your space better. One DIY at a time will end up into a big improvement!
You may enjoy having a look at these other 10 creative ideas to upgrade your patio.
Want to remember it? Save this DIY patio upgrade in your favorite Pinterest Board
You will find all the tutorials featured in the video on my “Best DIY” page.
Amaryllis
Keri
Monday 3rd of April 2023
I made the trellis, and it turned out great! Your plans were very thorough!
I made 2 small changes: I used my nail gun instead of screws because the wood keep splitting (must not have drilled pilot holes big enough?) and I stained all the pieces before assembling.
Thanks for the inspiration and easy to follow instructions!
amaryllis
Tuesday 4th of April 2023
Hello Keri, I´m glad you enjoyed making the trellis. I´m waiting for nice weather to start working in my backyard again.