
Christmas decorations are like chocolate, we always want more.
There is always a corner of the house where you can add an extra ornament or a garland.
[ This post probably contains affiliates links, our full disclosure policy is really boring, but you can read it HERE ]
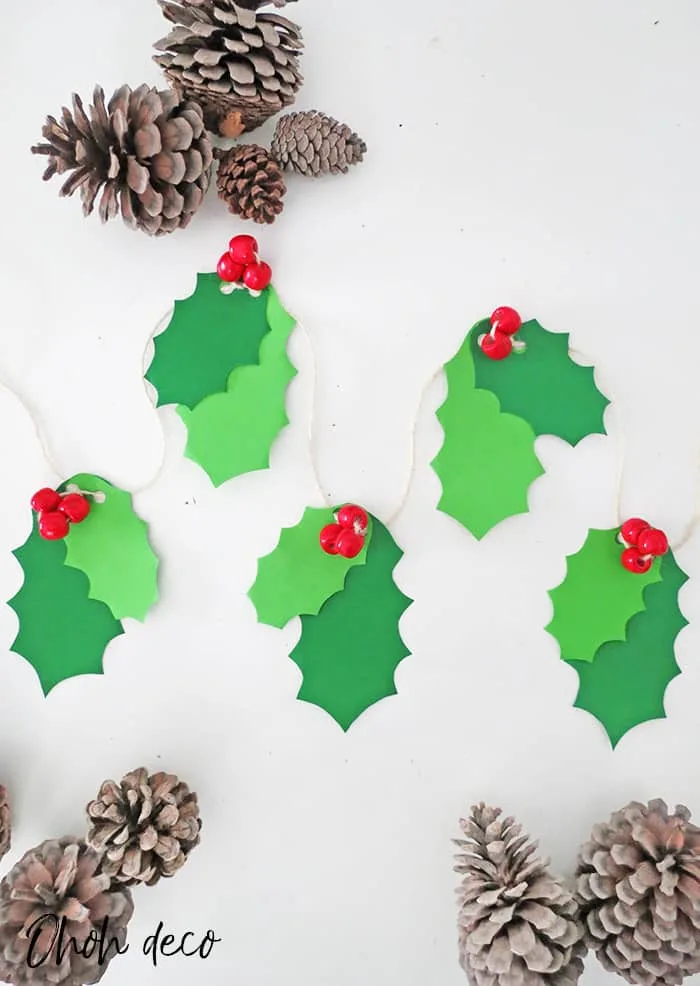
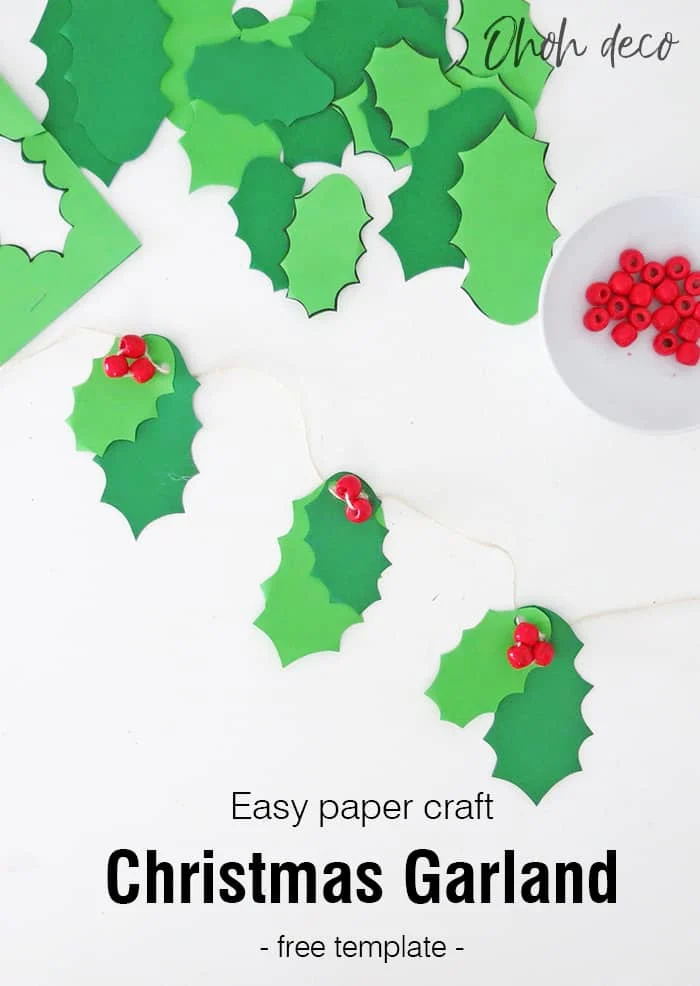
Today I show you, how to make a pretty Christmas garland. It’s a very simple craft you can make with only a few supplies.
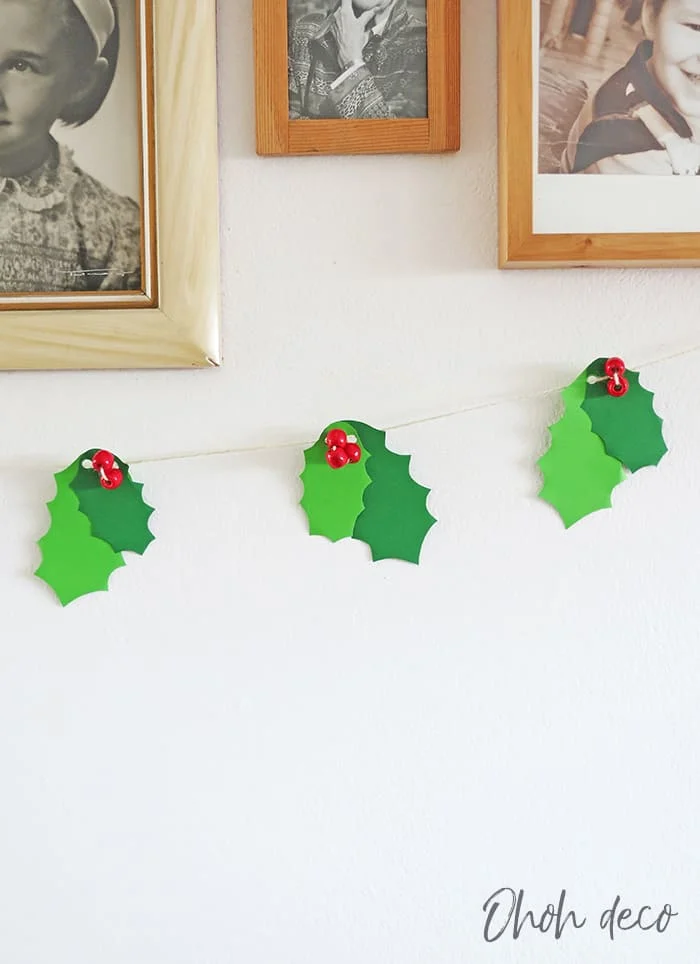
You can use your paper garland to decorate your Christmas tree, or hang it on the wall or use it to frame a window or a door.
The free holly template makes it easy. It’s a fun family craft to try. Kids and teens will love to craft their garlands.
I used classic Christmas colors to make my garland, red and green.
Feel free to be more adventurous and try other color combinations: Gold leaves and white beads or blue leaves and silver beads…combinations are endless.
Tell me, would you like to try something different? Or do you rather stick to the classic tones?
RELATED: Easy to make Felt Christmas Ornaments patterns
RELATED: Paper house decor
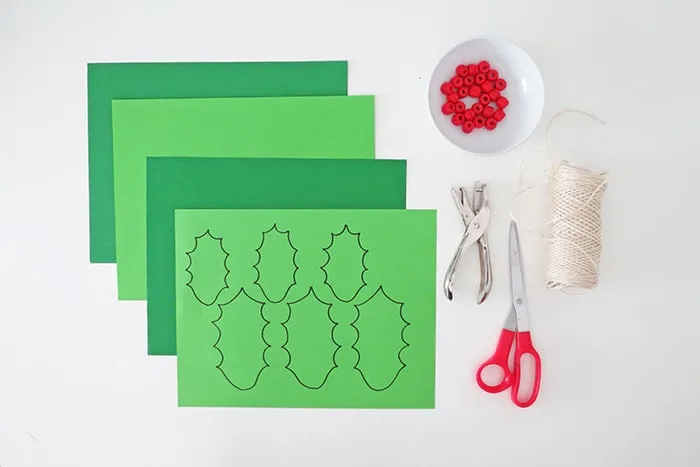
How do you make a holly Christmas garland?
Supplies you will need to make this easy craft:
- Two shade of green paper
- Red beads
- Twine
- The free holly template
- A pair of scissors
- A hole punch
The FREE holly leaves template is available in my resource library along with a load of other great prints and patterns. All you need to do is fill out the form and check your inbox for a welcome email with the password in. Click here to get in >>>> FREE LIBRARY ACCESS
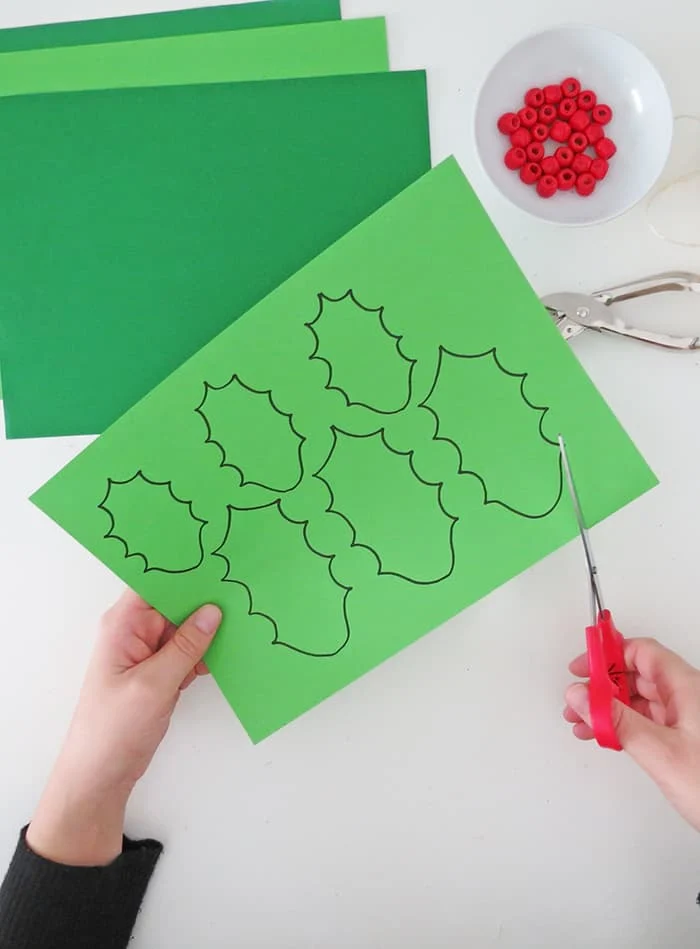
First, download and print the holly template on a green sheet. I used two different shades.
I give you a tip to quickly cut out a bunch of holly leaves. Print the template on one sheet.
Make a small stack with 4-5 green sheets, place the one with the template on top, and staple the edges.
All the sheets are attached together, start cutting the holly leaves. You will cut all the sheets layers at once. Super easy and super fast.
You can watch the video tutorial if you have any doubt.
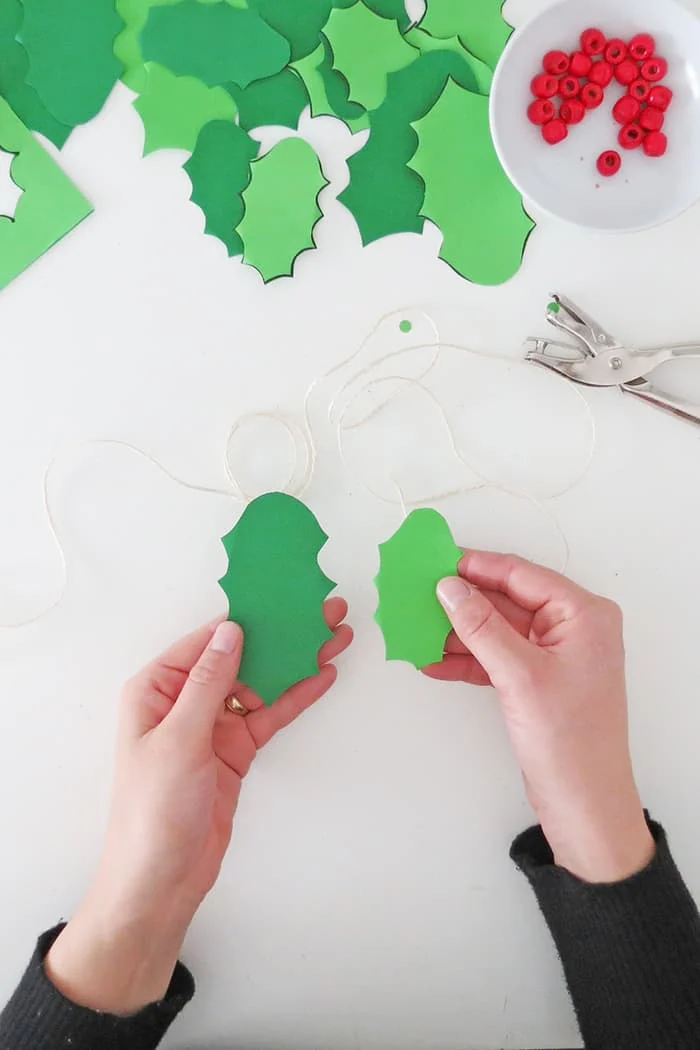
Once you are done cutting the leaves, take one small and one large.
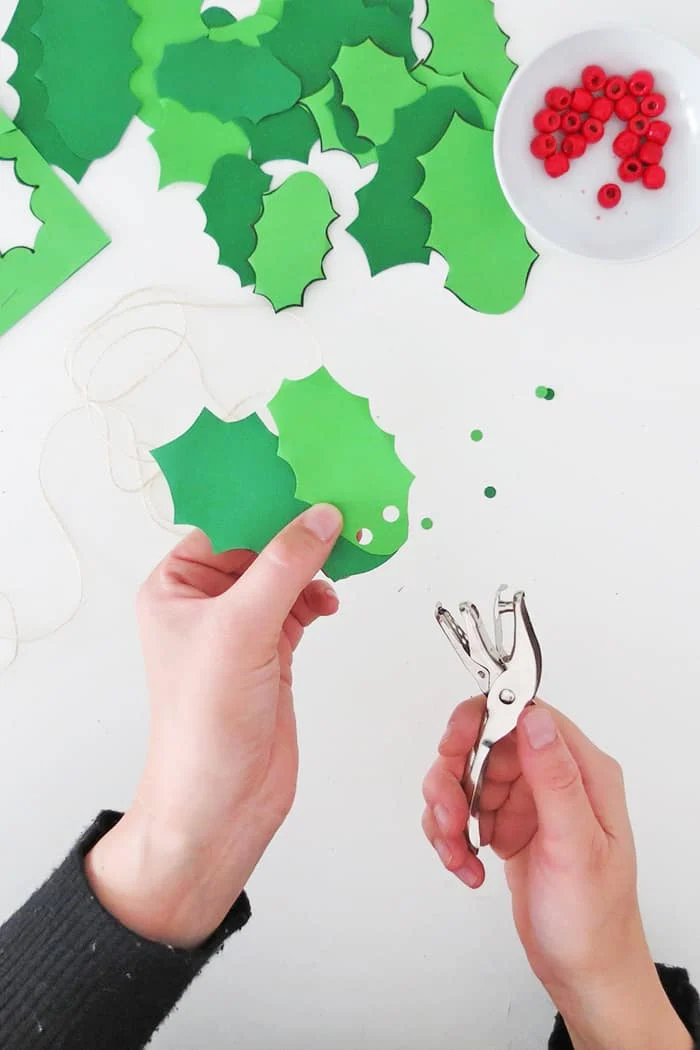
Place the leaves on top of each other and punch two holes. It looks better if the leaves are placed a little unlevel one from another.
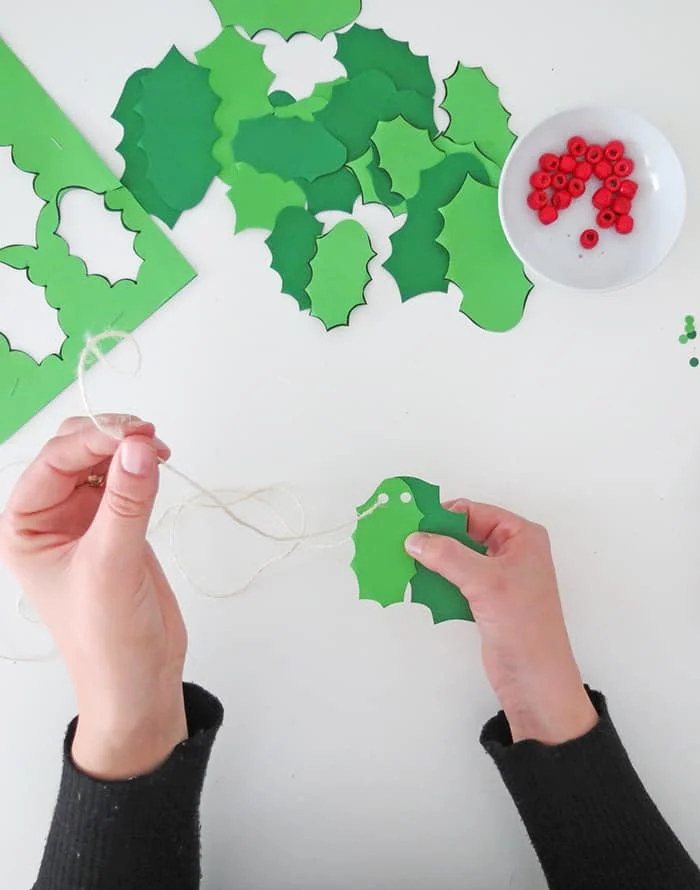
Cut a piece of twine and pass it through the first hole.
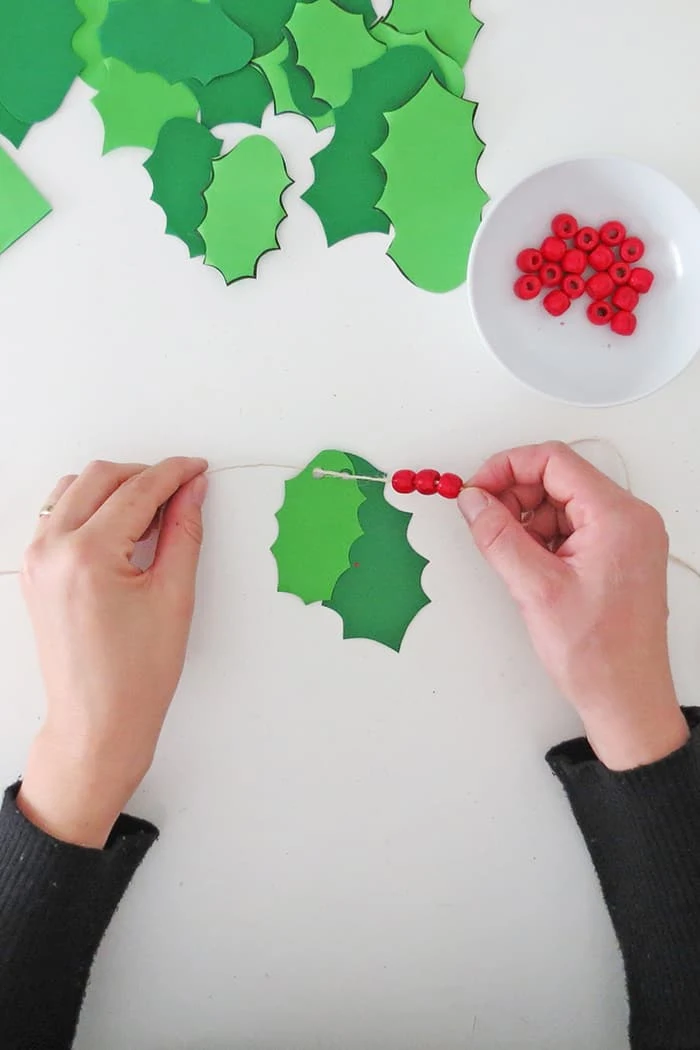
Slide three beads through the twine. The red beads make cute berries and you can vary the number you want to add to each pair of leaves.
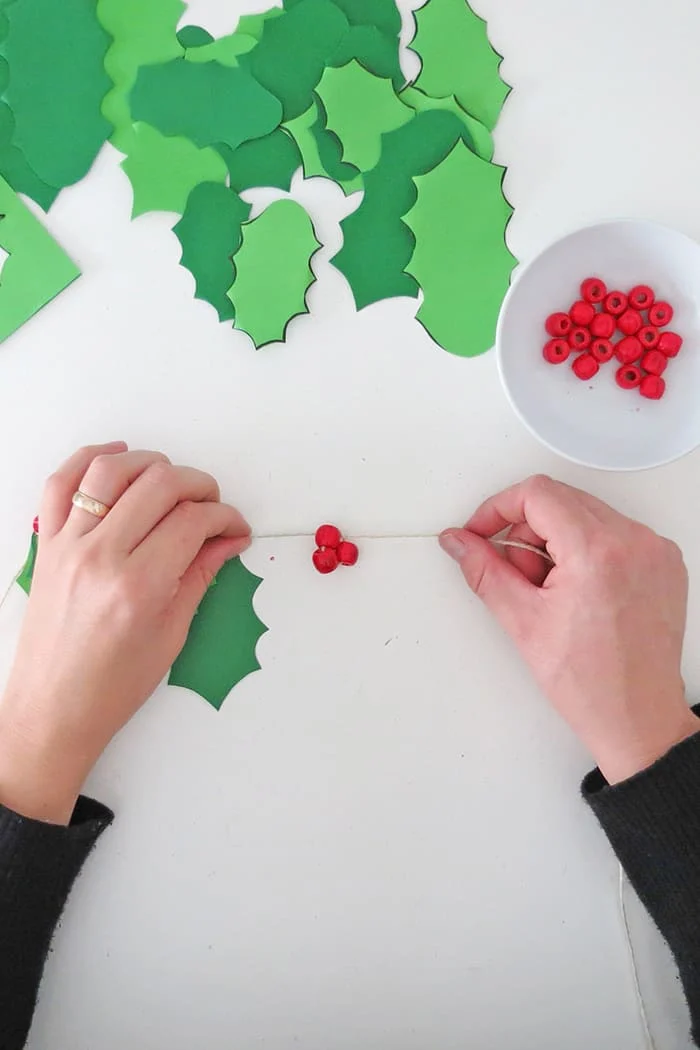
Make a double knot to hold the beads in place.
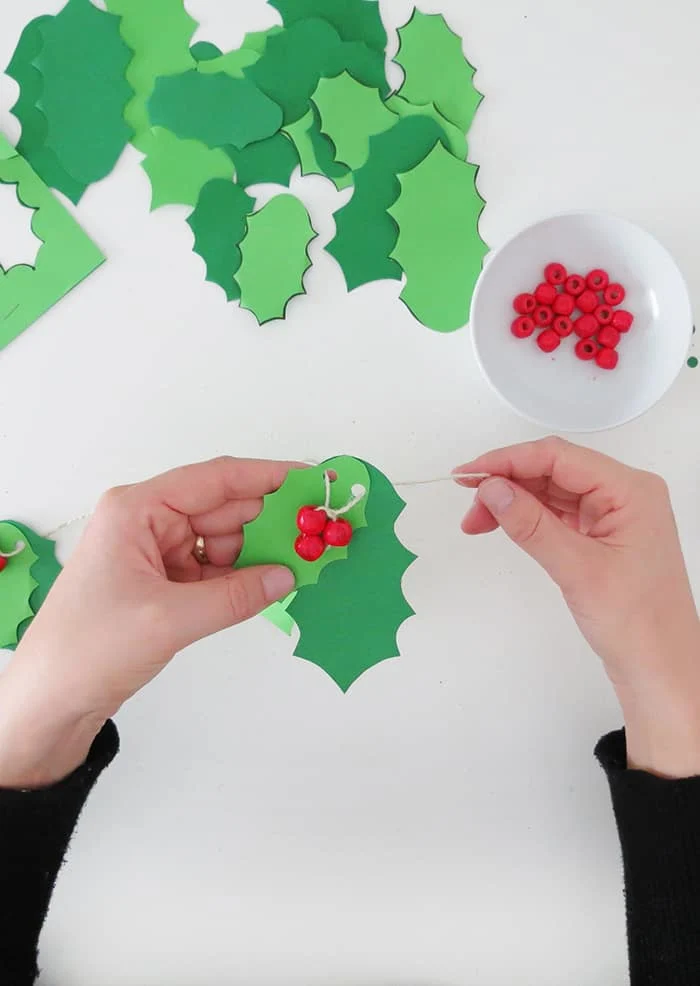
Pass the twine through the second hole.
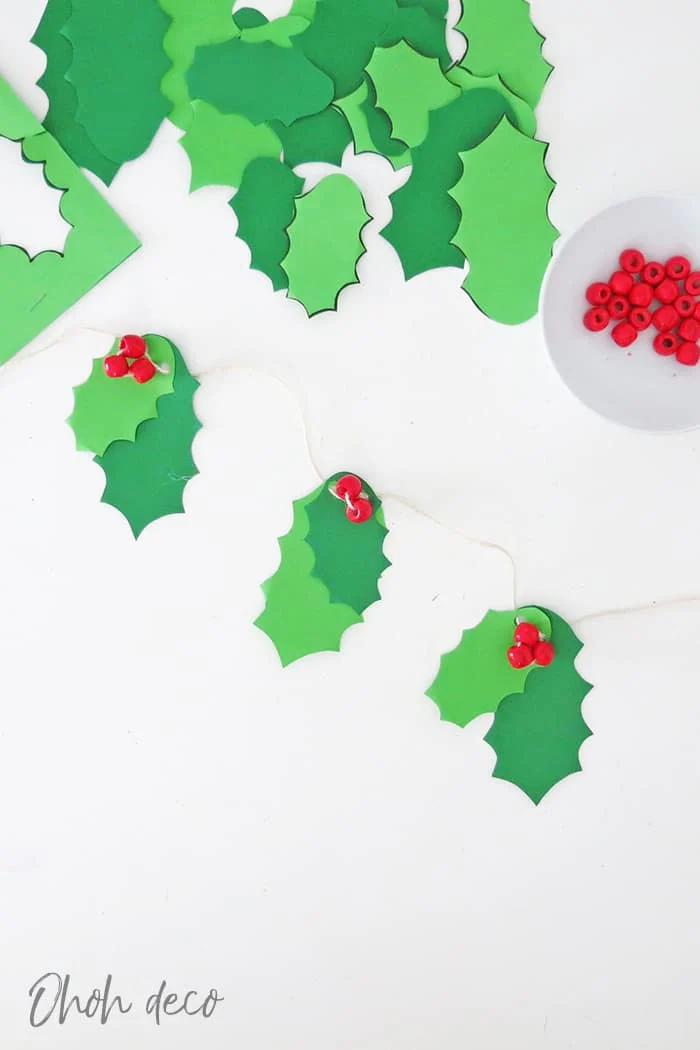
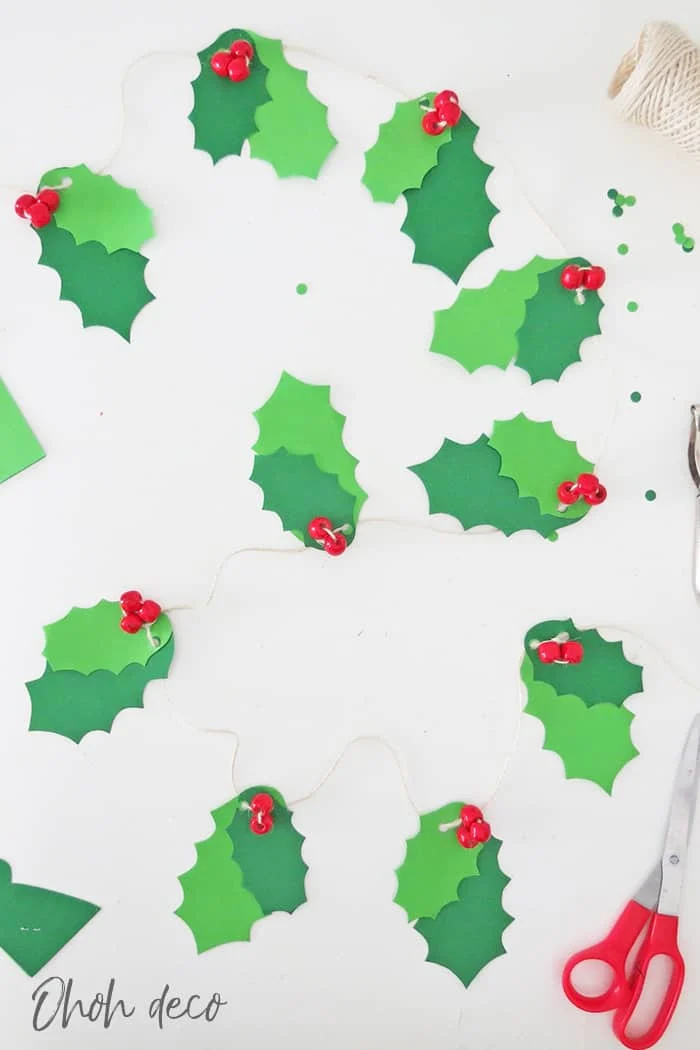
Leave a few inches of rope and repeat the previous steps to attach another set of leaves and berries. Keep crafting until you have the length you like for your holly and berry garland.
Paper crafts are always fun and easy to make. This paper garland is no exception. To give you an idea, it took me about 30 minutes to make a 4 ft. long garland.
Another alternative to this craft is to use felt instead of paper. It will take a little more time to cut felt than paper but I think a felt garland may hold longer in time. Let me know if you decide to give a try to the felt version.
You can also watch the video tutorial: DIY holly Christmas garland
Follow Ohoh deco on Youtube and be the first to find out about the new DIY.
Remember that the FREE holly template is available in my resource library along with a load of other great prints and patterns. All you need to do is fill out the form and check your inbox for a welcome email with the password in.
Click here to get in >>>> FREE LIBRARY ACCESS
RELATED: How to make a Fall Leaf Garland
RELATED: Make a paper leaves garland in 30 minutes
Want to remember it? Save this Holly Christmas garland in your favorite Pinterest board.
You will find all the tutorials featured in the video on my “Best DIY” page.
Amaryllis
Andrew Shetty
Wednesday 16th of December 2020
Great idea, you really inspire me to do something amazing like you
amaryllis
Wednesday 16th of December 2020
Thanks, Andrew! Have fun crafting!